JimVonBaden
"Cool Aide"
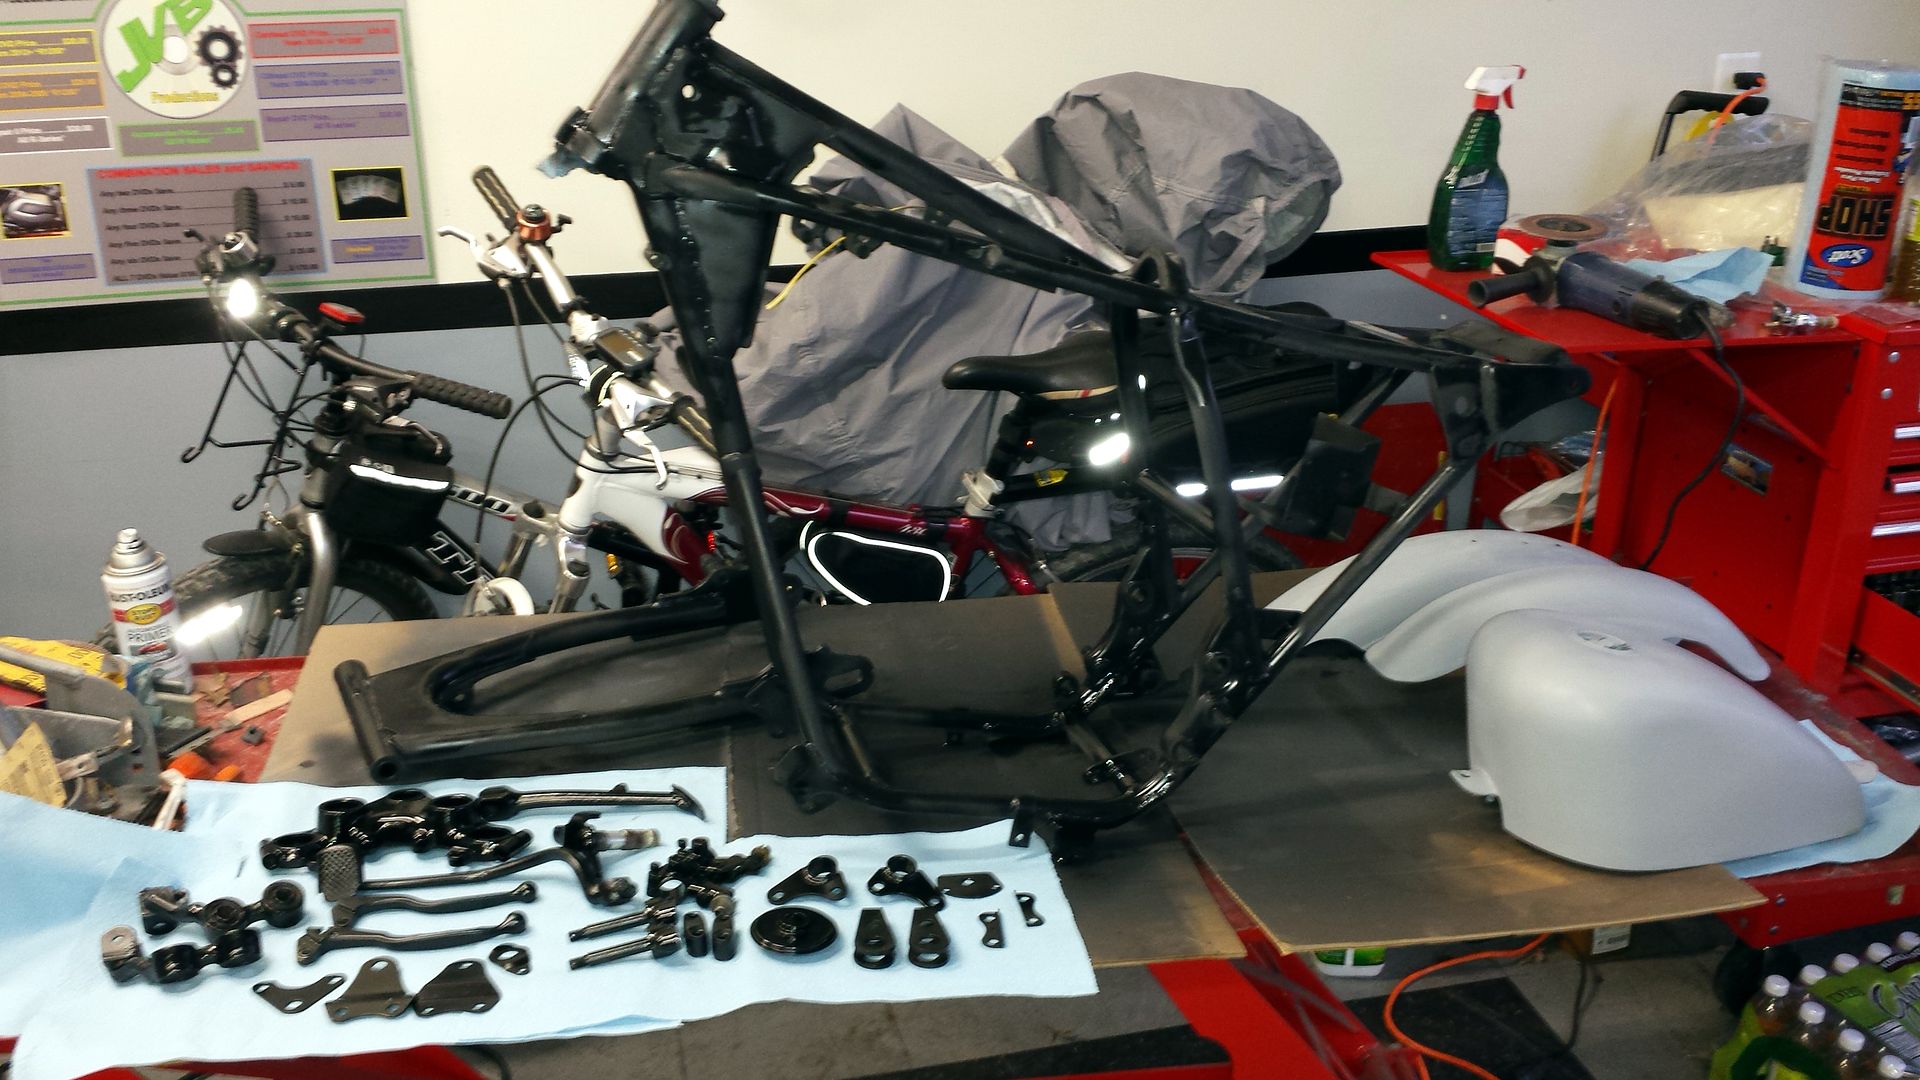
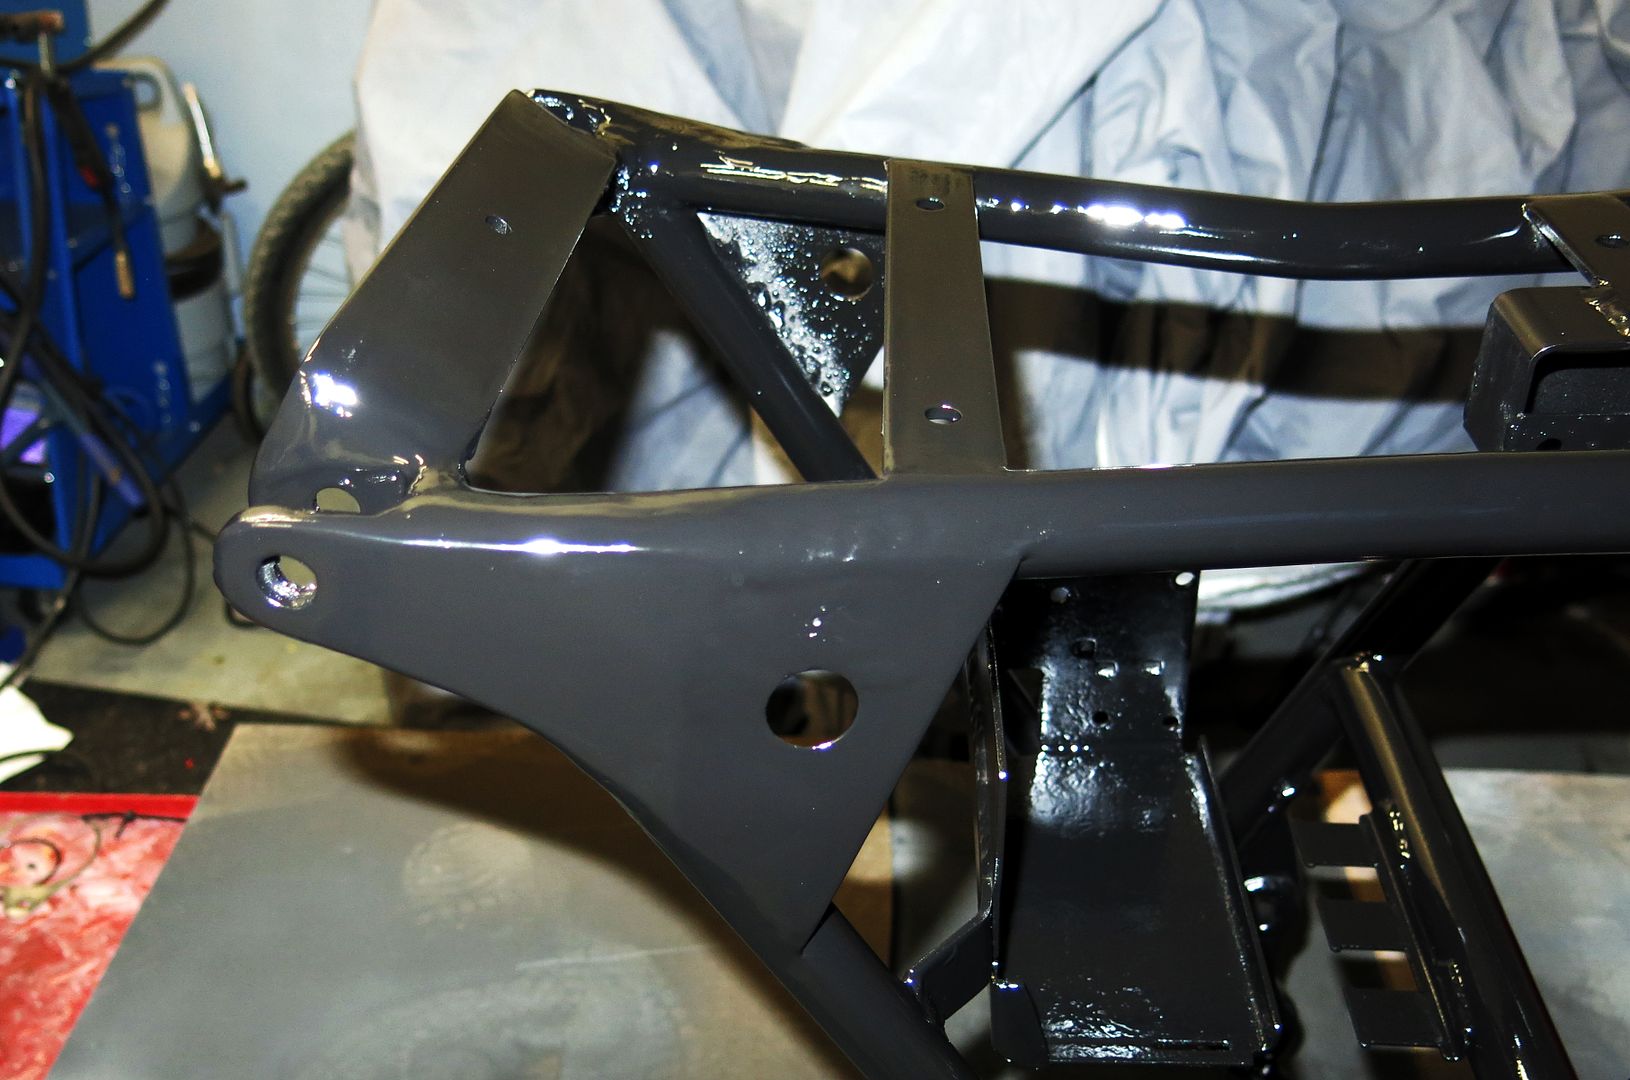
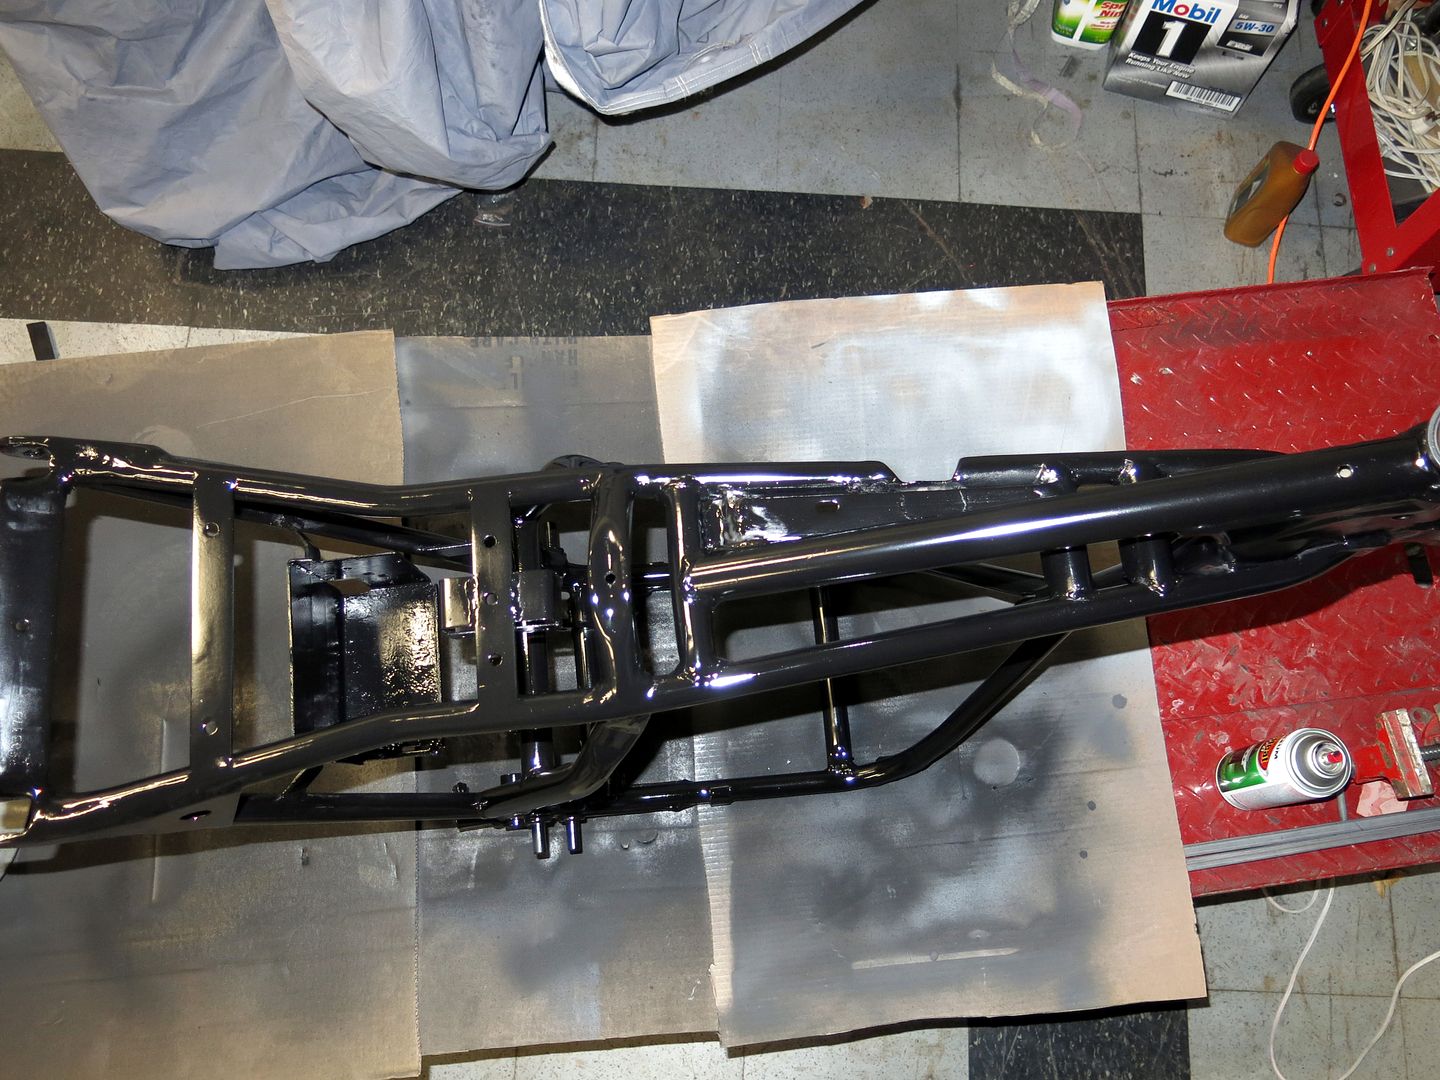
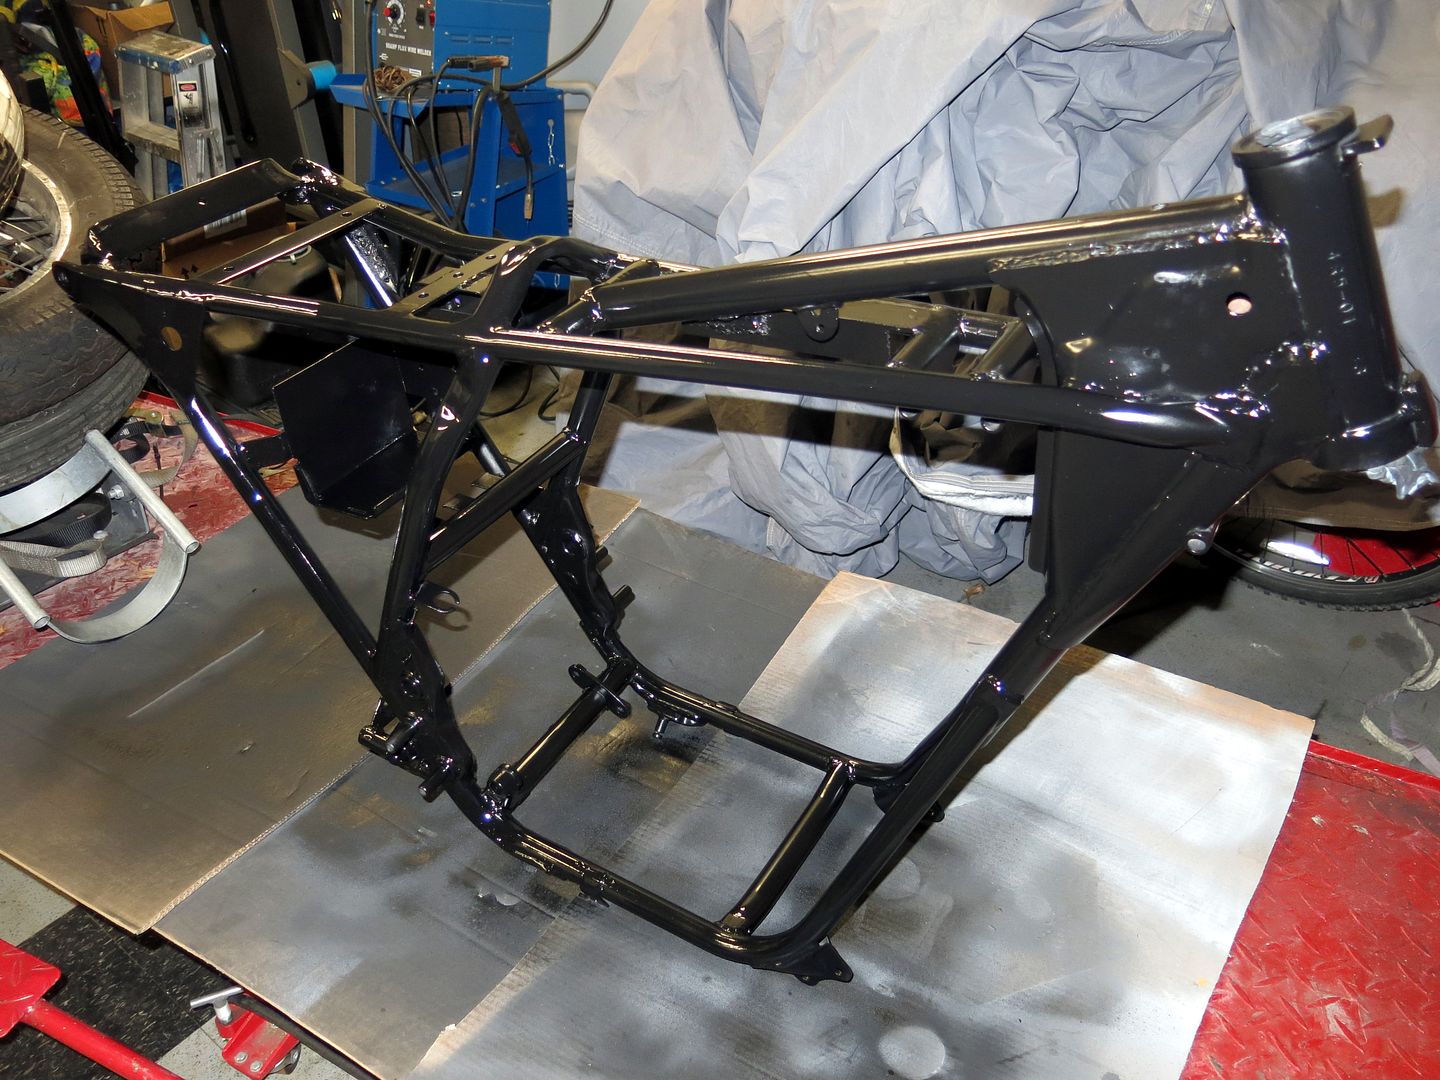
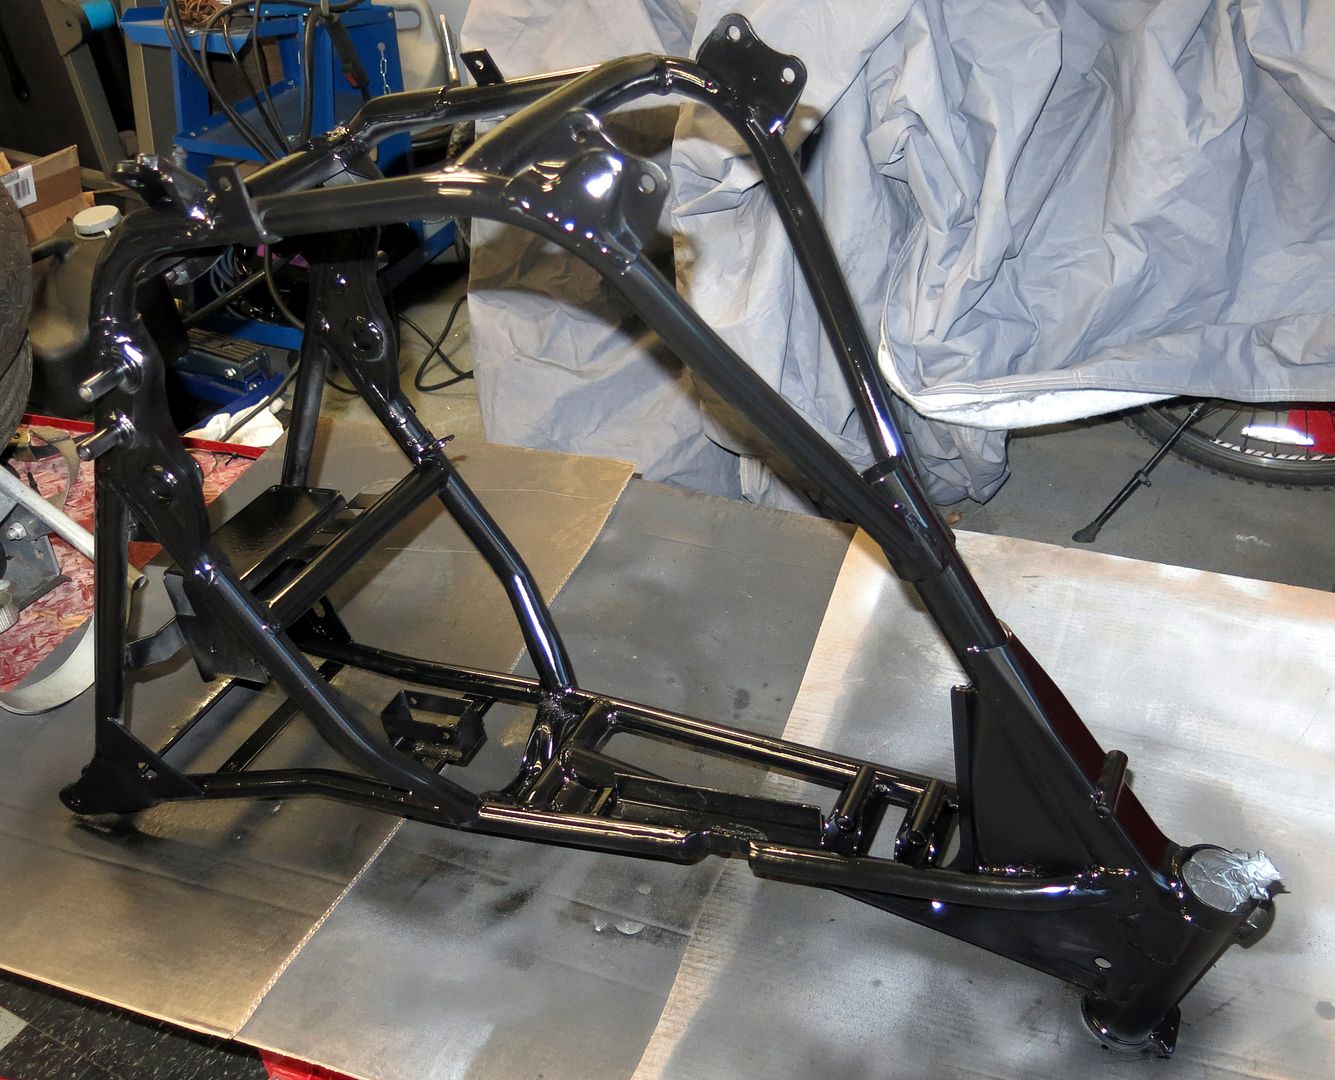
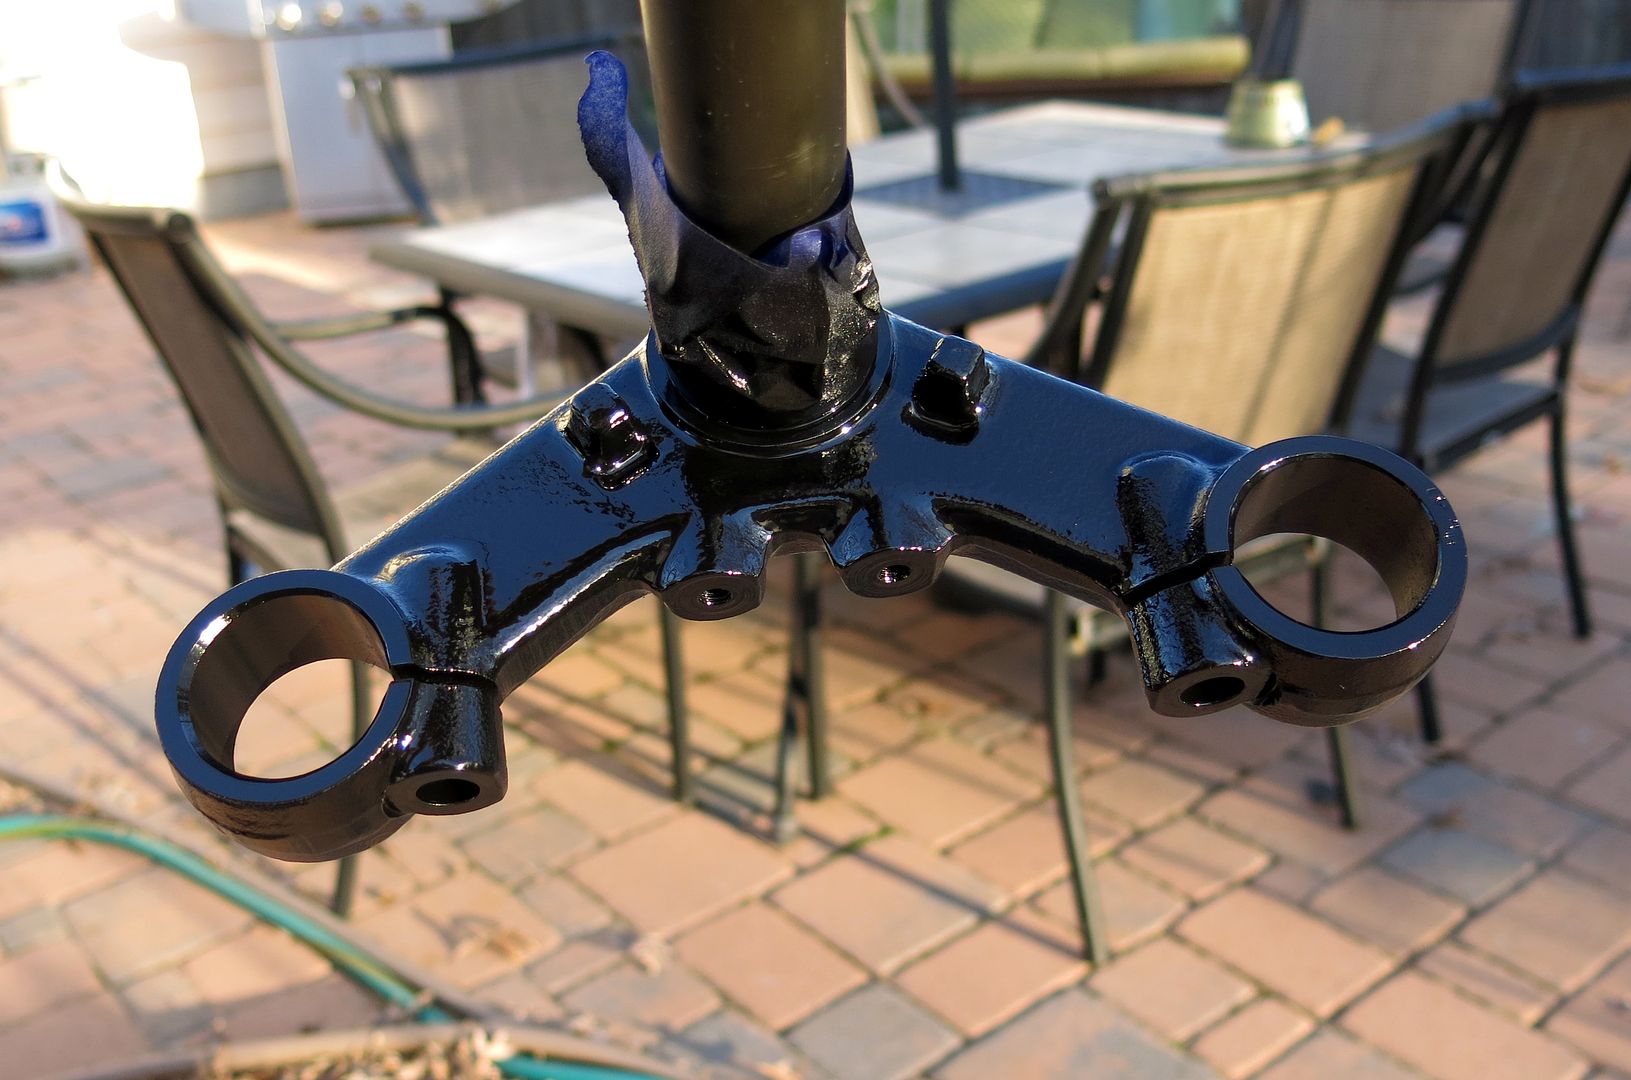
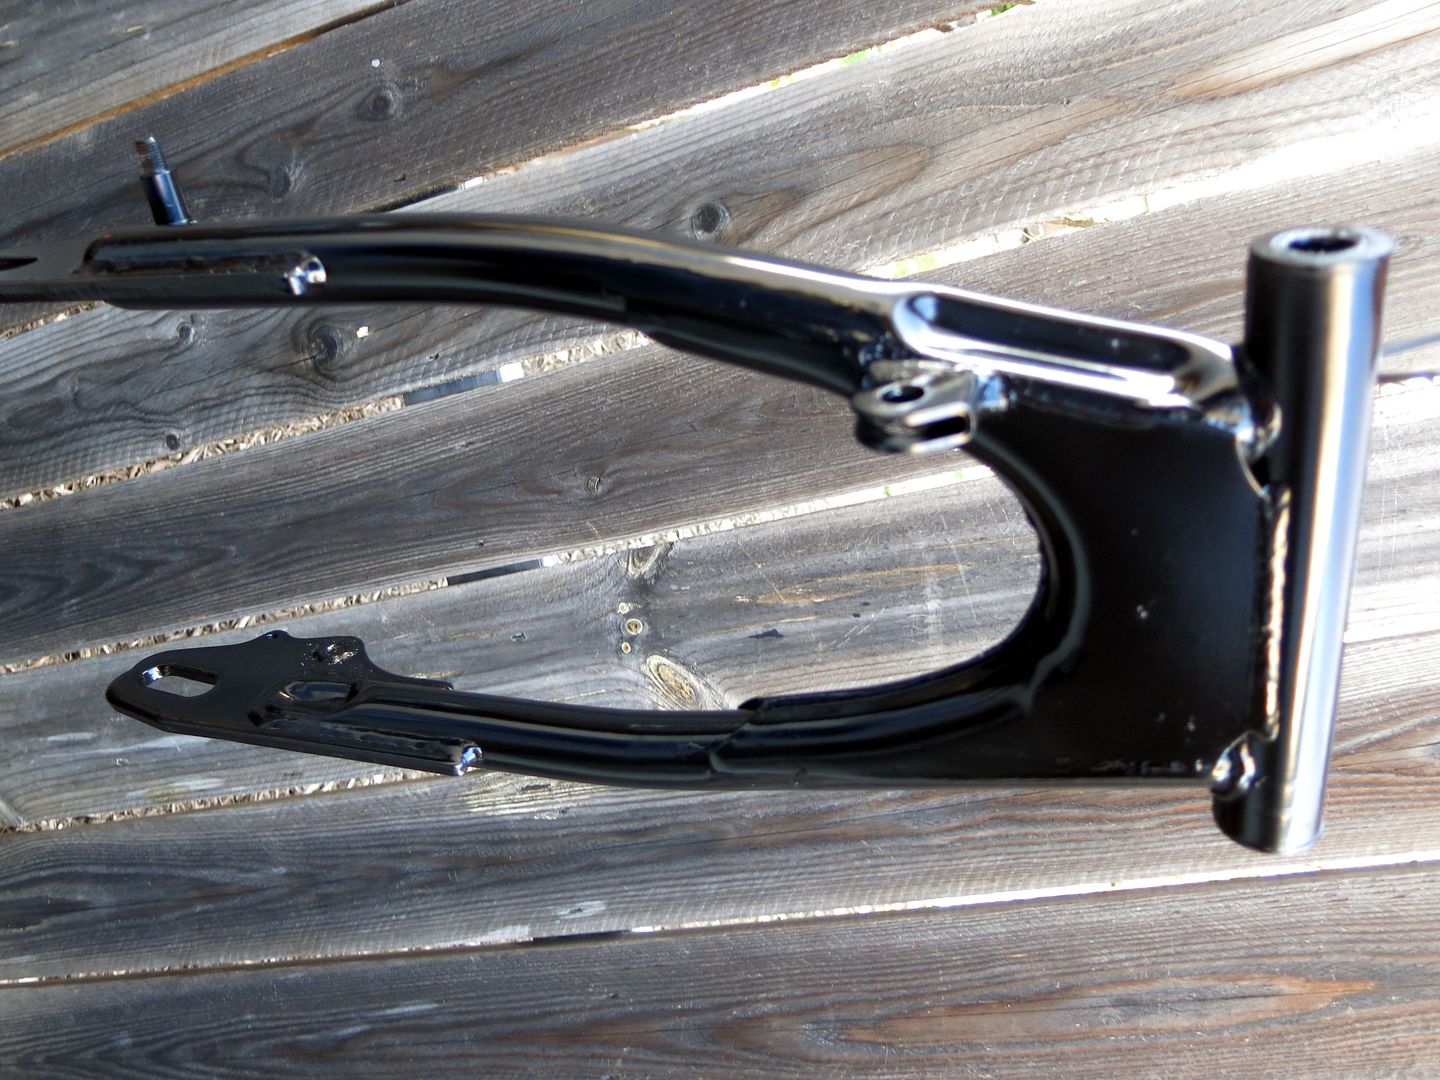
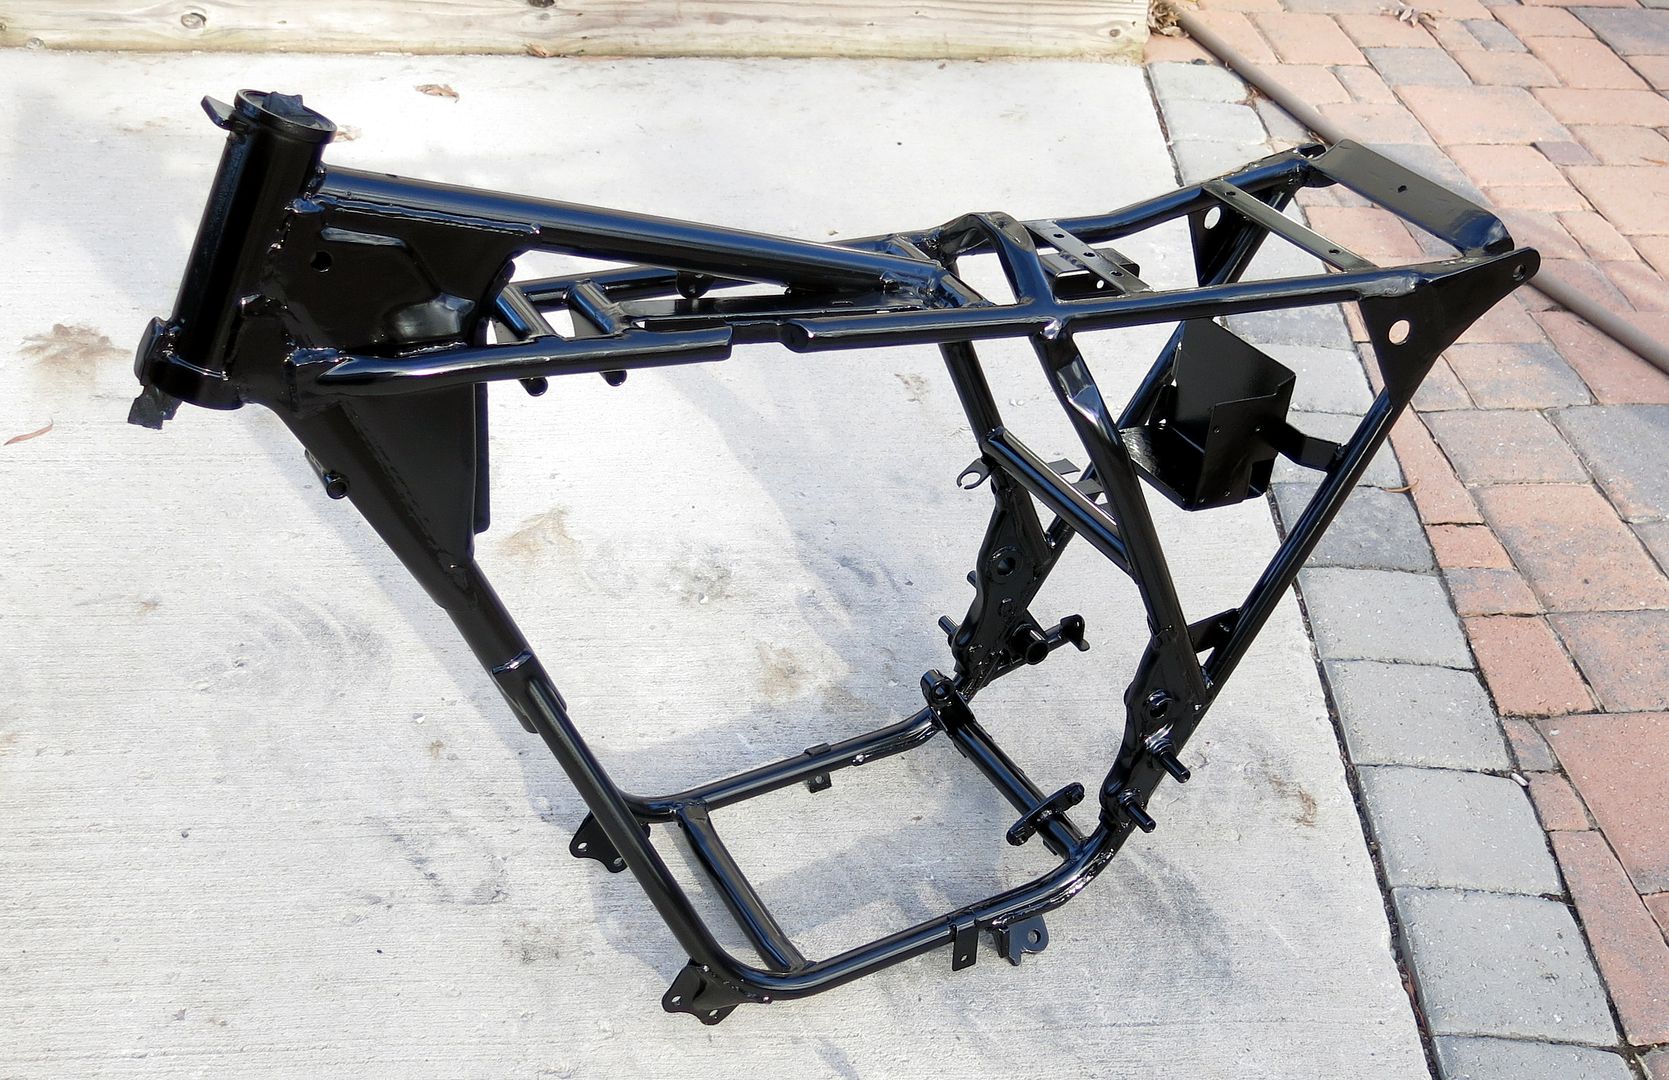
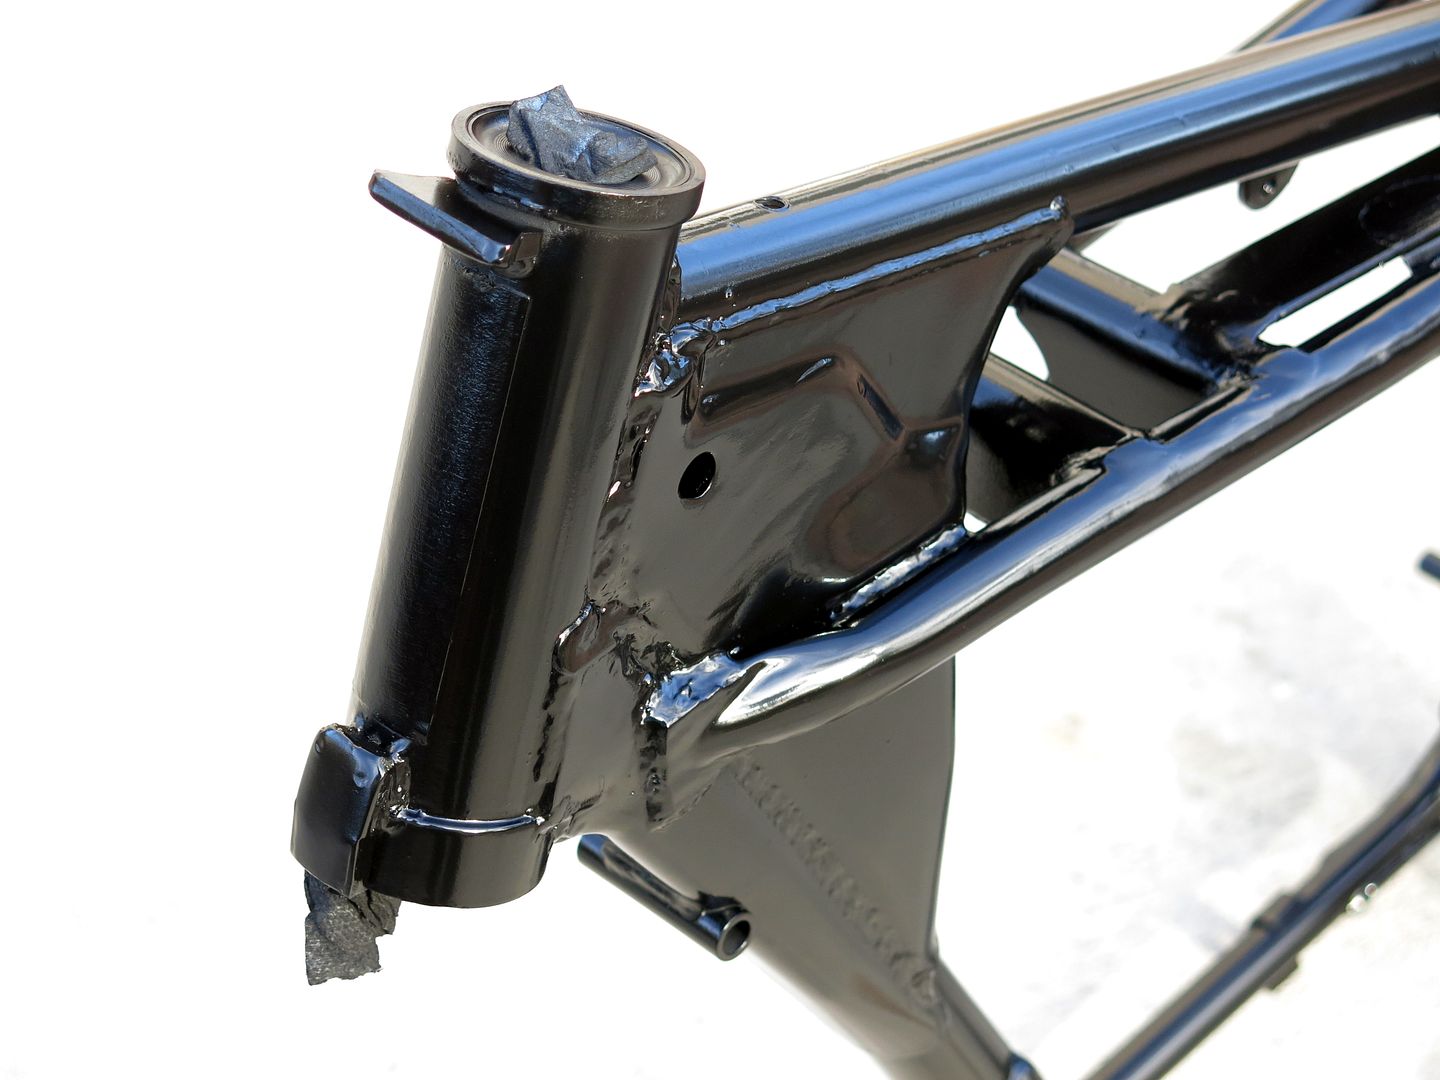
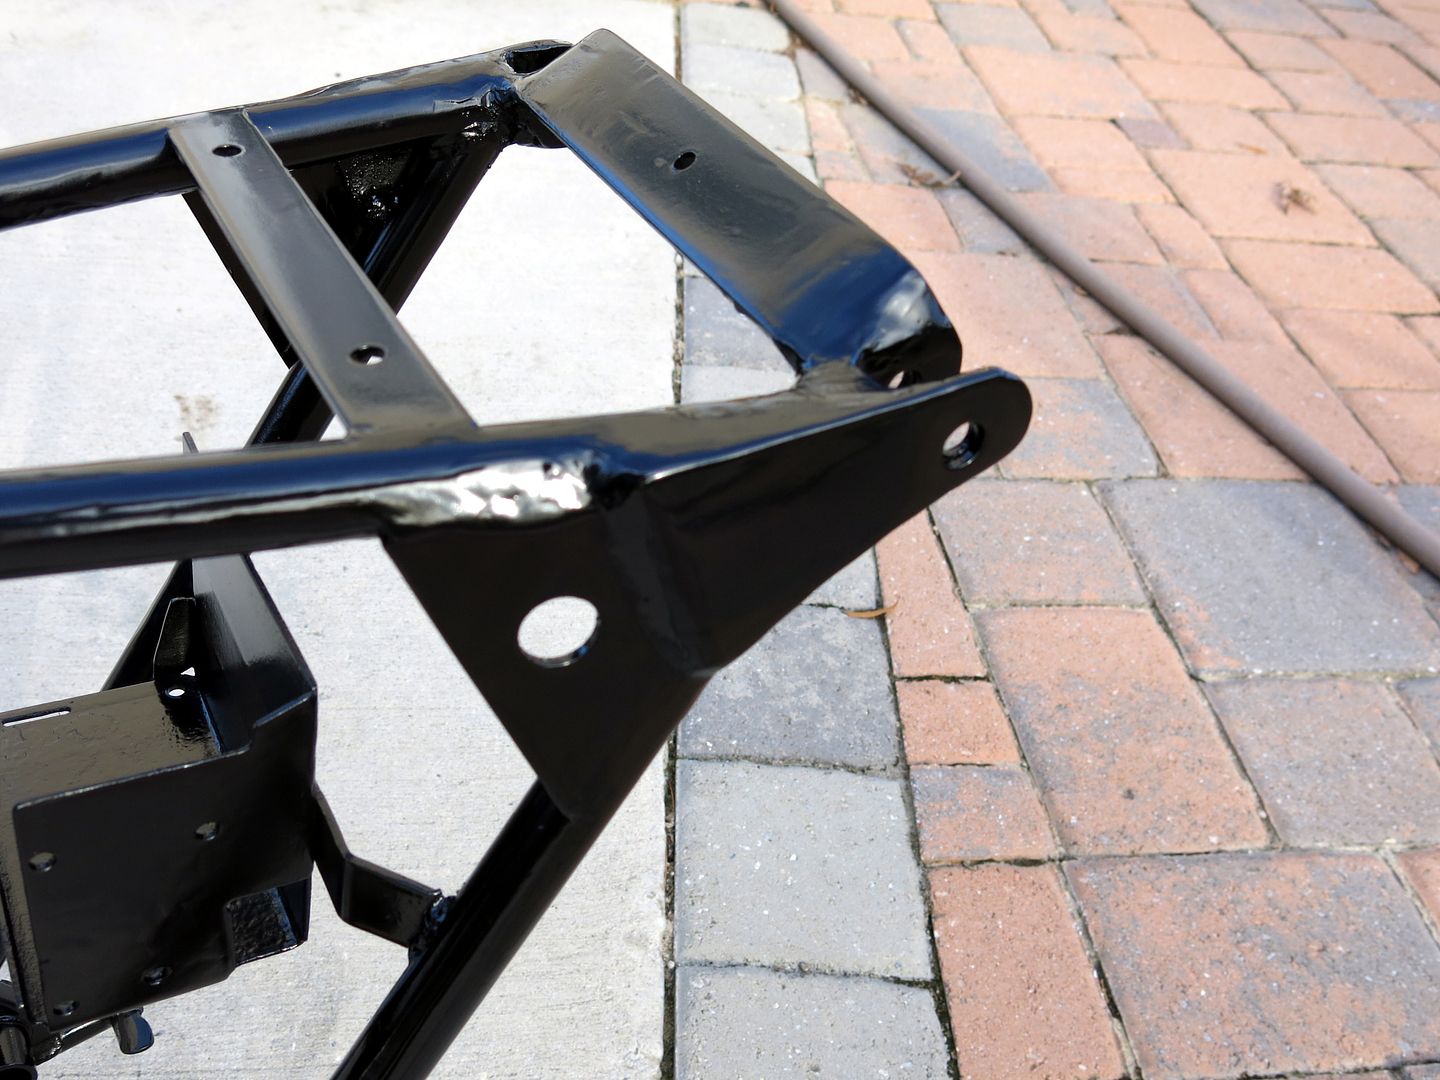
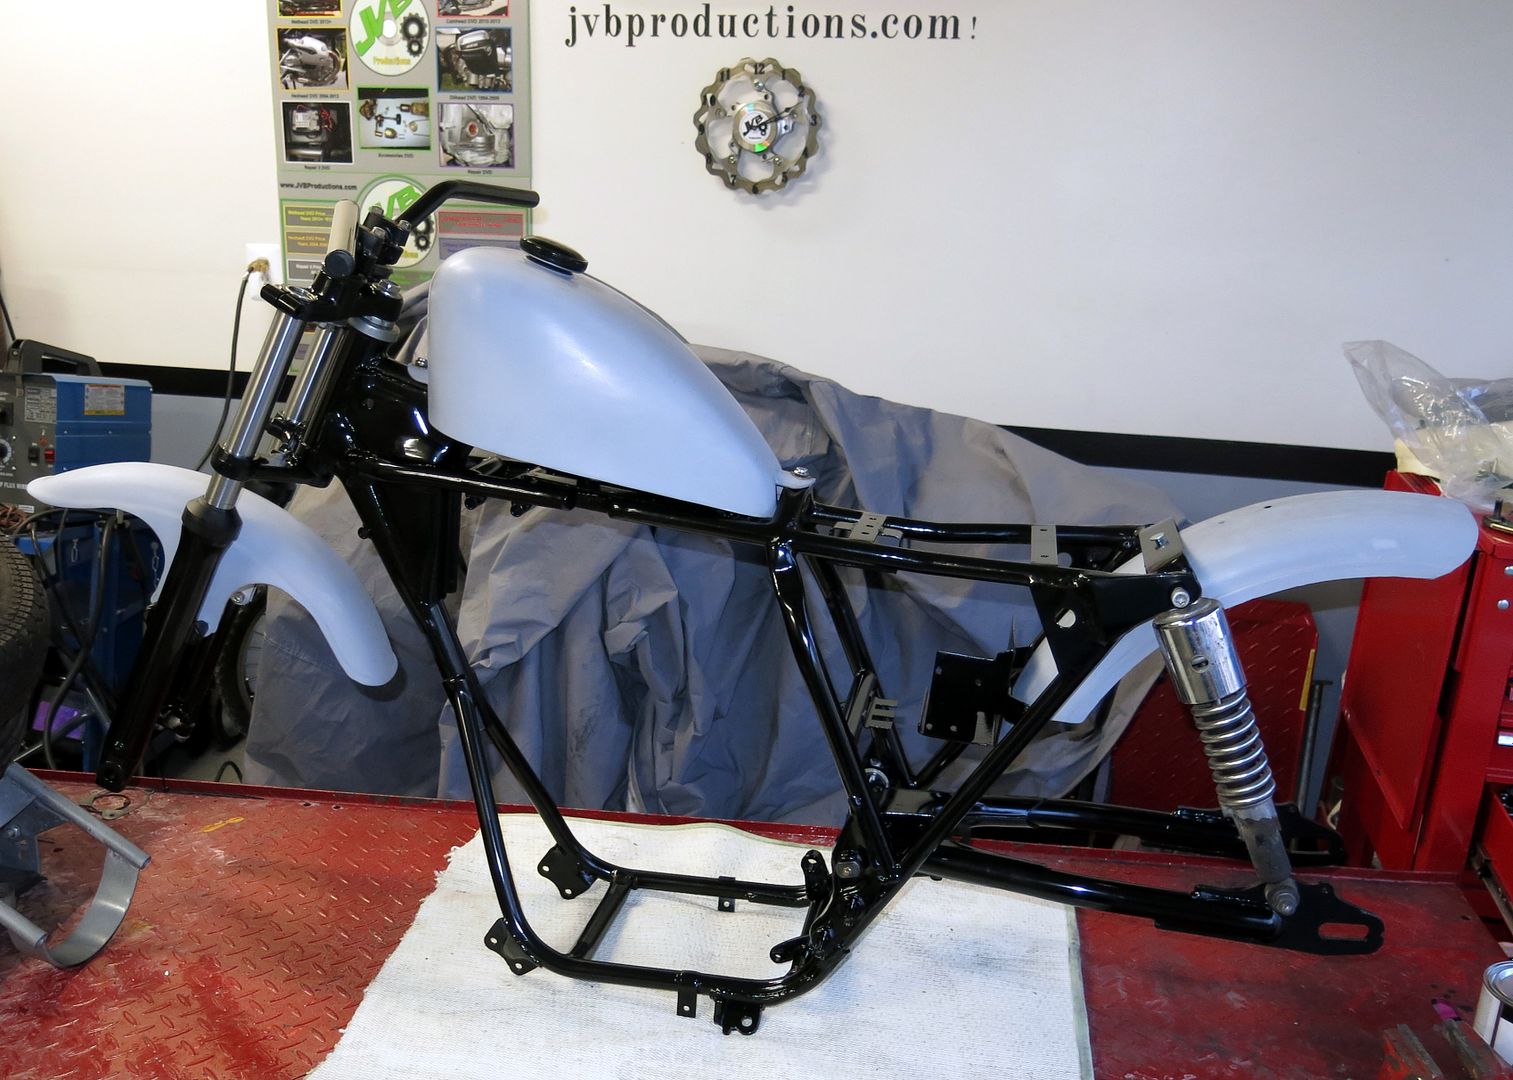
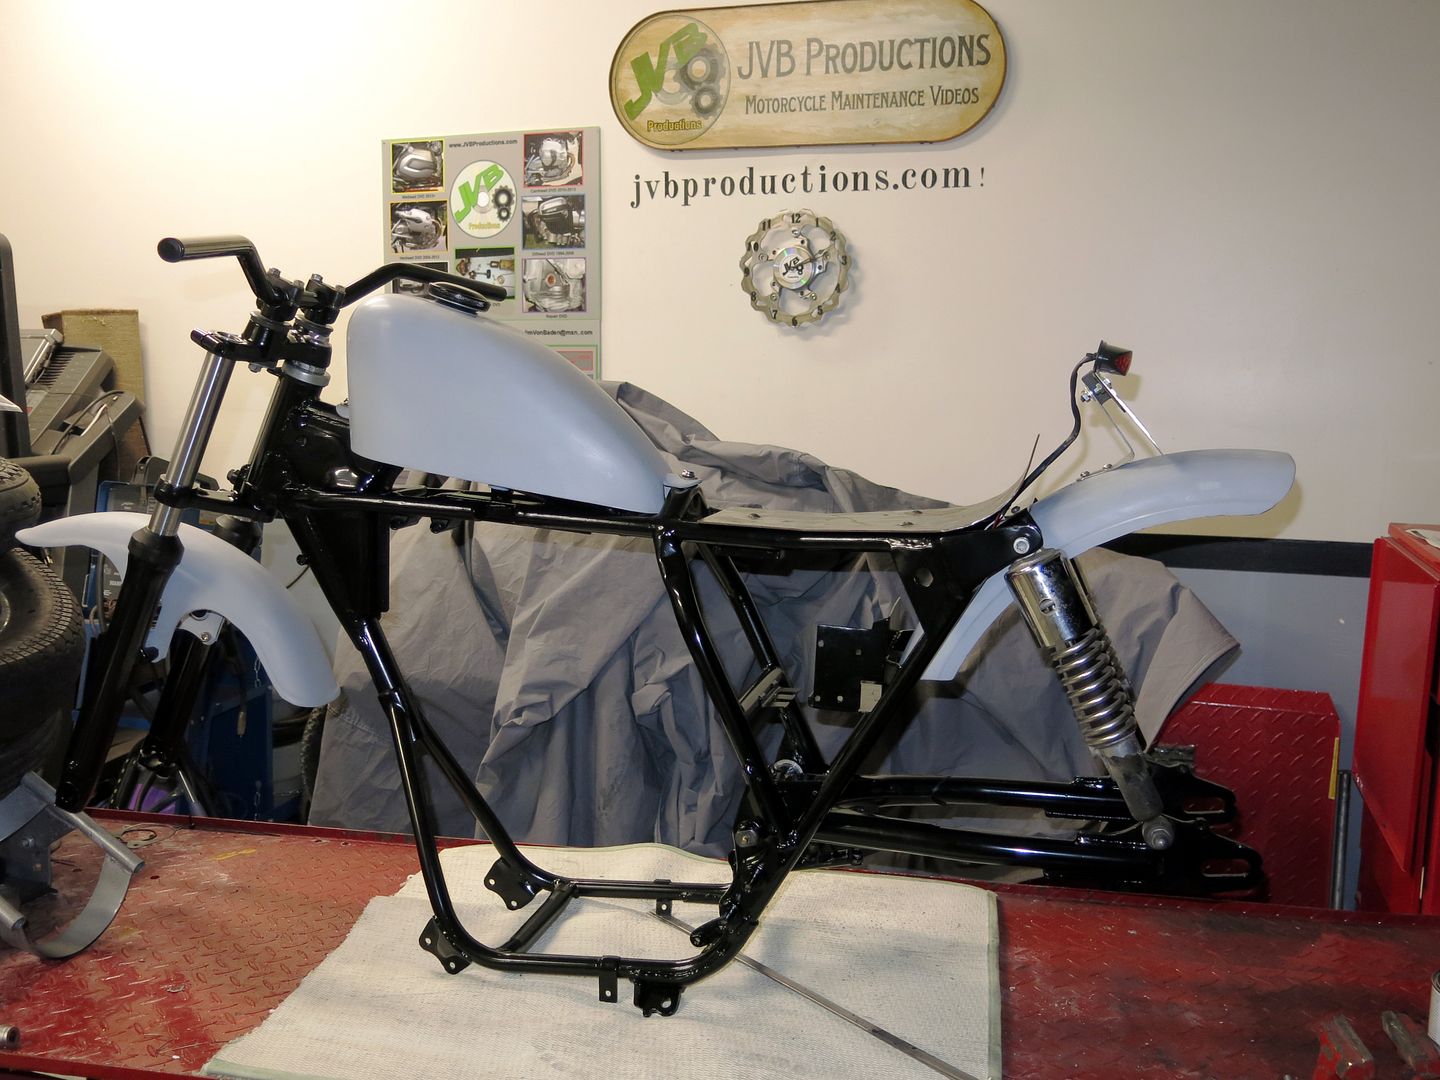
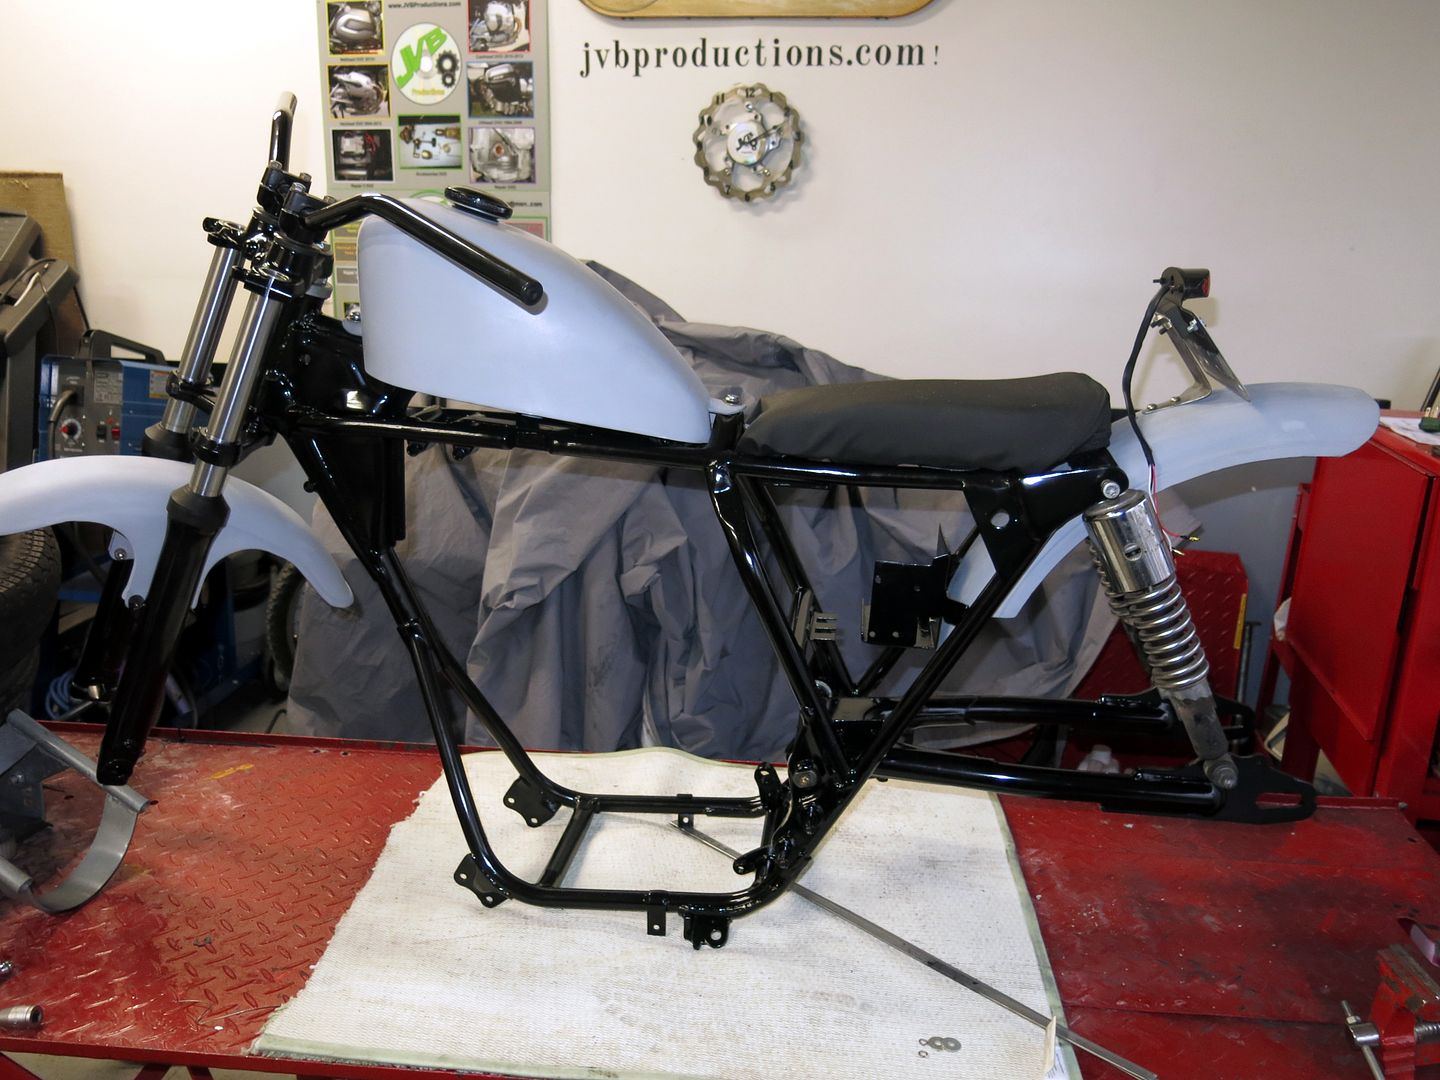
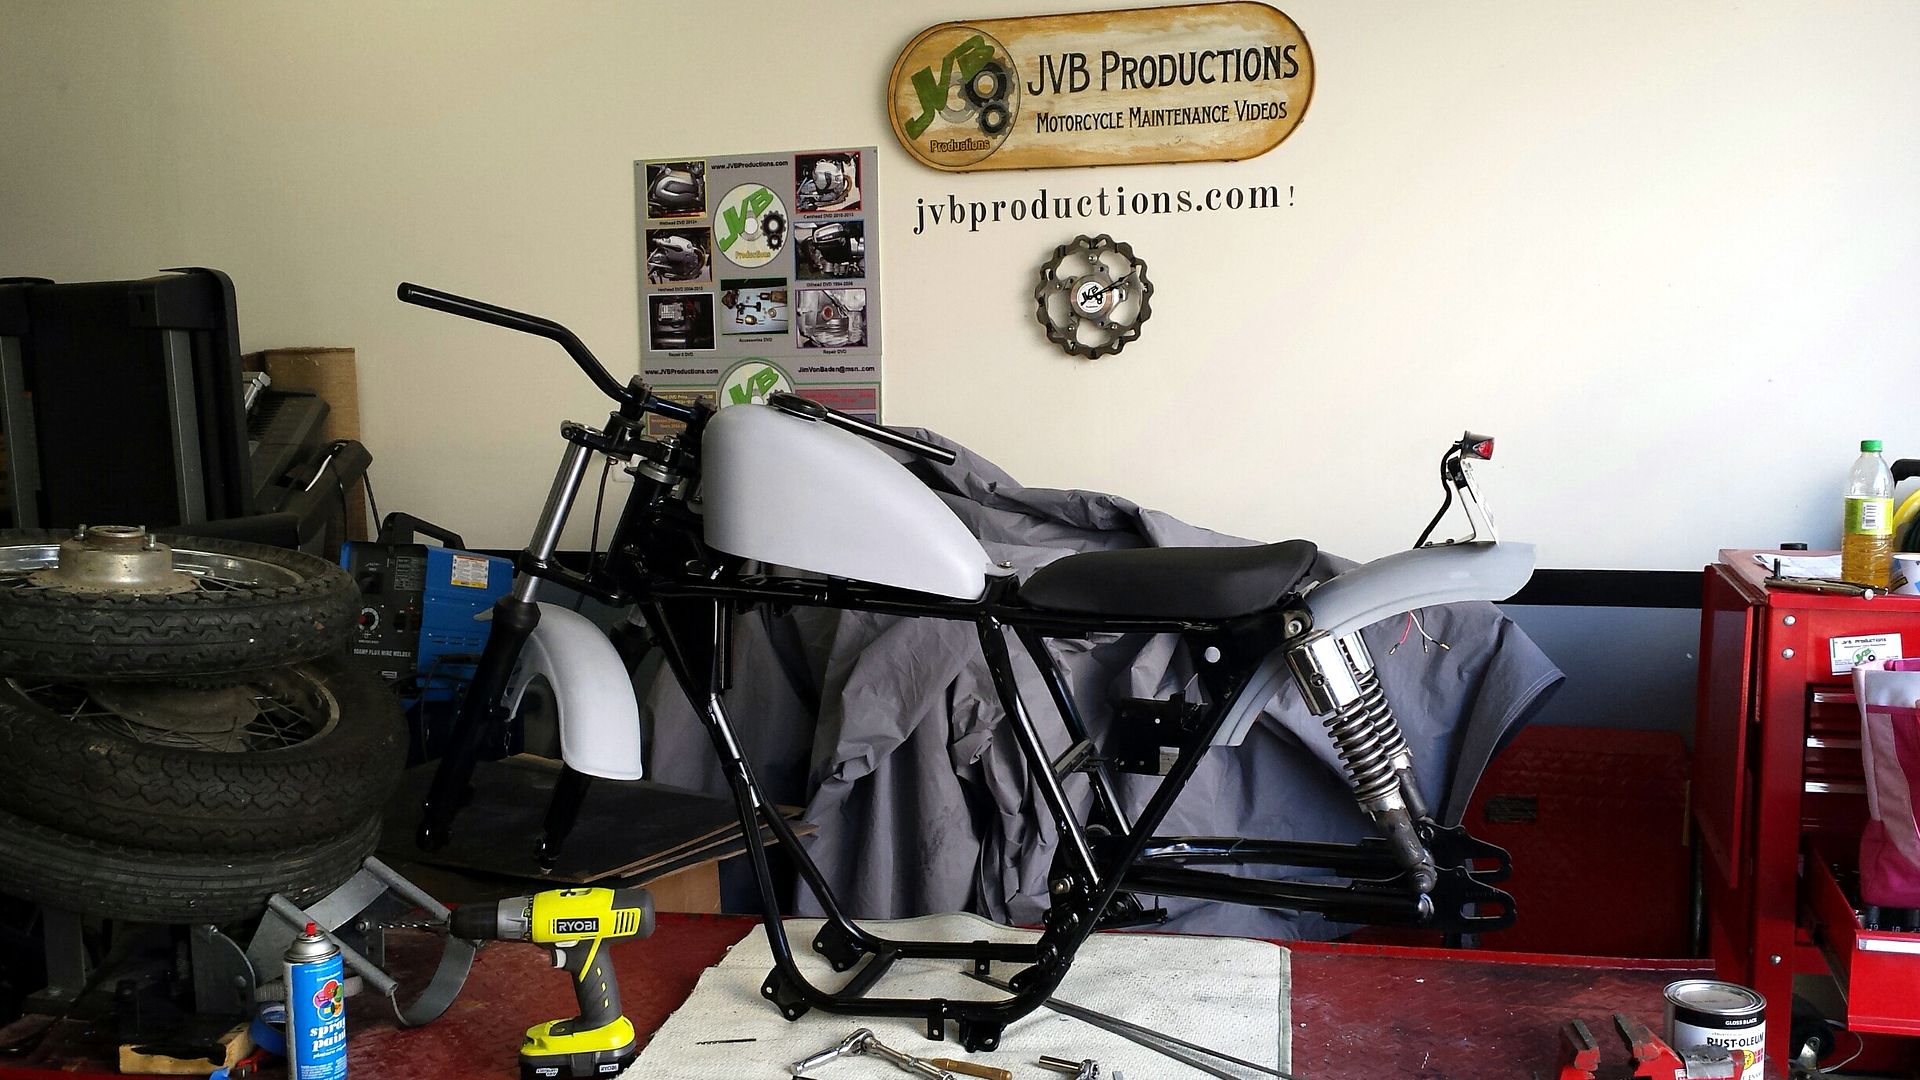
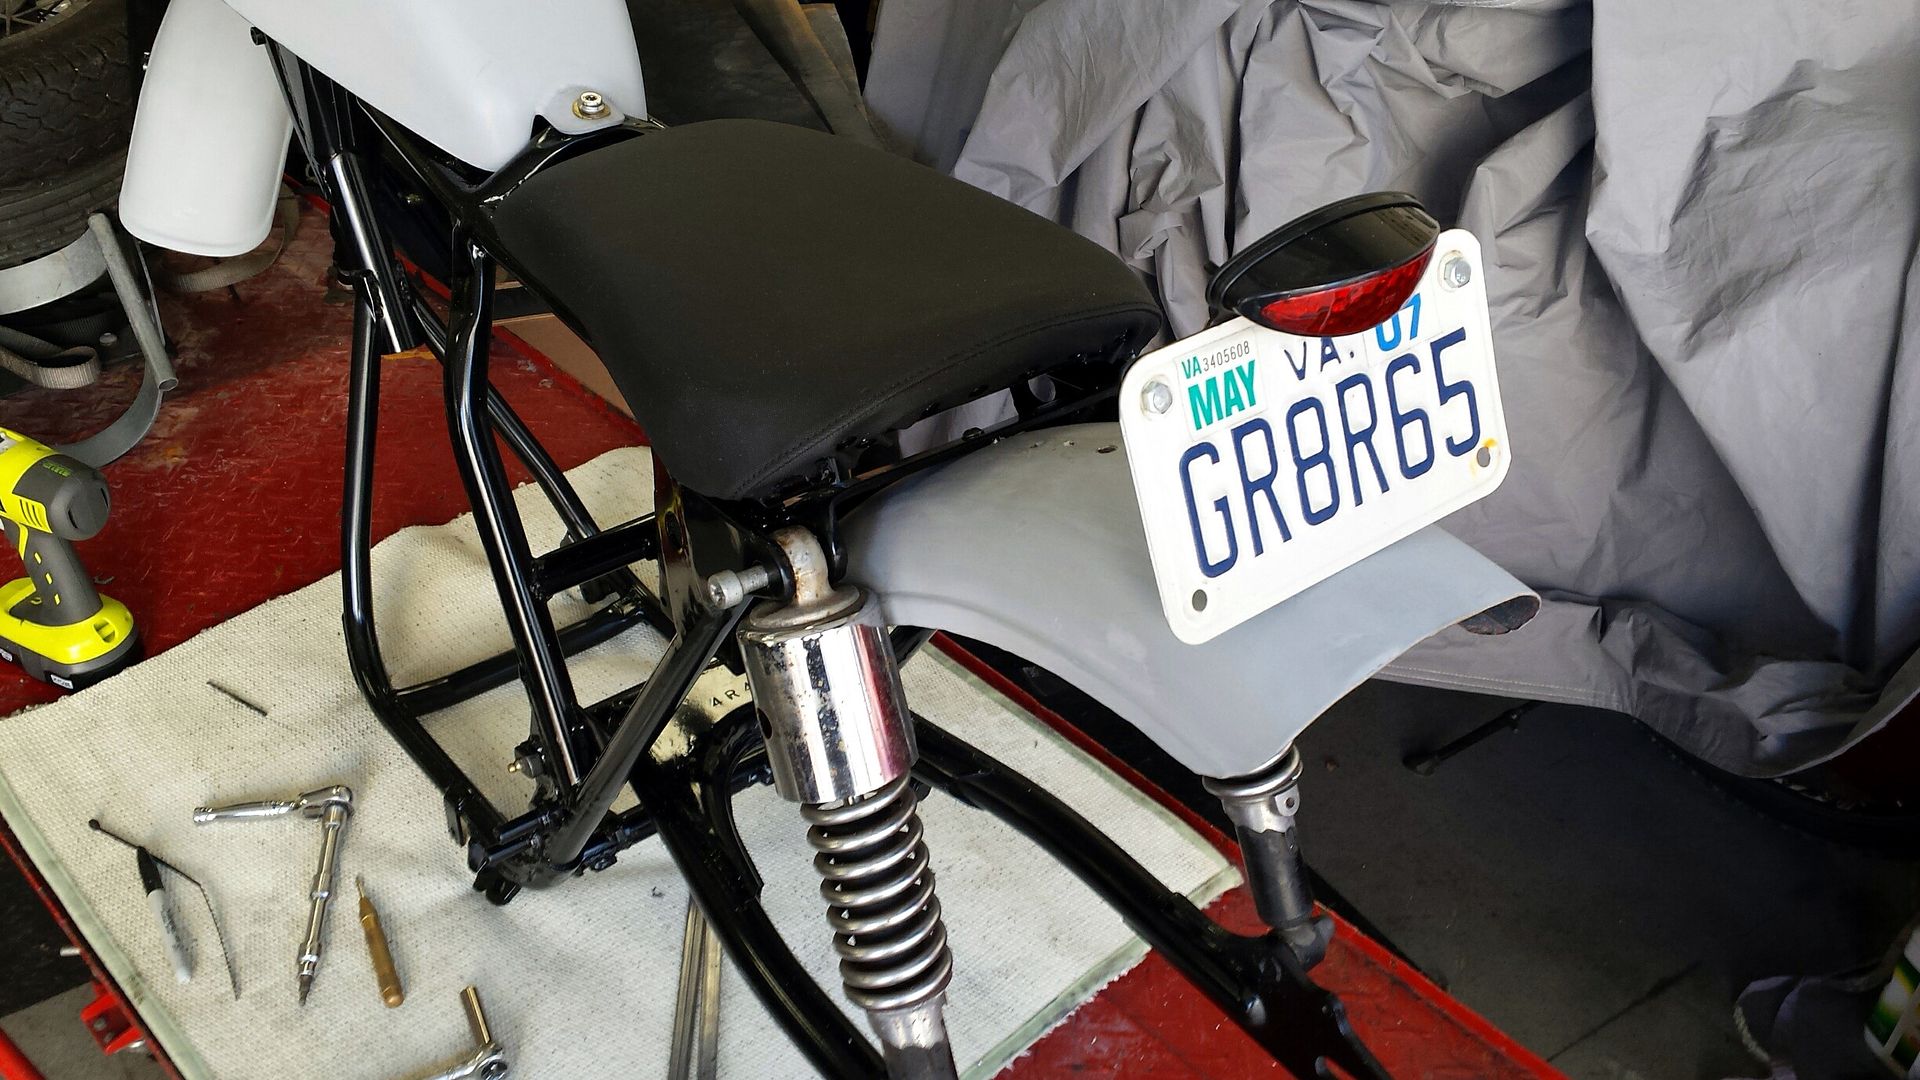
Sanded and reprimed all the frame, swingarm and tins. Doesn't look much different, but it took a long time.
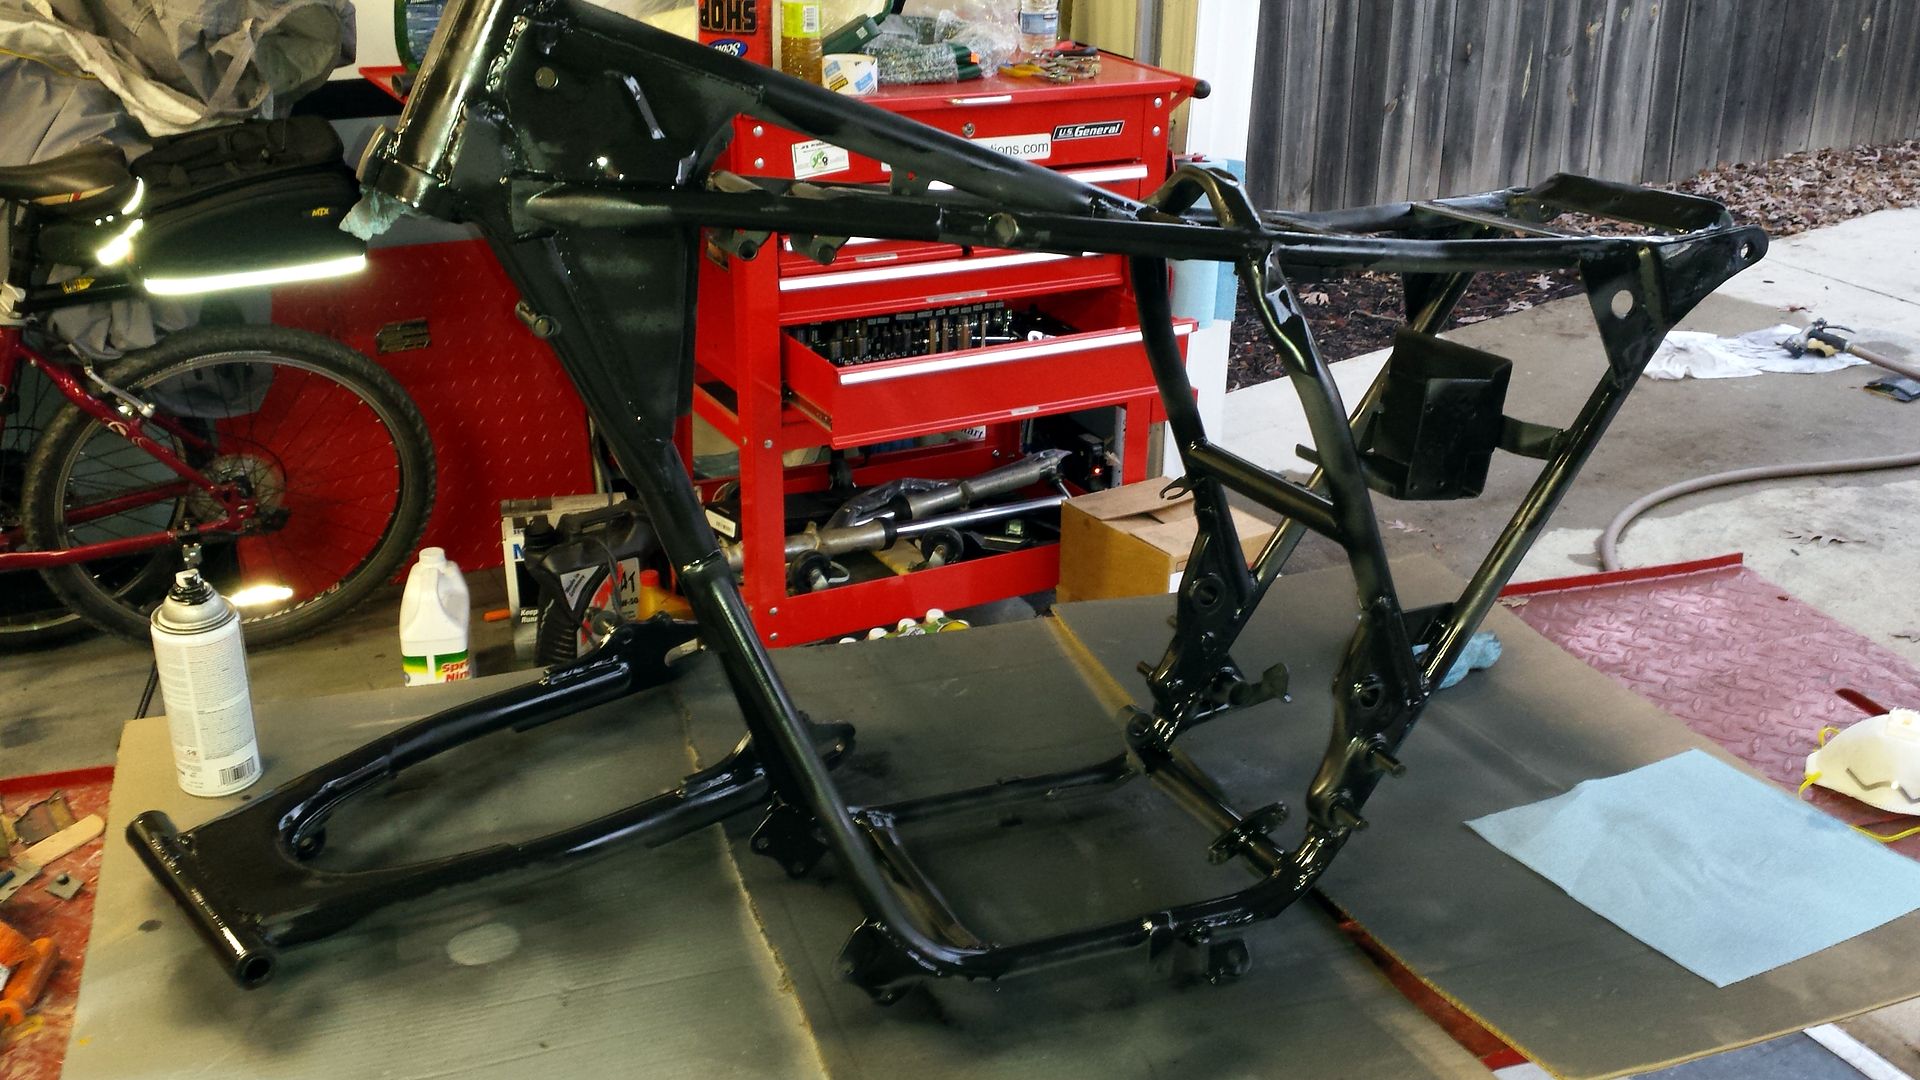
How come you didn't powder coat?


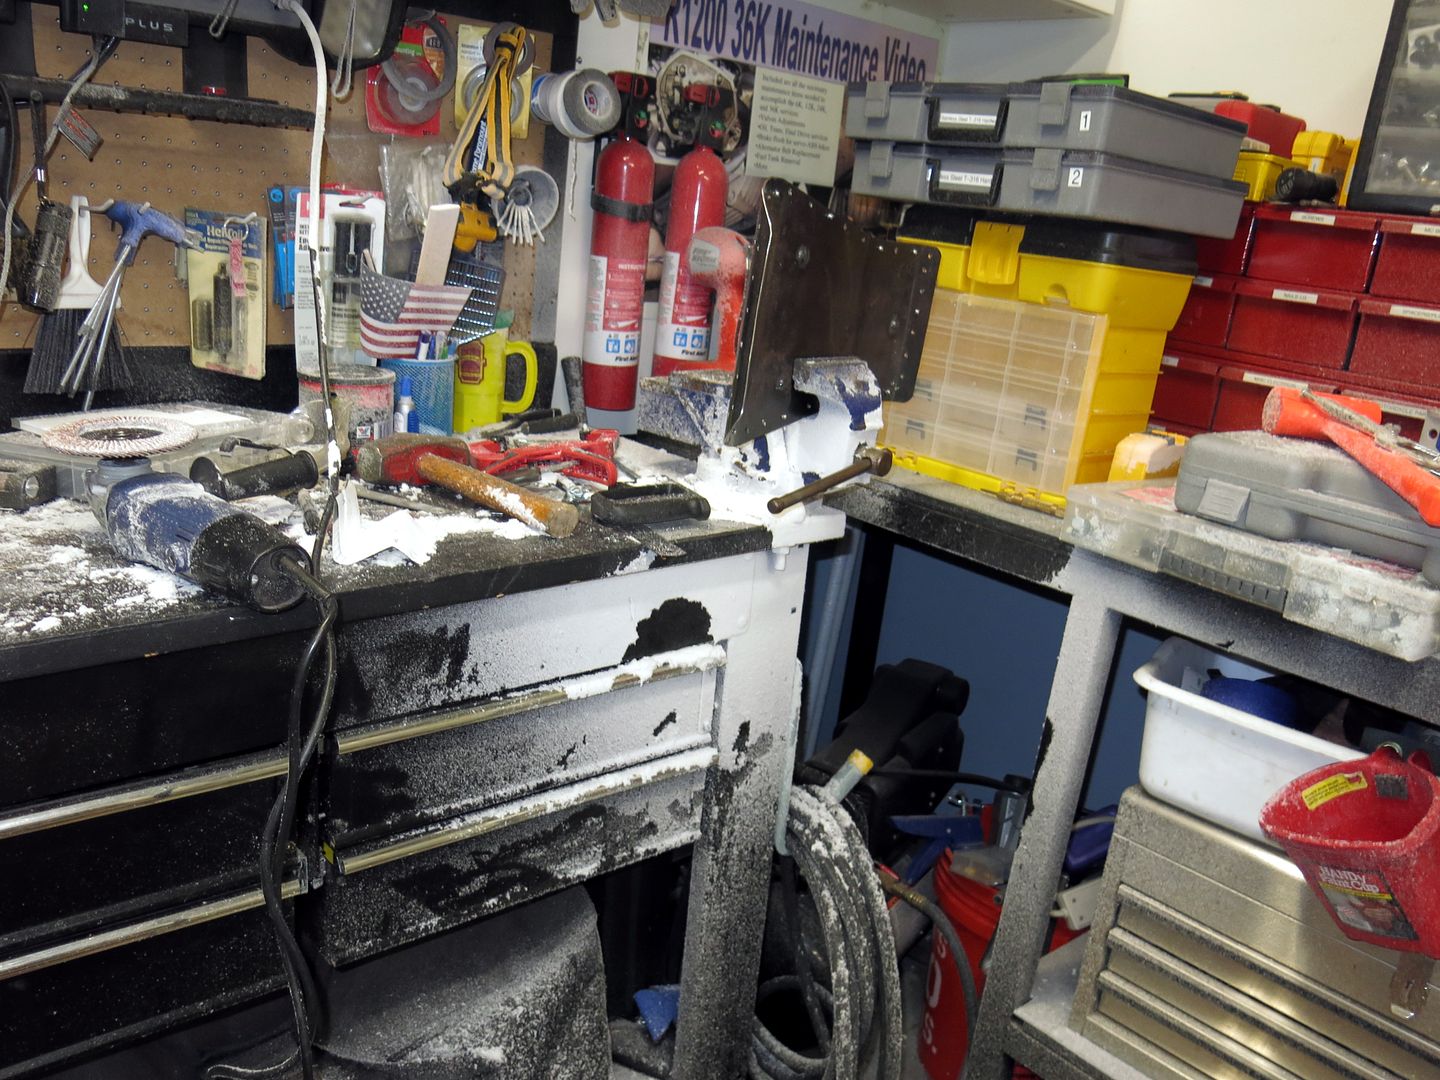
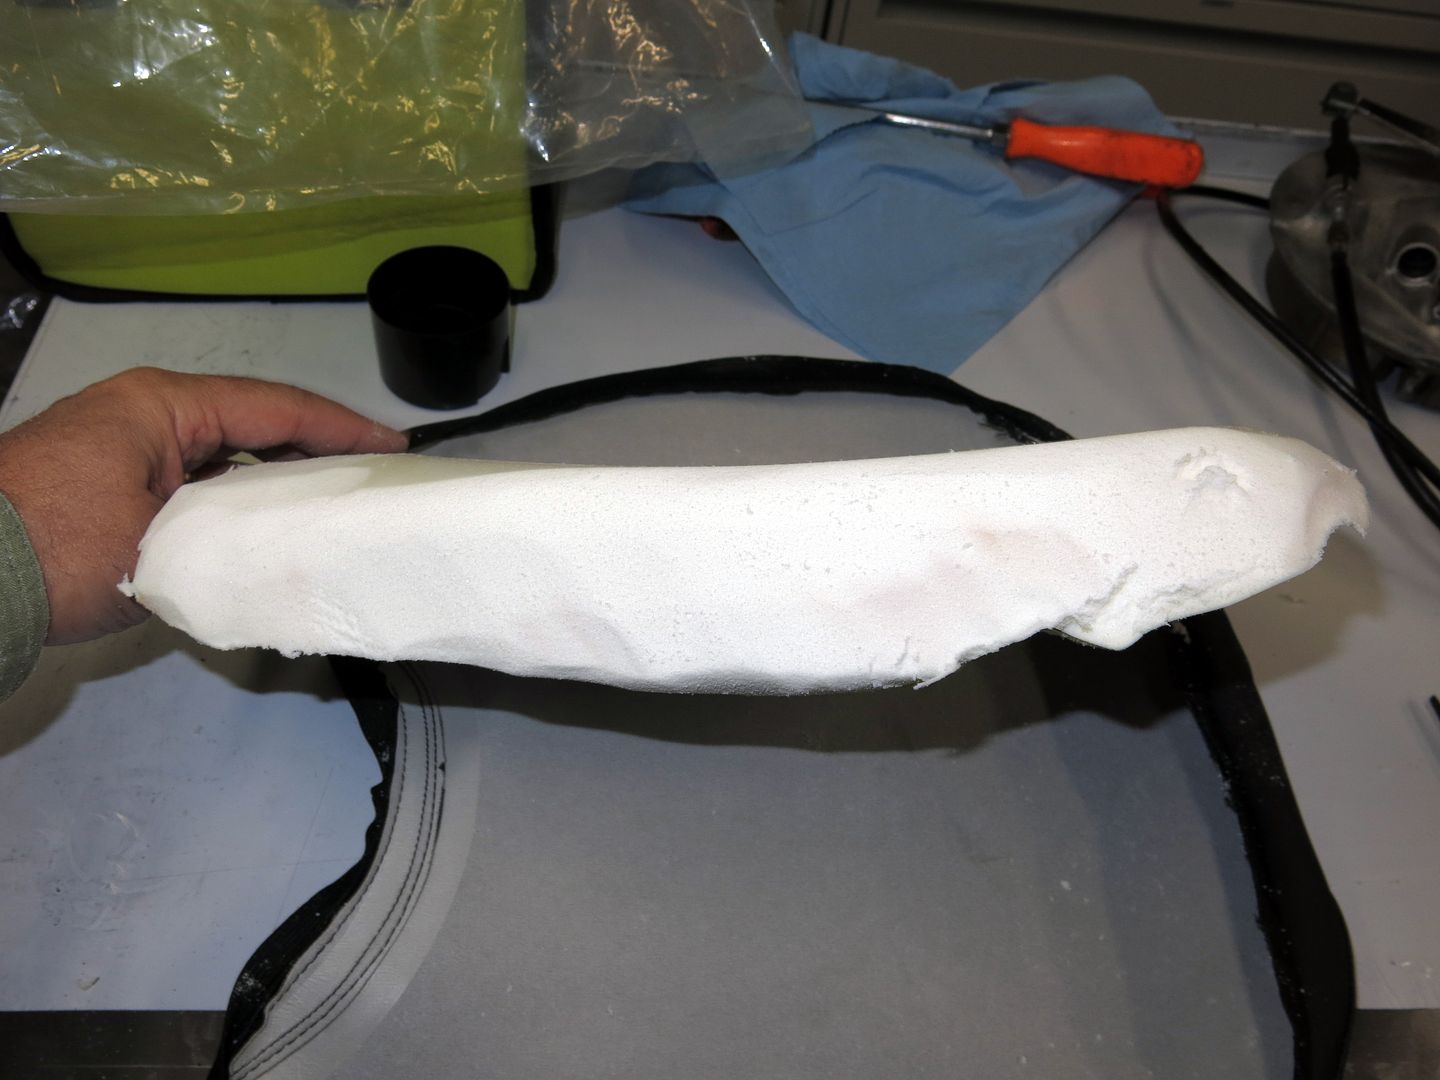
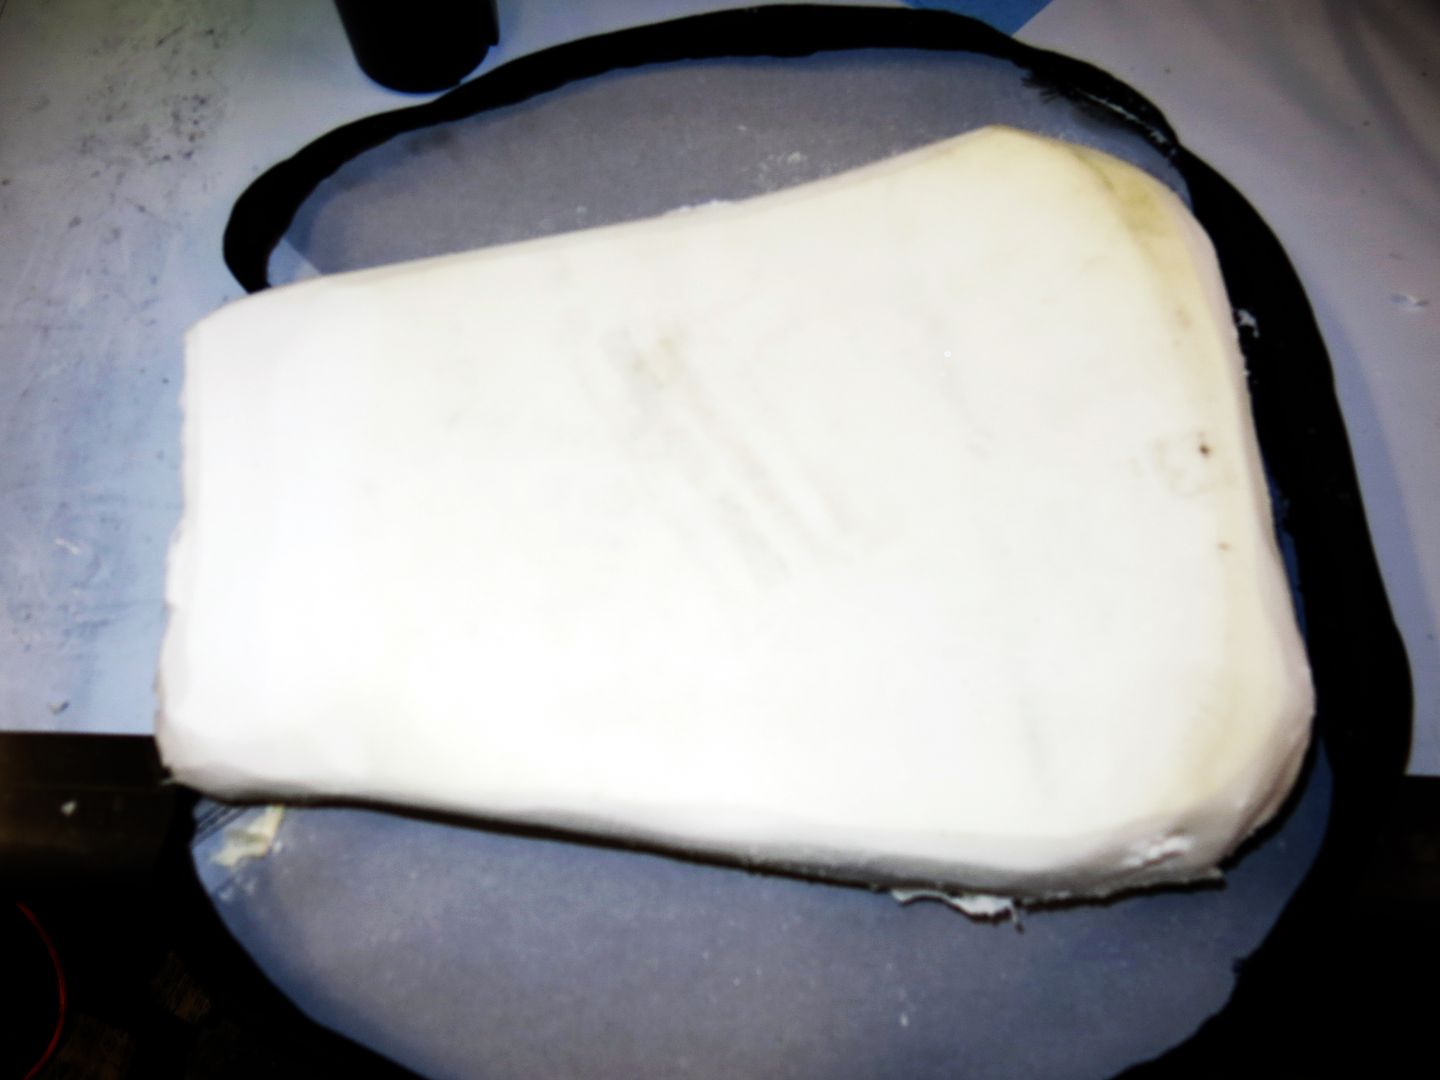
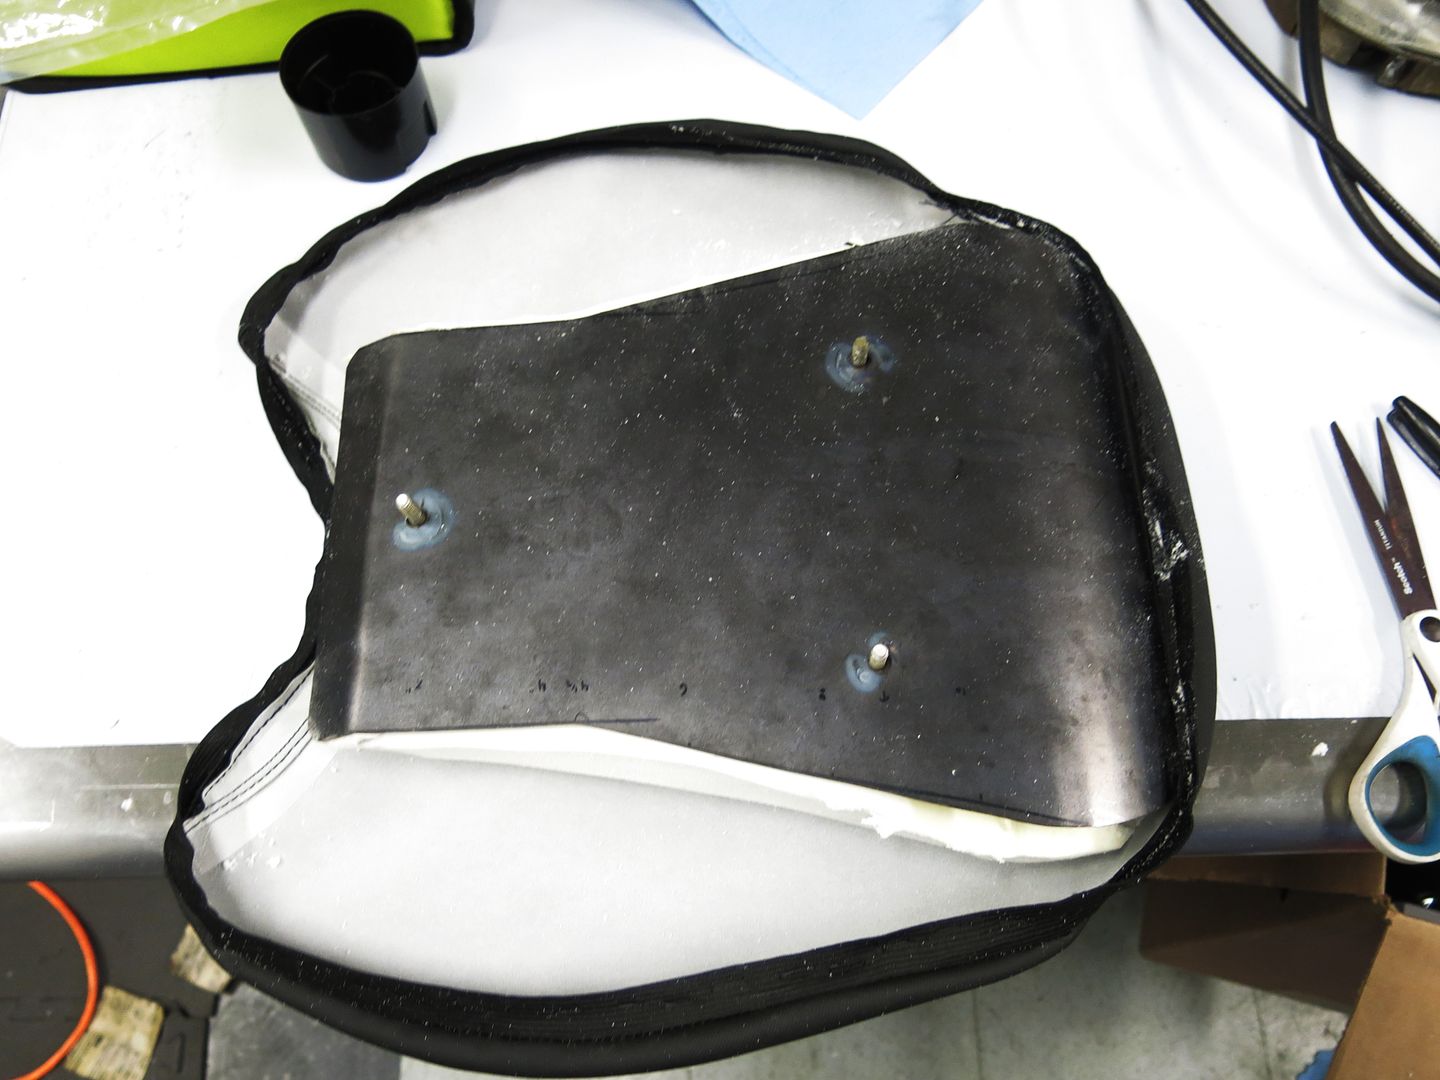
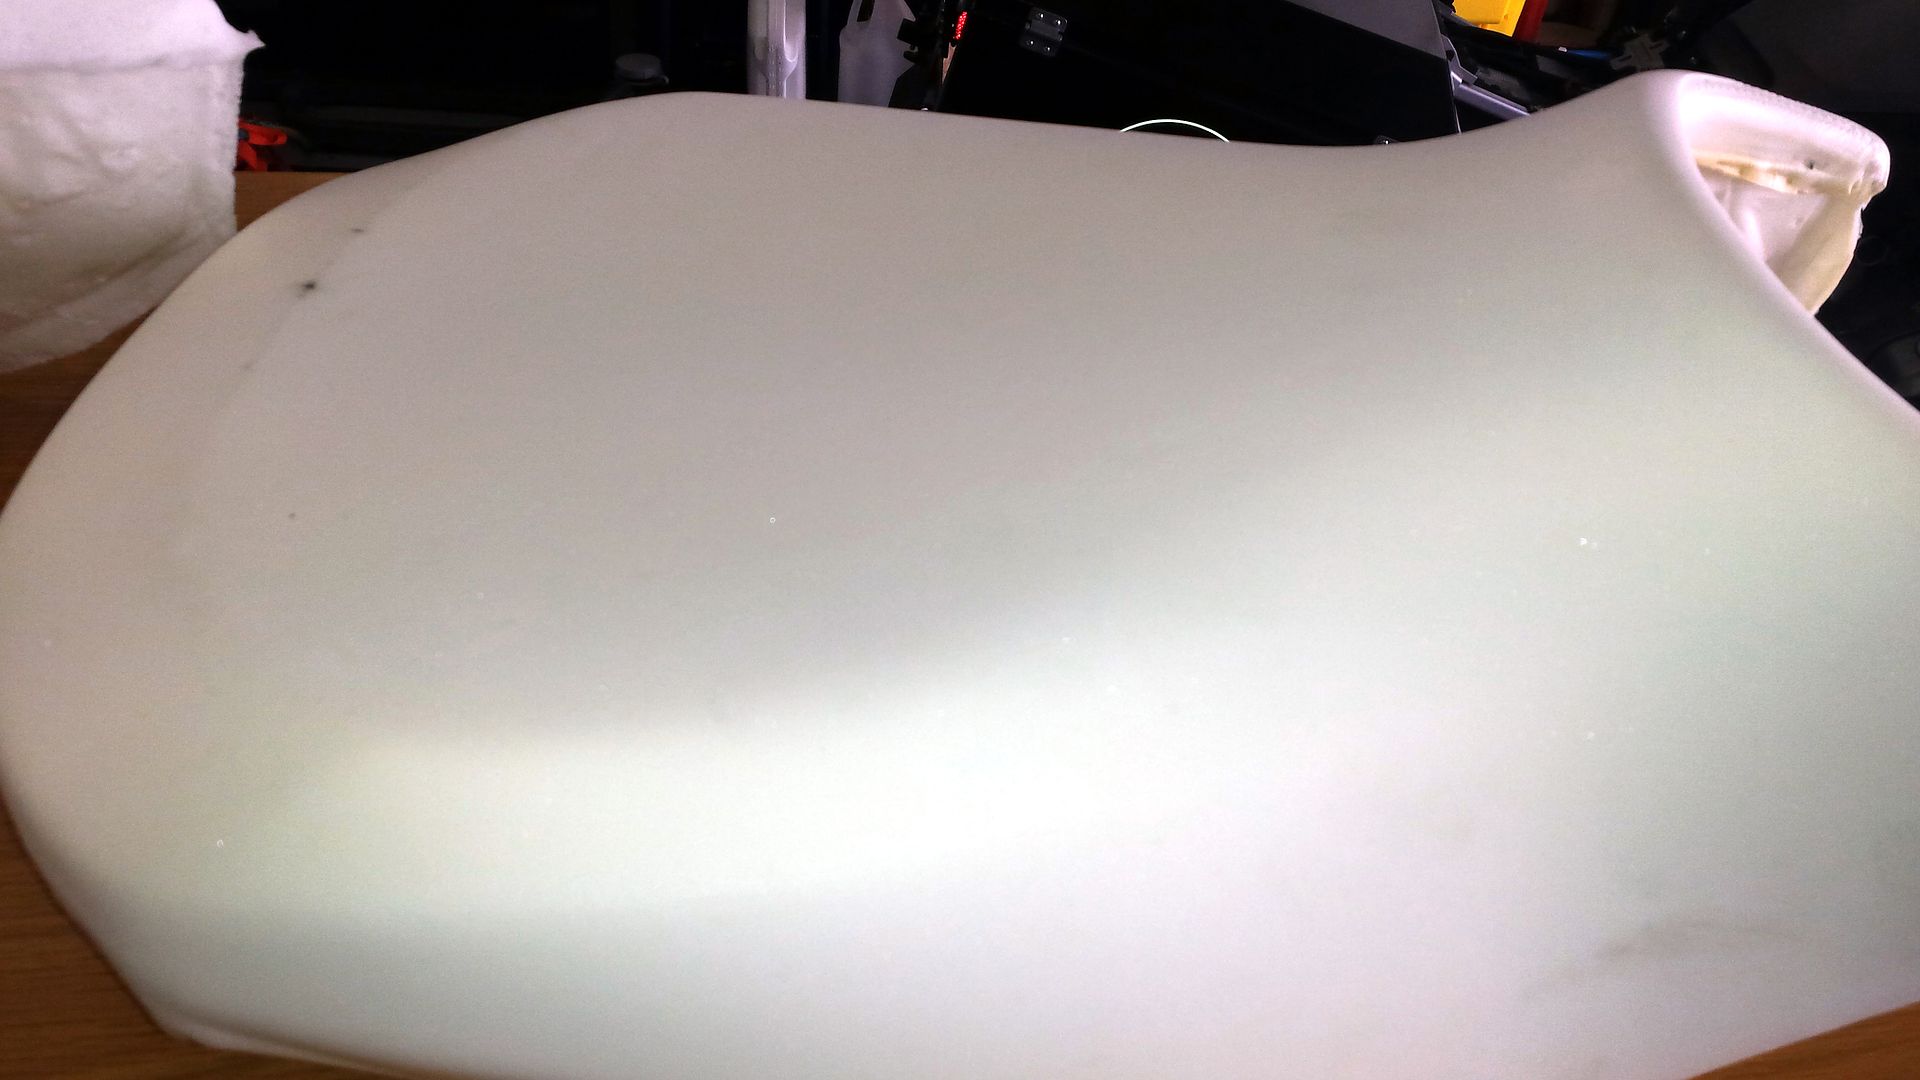

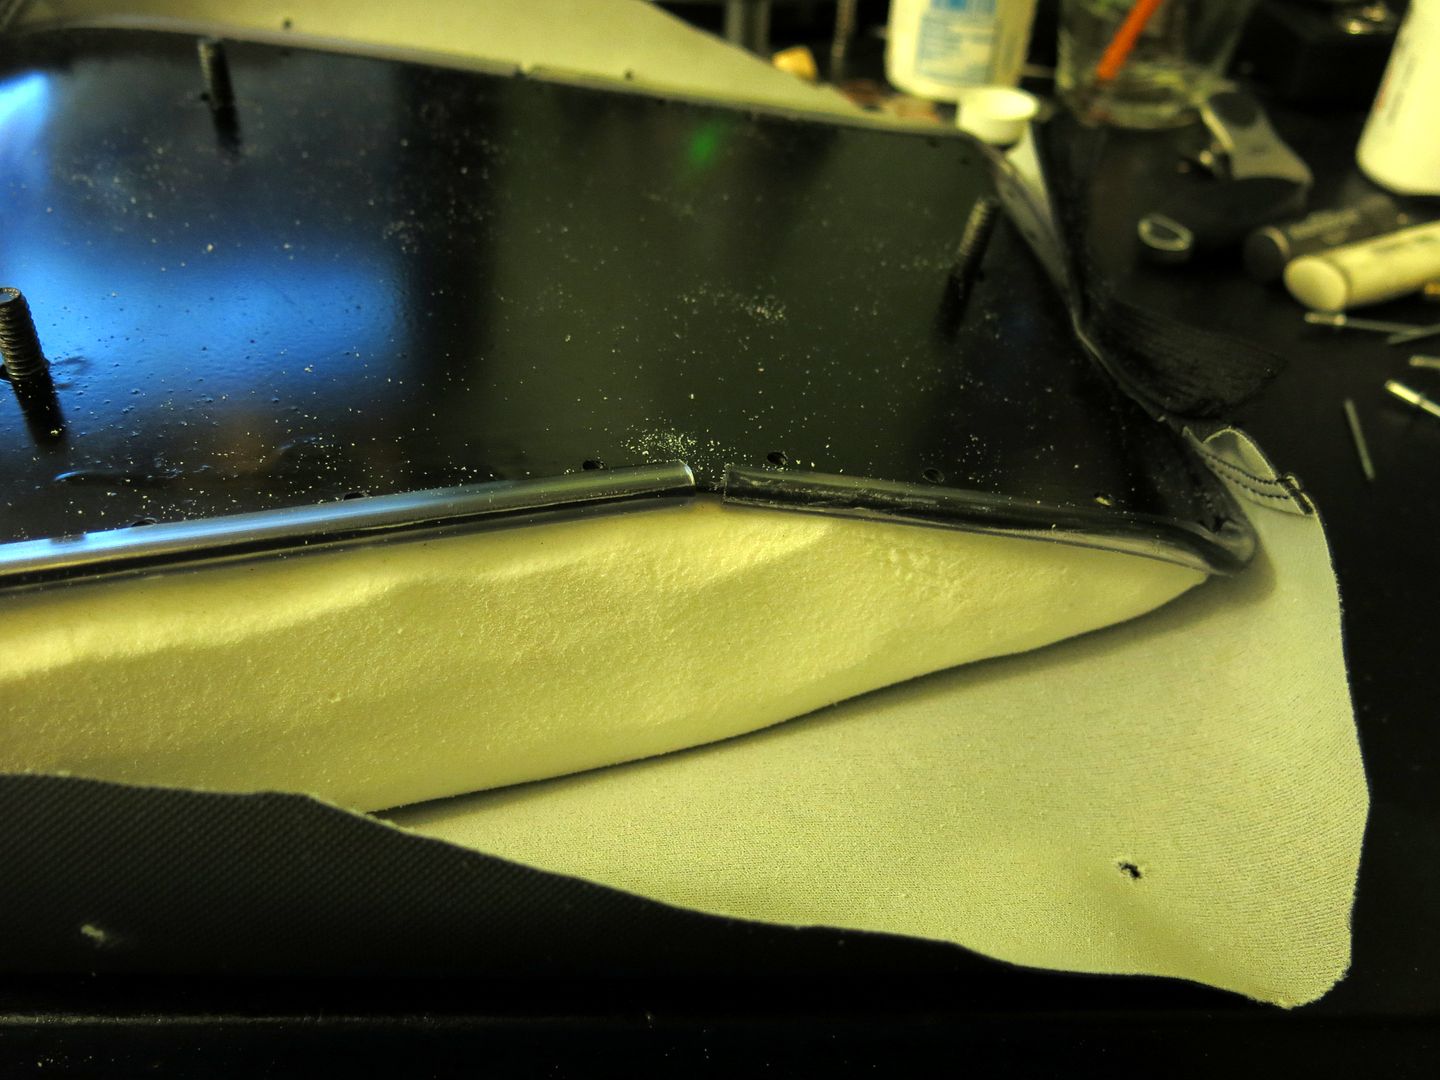
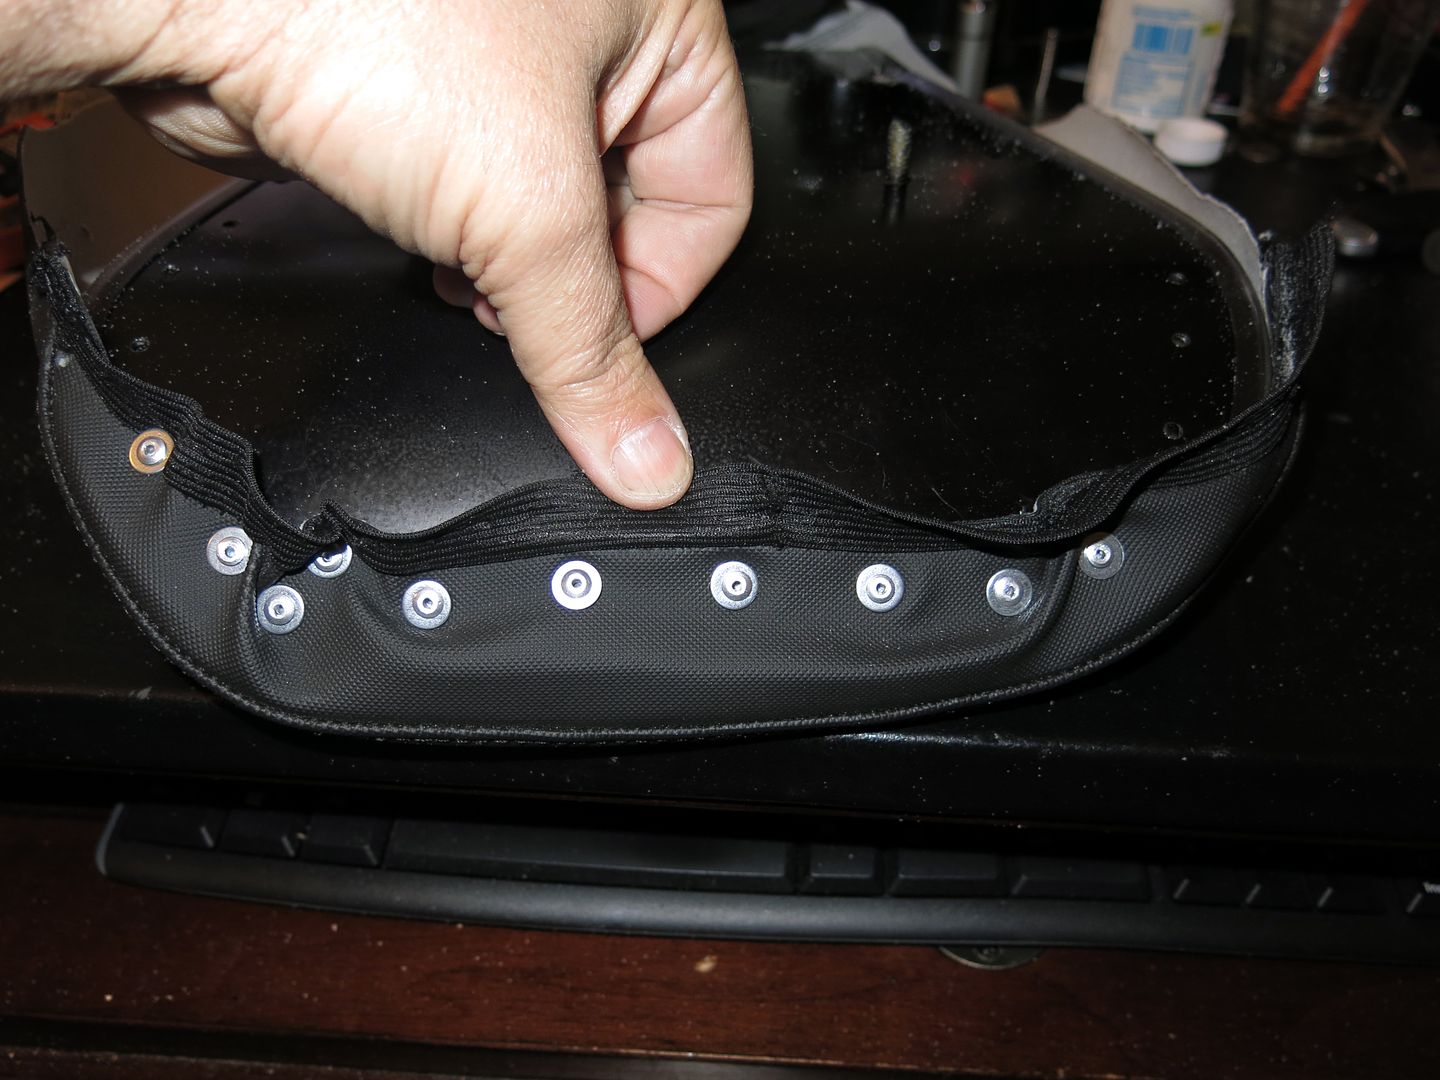
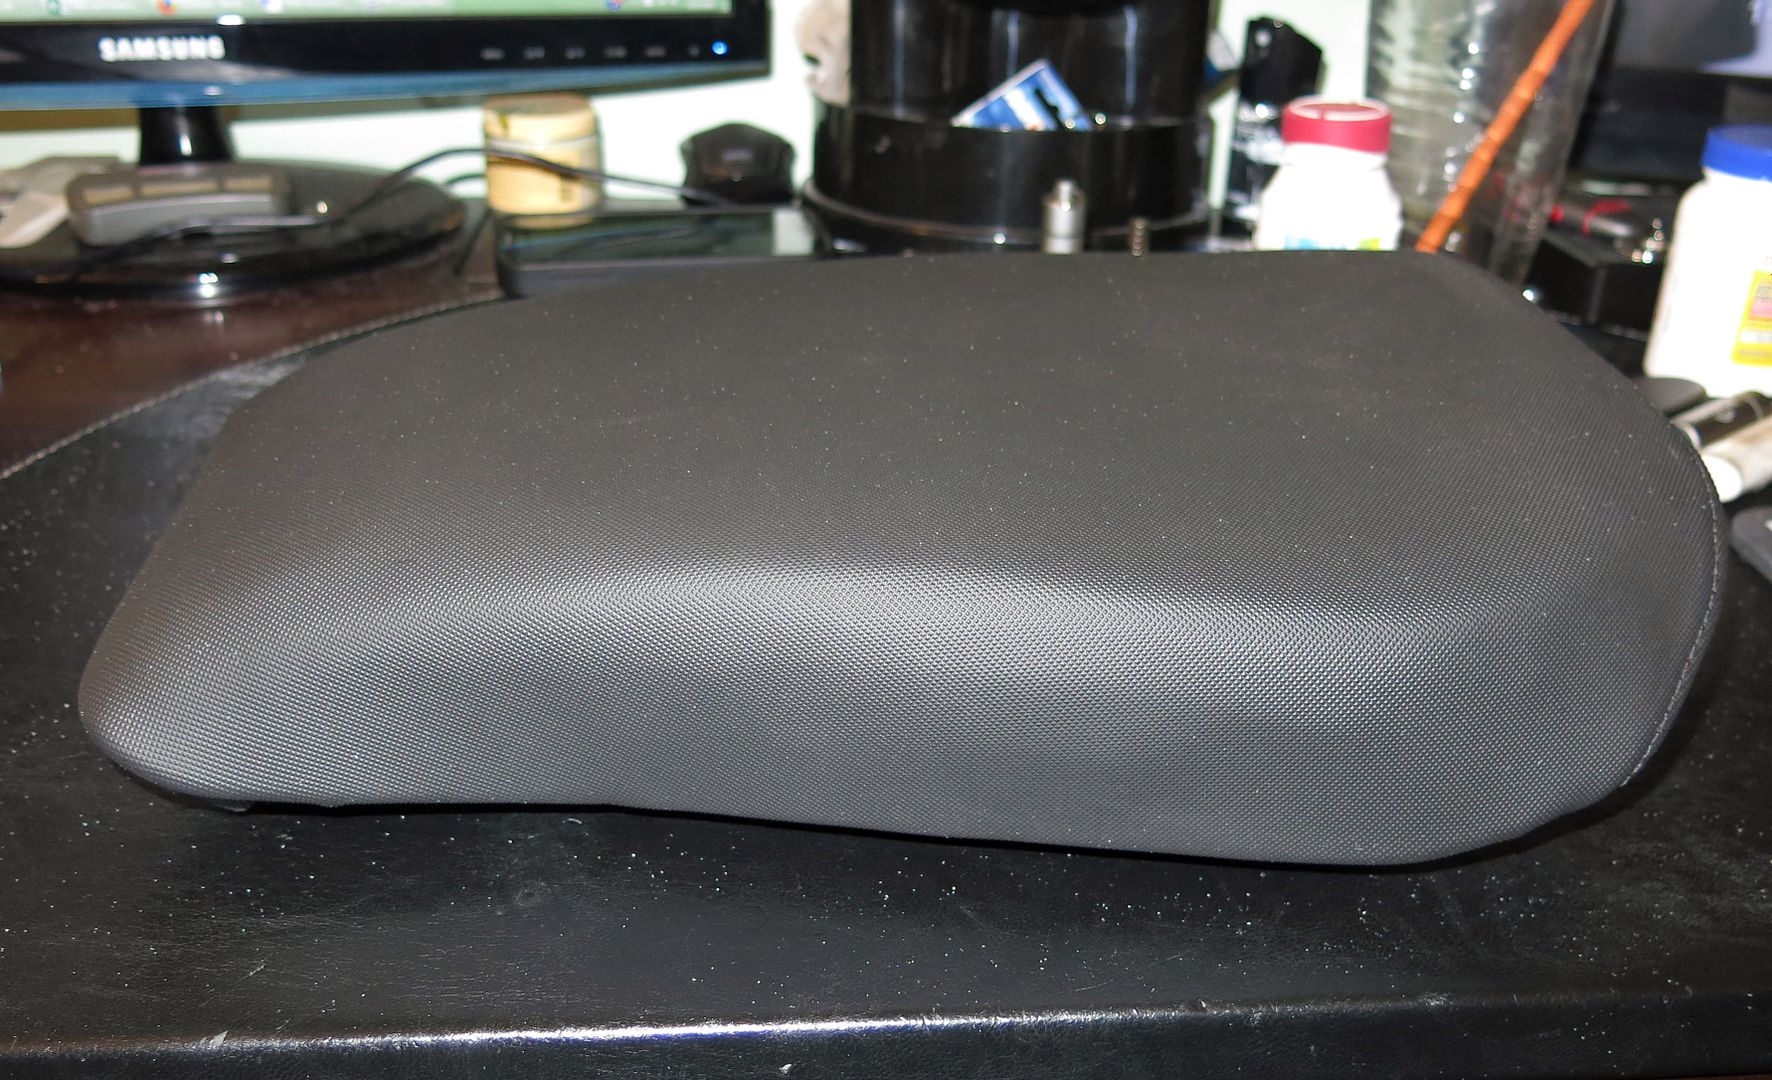
Next time you mess with foam, make yourself a hotknife or buy one. Once you use one you'll never go back! No mess at all to clean up and much quicker.
I like using the flapwheel also but I set up a cardboard box on its side with a shopvac sucking through a hole in the bottom and try to work the foam spray into it. I'm sick of cleaning up static charged foam dust!

Nice work looks great!
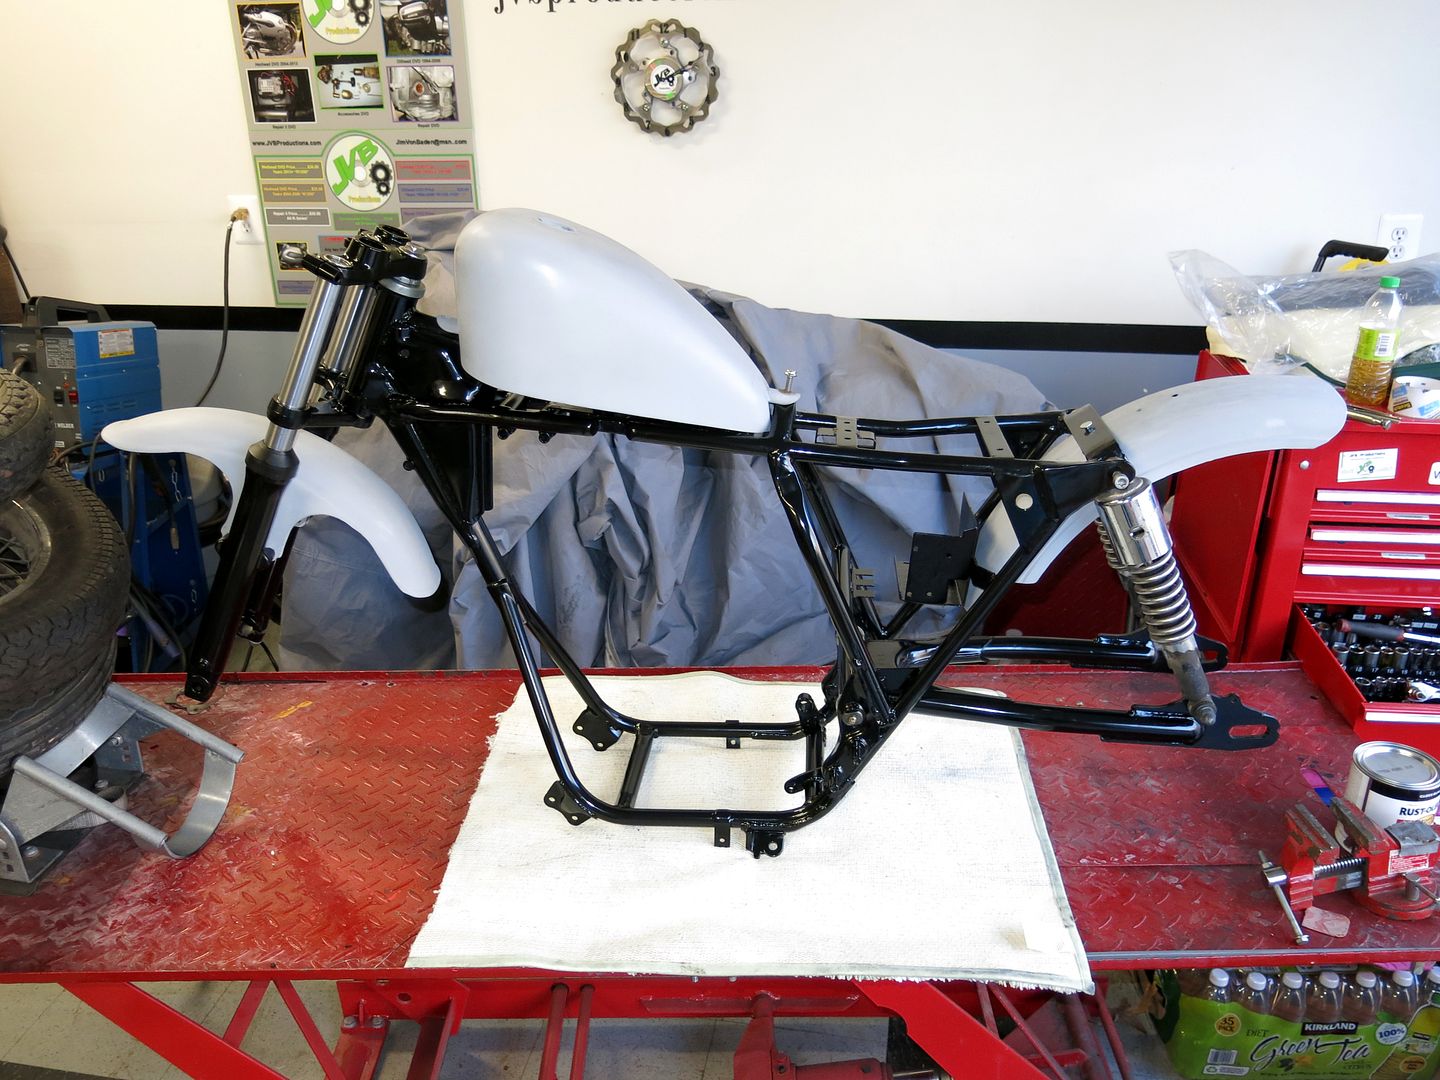
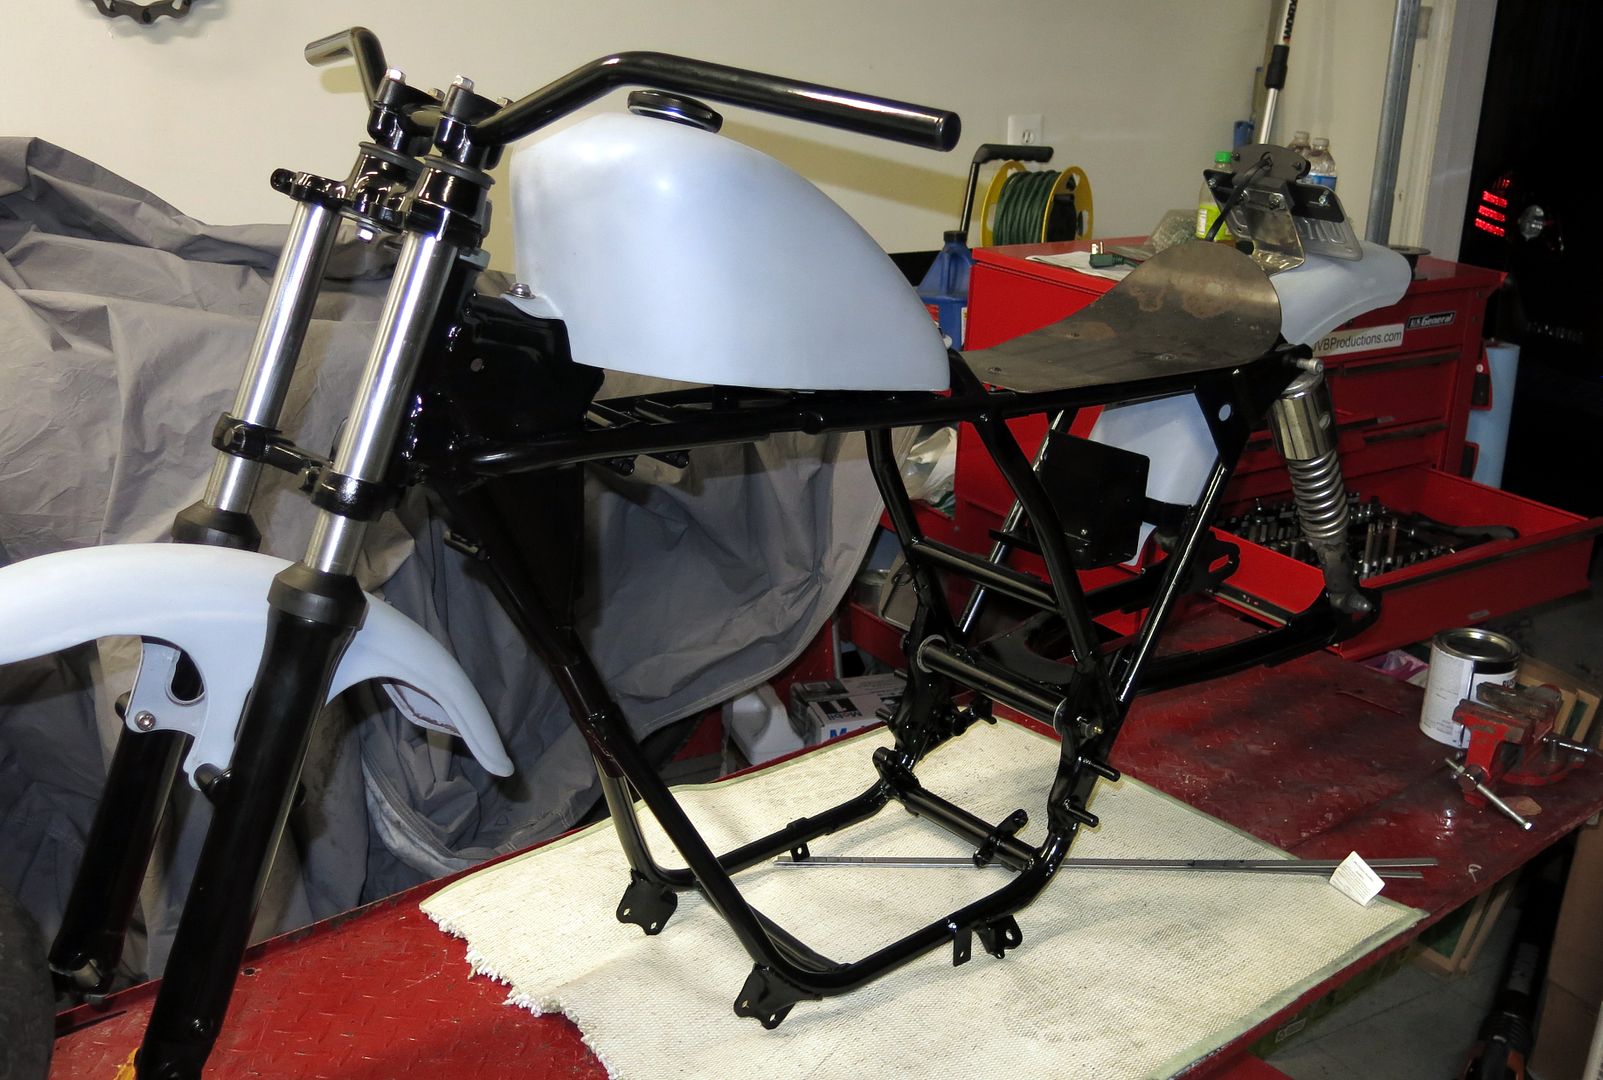
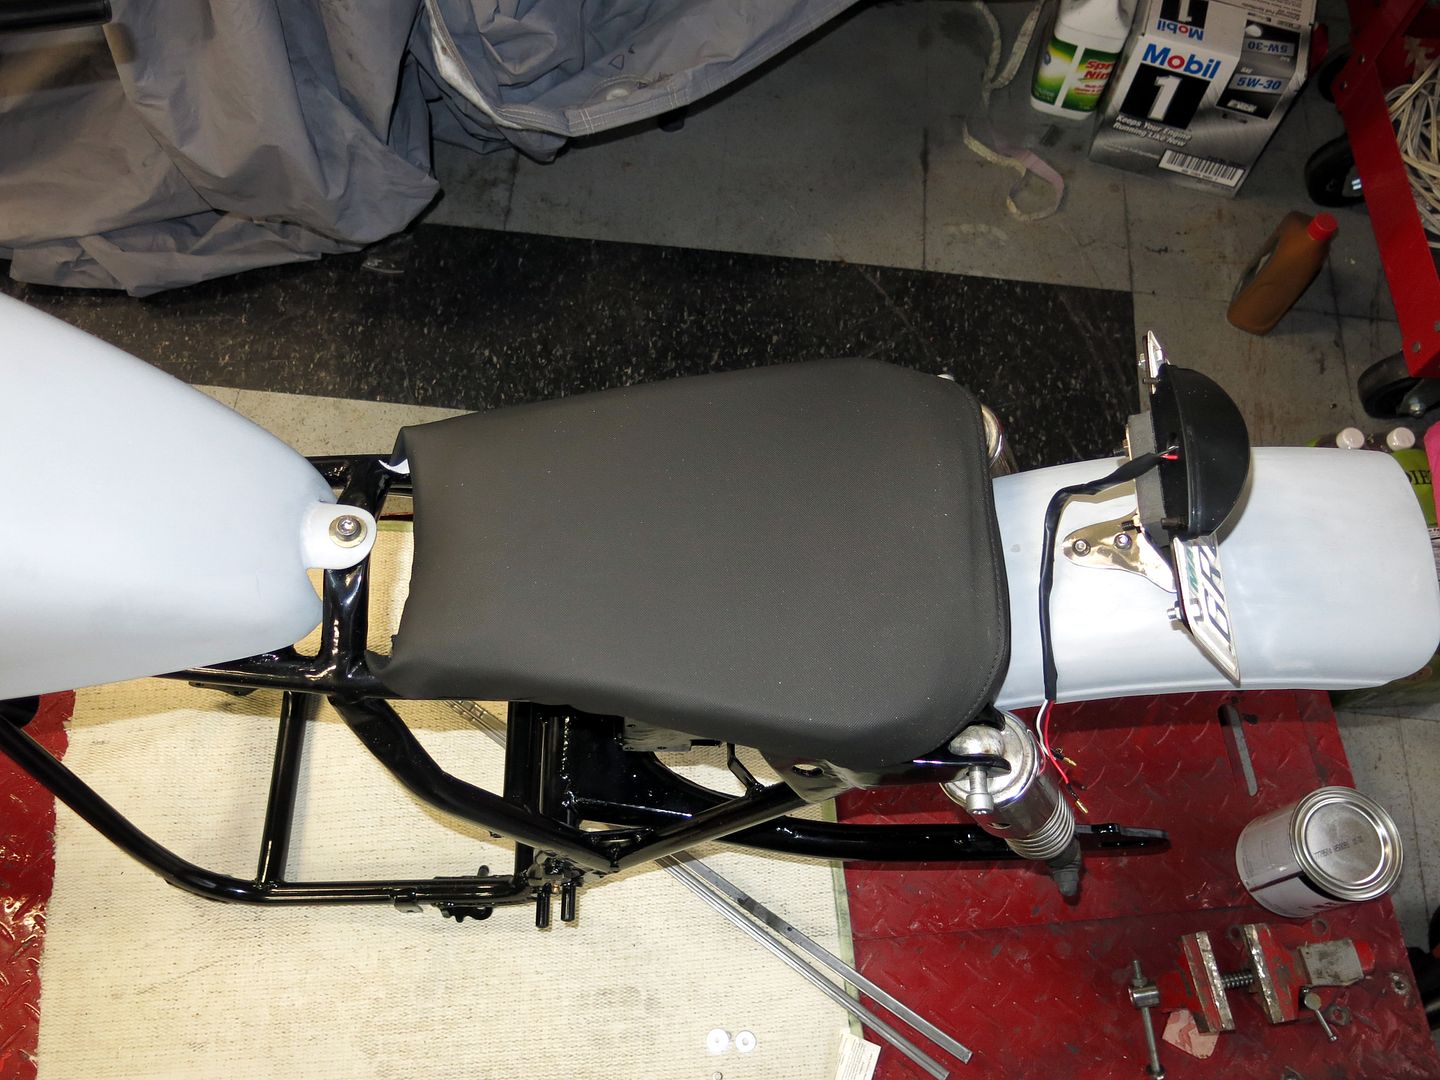
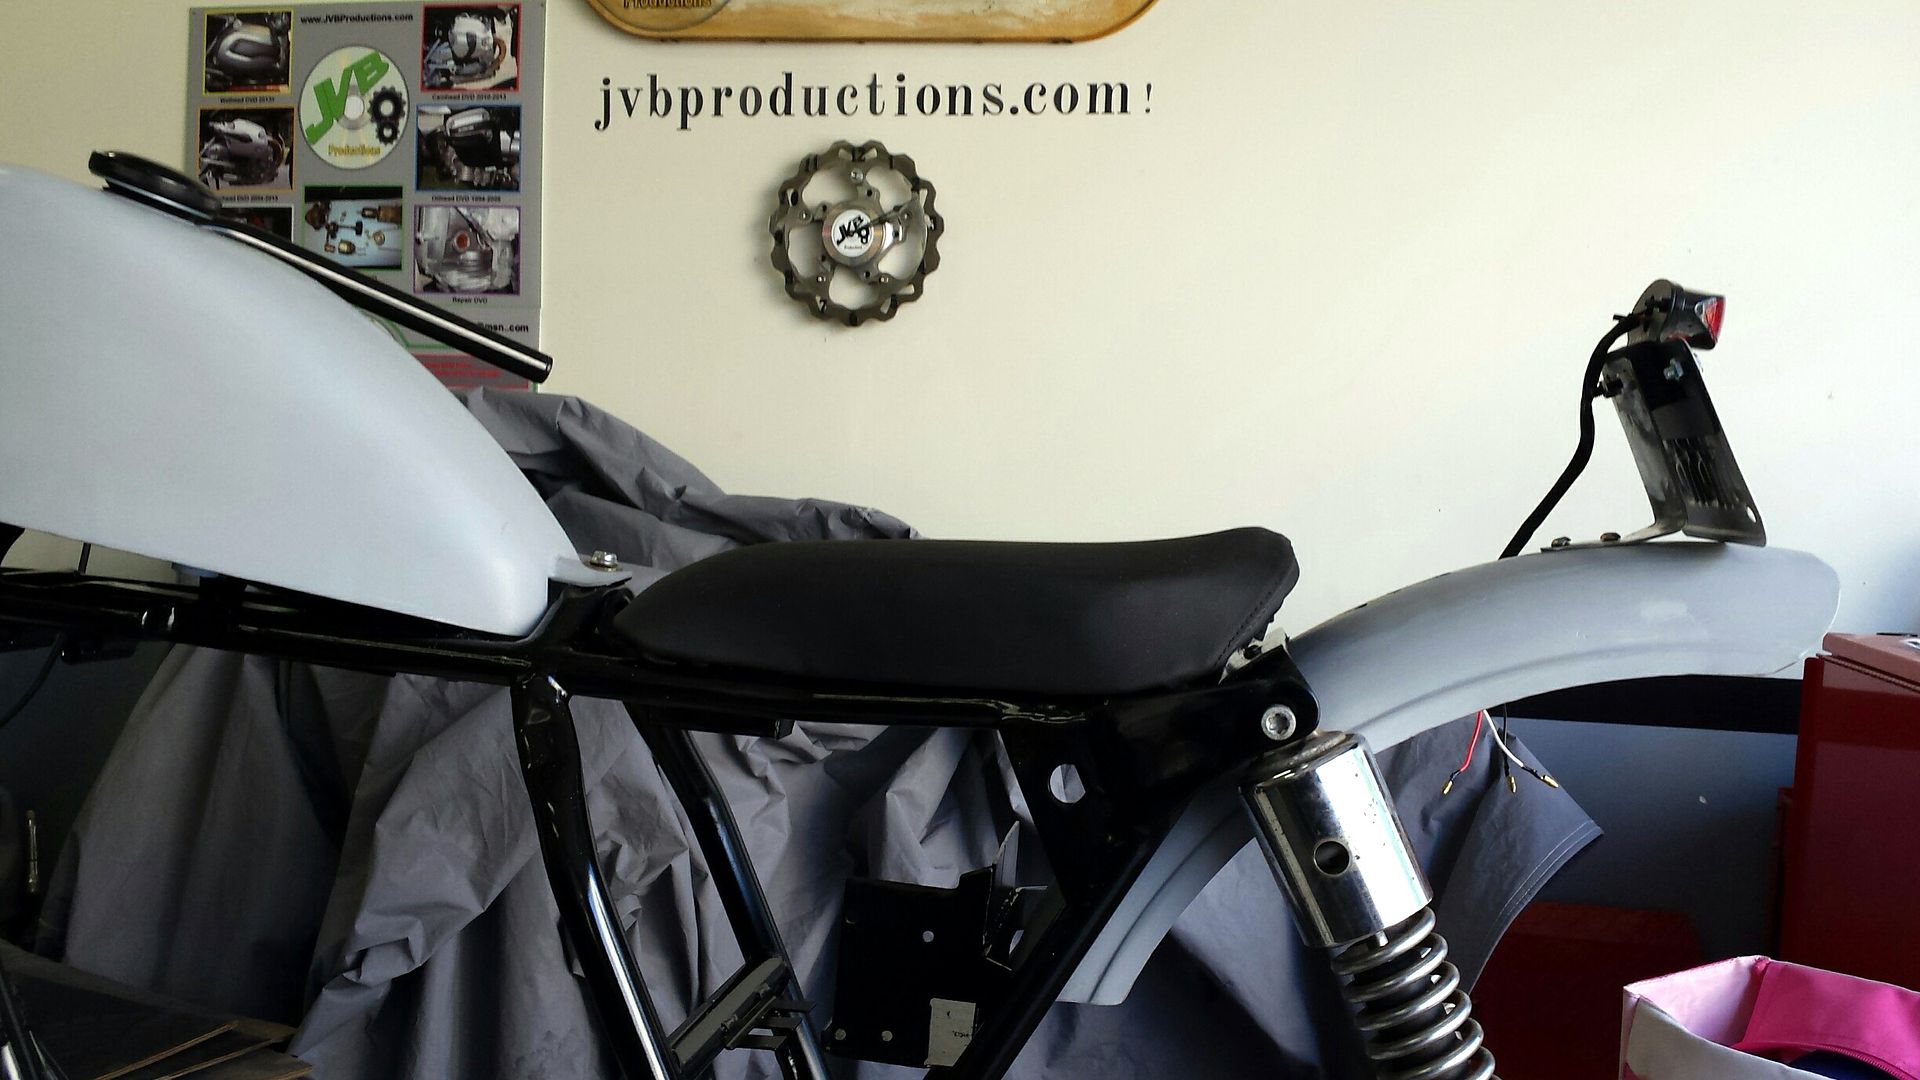
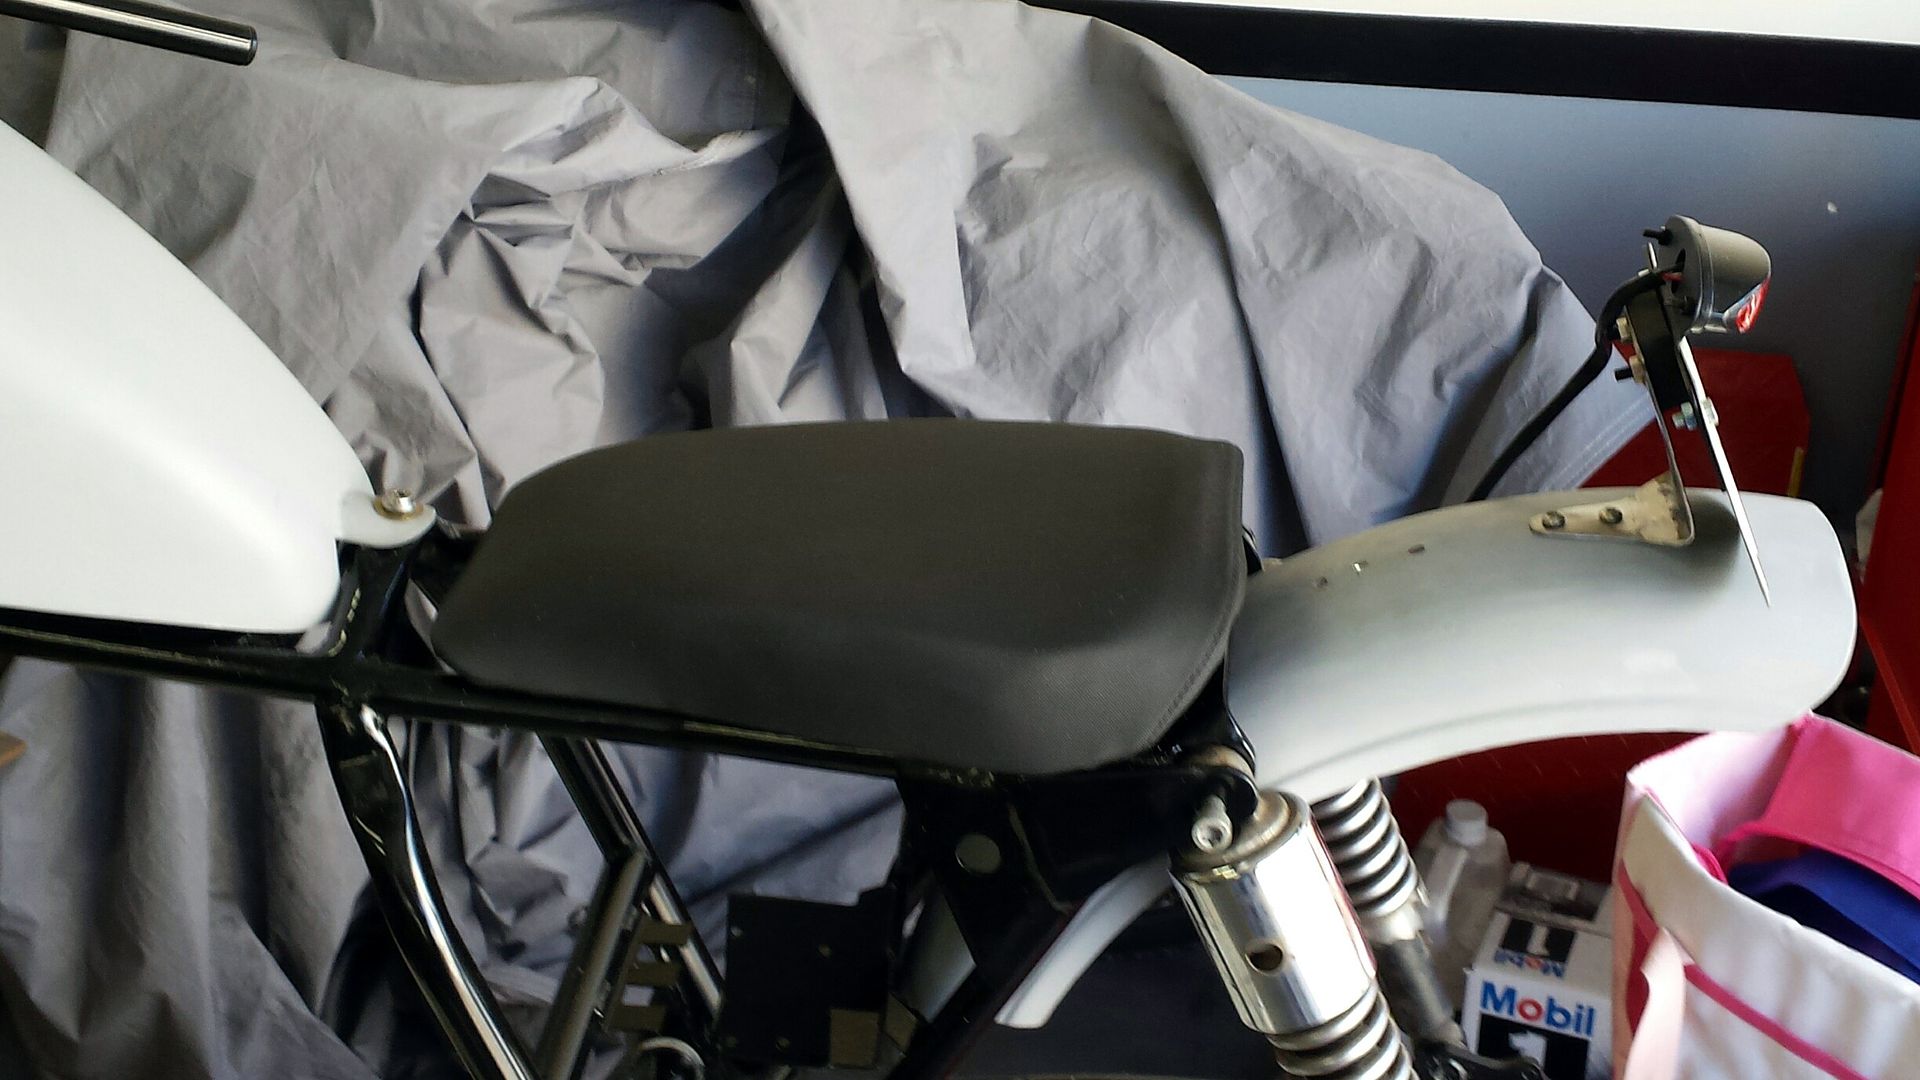
Are filling the space between the seat and tank? Or does the seat sit closer than in the image?
")