levdir
Rounded bolt brigade
Parts N More charges $15 shipping to anywhere, no matter what you're ordering, it seems.
They ship out of Ontario.Where do these guys ship from?


Glad you got it. Keep in mind that stock will always work if the parts are good

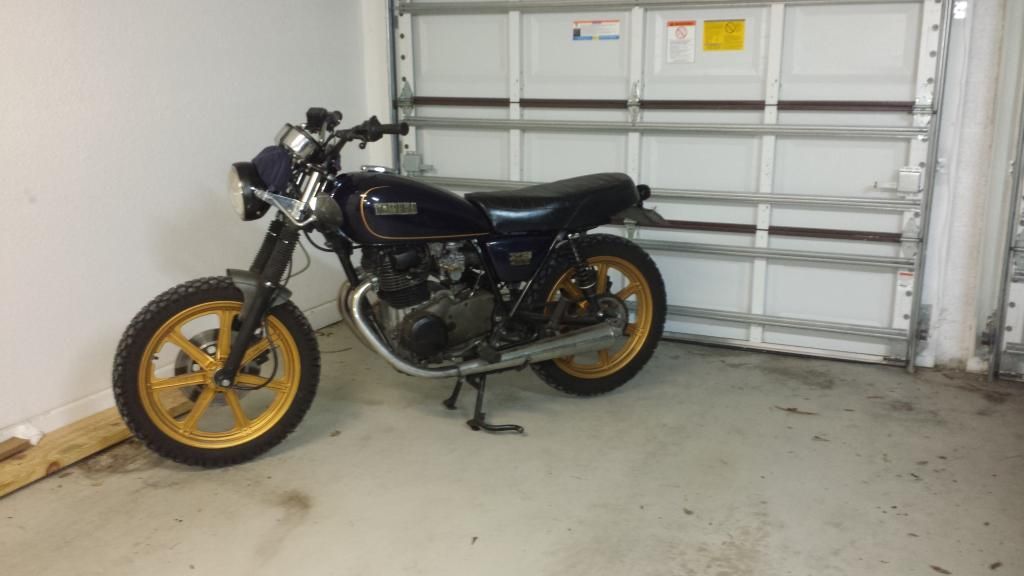
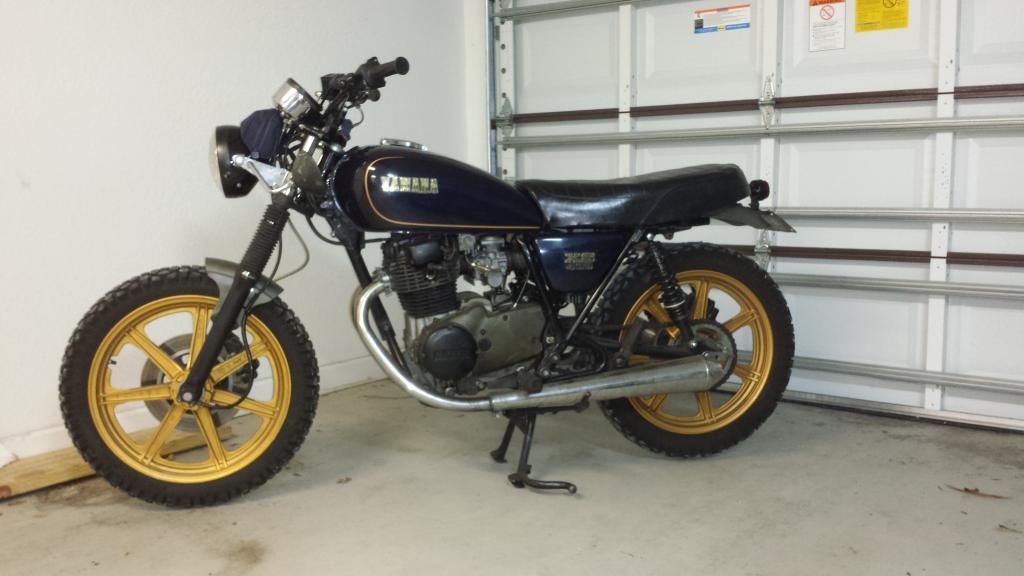
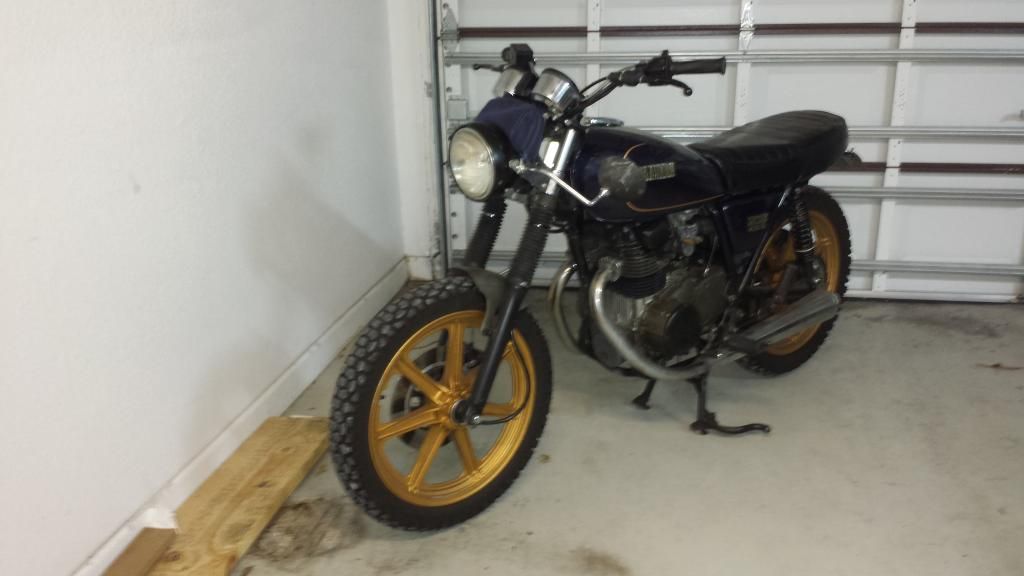
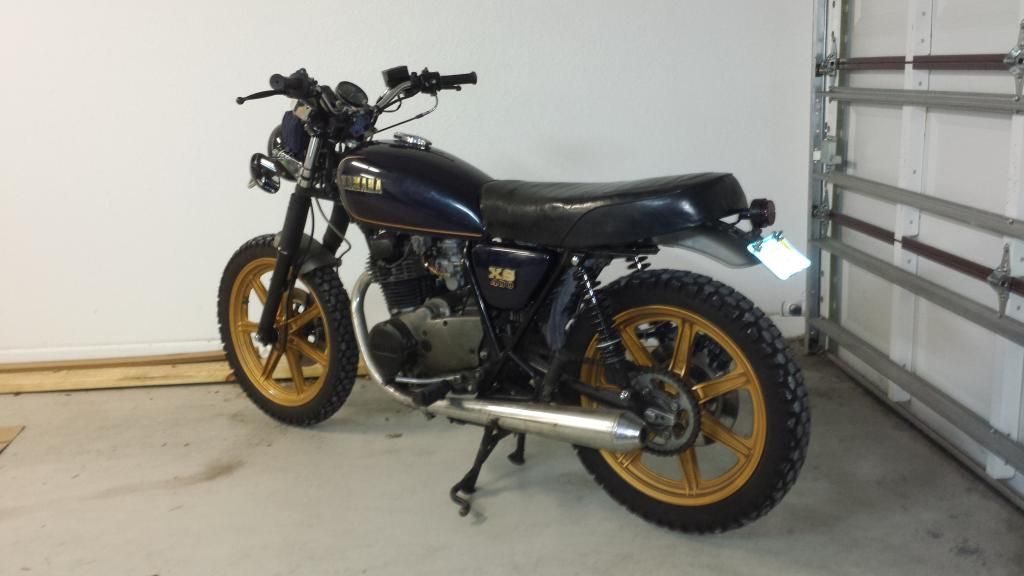
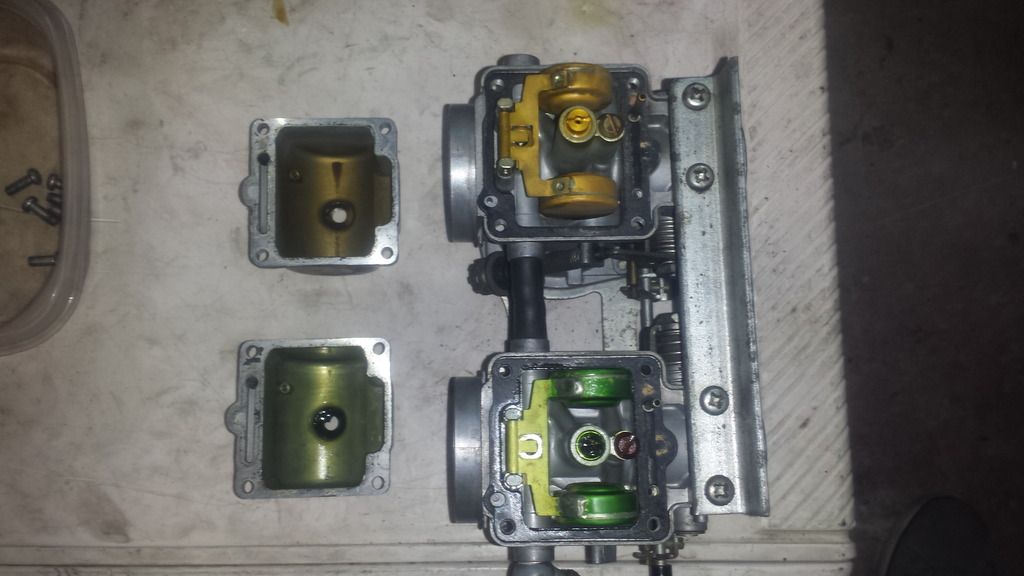
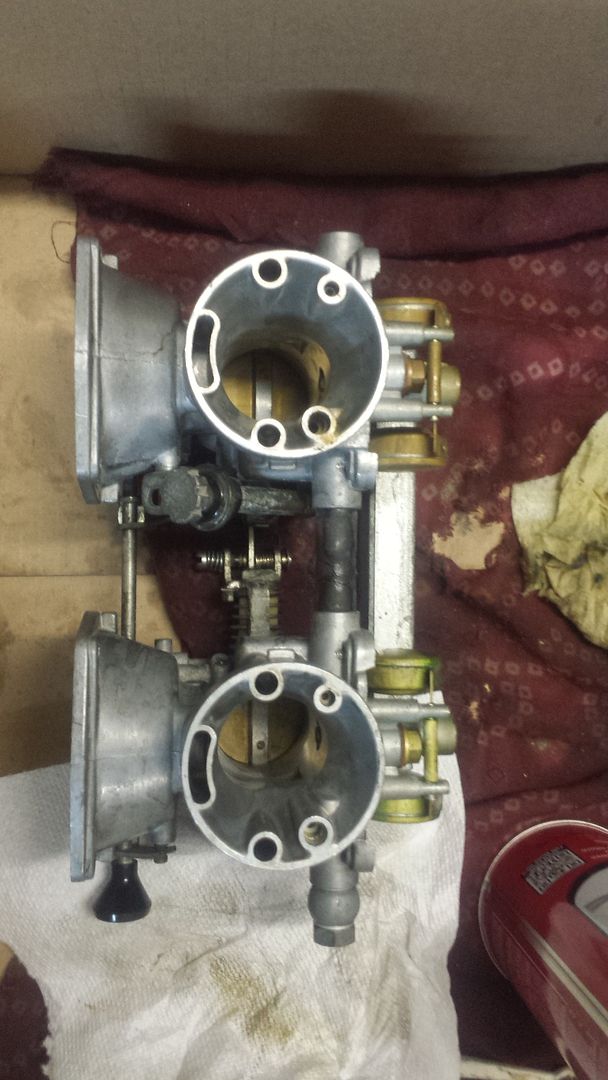
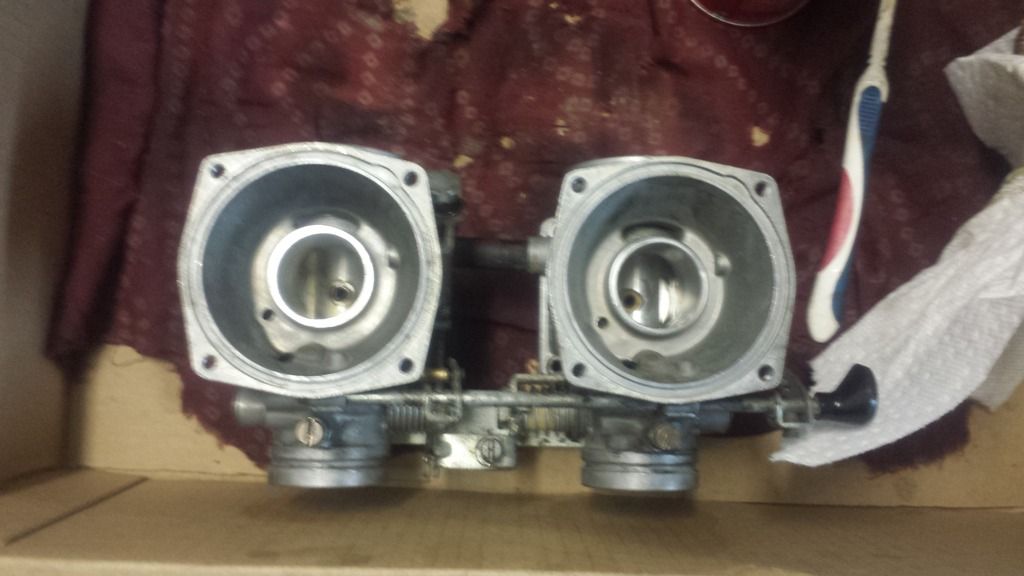
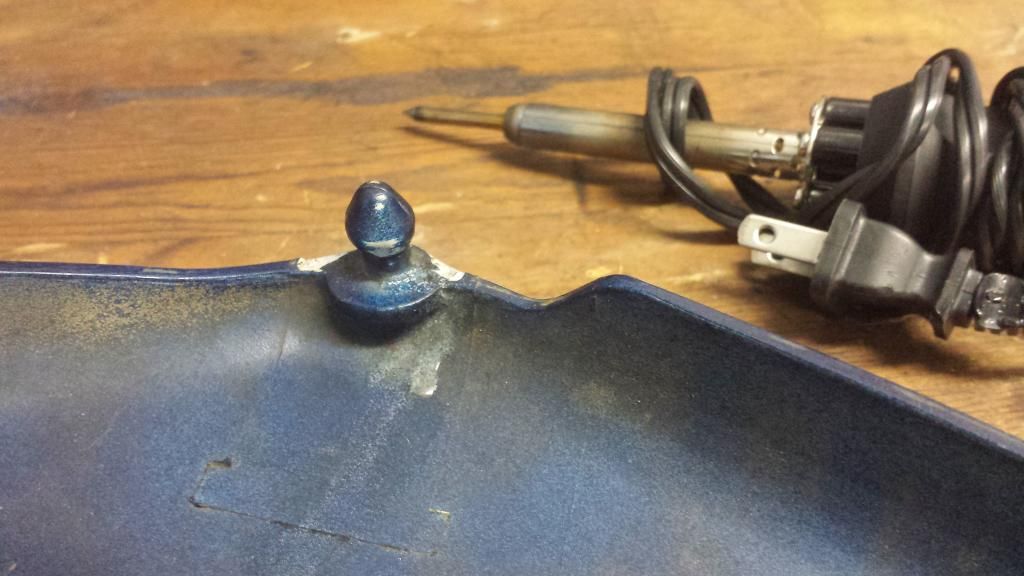
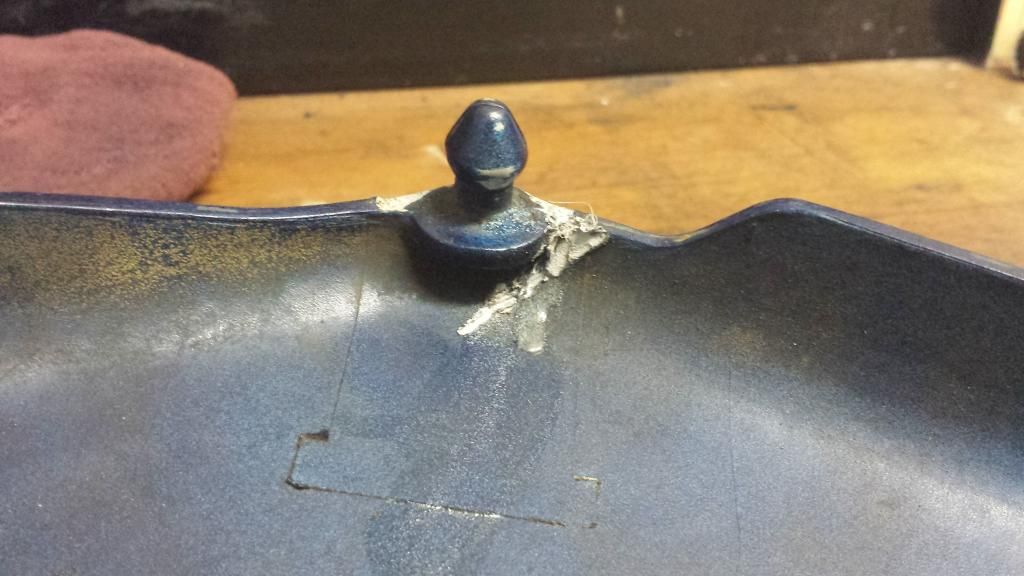
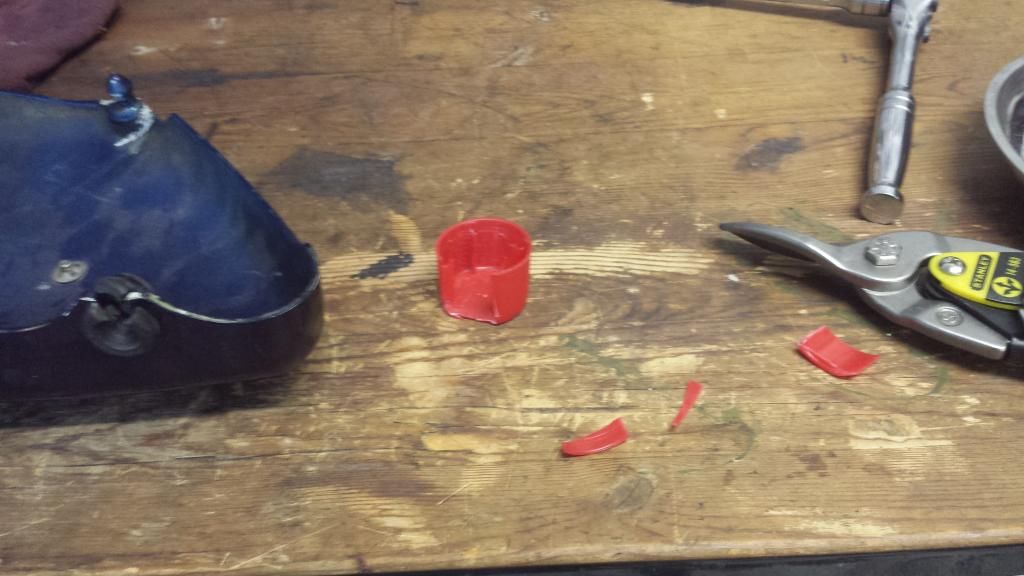
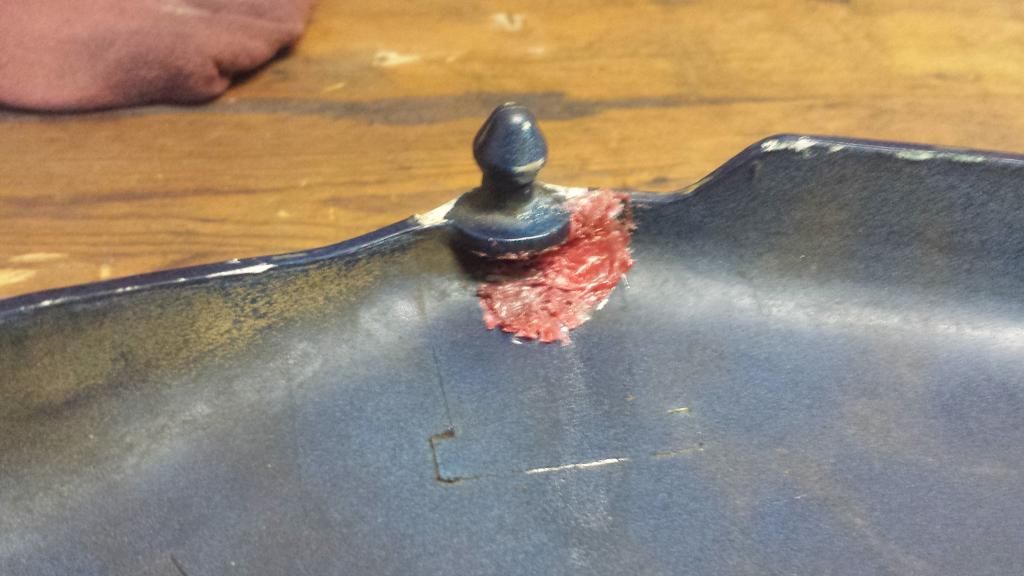
Pics as promised
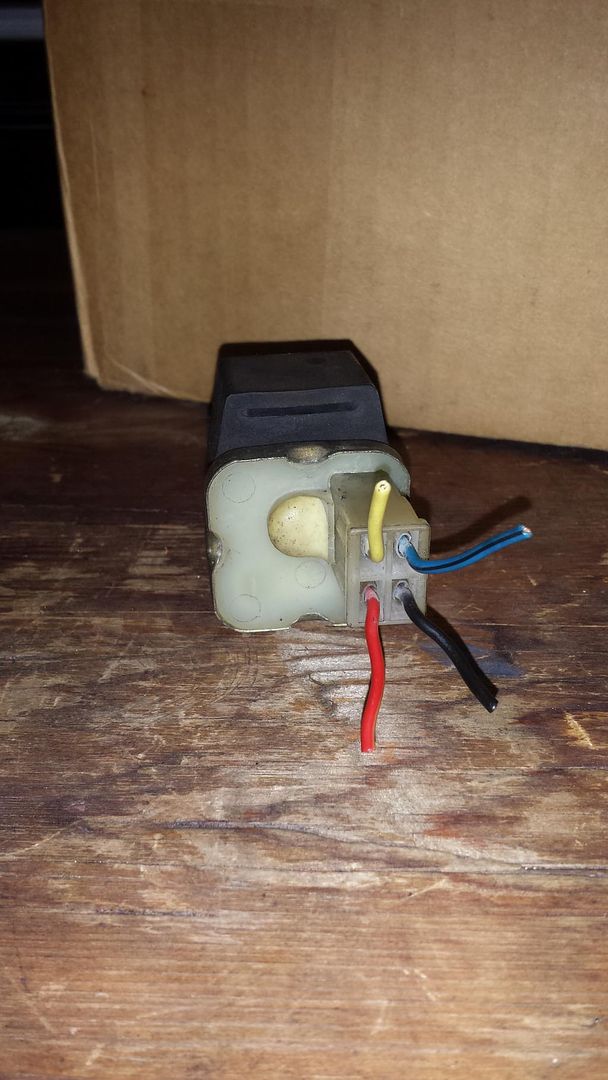
Headlight relay & oem wires
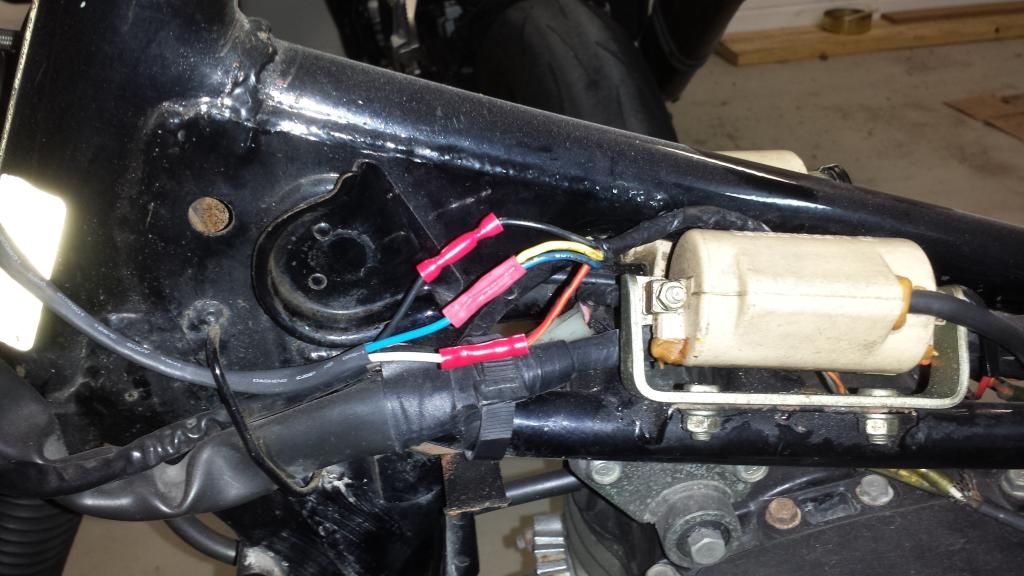
How my switch was previously wired(messed up my charging like this)
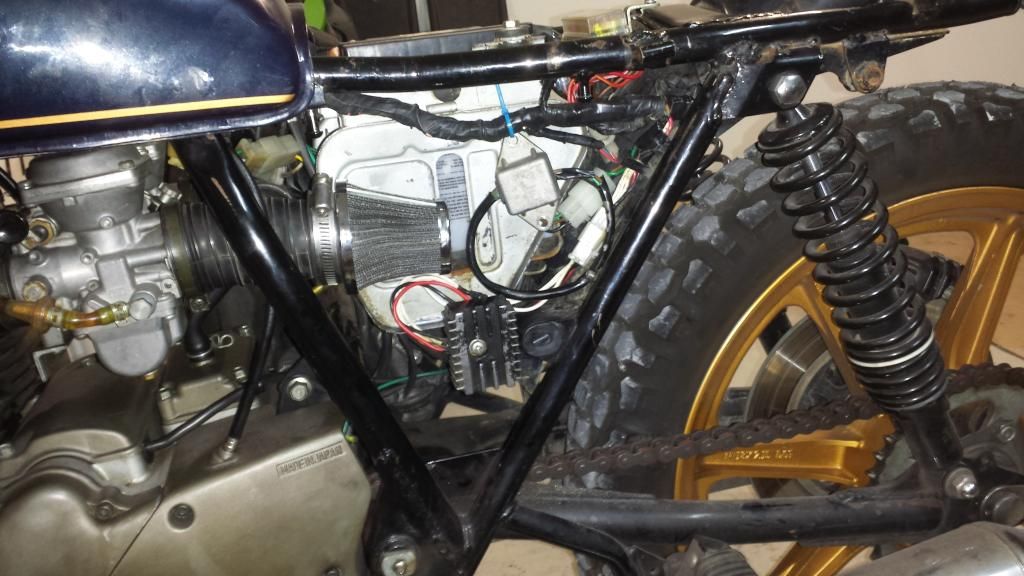
How I temporarily mounted the reg & rec. Much easier to test and work on them this way
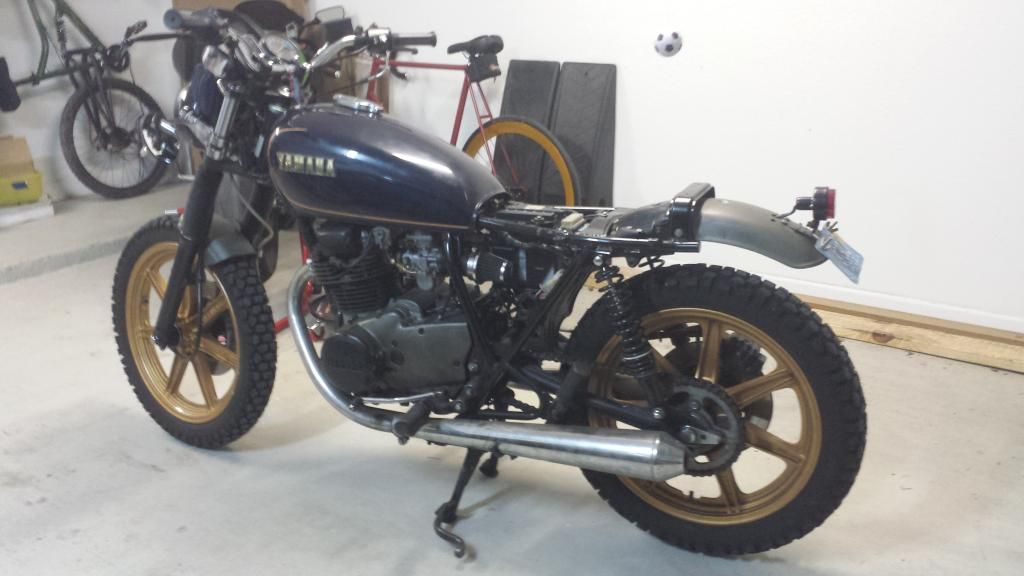
All back together for test rides...
I used a junker I picked up and tried to go as minimalist as possible with it. The tabs for the wires and screw holes for the reg and rec are still there too so it retains most of the functionality. My idea was to have something that would just pop out of the top of the frame, instead of being a small puzzle to wiggle it out every time...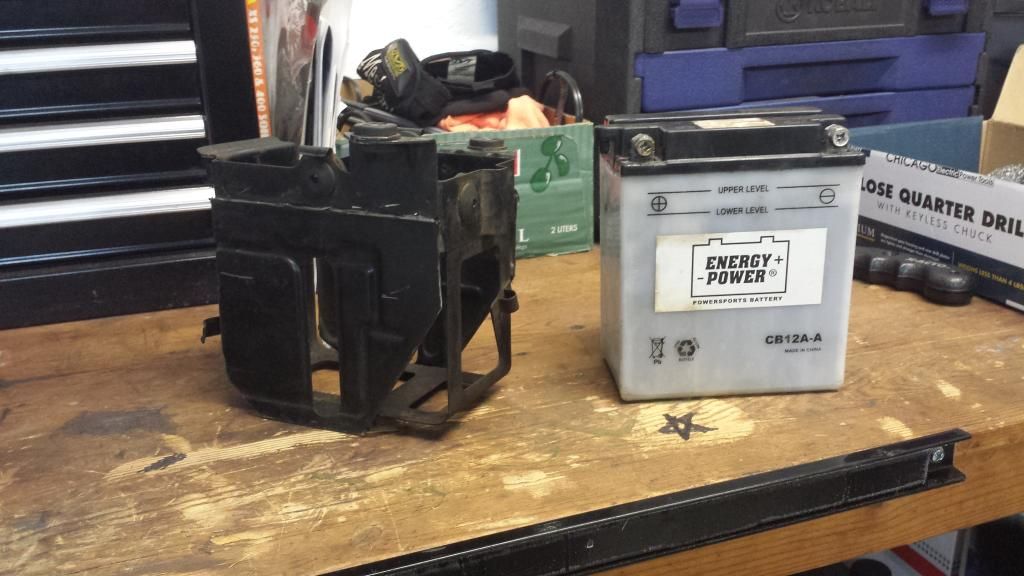
 I'm not entirely sure where the last gremlin remained to make her charge since I did several things at once Oh well, at least its all sorted and charging.
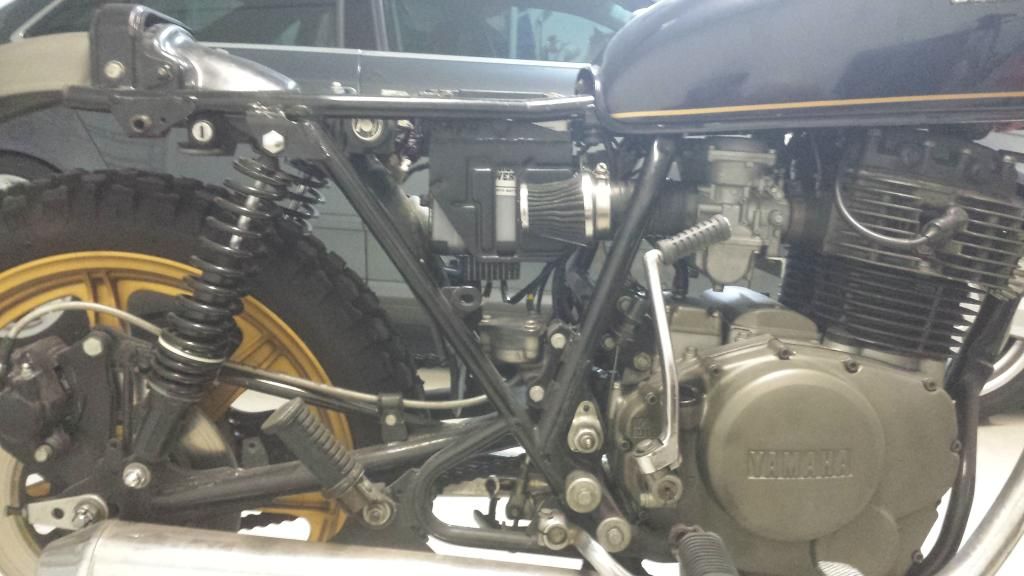


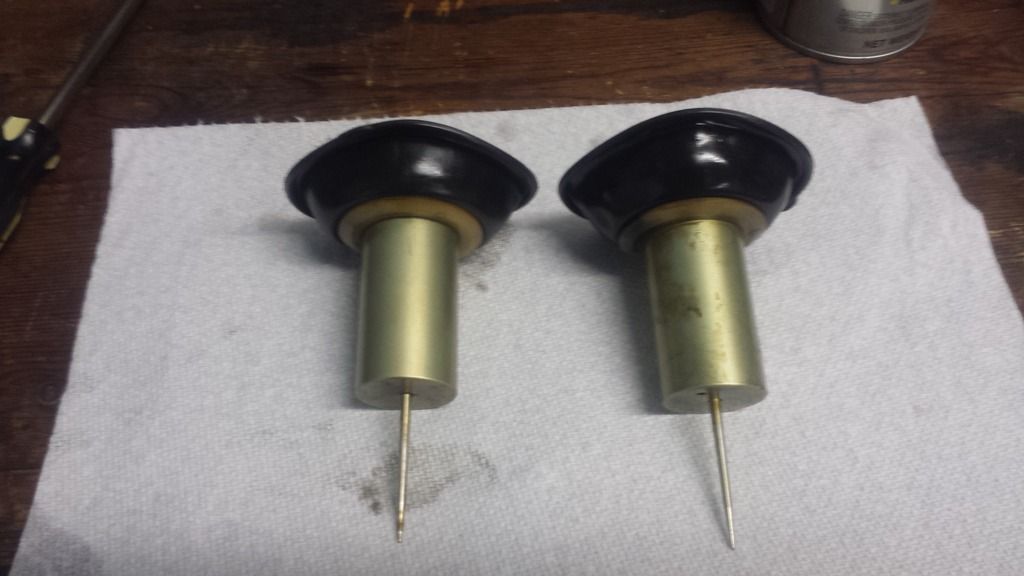
Checked the plugs. Reg, Rec, Light Switch, Stator, & Field Coil are all 6mm males spades for the terminal connectors.
The connectors which will need to be interchangeable on the reg and rec are female side.
I'm considering picking up these:
http://www.amazon.com/Brass-Crimp-Terminal-Female-Connectors/dp/B009PMD2W2/ref=sr_1_5?ie=UTF8&qid=1417904963&sr=8-5&keywords=6mm+wire+terminal+connectors
http://www.amazon.com/Spade-Cable-Crimp-Terminals-Connectors/dp/B00ACD9T16/ref=sr_1_1?ie=UTF8&qid=1417905002&sr=8-1&keywords=6mm+wire+terminal+connectors
Fairly cheap and free 2-day shipping.
My thinking is that this way I can test different setups without needing to solder every time...
I ordered here:
http://www.cycleterminal.com/bullet-connectors.html
They seem to have everything you can imagine when it comes to crimp connectors...
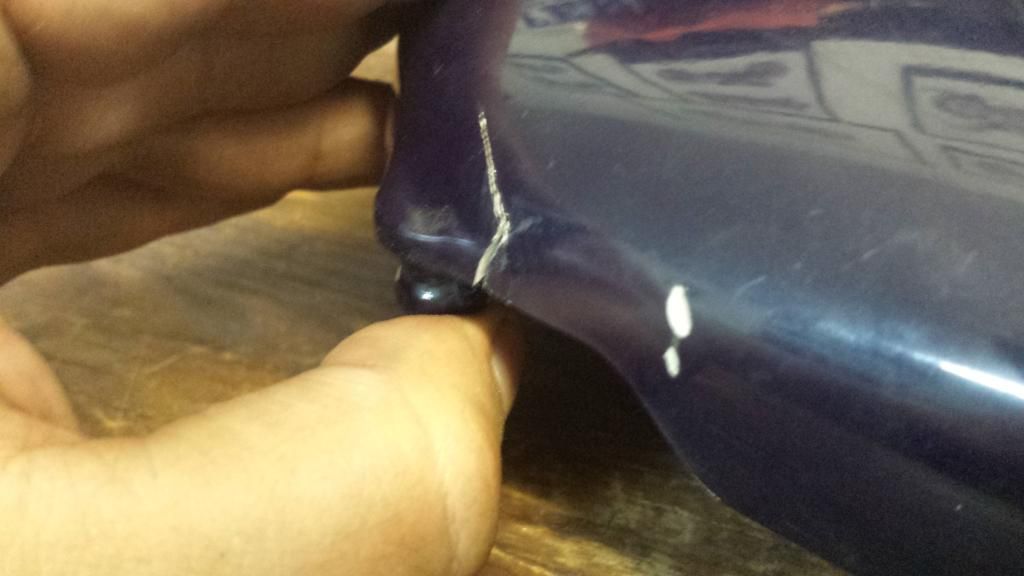
I wonder what happened...
I finally nabbed an agm for a great price ($40) and when it started right up but wasn't running right.