81 XS400 Build

atothep

Chop it! 54
Messages
62
Reaction score
0
Points
6
Location
Killeen TX
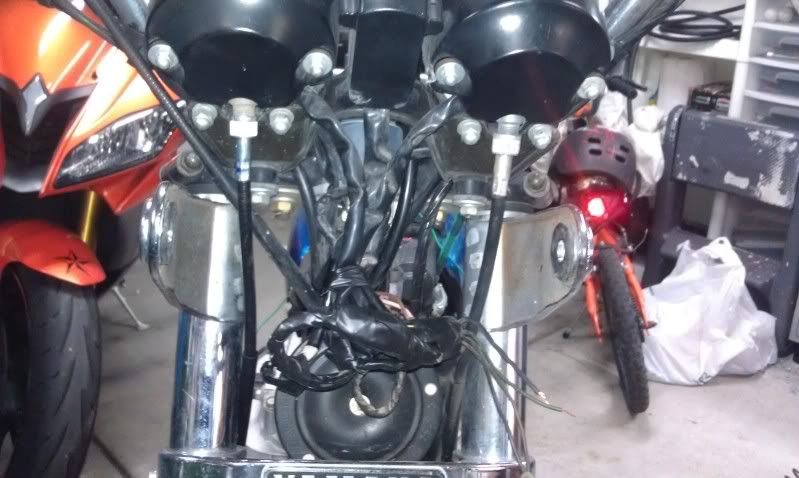
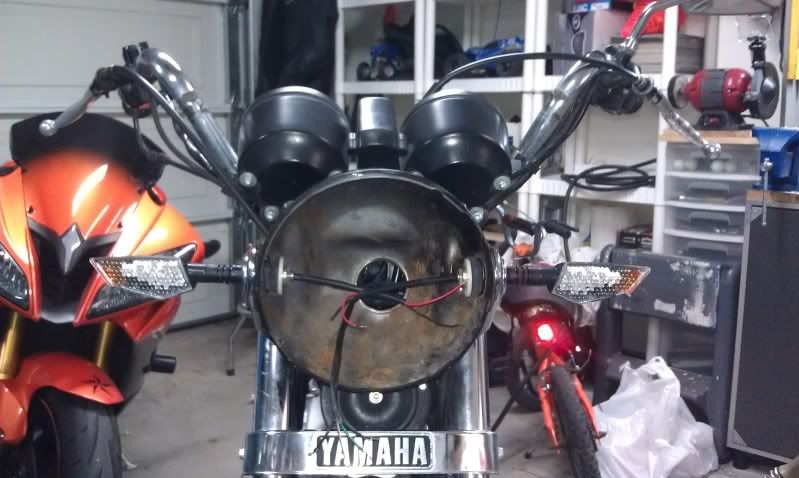
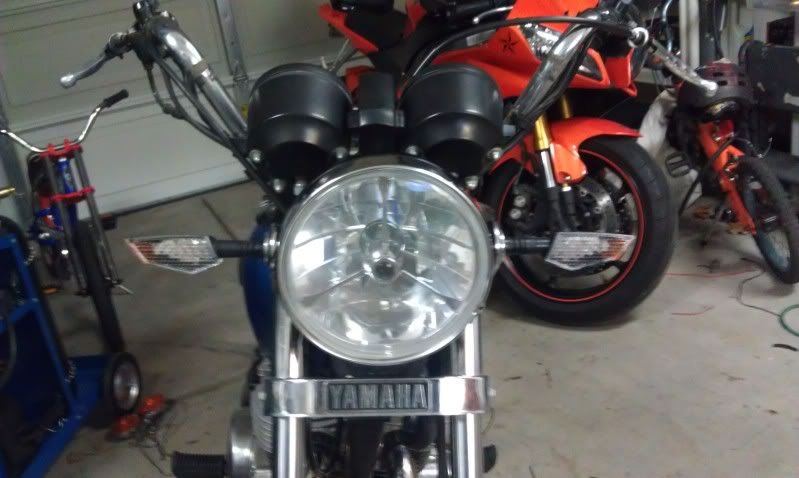
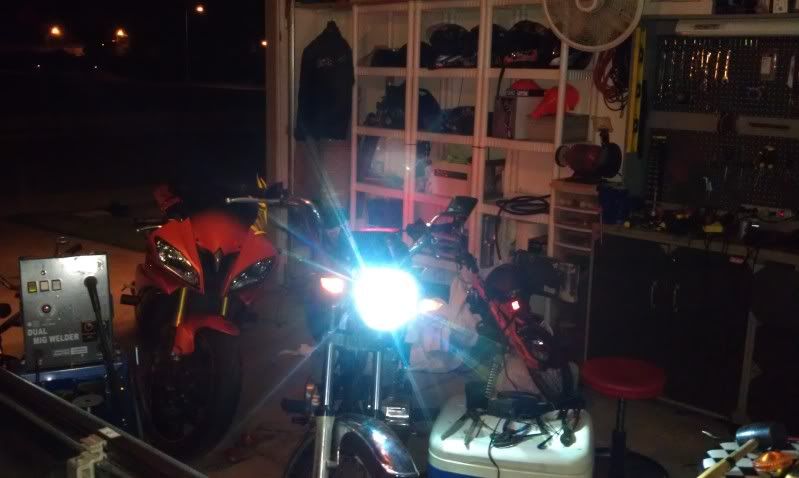
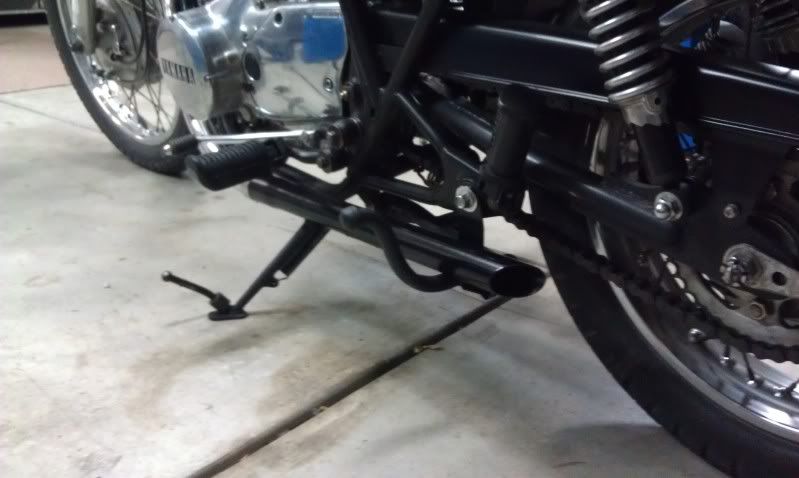
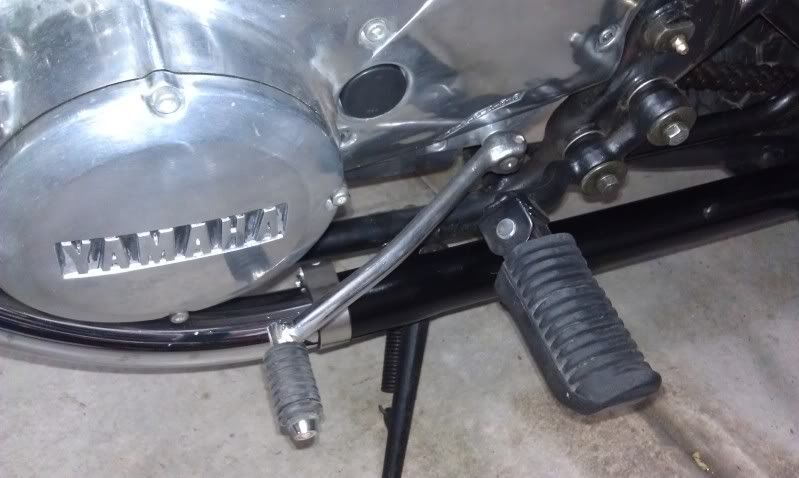
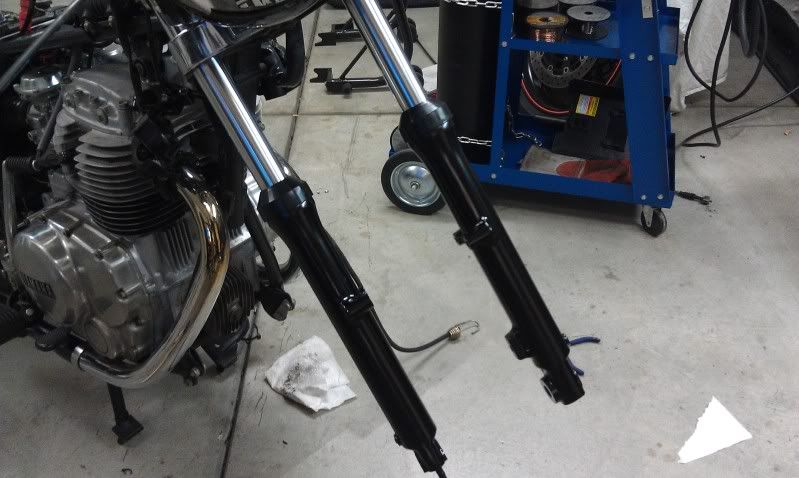
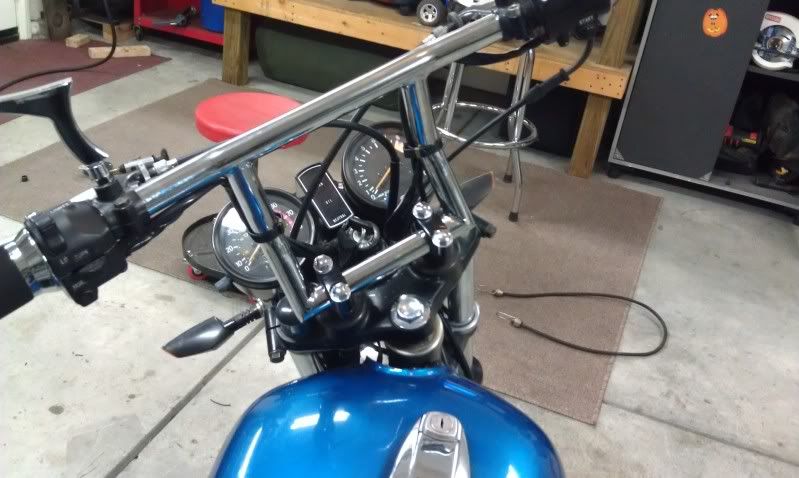
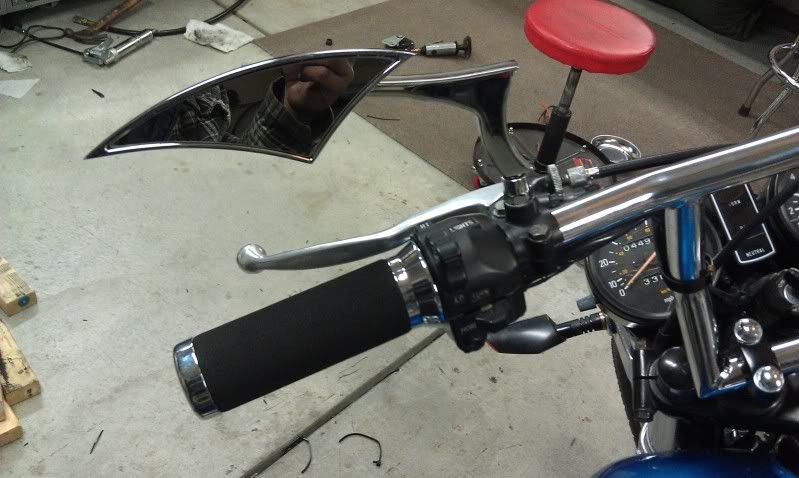
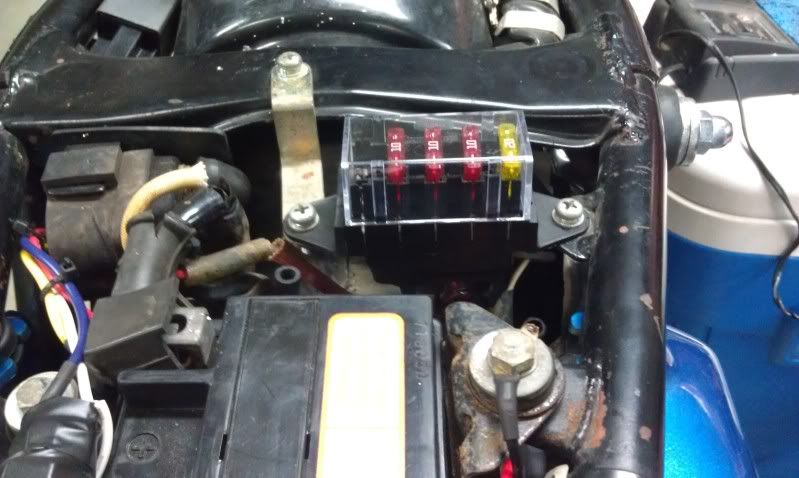
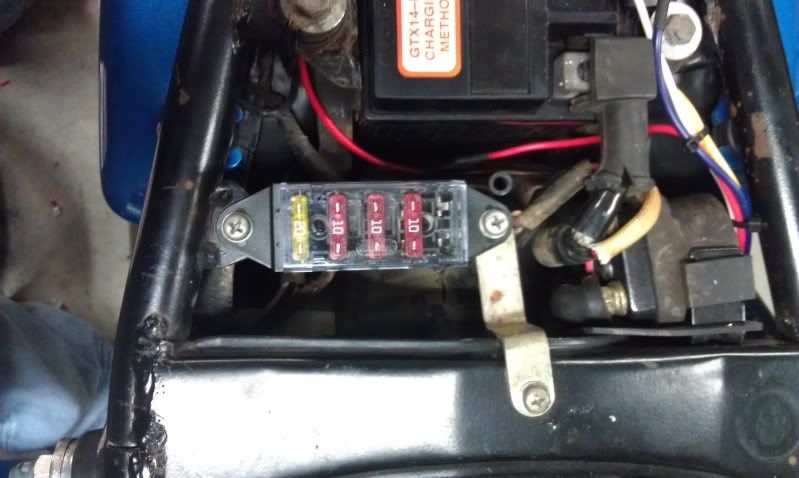
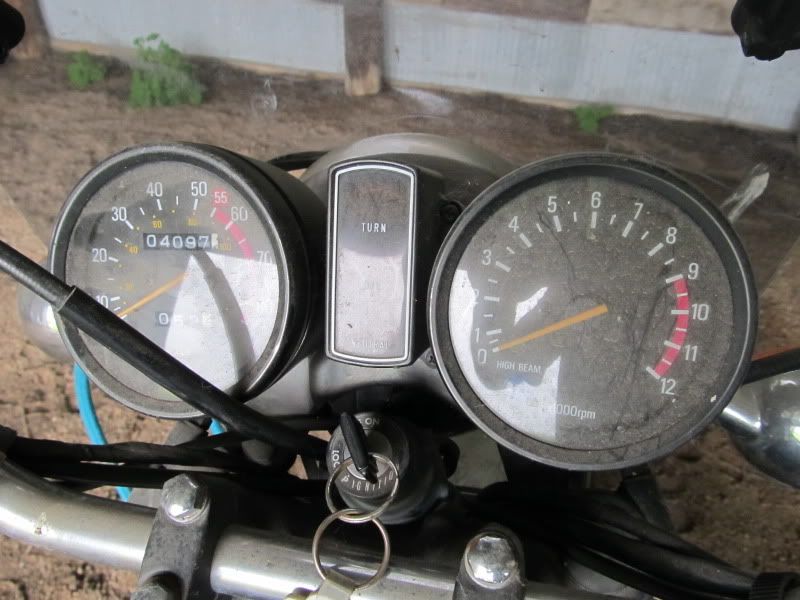
Hey all, Long time reader and have been plugging away on the bike so I thought it was time to start a thread. Have been riding a R6 for about 2 years now and when I came across this bike I couldn't pass it up. I found is sitting in a shed at my grand parents house, turns out they were just storing it for a friend who was trying to sell it. Offered them $600 and they took it! I am the third owner and bought it with 4000K original miles.

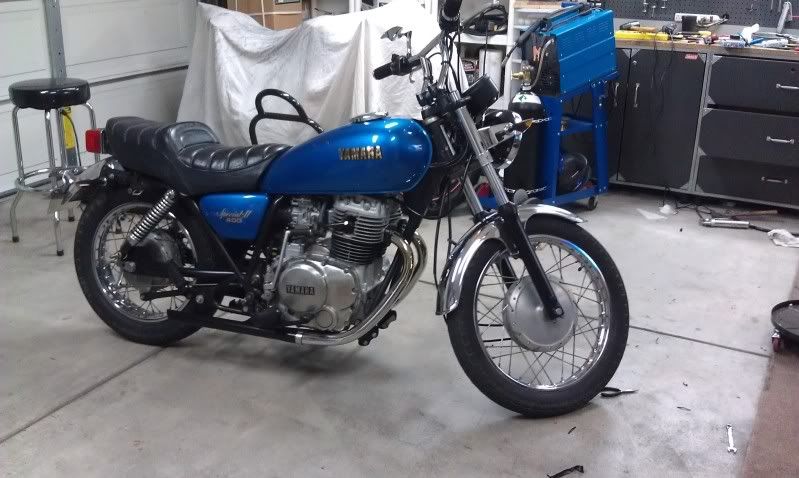
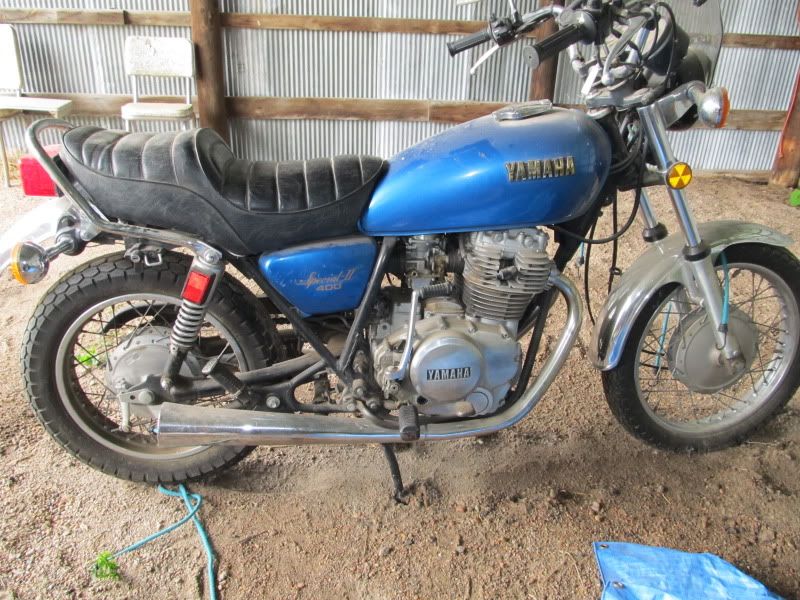
As it sat at time of purchase.

IMG_1611.jpg

IMG_1602.jpg

IMG_1613.jpg


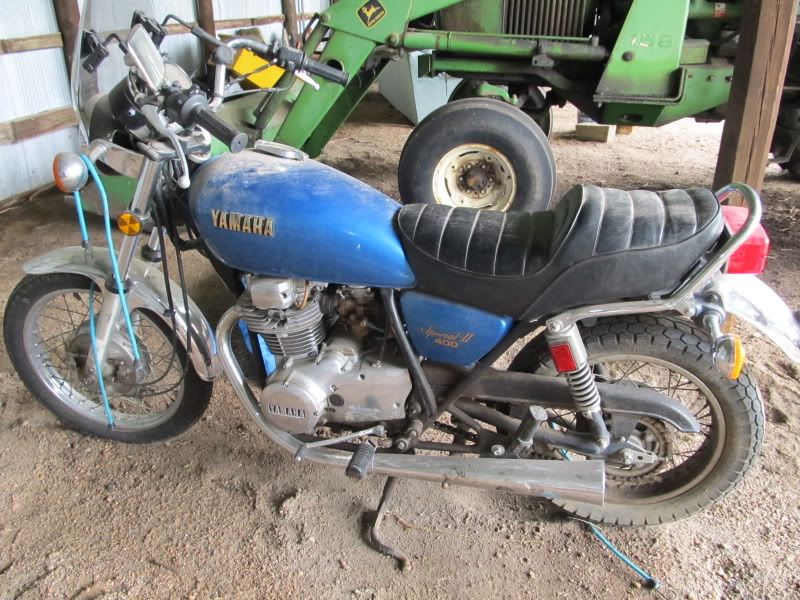
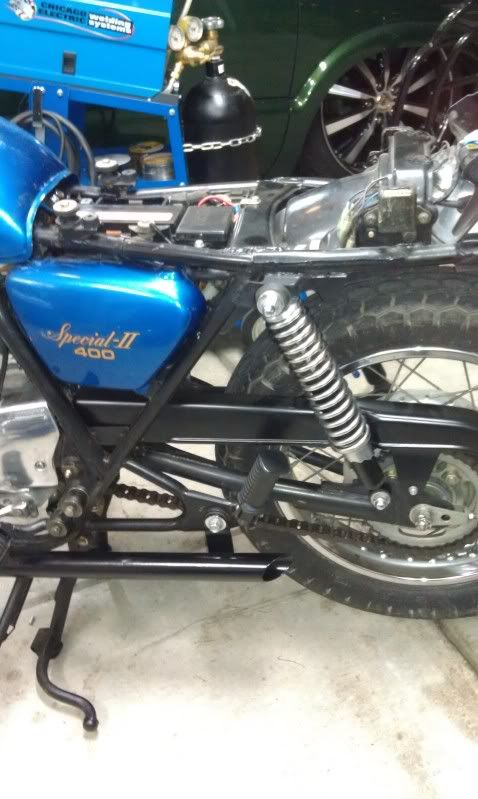
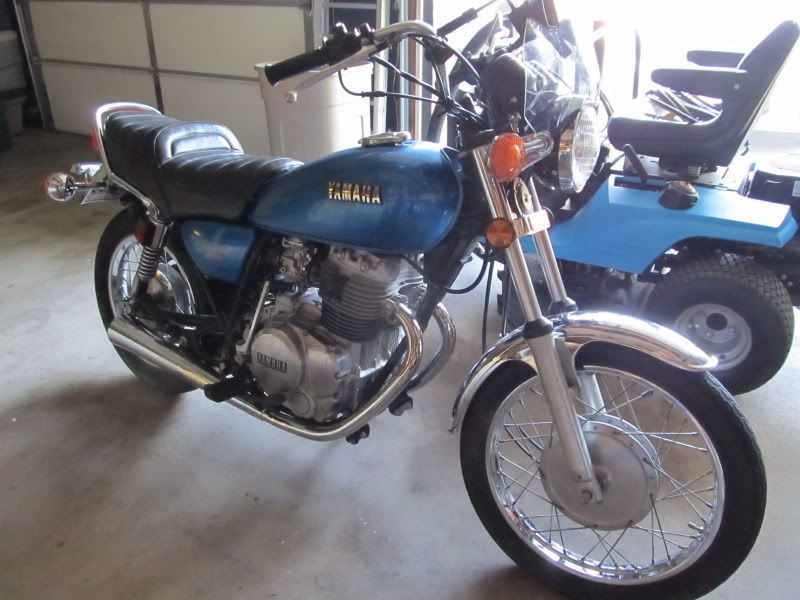
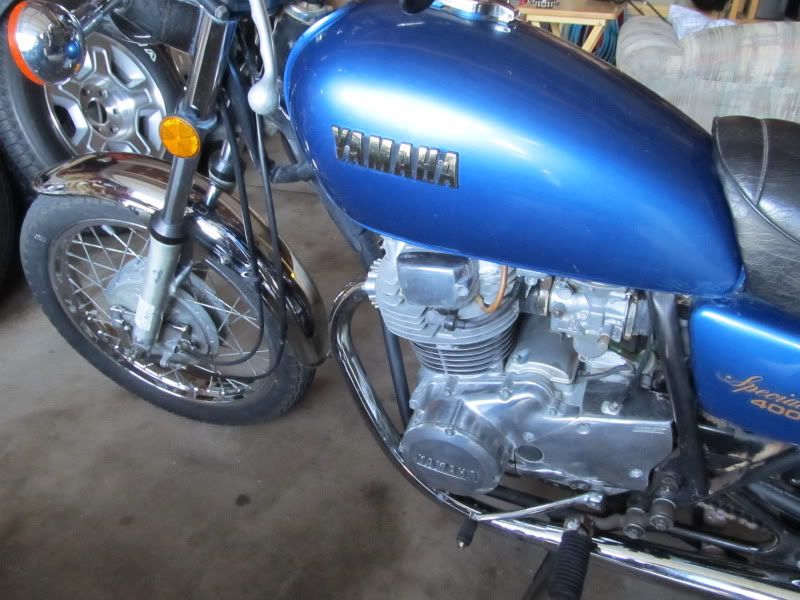
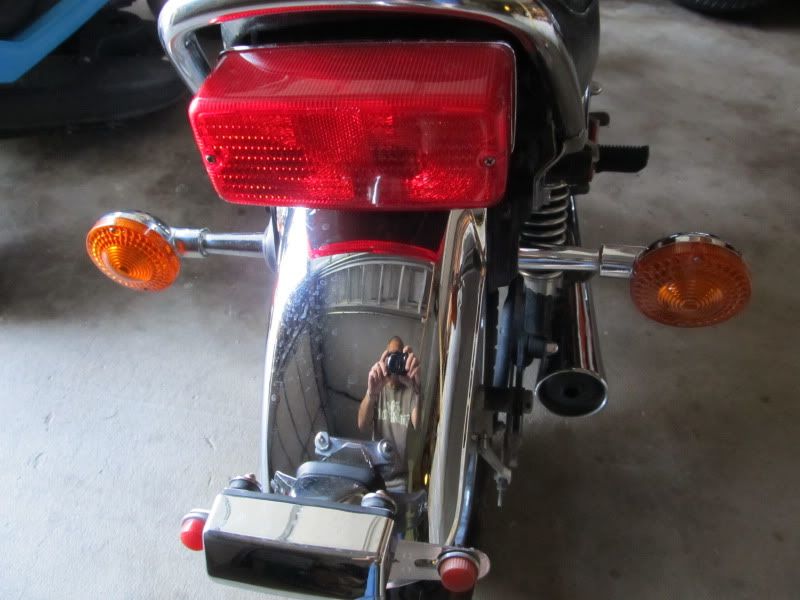
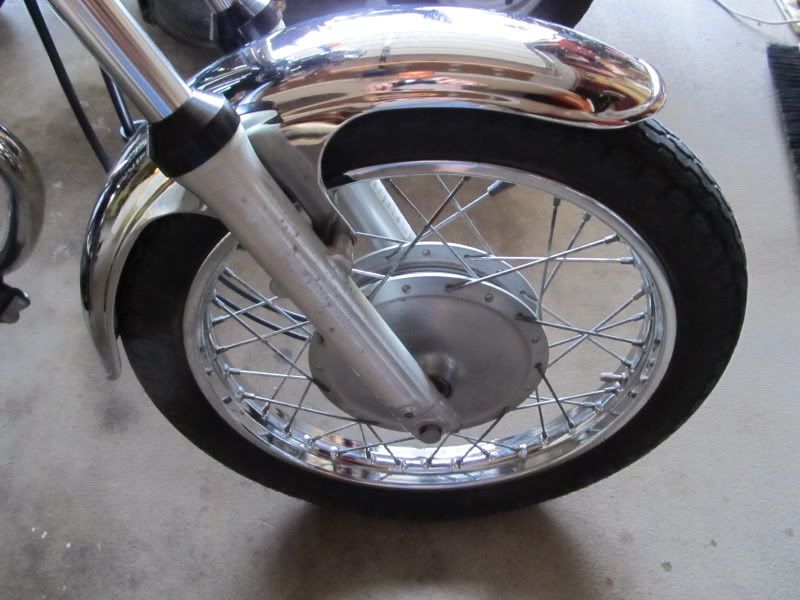
After just a simple bath.
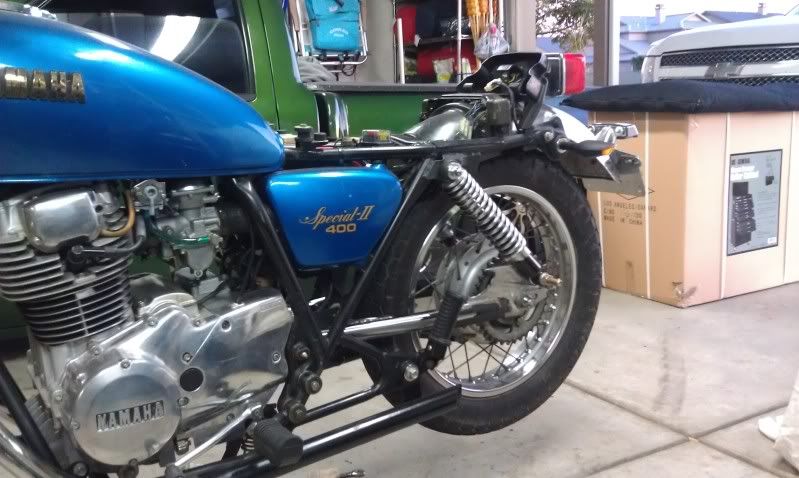
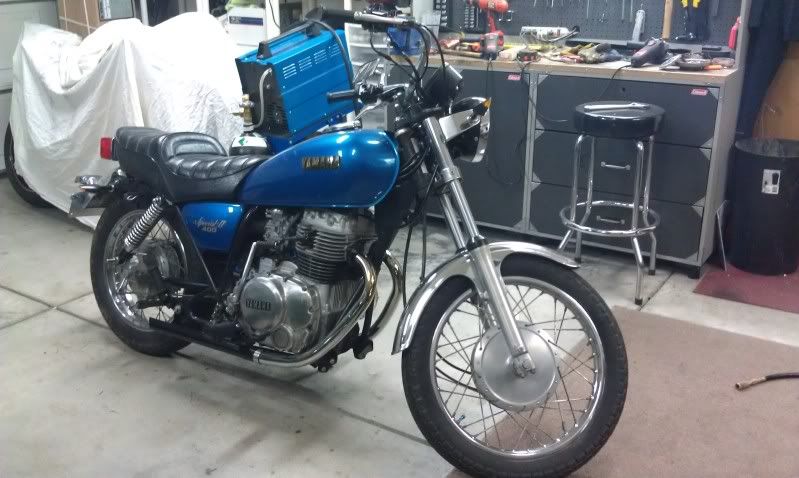
IMG_1629.jpg

IMG_1632.jpg

IMG_1634.jpg

IMG_1635.jpg

IMG_1637.jpg
 
Very clean and it looks like all the parts are there. I paid 400 for mine and it was in much worse shape and someone molested the electrical system. You gonna leave it stock or modify it?
 
Yea, aside from needing the carbs gone through and a new clutch it was pretty much ready to rock. Stock or modify....... was a huge debate in my mind for the longest time..... but I decided to modify it. I'll post some more pics of everything that I've done to it so far and along the way.
 
All of the next few post are things that I have already completed but since I'm just getting around to putting the thread together bare with me.......

Before any real mods, I wanted to get the bike as mechanically sound as possible. Being a 30 year old bike, you are bound to run into problems but surprise problems suck in the middle of a "Want to mod"

Old Petcock and Fuel line.

IMG_1707.jpg

IMG_1708.jpg


New Petcock and Fuel line.
IMAG0964.jpg
 
First couple weeks I spent a lot of time replacing most of the cracked out rubber.

Fuel cap and tank bolt "before".
IMG_1711.jpg

IMG_1710.jpg


Fuel cap and tank bolt "after".

IMAG0965.jpg

IMAG0967.jpg
 
Needed a new clutch, decided to go with EBC pads and plates, also replaced the springs with EBC 10lb heavier springs and a new Motion Pro cable.

IMG_20111115_024908.jpg

IMG_20111115_024936.jpg

IMG_20111115_025002.jpg
 
Now on to some of the more fun stuff. Wanted to give it a little updated look without completely changing the bikes overall look. I still want people to know that it's a XS400 while trying to not show its age so much........ Think of it like botox!

Started with the headlamp assembly. Stayed with the 7" round but decided to go with a composite lens and a 8000K HID. HID balast are a bit "voltage sensitive" so I used a simple five wire relay to get power straight from the battery but still let the factory headlight relay kick the light on. Added the LED turns and replaced the flasher relay to a "non-load" sensitive flasher. Still maintained the flasher indicator by replacing the indicator light with a 194 style LED bulb.

StockWiring1.jpg

StockWiring3.jpg

CleanedUp2.jpg

HIDHarness1.jpg

CleanedUp3.jpg

Finished.jpg

IMAG0785.jpg
 
Wanted to get ride of the factory exhaust pipes and wanted people to hear me coming. Not sure if I completely agree with the "Loud pipes saves lifes" statement but I do live in cali and while lane sharing it does make a difference. Also removed the cans with reflectors from the rear shocks.

Just had a local exhaust shop flare some 1 1/2" pipe to fit over the pipes after cutting off the big cans from the header tube.

IMAG0754.jpg

IMAG0757.jpg

IMAG0761.jpg

IMAG0767.jpg

IMAG0768.jpg

IMAG0769.jpg

IMAG0770.jpg


Here is a link to hear the exhaust and see the HID and LED turns.
 
Thanks Ryanh, I just very carefully cut them off, then smoothed and polished any markings from the cut off wheel.

"Nice truck too more info?" On the truck? If so It's one of my other projects. Started out completely stock and have slowly but surly been building it over the last couple years.

IMAG0816-1.jpg
IMAG0821-1.jpg
 
Started on the swing arm this week. Moved the lower shock mounts back and down to lower the rear end and of course had to shorten the kickstand.

IMAG0919.jpg

IMAG0923.jpg

IMAG0924.jpg

IMAG0927.jpg

IMAG0926.jpg
 
Tore into the bike again yesterday, Started with the handle bars and kind of took off from there. Flipped the headlight ears and raised the fork tubes up 1" to compensate for the rear end being much lower now.

IMAG0932.jpg

IMAG0933.jpg
IMAG0934.jpg
IMAG0936.jpg
 
Once I put the headlight back I thought the gauges looked out of place because they were so high. Modified the stock bracket to also lower it. Brought it down 2" and I think it looks so much better while sitting on the bike.

IMAG0937.jpg

IMAG0938.jpg

IMAG0939.jpg

IMAG0940.jpg

IMAG0941.jpg

IMAG0943.jpg

IMAG0947.jpg
 
Did some touch up paint and gave the lower fork tubes a coat of semi-gloss. Got the new bars, grips and mirrors installed. Not sure if I like it all yet. I think the rear end and it's giant seat are still throwing me off lol.

IMAG0951.jpg

IMAG0944.jpg

IMAG0952.jpg

IMAG0945.jpg

IMAG0953.jpg

IMAG0956.jpg

IMAG0957.jpg

IMAG0961.jpg

IMAG0959.jpg

IMAG0958.jpg

IMAG0960.jpg
 
Got the fuse box cleaned up today. The previous owner just added and external fuse holder when one of the ends broke inside the stock box. Wasn't hurting anything until the other prongs started to brake.....

Before.
IMG_1695.jpg


After.
IMAG0824.jpg

IMAG0827.jpg

IMAG0826.jpg
 
Where did you score the new fuse block. It's small and clean looking. My fusebox was completely ripped out by the PO and he thought wire nuts were fuses.
 
Back
Top