Right so about a year ago i picked up a little neglected xs400 for $350NZD (i live in NewZealand..) thats like $250 U.S.
I chucked it in the shed over last summer while i enjoyed my new Harley but since now summer is upon me im smashing it out into something different.
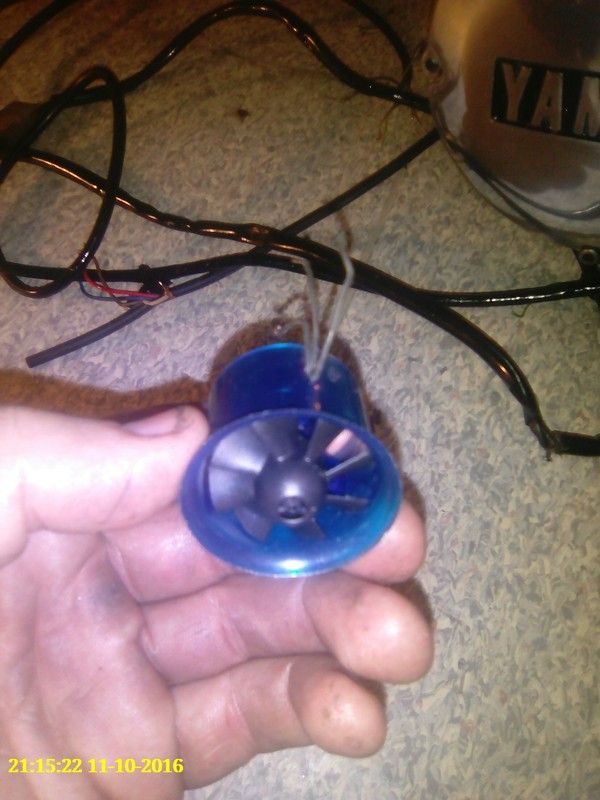
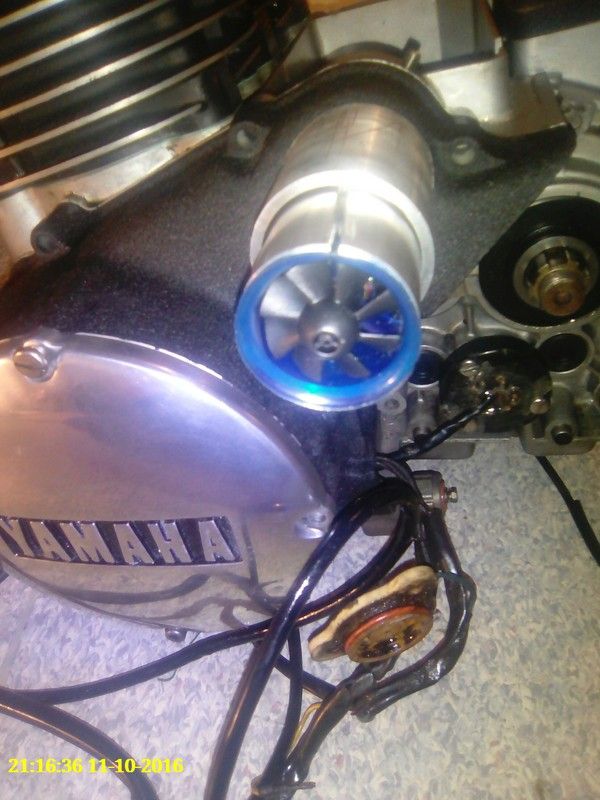
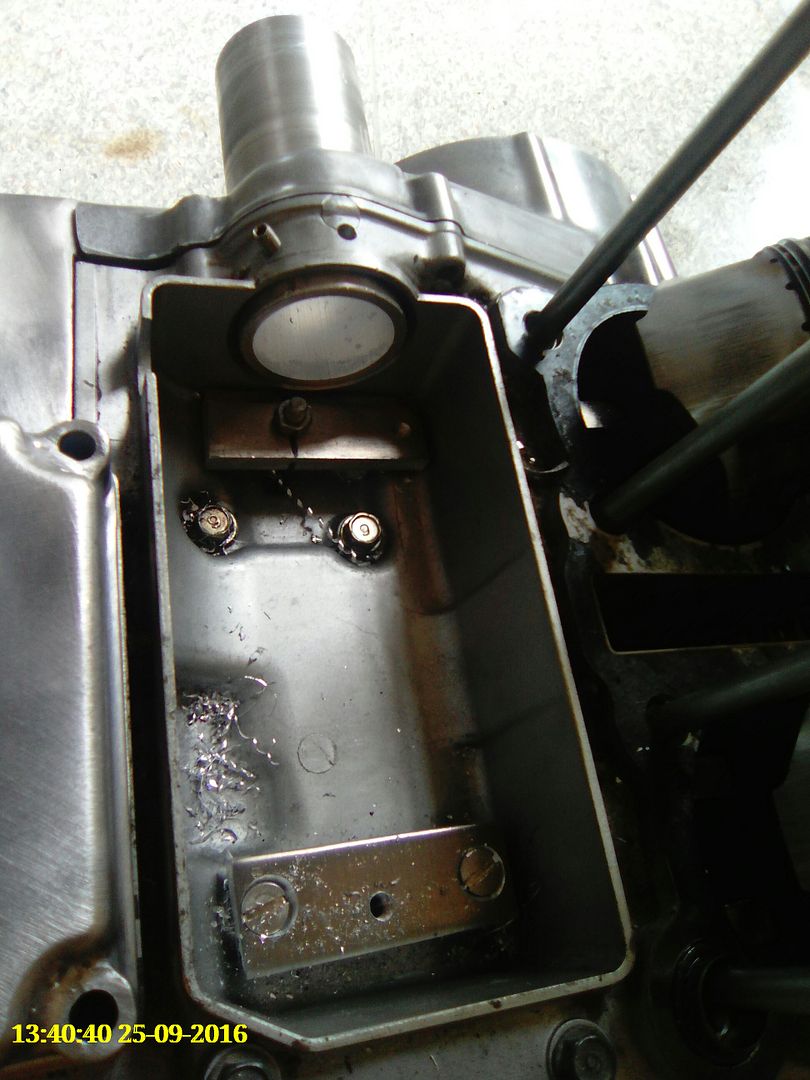
The plan is pretty simple, hack off all the bits it doesn't need, bling up the motor with fresh powdercoat, relocate all the electrics to the starter motor location (after removing the starter), a small battery into the breather space with the help of a spacer plate, and cool it all off with an edf mounted in a tube blowing through the alt case into the electrics compartment and new battery space! New indicators, controls, grips, mirrors, head& taillight...
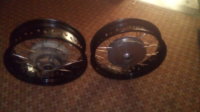
Now for the fatassed bit.. relacing the factory drum hubs with 3.5" up front and 5" in the rear running 120/170 tyres! ofcorse I'll have to pump the swingarm out 30mm and offset the sprockets 20mm but that's part of the fun, did i mention the monoshock bit??
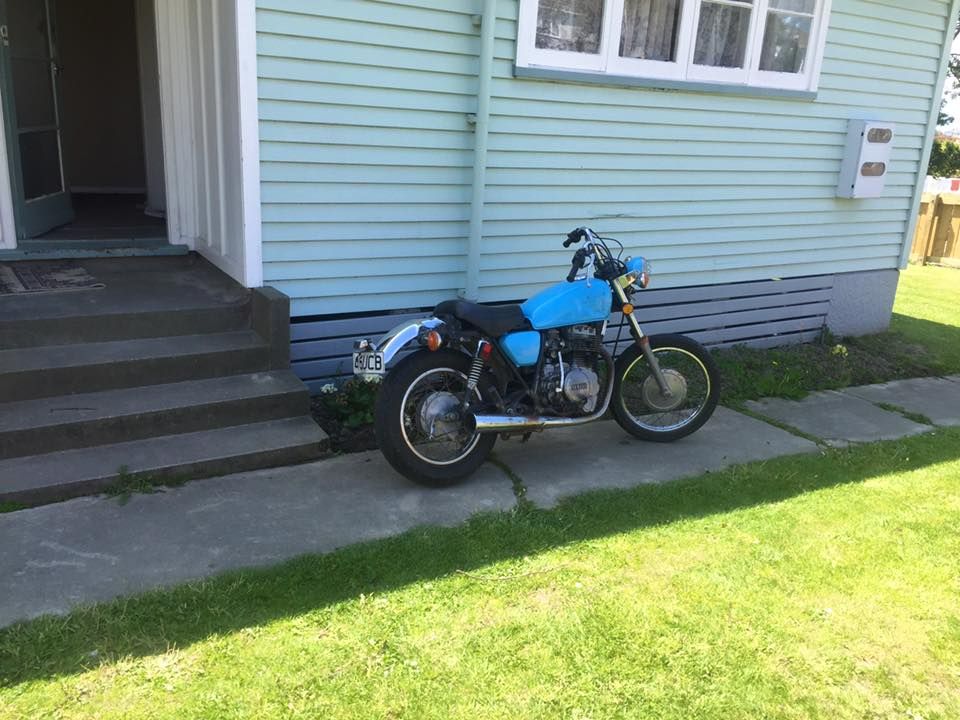
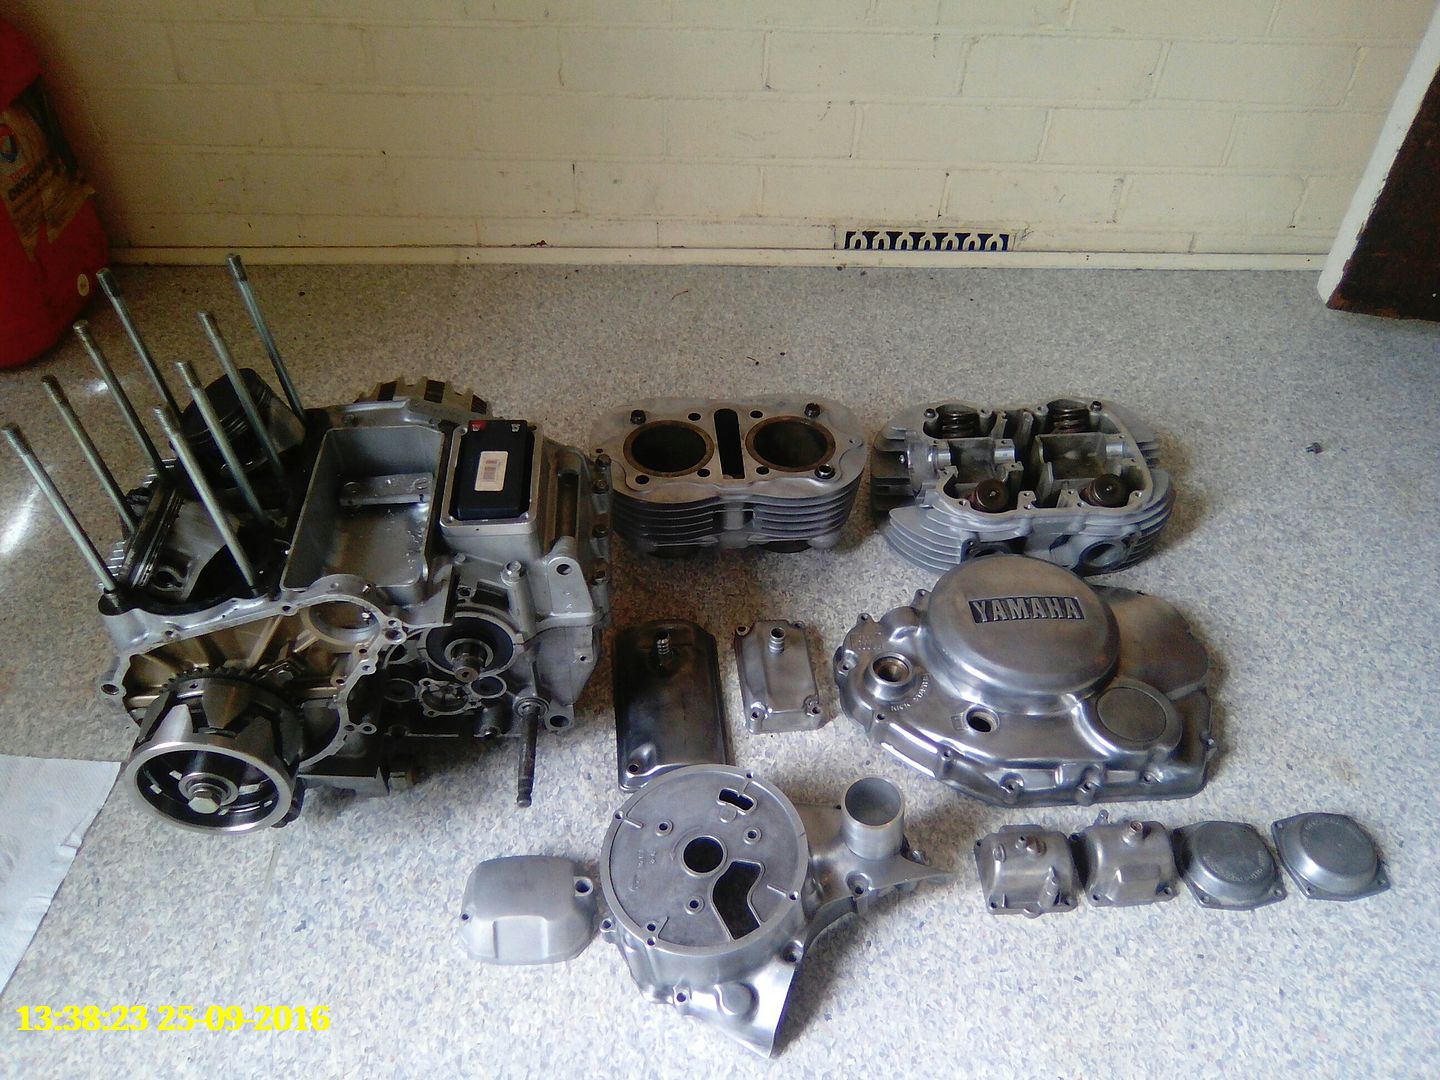
Prestrip
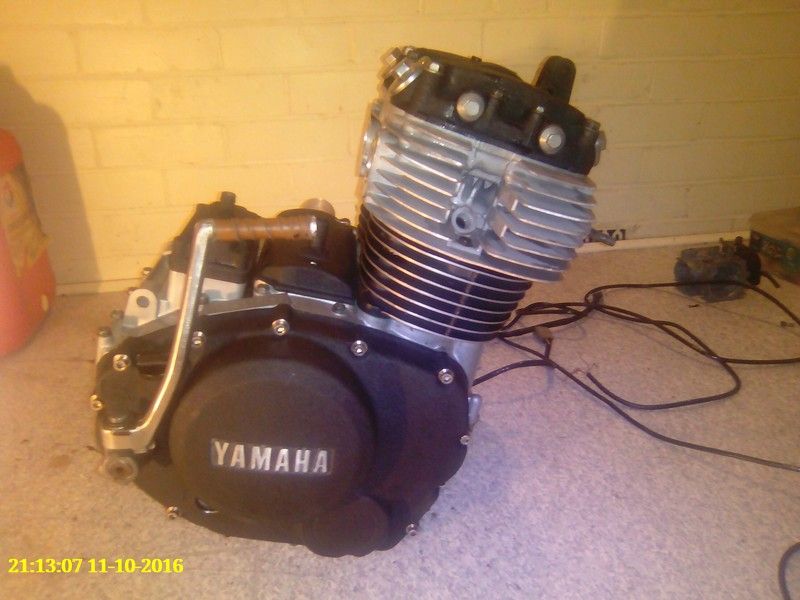
Cleaned up ready for powdercoat
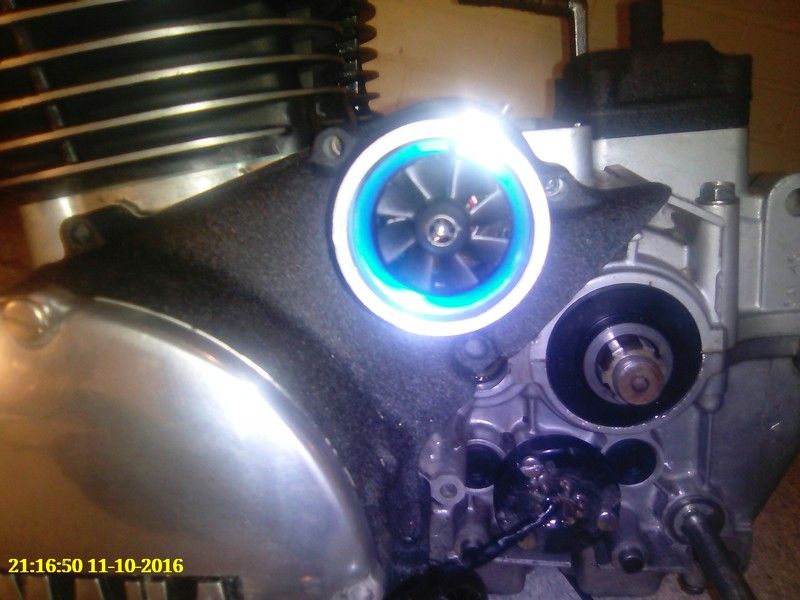
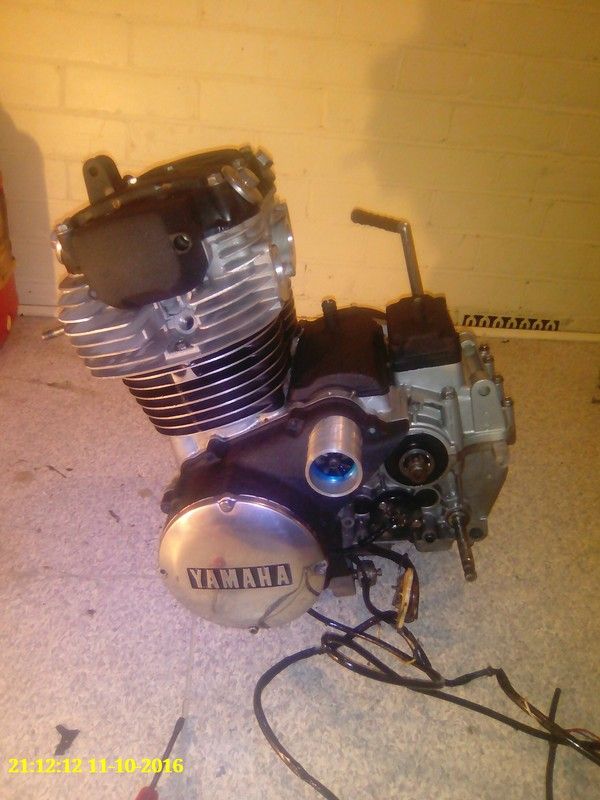
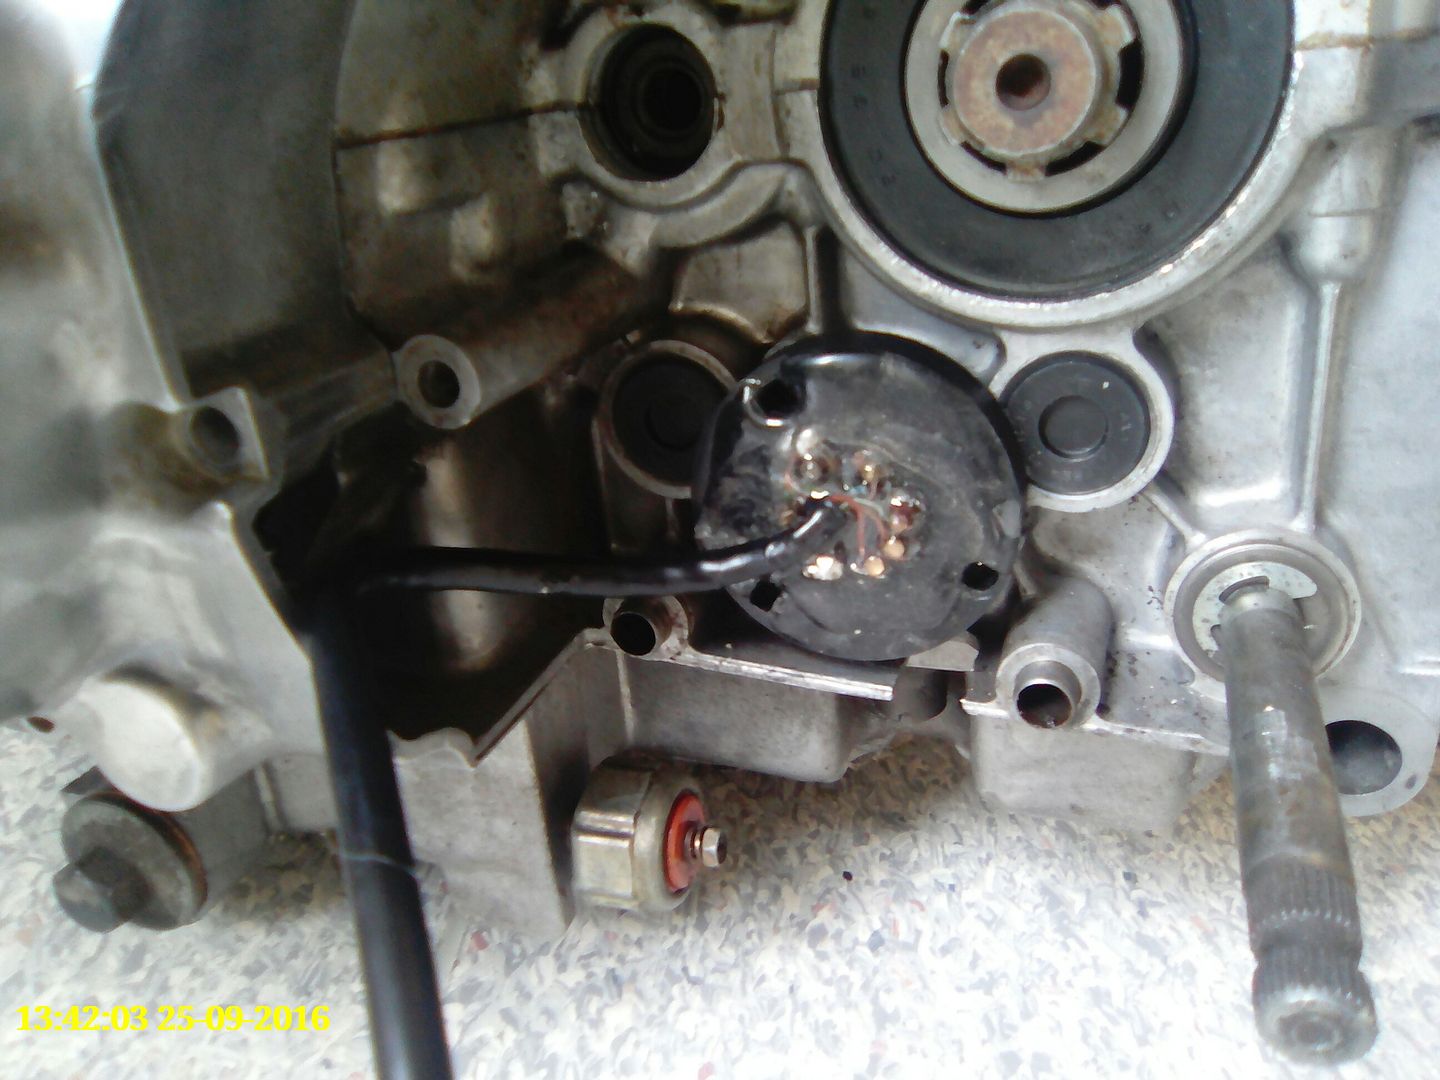
Case bored through
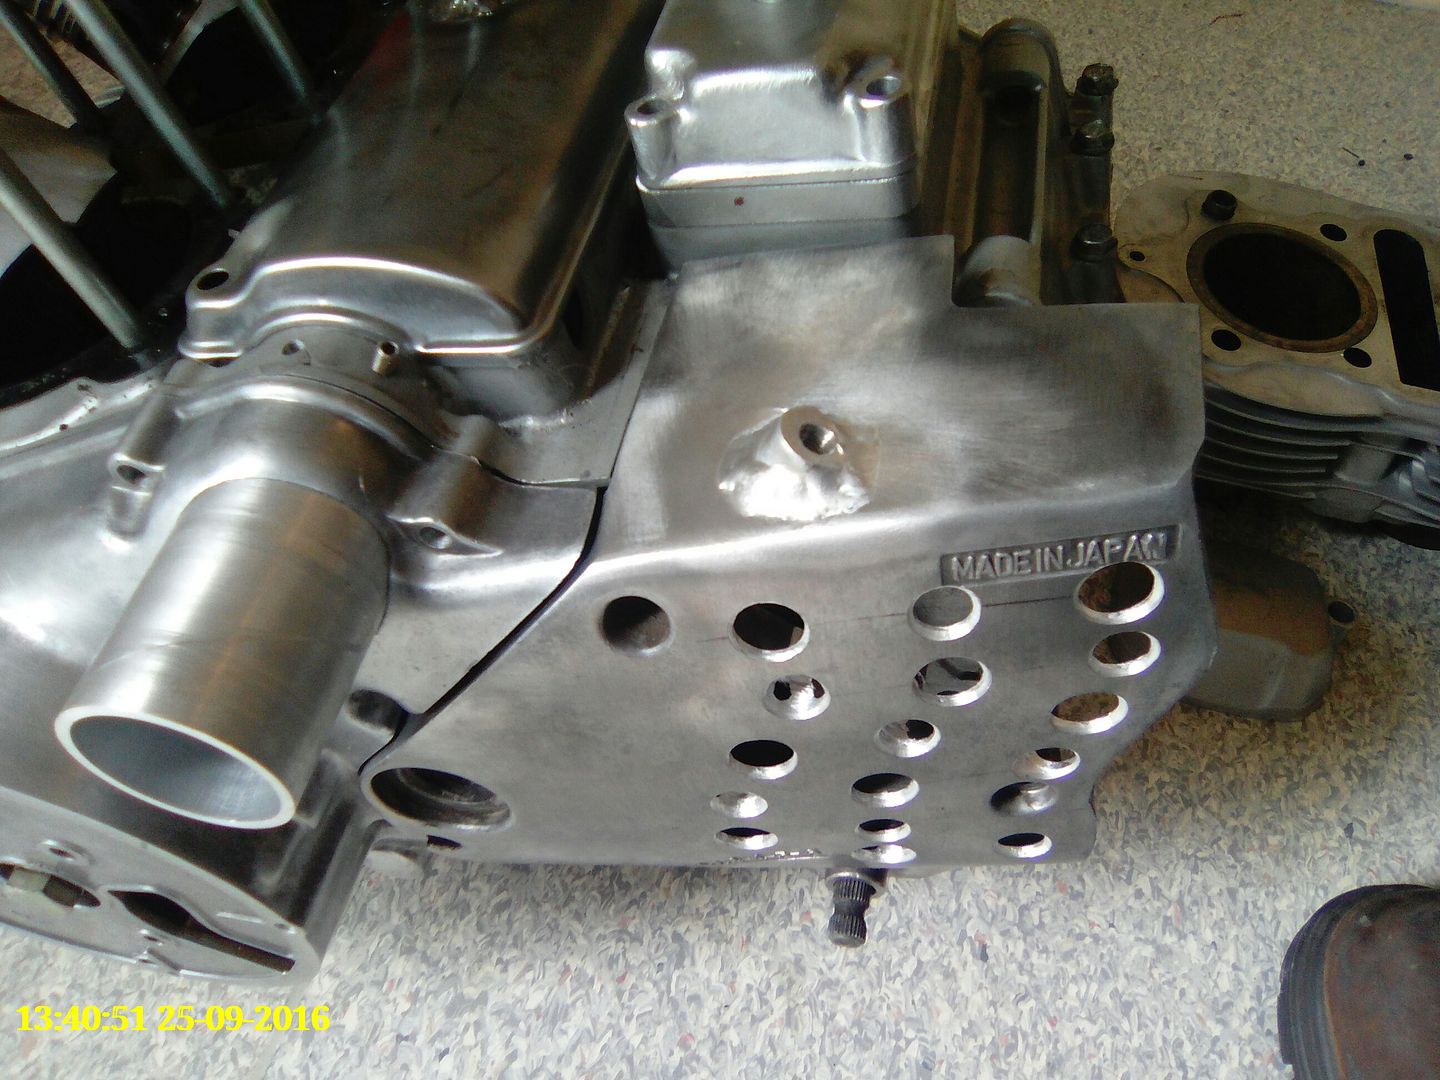
Holey hell
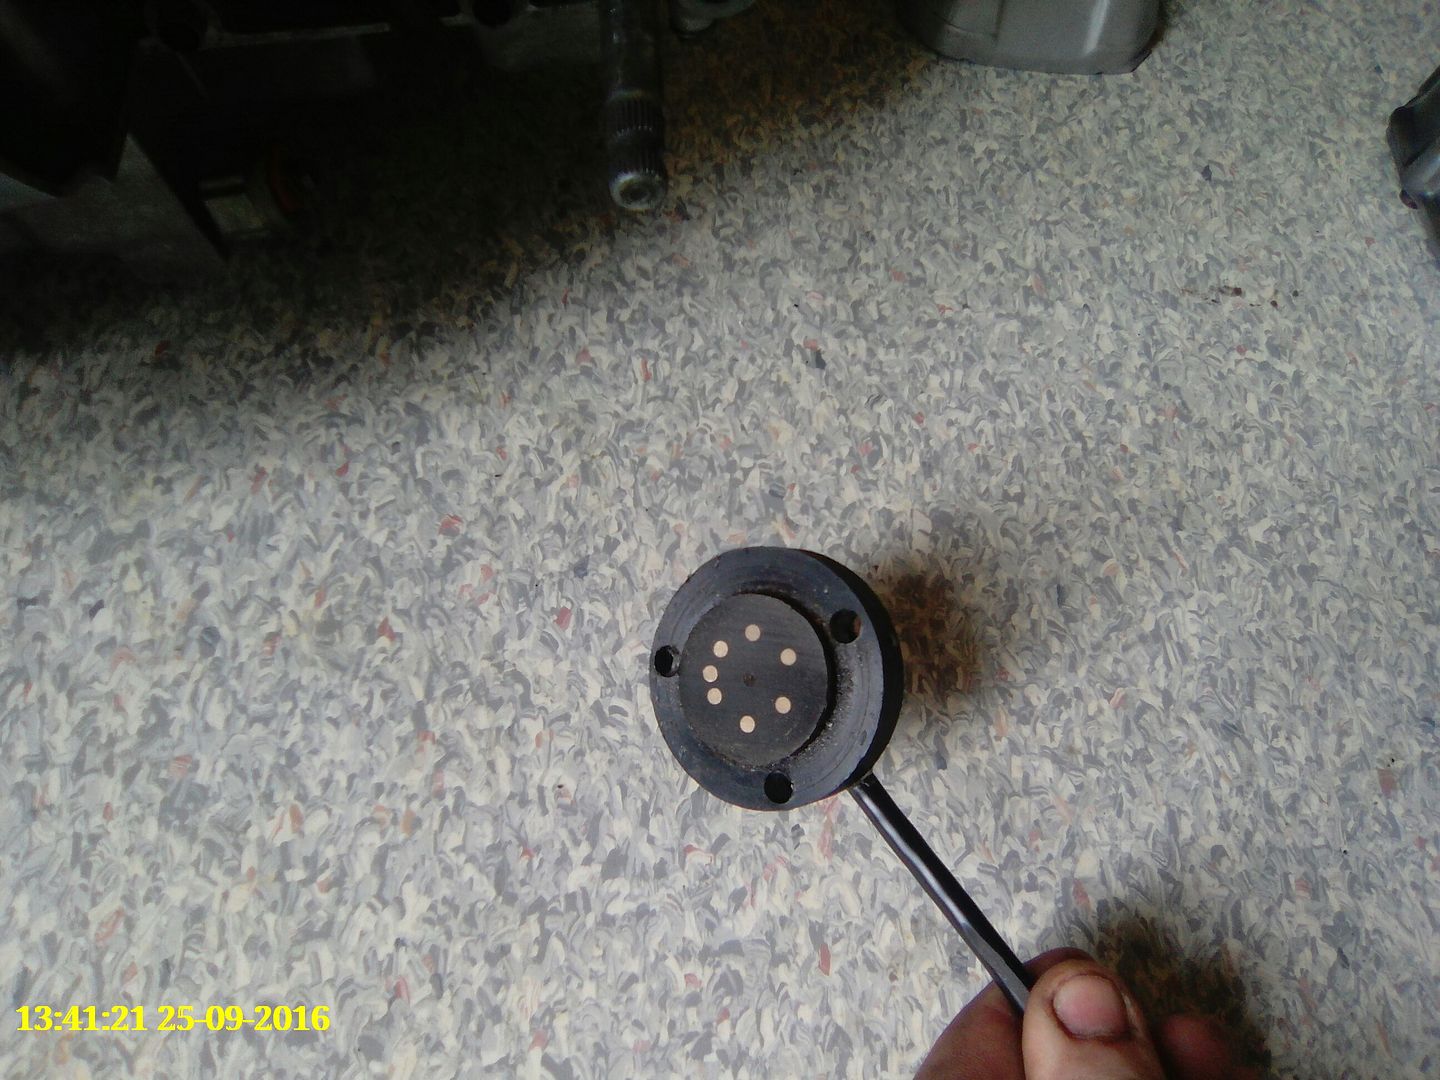
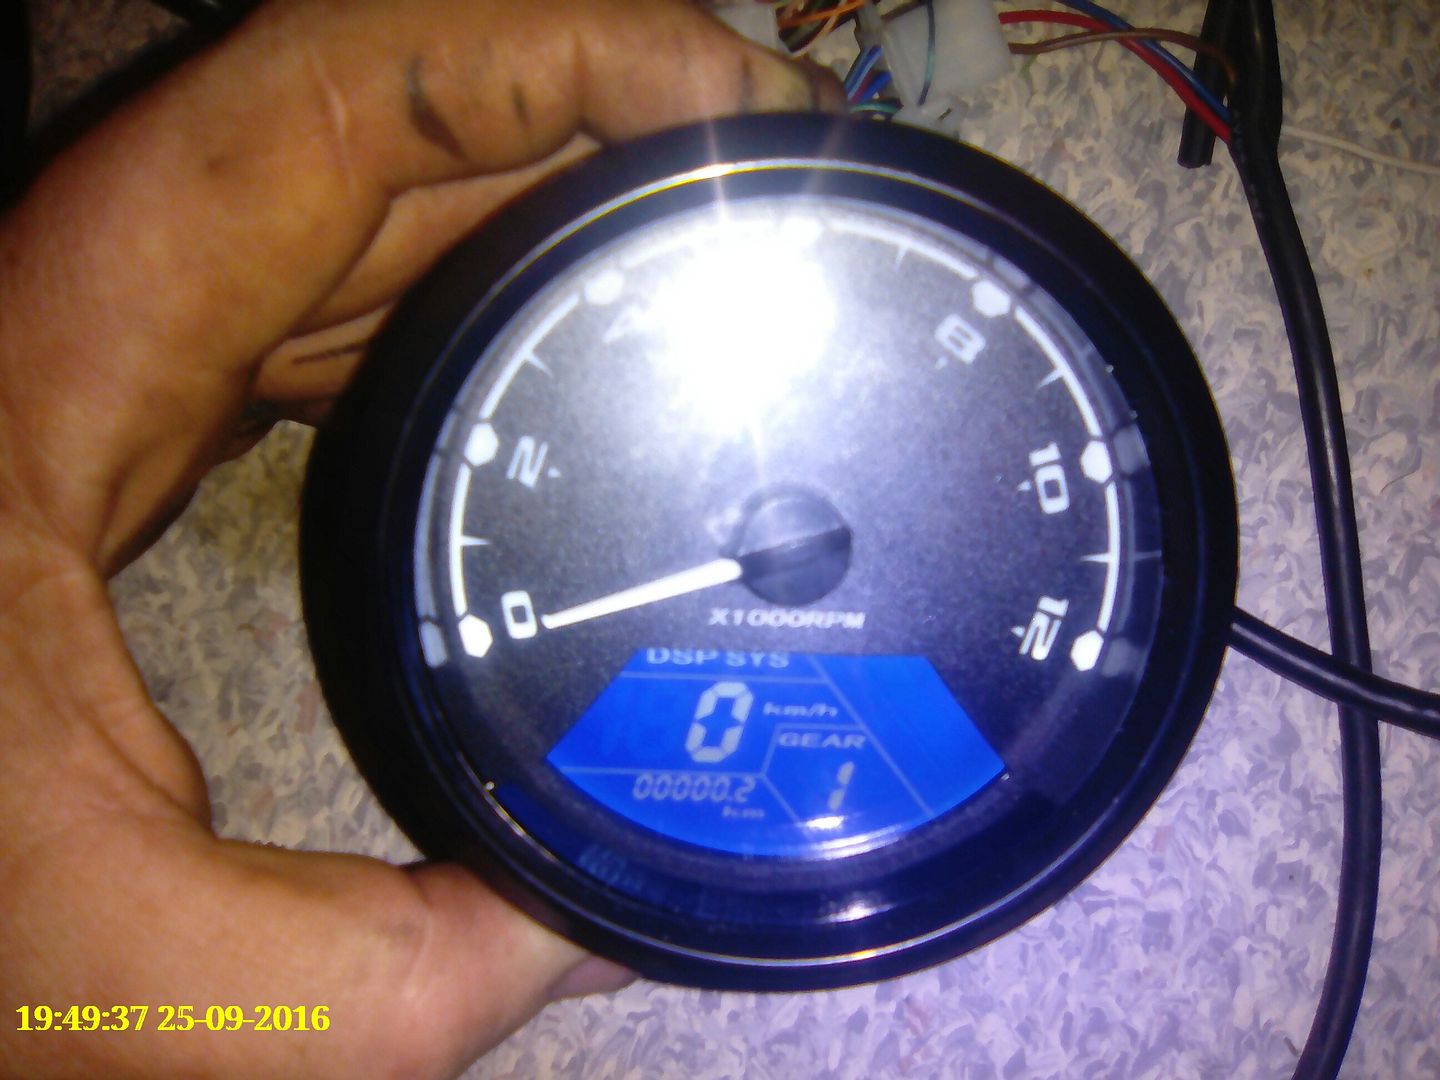
7 position gear sender!
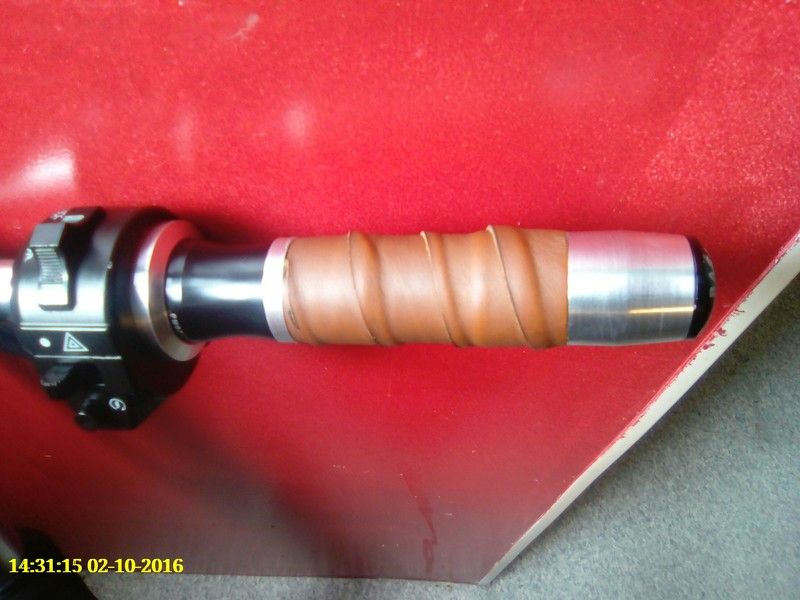
Machined and leather wrapped rizoma grips
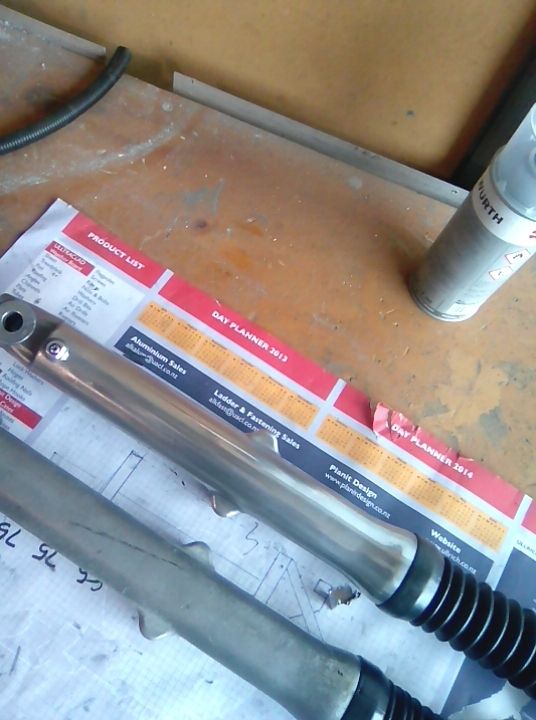
pretty crazy what a quick wire brush and buff will do
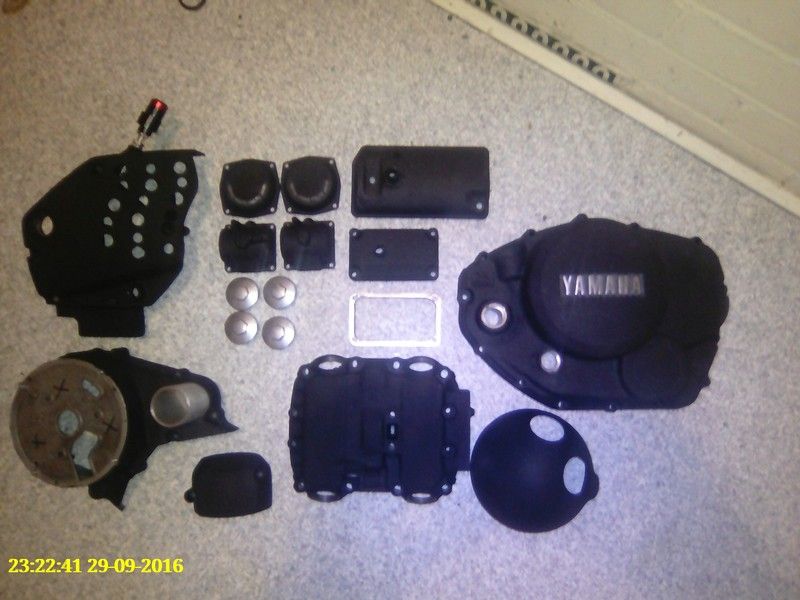
Powdercoat came back
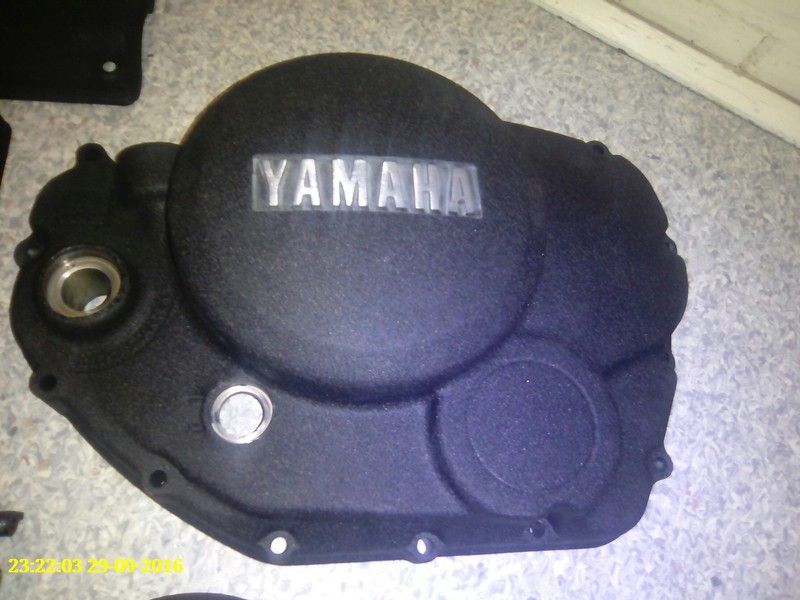
The texture is like 400 grit wet/dry..evil
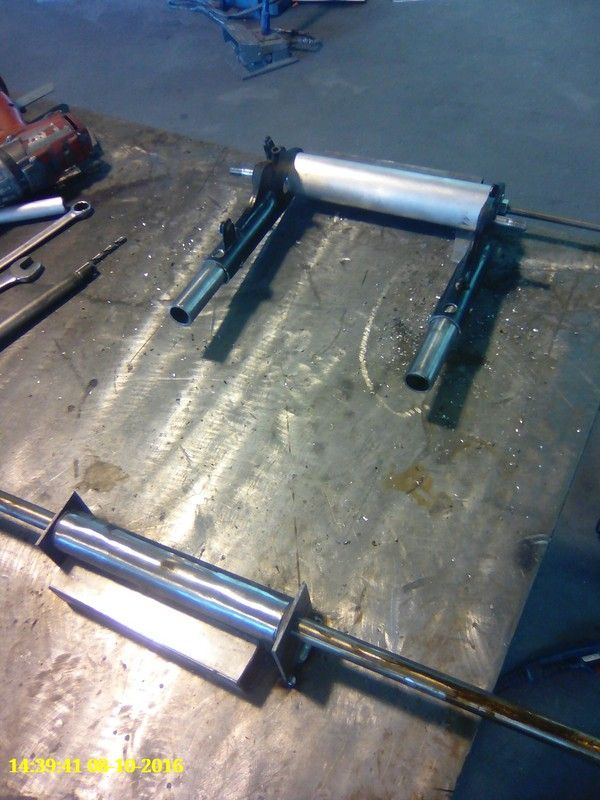
Little bit hori, hacked up the swingarm and takced a jig to the bench, close enough..
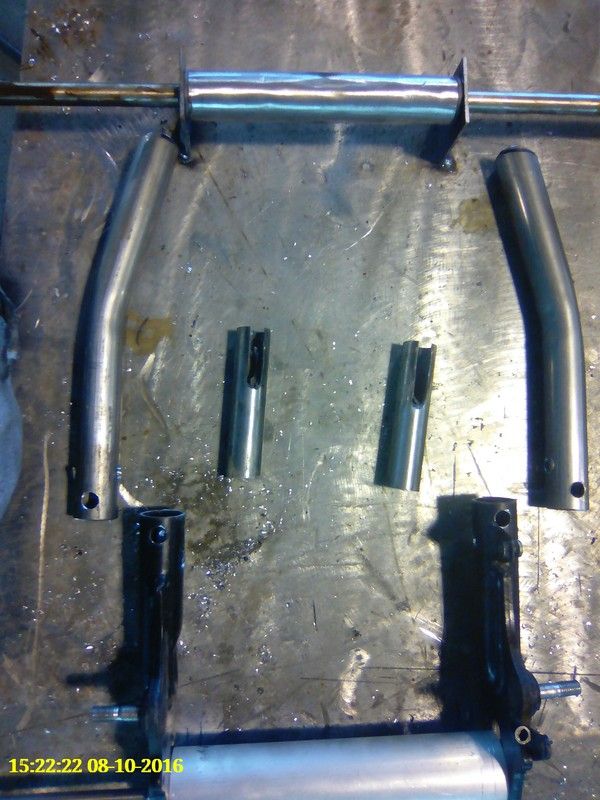
Bent up and notched some new bits, slugs to go in and drilled for plug welds
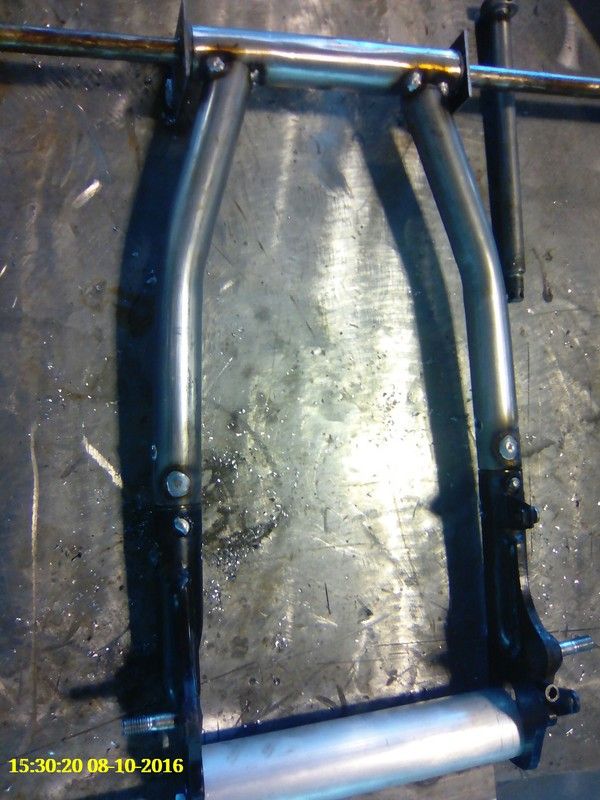
nek minute boom!
Way more to do but its a good start!
I chucked it in the shed over last summer while i enjoyed my new Harley but since now summer is upon me im smashing it out into something different.
The plan is pretty simple, hack off all the bits it doesn't need, bling up the motor with fresh powdercoat, relocate all the electrics to the starter motor location (after removing the starter), a small battery into the breather space with the help of a spacer plate, and cool it all off with an edf mounted in a tube blowing through the alt case into the electrics compartment and new battery space! New indicators, controls, grips, mirrors, head& taillight...
Now for the fatassed bit.. relacing the factory drum hubs with 3.5" up front and 5" in the rear running 120/170 tyres! ofcorse I'll have to pump the swingarm out 30mm and offset the sprockets 20mm but that's part of the fun, did i mention the monoshock bit??
Prestrip
Cleaned up ready for powdercoat
Case bored through
Holey hell
7 position gear sender!
Machined and leather wrapped rizoma grips
pretty crazy what a quick wire brush and buff will do
Powdercoat came back
The texture is like 400 grit wet/dry..evil
Little bit hori, hacked up the swingarm and takced a jig to the bench, close enough..
Bent up and notched some new bits, slugs to go in and drilled for plug welds
nek minute boom!
Way more to do but its a good start!
")