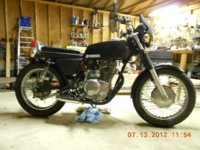
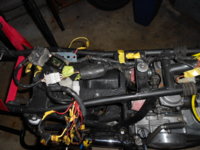
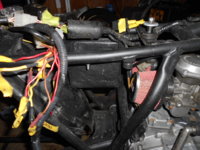
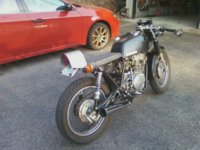
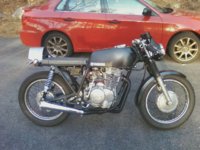
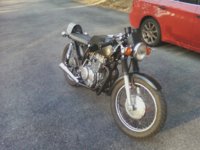
Update:
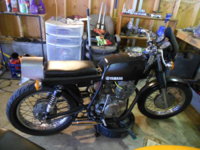
New fuse box
All crimp connections removed; everything is now soldered and shrink wrapped.
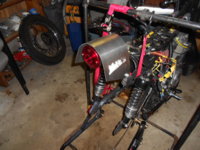
Battery tray is messy, but contains everything
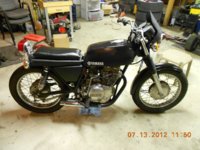
New speedo cable
New tach cable
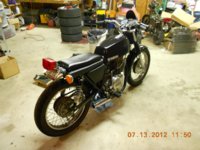
New chain
New front sprocket
New rear sprocket
Stator cover was resealed and the gasket was replaced
Oil drained and oil filter replaced
Spokes adjusted and one was replaced on the rear wheel
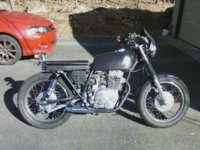
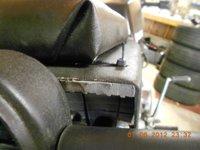
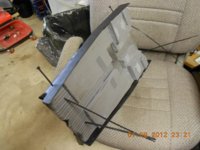
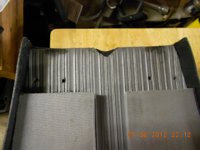
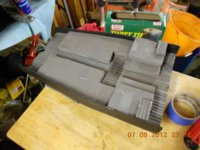
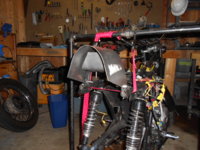
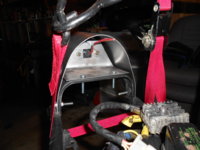
Tail section finalized, but not yet painted
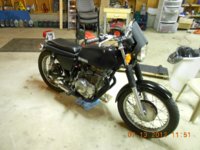
Front and rear wheels removed, cleaned, and the brake shoes were inspected
Front and rear brakes adjusted


") The looks aren't worth the discomfort.
The looks aren't worth the discomfort.