82 Seca Cafe Build

hdscarbro

David
Messages
25
Reaction score
0
Points
1
Location
Carlisle,MA
I started this build a while back and won't repost everything that I've done. Here's a blog you can peruse if you want to go back to the beginning of the project. Going forward, I'll try to post updates here as they happen. Comments and suggestions are greatly appreciated.

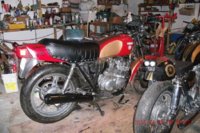
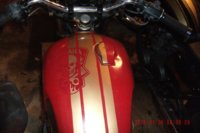
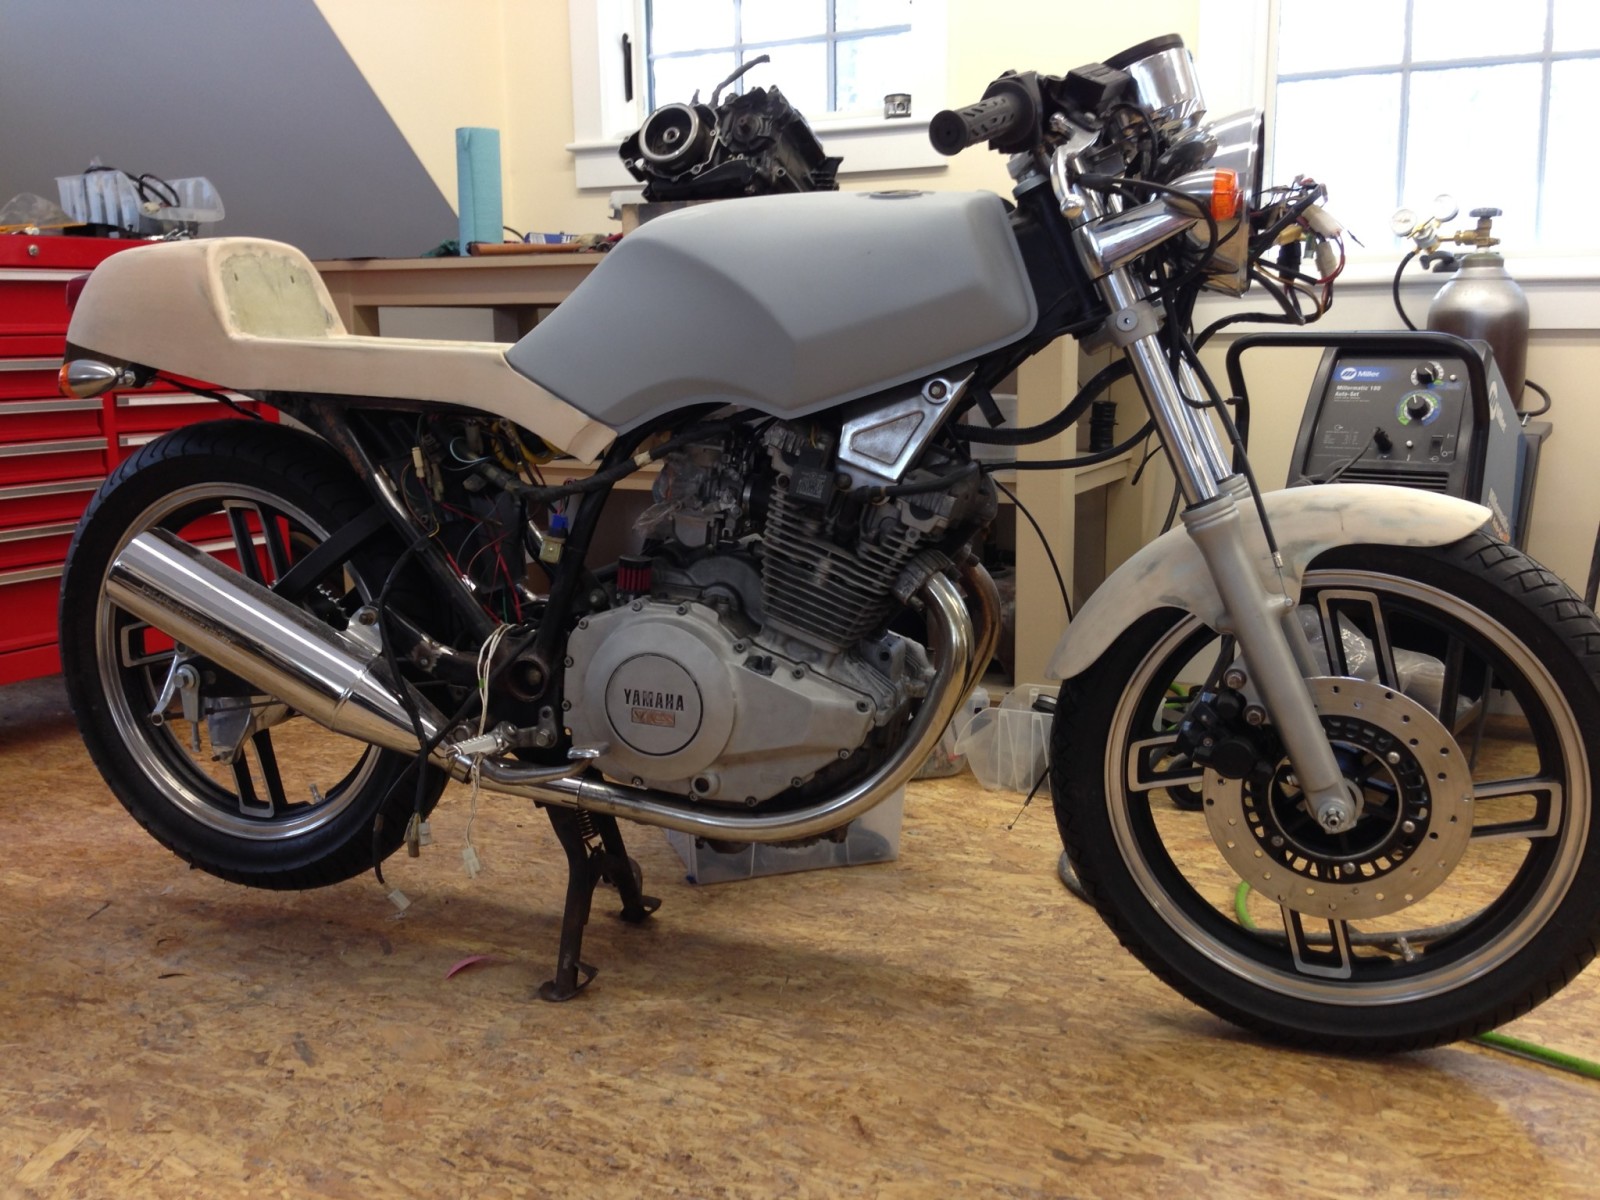
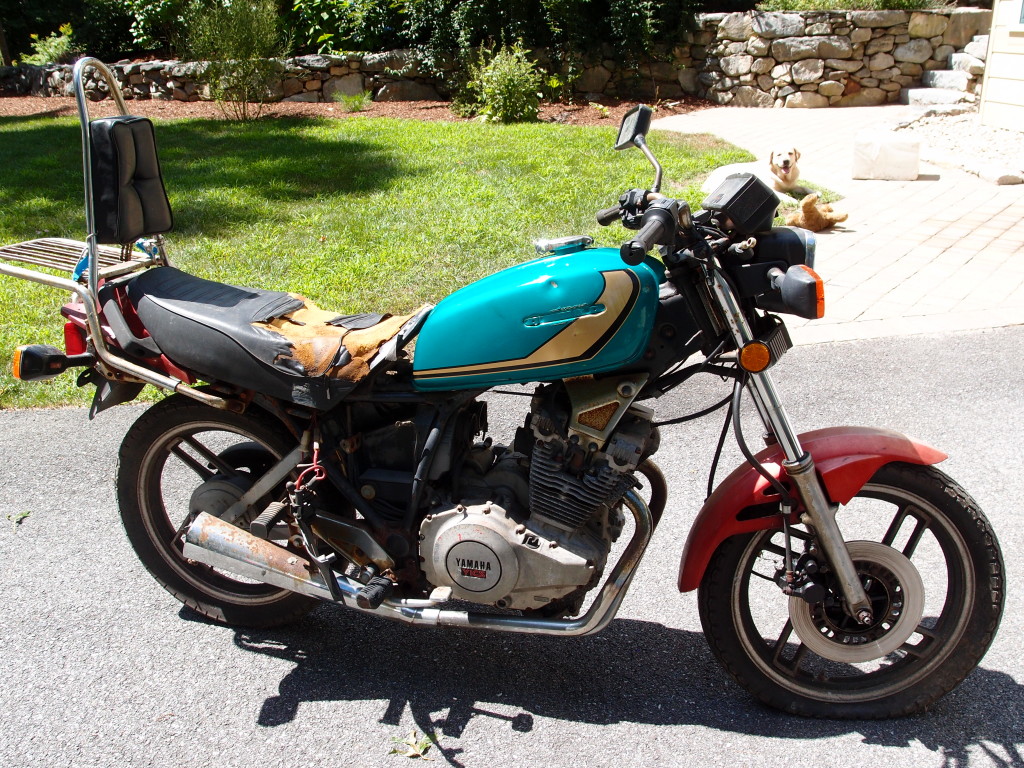
Here's the bike I started with. It was a $100 non-runner sold to me by a guy the empties junk out of houses for sale. The Suzuki tank was a thrown in with the purchase.

P8060759.jpg


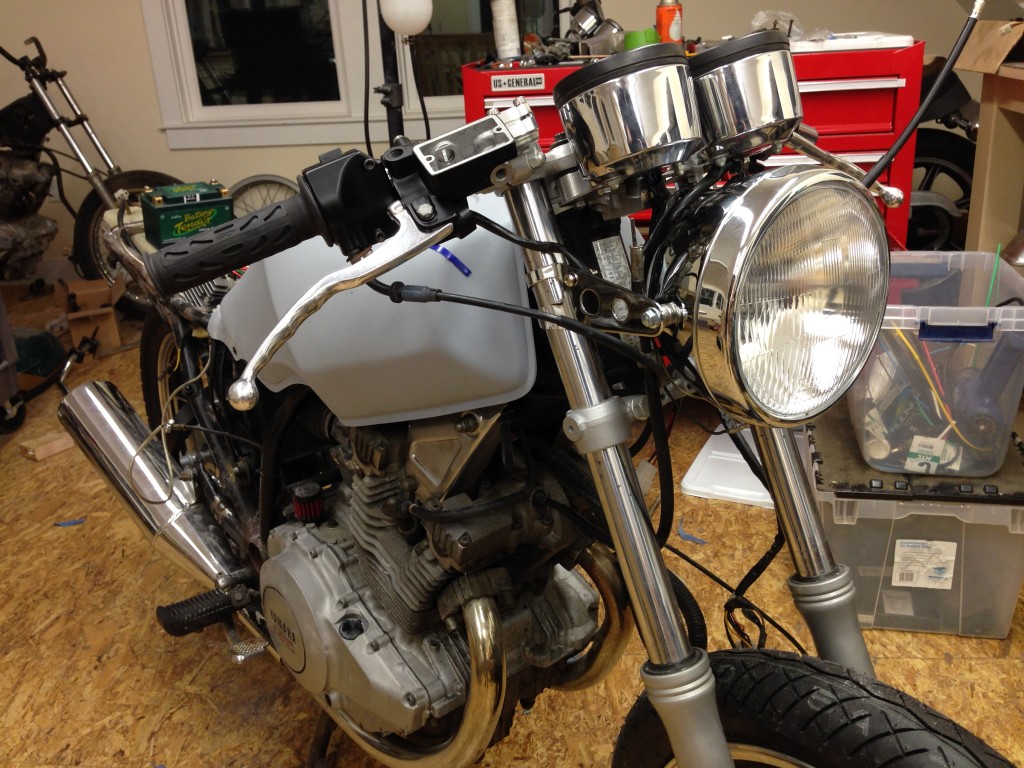
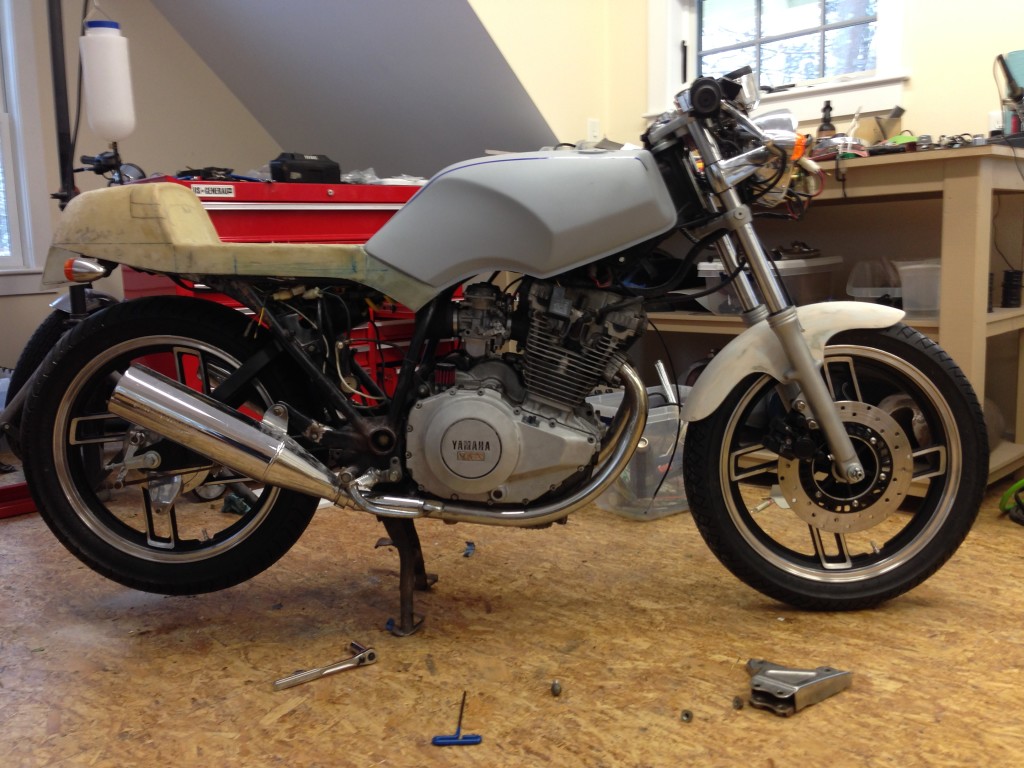
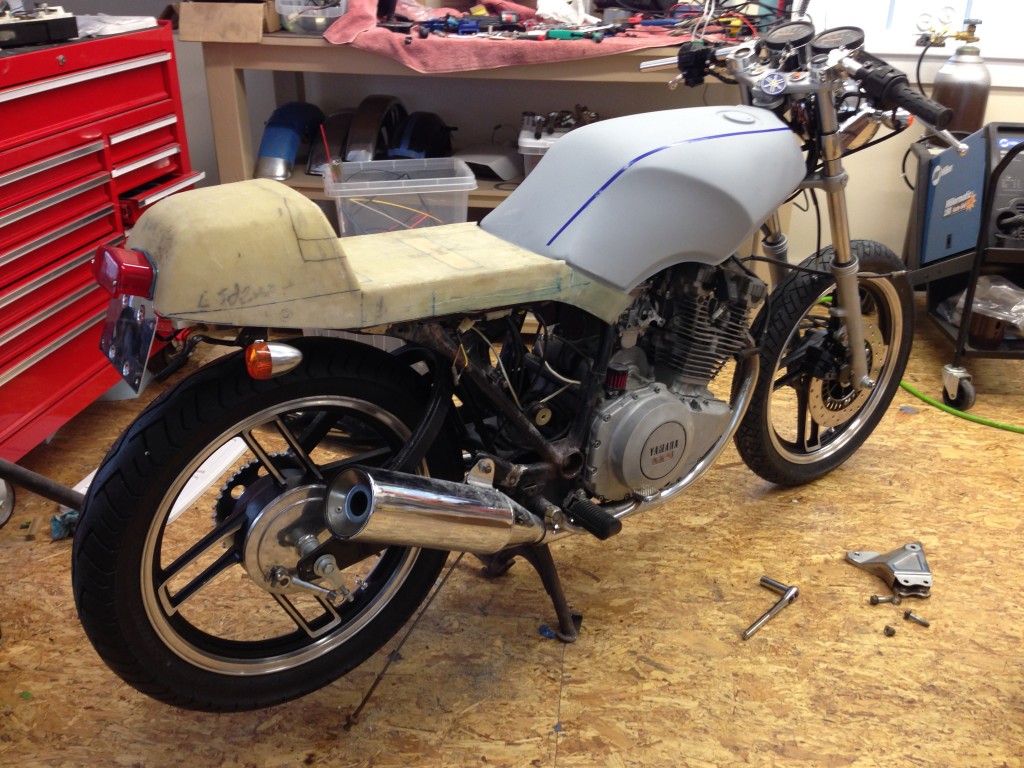
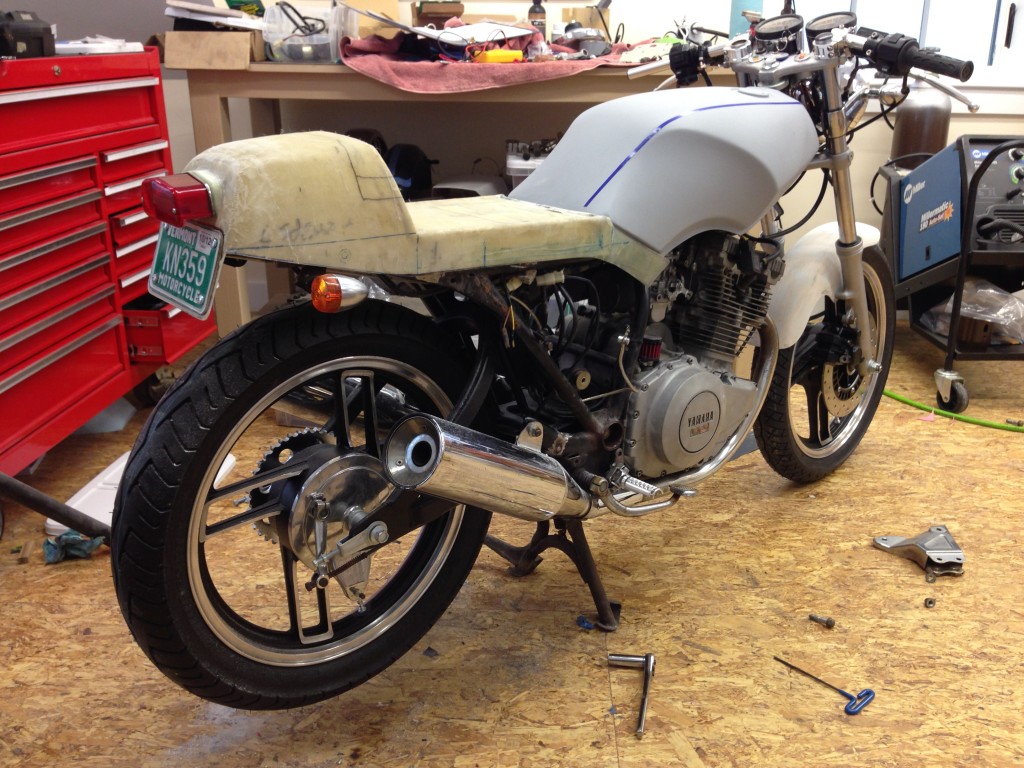
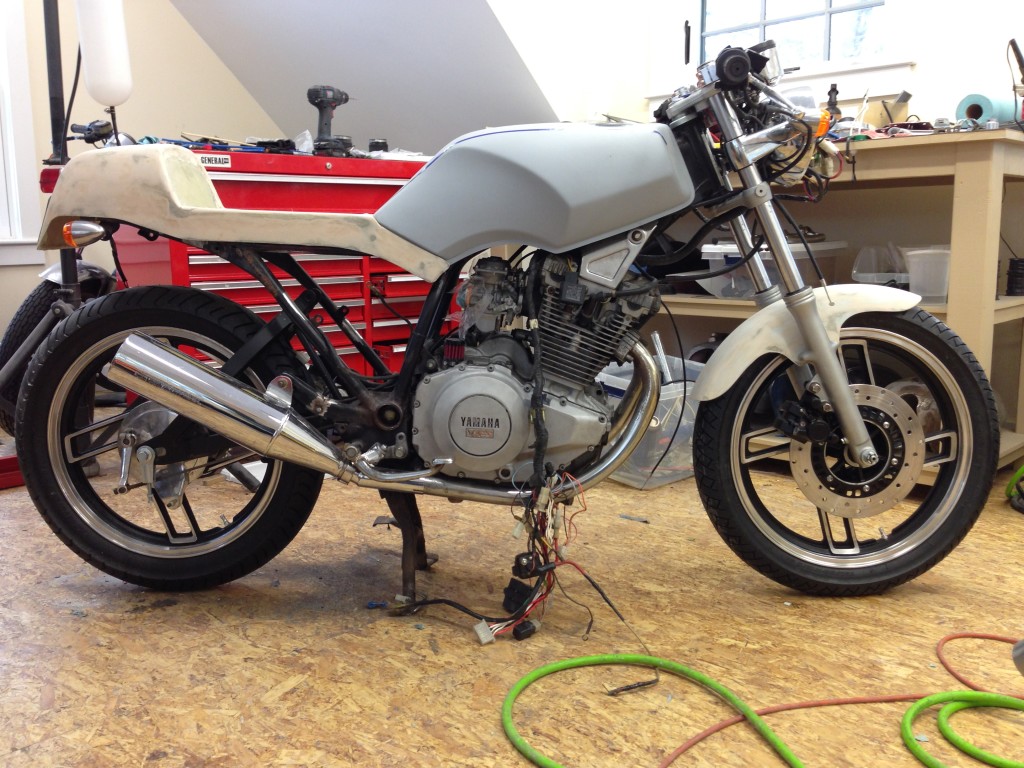
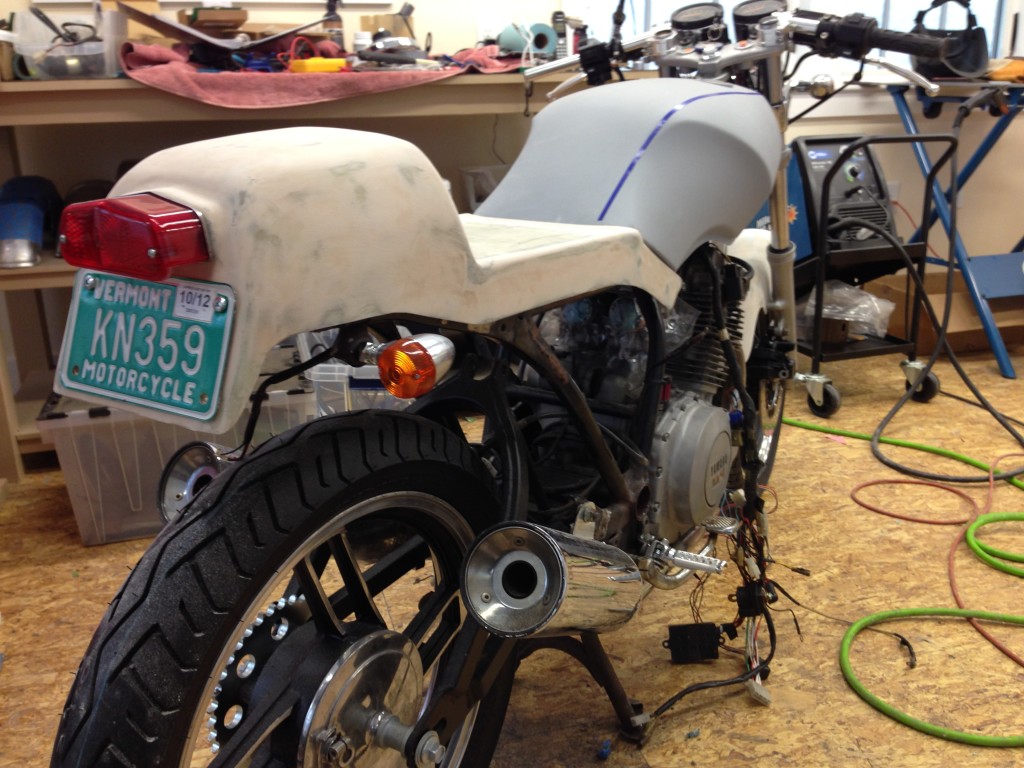
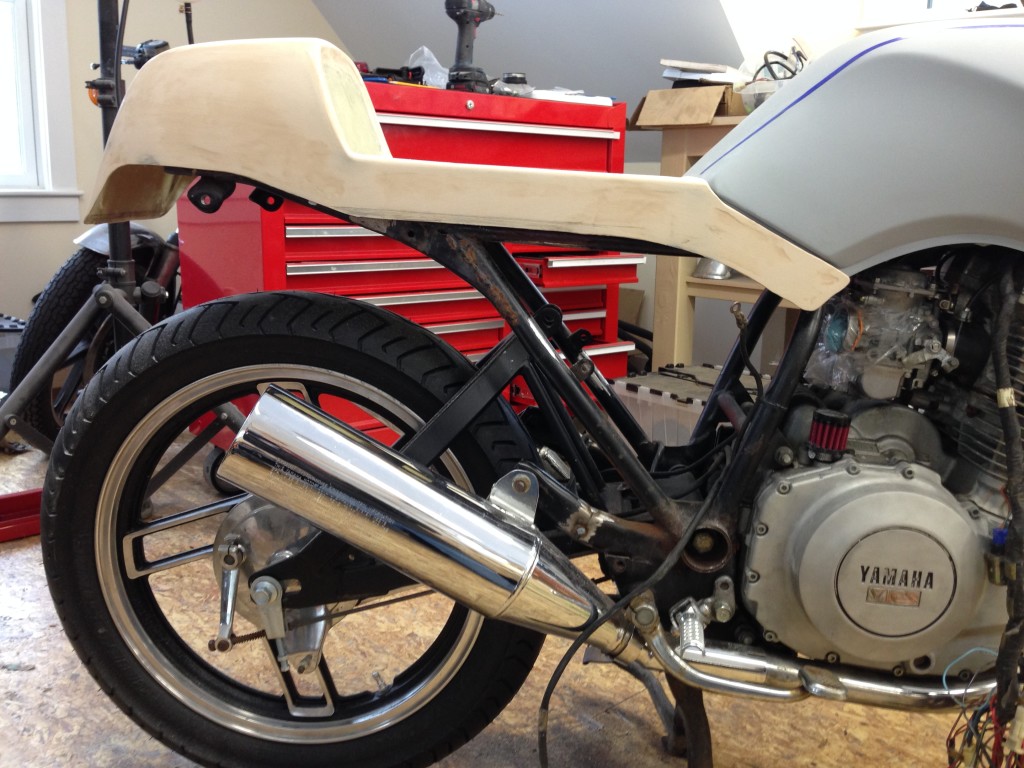
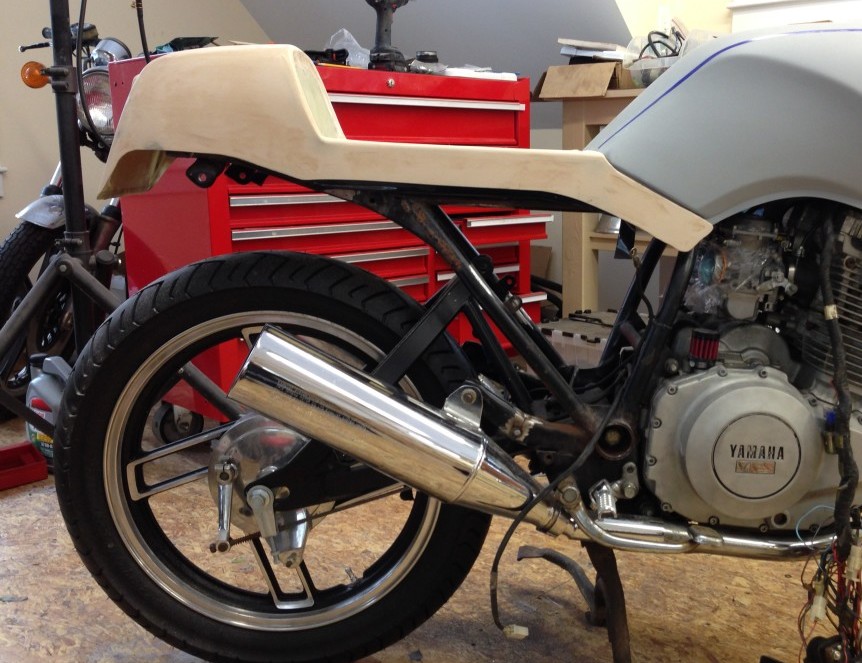
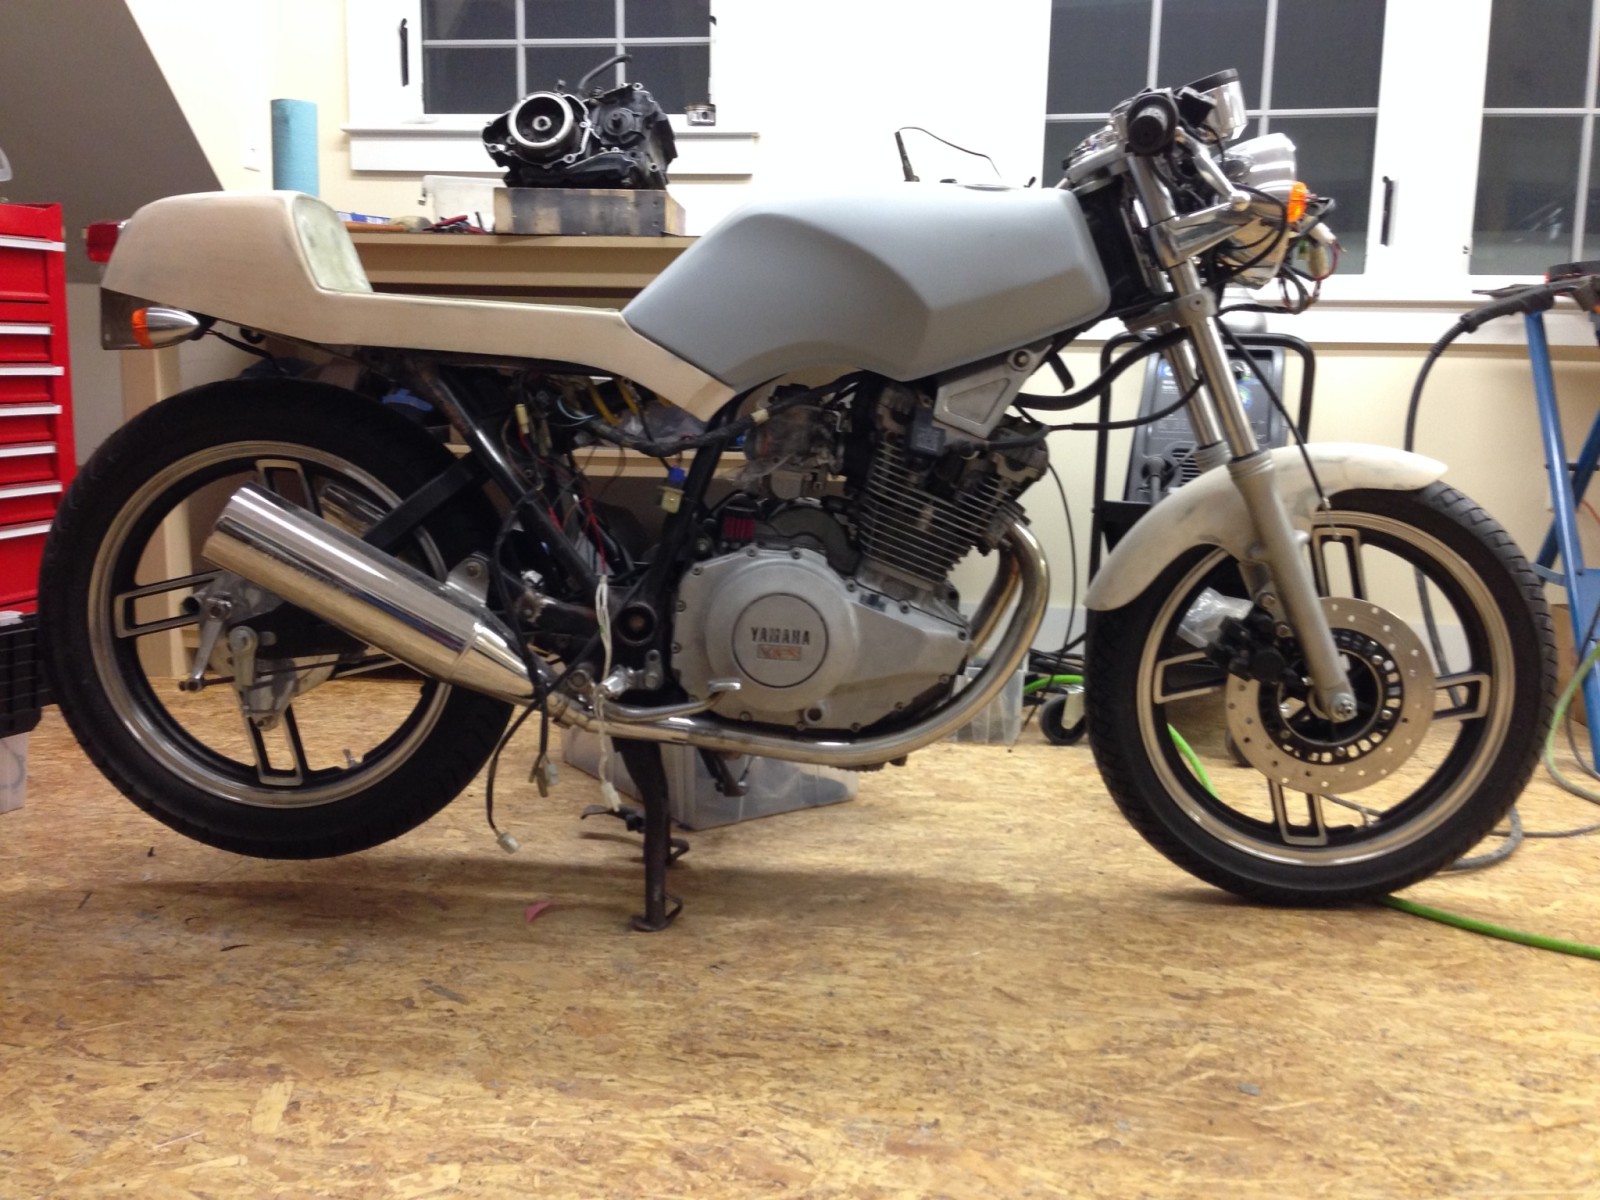
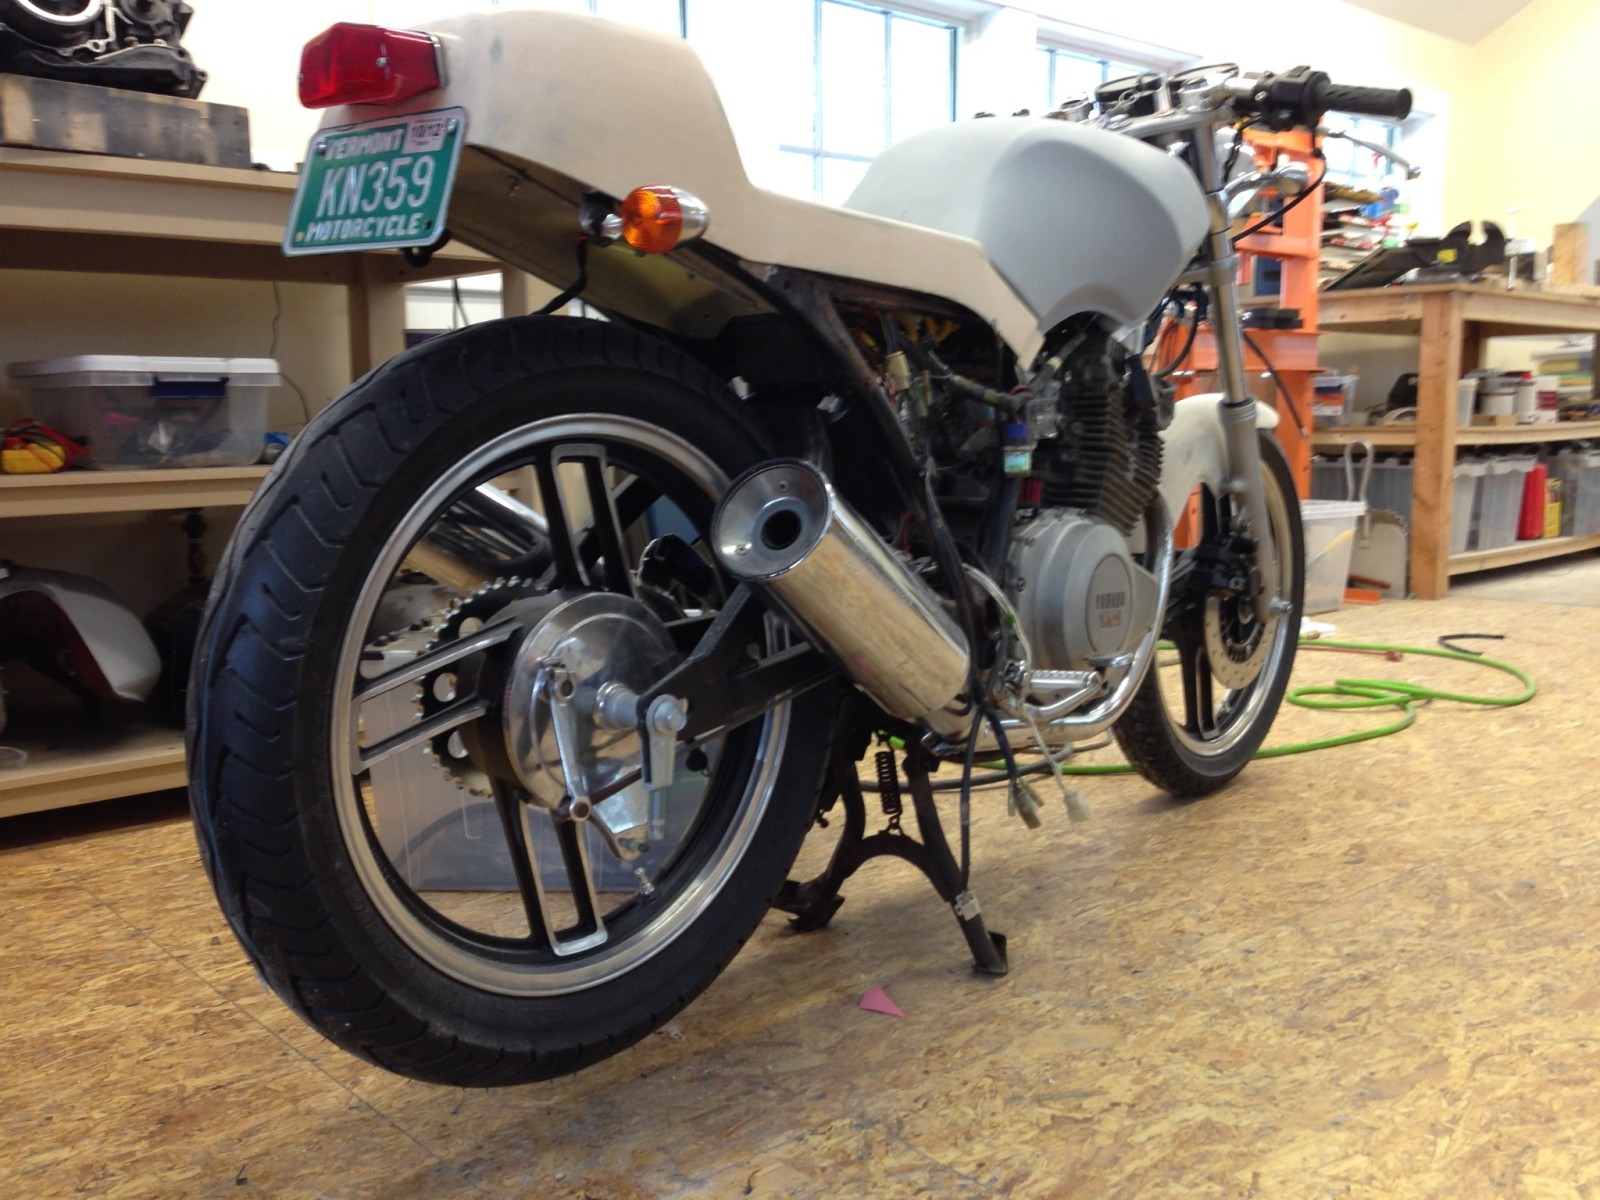
Here's a current photo.

20150122_141459.jpg


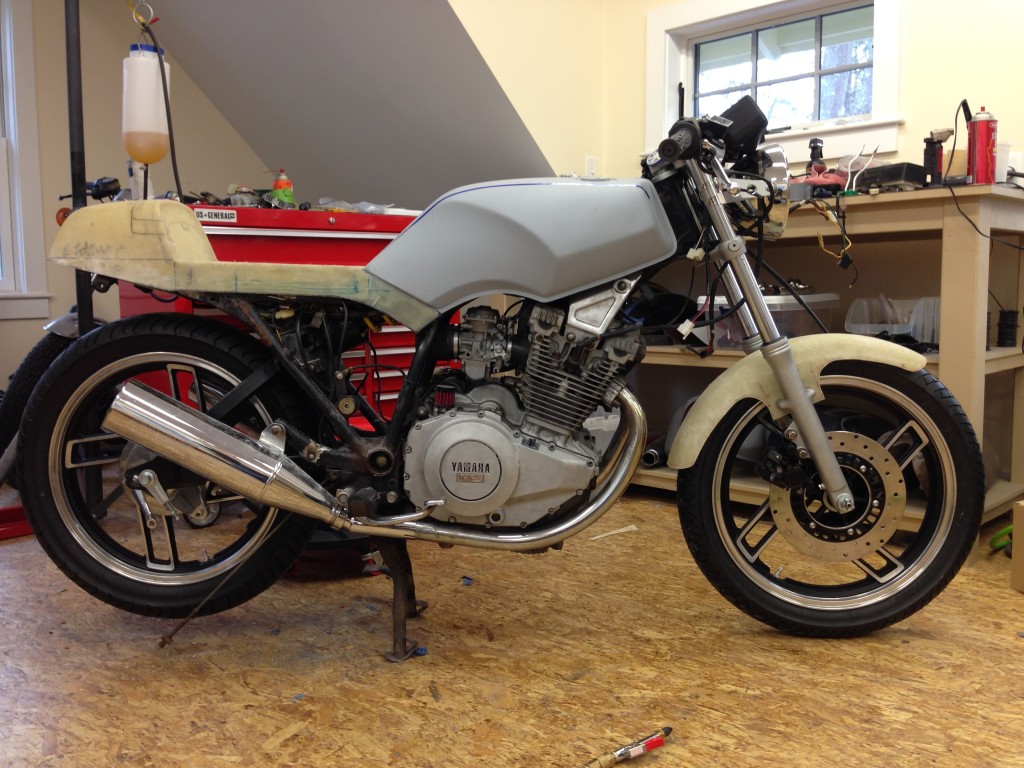
Here's my current plan:

1) Get all of the electrical bits connected and working: headlight, signaled, taillight, etc.
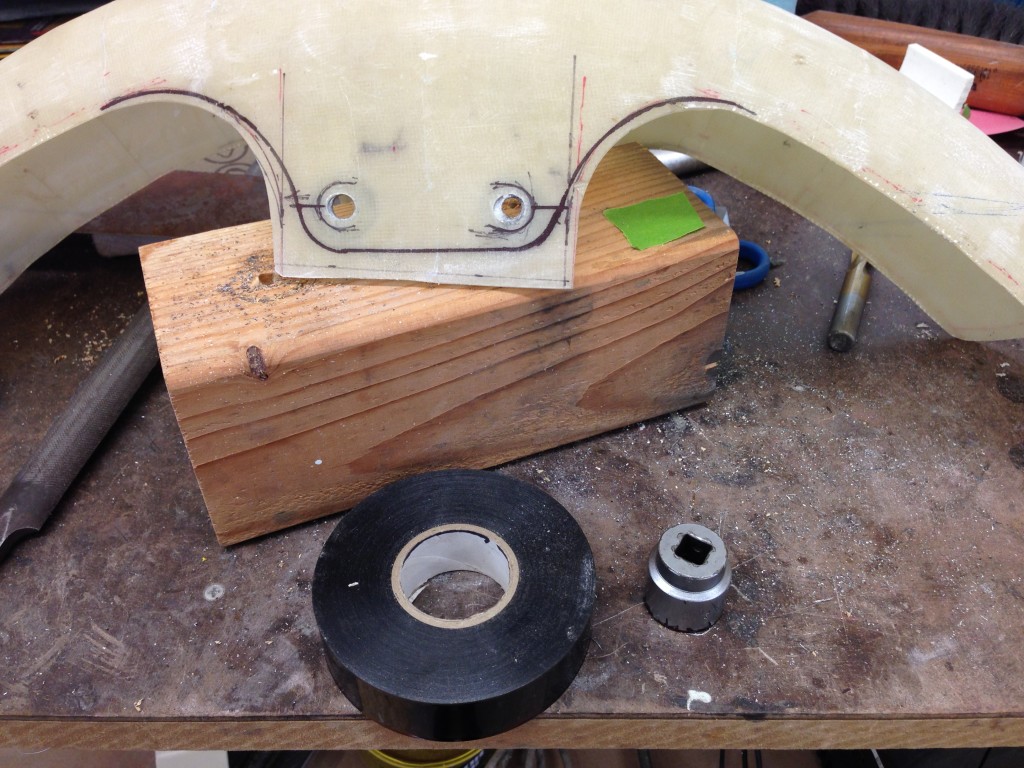
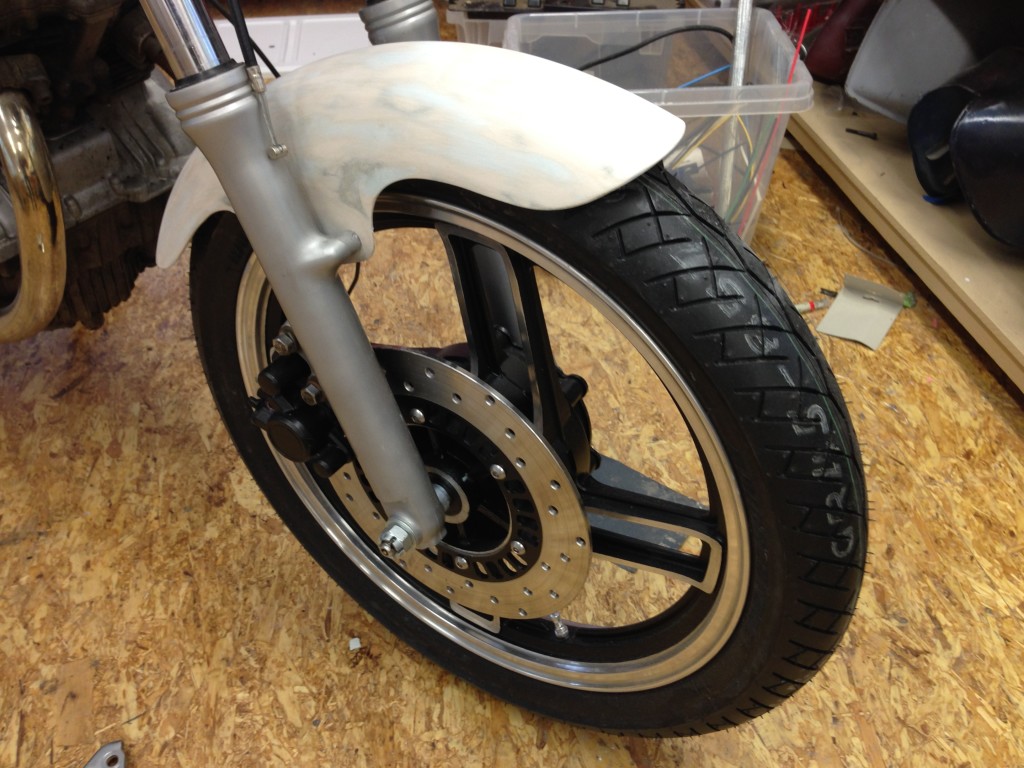
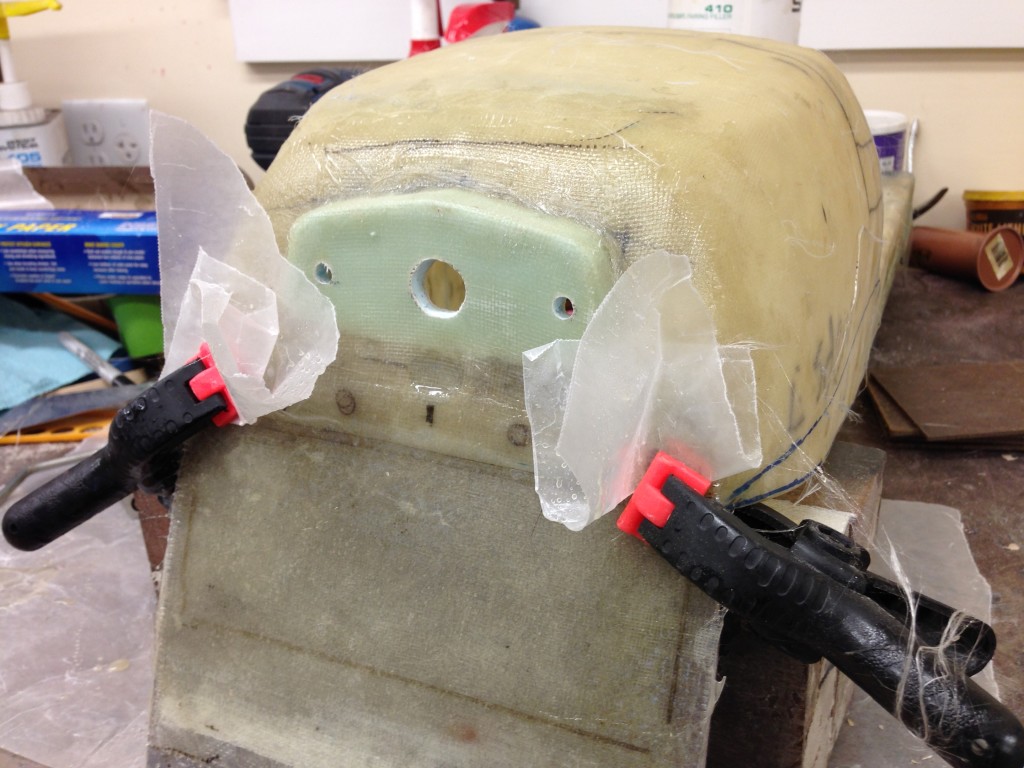
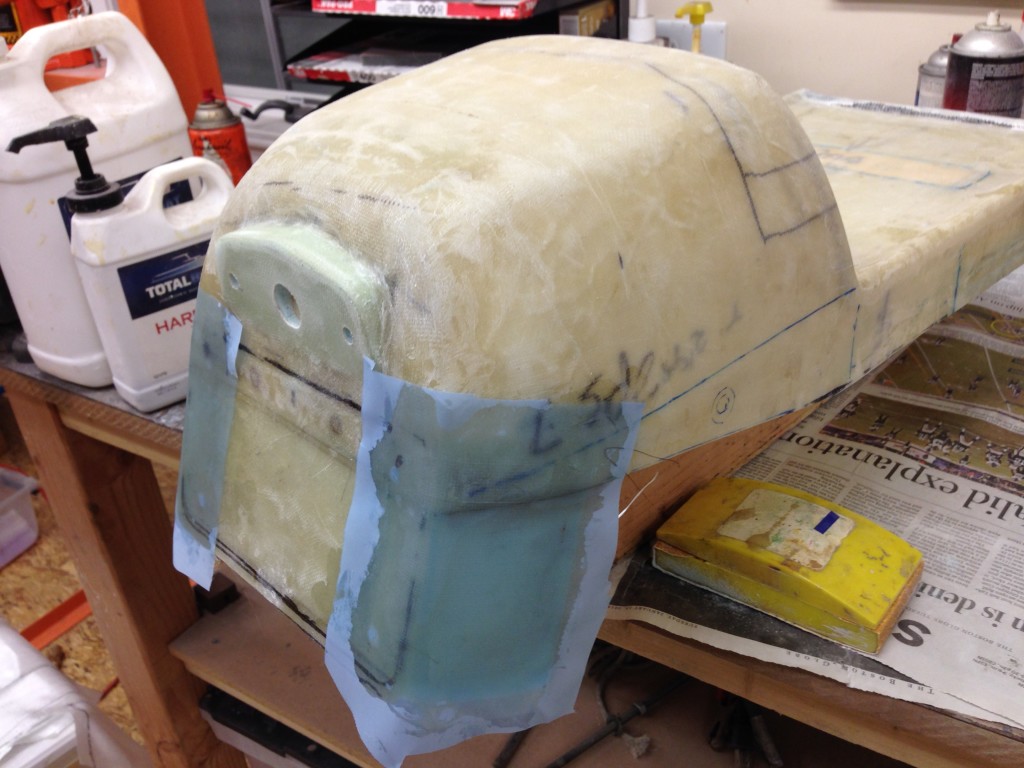
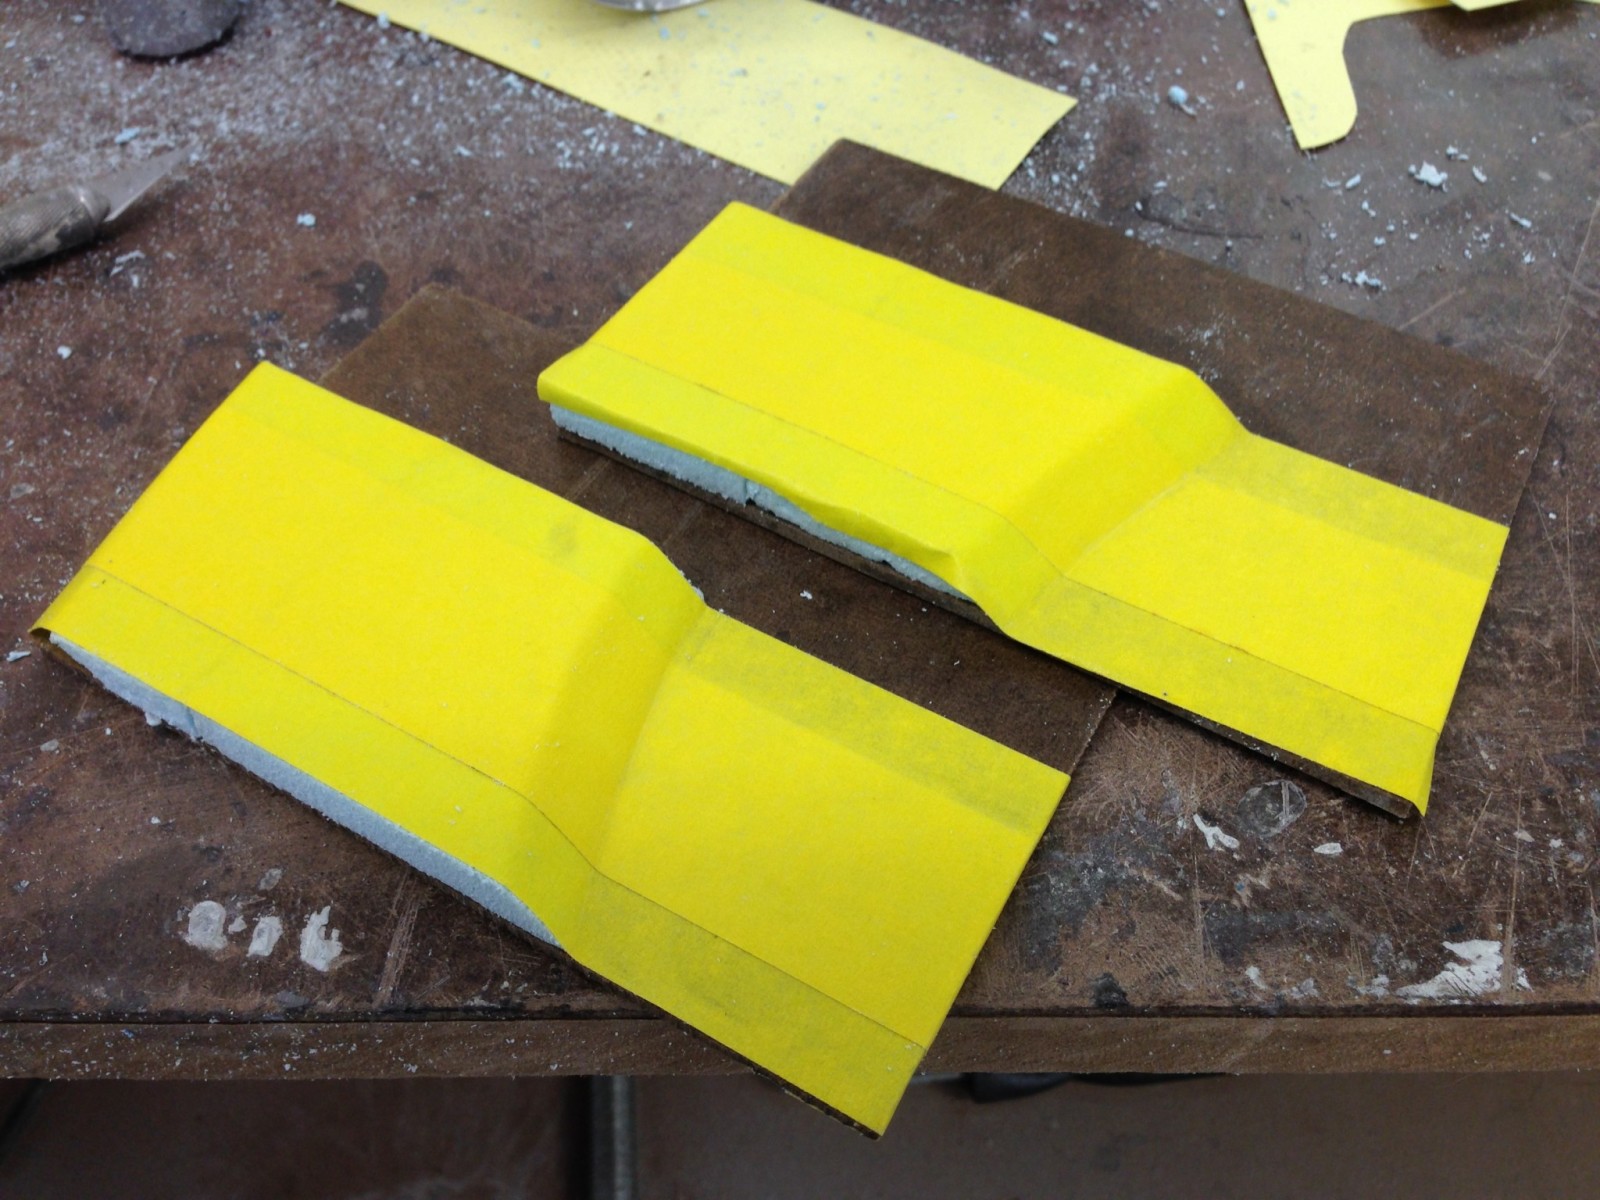
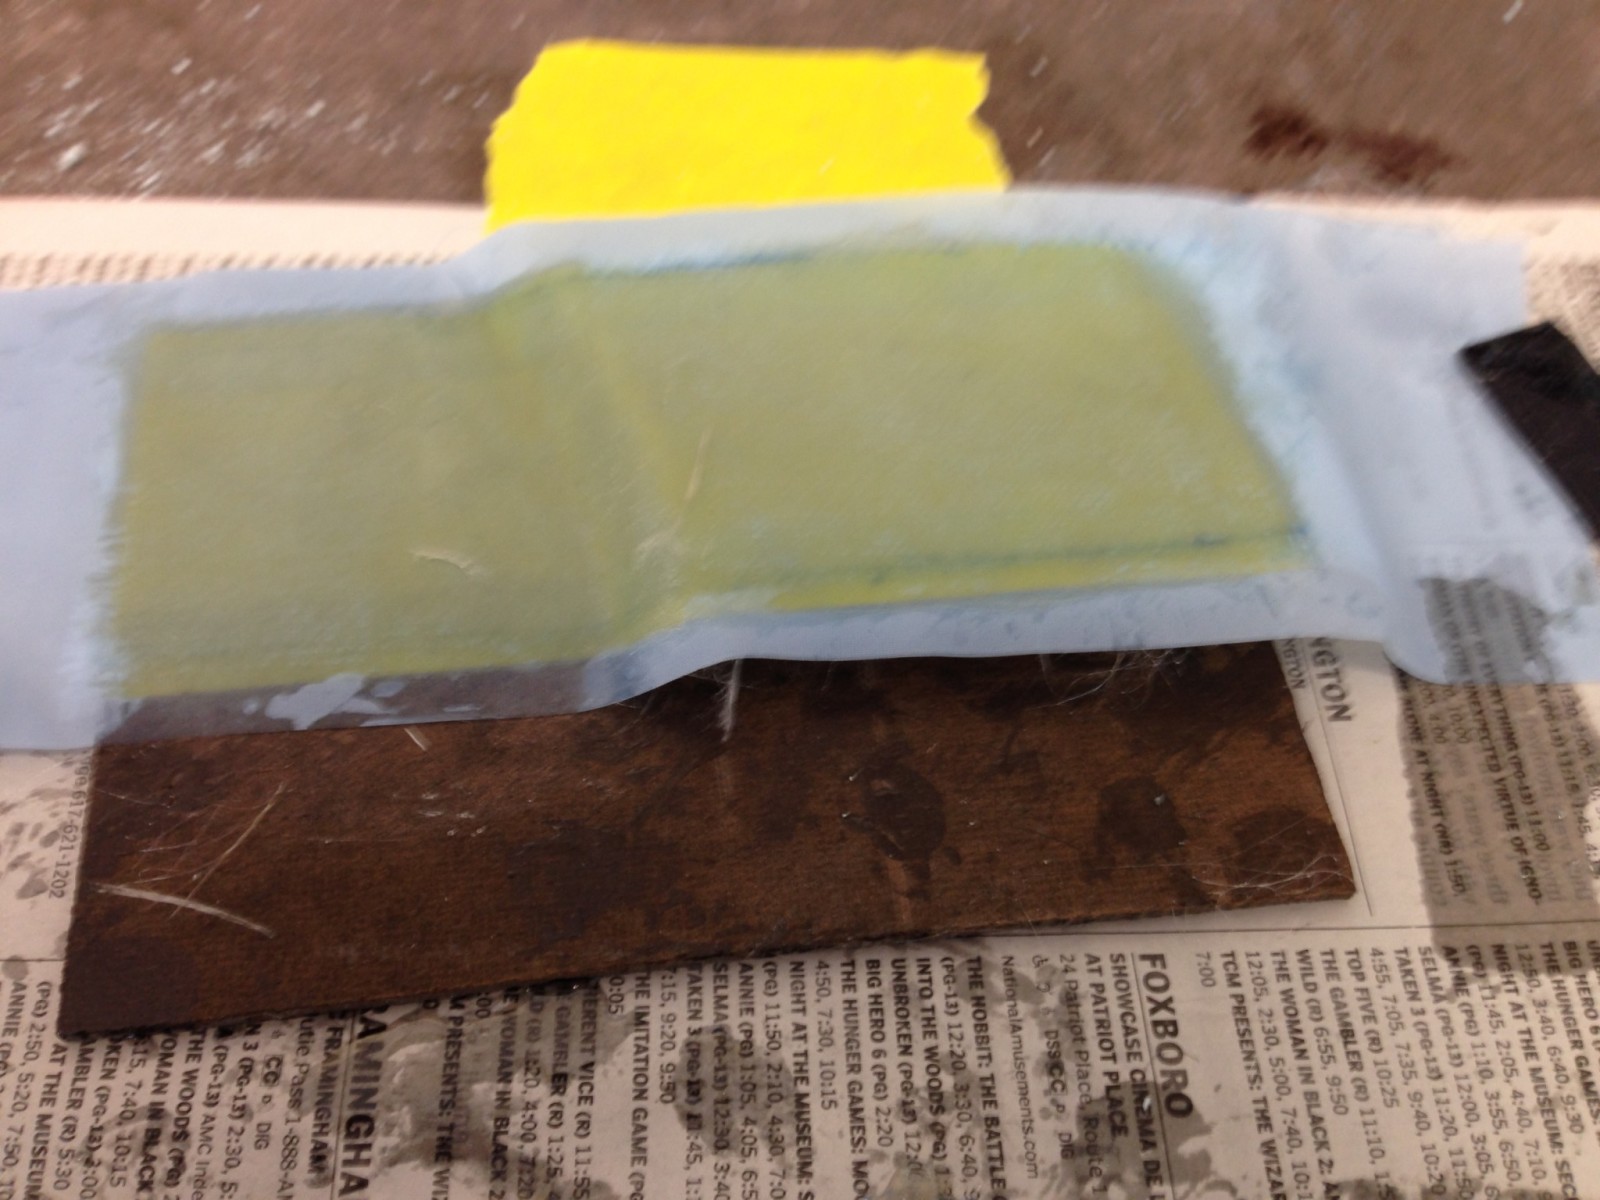
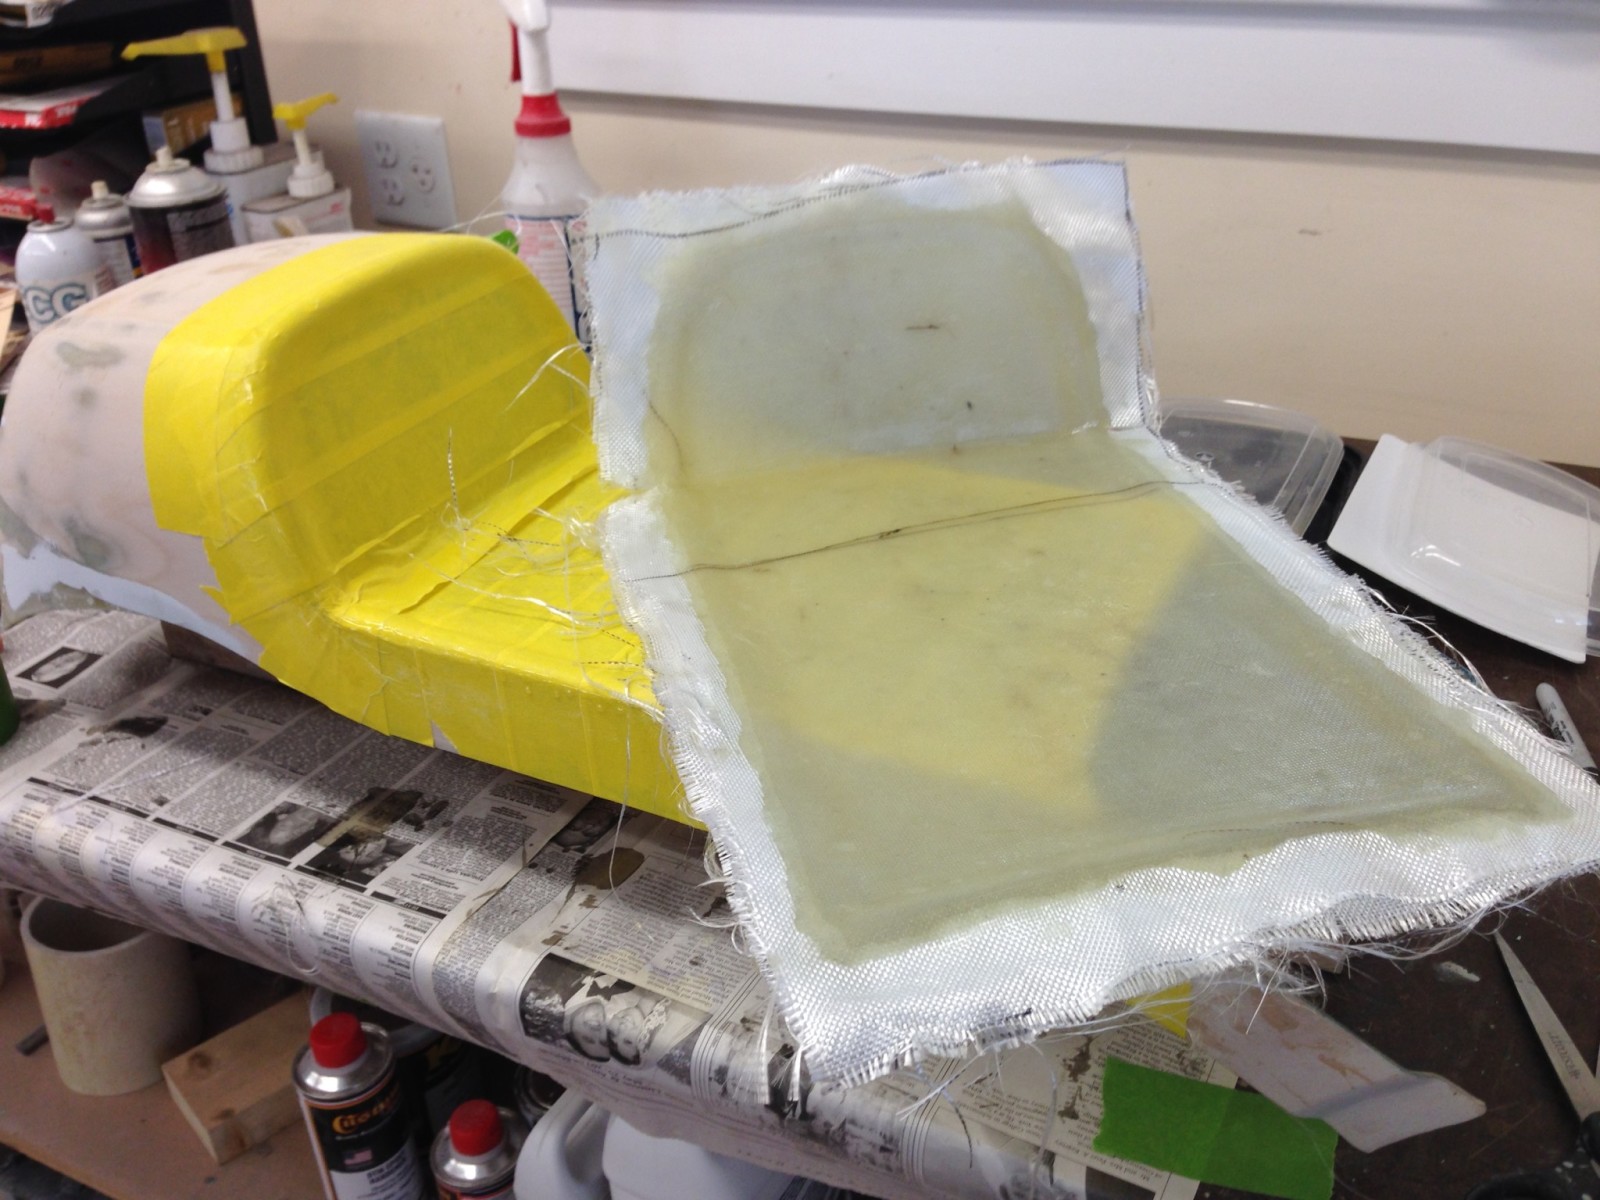
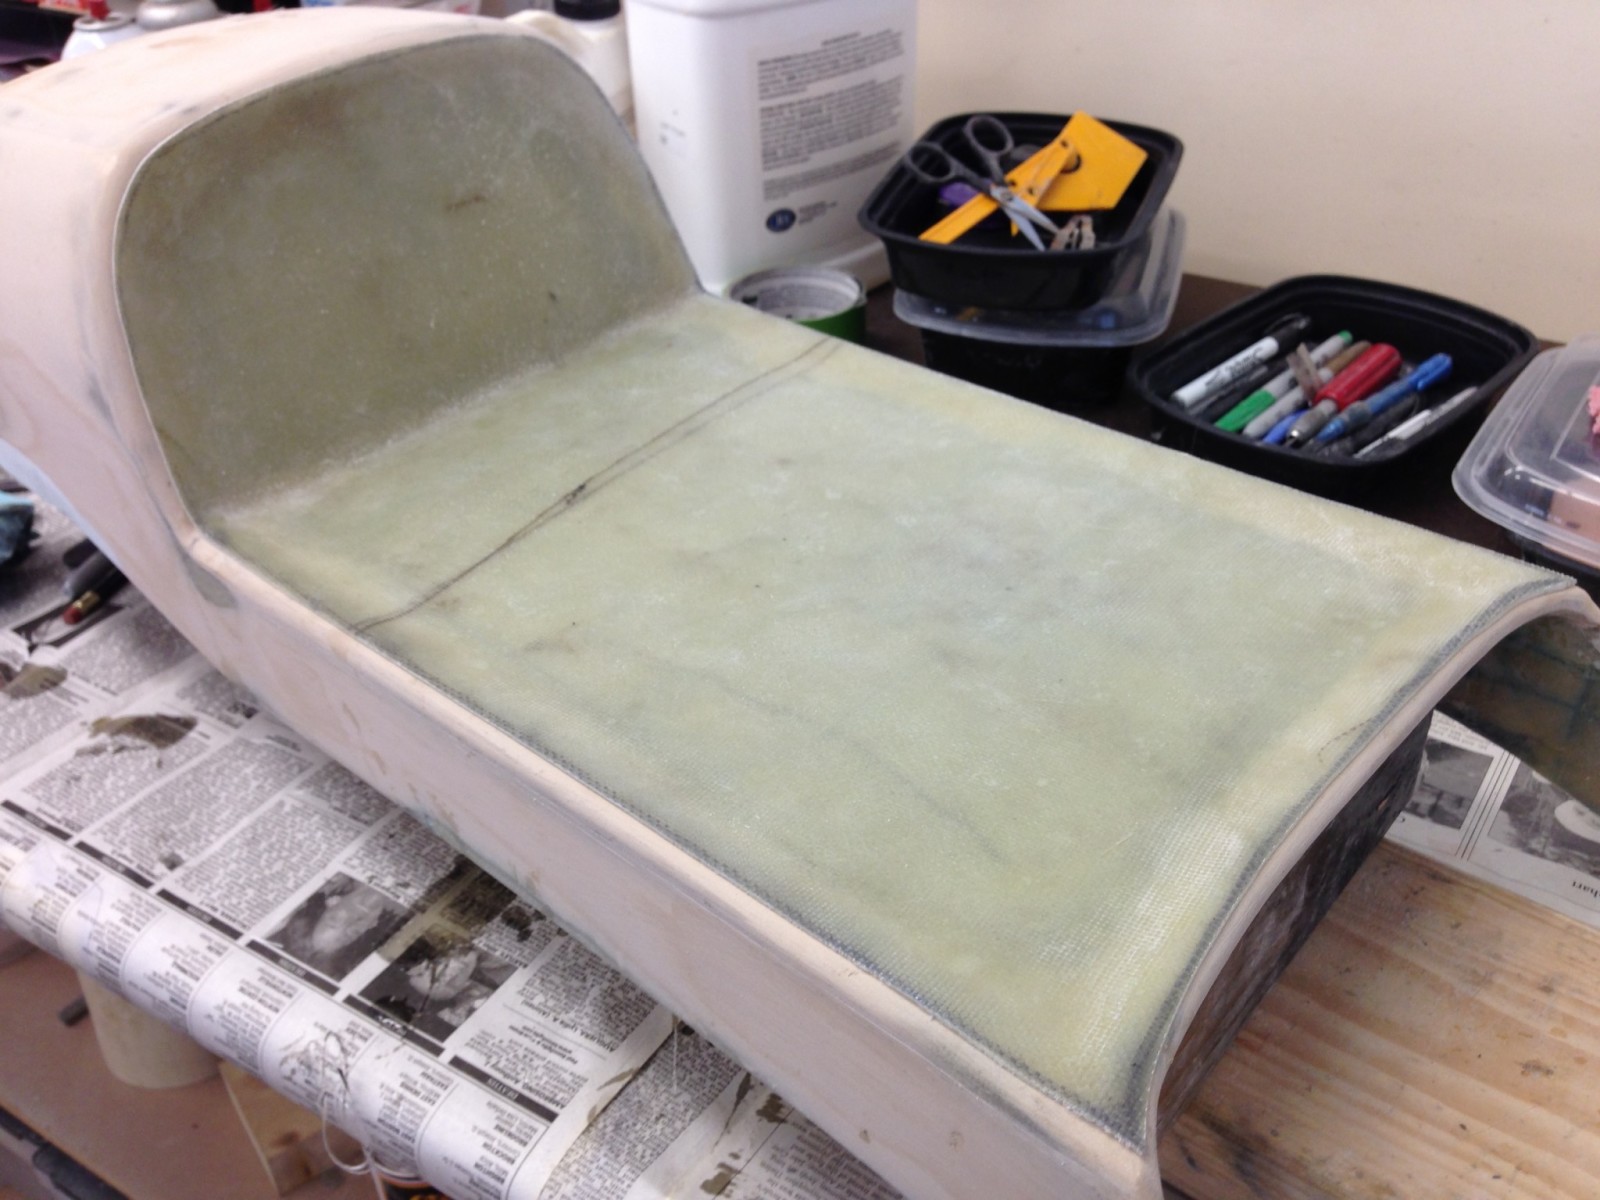
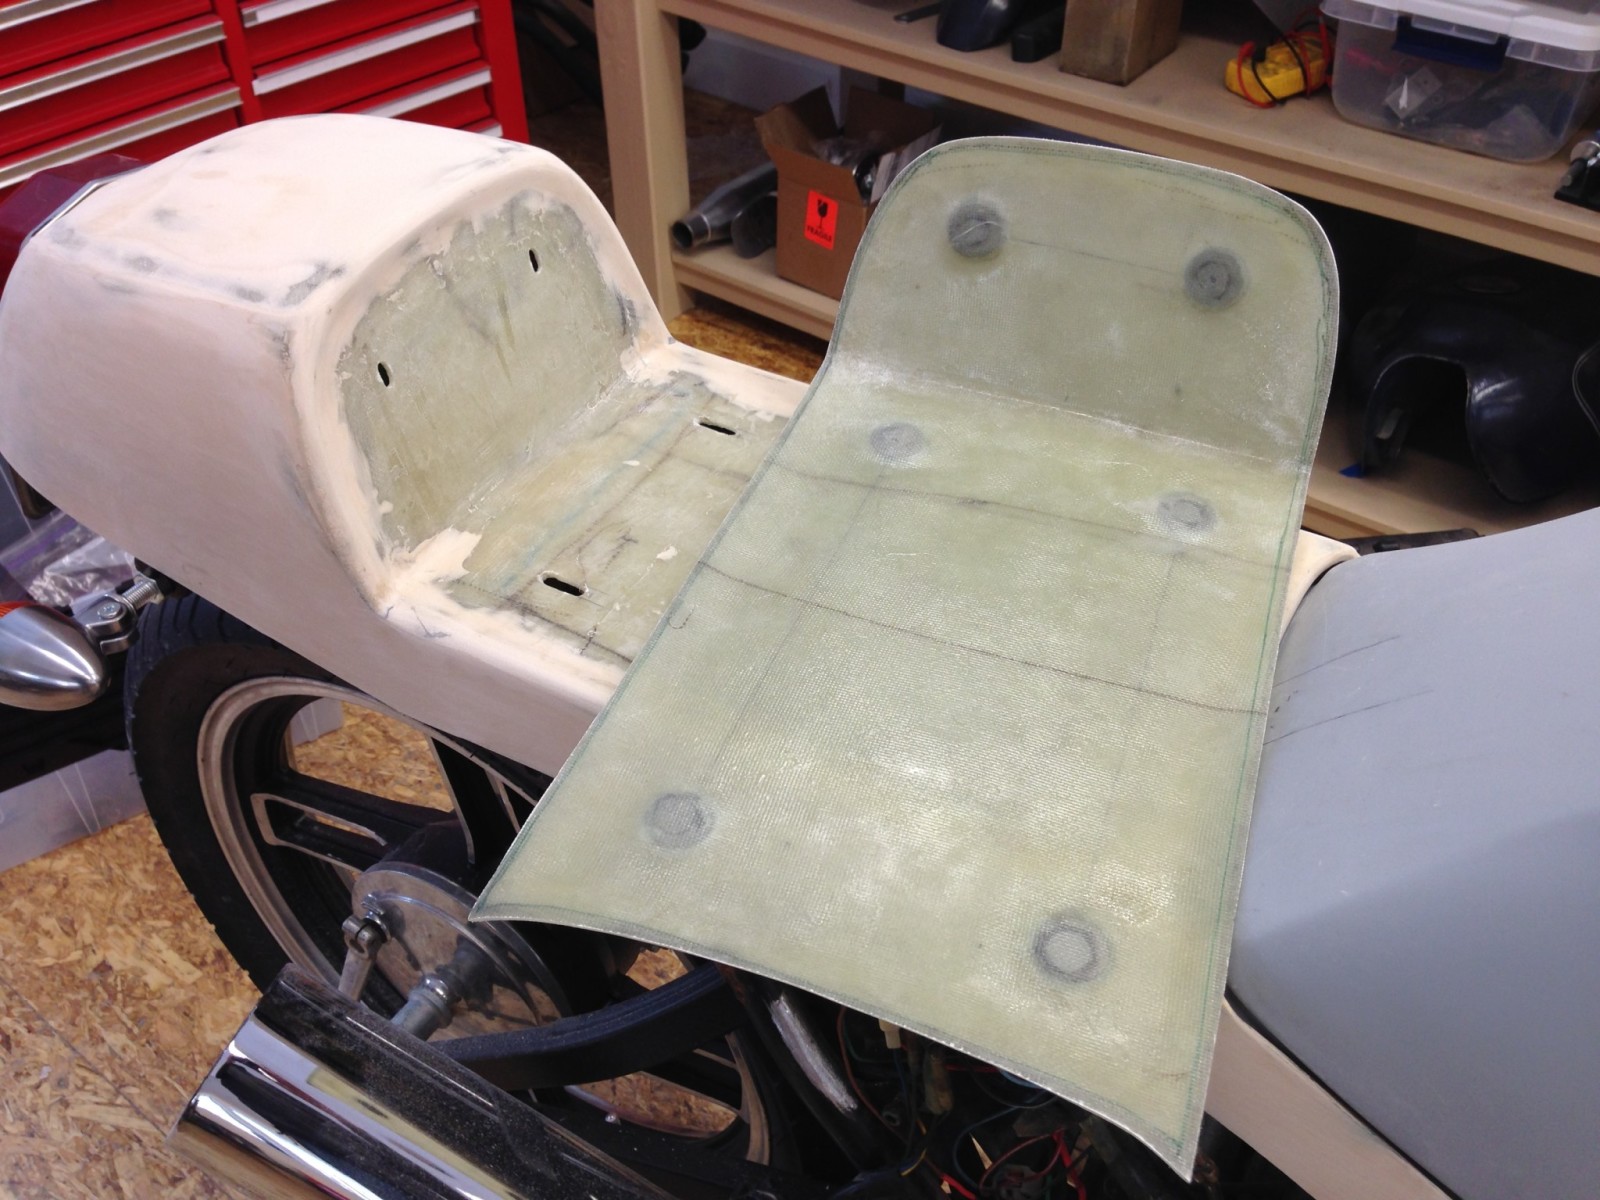
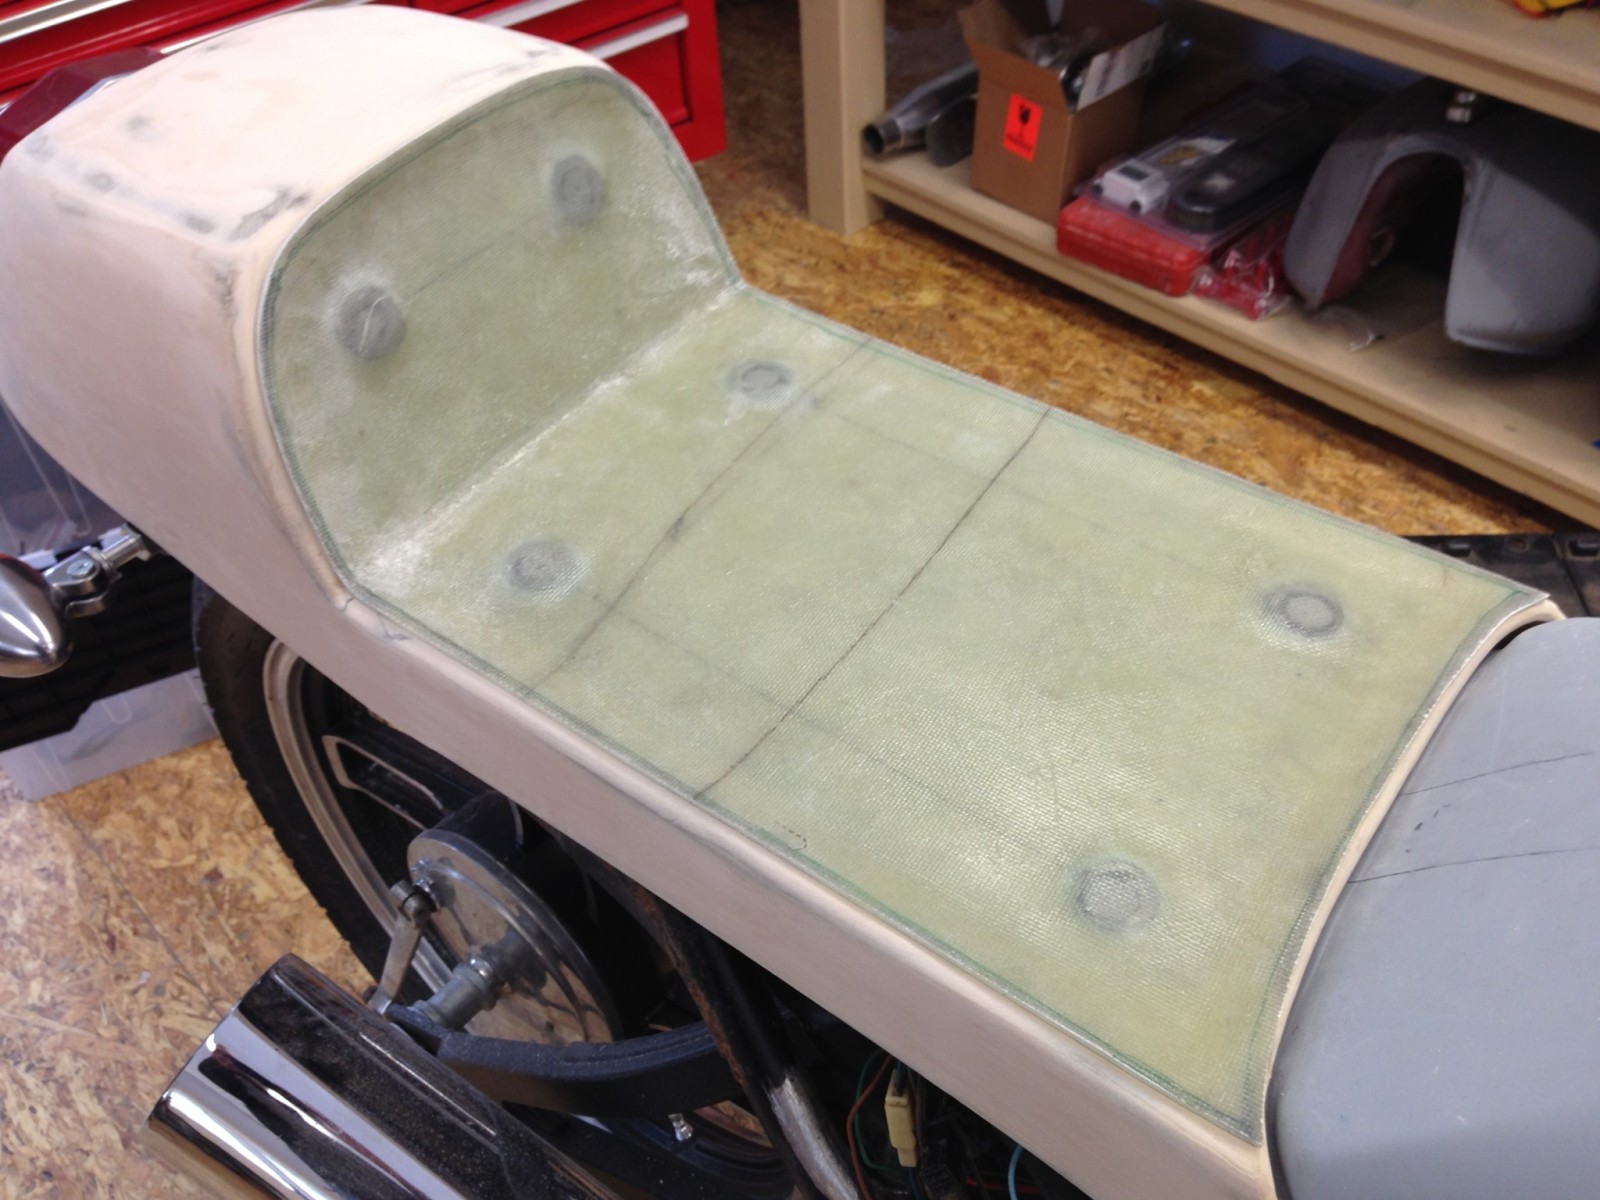
2) Finish the fiberglass seat and fender, prep for paint and get a seat made.
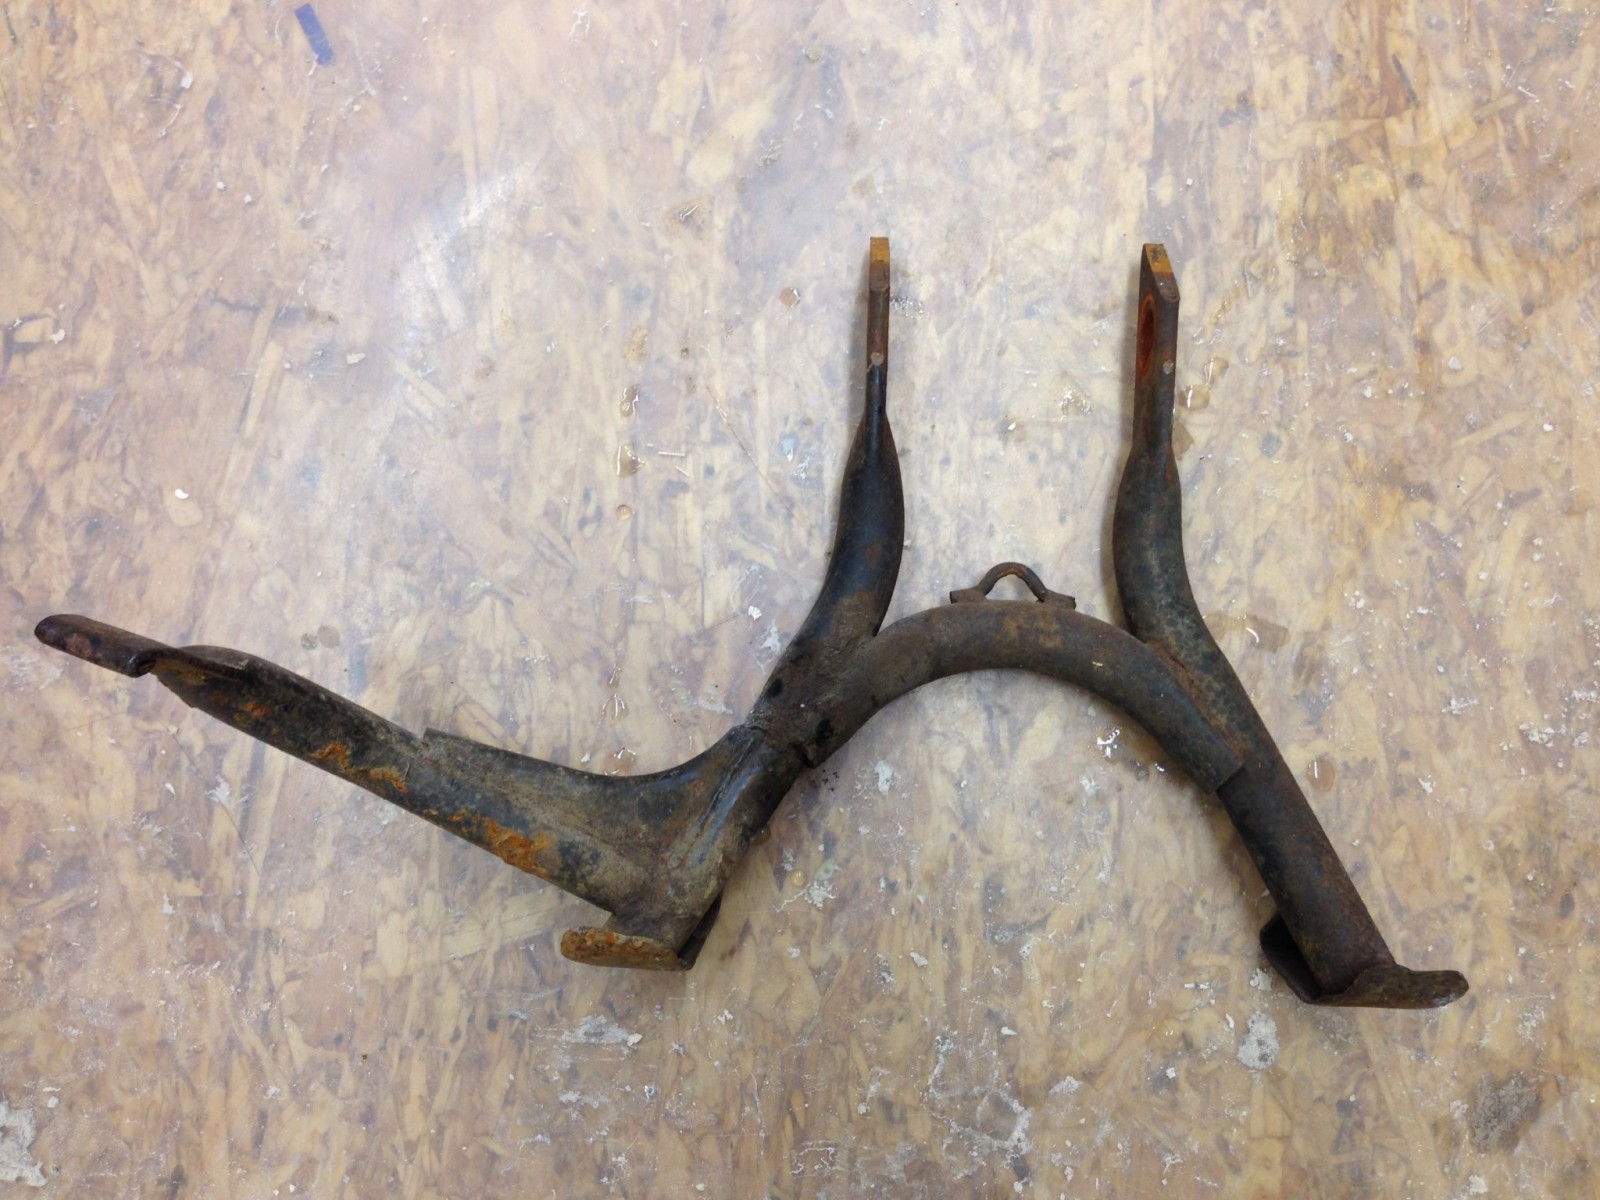
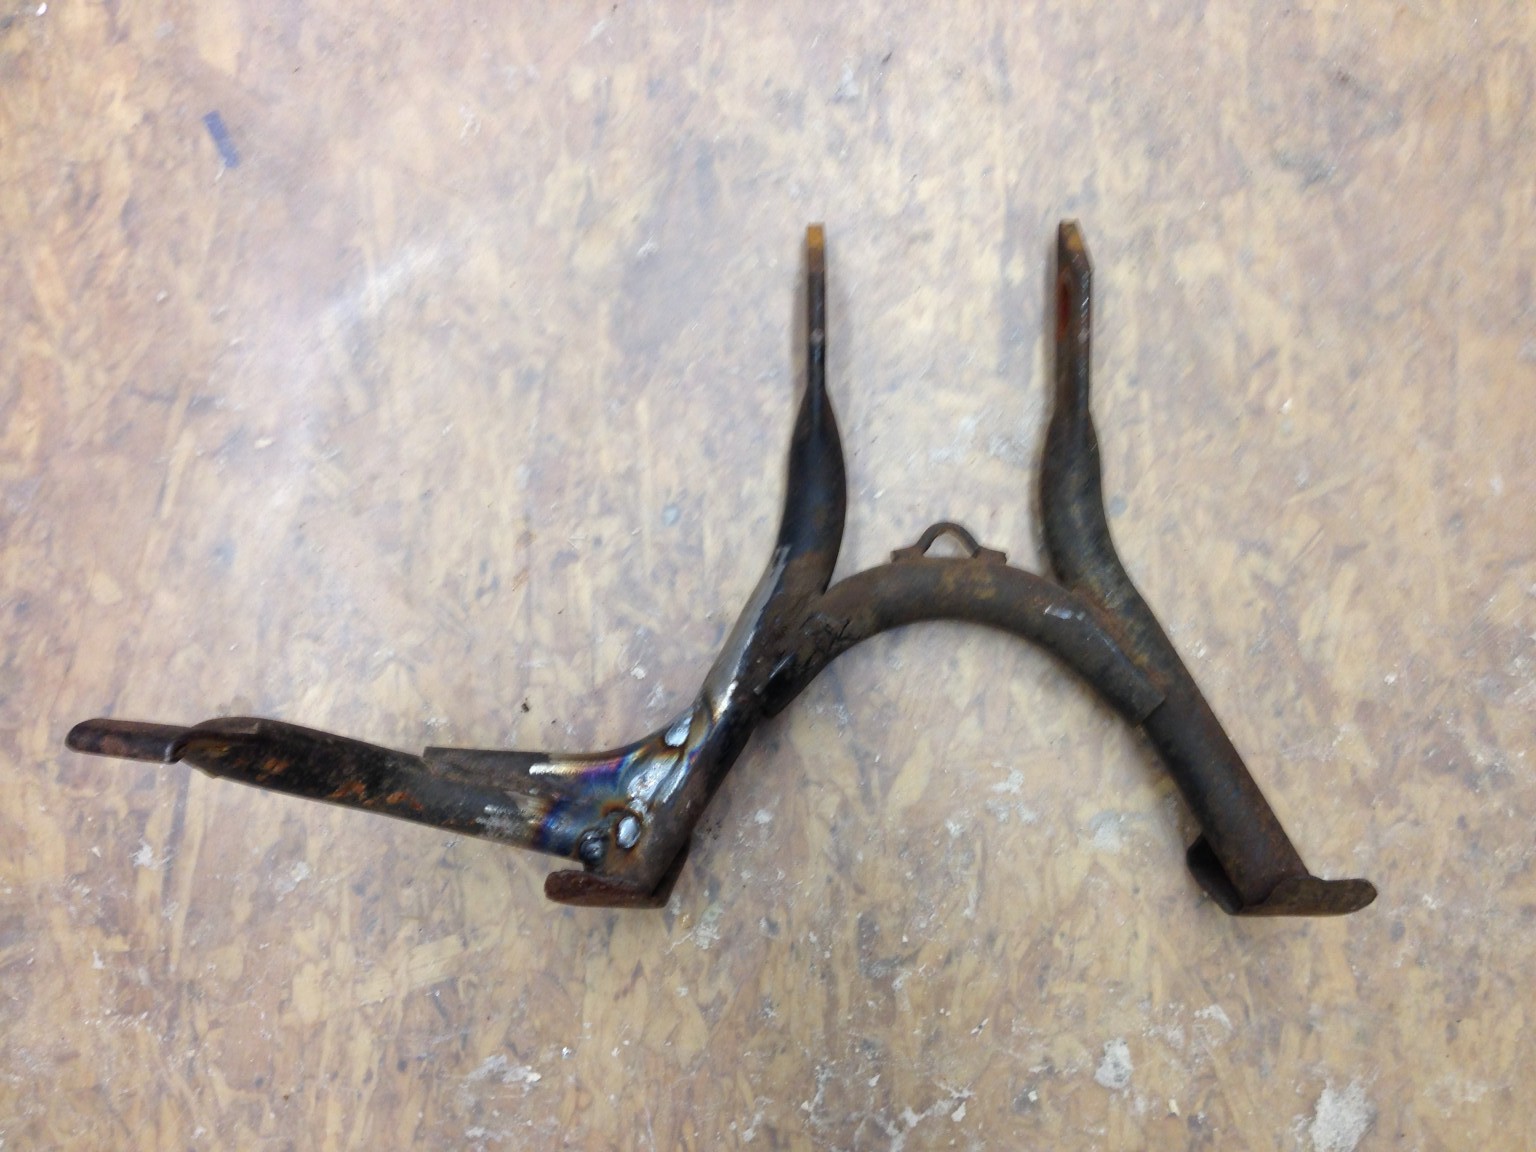
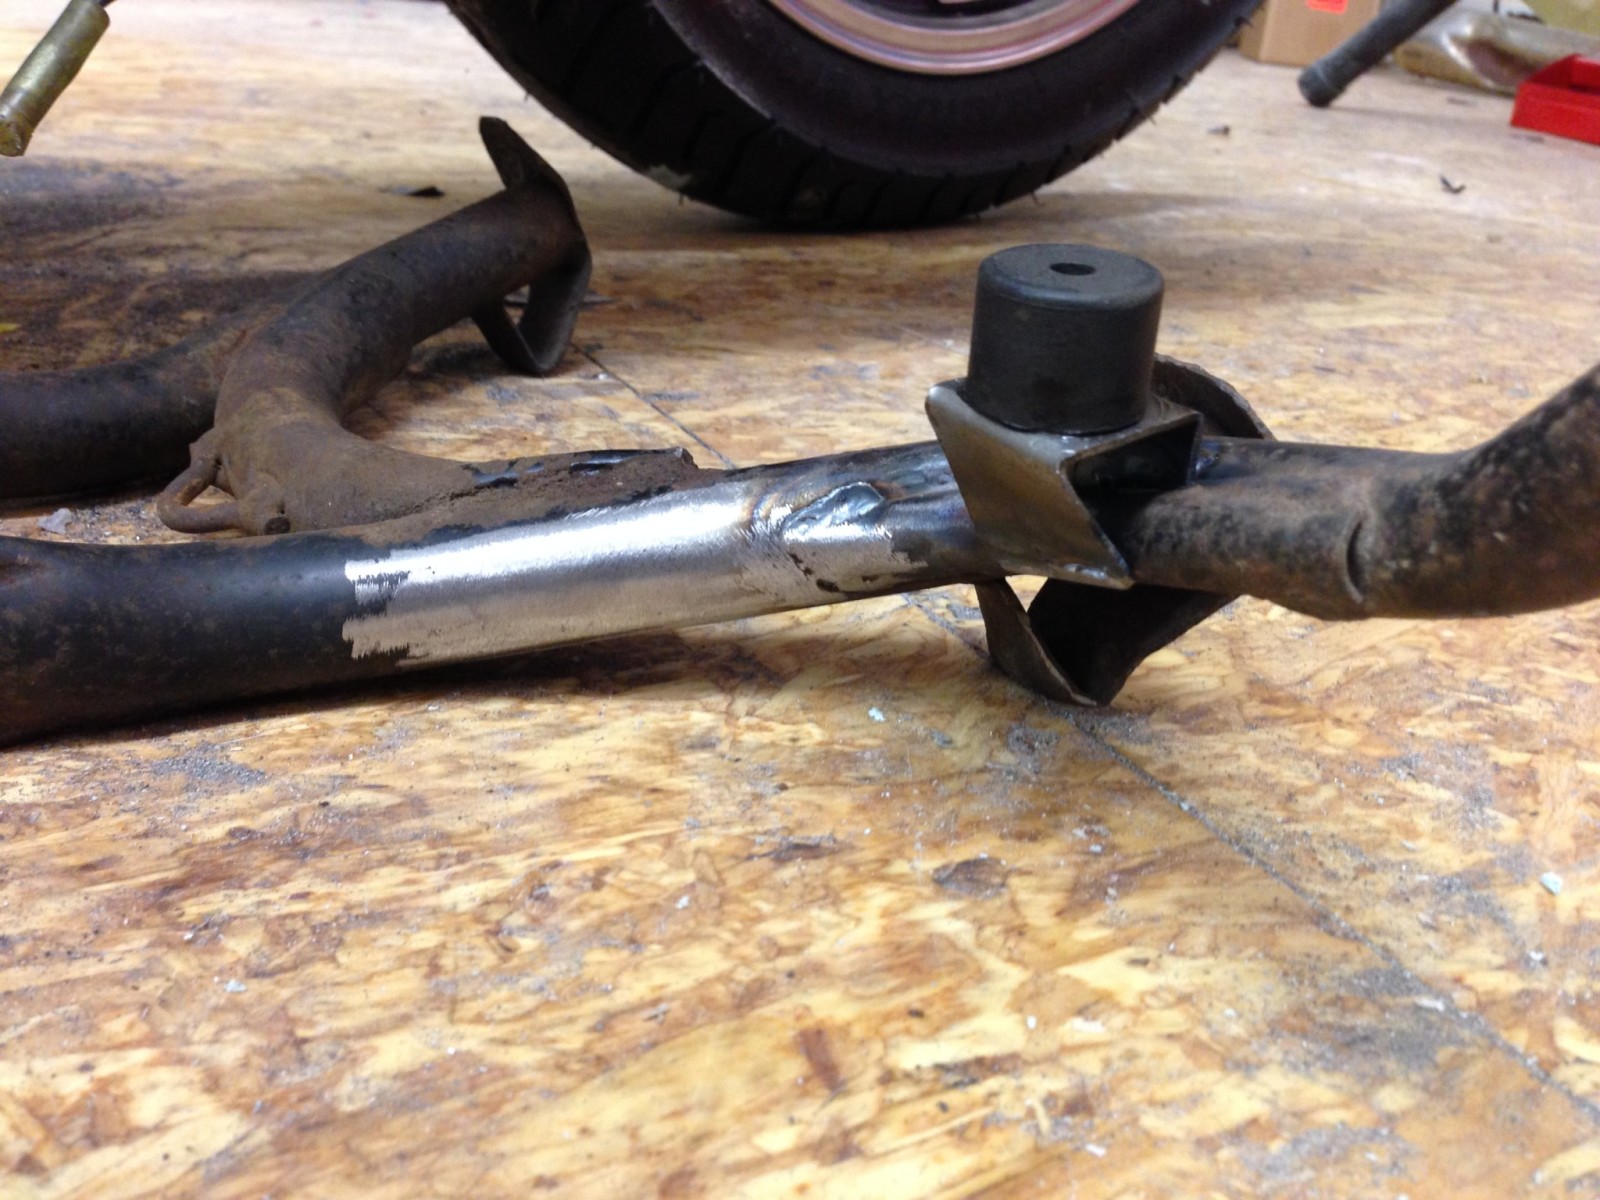
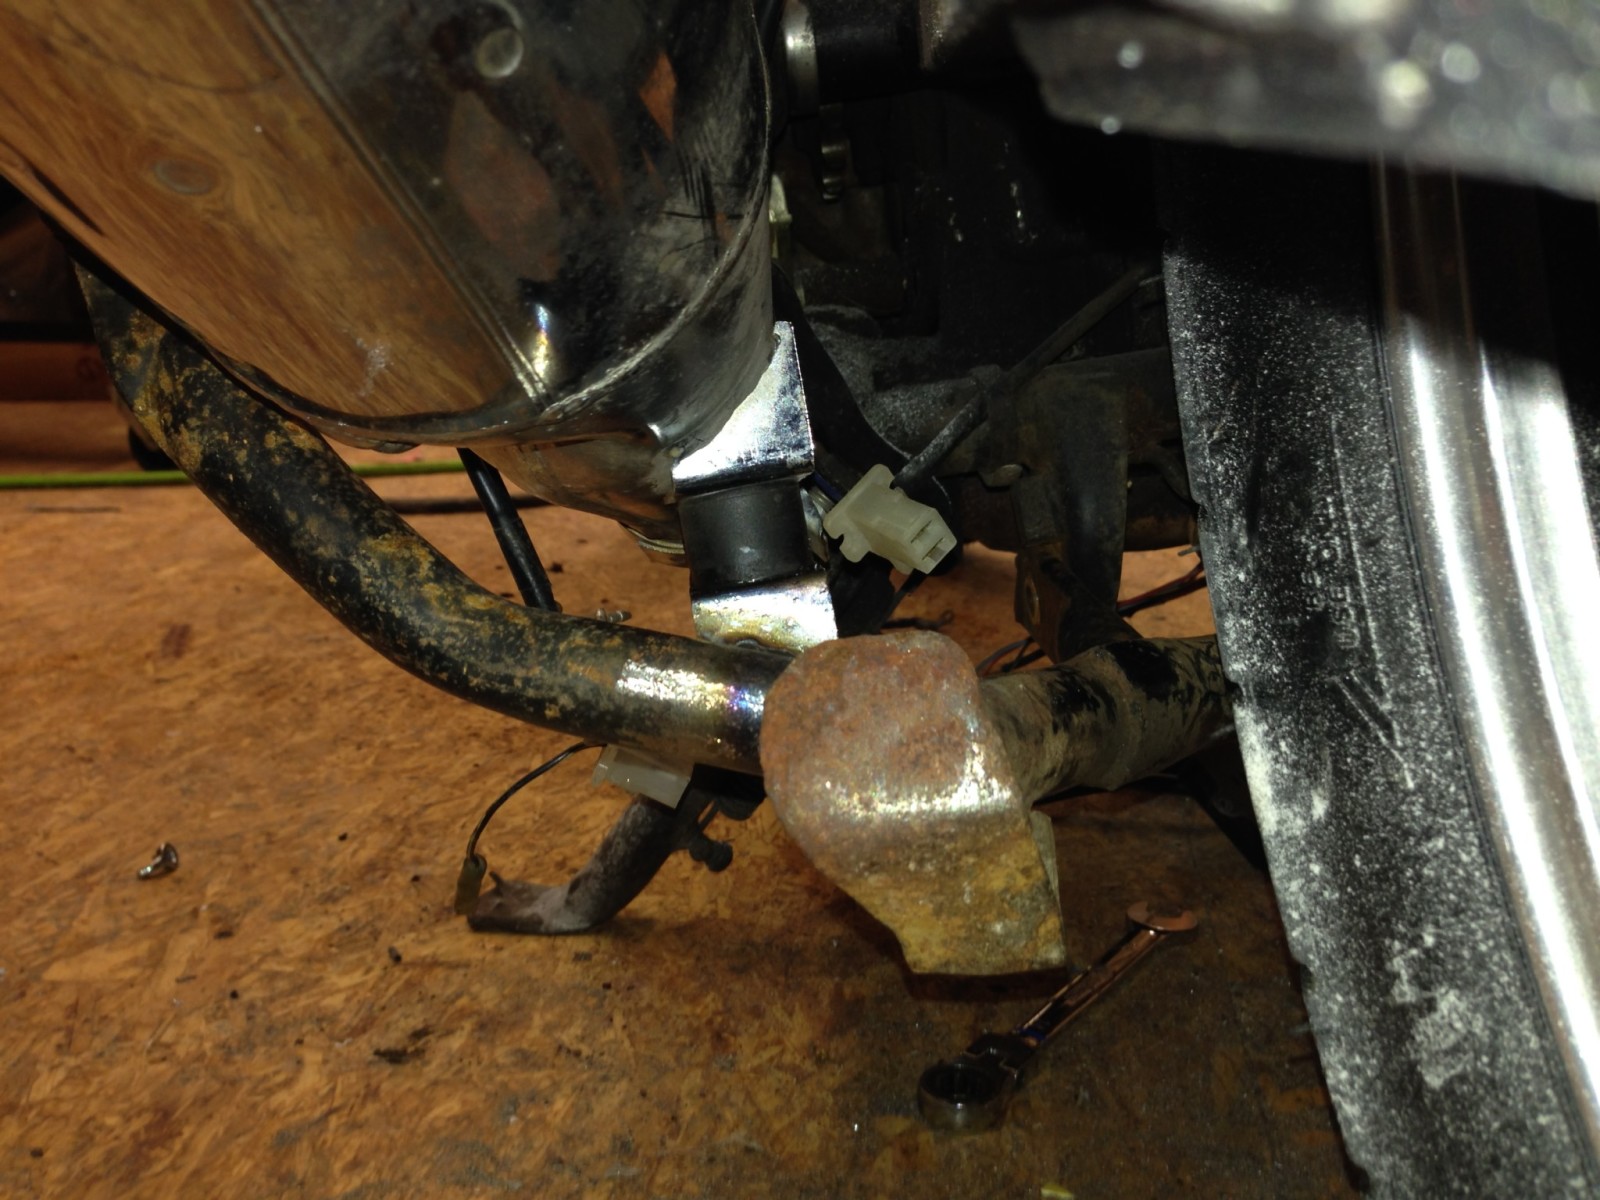
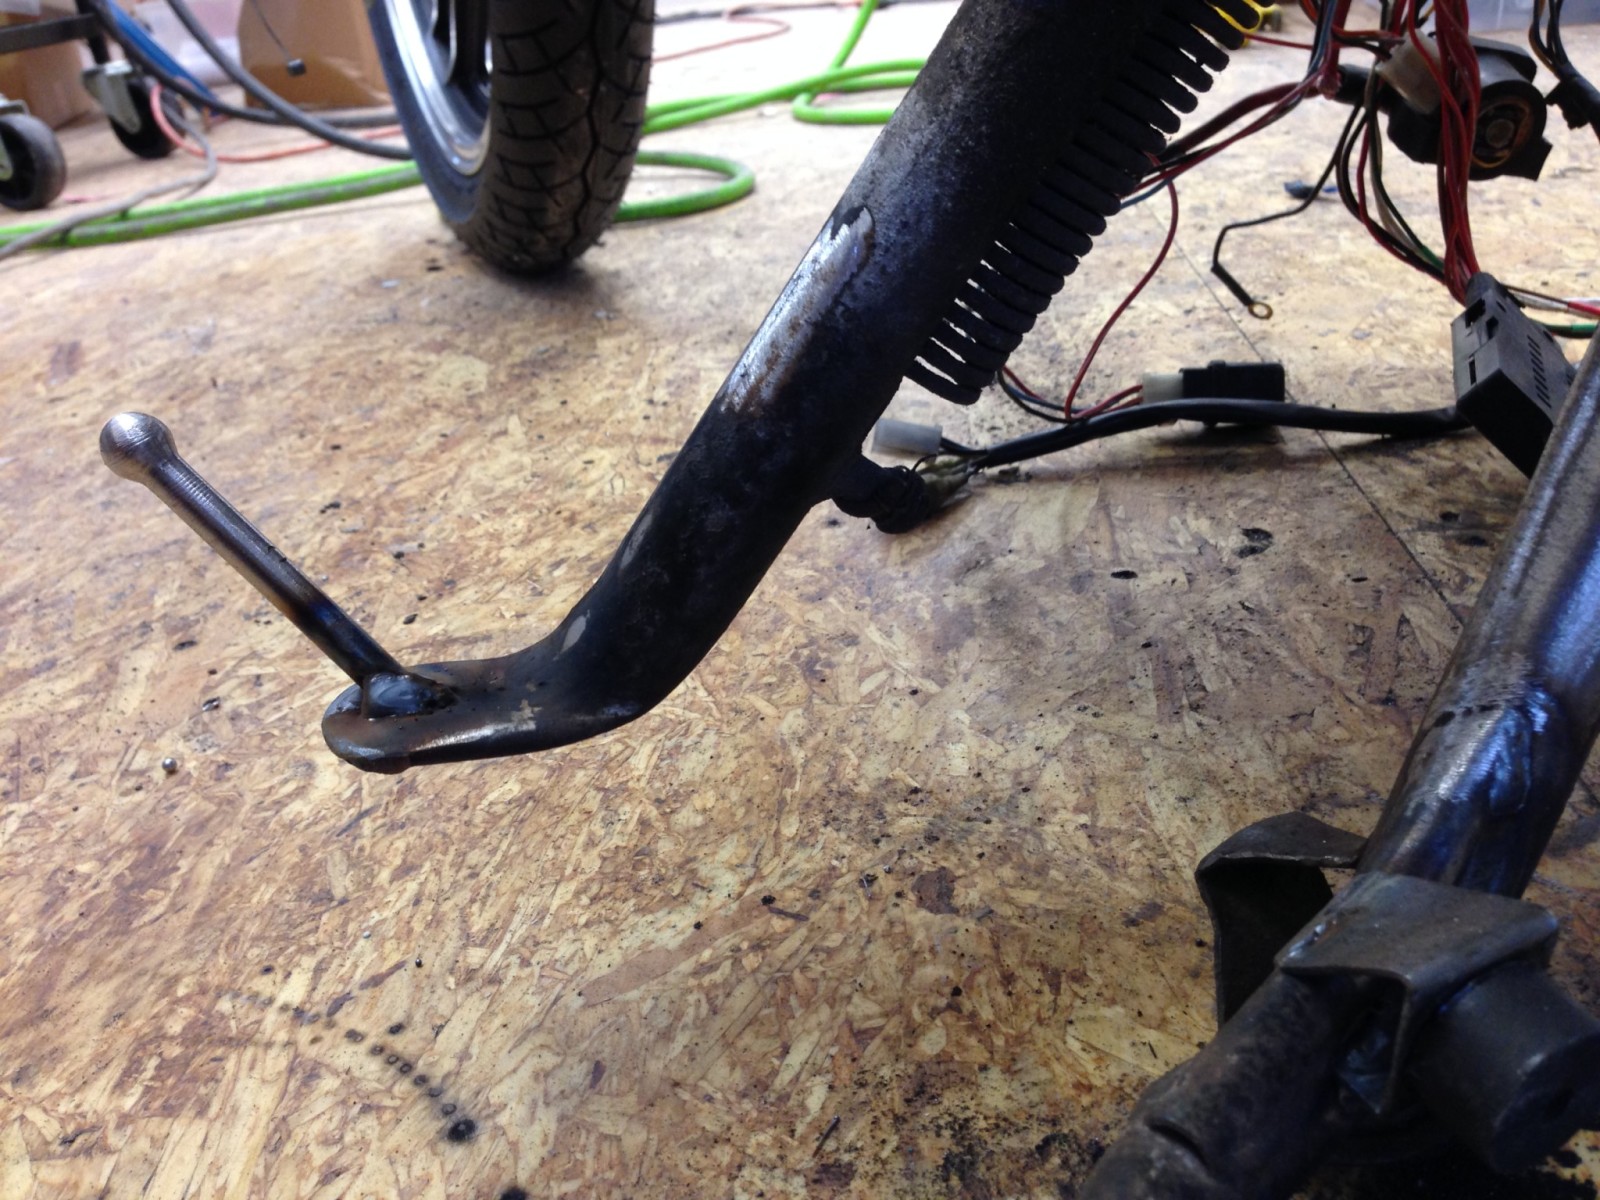
3) Footpegs, rear brake and shifter. Planning to rework the existing pegs to move them back an inch or two.
 
I bought a 550 seca for $200 and am redoing it. I love the lines and the way it suits me.I swear mine had that same sissy bar/luggage rack. the grey is as I bought it and the red is current progress.
 

Attachments

  • GEDC0009.jpg
    GEDC0009.jpg
    121.7 KB · Views: 568
  • GEDC0013.JPG
    GEDC0013.JPG
    295.1 KB · Views: 538
  • GEDC0014.JPG
    GEDC0014.JPG
    201.3 KB · Views: 556
  • GEDC0037.jpg
    GEDC0037.jpg
    113.5 KB · Views: 529
  • GEDC0038.JPG
    GEDC0038.JPG
    258.3 KB · Views: 542
Great work! I like the custom seat pan/cowl and how you've followed the lines of the stock tank. Should make a good street-fighter. Any plans for the speedo and tach, or are you going with stock for now?

You've got a great workshop, too. I'm envious...
 
Thanks for the nice words about my shop. I'm pretty happy with it.

I'm using the speedo and tach from a '78 XS400. The tach has a high beam indicator, I put LED replacements for the other indicators in plugs that I made to fill the holes left from removing the handlebar bushings.

Click here see my blog on this build. There are lots of photos.

20150126_204610.jpg


20150130_155644.jpg
 
Finished up the front fender that I made a while back.

The roll of tape and socket are what I used to layout the rough trim lines on the fender. After the fender was trimmed, I made a paper template of one "quadrant" and used it to refine the other three.

To get the fender mounted straight, I first drilled rough holes for mounting and then tweaked the openings as necessary to get the fender straight and level. Then I removed one mounting bolt at a time and epoxied a fender washer to the inside of the fender and replaced the bolt to hold the washer in place until the epoxy dried.

20150203_113827.jpg


Here are a couple of photos of the fender on the bike. I did two layers of fairing compound to get the fiberglass smooth and then finished up with a coat of glazing putty.

20150208_132605.jpg

20150208_132644.jpg
 
I wasn't planning to do a fork brace. I did consider it after noticing that the original fender has a steel brace mounted underneath. If it proves necessary, I could do something similar on my homemade fender. Since the fender is fiberglass, I'd probably just add several more layers of fiberglass on the underside to make an integral brace.
 
Made some progress recently on the seat. I didn’t like the look of the Lucas Style taillight mounted directly to the back of the seat. Having the taillight tipped upward looked “shade tree” to me, so I fabricated a brackets into the seat for both the taillight and license plate.

After seeing the taillight and license mountes, I decided to add sides to the license plate mount to better integrate it into the seat. I tried a bunch of ideas for blending the seat and license plate bracket together and eventually settled on the one shown in the last couple pictures. The bottom of the seat was trimmed to expose a portion of the top frame rail all the way back to the end of the frame.

Taillight with chrome plated license bracket mounted directly to seat.

20150202_1145221.jpg


License plate holder being added to seat.

20150207_155003.jpg


Taillight and license plate holder before adding sides.

20150208_142155.jpg


Sides being added to license plate holder.

20150208_195524.jpg


Seat after trimming.

20150212_094019.jpg

20150212_093935.jpg
 
You will want a substantial fork brace if you intend to ride spiritedly.
Thanks for the caution. I think I'll go ahead and layup 5 or 6 rectangular pieces of fiberglass in a "U" at the fork mounts. Combined with the fiberglass already in the finder, it should be pretty darn stiff. Easier to do now while everything is rough and unpainted.
 
No fiberglass on it's own will not work. I use to spray hot tubs. Those things end up being around half an inch thick. When you put your weight down on one of the seats or the floor it will flex. That's only at most say 250 lbs. I don't think a quarter inch of glass is going to support the weight of the bike and you in corners. I would suggest making a bolt on brace and fiberglass that into the fender. Imo.
 
I don't believe that fiberglass alone will be strong enough. Maybe make a steel brace and glass it into your fender?
You guys are probably right about fiberglass not being stiff enough to prevent fork flex. However, I'm going to reinforce the fender with 6 additional layers of fiberglass because it's quick and easy. I'll do a metal fork brace or replace the forks if flex proves to be a problem for me and my "old man" riding style.
 
I'm thinking of trimming the bottom of the seat. Which looks better: Picture A or Picture B.

Picture A: Pencil marks show roughly the trim line.

20150214_131155.jpg


Picture B: Ignore the slight curve on toward the back of the seat, I meant for the line to be straight, but the electrical tape didn't cooperate.

20150214_131121-e1423940242642.jpg
 
A while back, I posted photos of the seat with the extended tail and received several suggestions for refinement:


  • The front of the seat should be shaped to blend with the gas tank where the two

  • The seat tail looked awkward because the shape and integrated license plate bracket didn’t mesh with the rest of the bike.

Here's what the seat looked like before refinement:
20150214_131121-e1423940242642.jpg


And here is it now:
20150302_195832-1600x1200.jpg

2015-03-02_09-12-08-1600x1200.jpg

2015-03-02_09-12-33-1600x1200.jpg


I had to extend the sides of the seat in the tail area and then retrim the bottom. At the front, I fabricated stepped tips for the seat "wings" and spliced them in place.

The form for the stepped tips was made from fiberboard scrap, styrofoam and tape.

20150216_101854-1600x1200.jpg


One of the tips curing.

20150216_130128-1600x1200.jpg


The tips clamped in place and curing.

[img http://david.scarbro.com/wp-content/uploads/2015/03/20150217_1459481-1600x1200.jpg[/img]
 
The seat pan was made by first covering the seat area with masking tape and giving the tape several coats of wax. Four layers of fiberglass were then added and allowed to cure. After curing, the pan was removed and trimmed. With the pan in place 6 holes were drilled through the pan and seat for fastening bolts. I made the fastening bolts by welding the thread part of old allen head screws to fender washers. These were epoxied in place and covered with five more layers of fiberglass.

20150222_100806-1600x1200.jpg

20150222_115210-1600x1200.jpg

2015-03-02_09-13-18-1600x1200.jpg

2015-03-02_09-13-43-1600x1200.jpg
 
I love center stands and would never remove one from a daily rider. They make any maintenance easier. On this bike, both the center and side stand needed work.

Center stand before relocating the "foot arm" to make it line up with the crease in the muffler designed to accept the "foot arm".
20150214_185501-e1425389481161-1600x1200.jpg


Center stand with the repositioned "foot arm".
20150214_200742-e1425389784888.jpg


New stop welded onto the center stand.
20150216_172742-1600x1200.jpg


New center stand stop and and existing meeting point on the left muffler.
20150216_173848-1600x1200.jpg


New toe kick for side stand. The original one was missing.
20150217_154048-1600x1200.jpg
 
Back
Top