Bobber project in Sweden

hey!

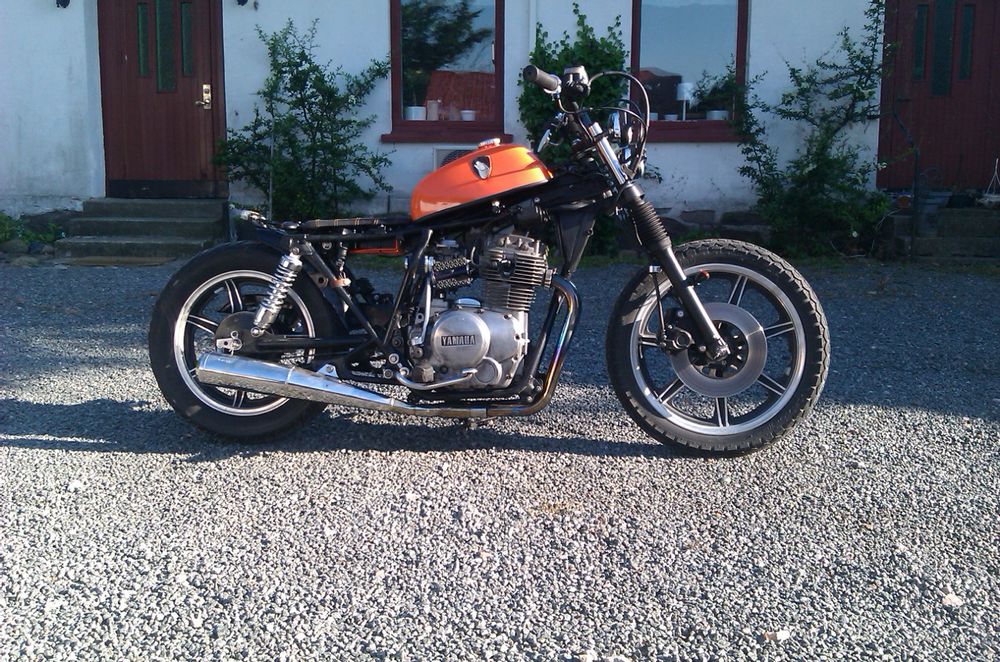
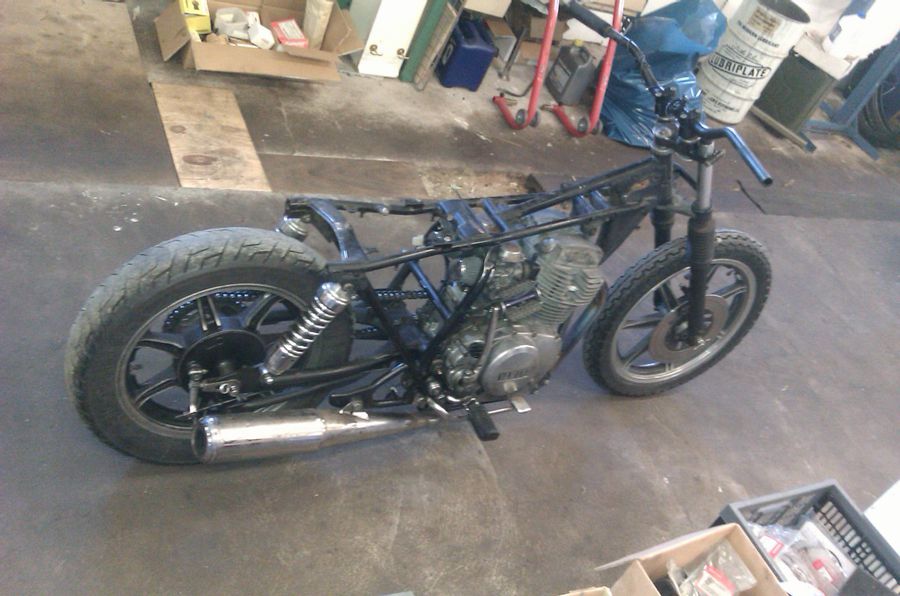
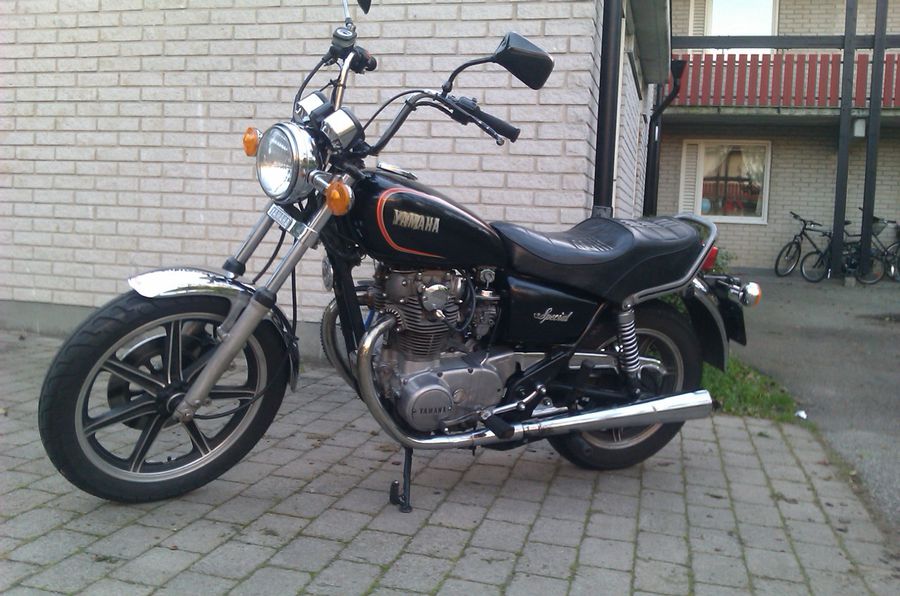
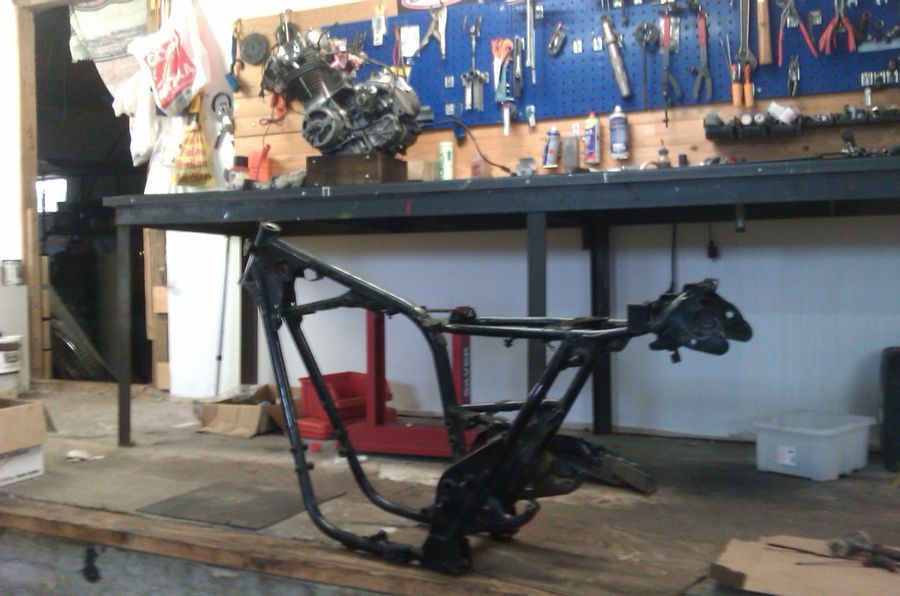
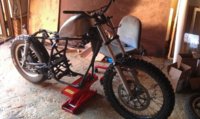
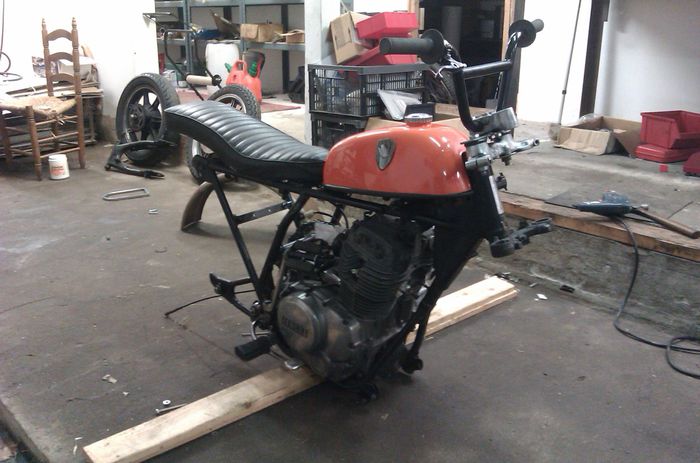
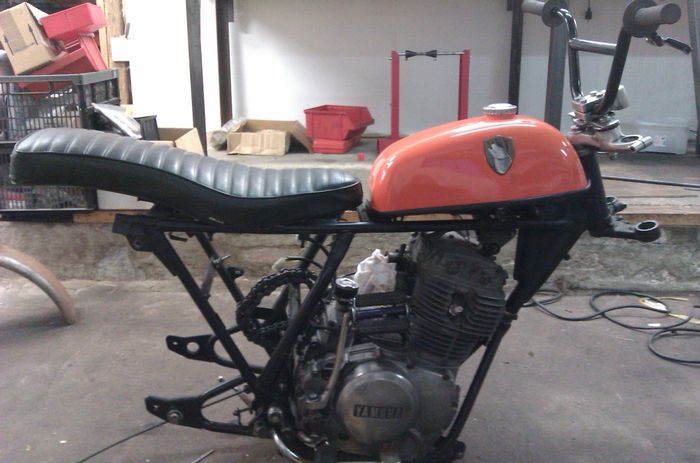
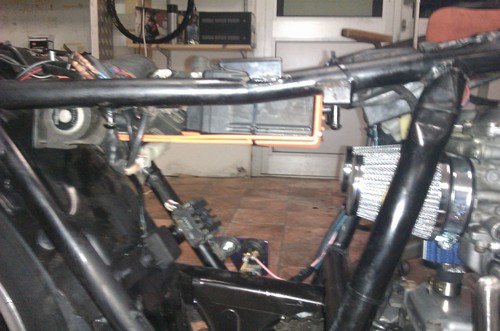
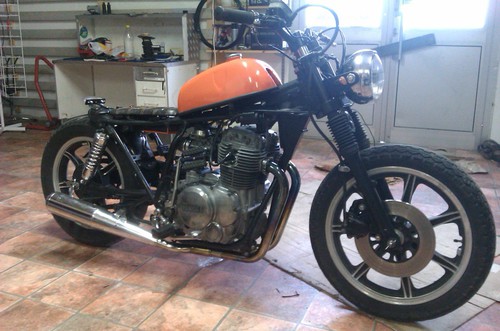
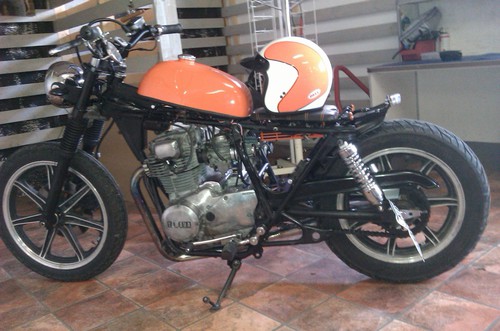
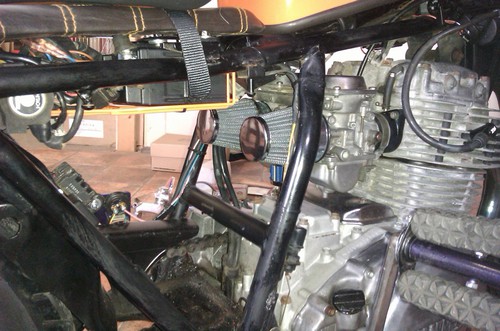
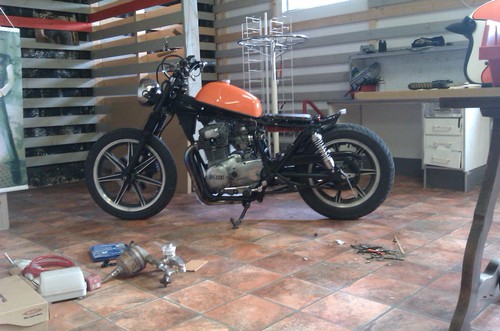
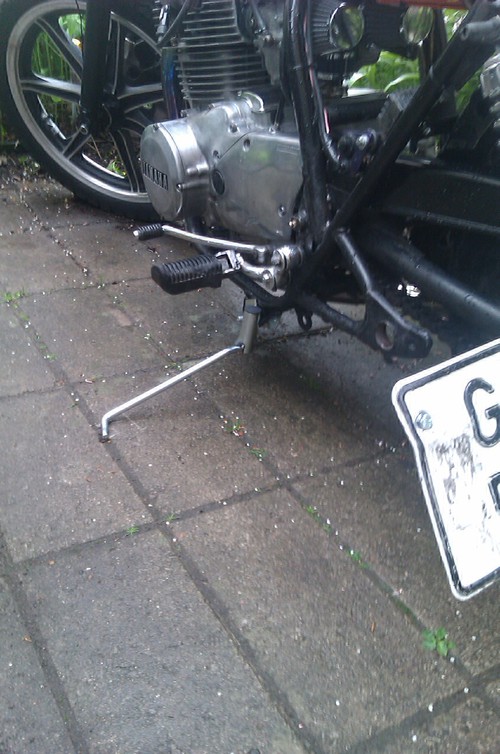
Just going to upload some pics, you'll get the full story later. The weather just cleared up so I'm gonna take her for another spin. :) 
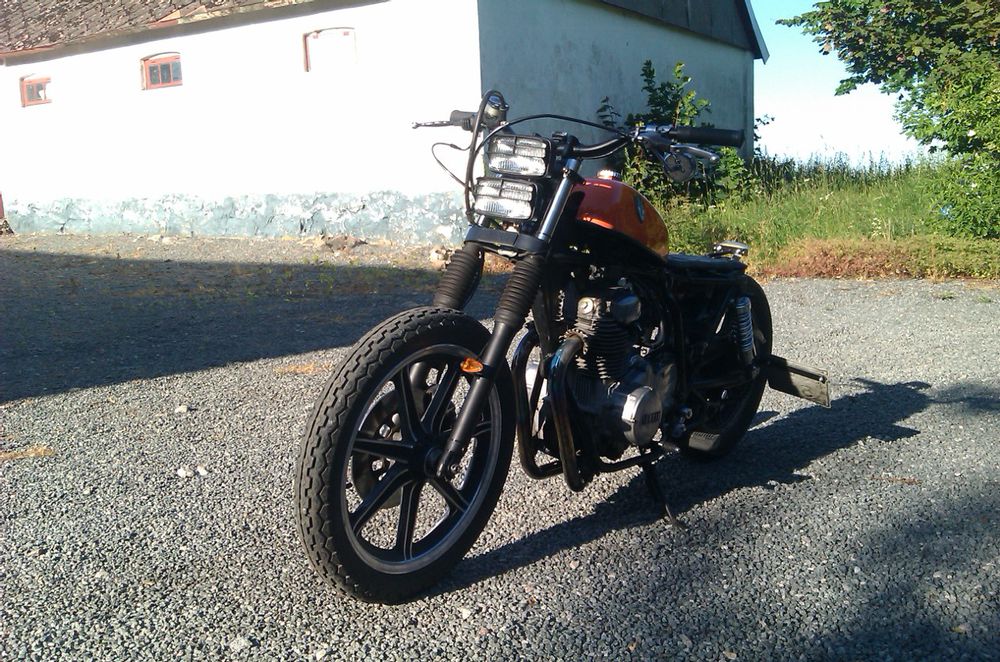
I lost my stand (?) on the way home. A 60km ride, so not worth going back looking for it. One of the last pics show my new temporary stand. Not to secure. :) Any ideas of how to go about making a new one?

Cheers.

imag0314_149438370.jpg

imag0315_149438417.jpg

imag0319_149438478.jpg

imag0320_149438543.jpg

imag0323_149438624.jpg

imag0328_149438694.jpg

imag0336_149438841.jpg

imag0335_149438933.jpg


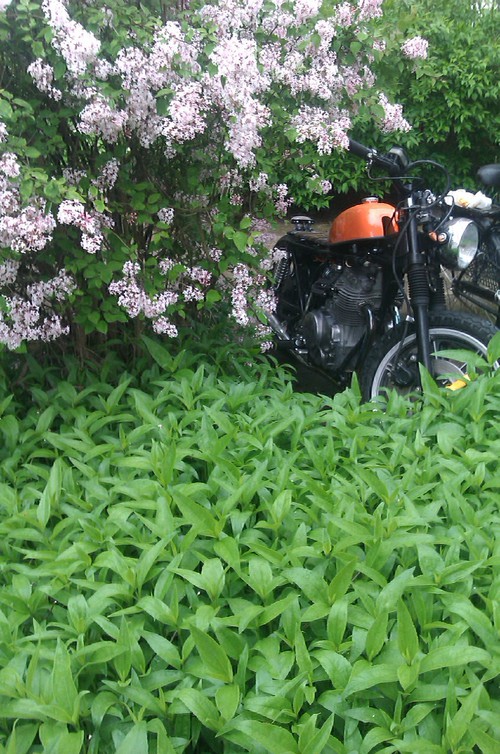
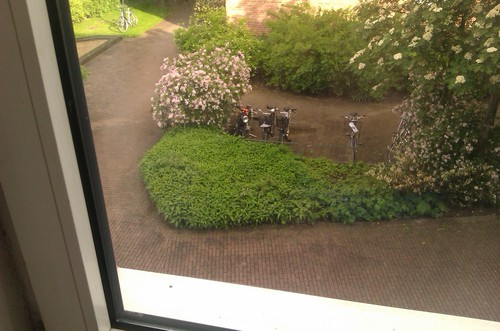
the view from my kitchen window. :)
imag0337_149439000.jpg
 
Looking awesome!

I have two questions for you. The gators on your front forks. Are those the length that you bought or did you cut them? The ones I got seem too long...

And as for your indicators, I bought a set that look pretty much identical to the ones you have, but they aren't pulling enough current to flash, they just light up but don't blink. Did you have this problem? If so, how did you get around it?

Thanks for you help! I really like what you've created!
 
@hough Haha, yeah. I know. :)
And we also learnt that if you do something, always finish it. Never leave any bolts hanging. :) I shortened the stand to make it fit my shorter shocks a few weeks back. Now I pay the price for not doing what i've been taught. :)

Thanks Unkownz! the gators are in fact steering gear covers. So i cut them to make them fit. And the blinkers are bulbs, but don't blink unless the motor is running. So that's how I got around that problem. You can try to solder in some resistance if you need them to draw more current.

And I'll get back to you on details. Now I need some water. :D
 
Hopefully that will do the trick! :)

So, the last modifications were

Pods
Mounted battery under seat
Re-jetted carbs
New carb-holders
New sparkplug caps (the left one wouldn't stay secure, so I decided to switch em)
Shortened side-stand (which then fell off due to my ignorance and a cup of coffee getting cold)

Got it running and burning nicely.

The ride from my parents to the city was quite a hassle. It was storming, rode through winds, rain and hail(!). Not the best day, but it was worth it. :)

So, the temporary stand caused me some problems. Not too big though.
It stood safe for 2 days, but riding it was a bit of a hassle. First time, it fell down.
I was out riding during a football(soccer) game was held in my city, the game was cancelled due to a spectator attacking a goalie. I was about to pull into a gas-station, took a short cut and sparks flew from the ground. Parked and looked across the street. There 8 police wagons pulled up and about 20 officers already there herded people away. Haha, quite a sight.

Anyhow, the bolt that held the stand got bent. Which meant quite a bit of job getting it off. :)

I found a new (old) sidestand, took one day to get it, its on the bike securely now. Only problem I need to shorten it, again. :) haha.

Next up on my to-do list is glue on my emblems and then adjust the valves.

imag0330_149885741.jpg
 
Hey y'all

Got some new headlights mounted on the bike. I found these laying around the garage, they are originally meant for a tractor as a backing light. (?)

Had to move the ignition, it's now under the saddle. And the indicators, they are now on some brackets mounted onto the front fender mounts. Small changes but it all adds up in the end. Got some more mods planned, but time and money will tell when they happen. :)

and oh yeah, I got some pics for you. :bike:

imag0360_155165712.jpg

imag0361_155165852.jpg

imag0359_155166323.jpg

imag0362_155163914.jpg

imag0363_155163994.jpg
 
looks killer man. the head lights remind me of a REALLY long springer front end on a chopper. love it! lol. your clutch cable is a little long. wat i did, is i brought it up, under the back side of the tank, then along the right side, through the forks out from behind the headlight. and finally into the cable. it tidies it up pretty nicely.
 
Thanks guys!

haha volcom, you don't know how right you are.
looked through some of my dads old bike magazines from the 70s, saw something similiar on a huge front end and went for it. :) I'll try your tip on the clutch cable! Thanks man.
 
Last edited:
This looks really rad. Rad.. Rad? Does anyone ever use that word anymore? Well, you probably get what I meen anyway. Looks killer, isigt!
 
Hey!

Long time no see.

Bringing this old thread back to life since it's winter and time for some more work on the bike. Just a quick update for now really.

imag0527_176297046.jpg


Got her stripped down and ready for some work.

the thing is, i got another one. I also bought myself a xs650. The 650 is going down the hardtail route and will probably take up most of my time and money. I plan on posting something on the 650 forum later on.
here it is the day i bought it:
imag0513_176297107.jpg


and how it sits now:
imag0573_176297730.jpg


however, I have some changes planned for the 400 as well.

Putting bmx-bars on it
making a rear-loop for the tail
new fender and new seat
dropping the tank so it rests on the backbones

and then some other stuff which I may not have time for, we'll see how it goes.

I'll keep you updated!
 
Looking good! How do you plan to get that XS650 on the streets legit? New registration?
Keep posting!!
 
Nice bike you got there.
I have started an build on a xs400-81 too but not a thread. =)
Very nice Xs650 you got, hardtailing will not be a problem, just look up the materials you use and how you do the welldning.( sorry for my bad eng.)
Check with Sfro, they guid you.
King hoj!!!

My bike at the moment
 

Attachments

  • IMAG0363.jpg
    IMAG0363.jpg
    51.9 KB · Views: 294
Last edited:
Thanks mhassic! Is that an old dirtbike front wheel? from what bike and year? The disc looks like its from a newer bike, but i know that the old wheels have the same axle-diameter. Really cool anyways!

the xs650 frame is now dropped off at calles i moheda, looking forward to see how that turns out. :)


And now over to the 400.

imag0635_178496886.jpg

imag0637_178496944.jpg


got the mounts for the bmx bars ready, need some polishing but they work. :)
going to get some chromed bars later on, these are just for the visual. :)

The seat i had laying around. bent the mounts on the tank and moved it forward.

Also got some new diaphragms from jbm industries, cleaned the carbs and set them right. :)
 
had some fun with the choke rod, the plan is to make a nice one for the 650 so made this to try it out for the 400. really simple, just a 5mm rod and drilled holes in the same places as the original, then drilled the lego-man and cut splines into the rod and glued everything together. holds up nice. :)


imag0642_178613568.jpg


imag0641_178613617.jpg
 
Sorry if it has been covered already but what length were your shocks eye to eye? And where did you buy them? Are the aftermarket or off a different make/model?
 
Back
Top