Pork Chop
XS400 Junkie
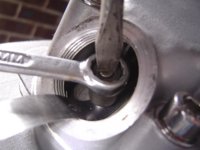
no, not the raised part.
If I am going to do this then I really don't want to bugger it up. Is a file or dremel best for the job?
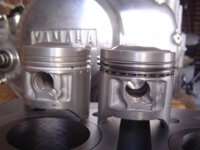
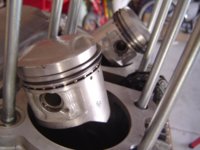
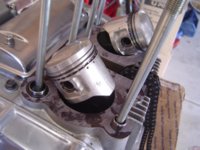
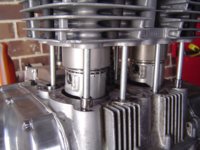
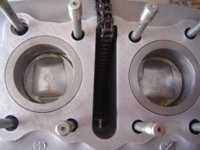
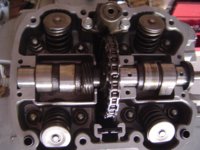
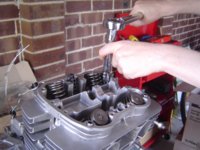
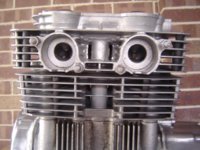
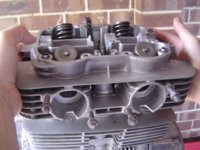
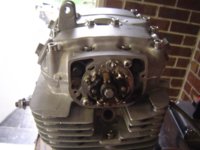
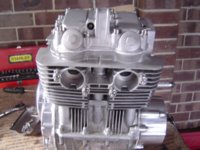
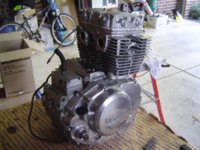
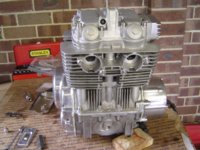
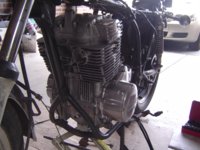
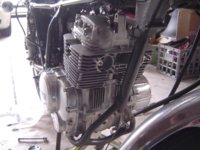
Also, Greasey your cylinders look great - I will give honing a try this weekend and lap the valves too (got the grinding compound today).


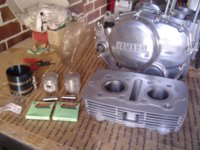
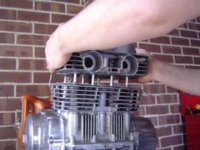
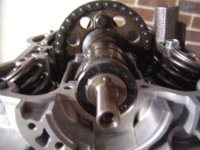
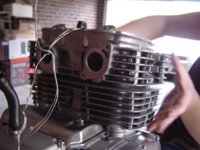
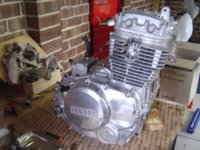
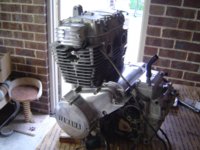
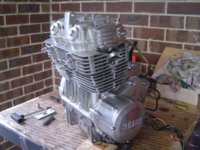
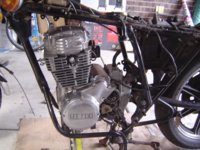
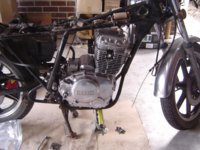
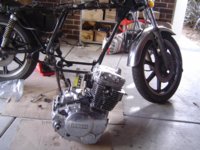
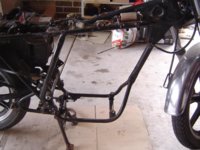
") Happy to say we put in a solid session today.
Happy to say we put in a solid session today.