This is probably more work that it's worth, but this is what I did:
I went to Radio Shack. The Shack had this 4 place fuse holder available:
his holds 4- 1/4" x 1 1/4" automotive type glass fuses. The original fuses are closer to 1".
I removed the fuse box and removed all of the original fuse holders. I then used a Dremel to remove the mounting tabs for the holders so the bottom of the fuse box is flat so I could mount the fuse holder in it.
On the holder above, you will see 8- 1/4" male tabs for terminals. I bent these down so that now the wires will enter the fuse box from beneath instead of from the side as is standard. The fuse holder is too wide to fit in the original box with the wires coming from the side. I then cut slots in the bottom of the fuse box to provide a place for the wires to connect to the tabs from underneath. I used insulated female 1/4" terminals on the wires as below:

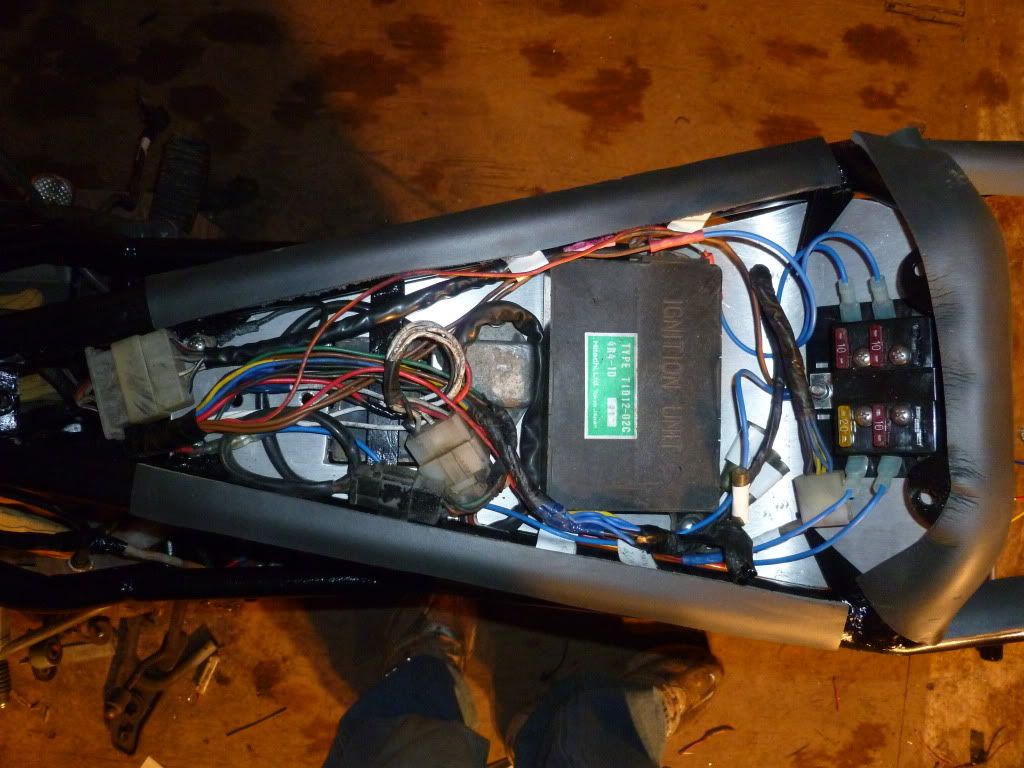
I used very small bolts to bolt the fuse block inside the original fuse box, then plugged the terminals into the appropriate places so that the fuses were in the original order. I then glued the original sticker that had been in the fuse box (carefully removed earlier) onto the new fuse block, installed the new fuses (20A main, and 3-10A), and tested it. Everything works- no more power loss. Only down side is that because the fuses are longer, only 2 spares store under the cover instead of 3. I will post pics of the finished product later, but if you have had fuse block issues and want a clean, mostly original look, this is an inexpensive way to do it- soldering skills a plus.
For a couple of hours (including all the cleaning of connections mentioned) and less that $20, I have a pretty nice result.

 type. Do one wire at a time and it should be a pretty simple swap.