1. Having trouble logging in? Try closing your browser and re-opening it. If that doesn't work, try a different browser or device. The site will be updated soon to resolve these browser issues.
    Dismiss Notice
  2. Dismiss Notice
  3. Want an XS400.com t-shirt? Go to the store to order. Limited sizes and quantities available.
    Dismiss Notice

Introduction and Advice Needed, for 83 maxim XS400

Discussion in 'The Garage' started by Nat X, Oct 27, 2019.

  1. Nat X

    Nat X XS400 Enthusiast

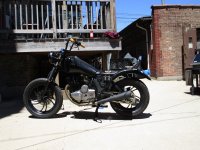
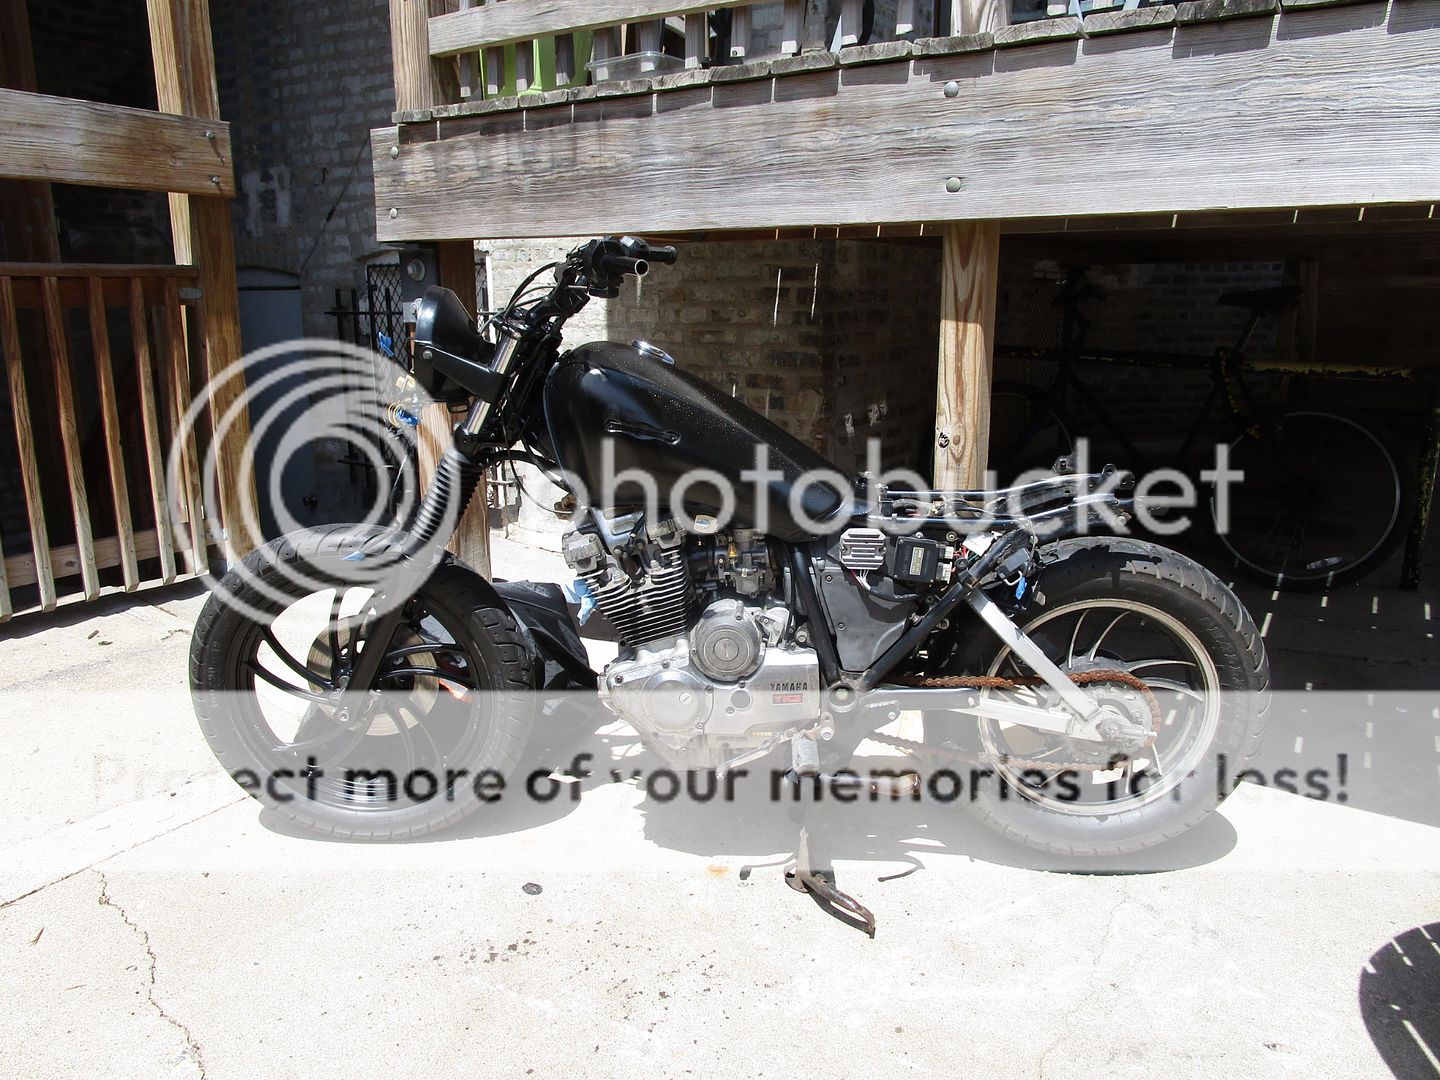
    Today I got started on stripping down the rear end.

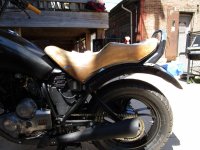
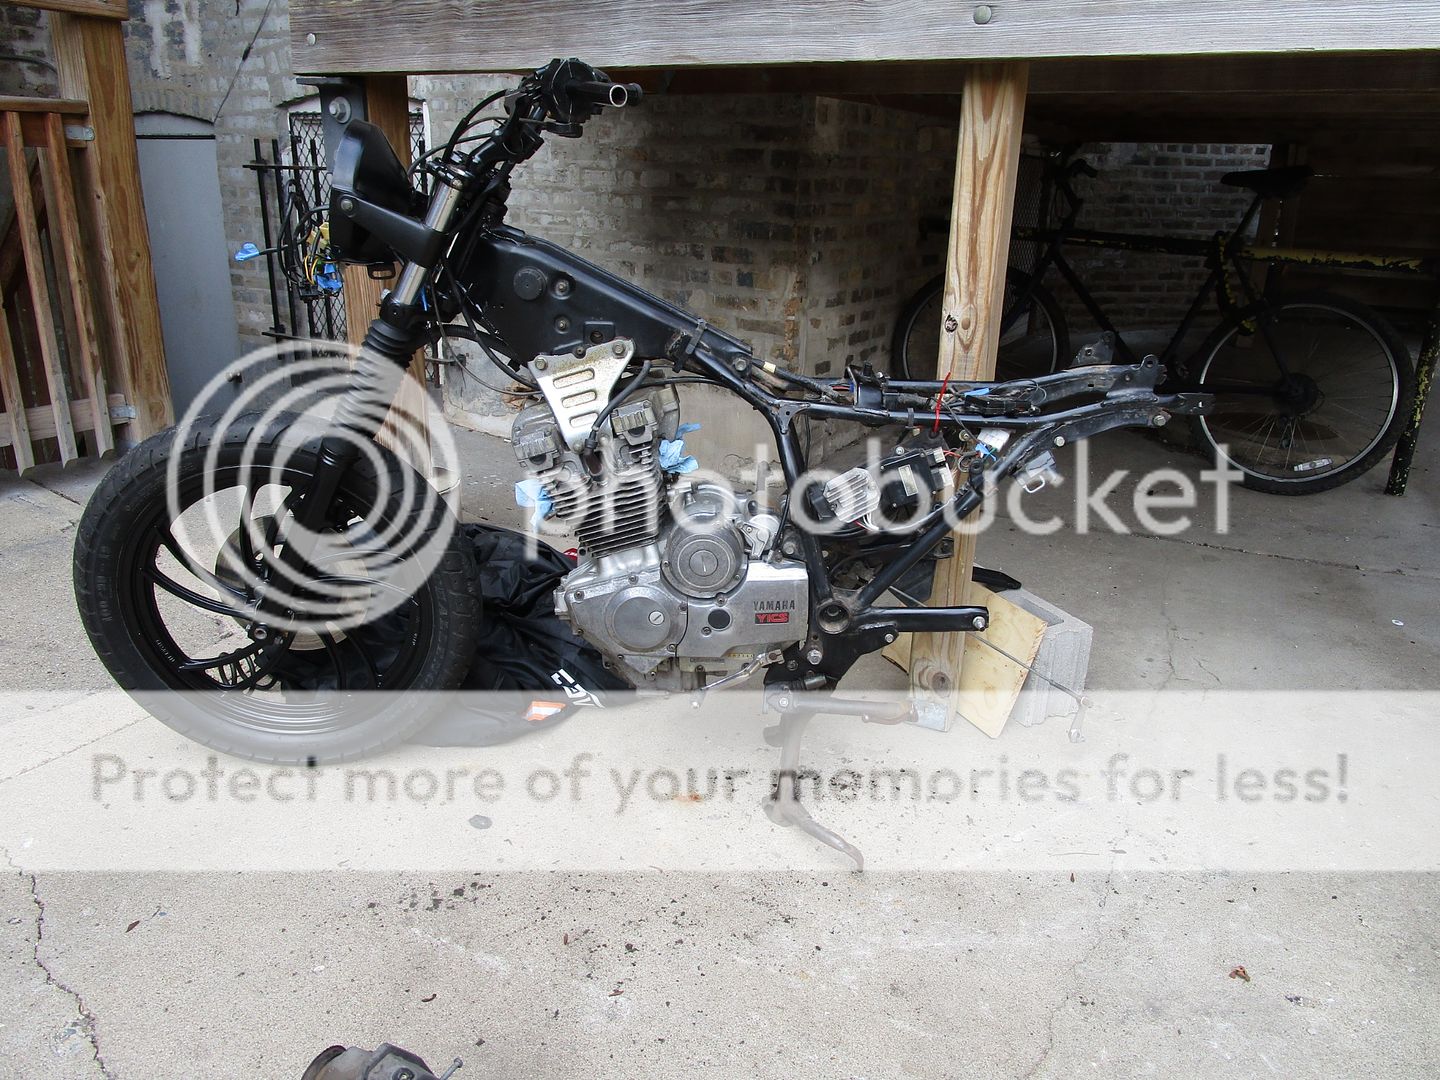
    Side profile shot, gotta get the caboose to match the new front end
    [​IMG]

    gotta break the rusty a$$ chain
    [​IMG]
    [​IMG]

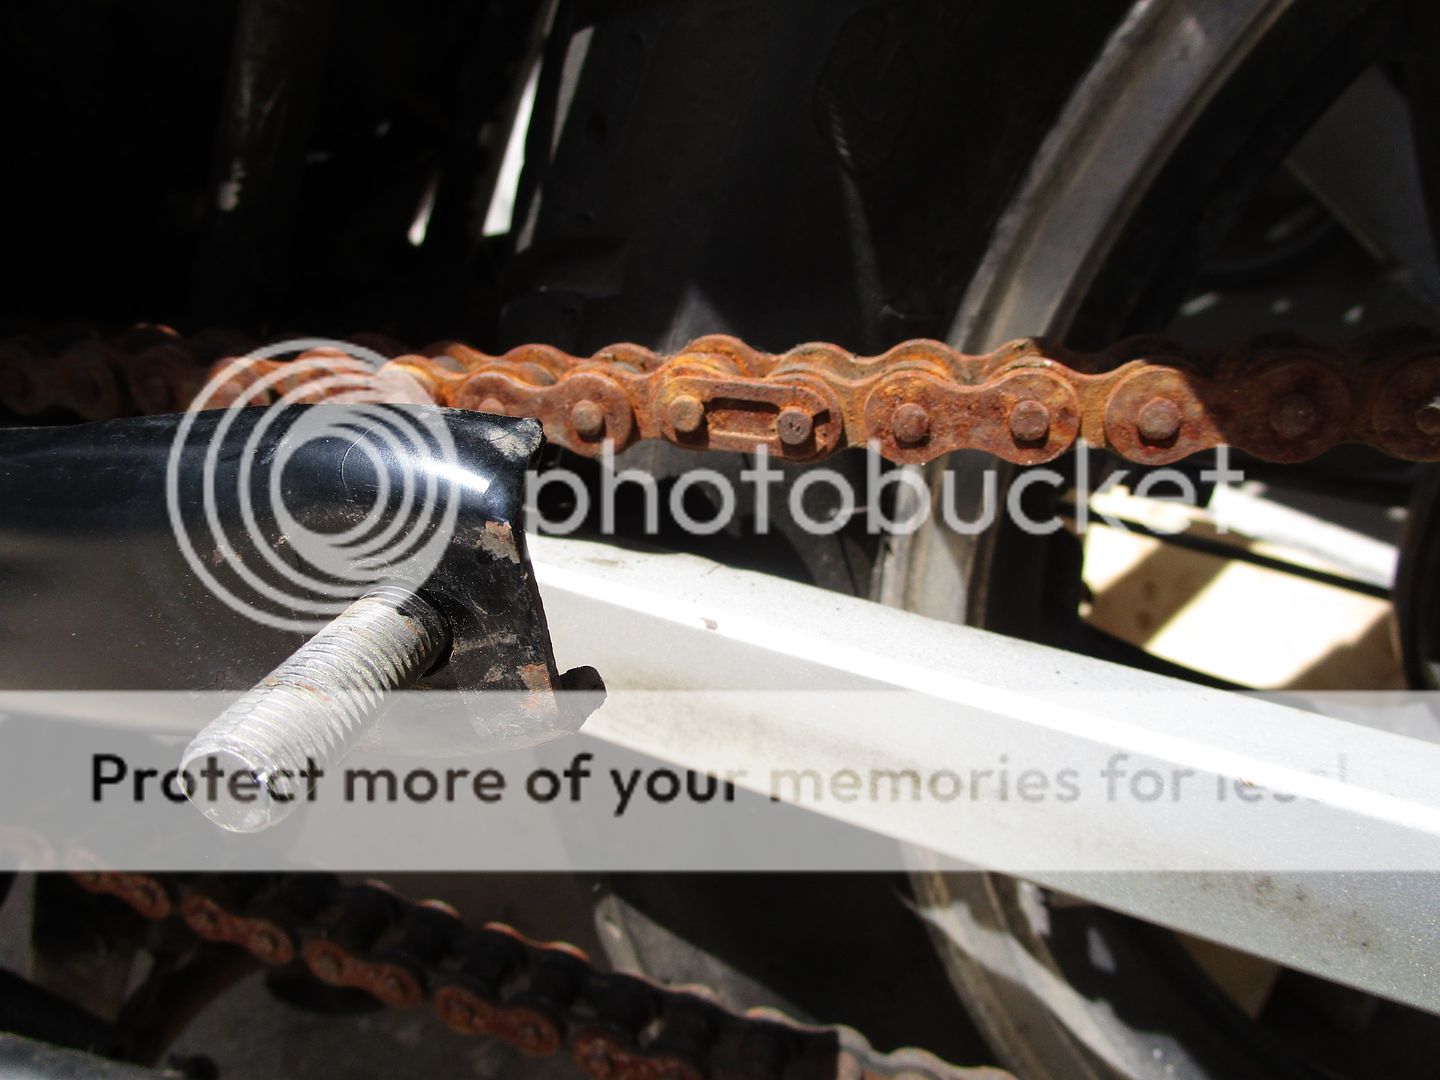
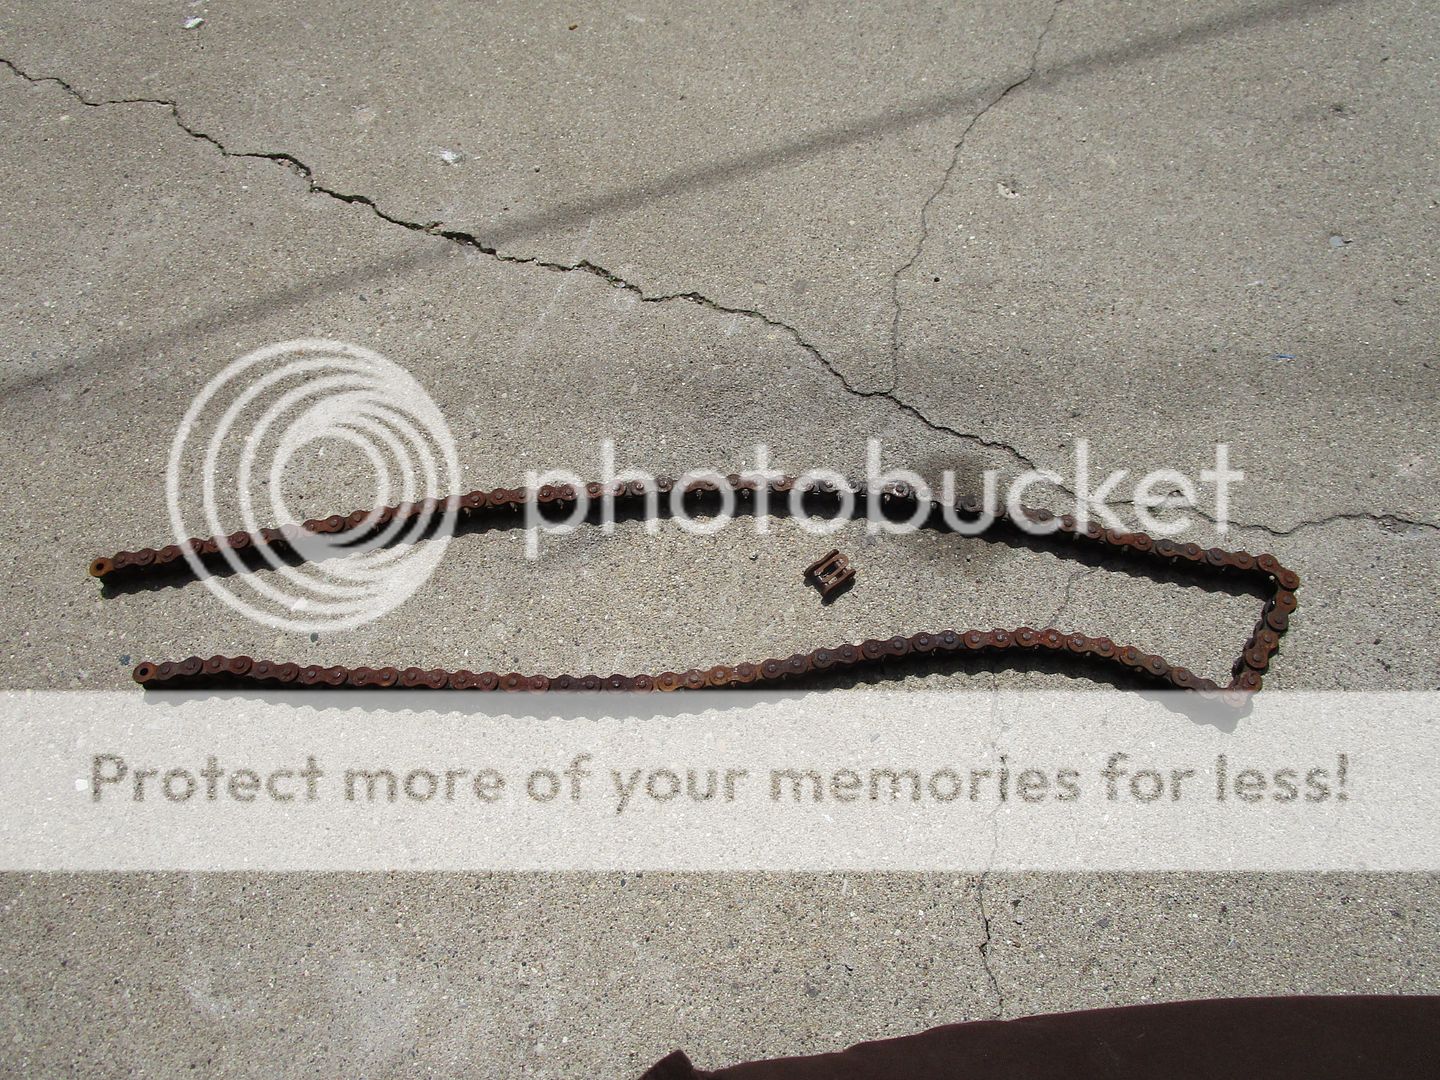
    can't wait to put the new chain on!

    then the rear wheel came off nice and easy
    [​IMG]

    [​IMG]

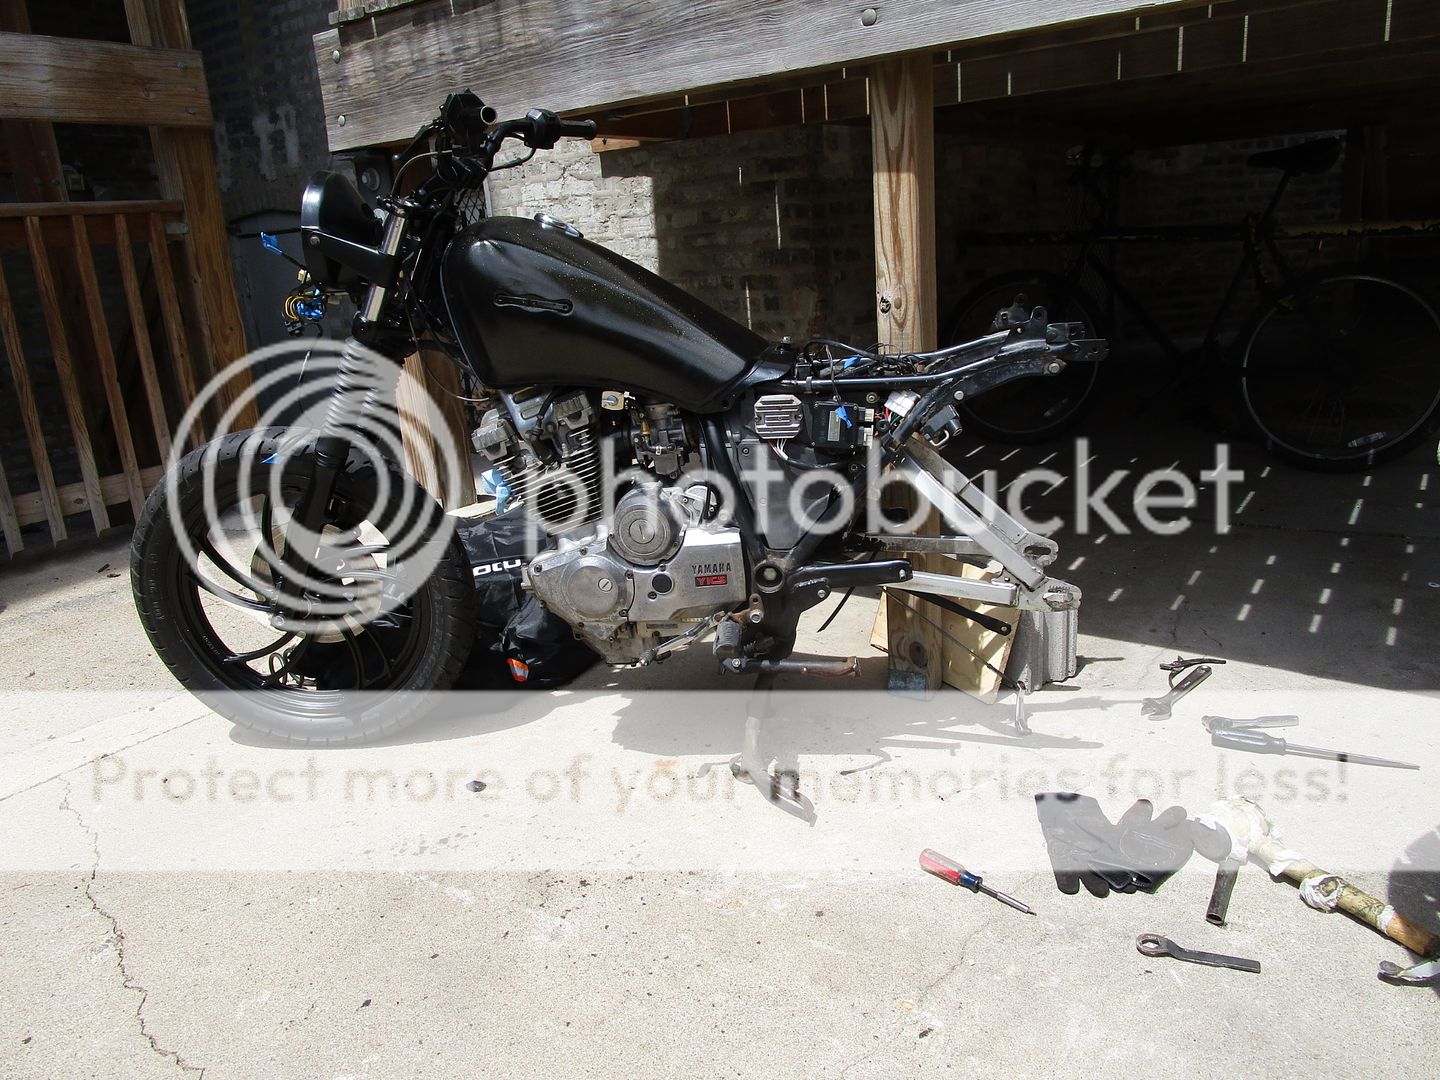
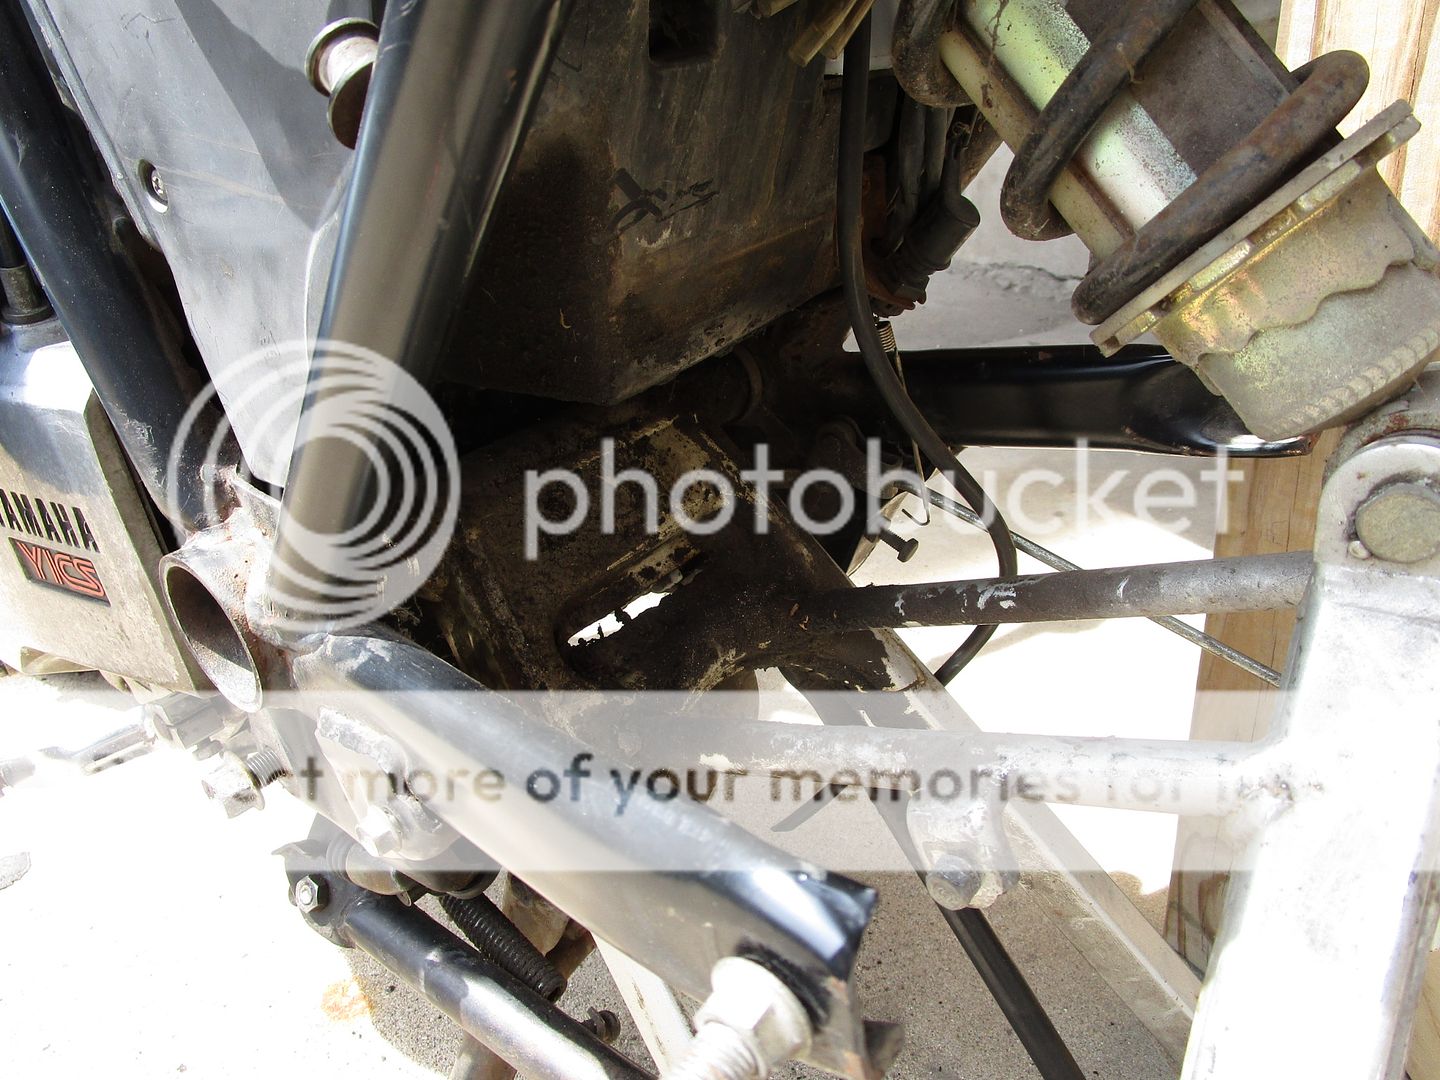
    dropped the rear swing arm with the mono-shock attached
    [​IMG]

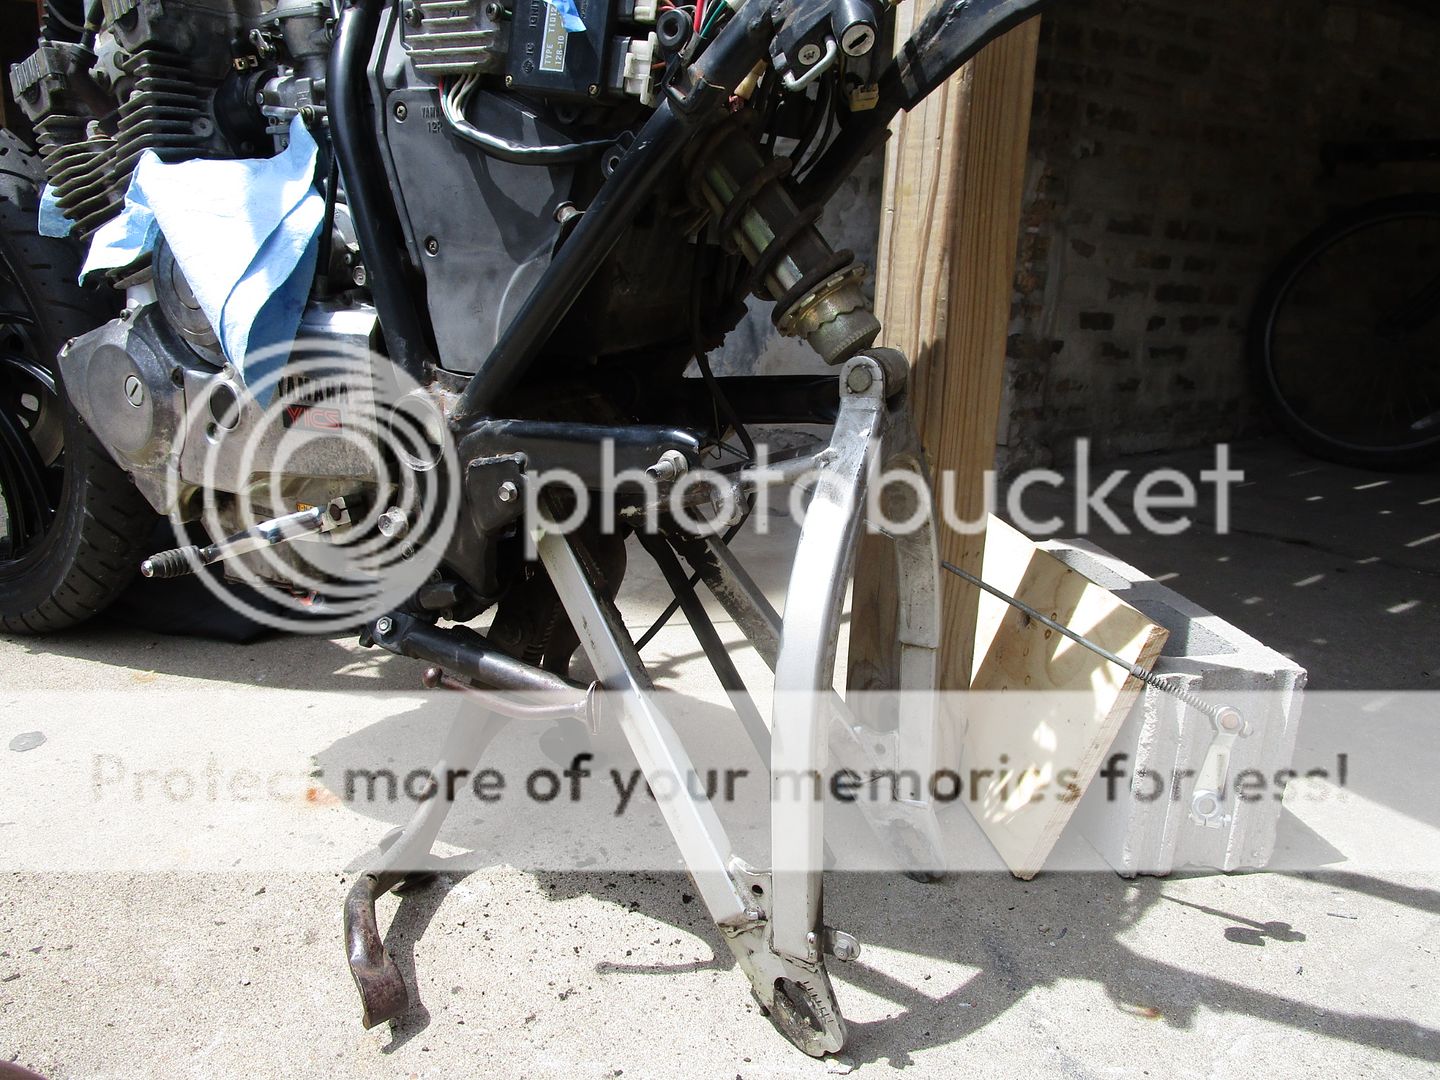
    the main reason to drop the rear end is to clean 30 years of road grime
    [​IMG]

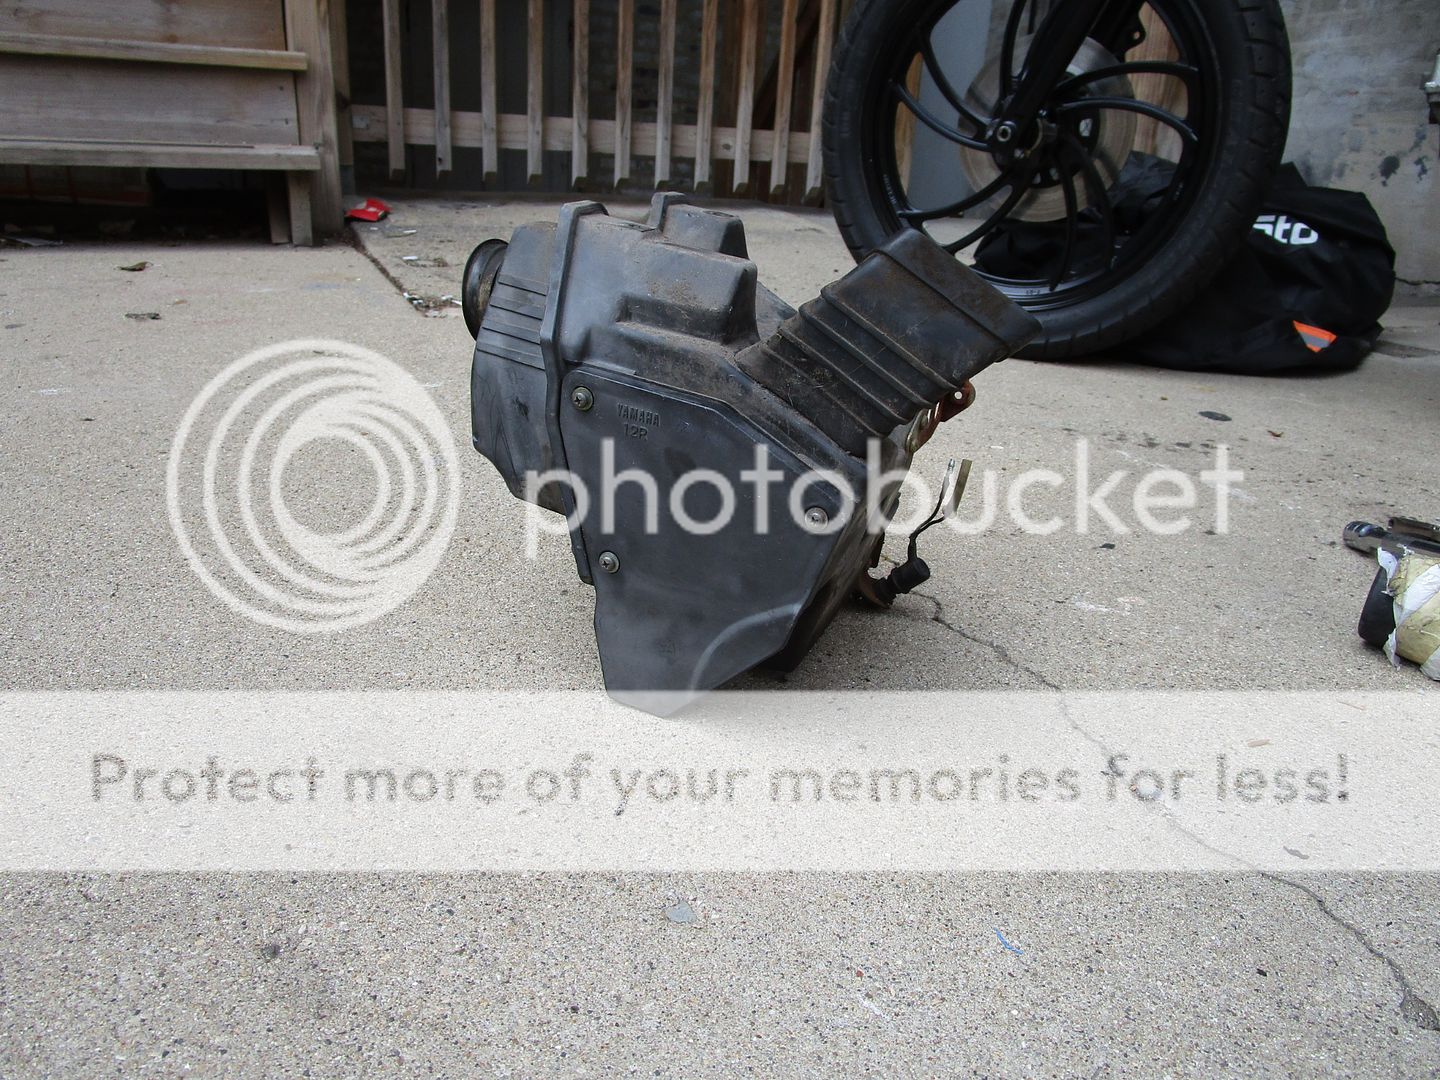
    out came the air-box as well, it needs cleaning as well
    [​IMG]

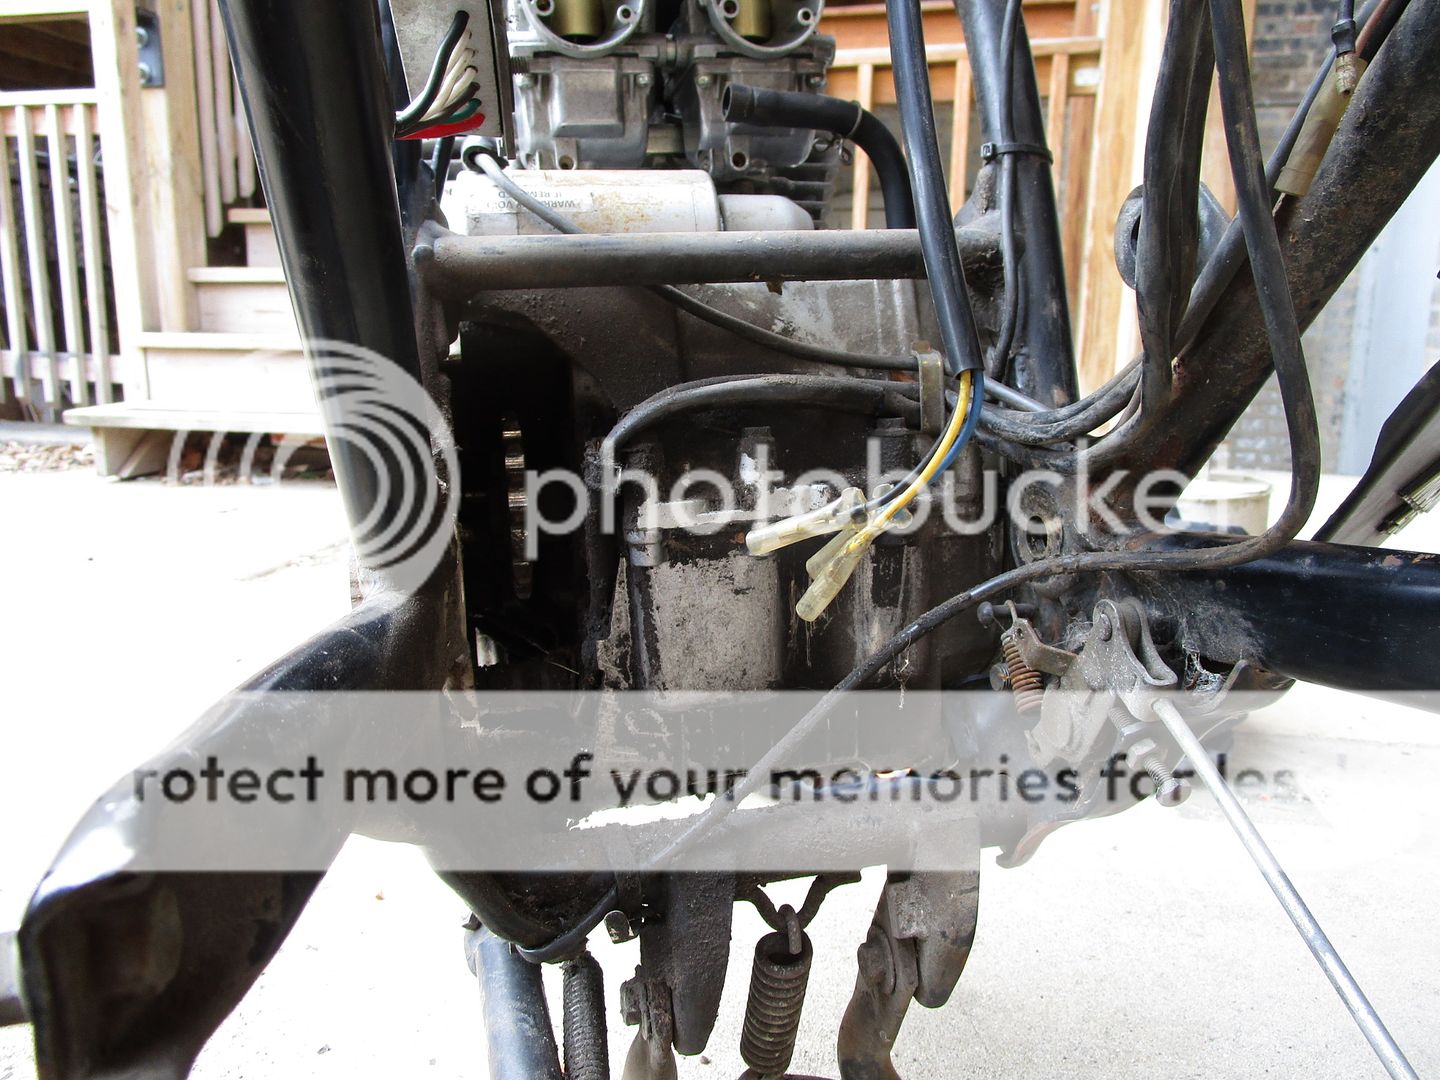
    pulled the carbs too
    [​IMG]

    the engine will get a deep clean and some paint in the future
    [​IMG]
     
    motoTrooper and xschris like this.
  2. xschris

    xschris XS400 Guru Top Contributor

    Remember to replace the sprockets the same time you do the chain. Anytime I change fork oil on a bike I just get I always fully disassemble them. A lot of gunk will settle in the bottoms of them that only taking everything apart can get. If the bike sat for years even more so. Just an oil change will not clean the forks out. It's also a good time to replace seals and o-rings. Great progress on the bike!!
     
  3. Nat X

    Nat X XS400 Enthusiast

    well on to some more cleaning, prep and paint...

    First step lets get rid of these chain guard tabs
    [​IMG]
    [​IMG]

    The angle grinder made quick work of those
    [​IMG]
    [​IMG]

    Much better in black
    [​IMG]
    [​IMG]

    Disassembled the sprocket side of the rear wheel for prep and paint
    [​IMG]
    [​IMG]
    [​IMG]

    Now on the brake side! The rear brake was fubar'd!!! It tool a long while to sand away all that rust.
    [​IMG]
    [​IMG]
    [​IMG]
    [​IMG]
    [​IMG]

    More prep and paint pics of the rear wheel and brake cover. No pics of the rear pads installed, but the finished wheel is looking good!
    [​IMG]
    [​IMG]
    [​IMG]
    [​IMG]
    [​IMG]
     
  4. Nat X

    Nat X XS400 Enthusiast

    Some fresh paint on the foot pegs, air box and fork brace.
    [​IMG]
    [​IMG]
    [​IMG]
    [​IMG]
    [​IMG]
    [​IMG]
    [​IMG]

    Now back to the bike. After knocking off another decade of road grime more prep and paint! Don't worry those are the old spark plugs.....
    [​IMG]
    [​IMG]
    [​IMG]
    [​IMG]
    [​IMG]
    [​IMG]
     
  5. Nat X

    Nat X XS400 Enthusiast

    Well I wasn't really digging just the top of the motor being painted, so on to more prep and paint
    [​IMG]
    [​IMG]
    [​IMG]

    Looks way better. I'm planning on polishing the unpainted covers at some point. Got a good couple of layers of fresh paint on the frame as well.
    [​IMG]
    [​IMG]

    Got the carbs on, air box installed and wires tucked into place
    [​IMG]
    [​IMG]
    [​IMG]

    I know, I know this fuel line set up is ridiculous, I'm working on it, parts are on the way
    [​IMG]
     
  6. Nat X

    Nat X XS400 Enthusiast

    gunna try out the ole' budget bolt on hardtail mono shock delete.
    [​IMG]

    Made the mistake of measuring only once, this bad dog is gunna be low...
    [​IMG]

    As it sits on the on the ground. It looks rad, but its a little to low, hell the kickstand doesn't even work lol
    [​IMG]

    Got another piece of square tubing coming next week. Then I can level out the rear end. Super pumped on this tho!
     
  7. Nat X

    Nat X XS400 Enthusiast

    Everyone's favorite subject WIRING!

    Got this dirty cheap speedo from Amazon. Ya it's in KPH, but who cares. Used the stock wiring harness to get the speedo to work. Everything works perfect.... except the neutral indicator come on when the bike is in 1st gear now, which is super weird lol.
    [​IMG]
    [​IMG]

    New ignition from TC Bros, super easy to wire up. The only issues is I need to add more wire length so I can relocate the switch to the side of the Air box.
    [​IMG]

    I also added a on/off/on switch for the headlight controls. This was little more tricky to wire up, but after a couple tries I got it!
    [​IMG]

    Found this sweet choke lever online. It's made for go carts, lets hope it works. Also got a new cable on the way.
    [​IMG]

    After all that I ditched the stock left side controls, peace out
    [​IMG]

    Headlight assembly back together and I had to wait till night to show off the work.
    [​IMG]

     
  8. markmakeitso

    markmakeitso XS400 Enthusiast

    Looks like excellent progress Nat X.
    Little trick I picked up for painting wheels is to buy a stack of 3x5 note cards. My local dollar store has them for...umm...one dollar. Those wedge into the gap between the rim and the tire pretty well, and you can save a bunch of time over the paper and tape method. Same pile of cards is reusable quite a few times also, as long as you let the paint dry each time.
     
    Nat X and motoTrooper like this.
  9. spectra

    spectra XS400 Junkie Top Contributor

    Looks good..........what type of paint are you using ?
     
  10. Nat X

    Nat X XS400 Enthusiast

    just the cheap flat black stuff from Home Depot on the frame and such, also got high temp paint from there a well.
     
  11. Nat X

    Nat X XS400 Enthusiast

    Some more progress to report. Got me some new TC Bros Mini Ape Hangers, plus some Biltwell grips. Had to remove the tabs off the end of the throttle tube to get the fit just right. Super pumped on how the hand controls are looking and feeling.
    [​IMG]
    [​IMG]
    [​IMG]
    [​IMG]

    Installed the new clutch cable and TC Bros chain. Had to clean another decade of junk off the inside of the cover, but everything turned out nice. plus pics of the painted and wrapped exhaust.
    [​IMG]
    [​IMG]
    [​IMG]
    [​IMG]
    [​IMG]
    [​IMG]
    [​IMG]

    After messing around more with the monoshock delete some more I just decided on re-installing the shock.
    [​IMG]

    Sitting pretty
    [​IMG]

    After everything came together I got this old girl to move on her own!!
     
    Last edited: May 28, 2020
  12. Cafe

    Cafe XS400 Member

    Lookin' Good.
     
  13. Nat X

    Nat X XS400 Enthusiast

    Now on to the rear end. Test fit the stock rear end 20200531011717_IMG_0923.JPG 20200531011725_IMG_0924.JPG now we gotta get the seat on there, but I can't ride on that stock seat. It looks terrible! So the first thing I did was strip the seat cover off. 20200531020950_IMG_0925.JPG 20200531020958_IMG_0926.JPG started making a huge mess in my apartment but it turned out nice, way cleaner. I do plan on giving it another go soon after some more seat time. 20200531100616_IMG_0932.JPG 20200531100627_IMG_0933.JPG 20200602_153134.jpg
    20200602073751_IMG_0958.JPG 20200602073747_IMG_0957.JPG
     

    Attached Files:

    Last edited: Jun 9, 2020
  14. Nat X

    Nat X XS400 Enthusiast

    prepped and painted the rear assembly and fixed the storage under the sissy bar with zip ties. I mean is a project ever complete without zip ties on broken shit? 20200602073721_IMG_0952.JPG 20200602073303_IMG_0947.JPG 20200602074053_IMG_0959.JPG 20200602074103_IMG_0960.JPG 20200602073318_IMG_0949.JPG the rear fender turned out nice!
     
  15. Nat X

    Nat X XS400 Enthusiast

    as it sits now! 20200603031300_IMG_0965.JPG 20200603031326_IMG_0967.JPG 20200603031316_IMG_0966.JPG I still gotta finish the front brake rebuild and move the ignition to the airbox. Then it'll be ready for the open road. But for now I've been practicing in the alley behind my building!
     
  16. Cafe

    Cafe XS400 Member

    It lives! Congratulations.
     
    Nat X likes this.
  17. Nat X

    Nat X XS400 Enthusiast

    time to tidy up some loose ends.

    First thing is the choke lever and cable reroute. I ended up using one of the reflector mounts under the front of the gas tank. Turned out pretty clean! 20200617010616_IMG_1102.JPG 20200617023250_IMG_1104.JPG
    Now on to the ignition. I ended up extending the wires and the ignition switch to the left side of the airbox.
    20200620014019_IMG_1124.JPG 20200620021106_IMG_1128.JPG 20200620020323_IMG_1125.JPG 20200620021103_IMG_1127.JPG 20200620023844_IMG_1130.JPG 20200620023835_IMG_1129.JPG
     

    Attached Files:

  18. xschris

    xschris XS400 Guru Top Contributor

    Not sure having an electrical device inside something with potential gas fumes in it.
     
  19. Nat X

    Nat X XS400 Enthusiast

    Totally!

    Motorcycles are super dangerous. The source of the entire electrical system (aka the battery) is located on the air box, inches away from the carburetors and under a metal gas tank all of which are or could be full of highly combustible fluids of vapors.

    If I blow my family jewels off you can say I told ya so tho...
     
  20. Nat X

    Nat X XS400 Enthusiast

    Well we went full rigid with a welded in monoshock delete. My buddy taught me to weld and I did it myself! I even had a handful of super clean looking welds. I'm super pumped with how it turned out, plus we added a rad TC Bros sissy bar 20200711045246_IMG_1323~2.JPG 20200711055830_IMG_1335.JPG 20200711075735_IMG_1346.JPG 20200711061947_IMG_1343.JPG


    20200711053736_IMG_1325~2.JPG 20200711075948_IMG_1352.JPG 20200711083333_IMG_1355.JPG

    We had to shorten the kickstand and kickstand spring as well
    20200711082741_IMG_1353.JPG

    And here she is!
    20200711103910_IMG_1361.JPG
     

Share This Page