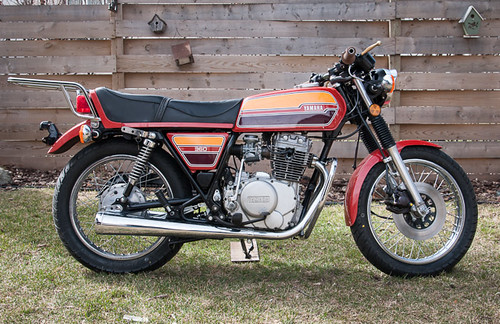
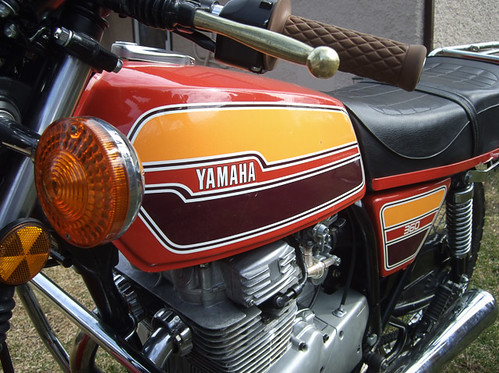
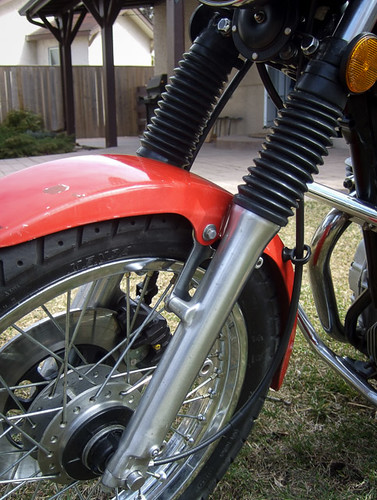
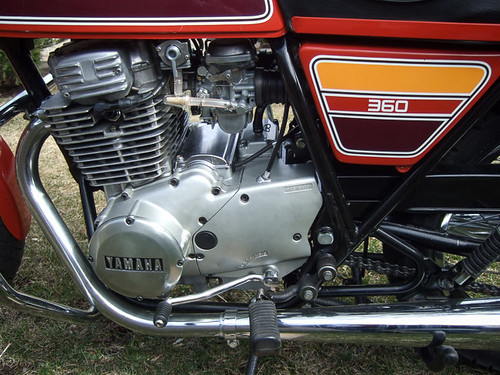
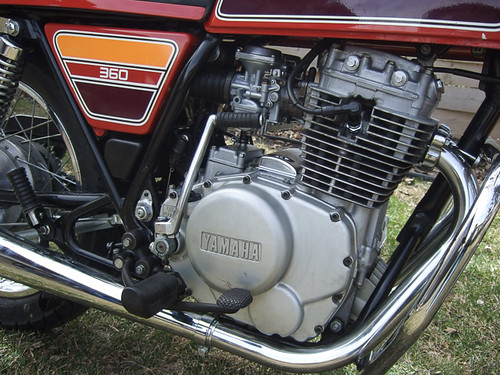
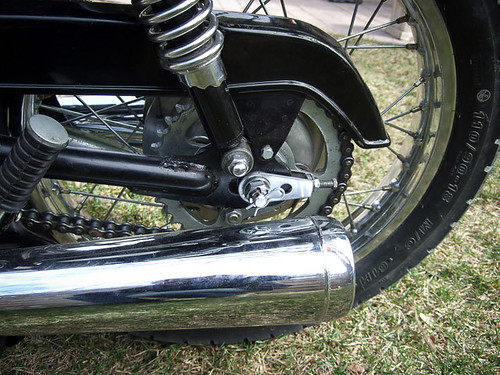
My '76 XS360C Restoration

How does your master cylinder sit with those drag bars? Mine would roll forward enough before the banjo bolt hit the fork. Is it a stock unit?

Hey jthiessen, after a bit of dicking around I got the brake hose routed for the flat bars. I guess I can always file the housing like the other guy did but I decided to try using a 90º banjo and routing the hose to the left side of the ignition switch and then straight into the master cylinder, like so:

13528904243_37e19b67a3.jpg


The MC isn't so far from level as it looks. Here's a bit of a better view of the banjo

13528813625_0004edc46e.jpg


I had the brake hose made up with adapters to accommodate the Russel fittings. It is a stock master cylinder. Hope that helps.
 
Jthiessen:
Dumbass me, I was looking back at your build thread and realized I'd referred you to your own thread. D'oh! Sorry. Sounds like you got it fixed up, though.
 
Ha ha, no problem.

Glad to see there is another solution. I need to stop cutting first and start thinking! Turned out alright for me this time, but it could get me in trouble in the future.

Nice work cleaning up the inners of those controls. And the rest of the bike for that matter!
 
Why don't you check out the video made by user mcrowell75 on timing. It may clear everything up.

http://www.xs400.com/forum/showthread.php?t=12330

Thanks BC. Your timing video was excellent. Nice and clear and thorough. Answered all of my questions but one. I don't have a single line for LT on my XS360 (or LF for that matter) I have 3. First come the letters, then a short line, then a long line, then 2 more short lines. I assume the correct spot is the long line but I picked up a top-dead-centre gauge from a friend to check for sure to eliminate being made an ass of.
 
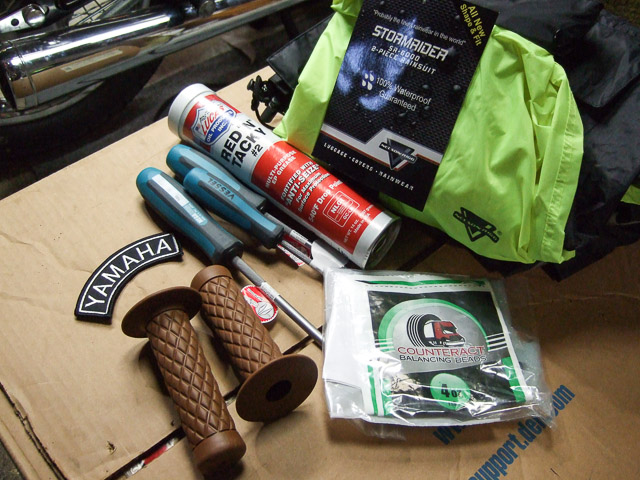
I drove down and picked up some swag from the border today.

13654823584_2aa3da162d_o.jpg


Although I included the Counteract Balancing Beads in the photo because they are new, I didn't get them today. I picked those up locally the other day.

Also in the photo are my new Biltwell hand grips and Yamaha patch from Dime City, "motorcycle" driver set of 3 JIS screwdrivers from rjrcooltools, Lucas Red 'n Tacky grease from Amazon, and Stormrider rain suit from Revzilla
 
The spark should happen just before TDC, not at TDC.

If I can recall correctly the engine is spun counter clock-wise. The LF/RF letters come first. The line you want is the first one after the letters. I believe the other lines are for advance and tdc. It's been a year since I did the timing, but the marks are very simple.

You just have to make sure the respective cylinder is on the compression stroke (both valves are closed). You can see the valves when they are open with a flash light through the spark plug hole if you need to verify. So if you CAN'T see them you should be on the compression stroke.
 
I haven't posted a lot of the small stuff I've been doing on this thread- mostly post them on the "What have you done to your XS today" thread.

Yesterday I read a post by Tombo, this thread Post #15, suggesting to tightened up the handle bar bushings by boiling them and then soaking in ArmorAll.

I removed mine and they fell off the posts and out of the holes in the top triple tree. I knew they were loose.

So I boiled them for a bit then covered them in a container full of ArmorAll for about 20 hours. Cleaned them up this morning and they were nicely swollen and fit snugly on the handle bar posts and into the triple tree. I'm amazed they were re-newed so easily.

I tightened up the nuts and the bars are totally without any wiggle now. Perfect.

Thanks for the tip Tombo.
 
I received my new tach cable yesterday and set my valves. Also removed my front tire to check the broken spoke. Luckily it wasn't broken, it was just real loose for some reason. I went around and tuned all the spokes to sound the same and did some truing but the wheel is still not totally without a bit of wobble. I hope it's good enough. Then I re-installed the tire.

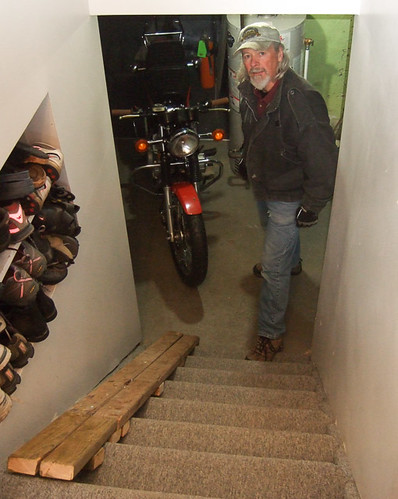
I'm waiting on my new tach, bar end mirrors, condenser and points. Once I get those on I should be ready to take the bike out of my basement and start 'er up.

We've got a cold snap of freezing temps again but much of the snow has melted and there are a few bikes on the road. Hopefully I'll be joining them by the end of the month.
 
My tach arrived on Thursday and seems to work.

Re-installed my speedo with the DIY gasket I made from a thick inner tube.

I'm in the process of soaking my tach gasket in ArmorAll after heating it up. It wasn't totally disintegrated like my speedo gasket so I may be able to save it.

Cleaned the old, goopy grease out of my NOS tach cable and re-greased both it and the speedo cable with Red 'N Tacky. I'm waiting on a seal kit so I can change the tach seal before installing the tach cable. Post office was closed Friday and now again tomorrow. Bummer.

Made some clamps for the probes of my multi-meter so I can get accurate readings to set the points.
 
I would replace the tach seal with a new one. They are cheap and I think yamaha still has them.
 
Hi Chris, thanks. Yes, I am awaiting a complete seal kit and am replacing the tach cable seal.

What I made was a rubber gasket for around the tach where it fits into it's mounting pot. Those aren't available from Yamaha anymore and the NOS ones are a pretty penny. Do you think it's necessary to have an original one of those?
 
If you can make one for cheap I would do it. The cheapest new ones I could find are $25 but if you look around you may find them cheaper as they where used in a bunch of different bikes form the 70's to the 80's. If you have a salvage yard near you I would look for a good one in another model bike.
 
I replaced the tach cable seal yesterday. It took a bit of time to destroy the old one and get it out but the new one slipped in easily and seated with a couple whacks on a socket.

The tach gasket I soaked in ArmorAll was much renewed and swollen. It fit back in the bucket with some finessing. The ArmorAll breathed some life back into the crumbling rubber. It seems useable again.

13995890766_1baf25ca70.jpg


I salvaged the gasket from a spare tach to use in my speedo. It's soaking now but it started out better than either of my originals so it should be OK.
13995890436_3ede95eef0.jpg


I'll head down there soon to clean it up and assemble the gauges again.

I installed the NOS points and Parts 'N More condenser yesterday too. Points still need to be gapped. Rigged up a test light for setting my points, now I have no excuse not to get that timing set this morning.

14019469834_ec038db04f.jpg


13995891356_b4c211d39f.jpg


I've got a gallon jug of Metal Rescue to treat my tank one more time to remove the last of the surface rust. Pouring that in today.

14019442434_8909555462.jpg


Also installed an inline gas filter yesterday. I need to find another couple similar hose clamps.

13995890146_103d57faac_o.jpg
 
Got my timing set this week and finished up a few small things like gluing those crazy floating bolts into the speedo and tach housings.

14081328046_e7df80f2f3.jpg


I rotated the tank for a couple days with the Metal Rescue in it. The juice looked pretty well used up when I poured it out- almost completely black.

13918080357_26108c8ed1.jpg


I squirted a few cc's of Automatic Transmission Fluid into each valve cover to lube up the top end a bit. There's no telling how long this motor has been sitting without running. I got the idea from a thread on syncing the carbs where someone said ATF is a good lubricant for that.

14101606621_4354766e9f.jpg


Picked up the plastic hose and made up a mammogram :D to sync the carbs.

Bled the front brake, left the handle tied to the bar overnight, tapped the line a few times in the process then bled off a bit more air. That's ready.

The bike is now ready to take outside to try and start. I'm all ready and waiting for when I round up 2 guys at the same time to help me.

13918021150_6f561054a1.jpg


I've been waiting here for a few days now. Had to reschedule my safety once already.
 
The bike fired up and ran briefly on the first try. After a couple more tries it started up and ran.

The pressure from each pipe feels equal but I plan to sync the carbs anyway.

It doesn't idle quite high enough but I'm hoping that will be easy to solve. Any suggestions?

The clutch was set perfectly by the previous owner and I didn't have to adjust it before a quick test run.

The point-and-shoot camera we used really doesn't do the exhaust note justice. Those pipes sound much more deep and loud.

That's it so far. Gotta get the bike idling a bit higher and take it down for the safety tomorrow. Everything works so it should pass OK.
 
Back
Top