Riven Motors cafe build

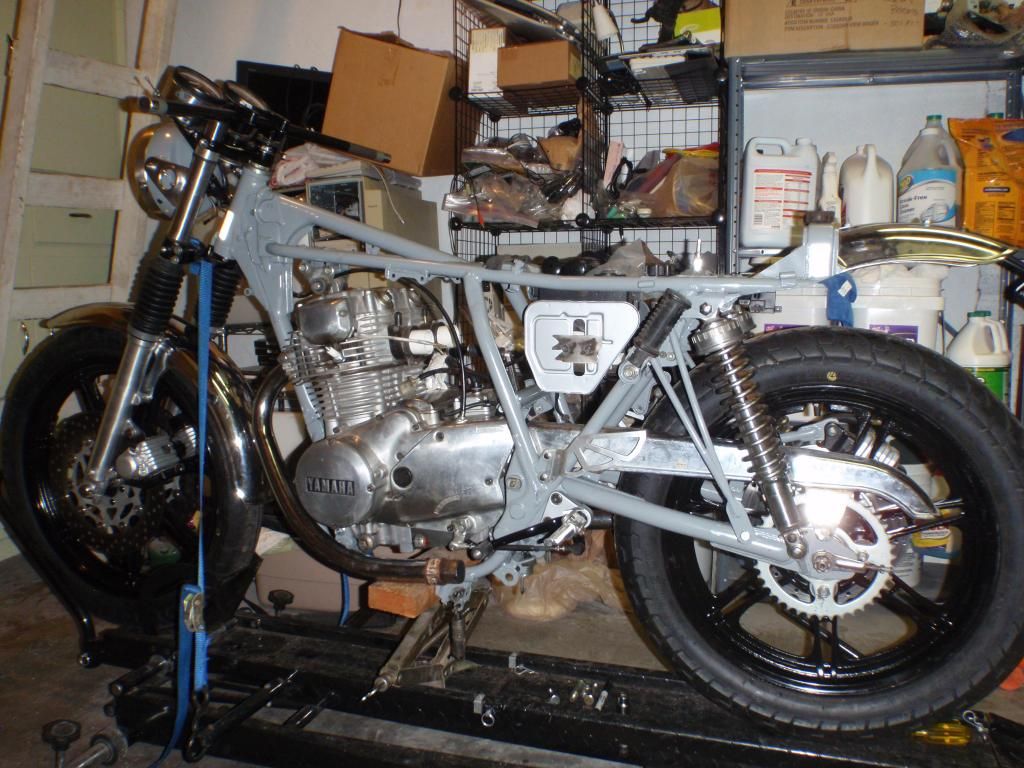
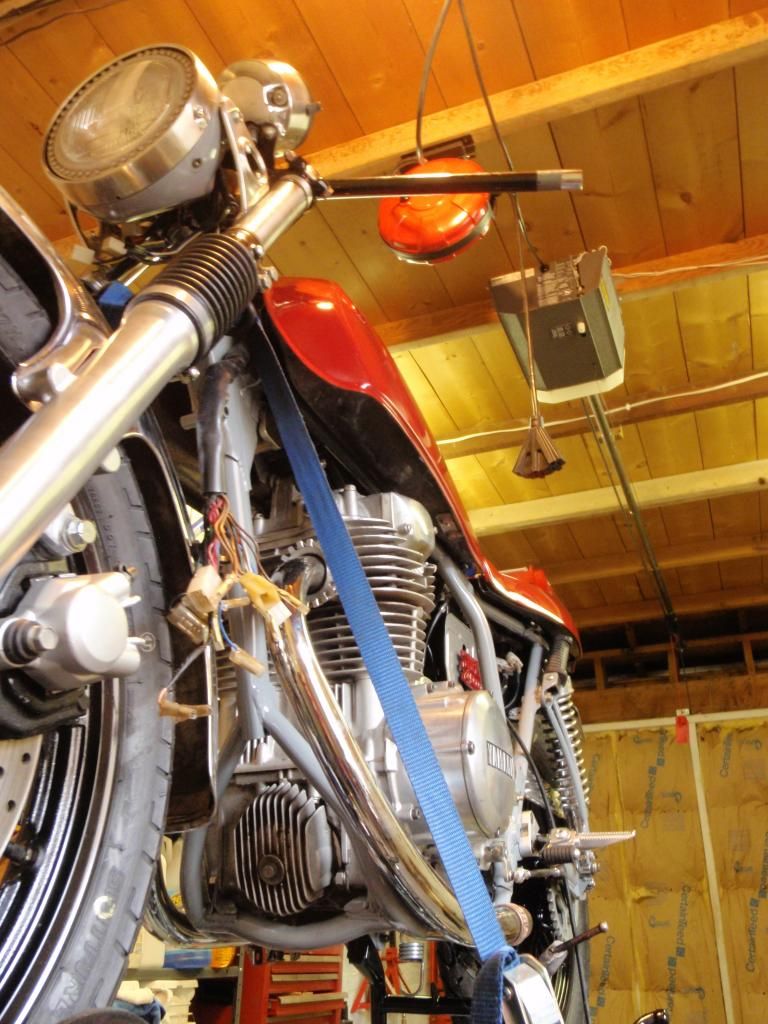
Okay when we last left off I was…. Working on everything on it. Anyhoo, I painted and am painting everything on the bike that needs a coat of pretty. Installed the engine and am in the process of assembly. Photos speak more than words so:


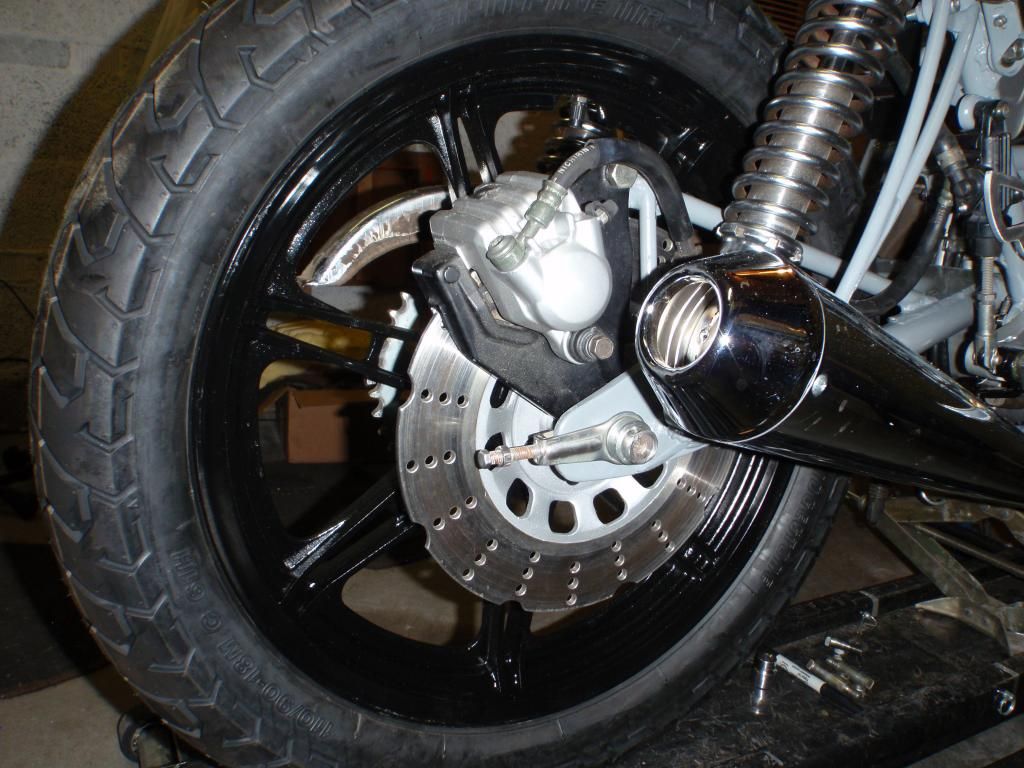
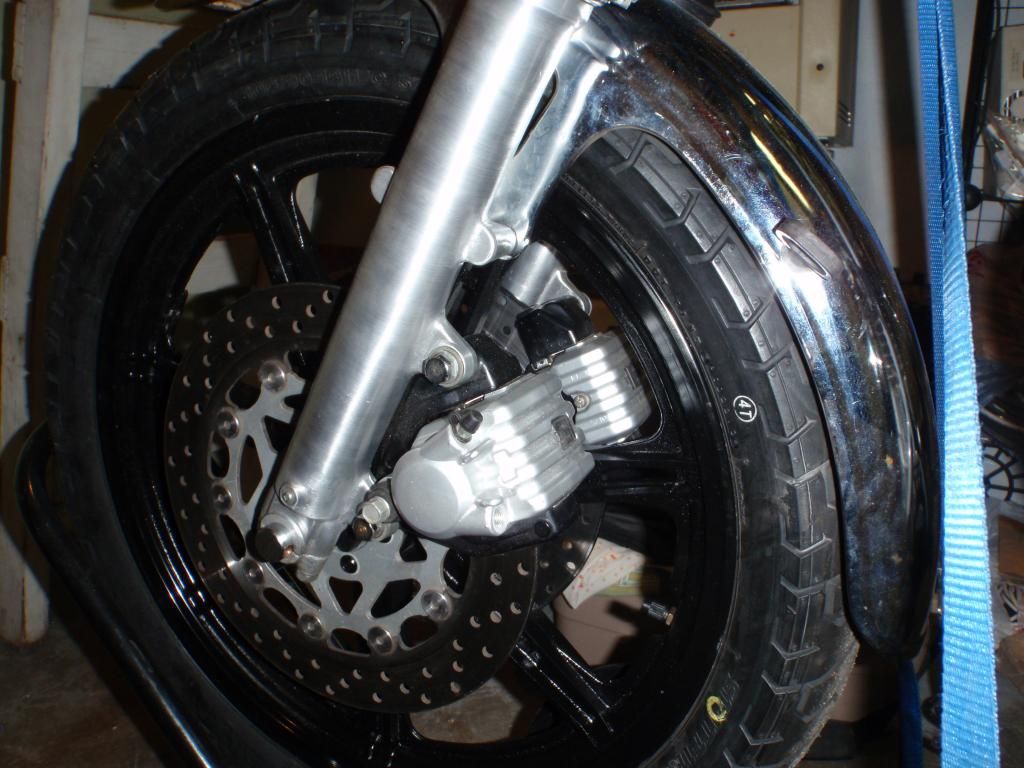
Tires are Bridgstone Spitfires as I dig their tread design and overall performance.


Remilled the edges of the rear brake rotor and finally assembled the brakes I rebuilt over a year (or more) ago!


Rebuilt the SR500 forks (35mm) with new stanchions, seals, cartridge emulators, and gaiters. All turning on new tapered bearings in the neck.


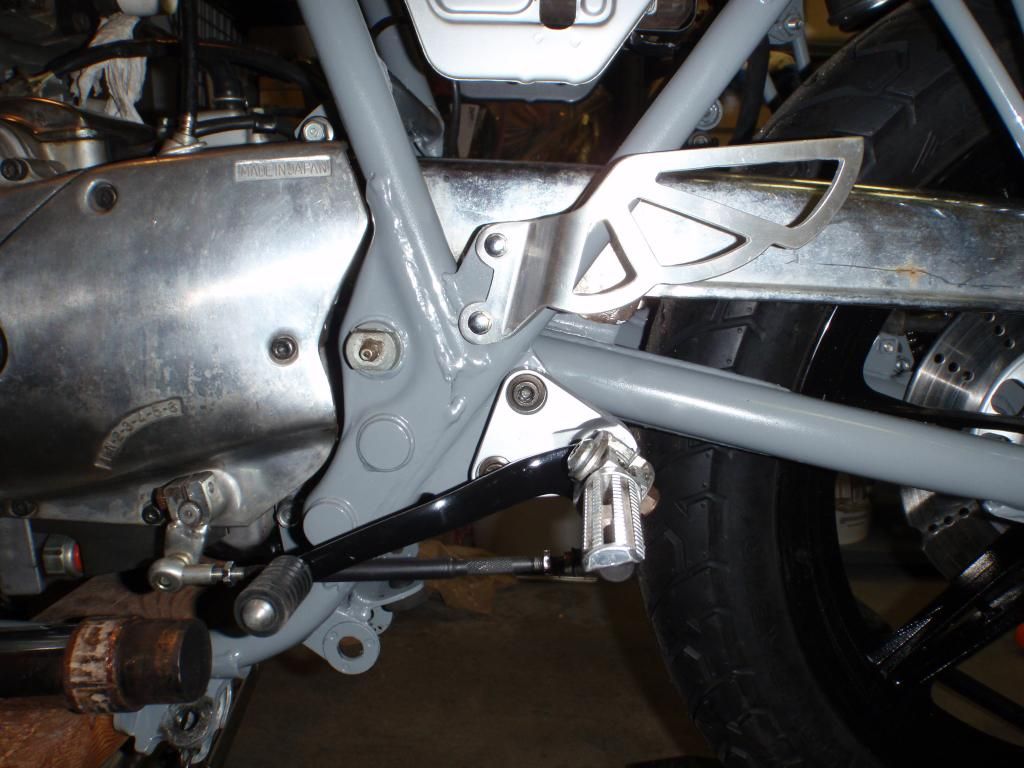
Refinished the FZR600 rearsets and reshaped heel plates.


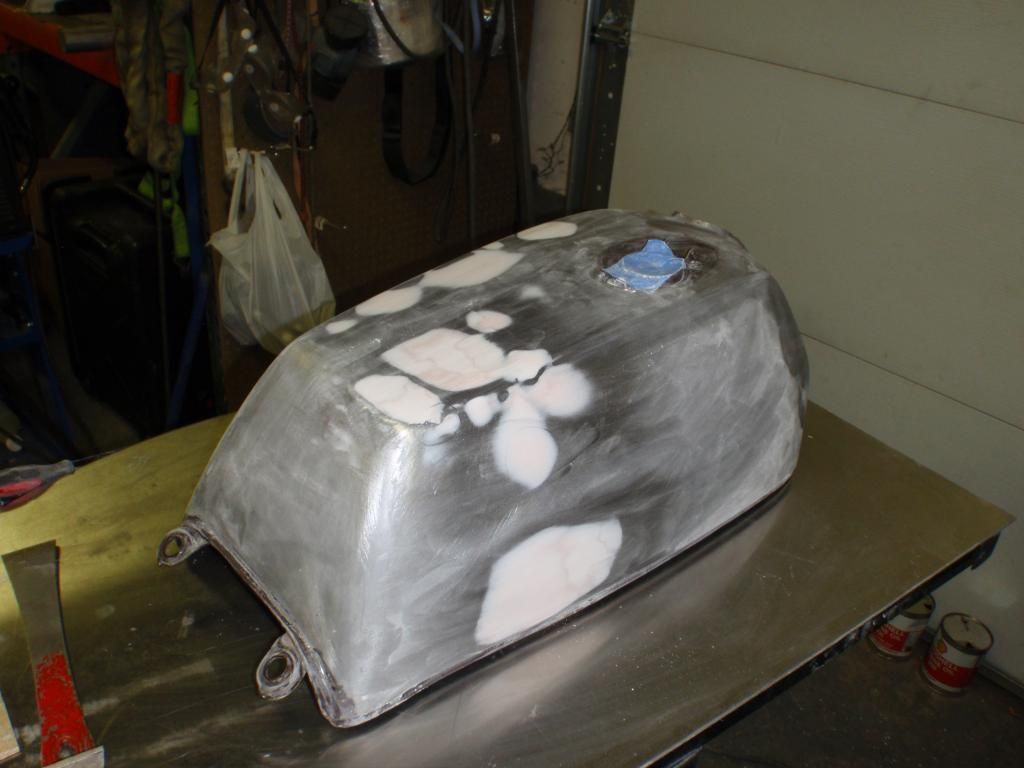
Stripped and filled the crazy dinged tank. And have been putting some color on it and the seat unit. I HAVE TO SAY, THIS IS HOW I FEEL ABOUT PAINT PREP WORK:

:gun: PAINT PREPARATION
 
Thanks lev, I got the color scheme from an old film editing step switch. So color scheme. I guess I better begin to show my hand there.


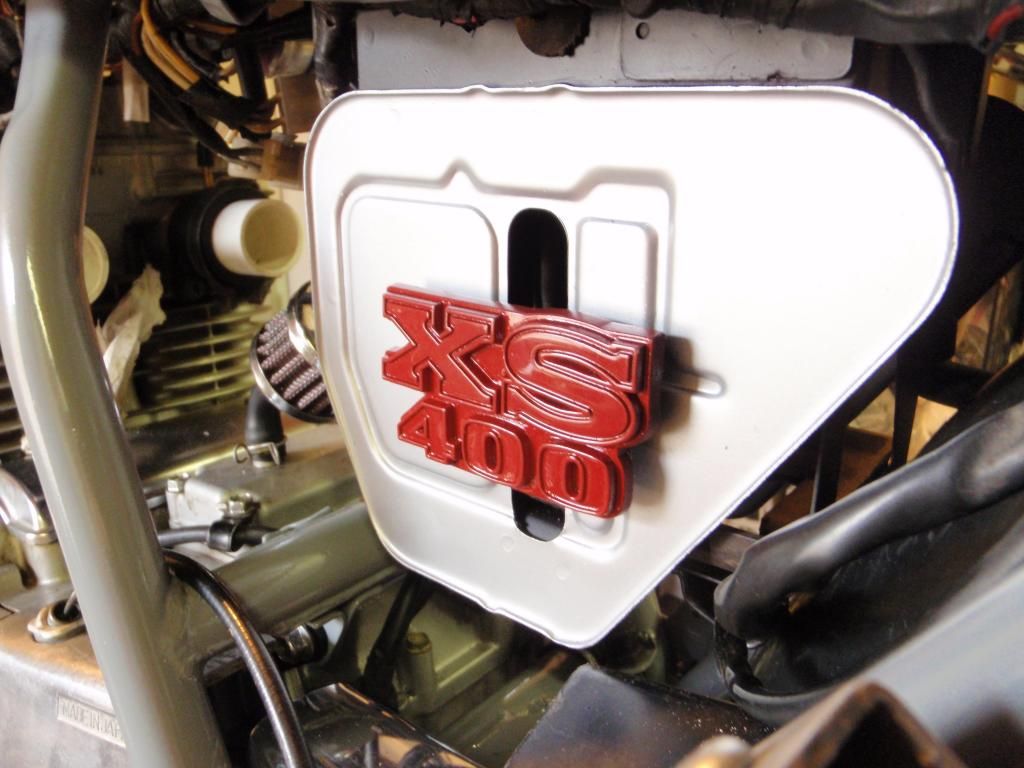
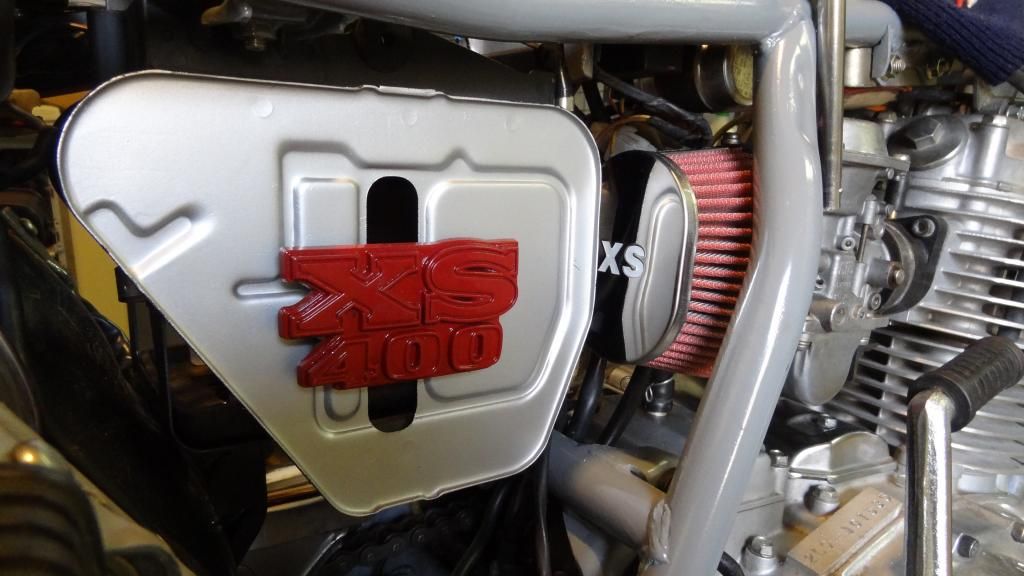
I made some stand off plates on either side of the battery box so that the mounted emblems 'hover' about a quarter inch from the surface. A lot of work for a small detail but I'm stupid that way. They also are approximate to how they were mounted on the old side covers.


Yeah, I know it's a tease shot but I'm not done yet.

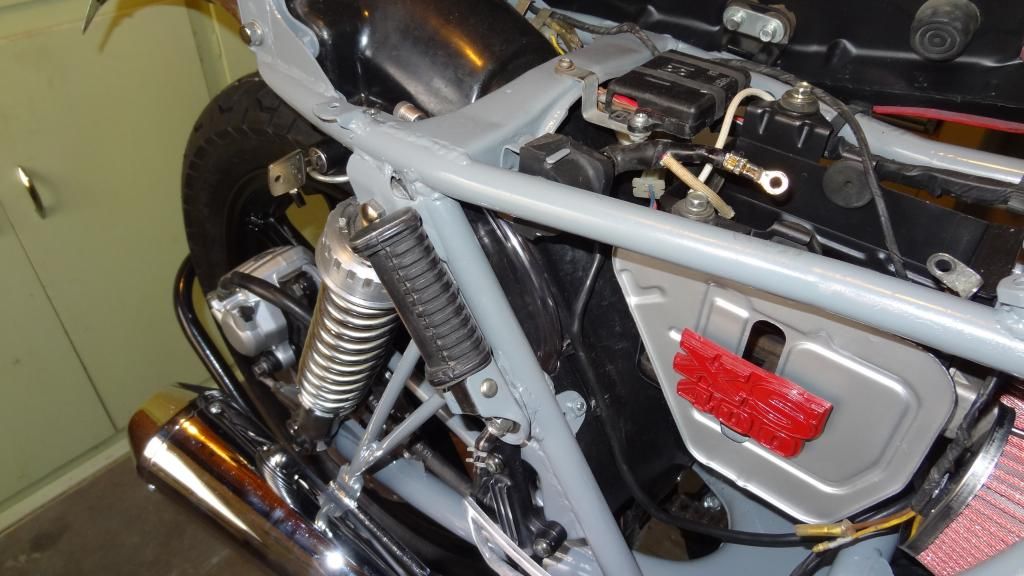
So yesterday I started putting in the wiring harness. I had put it out in the sun and let it warm so hopefully old wire fatigue didn't raise its ugliness. You pull out the harness and start modifying the frame and you really try to remember to leave clearance for everything and then you put the harness back in and BAM. Your new rear master cylinder reservoir and mount doesn't fit between where the starter solenoid and the fuse box are supposed to go back.:wtf: Well such is the case when a build takes years as opposed to months. Luckily the relocated coils appear to work with everything...:bow2:
 
Thanks for the comments!

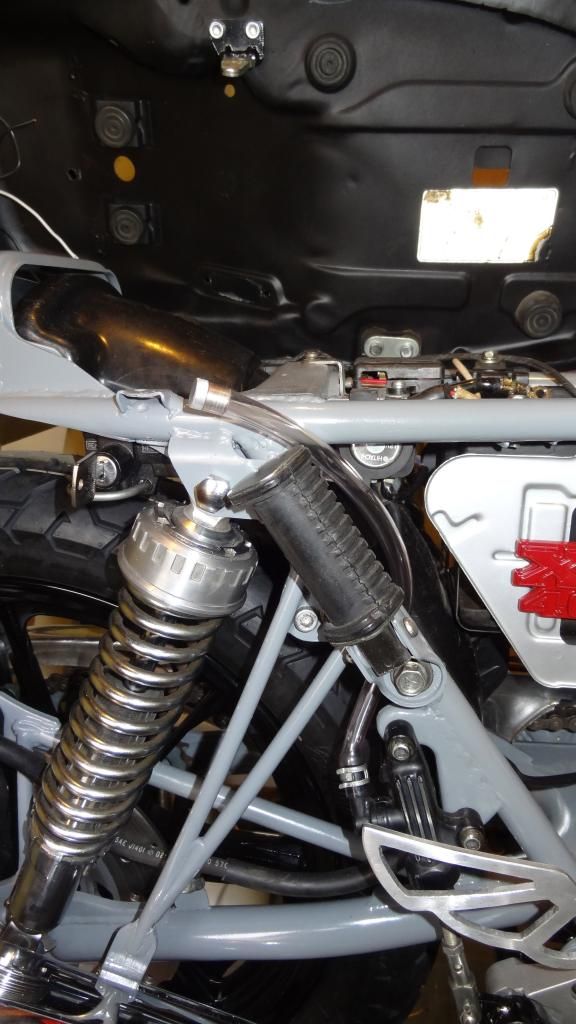
So over the past few days I attached brake lines, cleaned and installed the switchgear (had to fix the engine cut off switch), modified and installed the grips and throttle tube, painted another coat of red on the seat and tank, modified the kickstand and painted it, added some more curve to the right side exhaust mid-pipe, put in new gaskets at the head and tightened all sections into final position, cleaned and installed the drive chain, cut off the mount for the rear master cylinder reservoir, ground and repainted that spot, made a 'GP' style reservoir from clear tubing and turned a plug cap on the lathe for it.

I know, I know, pics or it didn't happen but am having camera and iPhone 'issues'...:boxing:
 
The only thing I would do is maybe put some black or maybe gray around those xs 400 plaques so they stand out. You can't even see what they are from the side view.
 
I blame my shitty camera skills for how the emblem appears. When I get my other camera back it should look right. Also if it isn't immediately apparent to a passerby what the bike is it should prompt them to come back for a closer look and then let discovery take its course.

I build custom vehicles but I don't finish them in a manner that screams, "Hey, hey, look at me I'm a freakin' custom machine!" I have a lot of respect for the original engineers and designers. So I like the machines I modify to work and function with as little compromise as possible. A guy I work with says the things I make look almost 'factory' which I take as a compliment.

Here's some of the machines I built:

1984 Harley Sportster 1000 (the Jackhammer)


1990 Yamaha FZR400 (the Black Fox)


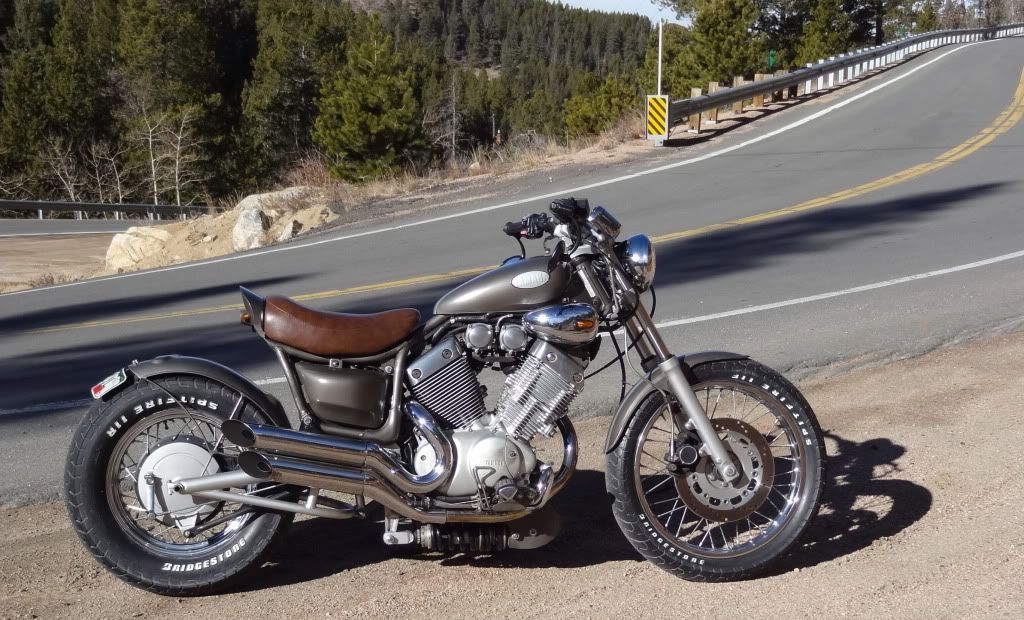
1986 Yamaha Virago535 (Half-Mad Max)
 
Last edited:
That Virago is one of yours? I had no idea. Love the way you built the suspension on it. The FZR400's pretty great looking too.
 
I have seen pics of that 535 around the internet a few times. I love the rear suspension also :thumbsup:
 
Having seen motoTrooper's Virago and the various Hageman builds, I'd love to get hands on a monoshock 920. Incidentally, mT, your build is what got me thinking about alternate suspension setups for my XS.
 
Thanks guys, I sat on the design of the Virago for two years before I jumped in and knocked it out. Was prompted by another forum where a guy was redesigning new front ends. Figured if he was crazy enough so was I. Go for it Lev! You're at least as crazy as me!

So as of late, IT RUNS! And holy shmokes it's loud. Nothing is so encouraging in a build as when you get that first roar.

So time to make sure it will stop when I decide to take it out on the street up to 'ludicrous speed'. I plumbed the FZR master cylinder with FZR stock lines down to the XS and SR500 calipers. Everything bolted up right and proper with line slack at full suspension extension. Began bleeding the system. Took a while to get the juice flowing good. And MOTHEREFFINGSONOFABITCH WHY GOD WHY?!?!??!

See, I had used the FZR sized crush washers in the system all the way down. Well the very last ones that make contact with the calipers needed to be larger, thicker XS ones. I had some in a little plastic drawer out back…while the system decided to hemorrhage DOT3/4 all over the (beautifully painted) calipers which in a rush I didn't tighten the bleeder nipples down tight enough before I ran out the door for said thicker crush washers. When I got back, I hastily swapped out the washers, totally enjoying how brake fluid turns nitrile gloves into slippery uselessness and how brake fluid easily removes 'caliper' paint almost -almost as effectively as brake cleaner spray.

So after my blood pressure subsided. -It really helps to just laugh at the situation as opposed to venting your spleen at the world and god and Yamaha or anything but yourself - I was able to get some nice line pressure. I did reference the recommended master cylinder to caliper ratios, http://www.vintagebrake.com/mastercylinder.htm and was curious about how two sliding single-piston calipers would compare to two opposed four-piston calipers. The FZR master cylinder is a 5/8 bore which if I remember correctly is the same bore as the original XS master. Anyhoo long story short it's a bit spongy initially, which may be attributable to the old FZR lines along with the different action of the calipers. I could switch to braided steel lines to remove some sponginess but will ride it as is for now. I am thinking the initial softness may be helpful in feel as I have upsized the brake rotor from stock and then doubled it on that skinny front tire. Too much light switch brake power may create bad mojo…

Fork springs definitely need more stiffness… I had this in the back of my head for a while as looking at my SR500 I thought, "Oh hey that's such a light motor. Look at that XS, there's two of everything." Probably 50% heavier overall. Am thinking about some 35mm Harley sportster Showa springs. Fairly cheap and rated for a much heavier bike. That and when you install cartridge emulators Racetech recommends you to run stiffer springs.

Heading out to see my wife today in Cali so will return in a few weeks (with my camera) for more updates!:thumbsup:
 
Also just a quick heads up: The flat drag bar I bought for the project was one of those that was powder coated black. Well this starter button on the controls works by grounding against the bar. So I had to sand off the powder coat around where the switchgear bolts to the bar. Also had to do the other side and clutch perch too because they create the ground as the bar is rubber isolated stock to the triple clamp. I'll probably go with chrome if there is a next time….
 
So back in action, here's some progress photos.

Tight fit for the Mike's XS filters and battery box! Surfeit of logos too!


My 'GP' style rear master cylinder fluid reservoir (still need to drill a pinhole breather in the cap)


all tucked away


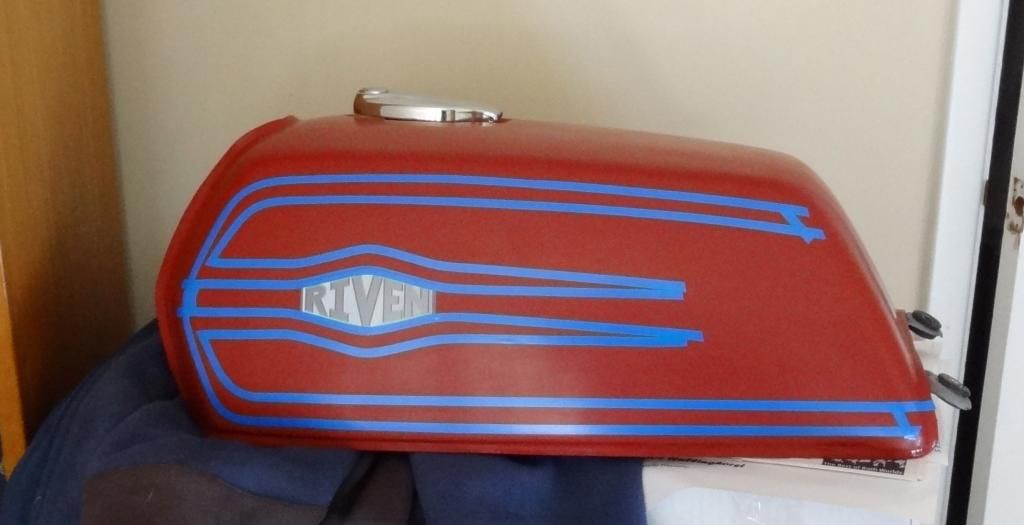
Today's project is pin stripe painting. I was inspired by the tanks original graphic layout but had to make it my own. Now I get to mask off the rest and when it warms up a bit outside knock it out.
 
Back
Top