1. Having trouble logging in? Try closing your browser and re-opening it. If that doesn't work, try a different browser or device. The site will be updated soon to resolve these browser issues.
    Dismiss Notice
  2. Dismiss Notice
  3. Want an XS400.com t-shirt? Go to the store to order. Limited sizes and quantities available.
    Dismiss Notice

Vroom's 79 Build Thread- scrambler/brat?

Discussion in 'The Garage' started by Vroom4, Dec 8, 2012.

Tags:
  1. levdir

    levdir Rounded bolt brigade

    Parts N More charges $15 shipping to anywhere, no matter what you're ordering, it seems.
     
  2. BBS360

    BBS360 XS400 Guru Top Contributor

    They ship out of Ontario.
     
  3. Vroom4

    Vroom4 XS400 Addict

    Checked the plugs. Reg, Rec, Light Switch, Stator, & Field Coil are all 6mm males spades for the terminal connectors.

    The connectors which will need to be interchangeable on the reg and rec are female side.

    I'm considering picking up these:

    http://www.amazon.com/Brass-Crimp-Terminal-Female-Connectors/dp/B009PMD2W2/ref=sr_1_5?ie=UTF8&qid=1417904963&sr=8-5&keywords=6mm+wire+terminal+connectors

    http://www.amazon.com/Spade-Cable-Crimp-Terminals-Connectors/dp/B00ACD9T16/ref=sr_1_1?ie=UTF8&qid=1417905002&sr=8-1&keywords=6mm+wire+terminal+connectors

    Fairly cheap and free 2-day shipping.

    My thinking is that this way I can test different setups without needing to solder every time...
     
  4. Vroom4

    Vroom4 XS400 Addict

    Actually, I'm just realizing that those will not do... they don't have the little wedge to lock them into the block connectors...

    Crap. I'll prob just get the mikes xs ones then.
     
  5. Vroom4

    Vroom4 XS400 Addict

    Success!!! We have VOLTS!!! :thumbsup:

    Wow, you can't imagine how thrilled I was when I saw those 14.5v! Sweet, sweet, glorious VOLTS... :laugh:

    In the end, I had to wire everything back to stock. Reg, Rec, Light Switch all back to oem units and I also went into the harness for the ground and resoldered the connection, then retaped it up, and and resealed the harness.

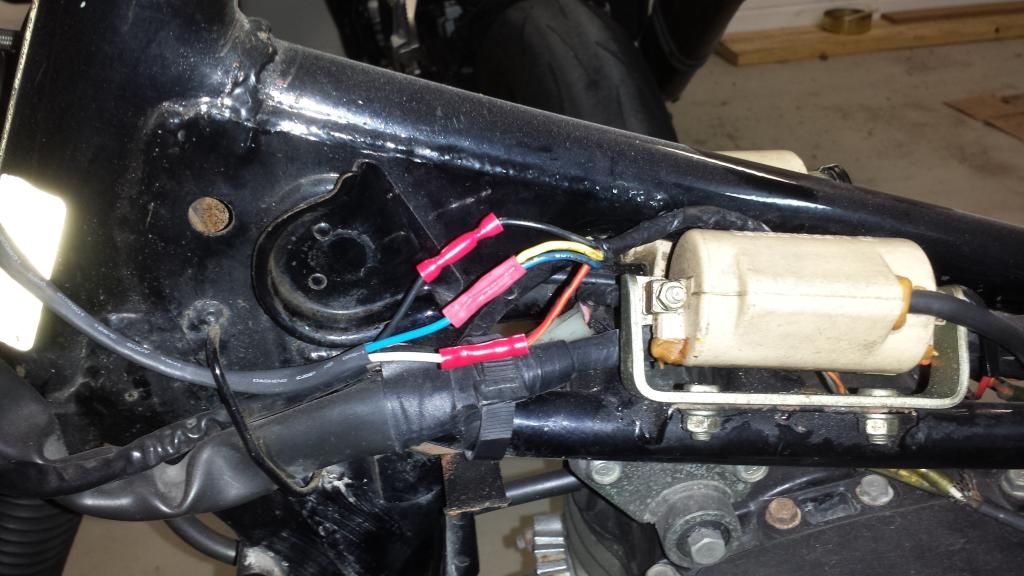
    I believe my final problem was the headlight switch I wired in to replace what I thought was a bad headlight switch. So my '79 model(SOHC) actually has 4 wires from the stator(3 white, 1 yellow). The yellow wire runs to the headlight switch, tripping it on. What I did, was try to combine that yellow wire with the blue wire on my switch. My thought was that this would allow the power to continue to flow to the light once the switch was flipped. Apparently, that is not the case. I also now realize that the yellow would put out AC not DC, so that shouldn't even be tried right?

    I'm kinda bummed about the combo reg/rec and also the r292 I got. In the end, it all worked without either one... May give the manual switch another try down the road, but for now am just glad to have her charging again.:shrug:

    I'll be cleaning up the wiring and posting some pictures soon:thumbsup:

    Also, a big thanks to everyone here in the community. I really couldn't have gotten this far without all of your help.

    Hope everyone has a great holiday. Cheers
     
  6. xschris

    xschris XS400 Guru Top Contributor

    Glad you got it. Keep in mind that stock will always work if the parts are good:wink2:
     
  7. Vroom4

    Vroom4 XS400 Addict

    Thanks. I had a chance to do a full test ride around the block and shes charging, which is a relief. Though, the headlight relay is def busted. Considering how much grief that switch I put in gave me, I'm wondering if I should try to replace the relay instead of trying to wire in a switch again.

    Anyone know the proper way to bypass the headlight relay with a flip switch?

    Would a simple headlight relay work as a replacement? I've seen them in auto stores, but not sure how compatible those would be...
     
  8. Vroom4

    Vroom4 XS400 Addict

    Pics as promised :thumbsup:

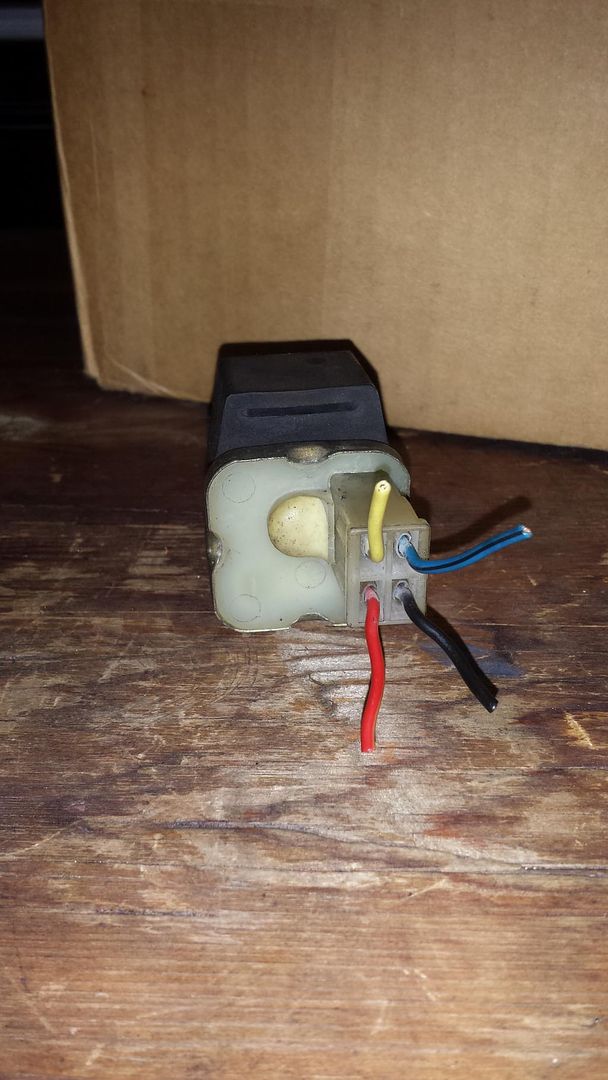
    Headlight relay & oem wires
    [​IMG]

    How my switch was previously wired(messed up my charging like this)
    [​IMG]

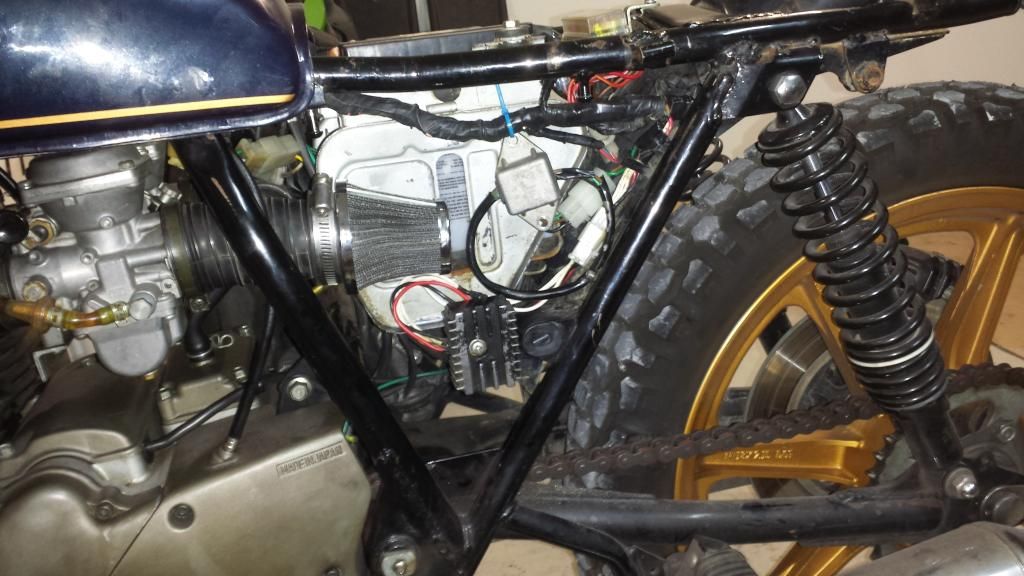
    How I temporarily mounted the reg & rec. Much easier to test and work on them this way :D
    [​IMG]

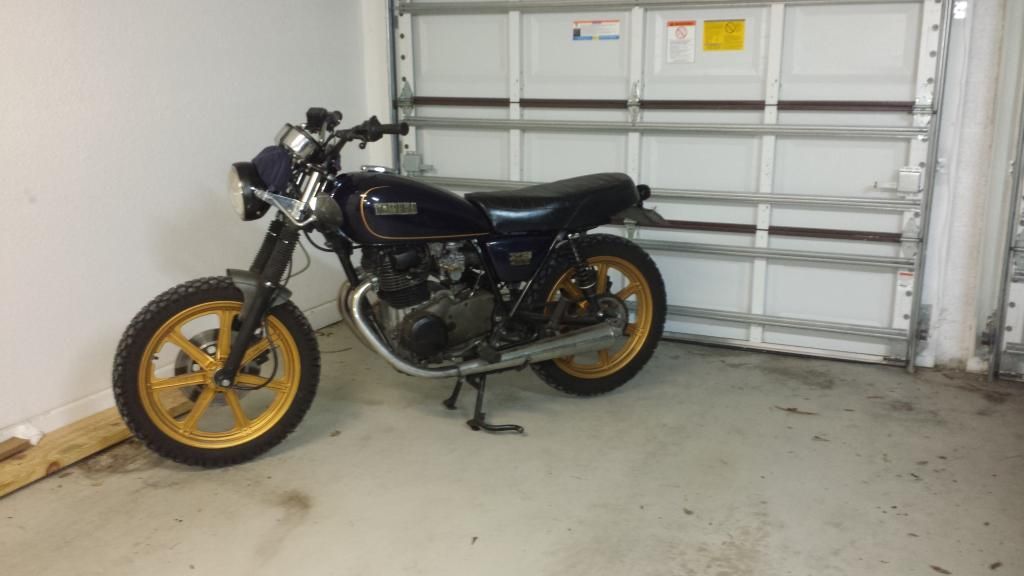
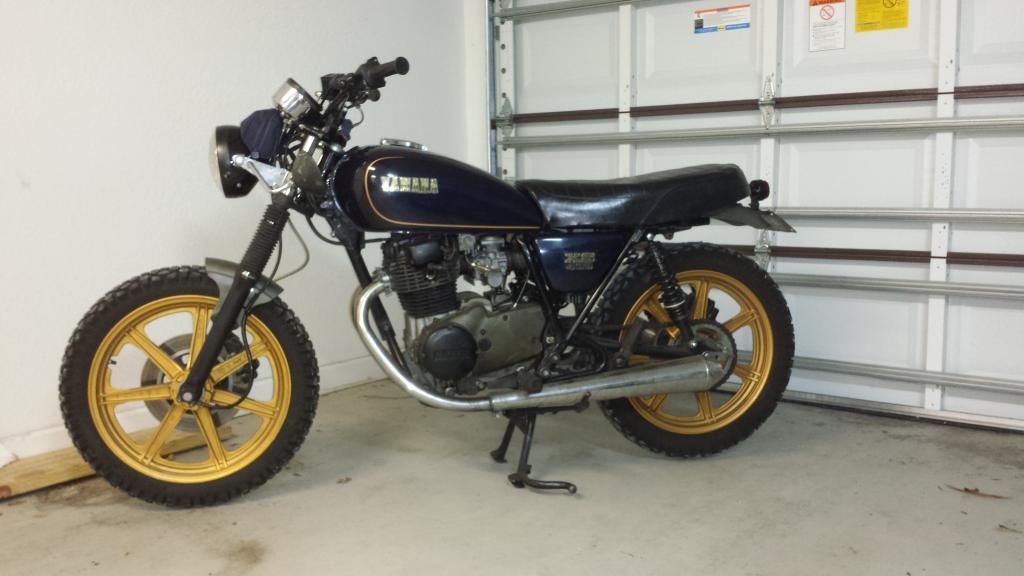
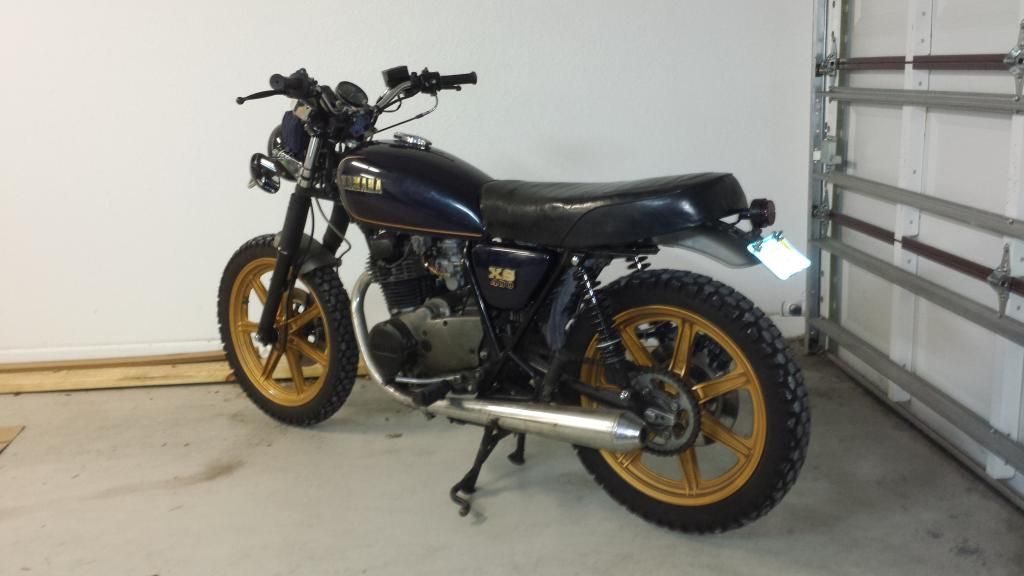
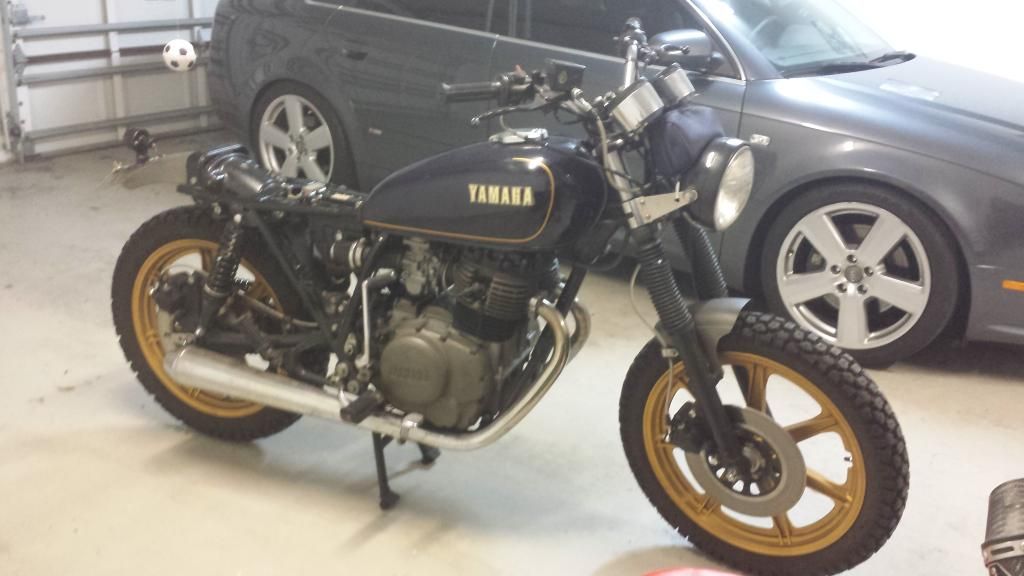
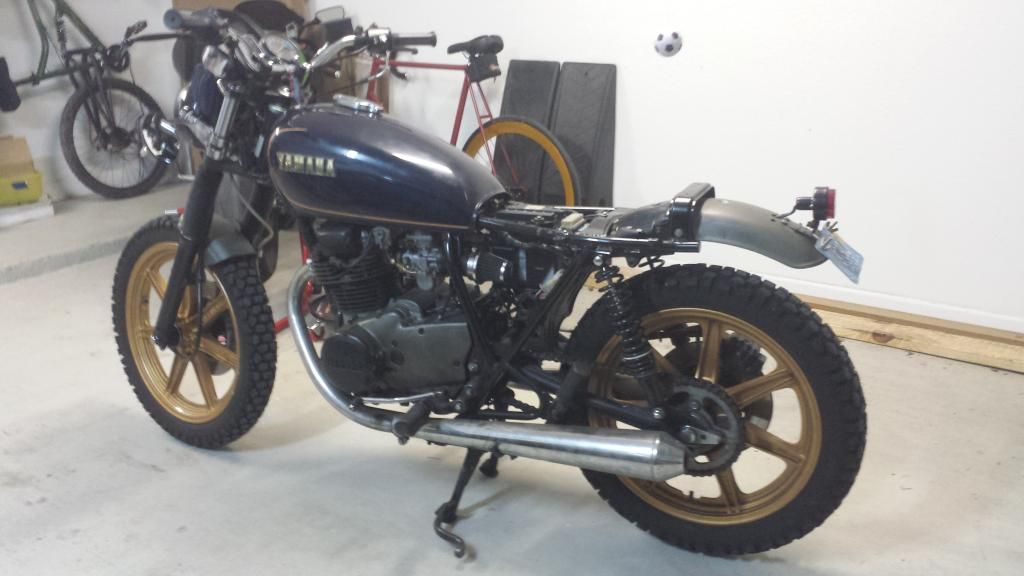
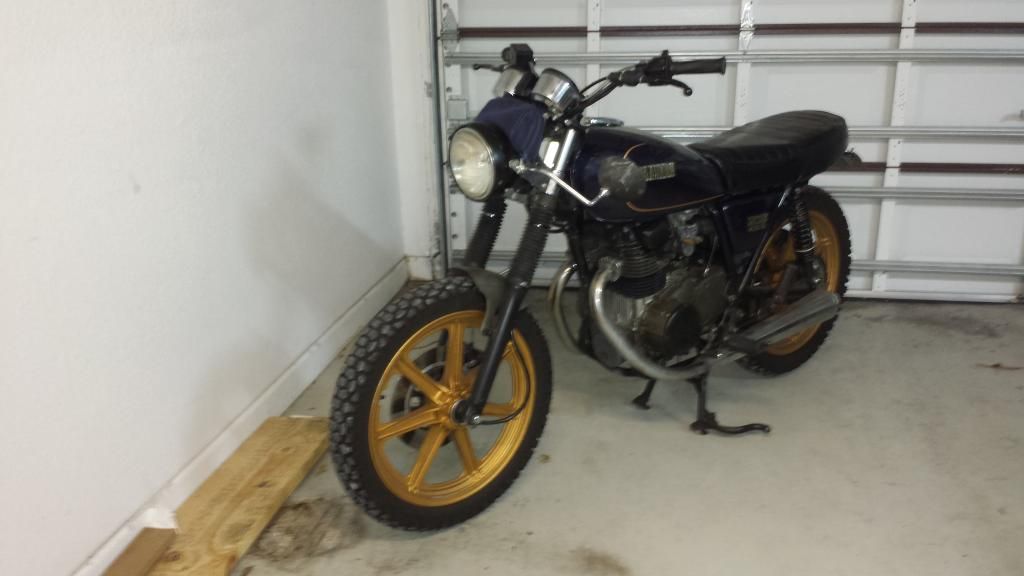
    All back together for test rides...
    [​IMG]
    [​IMG]
    [​IMG]
    [​IMG]
     
  9. Nice work! I hope your tests go well.
     
  10. Vroom4

    Vroom4 XS400 Addict

    Thanks.

    I also found a headlight relay on ebay for $10! I'll be posting up more as it arrives and I have a chance to test it.
     
  11. Vroom4

    Vroom4 XS400 Addict

    Relay should have been here Saturday... didn't show up though.

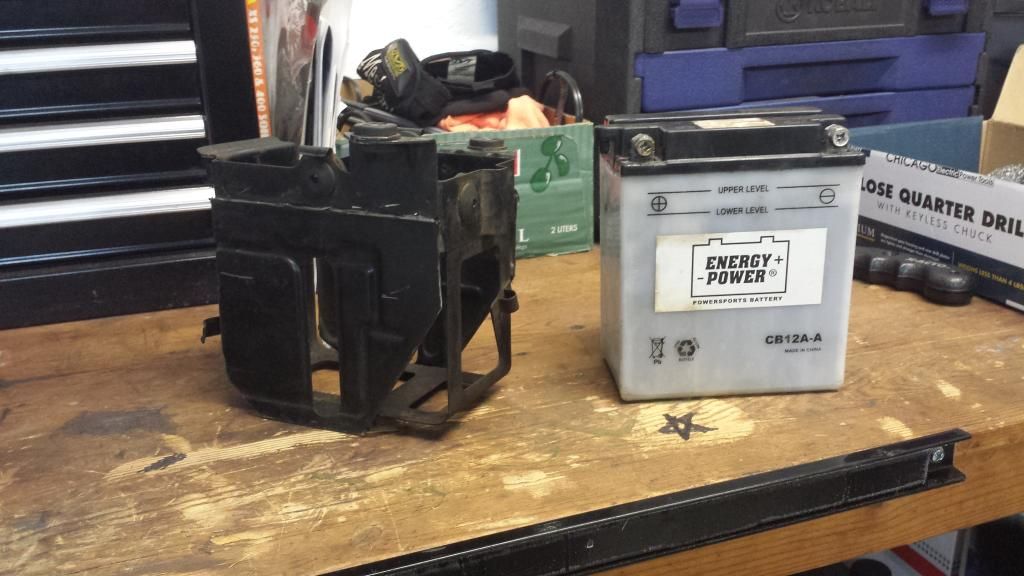
    Since it didn't arrive I got bored & also fabed up a new battery box:thumbsup: I used a junker I picked up and tried to go as minimalist as possible with it. The tabs for the wires and screw holes for the reg and rec are still there too so it retains most of the functionality. My idea was to have something that would just pop out of the top of the frame, instead of being a small puzzle to wiggle it out every time...:laugh:

    [​IMG]
    I also repainted it black after this pic was taken...

    More to come when the relay arrives
     
  12. Vroom4

    Vroom4 XS400 Addict

    Relay arrived and I had a chance to test it. All systems go! :thumbsup:

    Headlight now turns on and she charges with 14.5v @3k rpms. An interesting note though, I experimented with running it with the relay unplugged and it still charged just fine. I find that very odd since plugging the oem relay back in was what allowed the charging system to finally work? :wtf: I'm not entirely sure where the last gremlin remained to make her charge since I did several things at once:shrug: Oh well, at least its all sorted and charging.
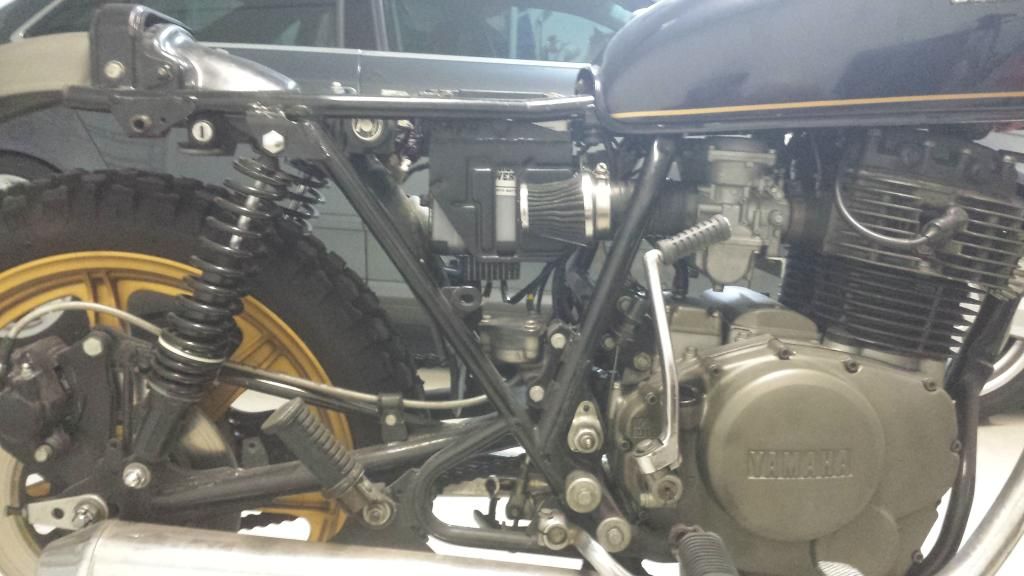
    I also popped in the new battery box. Slides right in from the top and still holds the reg and rec in their original locations. It works great.
    [​IMG]

    Here are some pics with it all mounted but the covers off.
    [​IMG]
    [​IMG]

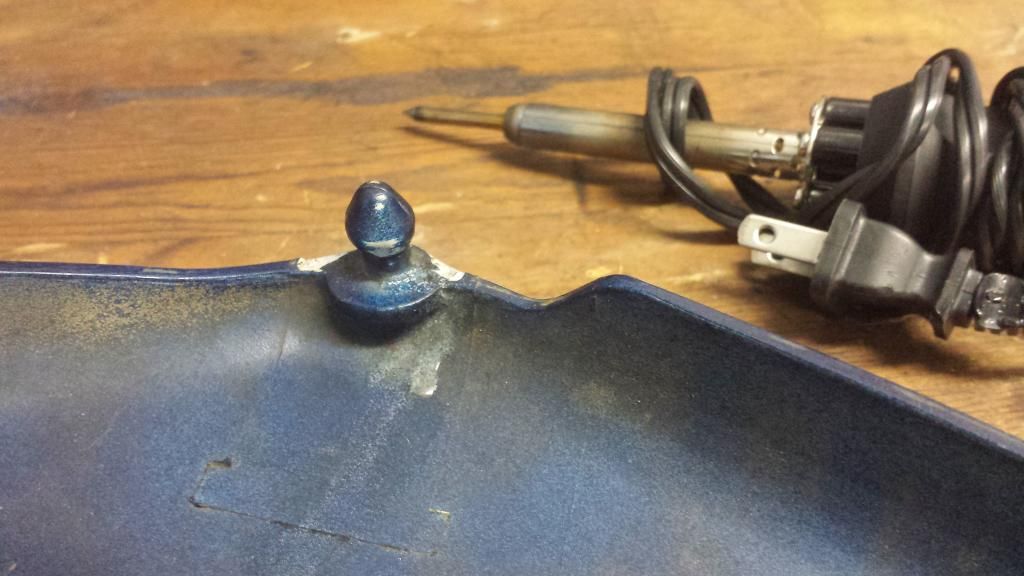
    I also learned something new I thought I would share. Welding Plastic! It's a fairly simple technique that involves using a soldering iron to weld the plastic together. Several videos can be found on youtube with instructions on what to do.

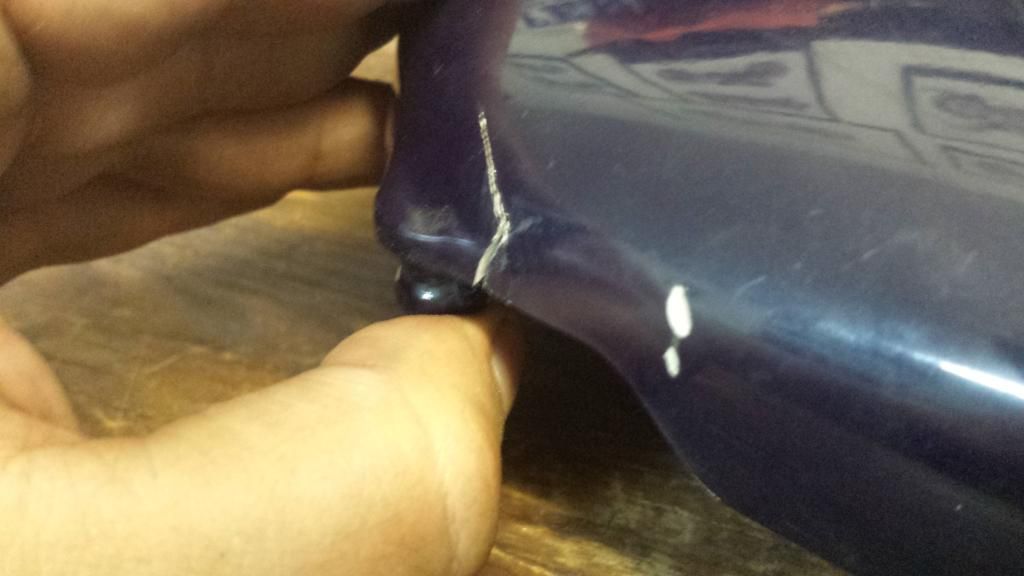
    As you can see, my side cover cracked from pressure and was quickly getting worse every time they were removed from the bike.
    [​IMG]

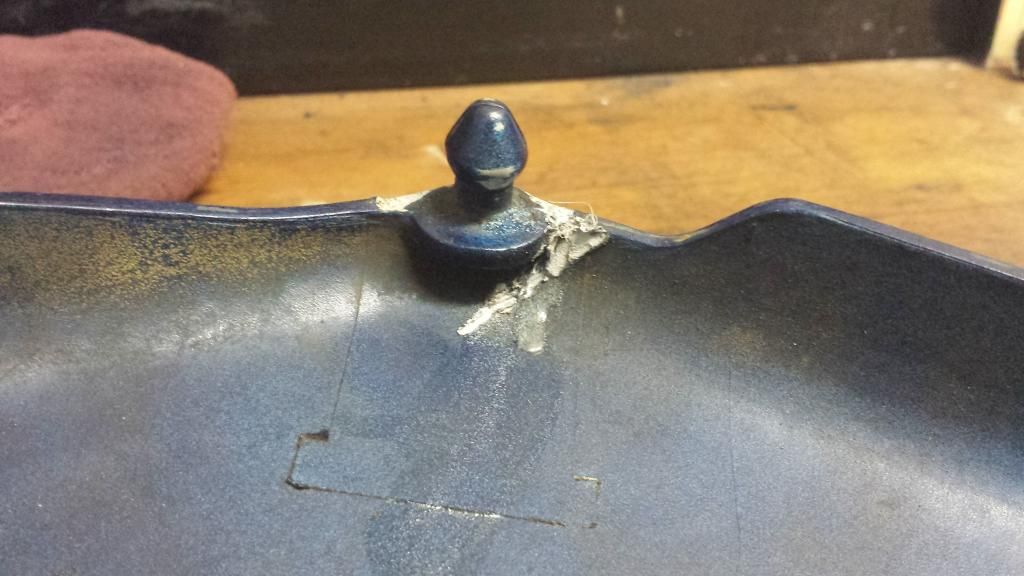
    I already tried gluing it, but that came undone after a couple removals:doh:

    Here is the before with my previous glue repair.
    [​IMG]

    Then the first round of melting the covers along the crack. I held the piece together tight while doing this.
    [​IMG]

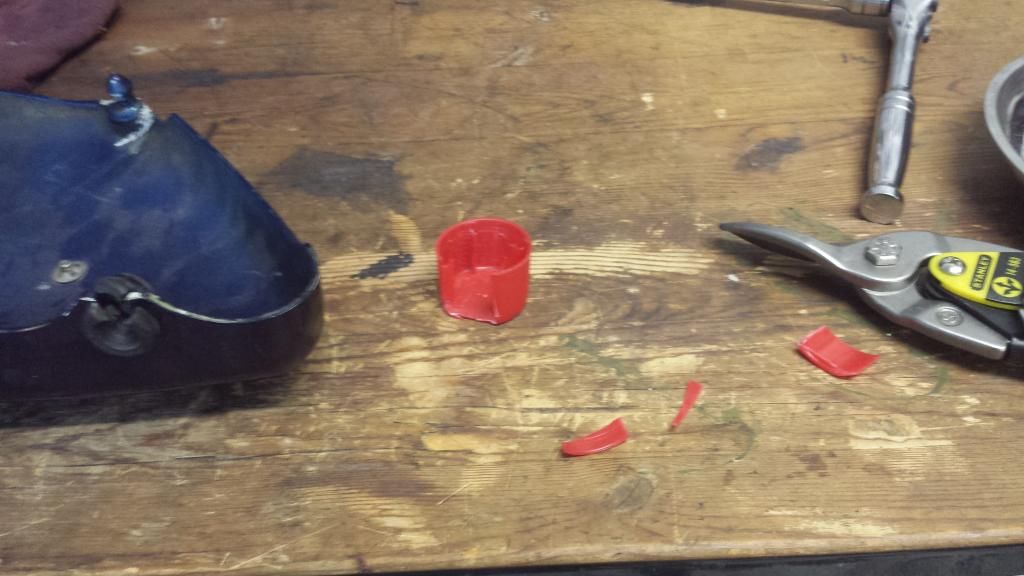
    To be honest, I could have been done here. It worked really well, but I wanted it to be as strong as possible. So next I cut little strips out of an old wd40 cap.
    [​IMG]

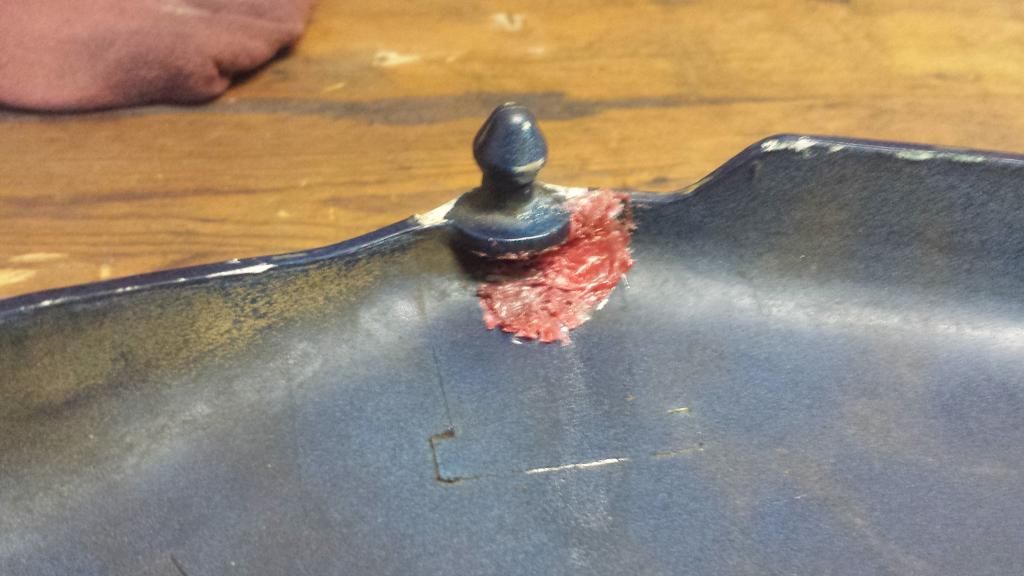
    I laid the small strips over the original weld and slowly melted it into the cracks and all around. It worked really well and once you have a good rhythm going, it all blends together and reinforces the plastic into one solid piece again.

    Here is the finished weld.
    [​IMG]

    Hope this helps others. I thought it was too cool hahaha

    Next comes the swingarm bushings...

    cheers:thumbsup:
     
  13. MitchMotors

    MitchMotors XS400 Enthusiast

    69
    0
    6
    I ordered here:
    http://www.cycleterminal.com/bullet-connectors.html
    They seem to have everything you can imagine when it comes to crimp connectors...
     
  14. Vroom4

    Vroom4 XS400 Addict

  15. Vroom4

    Vroom4 XS400 Addict

    Updates are coming... :D
     
  16. newbiexs400

    newbiexs400 XS400 Member

    I wonder what happened...
     
  17. Vroom4

    Vroom4 XS400 Addict

    haha, funny you should ask this today:laugh:

    Sorry for the lack of updates. I've actually been focusing on my zx6r and car for the last few months. I'm even considering selling the xs since I barely give it the attention it deserves anymore...

    I went to start it up last week since its been a while and battery was dead as could be. It was standard water battery and it's shot. Tried charging it and topping it off but it barely help 6v:doh: I finally nabbed an agm for a great price ($40) and when it started right up but wasn't running right.

    Last night and this morning pulled it up and have been poking around to see what's up. Long story short she's only running on 1 cylinder at the moment :mad:

    Left side won't fire... not sure why. I swapped plugs side-to-side, pulled the bad side and it has spark same as the good side. Let it warm up on 1 cyl and couldnt get the other side firing. Pulled the plug again and it's wet, so it seems to be getting fuel...

    My next move is to drain and pop off the bowl and check if either jet is clogged. I'll start there in a few mins once the bike is a lil cooler... unless anyone has some suggestions :shrug:
     
    Last edited: Feb 15, 2016
  18. Vroom4

    Vroom4 XS400 Addict

    So this isn't the kind of update I had intended on, but anything is better than nothing...

    Carbs are out and the diagnosis is gunked up left carb. Apparently I somehow didn't drain the left side completely when storing it and the varnish left behind was pretty bad:doh:

    Gratuitous pics to appease the moto gods...:thumbsup:

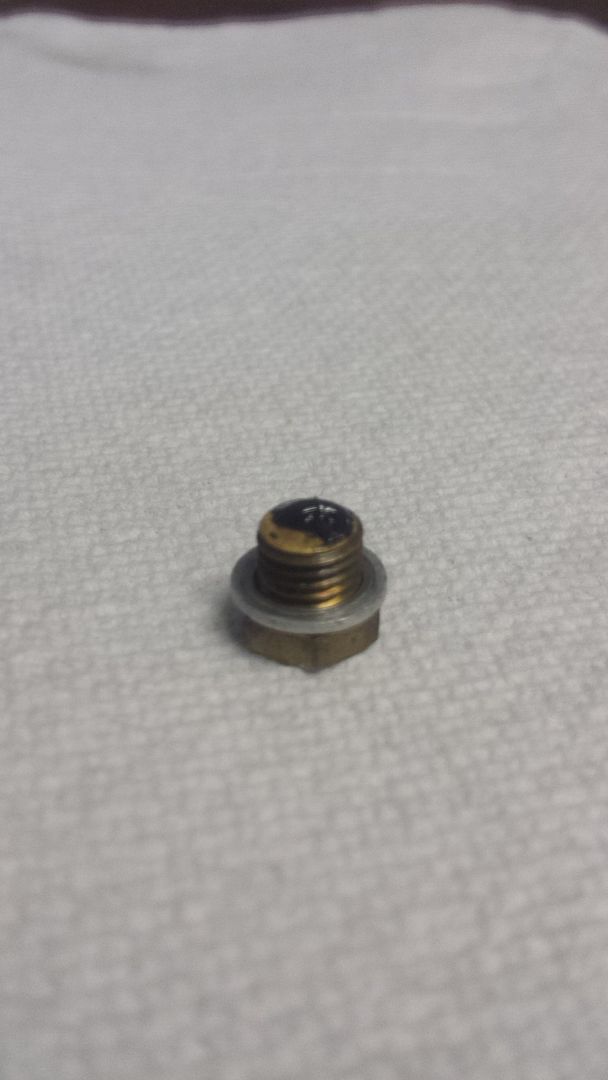
    First sign of gunk
    [​IMG]

    Confirmation
    [​IMG]

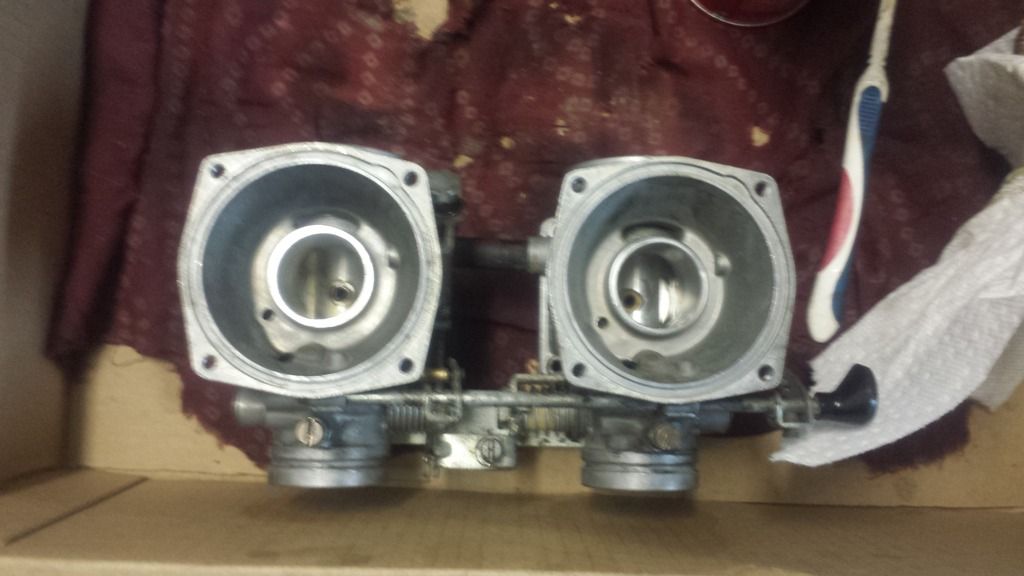
    Get to cleaning!
    [​IMG]

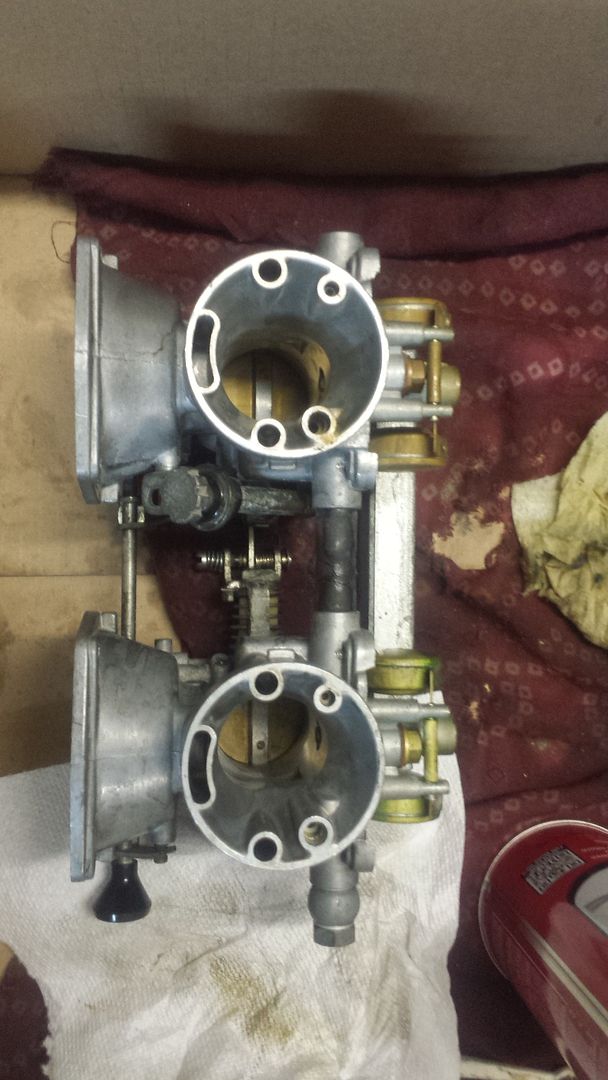
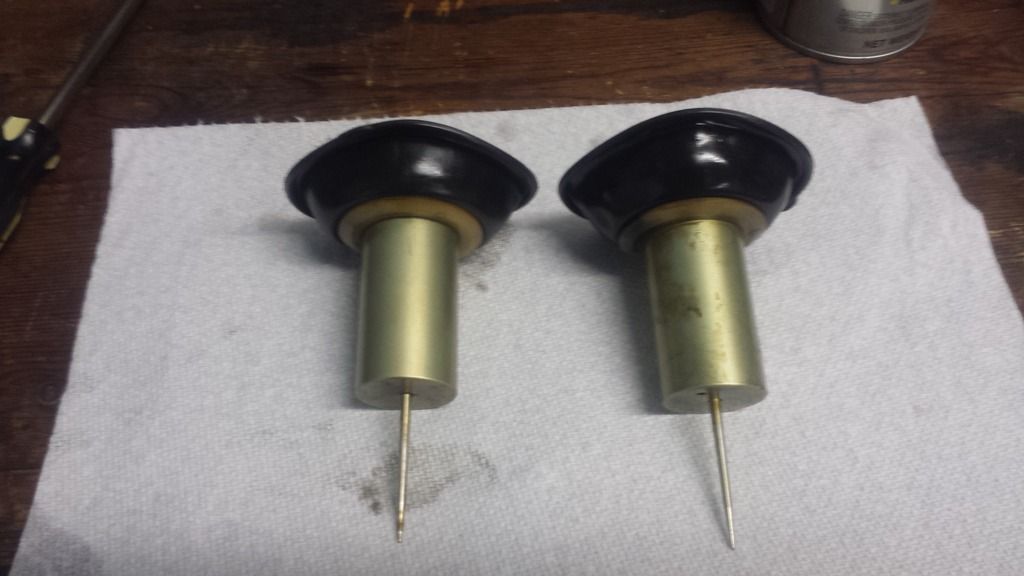
    No more sticky slides hopefully
    [​IMG]

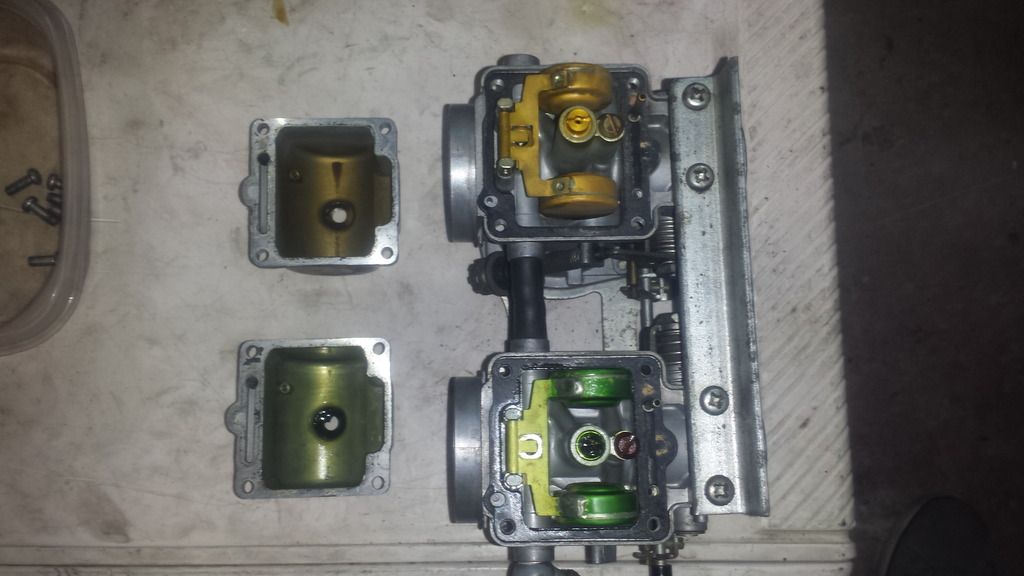
    You can see the varnish on the right side before cleaning. That stuff is just plain bad news...:banghead:
    [​IMG]
    But I'm happy the diaphragms are in great shape and I added some silicon to them to keep them soft and healthy:D

    Everything is drying now and should be going back in for a test shortly...

    GF currently needs attention for v-day though so progress likely won't be till post midnight EST:wink2:

    Cheers
     
  19. Vroom4

    Vroom4 XS400 Addict

    Everything is clean and back together on the bike. Wish it wasn't so late or I would start it up...

    Fuel and test start in the morning.
     

Share This Page