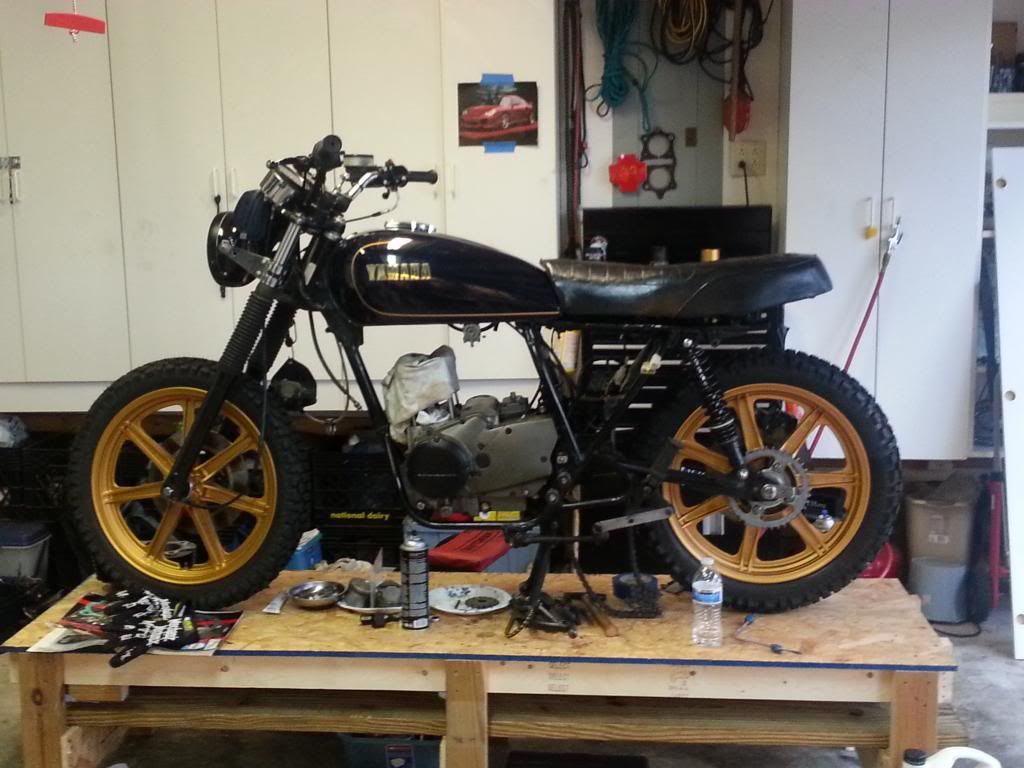
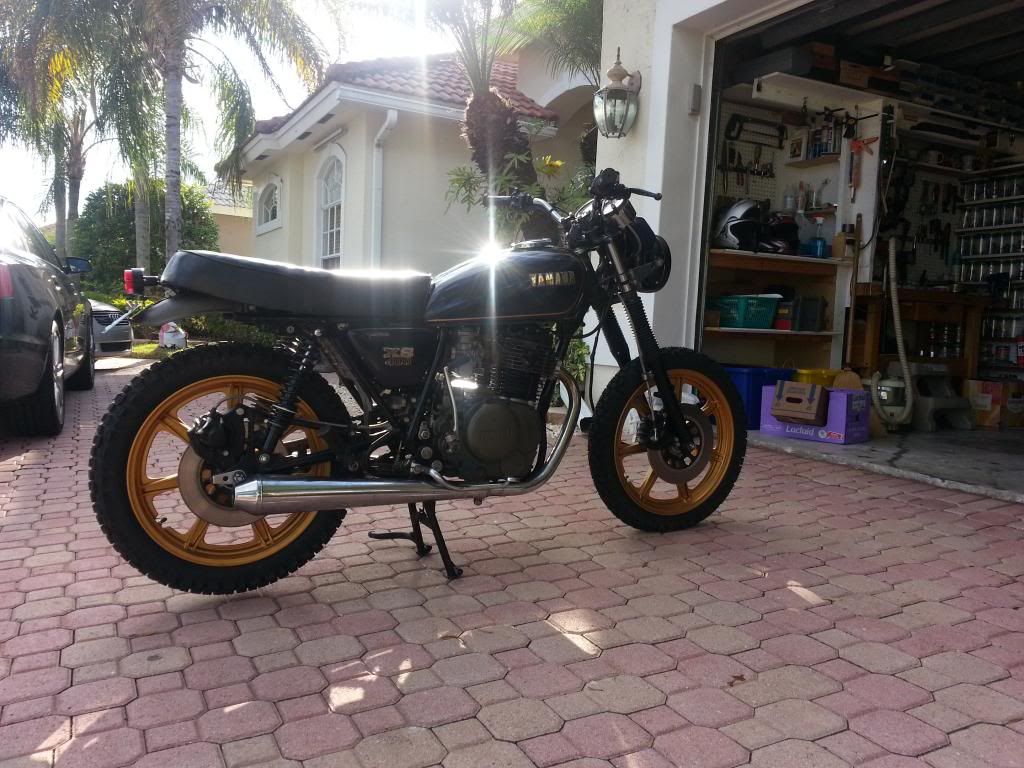
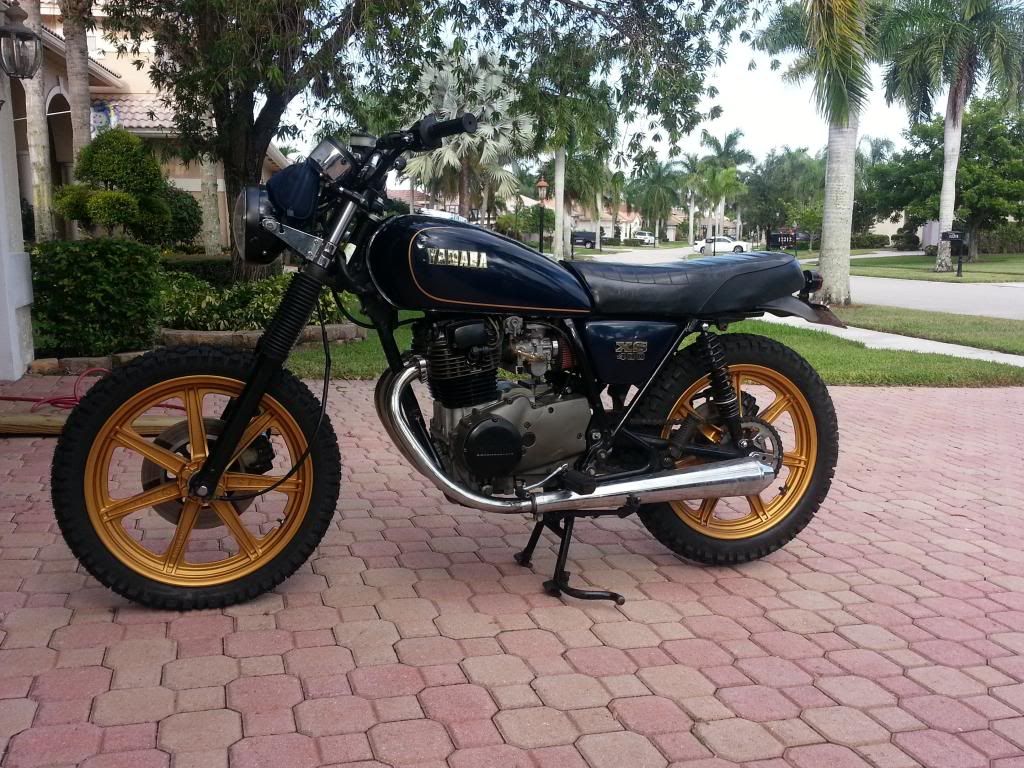
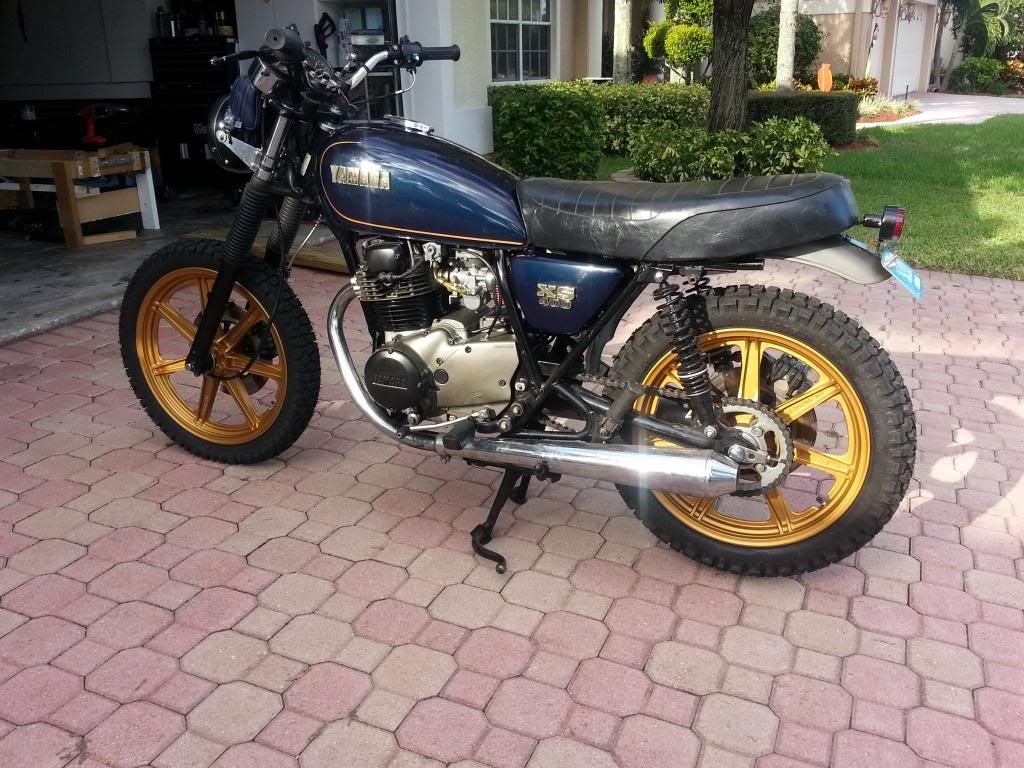
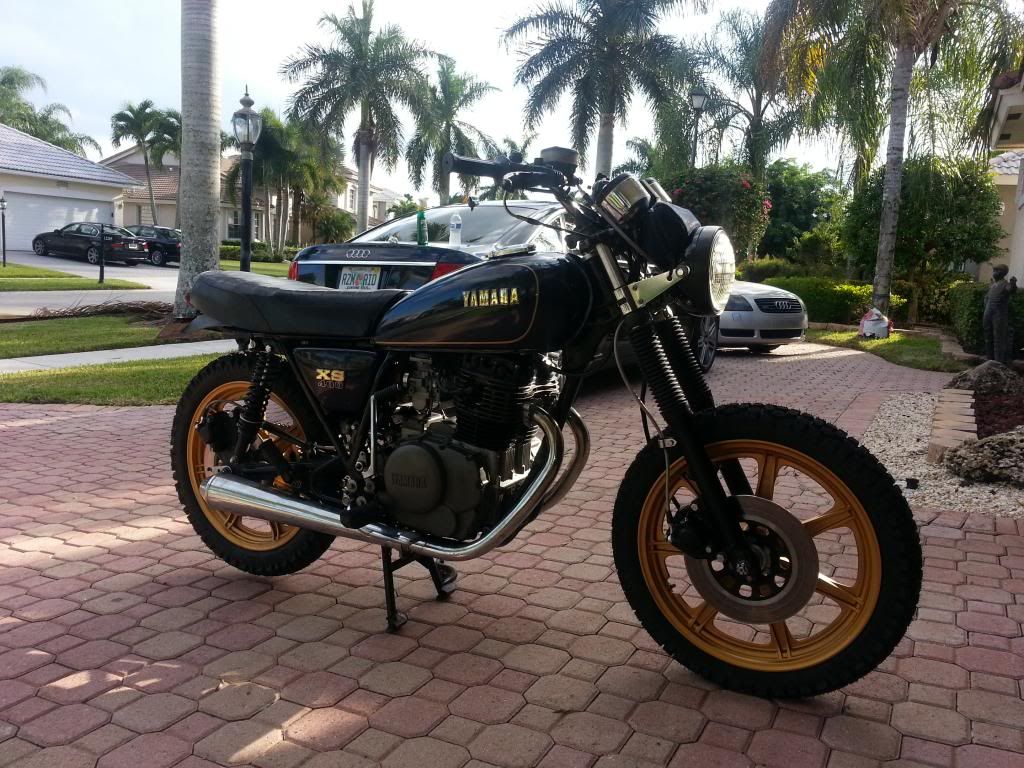
Vroom's 79 Build Thread- scrambler/brat?

For thin paper gaskets on covers that I may need to remove I use a very light film of brush on Aviation gasket sealant on one side of the gasket, and wax on the other side. The sealant keeps the gasket in place, and the wax prevents the cover from sticking to the gasket so it doesn't tear when removed.

Chapstick or other such lip balms work well to wax the gaskets and are easy to apply. Just don't forget what it was used for and use it on your lips - it may taste strange... ;)
 
Wait, dont use sealant at all? :confused:

I'm not talking about gasket maker, only a small amount of sealant to help seal everything together...

I would think putting used gaskets back on without sealant would be a recipe for leaks????
 
Avoid sealants because little bit of it that gets squeezed out and could plug small oil delivery holes in the engine. Only thing that gets sealant is the rocker box (also the main cases but most people will never take them apart) where it meet the head and for that use yamabond. And only very small amounts:wink2:
 
Hmmm... okay, so if all the gaskets are new, no need for any sealant at all?

My previous understanding is you always use a little bit(very little) sealant. Especially on the cylinder gaskets.

Also, the rocker box?
 
Just the rocker box it's in the manual on how to do it. The other top end gaskets don't use any. The case cover gaskets should stay in place because they have dowel pins to hold them. If you need to hold a gasket like the sump filter cover one, which is under the engine a little grease or like dave said lip balm will work:)
 

Attachments

  • DSC02079.jpg
    DSC02079.jpg
    218.5 KB · Views: 326
  • DSC02080.jpg
    DSC02080.jpg
    248.4 KB · Views: 264
Gaskets should be here by end of the week. I'm hoping to have everything together and additional painting done by next weekend :thumbsup:
 
So I get word back from the place I ordered my gaskets from and they are back-ordered through October:eek: and they only let me know 4 days after ordering them:doh:

Decided to jump on ordering the ones from ebay. Thanks xschris! :thumbsup:

I also sent a note to see if they can do rush shipping:shrug:

These gaskets have been delaying my build:banghead:
 
Just ordered some knobby tires and new tire irons. Going to be changing the tires myself and also spraying the wheels :thumbsup:

I'm leaning towards doing the wheels in gold... :D
 
Tires and gaskets arrived:thumbsup:

I also picked up some tire spoons and decided to give changing the tires myself a shot... it was tough, but I was able to get it done with an extra hand.

Decided to also take the opportunity to paint the wheels and a few remaining bits:D

Getting started on reassembly soon. Really hoping to be able to turn her on this weekend

Should have some more pics soon too...
 
Made a bit of progress:thumbsup:

I was getting fairly frustrated doing all the work so close to the ground, had my dad help me out with putting together a box to work on. Makes such a hug difference:eek:

20131002_183241_zpsfe908ae2.jpg


More to come soon...
 
Thanks Chris:thumbsup:

I was able to get some more done last night. Pistons in with new rings, cylinder on, head, on, timing done, valve cover on. Getting down to the finish line.

Also some bad news too. My front tire tube is busted:doh: Idk if maybe it got pinched when I spooned on the tire... but it won't hold air and the leak seems to be coming from around the side of the valve. Not the actual valve, but from under the nut that holds the valve in place. Prob have to spoon the front tire off again...:banghead:
 
Almost done with the rebuild! :D
Pulled her out for an initial test run after assembly. Snapped some quick pics to show where she's at. Still a bit of buttoning up and tweaking to do. Including the new front tube.

Almost there! :thumbsup:
20131012_170418_zps523a1267.jpg

20131012_170335_zpsac2b9e61.jpg

20131012_170347_zps6f46ab53.jpg

20131012_170406_zps211e6c2a.jpg
 
Nice project.
Comments on some parts
- I settled on Mobil1 10-40 Racing 4T a while back, it really slicks up the gearbox and is easily found in Autozone and similar stores.
- the quantity and viscosity of fork oil have nothing to do with ride height. The proper way to set fork oil level is spring out, fork fully compressed, measure from top of tube to oil level. That way, both forks have same volume of air above them. The smaller that volume, the more of an air spring you have, as you're compressing the air every time the forks compress. The thicker the oil, the slower the damping action. The springs set the ride height. You should have about an inch, or maybe a bit more of fork compression with no load. That is considered sag and is necessary.
- when you snug up the front axle nut, be sure to then loosen the clamp on the opposite side, push the forks up and down multiple times, the tubes will then be parallel, and you can tighten the bottom caps. Otherwise, the forks bind.
- the next time you pull the forks, remove the original ball bearing steering head bearings and fit tapered roller bearings. Same for the swingarm bushings: replace with the bronze bushings from MikesXS. if the inner bearing tube ( the one that the pivot bolt goes through) is pitted or scored, replace it too. Both of these things will dramatically improve the handling. I looked, but didn't see that you had done either.
- Dennis Kirk used to sell spark plug wire splices made by NGK. You cut off the coil wire several inches from the coil. Then you screw on the coupler. Same to the new wire. It works just like plug cap does at the wire end; use silicone dielectric grease.

Nice build, good job.

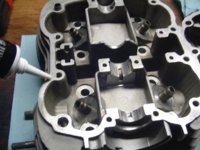
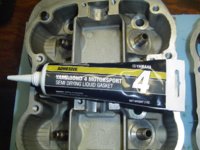
I like how the engine becomes black pained finish photo by photo, one cover at a time. Or it sure looks that way.
 
Ya the drain bolt. both sides turn pretty easily. They dont looked stripped at all though. Thats my problem. Ill take a picture later today

Are you talking about the bolts that go in from the bottom? If so, they aren't drain bolts. They hold the damper rods in place. You need a tool like the one made by Motion Pro to hold the rod while you unscrew the bolt. They put a sealant somewhat like epoxy on it at the factory, but you can usually break it loose with a 6mm Allen and a breaker bar.
No need to put sealant on it upon reassembly. Just snug it up real good.

If you're talking about the little Philips screws on each side, they have a red fiber washer for a gasket, and you can tap it out to the next bigger size if they really are stripped. All they have to do is not leak and plug the hole. But you wouldn't want them to suddenly come out when you're riding. Oil everywhere, no fork damping.

The forks off of a SR500 or an XS650 can be fitted to the 400, but you need the triple clamps as well, as they are larger in diameter.
 
Thanks Yamaguy!
- I ended up going with 20w fork oil and heavier progressive springs. The ones I used should be listed here somewhere. The sag is probly a lil out of spec, but it rides great so far so I'm not complaining. Plus I'm almost 200lbs lol
- I'll keep that trick in mind after I pop in the new front tire tube. Thanks for the tip!
- I already picked up the bronze swing arm bushings from mikesxs, those should be going on soon. Needle head bearings are on my list for the next stage.
- That actually sounds like exactly what I need. I picked up new ngk wires and caps before realizing the stock ones would need to be cut. It would be awesome if I could splice them in. Great tip!
 
back when someone would actually send you a paper catalog, there were all sorts of neat things you could use, you just had to stumble upon them. The in-line high tension park plug wire splice is one of them. You really want to light off the fuel, get a set of aftermarket coils with the same primary impedance. (the orate or grey wire to the coil mounting bolts will tell you what you have. I replaced some XS 650 coils with Accel models and had to drop one heat range in plugs.

I think SUDCO sells this stuff too. Go to their site and download the catalog. It takes a while to wade through it, but there's a lot there.
 
Thanks for the advice YamaGuy! My brother has a nighthawk 450 and he is looking to do a coil swap right now. Apparently some easy to find GM unit is a direct swap. I'm learning more on the subject as that moves forward.

Update:
So the xs was vibrating like crazy and I realized the top motor mount was not on properly:doh: It rattled so much that the valve cover bolts started backing out. It went just over 110 miles on the tach and I took the opportunity to pull off the valve cover and re-torque the head. Also re-torqued the valve cover on and corrected the mounts/did a once over everything an checked all was in spec. I also put another coat of black on the valve-cover since it already looked like a$$ :doh:

I planned on doing the oil change and re-doing the points timing, but time was short. Also still need to re-connect the intake h-pipe.

I've been helping on the cb450 a lot so things are moving rather slow lately:shrug:
 
Back
Top