1. Having trouble logging in? Try closing your browser and re-opening it. If that doesn't work, try a different browser or device. The site will be updated soon to resolve these browser issues.
    Dismiss Notice
  2. Dismiss Notice
  3. Want an XS400.com t-shirt? Go to the store to order. Limited sizes and quantities available.
    Dismiss Notice

Featured XS400 Bobber build/first post

Discussion in 'The Garage' started by volcomskater77, Oct 20, 2010.

Tags:
  1. volcomskater77

    volcomskater77 XS400 Chopophile Top Contributor

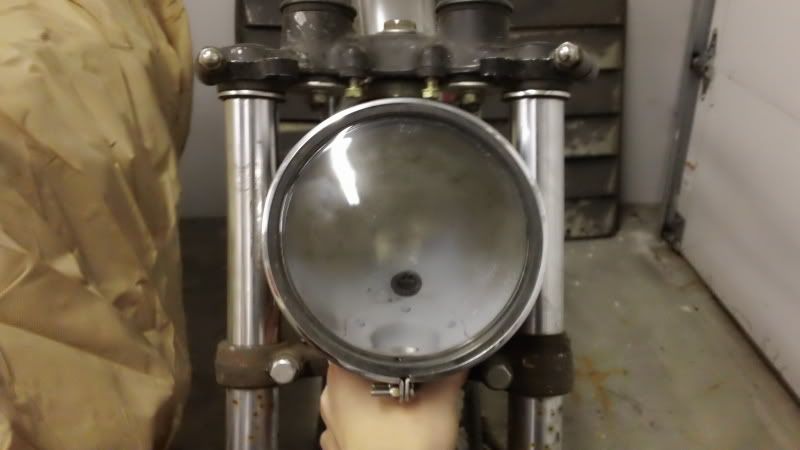
    cleaned up the headlight buckets just one tho. this one is the best one.

    [​IMG]

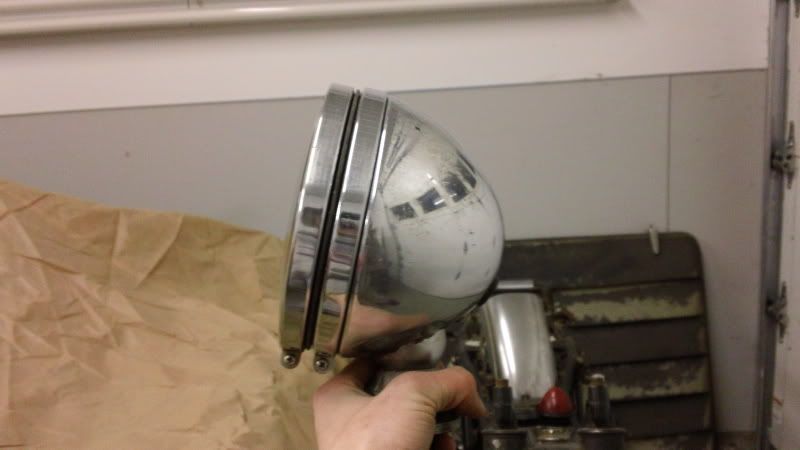
    but i have to do some cutting so i can rotate it to where i want it.

    [​IMG]

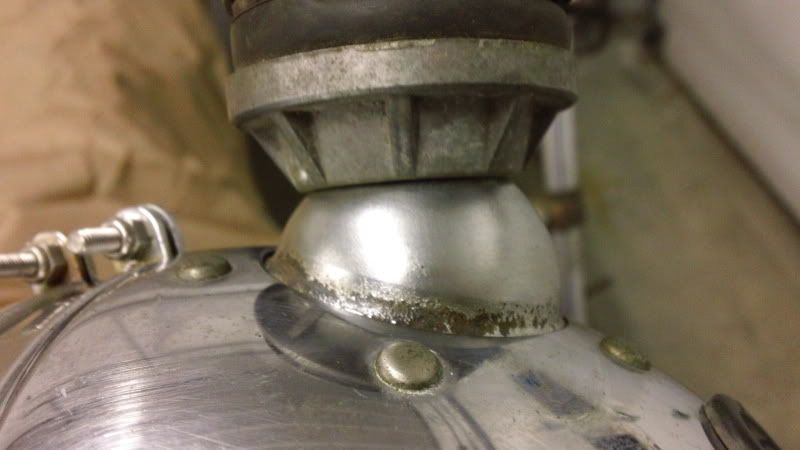
    it comes down in a rectangle so i can piviot it up and down. just gotta make a bracket and itll be perfect.

    this is how it looks on the bike. no bulb because its broken.

    [​IMG]

    feel free to say your opinion i would love to hear it :)
     
  2. Nice! Dude, that taillight is the EXACT same light I bought. Is it single wire and grounded using the mount? That's how mine is. The tag on mine said they came off of a tractor. lol Good progress bro!!
     
  3. ought to look pretty slick..I need to find a taillight thats round and no more then 2" diameter as I want to flush mount it into the tail section.
     
  4. drewpy

    drewpy Excess twin Top Contributor

    yep, like that, should look sick
     
  5. volcomskater77

    volcomskater77 XS400 Chopophile Top Contributor

    skilz, what about a caddy taillight there the same type, just longer bullet. a lot longer. lol
    yeah its one wire that goes right to the bulb. i just gotta get a double fillament bulb so it will work as a brake light also. QUESTION: i wanna cut a slot in the lens so it will illuminate the liscense plate. how do i cut it but make sure it seals from water and dirt when im riding?
     
  6. What about cutting a tiny piece of plexiglass and epoxying it inside the bottom of the light where you cut out the notch? You could heat it a little to make it take a little rounder shape. Just a suggestion, kinda thinking out loud and on the cheap.....haha
     
  7. hmm...hadnt thought about the caddy taillight...will have to ponder...good idea!!
     
  8. volcomskater77

    volcomskater77 XS400 Chopophile Top Contributor

    just tryin to help. lol and yeah that plexi glass would be a good idea... hmm... will have to ponder...
    haha
     
  9. volcomskater77

    volcomskater77 XS400 Chopophile Top Contributor

    i just picked up a seat and springs for $45 all new from the peotone swap meet. IT WAS ALL HARLEY STUFF. i felt like owen wilson in behind enemy lines. There was one guy, outside, who had jap stuff. lol i got a shifter lever from him for $10 because mine is all hacked up and welded together. ill post pics when im near the camera.
     
  10. Ebola Monkey

    Ebola Monkey XS400 Enthusiast

    71
    0
    6
    The Peotone swap IS all Harley stuff.

    I went to the one in Sandwich last year, and there was a lot of older metric stuff there.
     
  11. volcomskater77

    volcomskater77 XS400 Chopophile Top Contributor

    on the radio is said something about theres everything there. lol ill have to go to sandwhich then.
     
    Last edited: Jan 23, 2011
  12. volcomskater77

    volcomskater77 XS400 Chopophile Top Contributor

    this is what i picked up
    [​IMG]

    the seat. which i want to give a more distressed look to. any ideas?
    [​IMG]

    the shifter is off or a 1980 xs850. but the shaft size is the same my old one is really gross. like its been cut and welded together with pipe and shit. its skippis shift lever. lol
    [​IMG]

    heres the 3-way(headlight) and the 2-way switch(tail light)
    now i just gotta figure out where to mount it.

    [​IMG]
     
  13. volcomskater77

    volcomskater77 XS400 Chopophile Top Contributor

    o yeah, and i also straightened the forks yesterday. :)
     
  14. volcomskater77

    volcomskater77 XS400 Chopophile Top Contributor

    i finally split the case!!! 3 busted knuckles later... lol so now ill order my block and gasket kit and ill be ready to ride... after the hardtail is done. and the wiring. and the handlebars. shit. i got a lot to do yet.
     
  15. Join the club!! lol Glad to know you're making progress though!!
     
  16. volcomskater77

    volcomskater77 XS400 Chopophile Top Contributor

    speaking of progress, got the engine dissasembled last night. some nasty gunk on the piston that was left without a spark plug, and the rings are siezed on that one also.:banghead: 
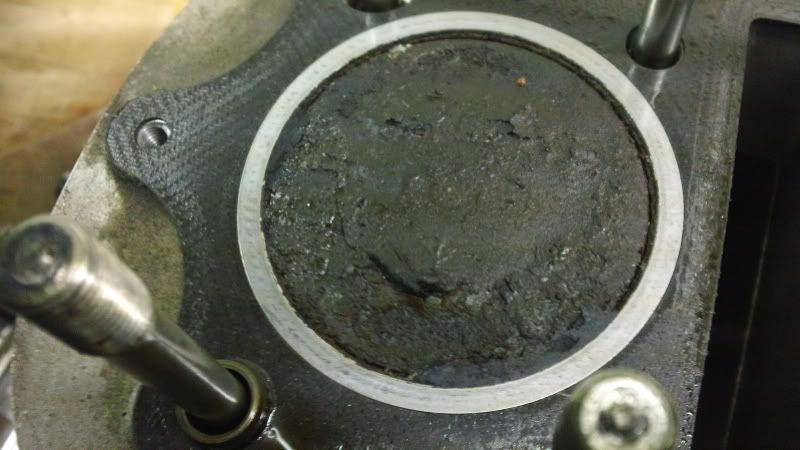
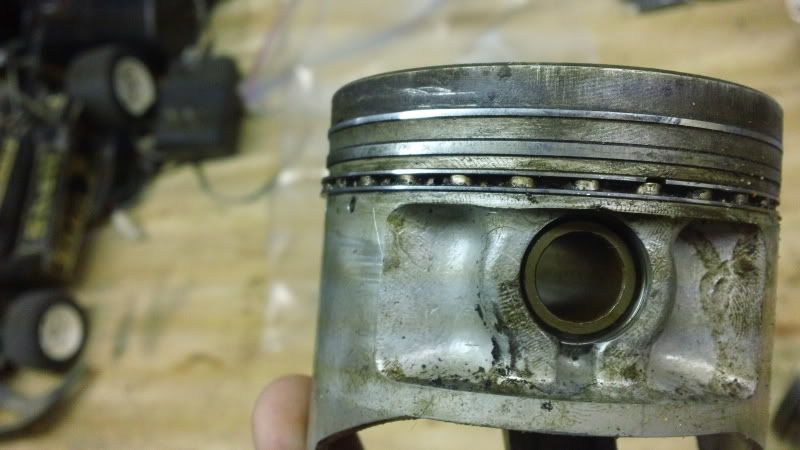
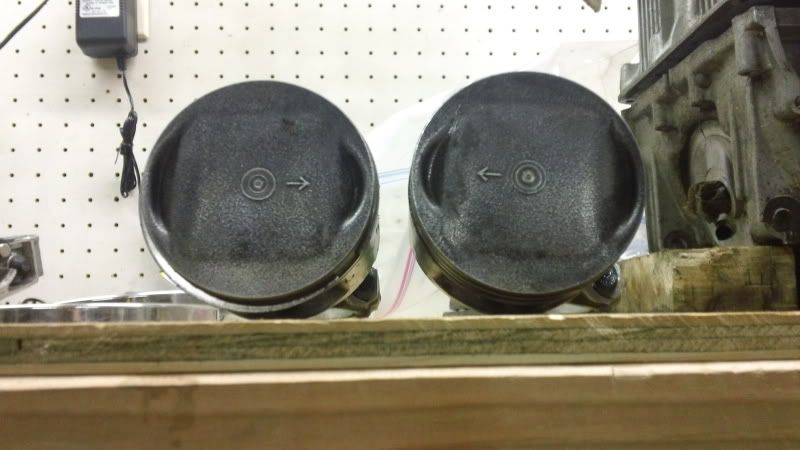
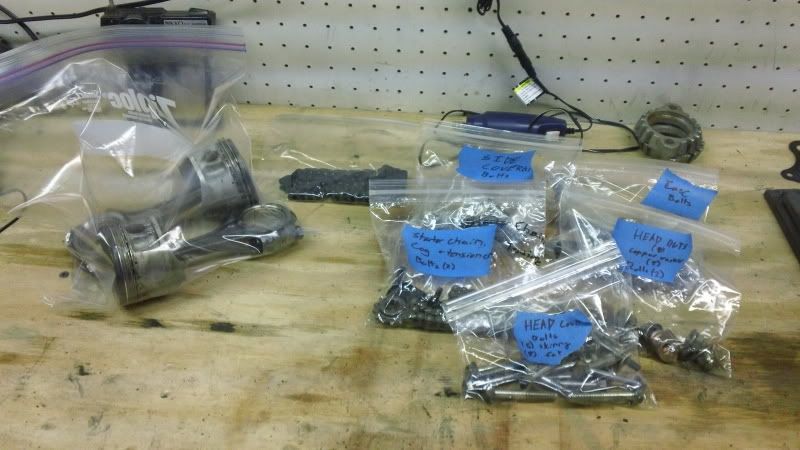
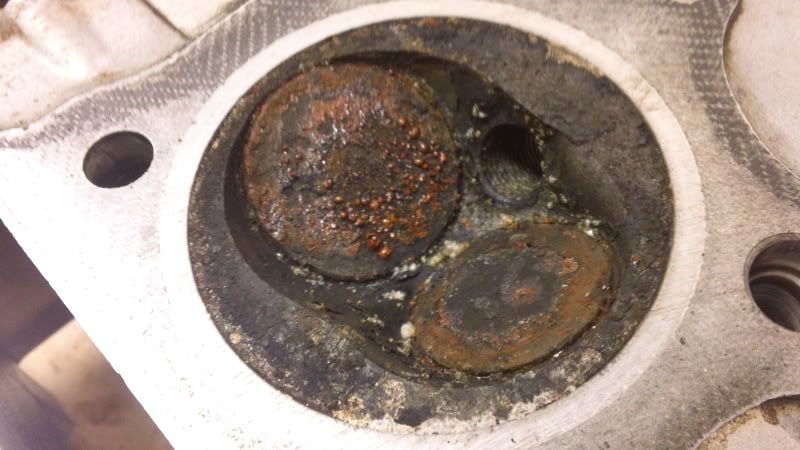
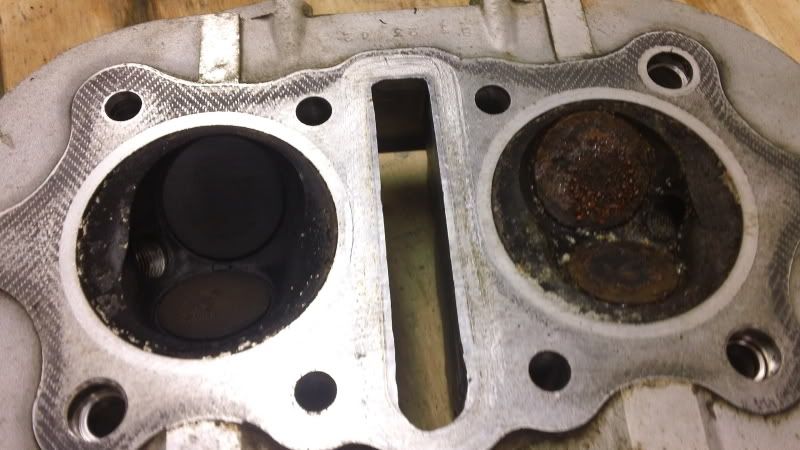
anybody know where to get cheap rings? and i know how much you guys like pictures of our bikes, its like porn, so here ya go. now go look at it on your laptop it the bathroom:laugh:
    [​IMG]
    [​IMG]
    the other one was fine tho. the pistons cleaned up with a gasket scraper and some 00 steel wool. looks pretty good.
    [​IMG]

    i bagged and tagged all the parts after i got done using them after taking pictures for a how-to on splitting the crankcase for the upcoming tech section.
    [​IMG]

    and now its all on one side of my engine rebuild space at my shop. (my dads garage)
    [​IMG]

    now ill be ordering the the new cases and cleaning the nasty gunk off the combustion chamber theres like fungus and stuff on it. ewwwww :wtf:
    [​IMG]
    Normal vs Freak growth of fungi
    [​IMG]
     
    Last edited: Feb 13, 2011
  17. Oh yeah....ohhhh yeeaaahhh!!!!!.....Ok, I'm done in the bathroom. haha Nice carnage pics though! lol I'm really looking forward to the write-up. I'm gonna start documenting the crap I do for it too!!
     
  18. volcomskater77

    volcomskater77 XS400 Chopophile Top Contributor

    yeah it should come out pretty good. ill be sending it to you, travis and drewpy for approval and proof reading
     
  19. Sounds good man!
     
  20. drewpy

    drewpy Excess twin Top Contributor

    I ain't got a laptop, need to wait till the wife goes to bed! :bed:

    while the heads off, why don't you smooth out the inlets of any ridges, just a mild porting job. I'd also check the valve guides in the rusty bit where HT77 left his mark :eek: may need to put in new valve guides and ream out (cheap at this stage, the same guy could recut the seat as well)

    drewps
     

Share This Page