bossink
XS400 Member
Making progress 
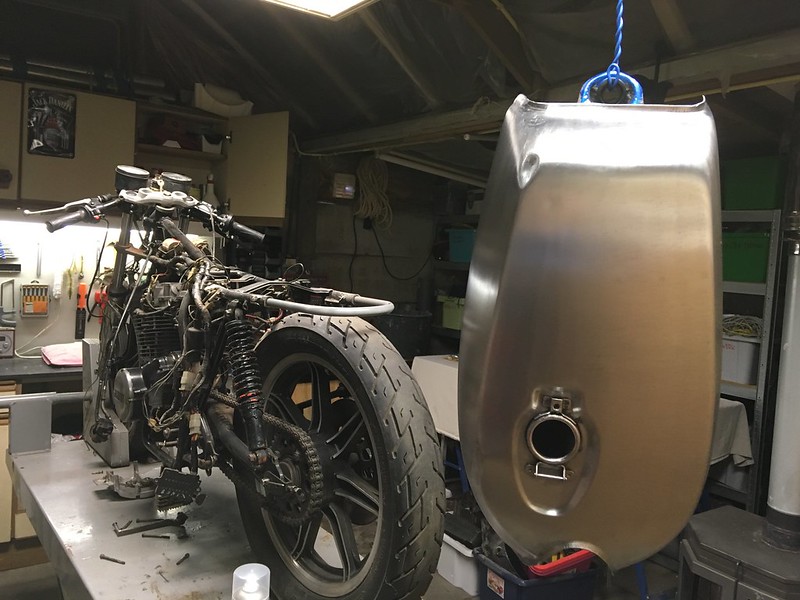
I decided to follow a more organised approach, working my way down a list. First on the list was the tank and all its parts.
 IMG_2788 by stijnbossink, on Flickr
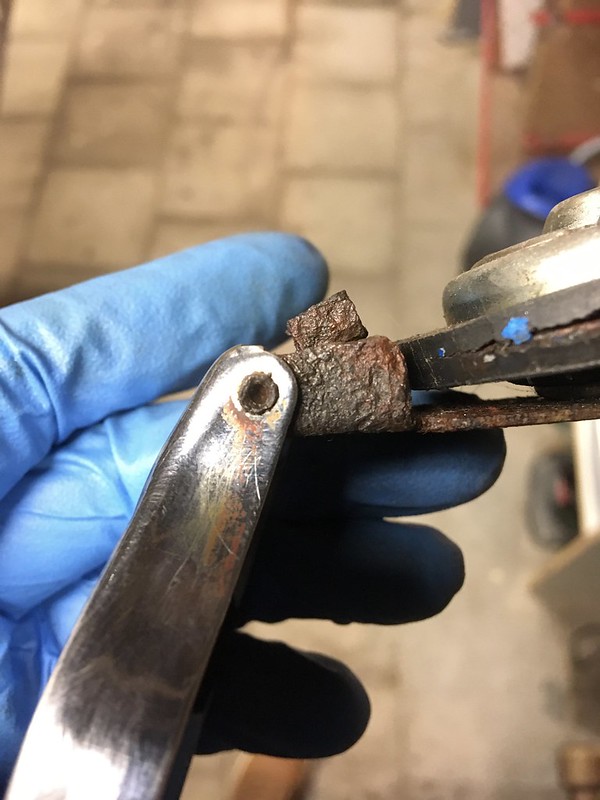
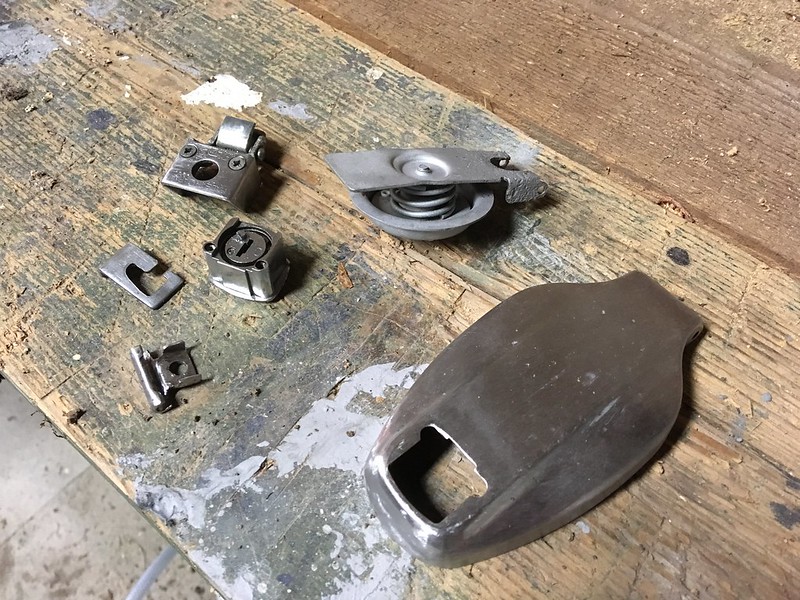
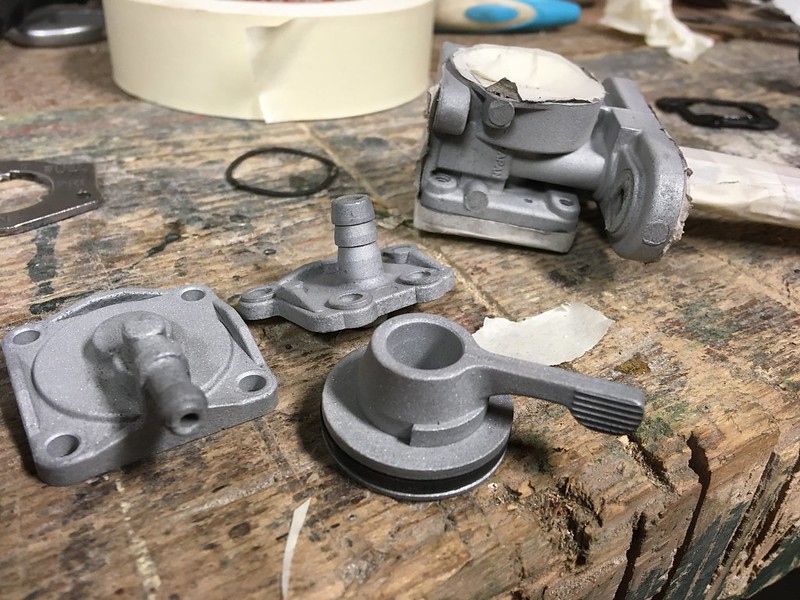
Tank cap was a bit too rusty")
- Sanded the cap to get the brushed look
- Sandblasted the part that closes the fuel opening and put a layer of paint on it (not on the photo)
- Got busy with the Dremel to get all the rust from the other parts
- Ordered a new tank cap gasket
 IMG_1508 by stijnbossink, on Flickr
 IMG_1509 by stijnbossink, on Flickr
 IMG_1510 by stijnbossink, on Flickr
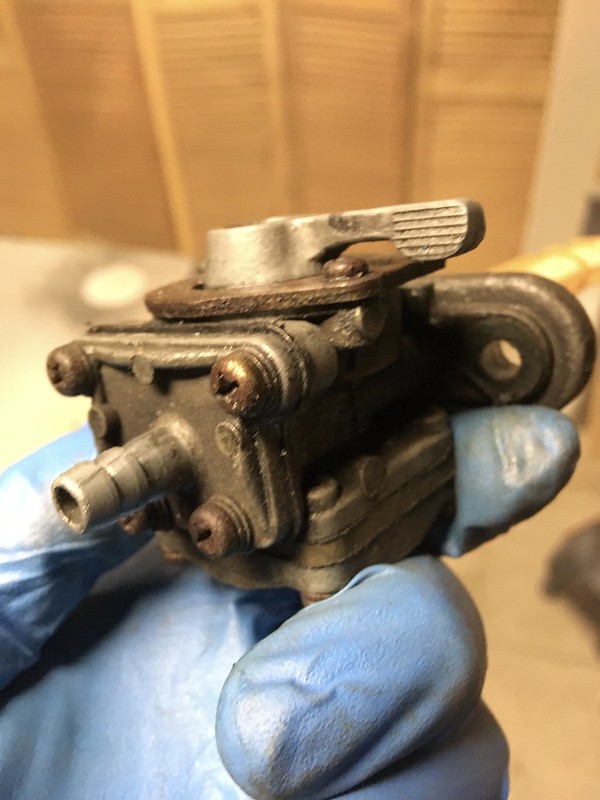
Looking better:
 IMG_1532 by stijnbossink, on Flickr
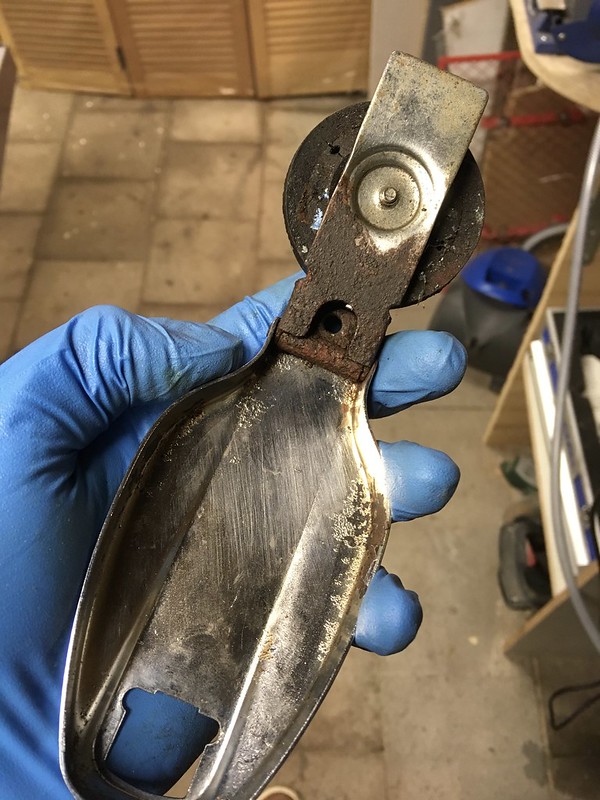
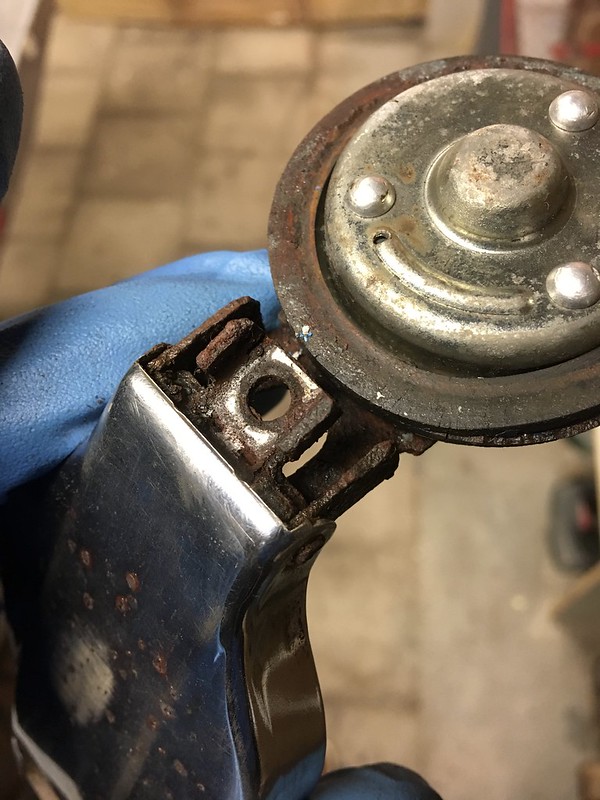
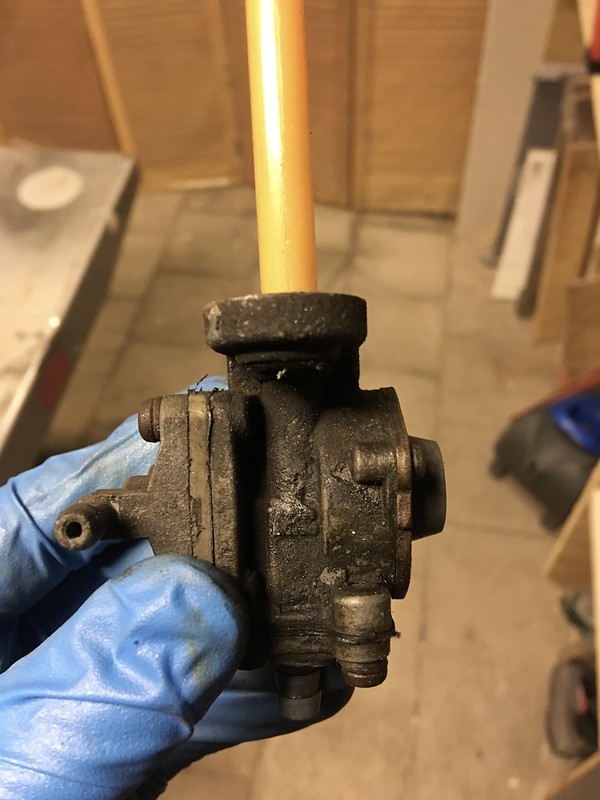
Same drill for the petcock...
 IMG_1566 by stijnbossink, on Flickr
 IMG_1567 by stijnbossink, on Flickr
 IMG_1570 by stijnbossink, on Flickr
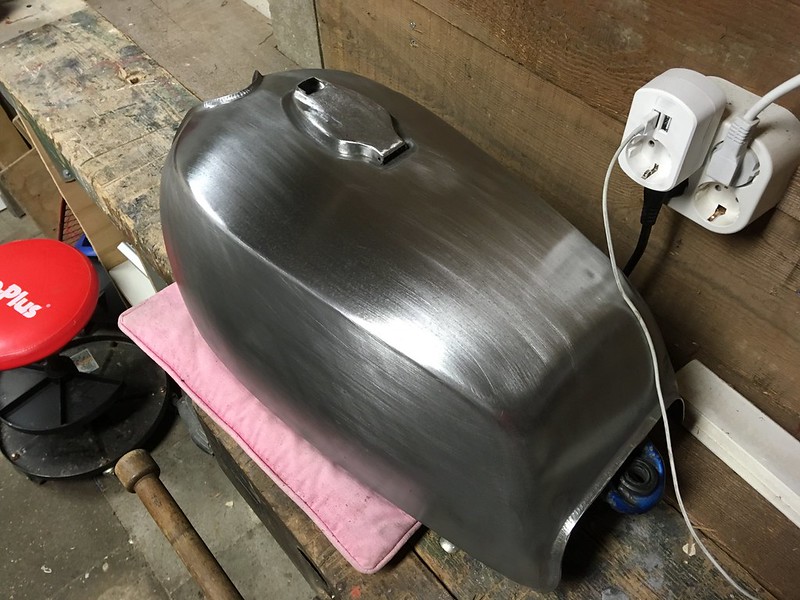
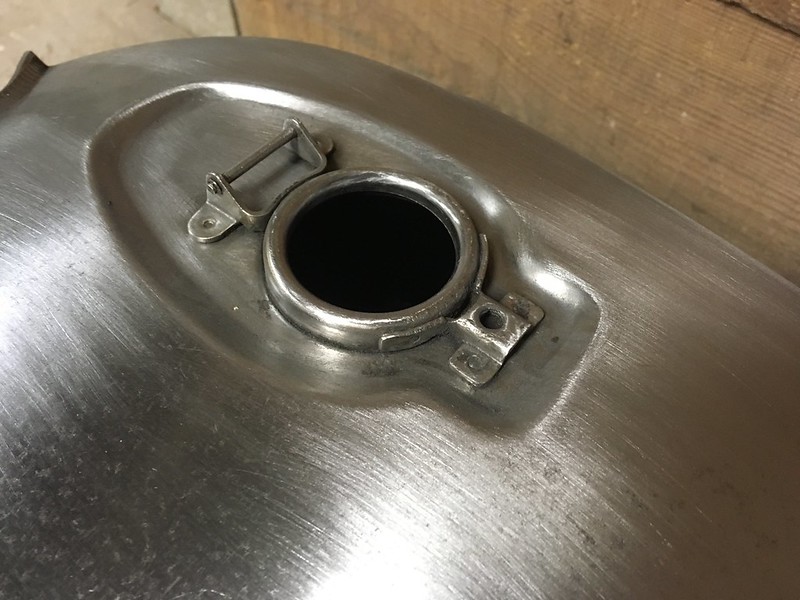
I already did a lot of sanding of the tank, especially at the fuel opening the thing was on it's way to the scrapyard.... The plan is to to a brushed metal look, so I'm just sanding my way there
 IMG_1602 by stijnbossink, on Flickr
 IMG_1603 by stijnbossink, on Flickr
 IMG_1604 by stijnbossink, on Flickr
See you in 2018!
I decided to follow a more organised approach, working my way down a list. First on the list was the tank and all its parts.
IMG_2788 by stijnbossink, on FlickrTank cap was a bit too rusty
- Sanded the cap to get the brushed look
- Sandblasted the part that closes the fuel opening and put a layer of paint on it (not on the photo)
- Got busy with the Dremel to get all the rust from the other parts
- Ordered a new tank cap gasket
IMG_1508 by stijnbossink, on FlickrIMG_1509 by stijnbossink, on FlickrIMG_1510 by stijnbossink, on FlickrLooking better:
IMG_1532 by stijnbossink, on FlickrSame drill for the petcock...
IMG_1566 by stijnbossink, on FlickrIMG_1567 by stijnbossink, on FlickrIMG_1570 by stijnbossink, on FlickrI already did a lot of sanding of the tank, especially at the fuel opening the thing was on it's way to the scrapyard.... The plan is to to a brushed metal look, so I'm just sanding my way there
IMG_1602 by stijnbossink, on FlickrIMG_1603 by stijnbossink, on FlickrIMG_1604 by stijnbossink, on FlickrSee you in 2018!
 IMG_1614
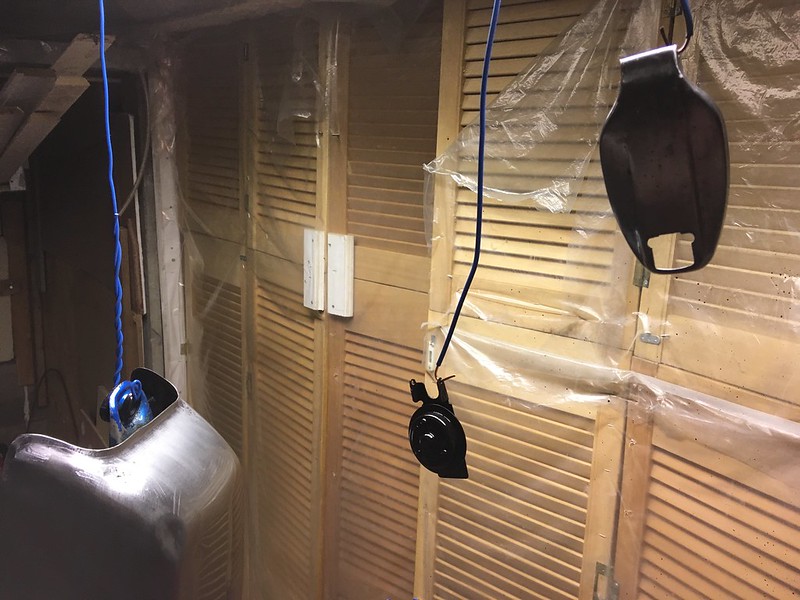 IMG_1615
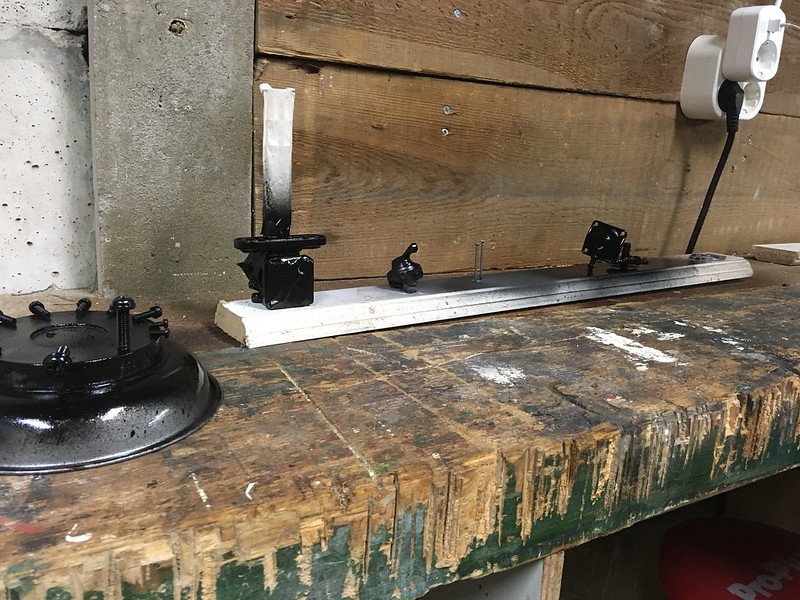 IMG_1616
 IMG_1639
 IMG_1639
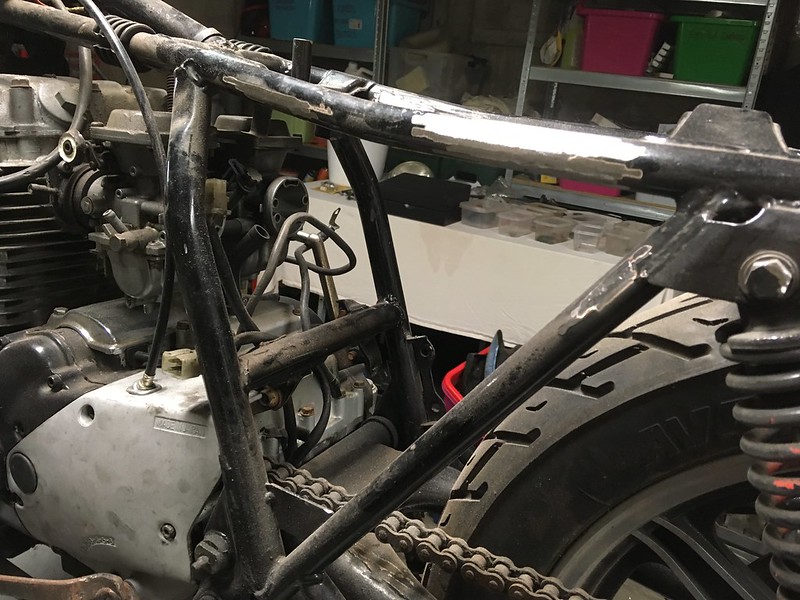 IMG_1639
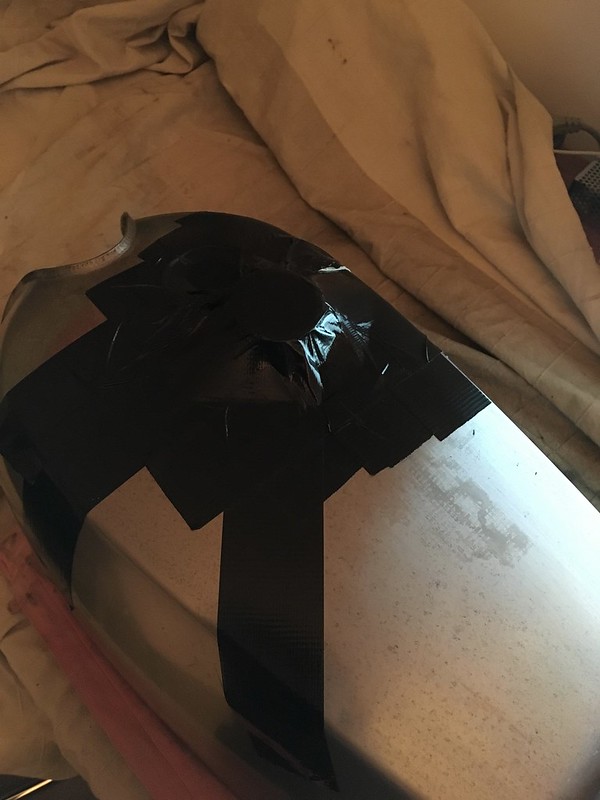 IMG_1721
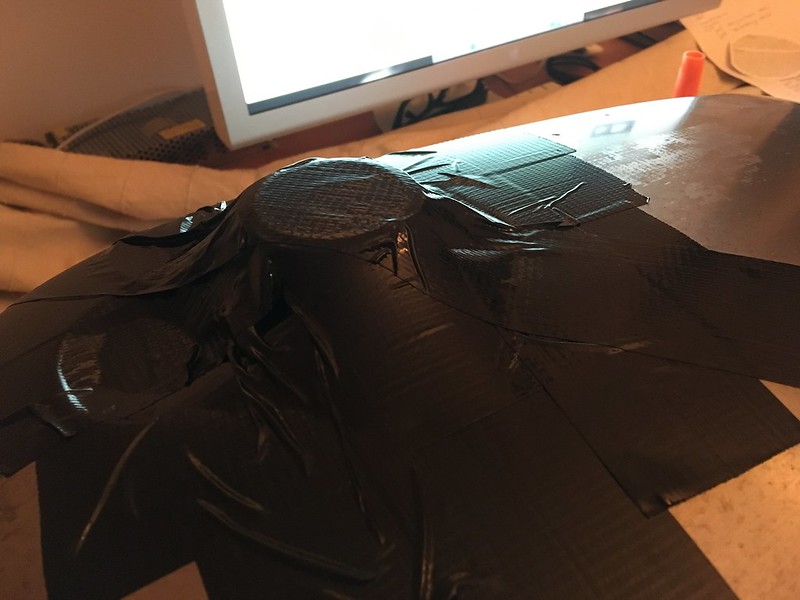 IMG_1721
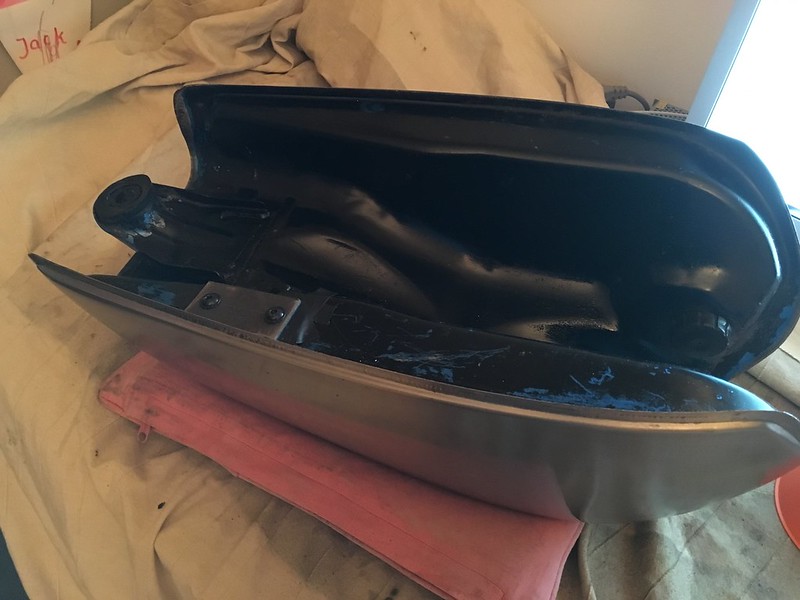 IMG_1721
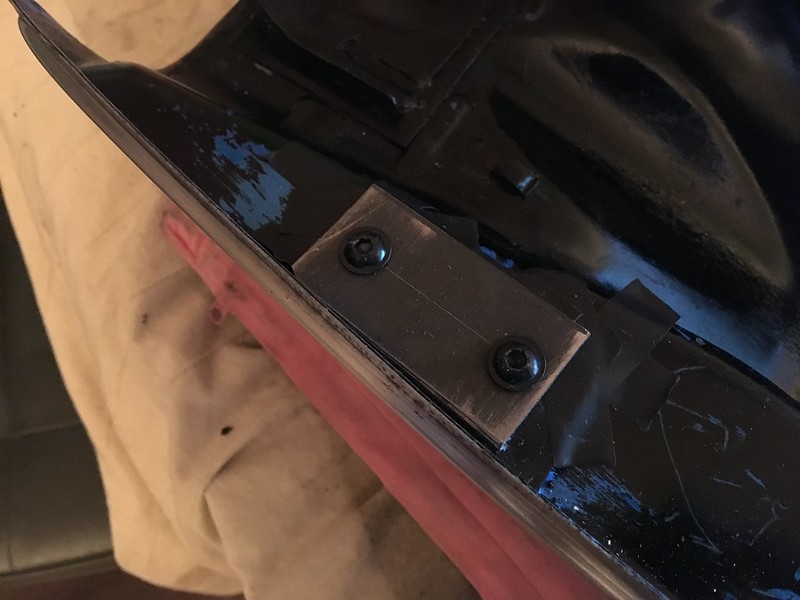 IMG_1721
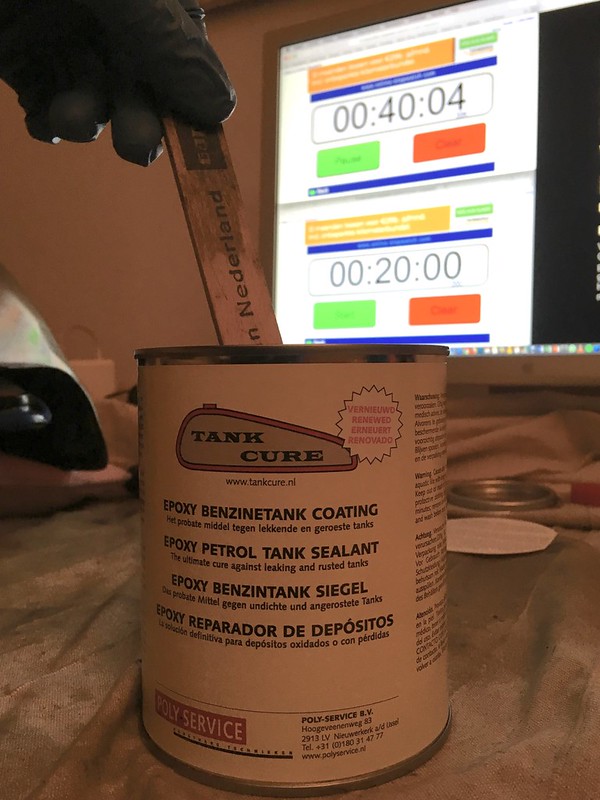 IMG_1721