burr
XS400 Enthusiast
Hey Everyone!
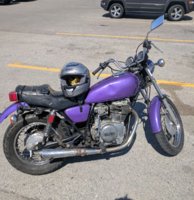
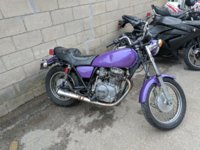
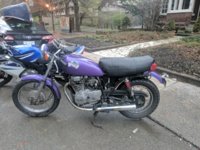
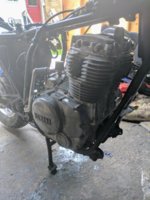
After hijacking a few threads, I figured I'd start my own. I'm rebuilding my 1981 Yamaha XS400H (4R5 engine). It's my first bike. I'm pretty mechanically inclined but I've never worked on anything like this before. Here goes nothing…
A Little Intro:
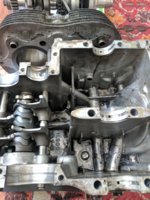
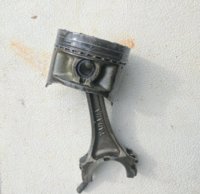
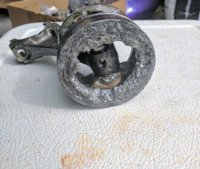
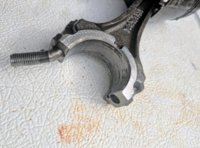
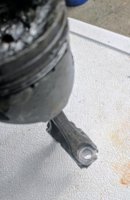
The result was I completely lost engine power. Wouldn't start. No resistance from kickstarter. Electronics seemed OK. Didn't want to shift into 1st gear from neutral. Seemed like it would shift into 2nd, 3rd etc.
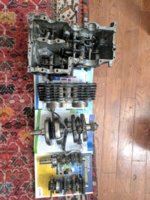
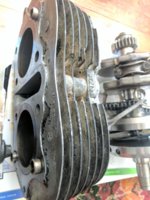
Great. A total write off, I thought. The foretold and forewarned 'deal-too-good-to-be-true'. But all was not lost. For I had picked up a semi-complete spare XS400 engine, and had a multitude of parts.
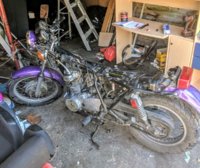
This thread will chronicle where I started with my Barney (The Purple Dinosaur)–coloured ride. I promise to upload only the highest resolution pictures. I will start a YouTube channel, packed with questions, frustrations and updated tips as I go. Disassembly vids? Yes. Reassembly vids? Certainly. Tuning, adjusting, cleaning pics and videos? You bet. Anything and everything to please you engine-porn junkies
In the month or so since I've owned the bike, I have learned countless details from this community. I want to give back. But I need some help. Lots, actually. The only thing I ask is… be my Obi-Wan Kenobi. You're my only hope.
After hijacking a few threads, I figured I'd start my own. I'm rebuilding my 1981 Yamaha XS400H (4R5 engine). It's my first bike. I'm pretty mechanically inclined but I've never worked on anything like this before. Here goes nothing…
A Little Intro:
- Bought this guy for $600 CAD in Toronto.
- It had ~14,200 miles, or 22,900 km
- Carbs were sparkling clean (PO had ultrasonically cleaned them)
- It ran OK.
- At a shop, I got the air filters replaced, brakes "tuned up" and oil filter changed. They installed a new Battery.
- Put about 500km on it (300 miles for our Americans) over the course of 10 days.
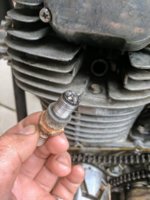
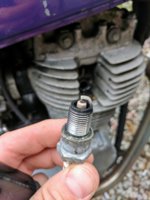
- I was hearing some clicking in the days before it happened. I now believe that was poorly adjusted valves.
The result was I completely lost engine power. Wouldn't start. No resistance from kickstarter. Electronics seemed OK. Didn't want to shift into 1st gear from neutral. Seemed like it would shift into 2nd, 3rd etc.
Great. A total write off, I thought. The foretold and forewarned 'deal-too-good-to-be-true'. But all was not lost. For I had picked up a semi-complete spare XS400 engine, and had a multitude of parts.
This thread will chronicle where I started with my Barney (The Purple Dinosaur)–coloured ride. I promise to upload only the highest resolution pictures. I will start a YouTube channel, packed with questions, frustrations and updated tips as I go. Disassembly vids? Yes. Reassembly vids? Certainly. Tuning, adjusting, cleaning pics and videos? You bet. Anything and everything to please you engine-porn junkies
In the month or so since I've owned the bike, I have learned countless details from this community. I want to give back. But I need some help. Lots, actually. The only thing I ask is… be my Obi-Wan Kenobi. You're my only hope.
Last edited: