skillzman1
XS400 Junkie
For those that asked for a DIY /HOW TO...here we go.
This is the way I do it...I dont own,or know how to TIG weld at this point in time...so this is how I accomplish what I want.
I'm sure there are better...more professional...more exspensive...time consuming ways to do this...but this is how a self taught redneck does it!
I started with a tank I swapped for some pegs...thanks Volcomskater77!!
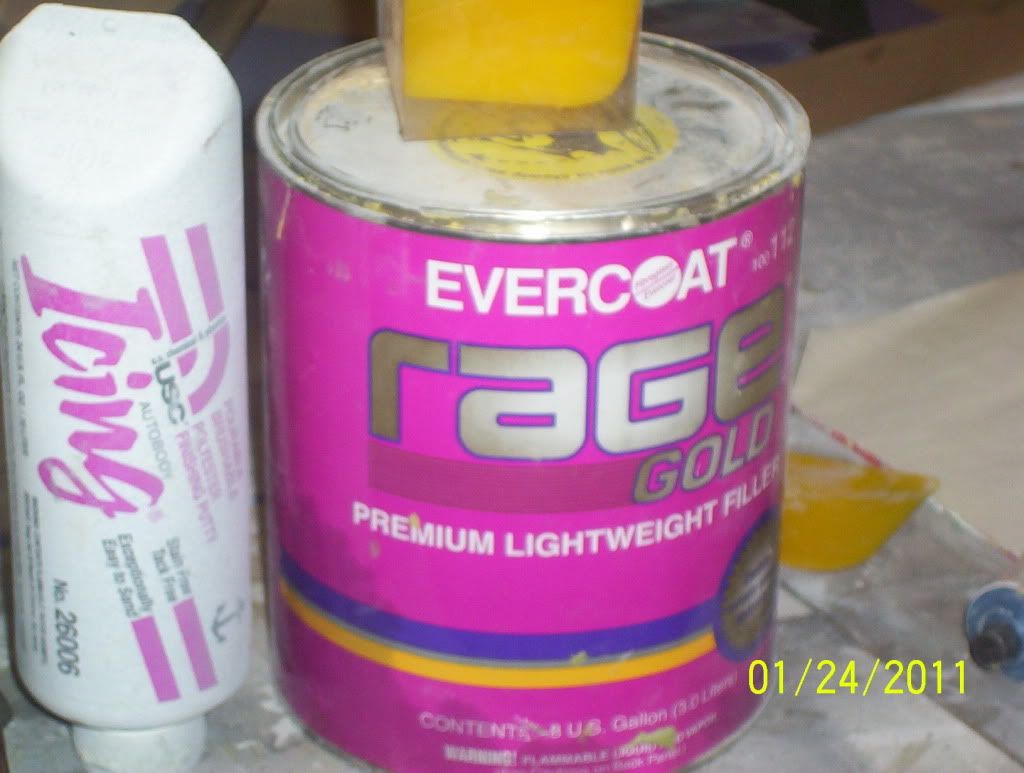
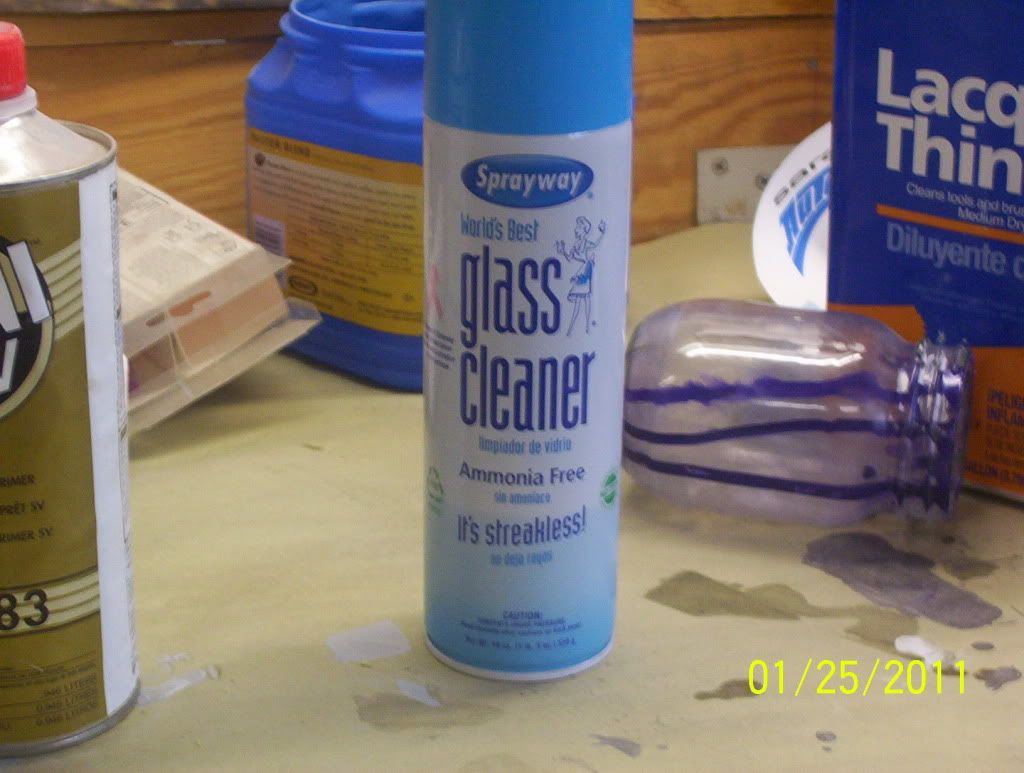
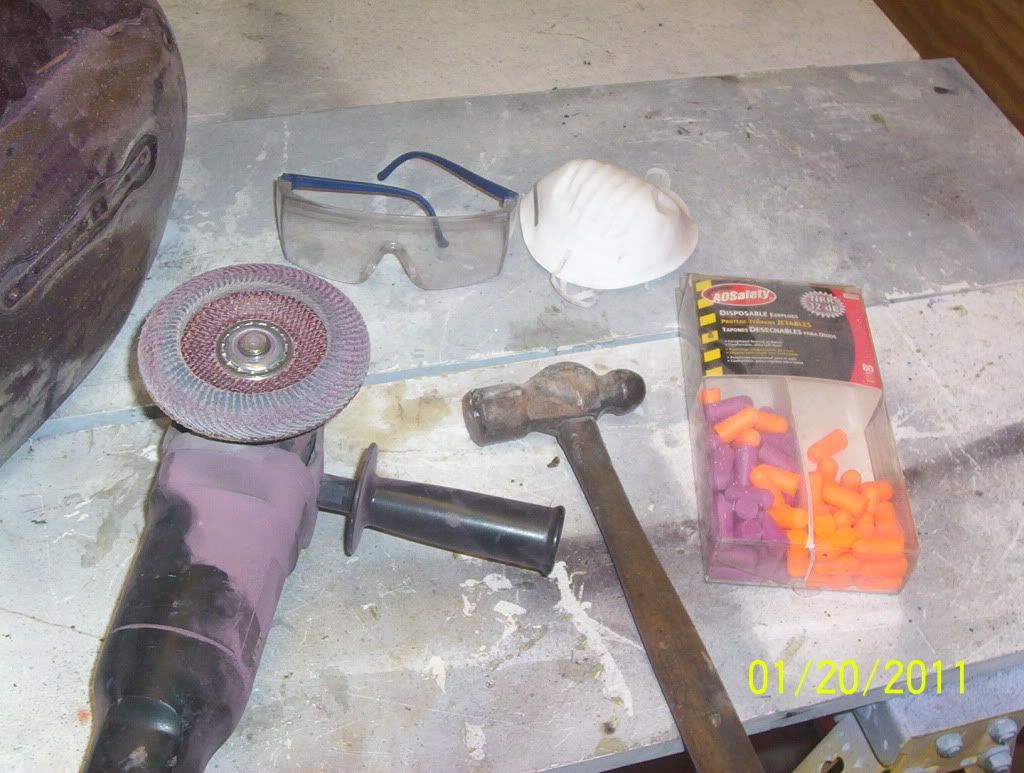
These are the basic tools required to get started:
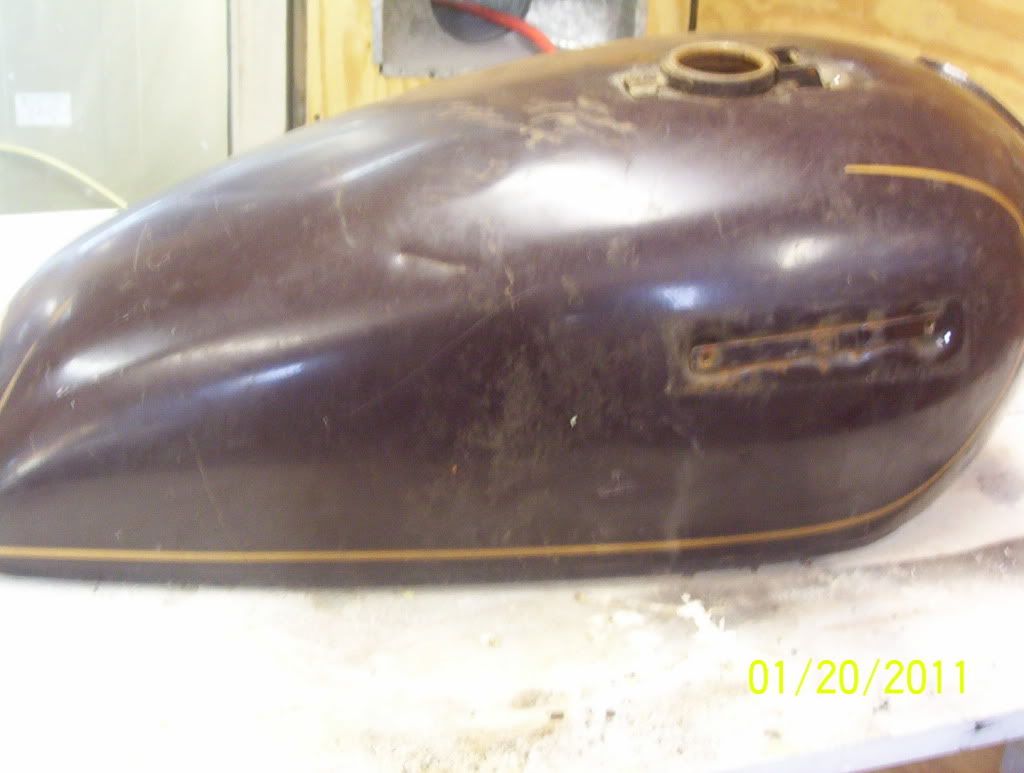
and this was the tank as I got it
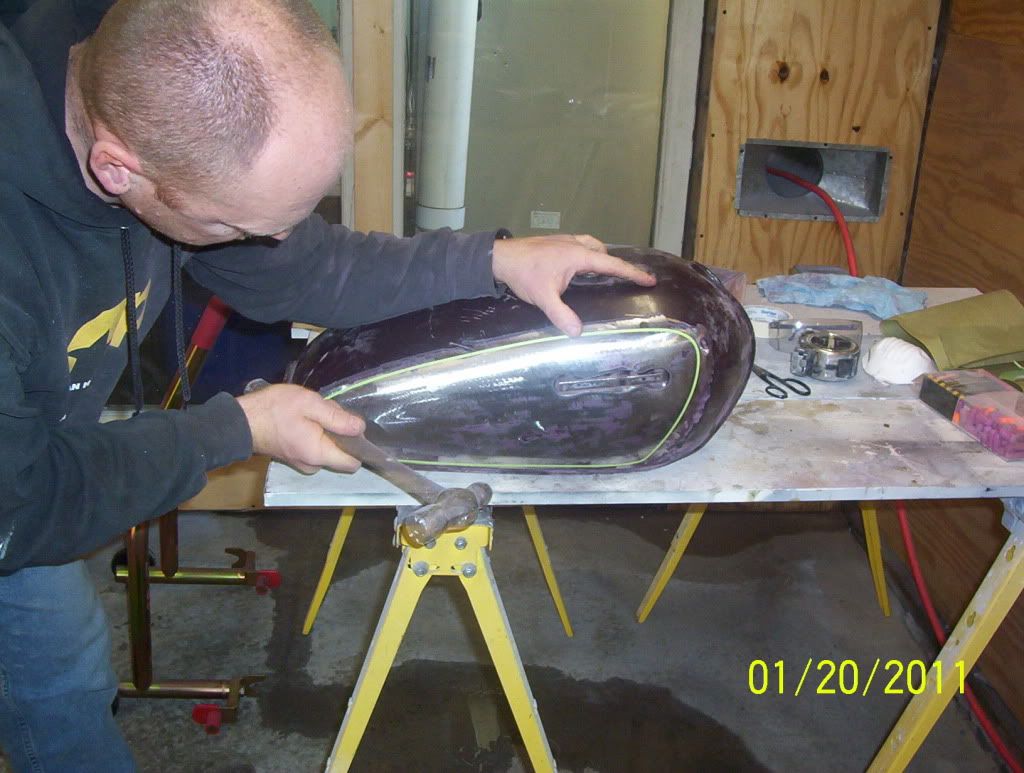
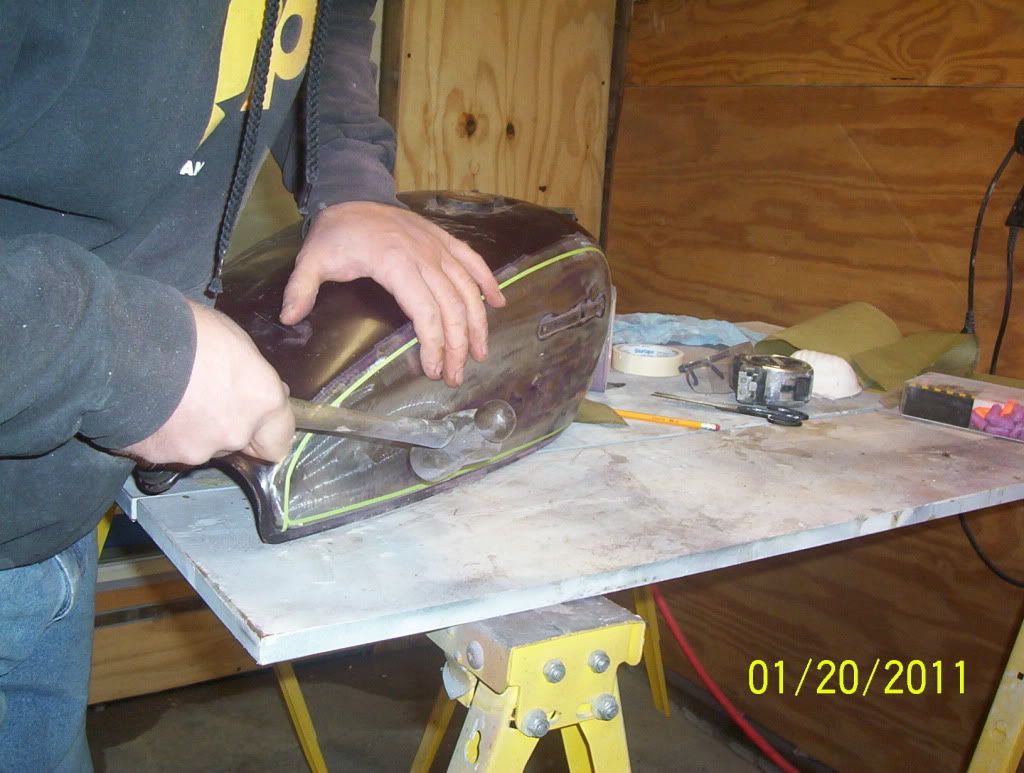
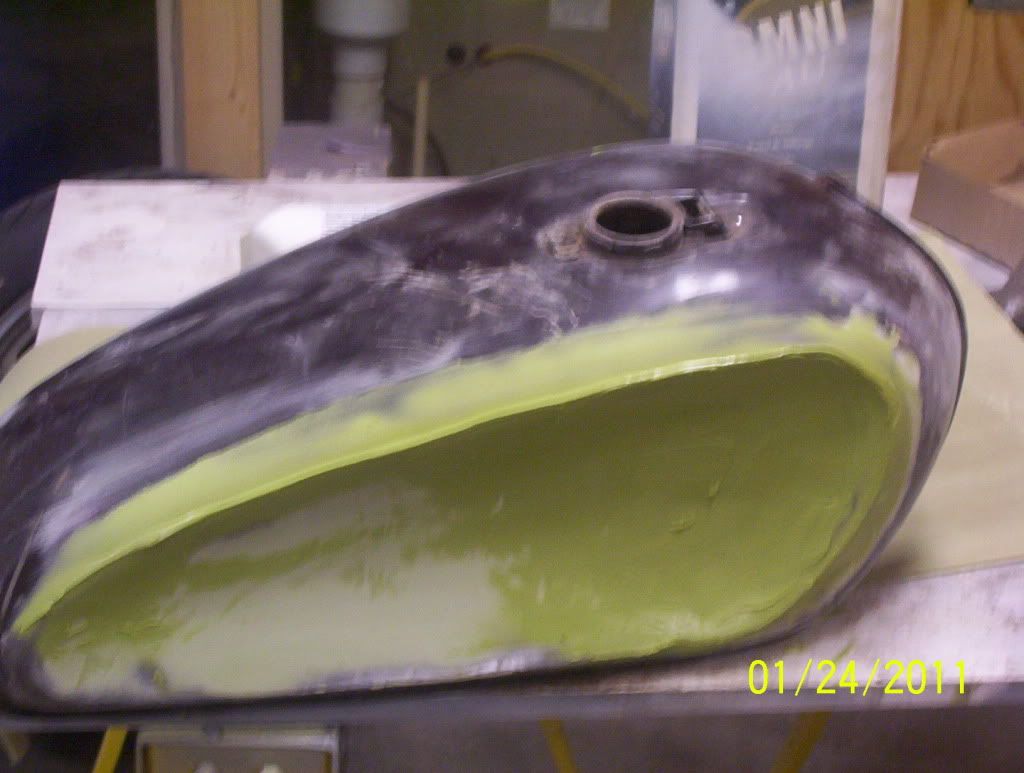
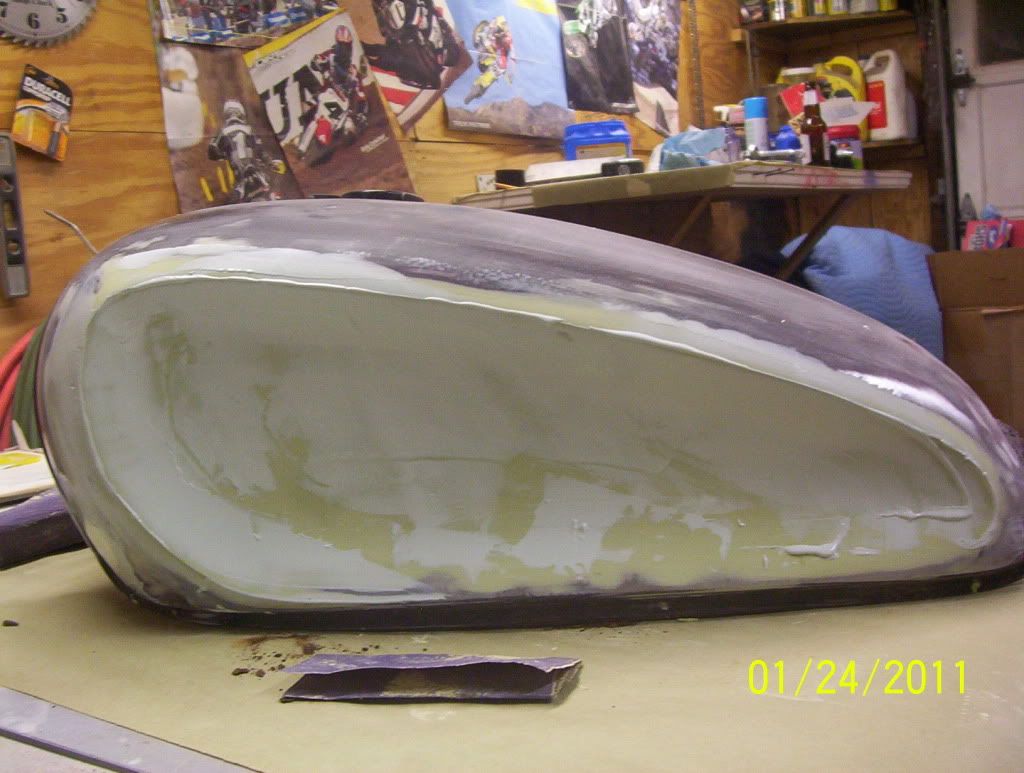
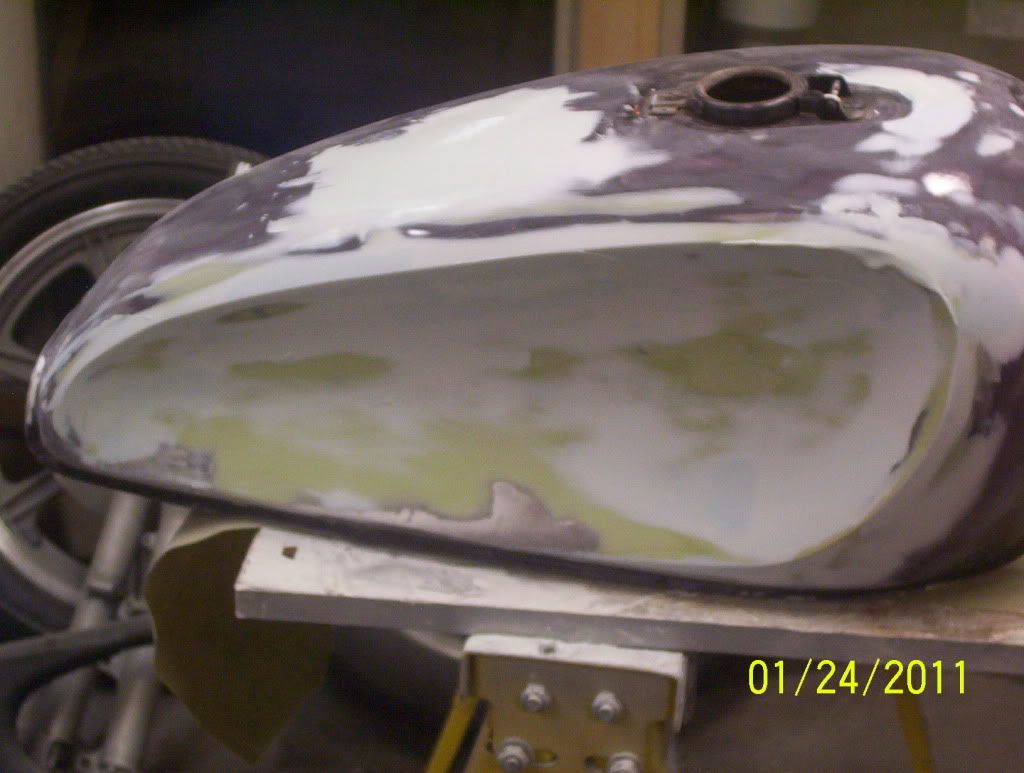
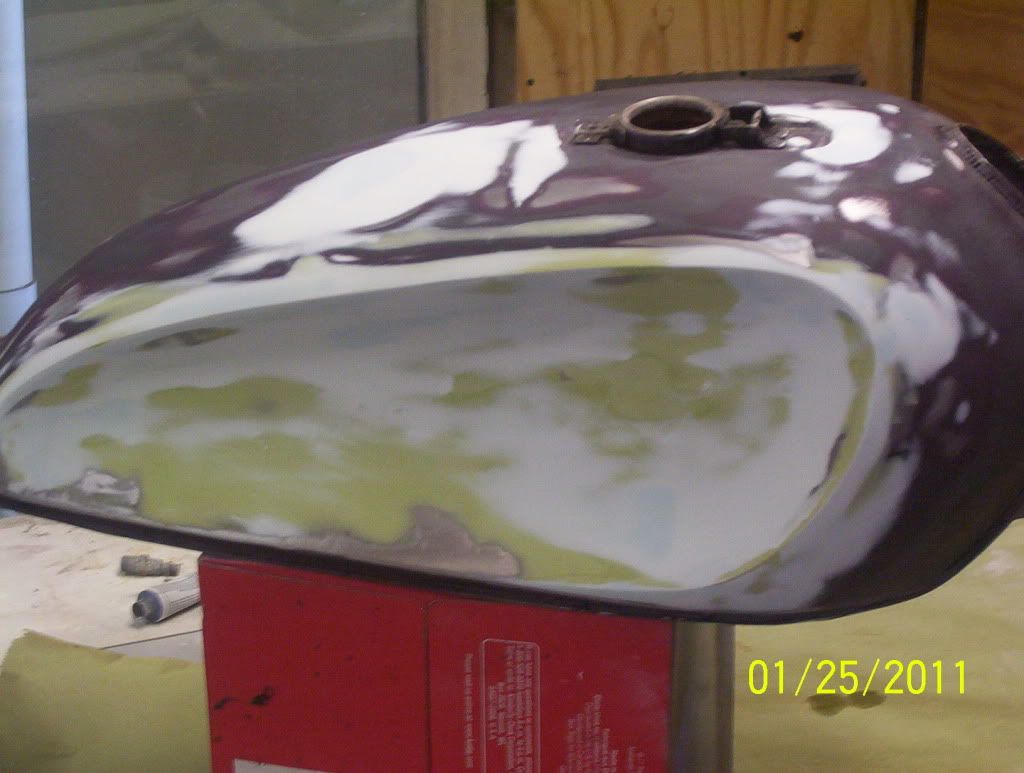
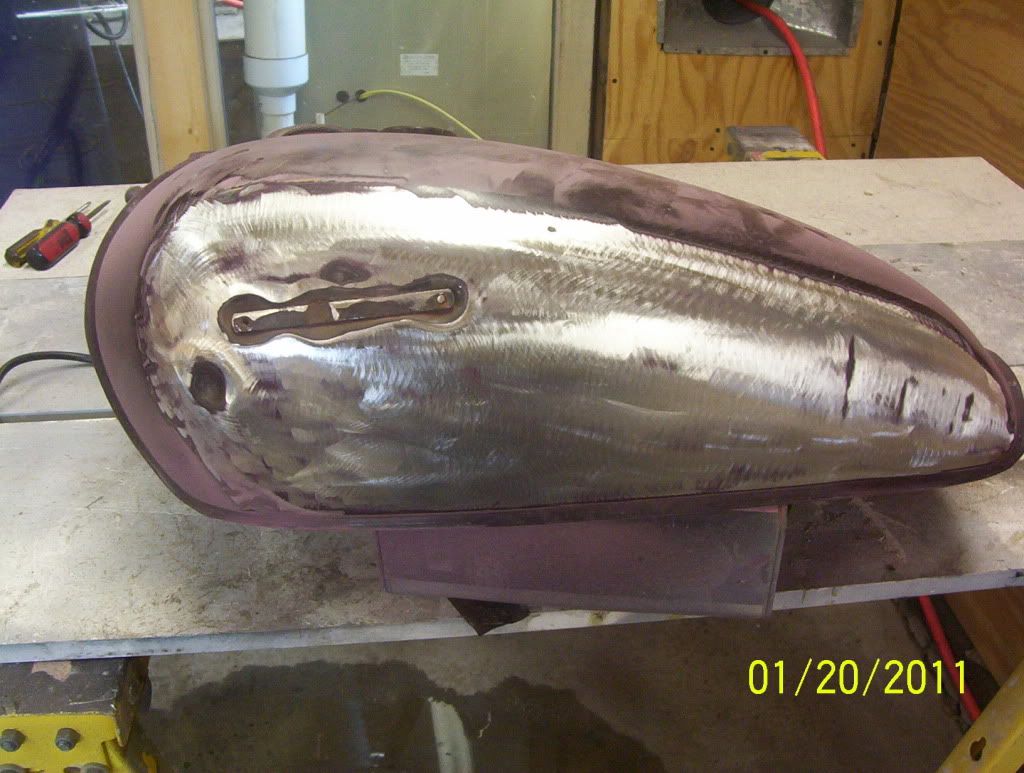
First I used my trusty grinder with a flap disc style attachment to remove the paint from the sides of the tank....use something like course sand paper grit.You dont need to remove anything but the paint,the more aggressive grinder discs can really remove too much metal if you're not careful!!

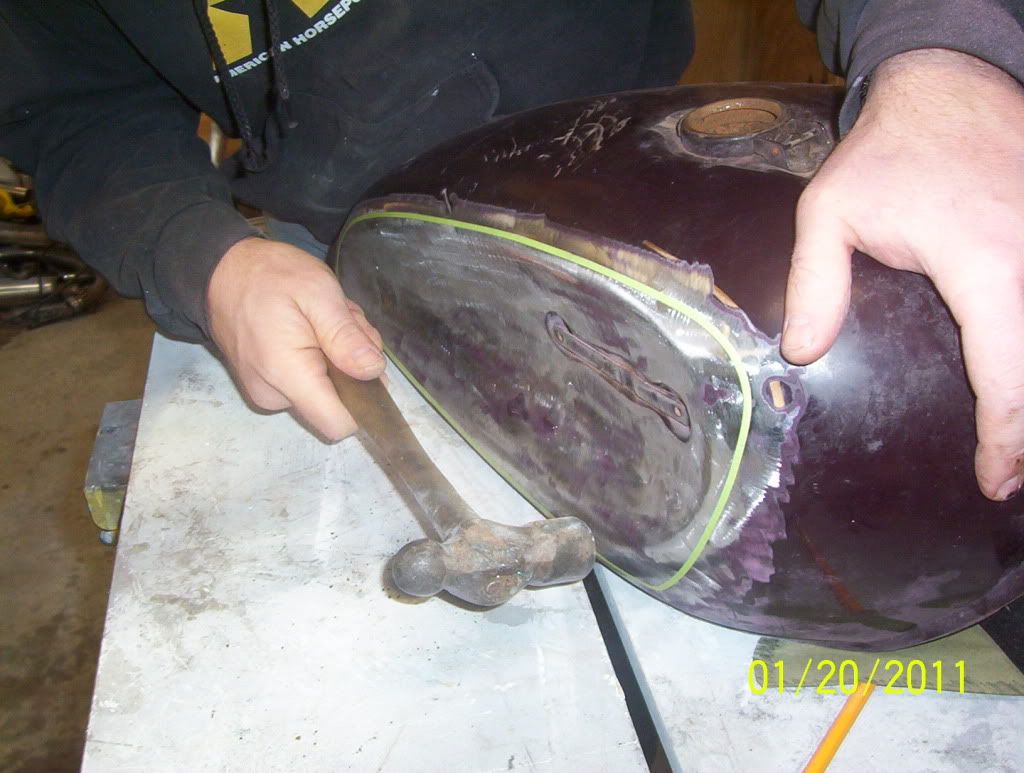
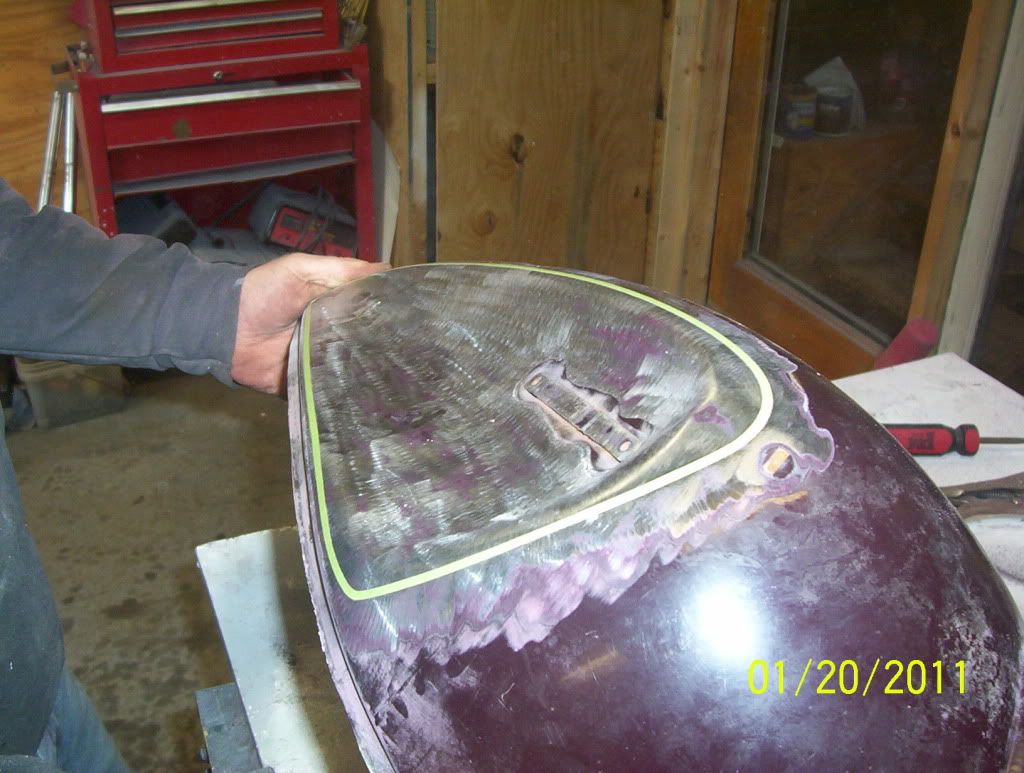
Next I lay out my initial pattern...for this tank I thought I would experiment with the whole side instead of just a partial style knee relief like I did last time.The process is the same either way..its personal preference how you do it.
For the layout I used 1/8" fine line tape from the body supply store
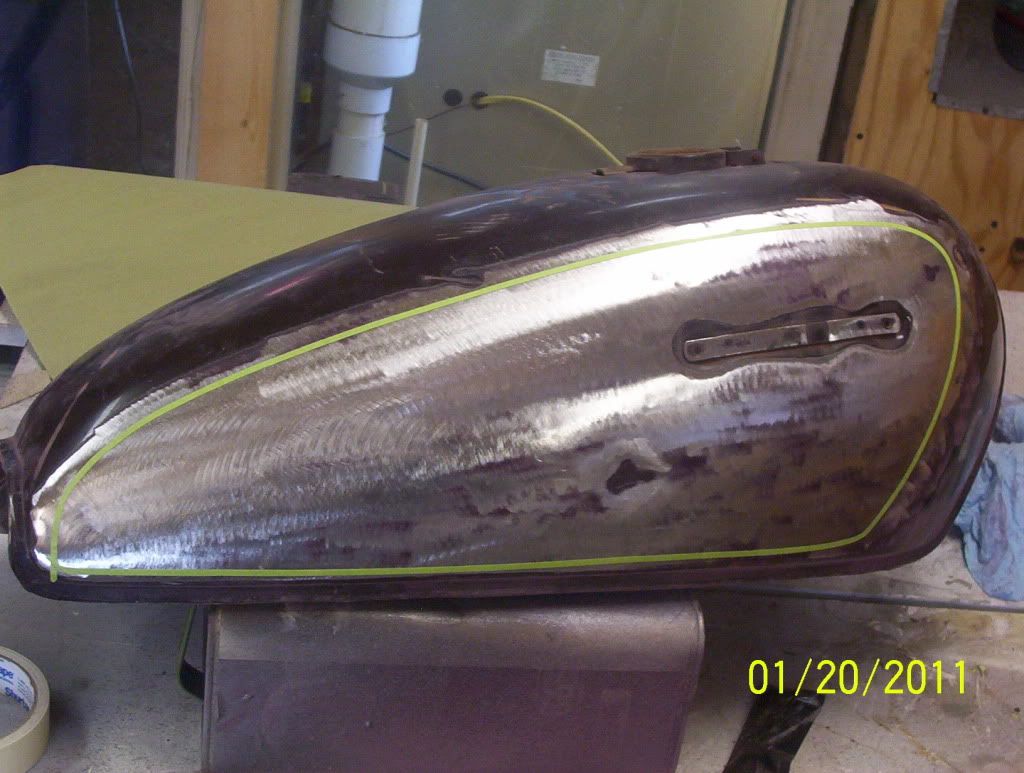
I like to step back and look at the overall shape of the tank,and create a design that works with the lines.Once I had the design I liked,I next took a piece of masking paper and laid it over the top of the design,and using the side of a pencil(or a crayon) I marked thru the paper to get a representation of the tape underneath for a template.
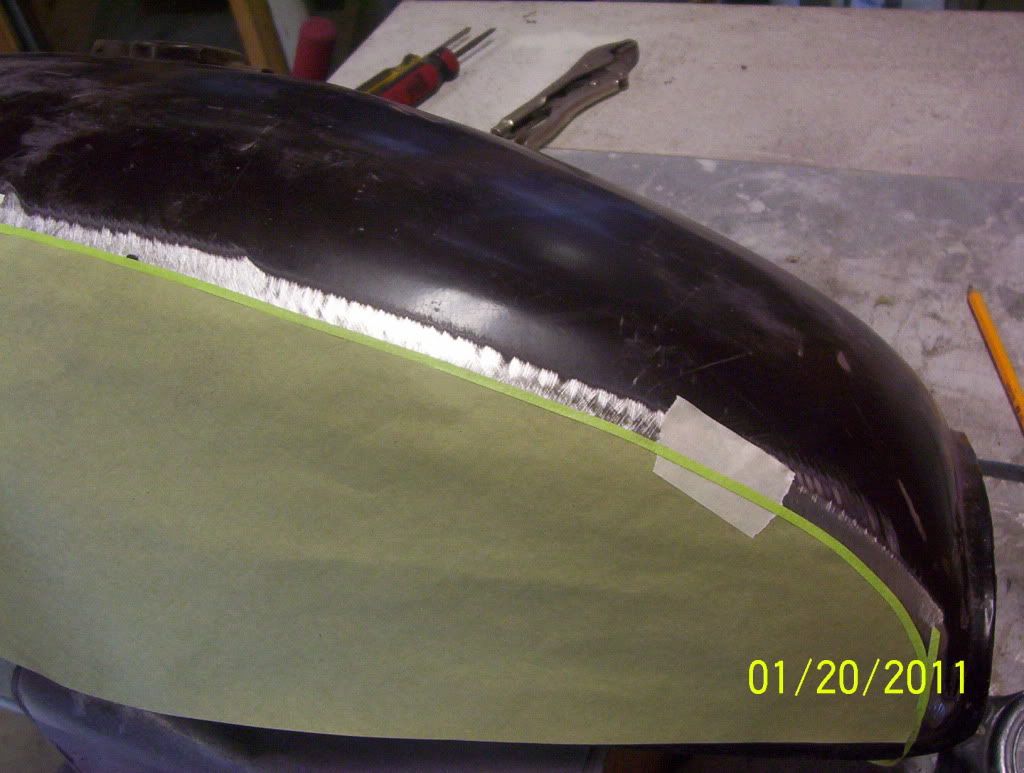
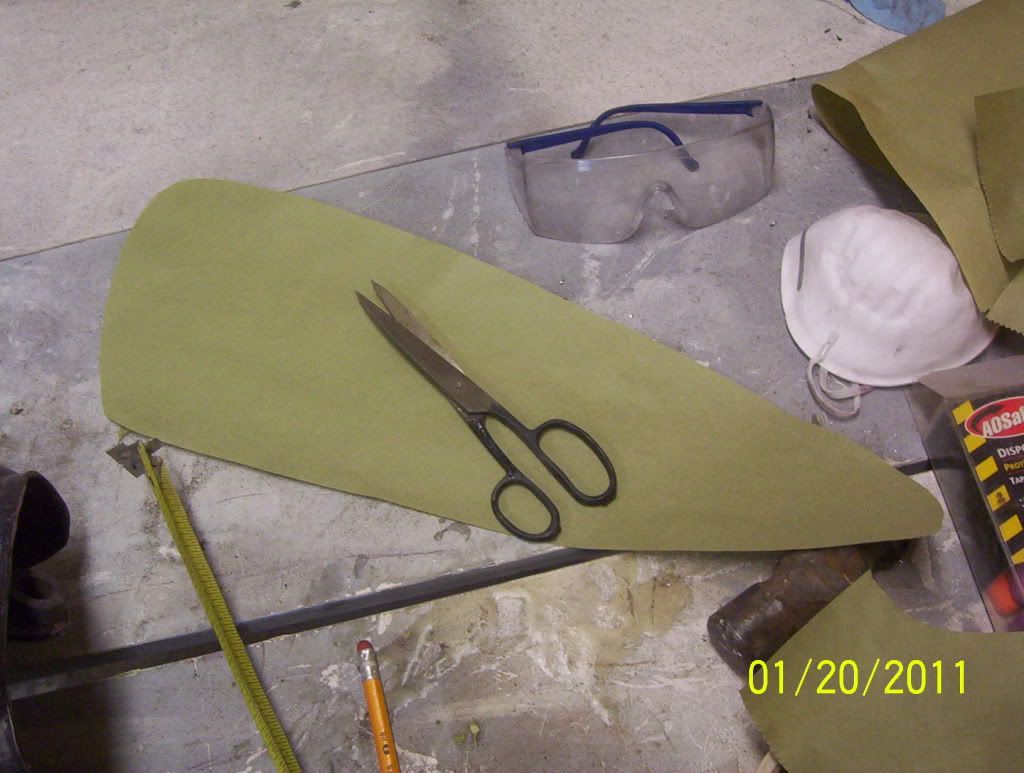
Then I used the scissors to cut out the shape on the inside of the marked lines on the paper.
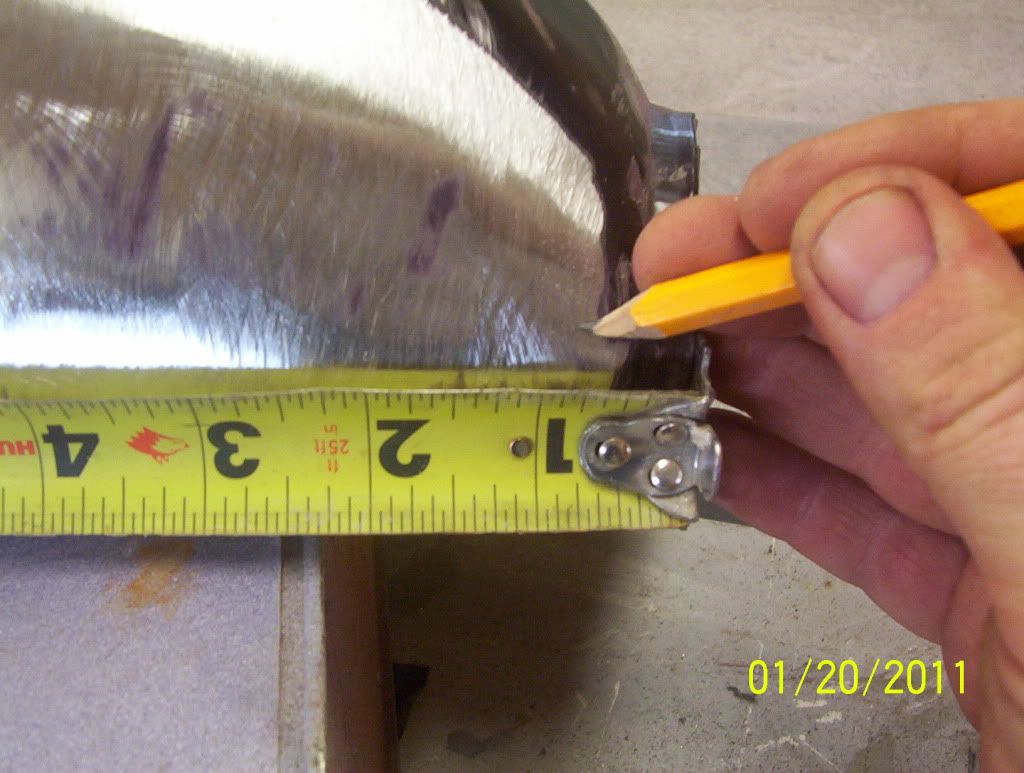
Next....using a tape measure I measure for refernce on the first side,and transfer to the second side.
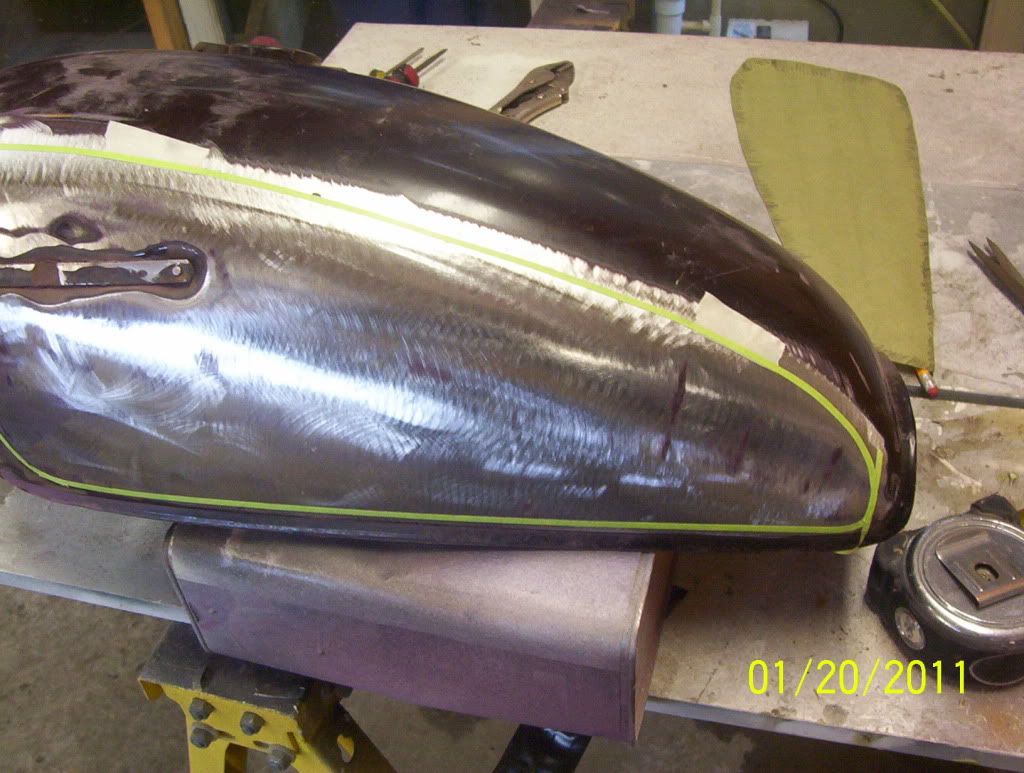
Then,taking the paper template,I attach to the second side and trim around the outside of the cutout with the fineline tape.Keeping exact to the edge of the template,while referencing side 1 a few times for accuracy.
Then I remove the paper.
This is the way I do it...I dont own,or know how to TIG weld at this point in time...so this is how I accomplish what I want.
I'm sure there are better...more professional...more exspensive...time consuming ways to do this...but this is how a self taught redneck does it!
I started with a tank I swapped for some pegs...thanks Volcomskater77!!
These are the basic tools required to get started:
and this was the tank as I got it
First I used my trusty grinder with a flap disc style attachment to remove the paint from the sides of the tank....use something like course sand paper grit.You dont need to remove anything but the paint,the more aggressive grinder discs can really remove too much metal if you're not careful!!
Next I lay out my initial pattern...for this tank I thought I would experiment with the whole side instead of just a partial style knee relief like I did last time.The process is the same either way..its personal preference how you do it.
For the layout I used 1/8" fine line tape from the body supply store
I like to step back and look at the overall shape of the tank,and create a design that works with the lines.Once I had the design I liked,I next took a piece of masking paper and laid it over the top of the design,and using the side of a pencil(or a crayon) I marked thru the paper to get a representation of the tape underneath for a template.
Then I used the scissors to cut out the shape on the inside of the marked lines on the paper.
Next....using a tape measure I measure for refernce on the first side,and transfer to the second side.
Then,taking the paper template,I attach to the second side and trim around the outside of the cutout with the fineline tape.Keeping exact to the edge of the template,while referencing side 1 a few times for accuracy.
Then I remove the paper.