Mixin' up some fiberglass bags

You could just cover it in waxed demin and call it a day.
If I did that, I'd be lying in the thread title, and we can't have that! :D I may look into that for the future...

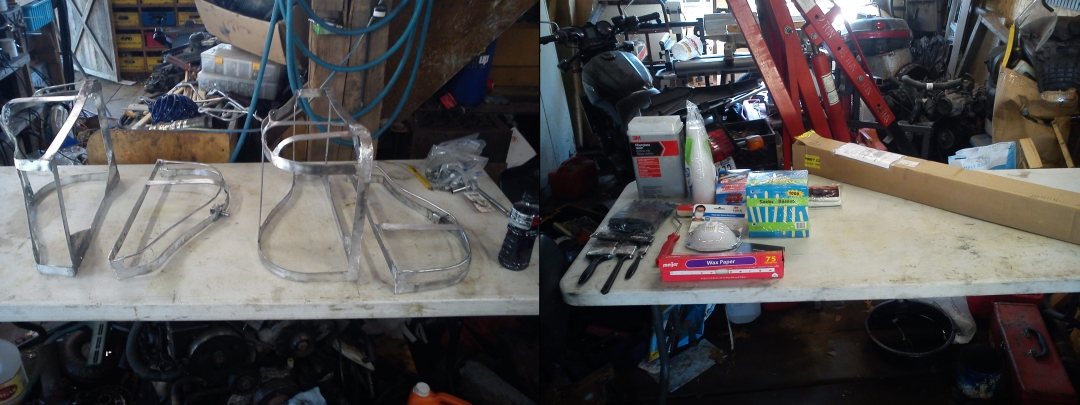
Anyway, now we finally get to the fun stuff: Yay fiberglass! With any luck, I'm all set to take care of bidness:
full

Right off the bat I'm wondering if I sprung for enough fiberglass, but we'll cross that bridge soon enough. Handling the resin is easy enough, I just pour a little resin into the party cups and weigh it on my pocket scale; divide the grams of resin by two and add that many drops of hardener (close enough to the recommended 15 drops/oz). I started off with the idea that I would use strips of fiberglass to define how I want the final sheets to behave, I found that it is too difficult to get an even tension between both sides, causing the strips to rotate. Instead I'm going to lay down the first layer much closer to how I set up the frame: start at one place and use simple shapes to build the final product in as few pieces as manageable.
full

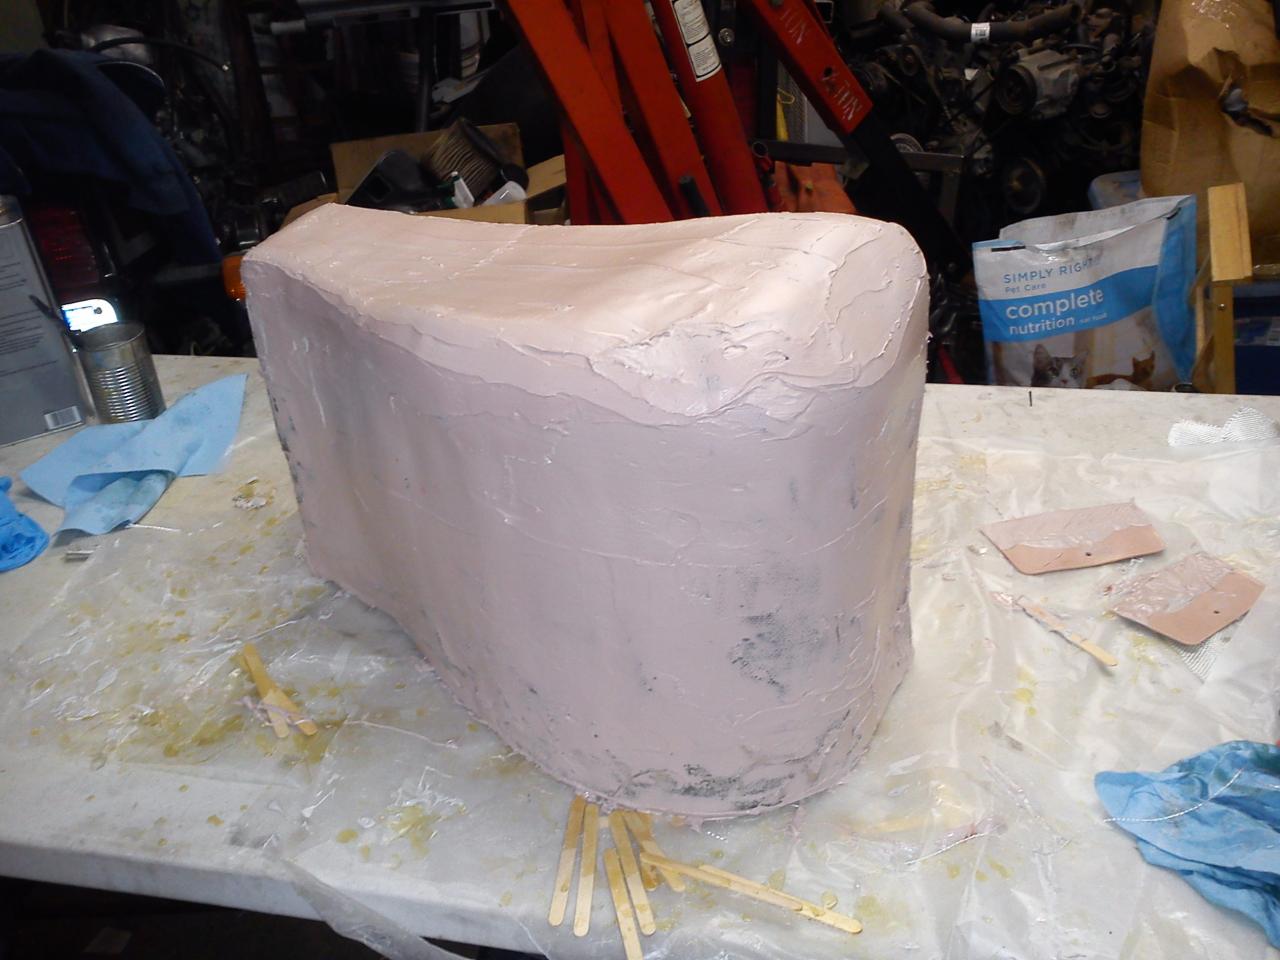
Thus far, I've learned that wax paper is awesome for this, and you can never have enough clips to anchor the fiberglass: I have 32 and even that is slowing me down (I've used 29 in the pic on the right). I've found that I'm using a lot of resin, since it builds up a little, so I'm trying a new approach to cutting back. You can see how I'm staggering where I put the resin on the first layer while I affix it to the frame, as well as the lack of resin everywhere else. I think this will help the bulk and top layers be stronger.
 
Two gallons of resin, ten yards of fiberglass, two bags of mixing cups, and a big box of nitrile gloves later... We've finally reached everyone's favorite part: Bondo!!
full


Other things I learned from the resin: get a good, stiff brush for applying the stuff and work it into the mat by dabbing it (the bristles get worked in between the mesh) and keep it clean by stirring it in a small can filled with acetone. The sponge brushes are good for removing excess resin, but are about as good as your fingers in terms of actually applying it to the fiberglass. The roller was not necessary if you smooth out the resin-ed mat with your thumb and a little pressure. A nice, course rasp will help clean up areas where the fiberglass didn't do what you wanted it to. A wire-wheel did a pretty good job too, but is more difficult to control. Don't get all macho and try to resin too many layers at once; it will be shite. Let the first layer cure and shape it properly, then only do another 1 or 1.5 layers at a time: brush on a thin layer of resin, place the glass, dab the resin into the mat, (optionally) lay out and flatten another layer of glass, and remove the excess resin. The 1.5 layer method should be a little stronger, since you'll get a higher glass to resin ratio.

Now I just need to worry about how I want to paint it...
 
So I finally finished prep work for the paint! :thumbsup: 
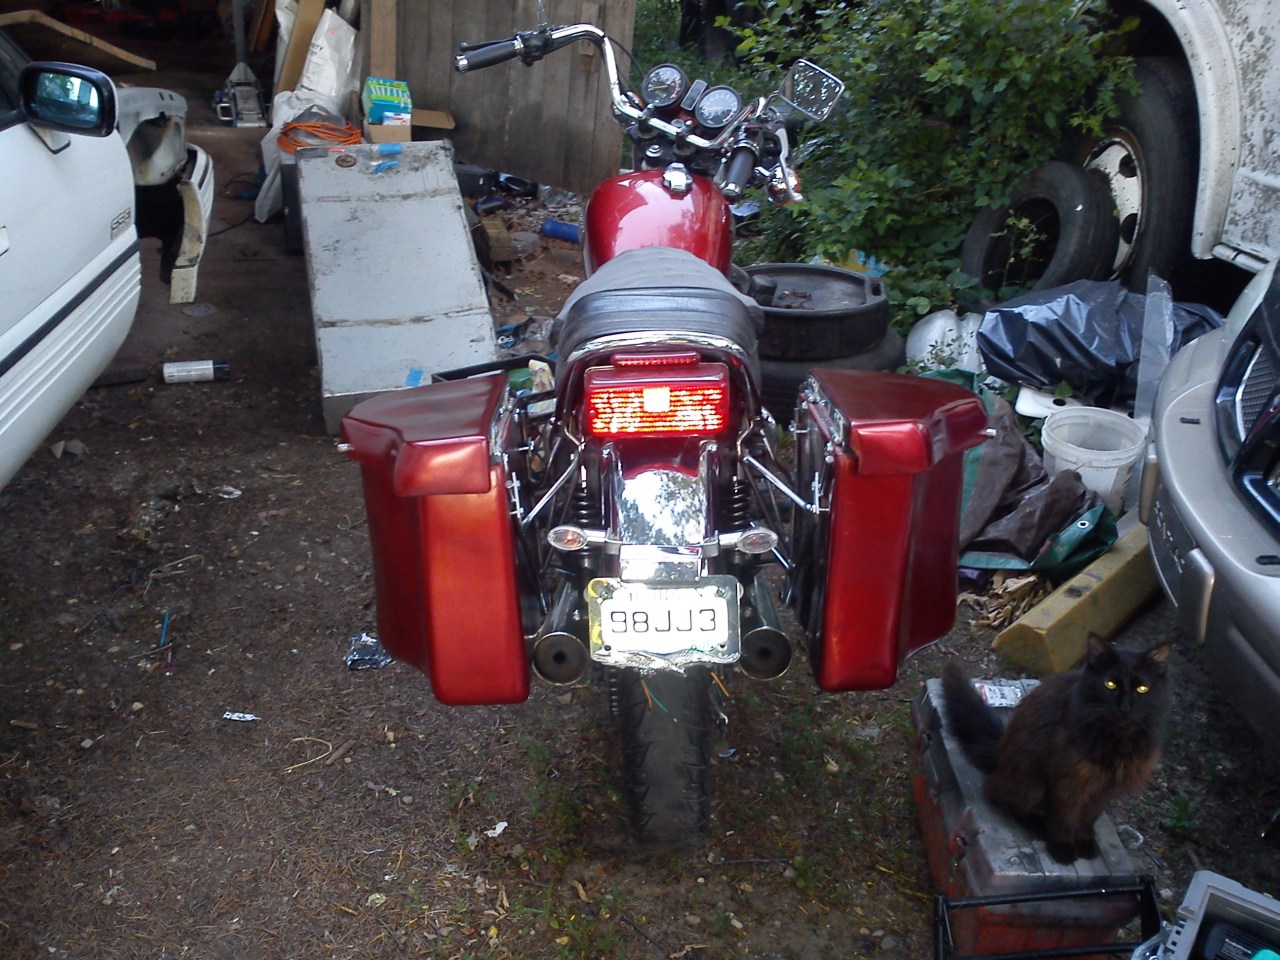
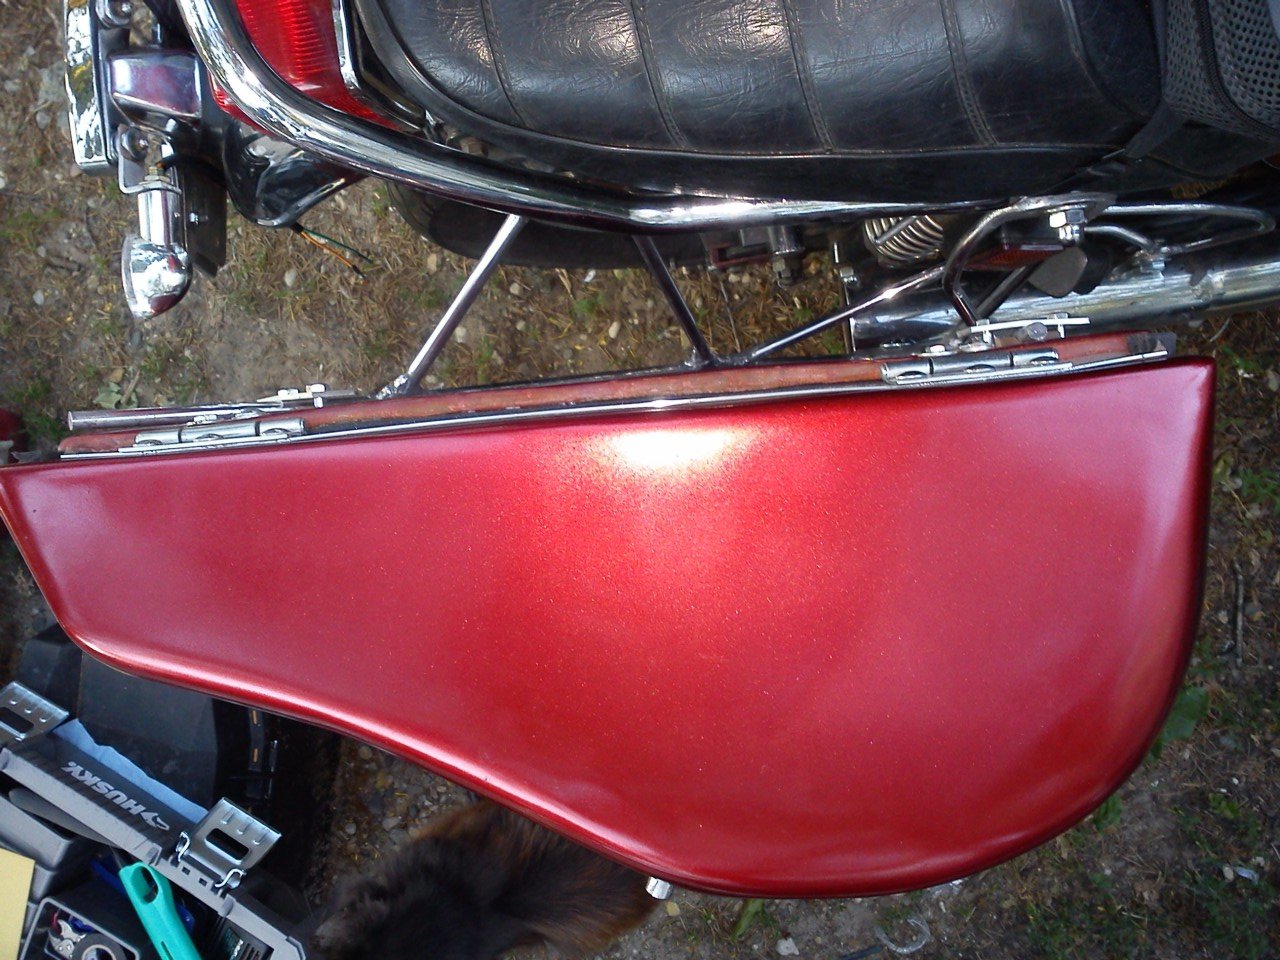
Two cans of color and clearcoat later:
full

full


You can see my triple-point system for both the frame and the bags.
full

full


Waiting to install the felt until I can do a thorough leak test.
full


Needed to use shorter blinkers, but their threads were too big to go in the original mounts. I ended up making a simple bracket for 'em. These use only 10W, so the signal relay doesn't work now :shrug: 
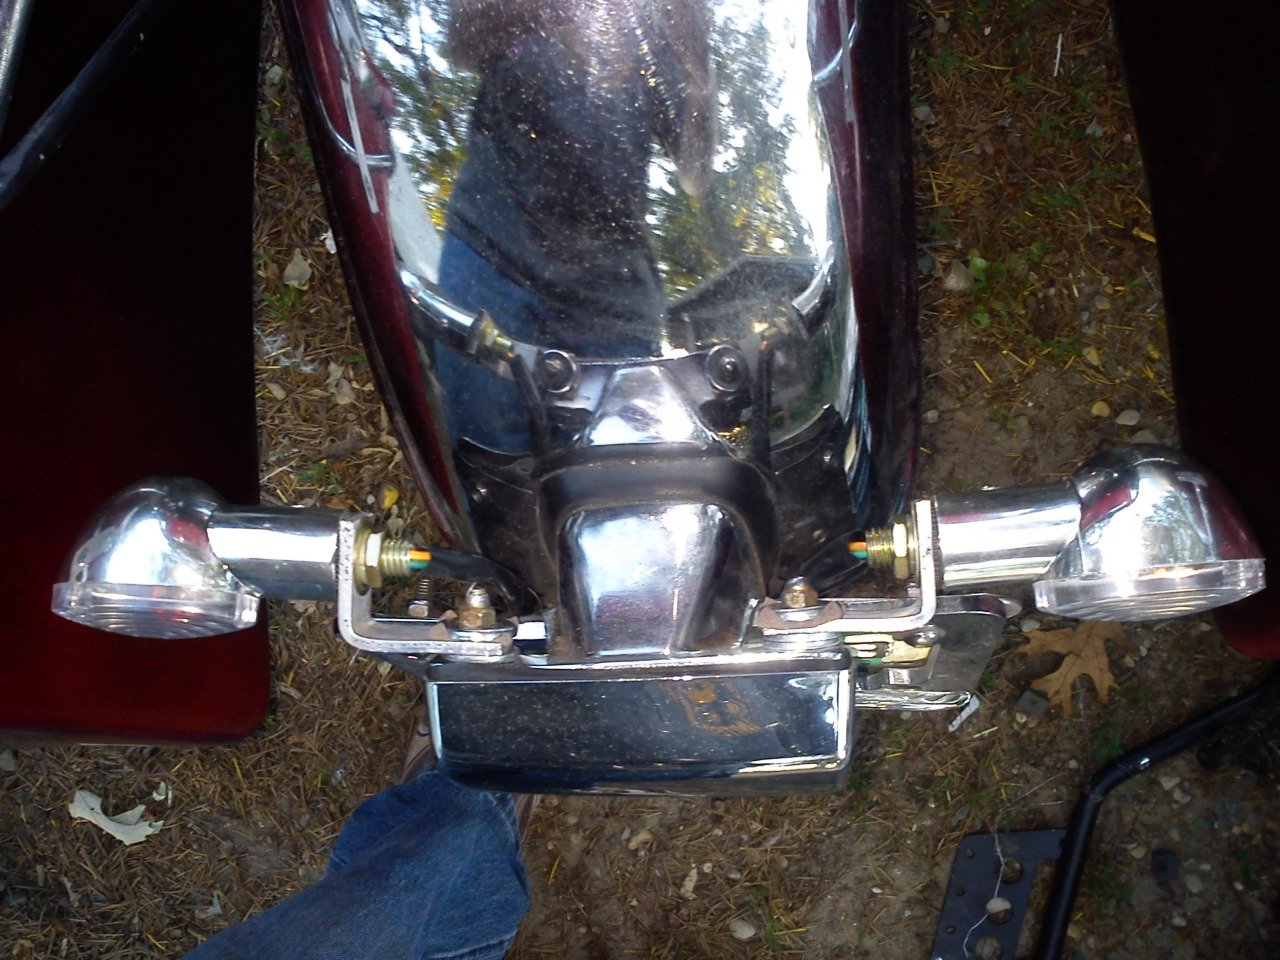
may as well put LED bulbs in the front ones now and wait for the new relay.
full


It definitely changes the look significantly. I think the fender looks kinda odd the way it is now... good thing I have leftover glass! j/k, that's probably not gonna happen any time soon. Once I get in the pilots for the carb We'll see how they change the ride, but I will probably take 'em off for the first few tests.
 
Nice job man, Maybe some bed liner or something similar for the insides. Just a thought.

Oh yeah, And next time stretch fleece around the frame, way easier than the old mat way of doing it. Plus one or two pieces and you're done;)
 
Back
Top