83 GR650 build

rshutchinson

XS400 Addict
Messages
466
Reaction score
22
Points
18
Location
Ontario, Canada
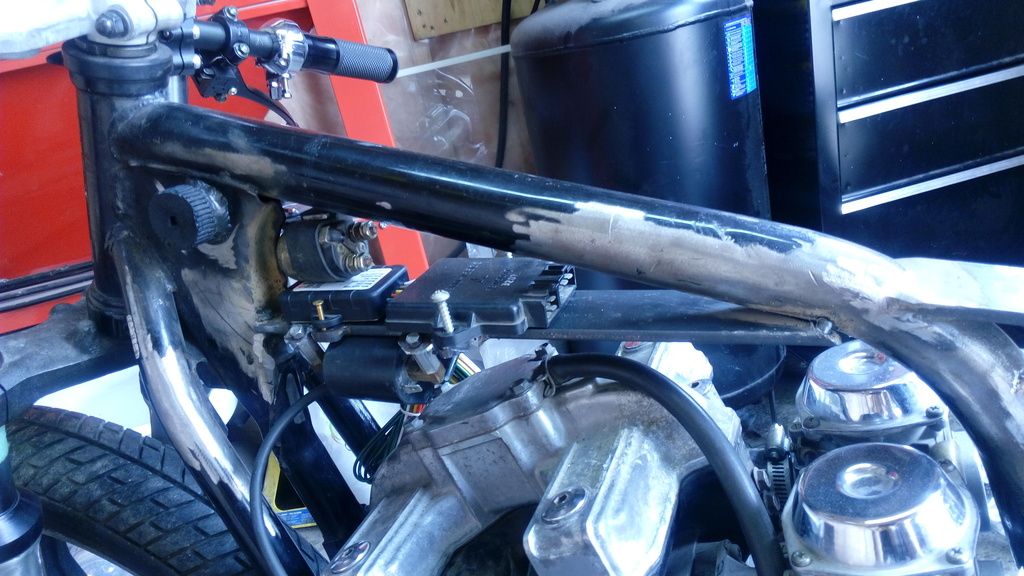
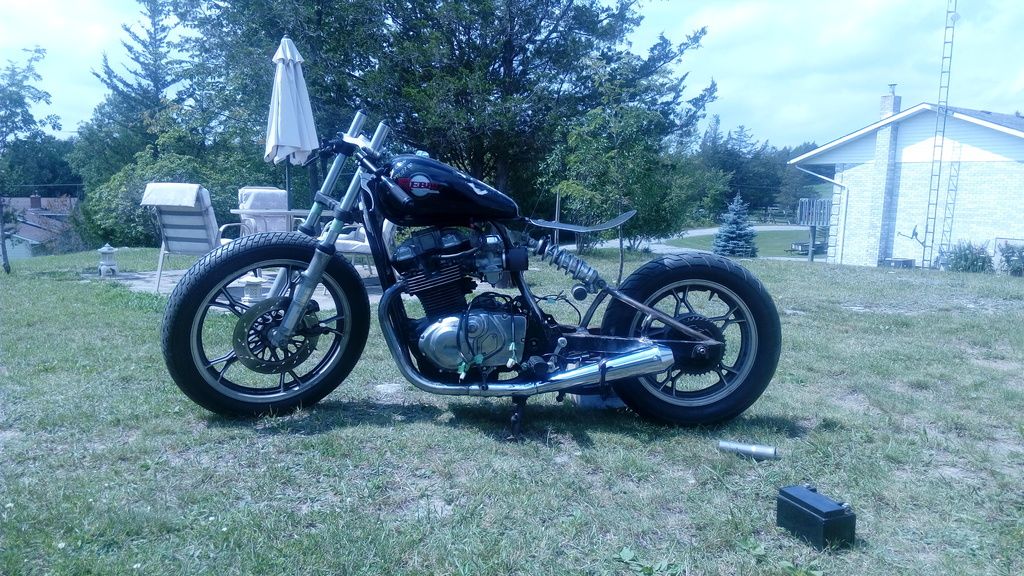
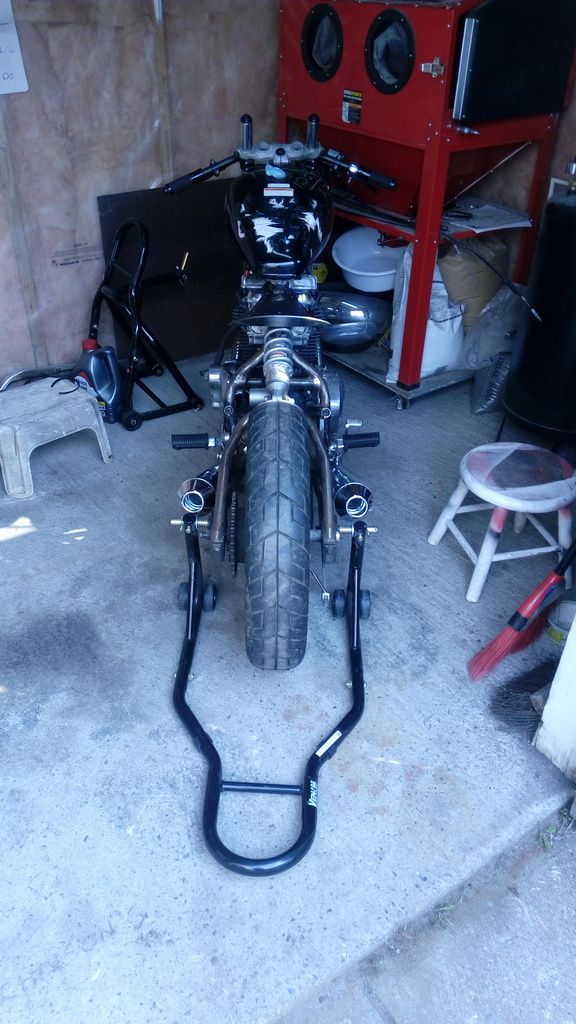
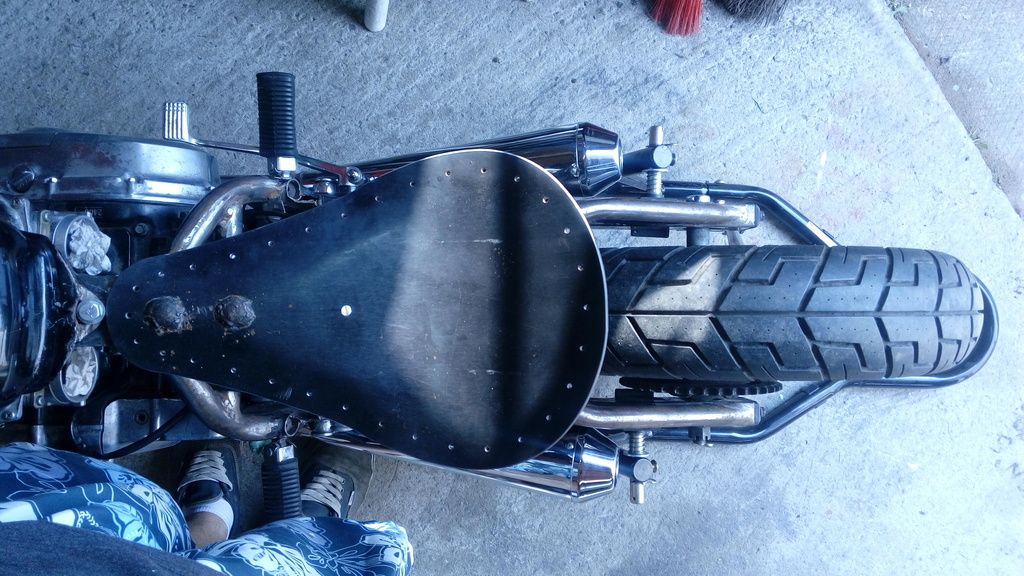
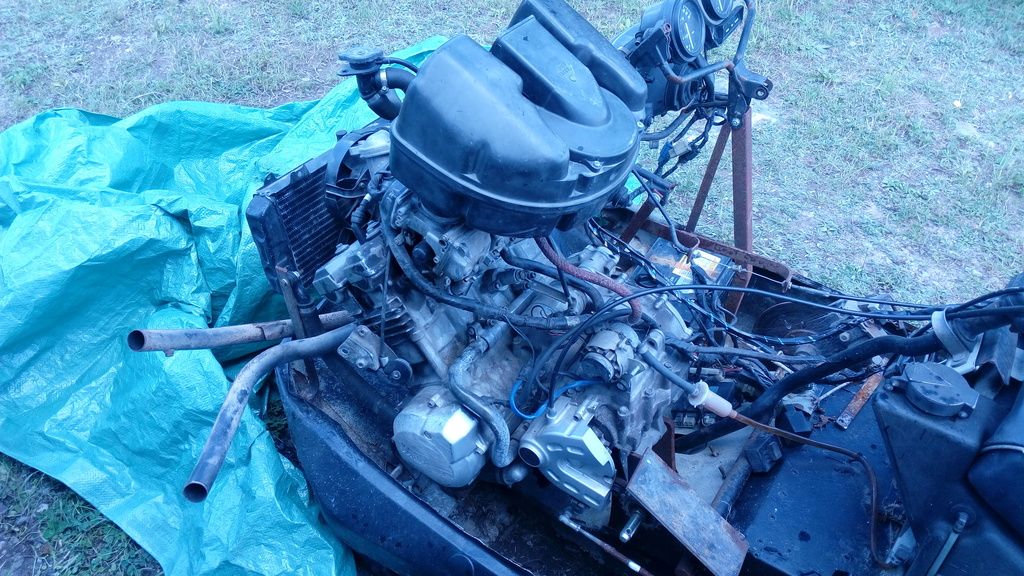
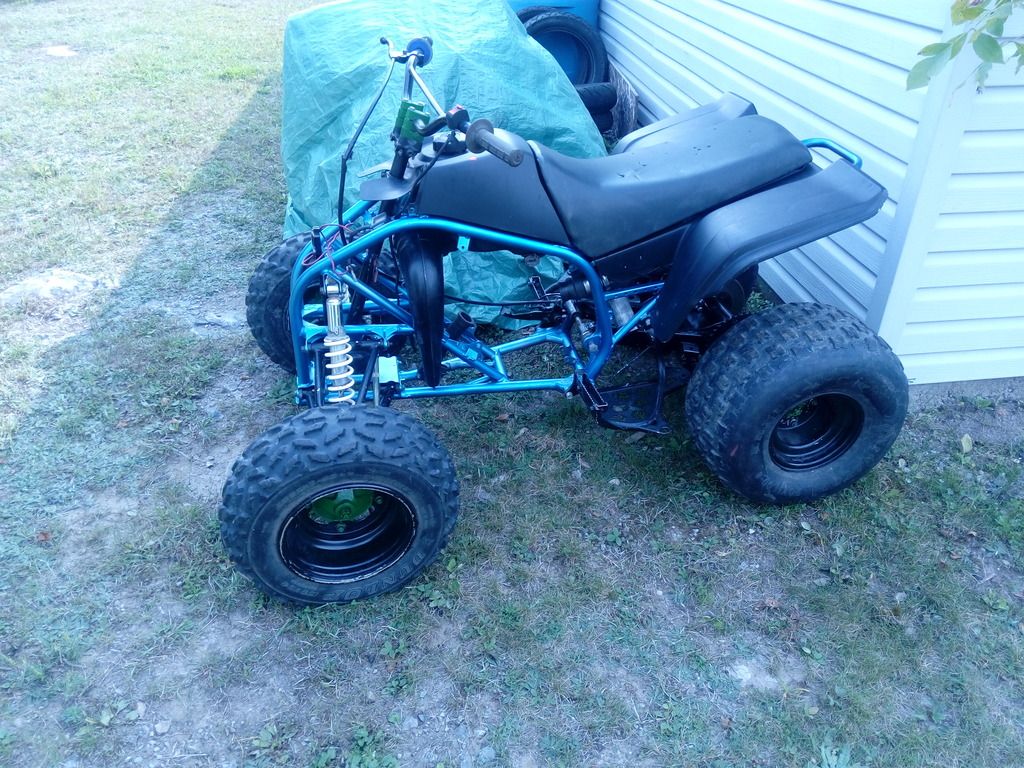
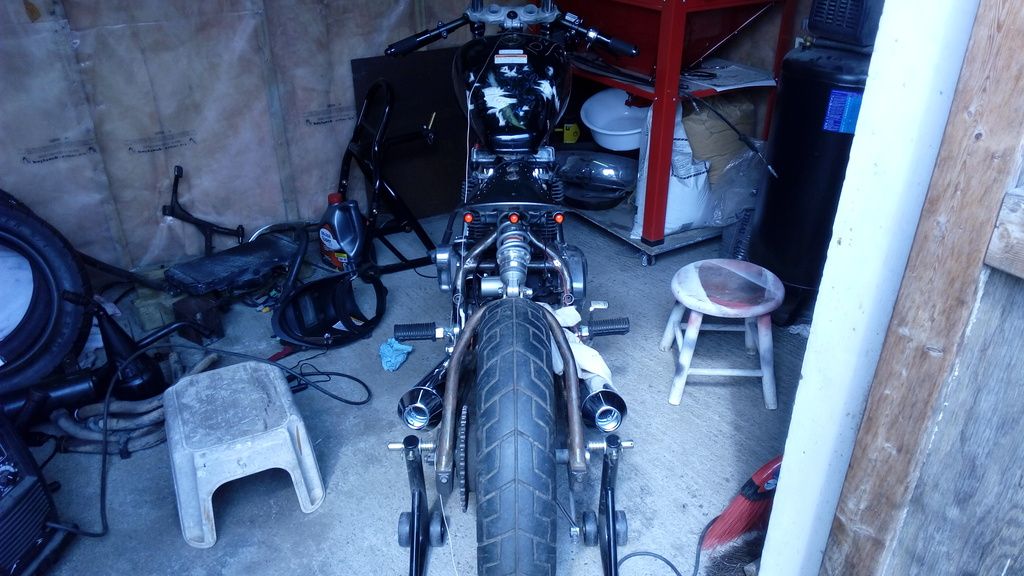
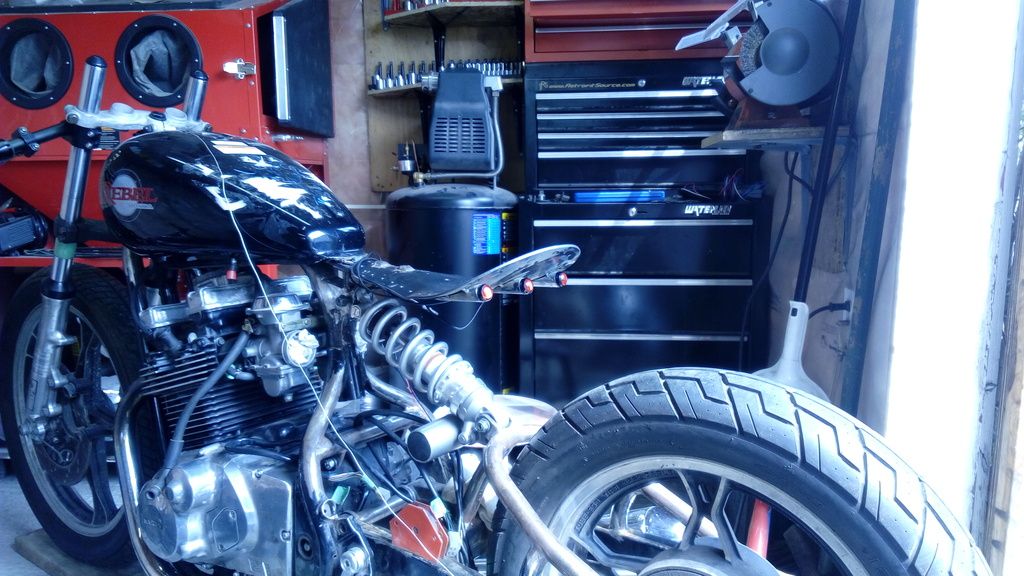
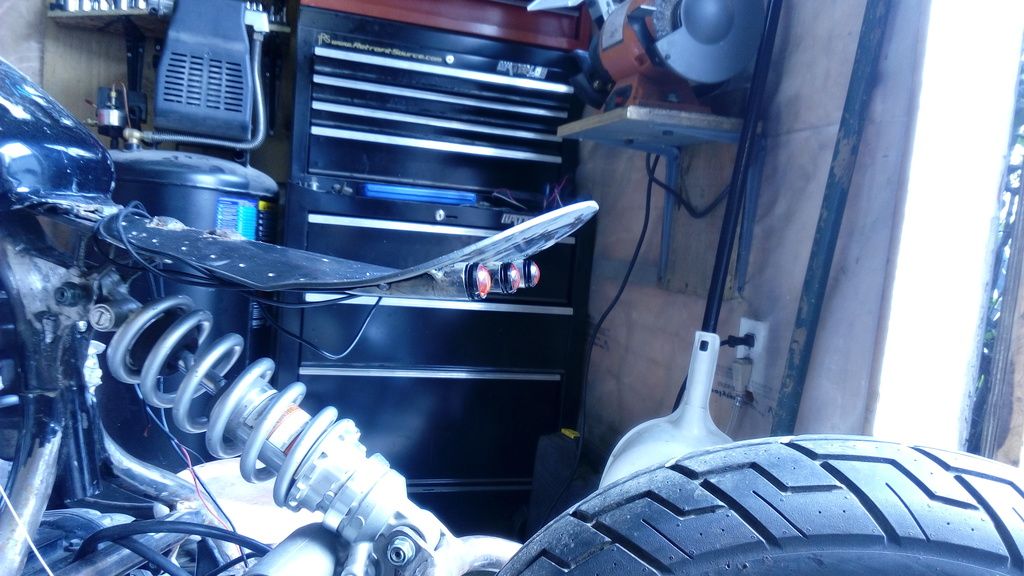
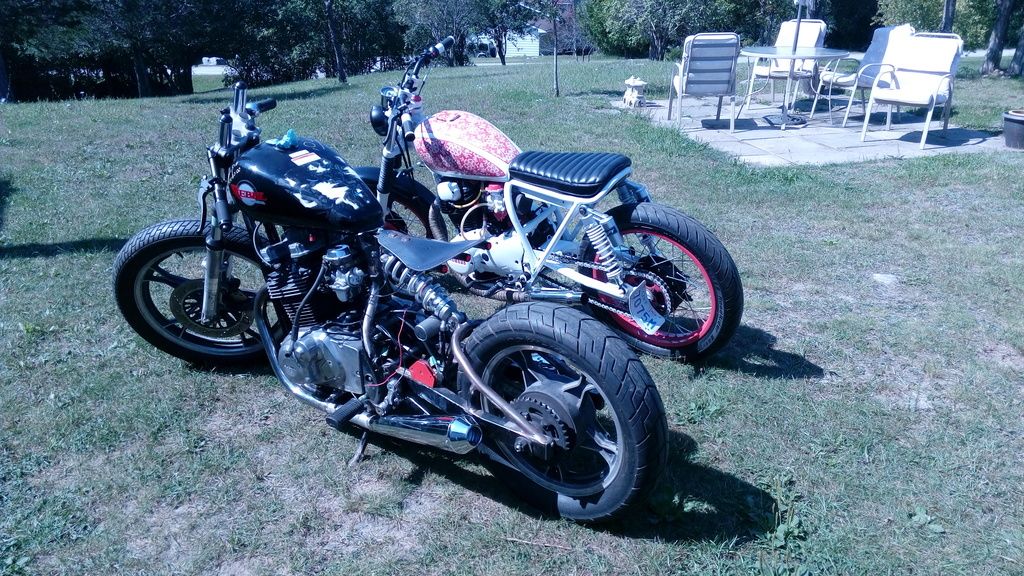
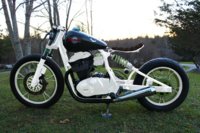
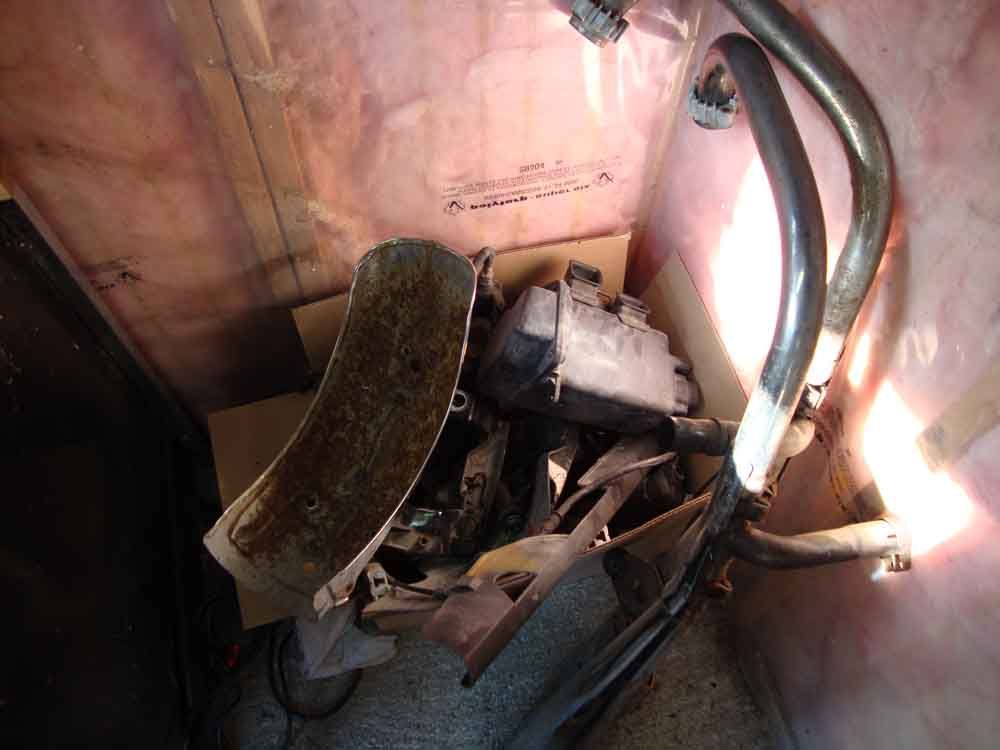
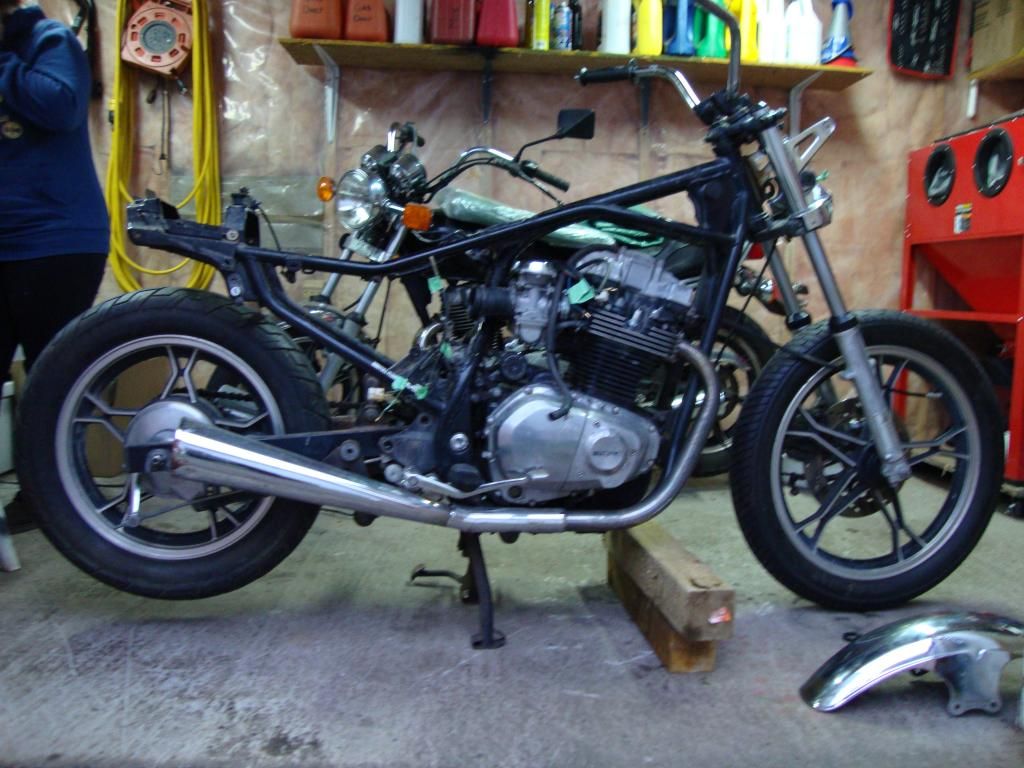
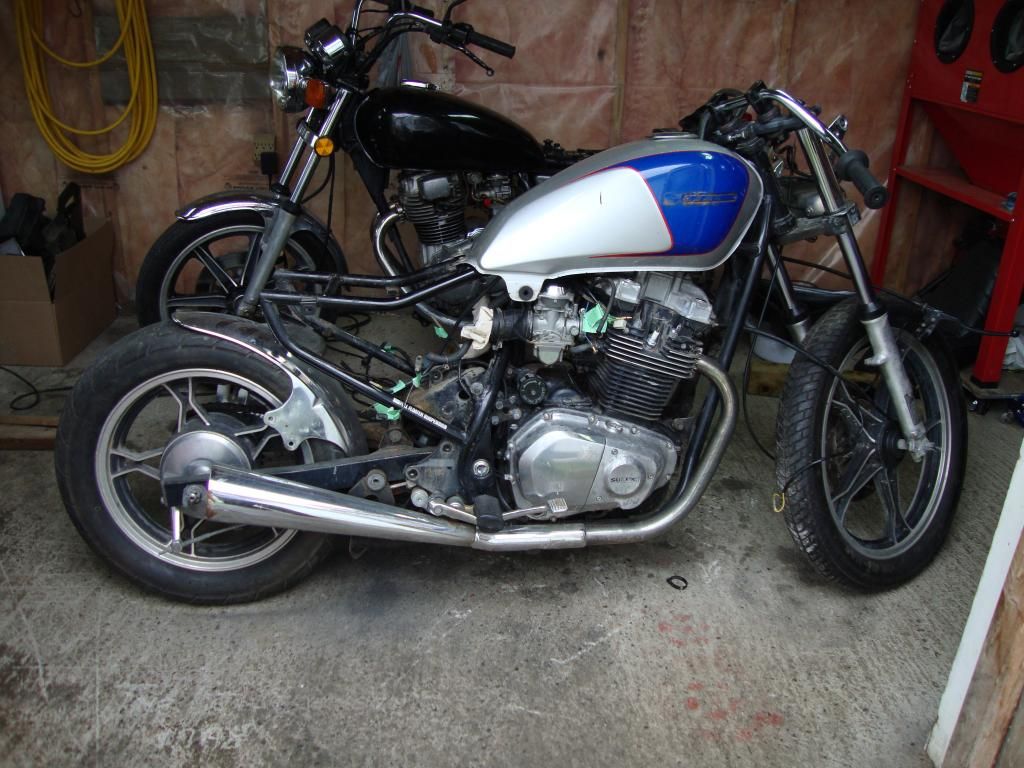
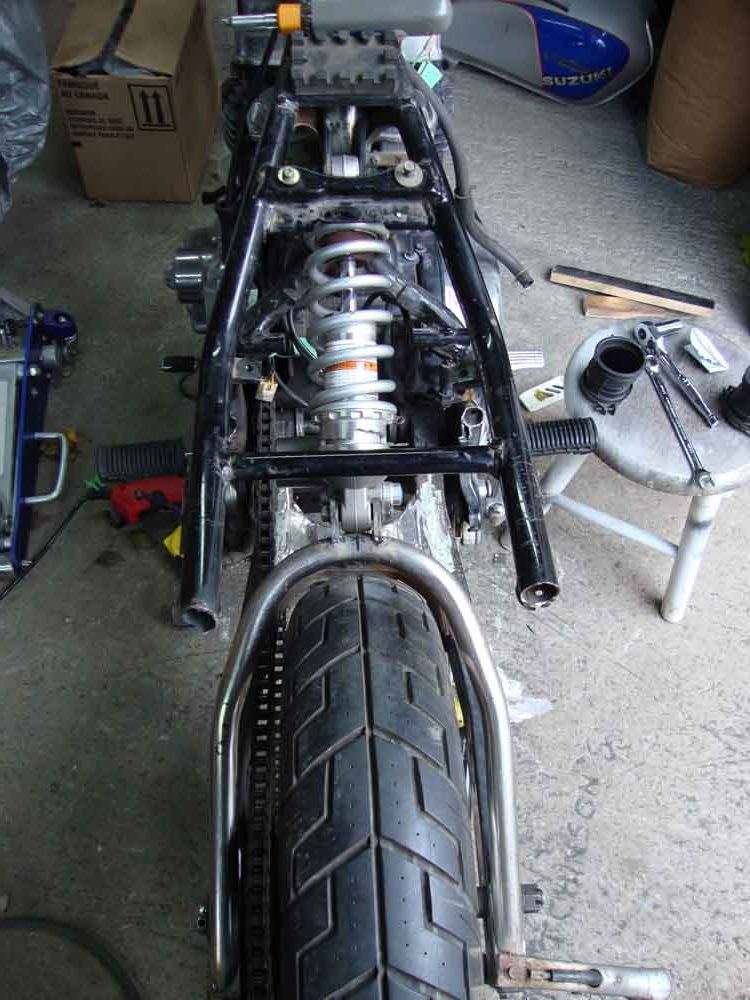
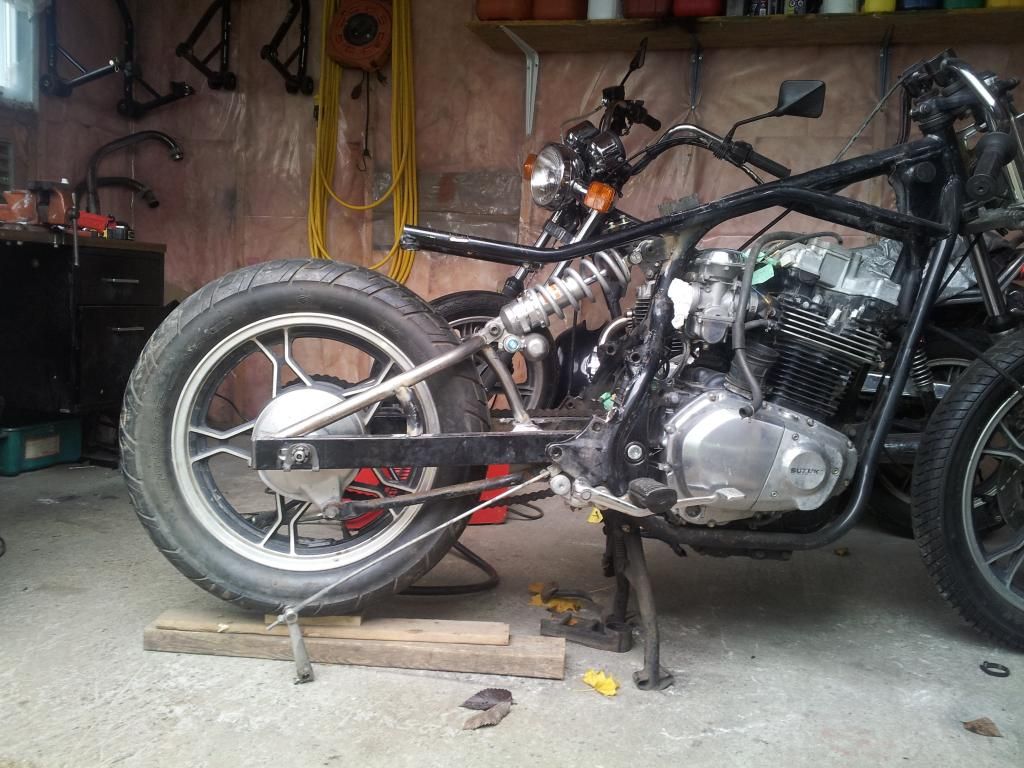
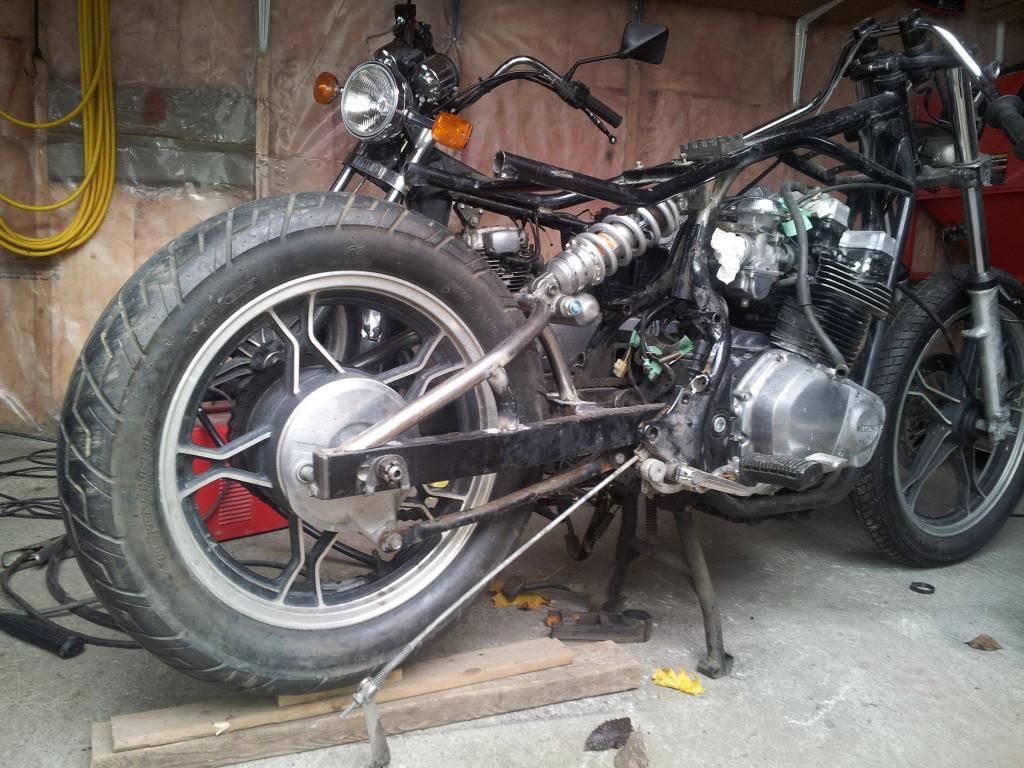
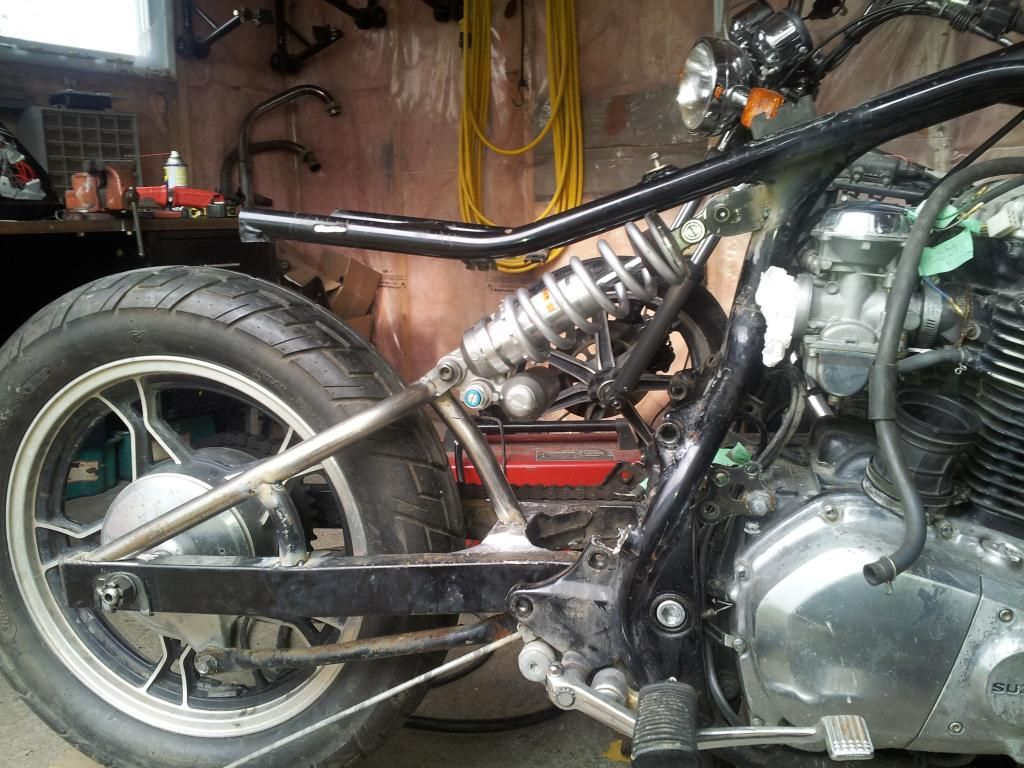
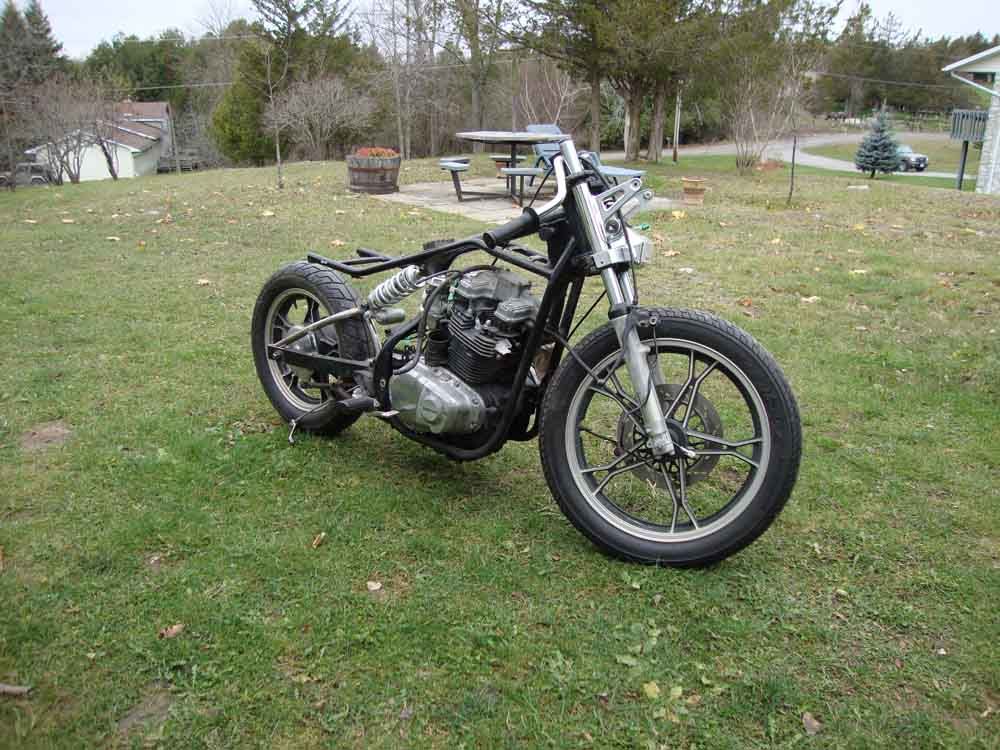
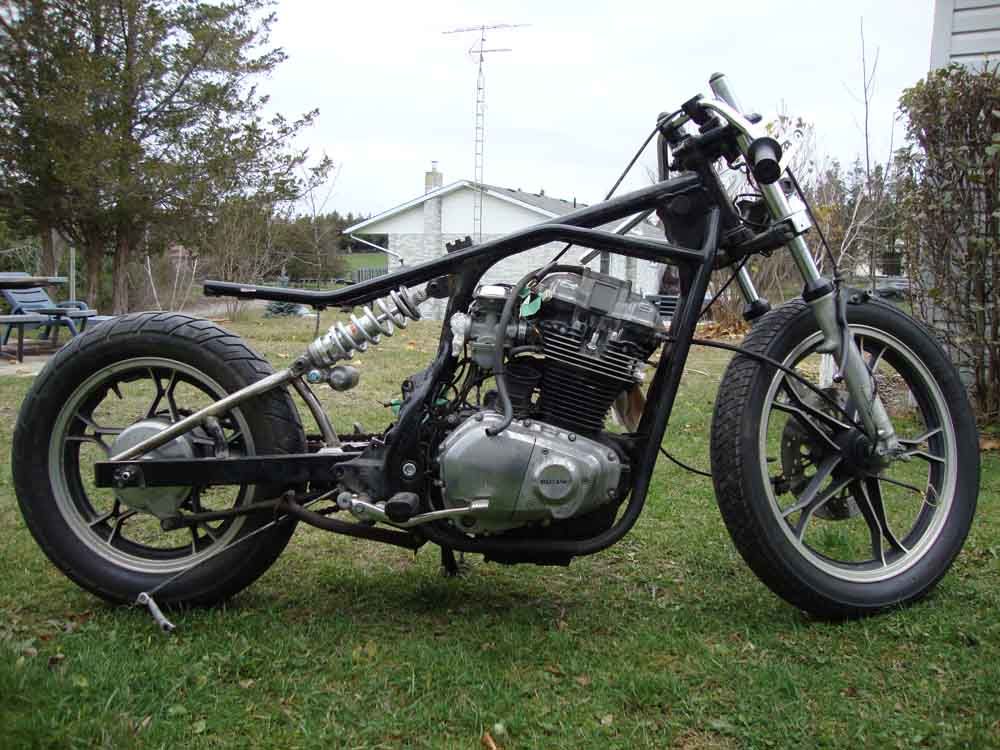
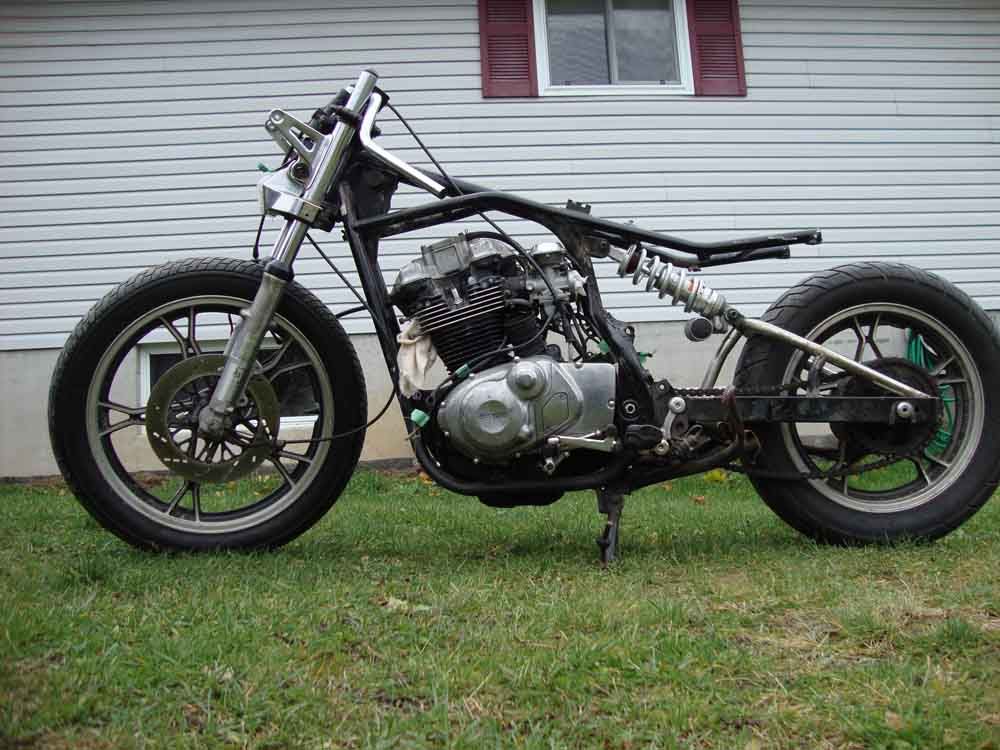
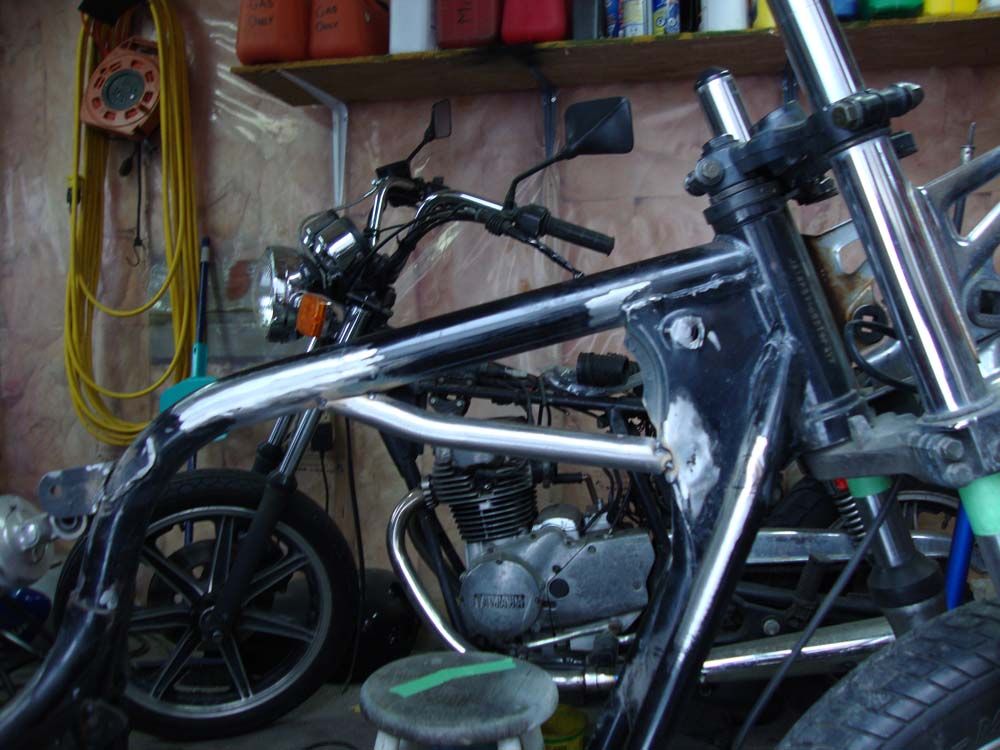
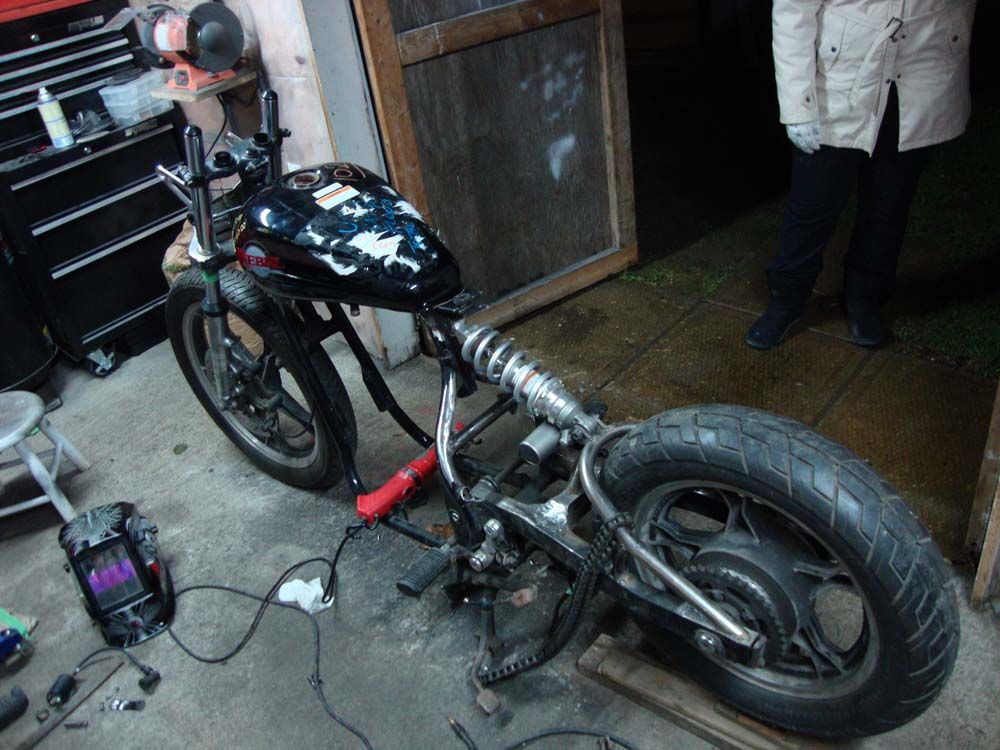
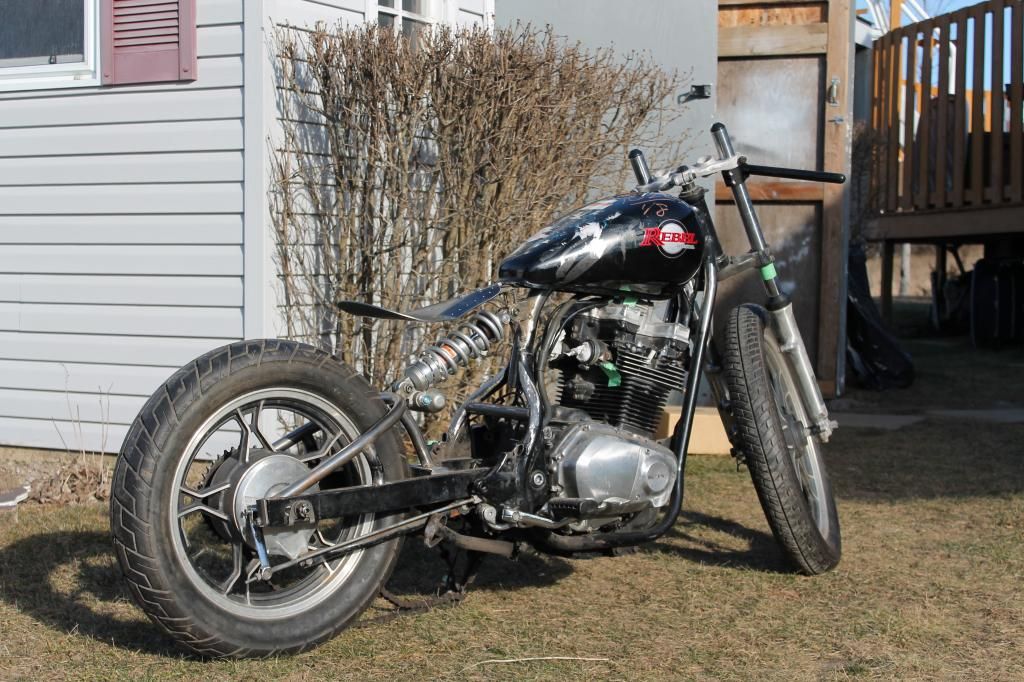
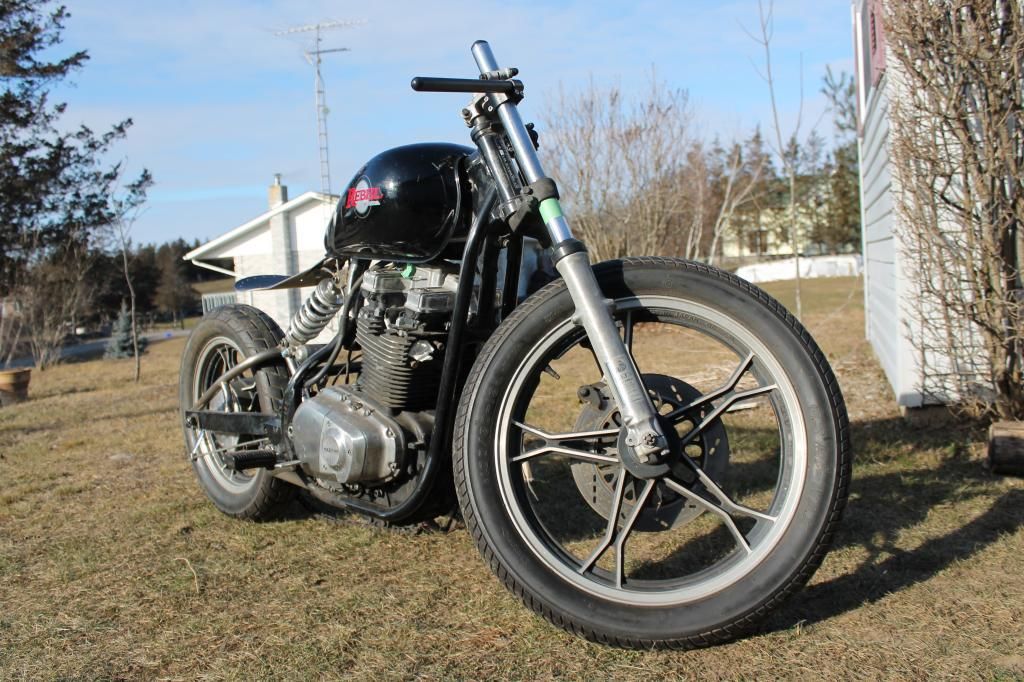
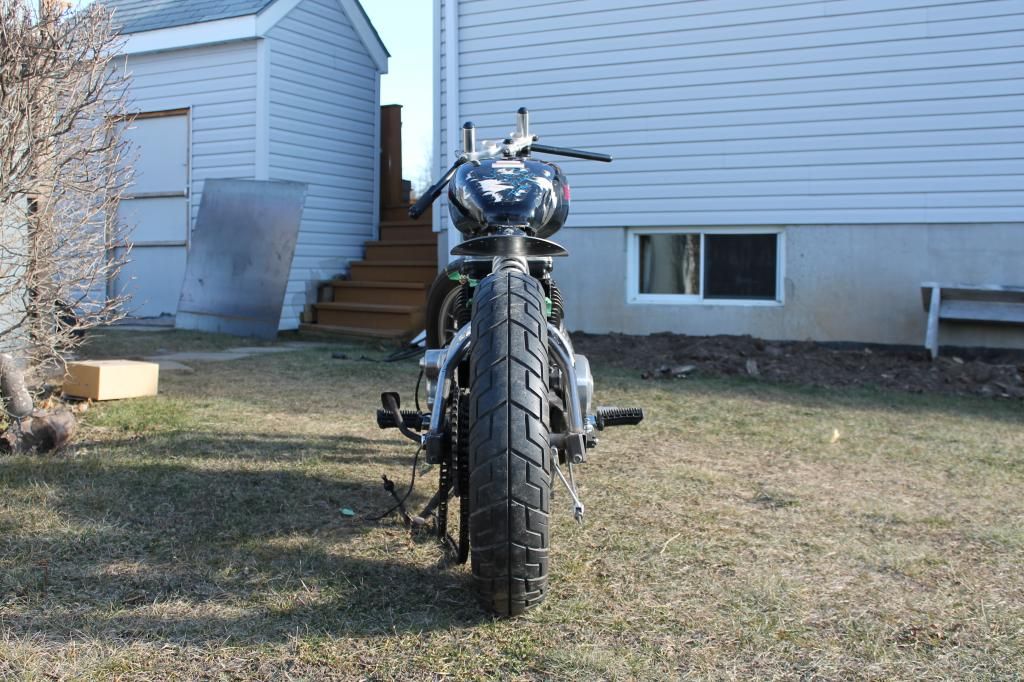
Thought I'd throw this build up here now that I'm done the xs.

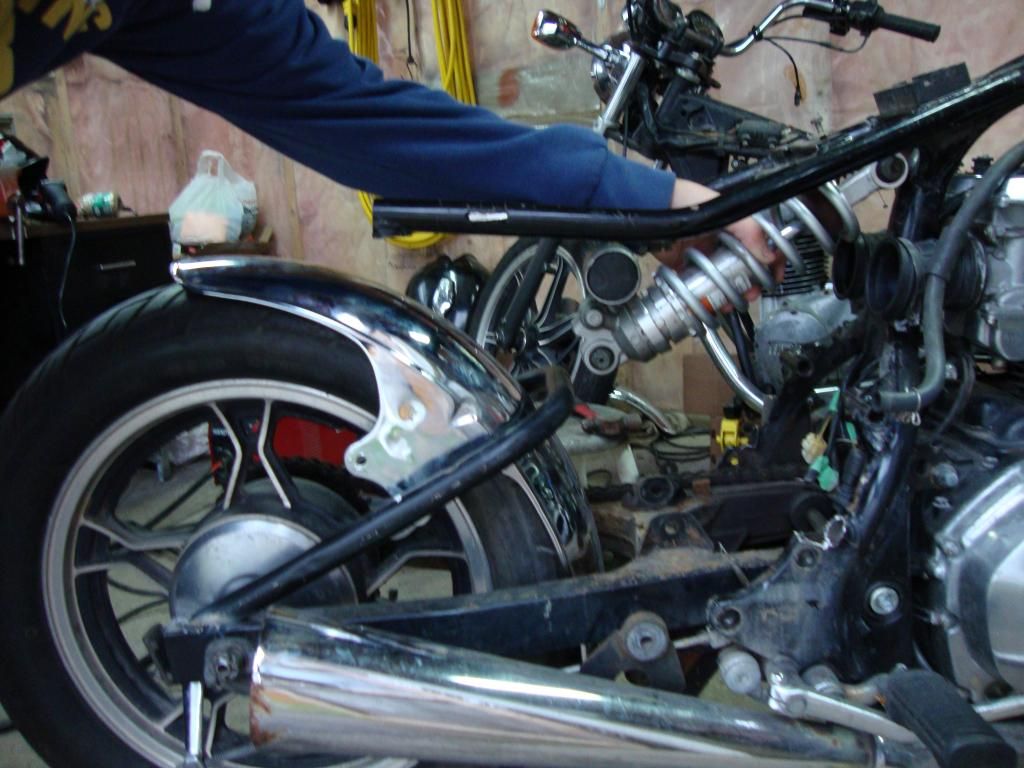
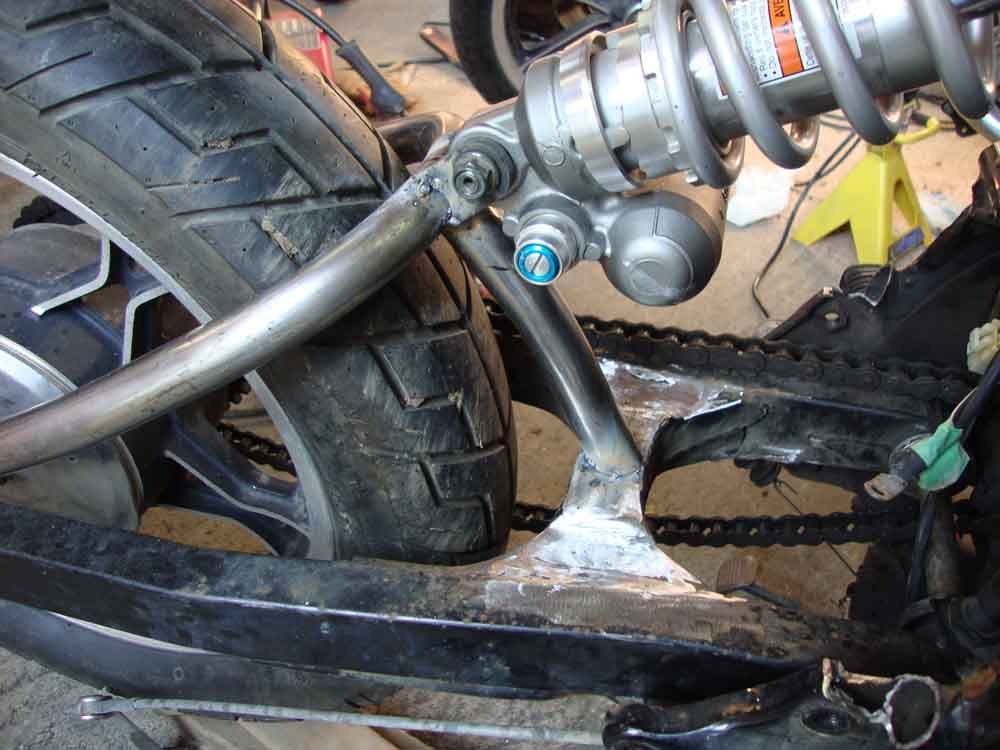
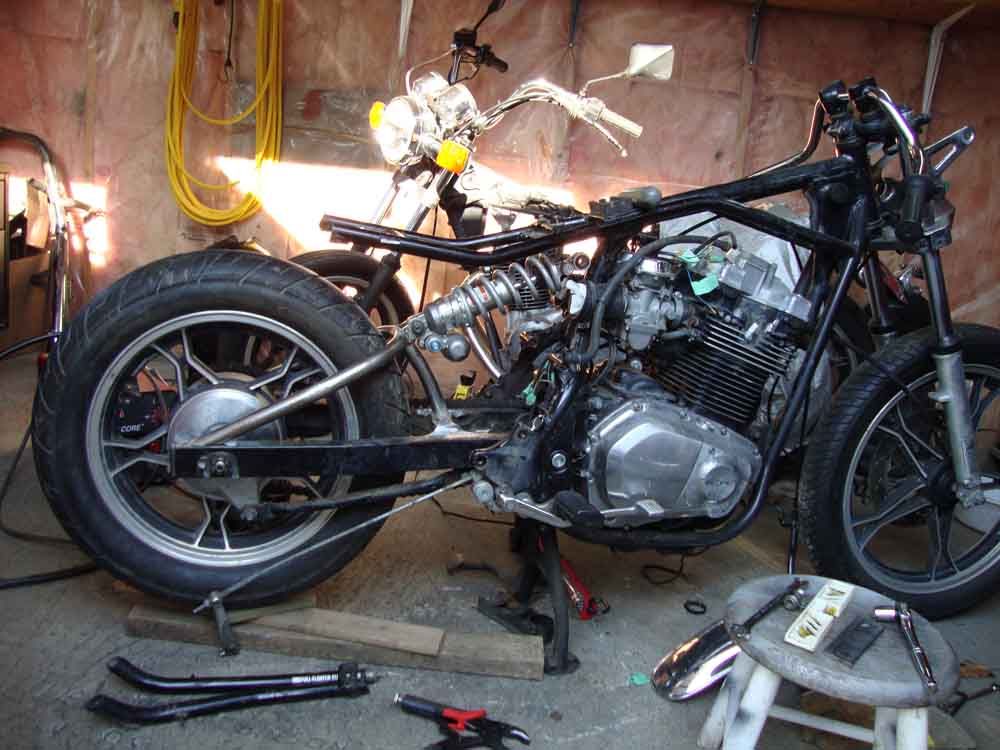
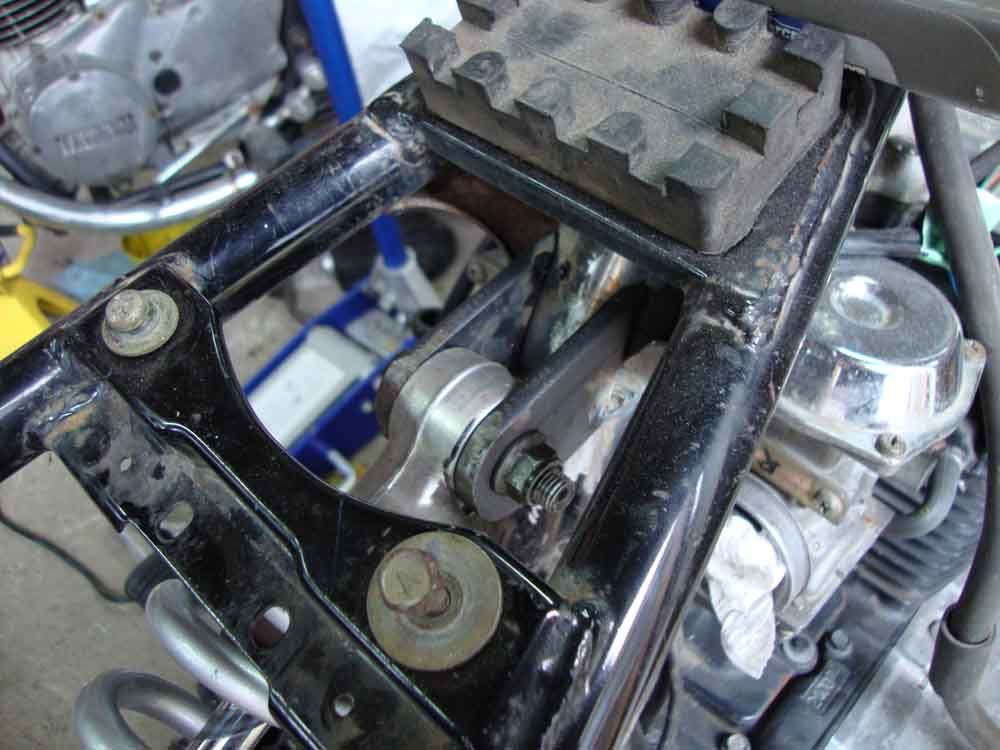
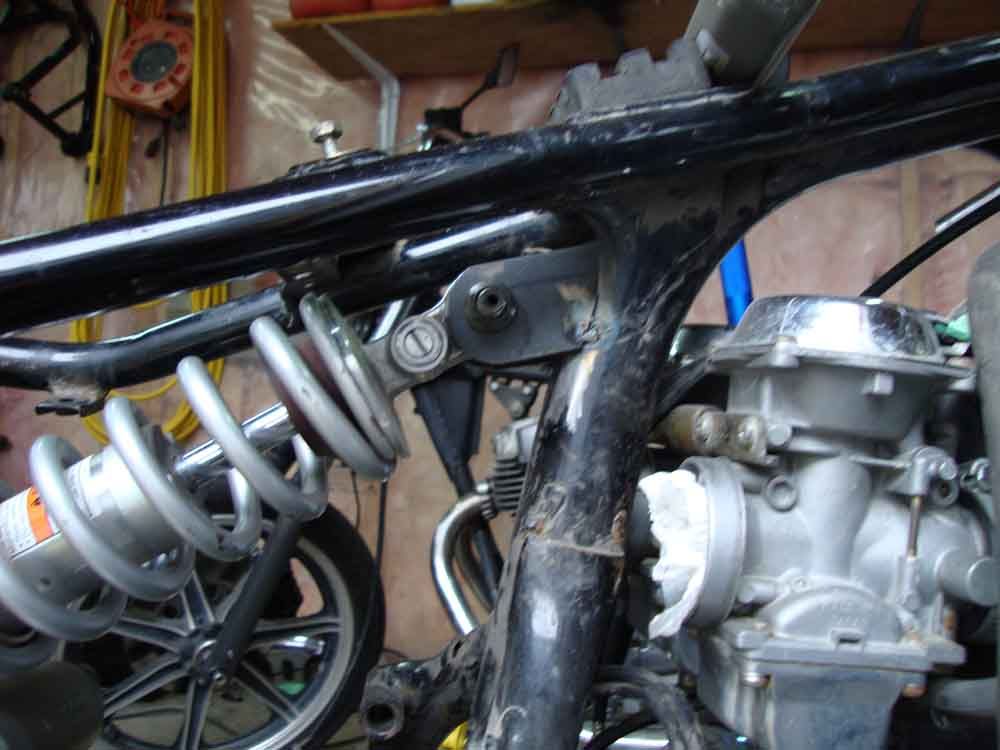
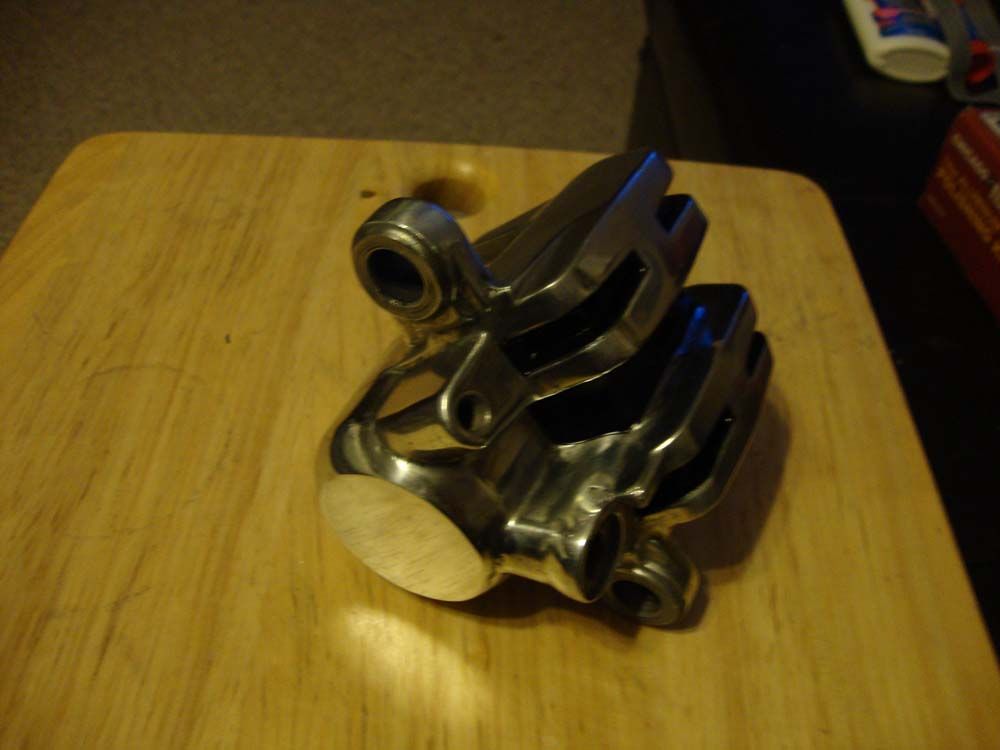
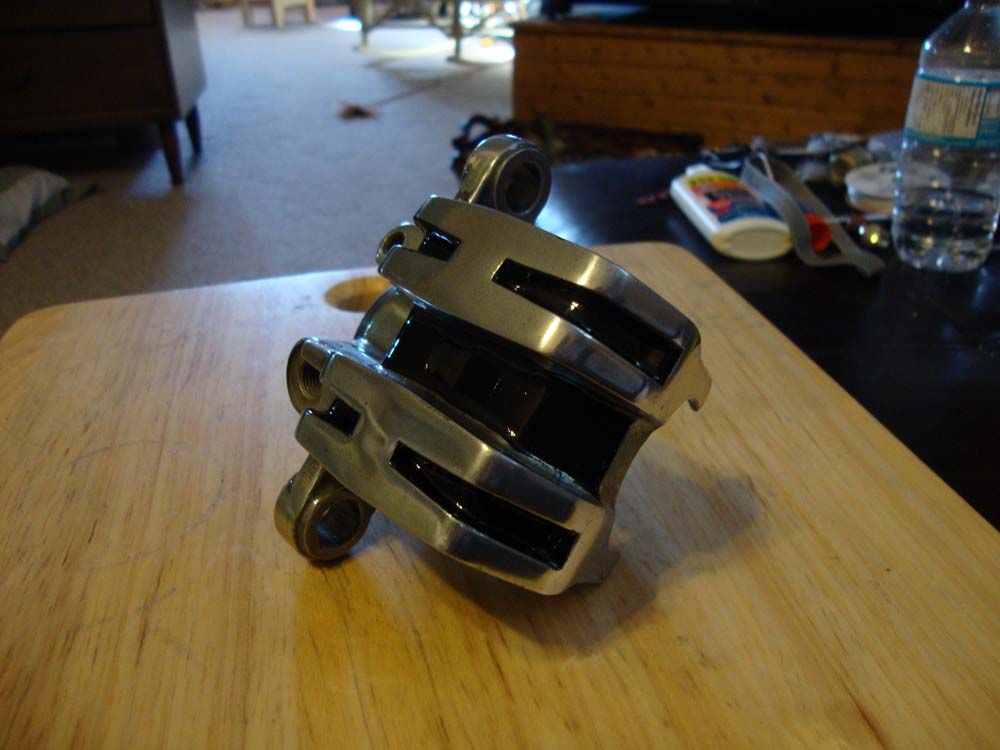
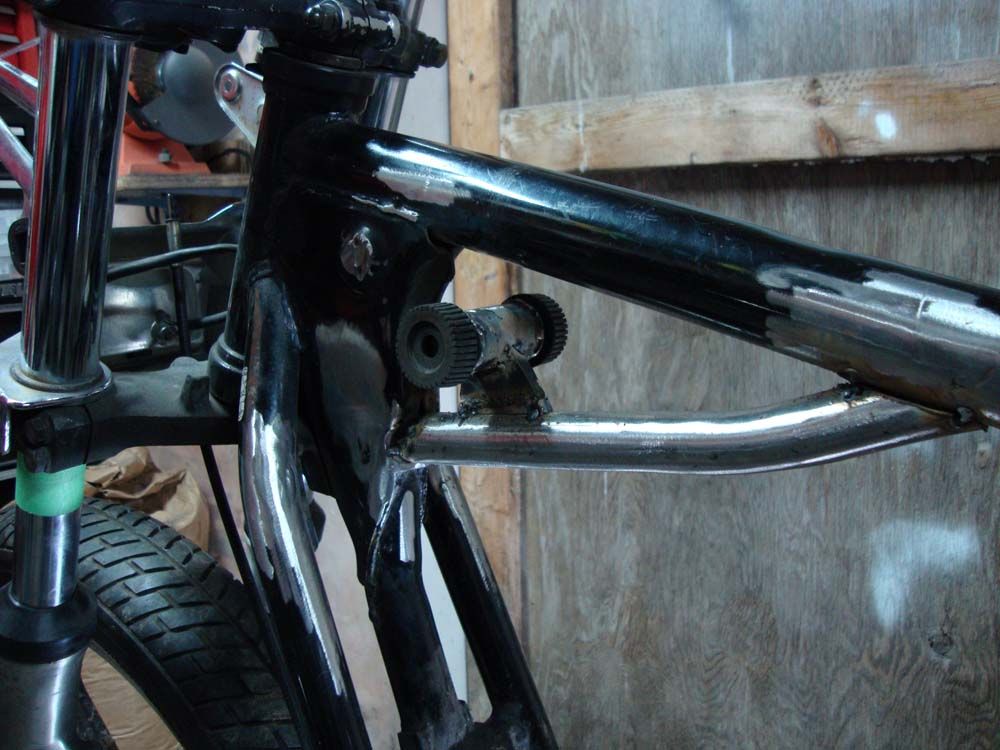
I'll just post up the pics to get caught up to where it is now.

DSC02004_zpsc2cd67e7.jpg


DSC01990_zps7033a5a2.jpg


DSC01996_zpseb743012.jpg


DSC02002_zps9bc3a356.jpg


DSC02008_zpsf43baaaf.jpg


DSC02006_zps31fa7953.jpg


DSC02011_zps7fb5b0b9.jpg


DSC02010_zps9cd21cb6.jpg


DSC02009_zps771c4ca2.jpg


20141107_102153_zpslpmzhadj.jpg


20141107_102205_zpskz7znzco.jpg


20141107_102214_zpsmb82cmff.jpg


DSC02014_zpse742683e.jpg


DSC02016_zps9eda5381.jpg


DSC02020_zps1db65947.jpg


DSC02086_zpsa16a8389.jpg


DSC02085_zps4feb4654.jpg


DSC02089_zps470c651c.jpg


DSC02109_zpsadf11681.jpg


DSC02110_zpsa1785f0d.jpg


DSC02111_zpse515dd97.jpg


DSC02102_zpsbe8db9cd.jpg


DSC02105_zpsb3d69d3c.jpg


DSC02113_zpse05387ed.jpg


DSC02118_zps1b927b6f.jpg


IMG_1691_zpscf89e4ca.jpg


IMG_1689_zpsbceaba2b.jpg


IMG_1697_zpseae39400.jpg
 
So that's where it was up until recently. I stopped after that point to start the xs400 build. Now that I finished that bike up I started to work on mine again. I've since made a few changes to better utilize the space under the tank for hiding wiring and electronics.

I also changed the seat angle since I didn't like how much of an angle it was on before. Shortened the kickstand mount to gain clearance on left corners in a lean and also shortened the kickstand itself.

Changed the tank mounts and a new brace to hold the electronics.

IMG_20150831_100411_zpso0nz1yit.jpg


Welded up new mufflers.

IMG_20150819_134055_zpsy5lwbb2y.jpg


Don't have the mufflers perfect here, still have to make some hangers for them.

IMG_20150831_100917_zpskp6ao3xv.jpg


IMG_20150831_100940_zpszpakjk8m.jpg


However, I've found another project that I'm going to start working on as well so this may get put to the back-burner for a few weeks again.

Shoving this YZF600 motor into this 90's blaster frame.

IMG_20150824_120412_zps3fz3yx4q.jpg


IMG_20150831_101002_zpsvxxt5yak.jpg
 
Cut some tubing to fit my rear brake/turn signals.

The center LED will be dim as tail-light and then full brightness for brake. Outer two will be off normally, full brightness for brake light and flash as turn-signal.

IMG_20150903_140635_zpsndwdzsxb.jpg

IMG_20150903_140643_zpskrtzahkw.jpg

IMG_20150903_140656_zpskzdn3yu8.jpg

IMG_20150903_140759_zpsrkvzjuqb.jpg
 
cool idea for tail lights! Shop 102 has some cook custom LED tail lights that would look sick on there... they are a bit pricey tho
 
I love the seat/rear end profile you're developing. How strong is the seat pan as-is? Does it need any more reinforcement to take a rider's weight?
 
The pan itself is 10 gauge. When you push down on the very back of it with all your might it's the pan itself that only slightly flexes. It's also bent at the sides for leg comfort which adds some rigidity to it over just a flat pan. The seat mount on the frame has no give to it, it's strong. It is 1/4" flat stock with 1/4" round stock as supports. For it to bend it would have to first break or bend the round stock as well as the flat stock. It should hold up no problems.

For the seat pan I took carriage bolts, hammered them down into the mounting holes, tightened the bolts down with a nut and then welded the tops of the bolts to the pan so they're never going to come out or pull through.

I'll get some pictures of the seat mount area as I don't think I really put any up.
 
Last edited:
About flippin' time on those pics! Nice work there, I like the tail light solution too. Good fabrication on the monoshock mounting. Is that an R1 shock (as it's marked)? Should be fine, I probably would have used a shock made specifically for a non-rising rate linkage swingarm. You will have no issues with it most likely. Show us more!
 
The pan itself is 10 gauge. When you push down on the very back of it with all your might it's the pan itself that only slightly flexes. It's also bent at the sides for leg comfort which adds some rigidity to it over just a flat pan. The seat mount on the frame has no give to it, it's strong. It is 1/4" flat stock with 1/4" round stock as supports. For it to bend it would have to first break or bend the round stock as well as the flat stock. It should hold up no problems.

Groovy, that's going to look super elegant then.
 
Is that an R1 shock (as it's marked)? Should be fine, I probably would have used a shock made specifically for a non-rising rate linkage swingarm. You will have no issues with it most likely. Show us more!

It is an R1 yes, from an 06.

I needed to go with one like that as it had the reservoir mounted in that location but it is adjustable for both compression and rebound.

I can change the spring out later if needed.
 
Once I get the wiring and everything done I'll put up a video for sure. I'm currently lengthening the frame on the blaster to fit the YZF600 engine so this bike is on hold for a few days at least.
 
Photobucket seems down right now so no pics loading or uploading.

Anyway, I'm going with a green/white theme on my bike. The white is going to be either metallic "Heavy White" powder or "Pearlescent White" with a green shimmer pearl clear. The green is "Granny Smith Sparkle" metallic powder.

I'm not sure which of the wheels I like more so was looking to see what you guys thought.

White inside/green out or vice versa?

Here is the granny smith green

https://www.powderbuythepound.com/images/D/GRANNYSMITHGLASSWEB2-01.jpg

And how the white and green pearl clear will look


Attachments

  • one.jpg
    one.jpg
    293.5 KB · Views: 177
  • two.jpg
    two.jpg
    295.4 KB · Views: 152
Back
Top