-
Enjoy XS400.com? Consider making a donation to help support the site.
XS400.com receives a small share of sales from some links on this page, but direct donations have a much greater impact on keeping this site going.
You are using an out of date browser. It may not display this or other websites correctly.
You should upgrade or use an alternative browser.
You should upgrade or use an alternative browser.
New to Yamaha
- Thread starter BotterbrodtGE
- Start date


BotterbrodtGE
XS400 Enthusiast


Thinking of pair of longer rear shocks and these caught my eye. I want some more height and I figure these could do the trick
14.75" 375mm Pair Front Shocks Absorber Replacement For Yamaha Banshee ATV

Description:
It is brand new motorcycle shock absorber set with original package.
400mm (15.75") total length
375mm (14.75") eye to eye
Eye Diameter: 10mm or 12mm ;
Eye thickness : 21mm; a little narrow;
Spring thickness: 7mm
Spring Width: 60mm(2.4")
Working stroke: 68mm
It can be adjusted in length 1" (25mm)
The eye of shock has tensile strength more than 2,000kgf;
Max loading: 600 lbs/a pair;
OR
13.5" 340mm RFY Air Shock Absorbers For Yamaha VMAX Suzuki GS500 Honda CB 500
100% Brand new in original packaging, never been tried on or used
The package will come with a complete pair (2pcs) RFY air gas shocks absorbers
370mm (14.4/8") total length
340mm (13.3/8") eye to clevis
Eye Diameter: 12mm or 14mm;
Eye thickness : 21mm
Spring thickness: 7mm
Working Stroke: 68mm
Spring Width: 50mm (2")
The eye of shock has tensile strength more than 2000 kgf
Spring Weight: 220kg
Pressure can be adjusted by springs or air (nitrogen
What do you guys think about these at a cost of $140 OR $110 for the shorter. I'm 6'4 217lbs and I need something that won't bottom out with me on it but the Girlfriend is going to learn how to ride on this thing, she's 5'10 slim build (never post a girls weight
 ) I guess I'm asking for specs on the shock mounts on a 1980 xs400sg and if the 14.75 will be too long? I've searched but haven't found a definite answer.
Last edited:
CDNTX650
XS400 Enthusiast
Clutch pull is pretty light on these. Bet its half of my 650.
BotterbrodtGE
XS400 Enthusiast
I have a feeling I'm going to have to pull the clutch apart of the new cable doesn't help.
BotterbrodtGE
XS400 Enthusiast
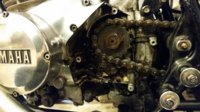
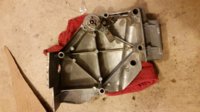
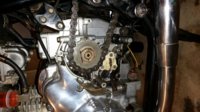
Worked on the bike today. Installed a new clutch cable and cleaned up the front sprocket area.
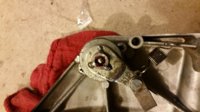
I think my clutch problems came from the ball bearing part being gunked up with 30 year old grease. Cleaned it out and new high temp grease and it's good to go.
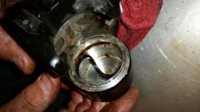
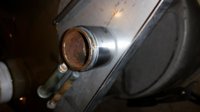
Also rebuilt the front caliper. All gunked up but now cleaned and reassembled. Not holding pressure in that I need to pump the front brake to get it to stop. And silly me I forgot to order brake pads. So hunting tomorrow as well as new fork oil tomorrow.
I think my clutch problems came from the ball bearing part being gunked up with 30 year old grease. Cleaned it out and new high temp grease and it's good to go.
Also rebuilt the front caliper. All gunked up but now cleaned and reassembled. Not holding pressure in that I need to pump the front brake to get it to stop. And silly me I forgot to order brake pads. So hunting tomorrow as well as new fork oil tomorrow.
Attachments
-
 uploadfromtaptalk1414797229895.jpg175.5 KB · Views: 278
 -
 uploadfromtaptalk1414797254774.jpg139.6 KB · Views: 259
 -
 uploadfromtaptalk1414797284314.jpg192.1 KB · Views: 270
 -
 uploadfromtaptalk1414797323957.jpg135.1 KB · Views: 262
 -
 uploadfromtaptalk1414797349677.jpg206.2 KB · Views: 258
 -
 uploadfromtaptalk1414797375739.jpg182.1 KB · Views: 264
 -
 uploadfromtaptalk1414797399248.jpg89.3 KB · Views: 266
BotterbrodtGE
XS400 Enthusiast
Tracked down some "new" brake pads. Installed and the brakes are feeling great. Then proceeded to my next project.

New fork oil. Added 150ml and the forks still feel soft for me but I'm used to my newer performance forks on my Triumph so maybe that's how it'll work.
Here's my sweet suspension system to keep the front of the bike up for the fork oil change.


Looks like I need a coter pin.

Also going to need to replace the nuts on the axle pinch side since one is missing.
And the fun for today.


Finally got my Tapatalk figured out with pictures. I'm liking how this is working out.
New fork oil. Added 150ml and the forks still feel soft for me but I'm used to my newer performance forks on my Triumph so maybe that's how it'll work.
Here's my sweet suspension system to keep the front of the bike up for the fork oil change.
Looks like I need a coter pin.
Also going to need to replace the nuts on the axle pinch side since one is missing.
And the fun for today.
Finally got my Tapatalk figured out with pictures. I'm liking how this is working out.
Last edited:
Be sure to follow the break-in procedure or you will be disappointed with these pads. I thought I had mine properly broken in, and found the performance uninspiring. After I repeated the procedure this summer, the pads have worked better and rotor wear has virtually disappeared. 1 finger stopping for daily riding and 2 fingers for hard stops are what to expect from these pads when properly broken-in.
BotterbrodtGE
XS400 Enthusiast
I make sure I go through the break-in, thank you.
Hopefully at the end of the month I'll be painting the take and side covers. Going with a pearl white and some factory style pin striping.
Hopefully I'll have pics and a great outcome
Hopefully at the end of the month I'll be painting the take and side covers. Going with a pearl white and some factory style pin striping.
Hopefully I'll have pics and a great outcome
Sesty
H.E. Pennypacker
looks great
BotterbrodtGE
XS400 Enthusiast
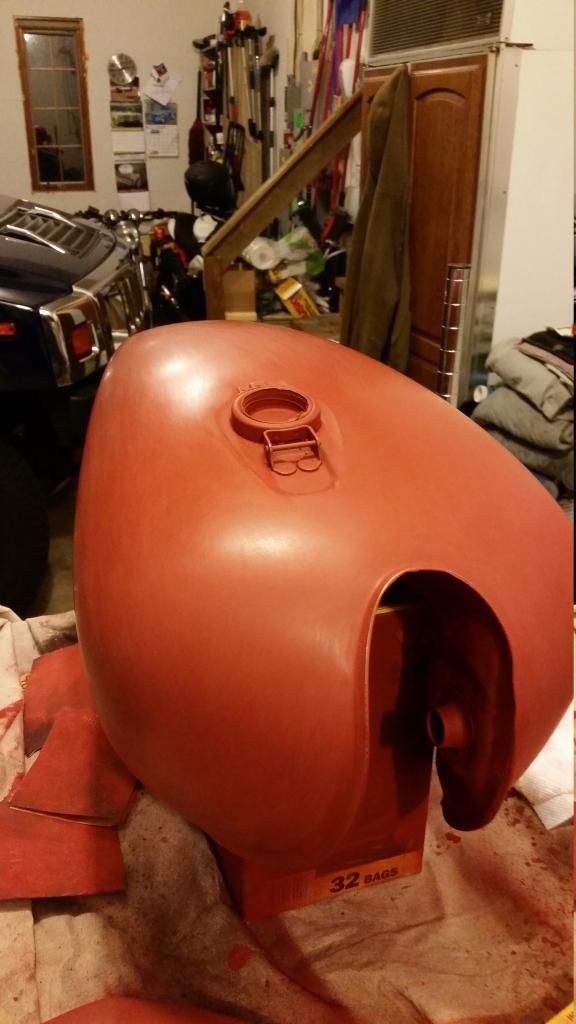
Laid some paint this weekend with the help of my dad.
Started with removing the badges and staring at the dents along the one side.
Then did a chemical strip of the paint.
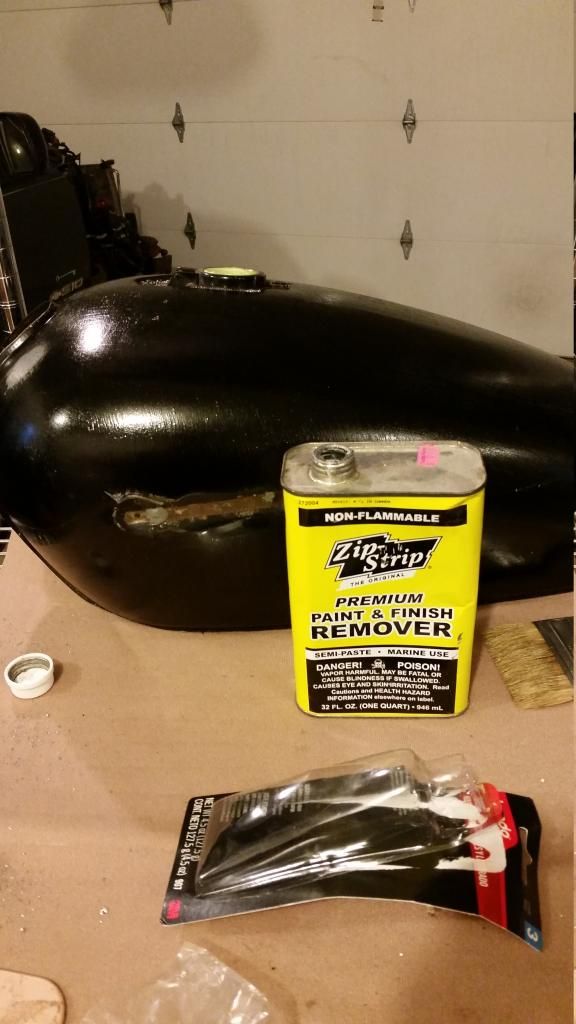


Then time to fill the badge reliefs and dents.
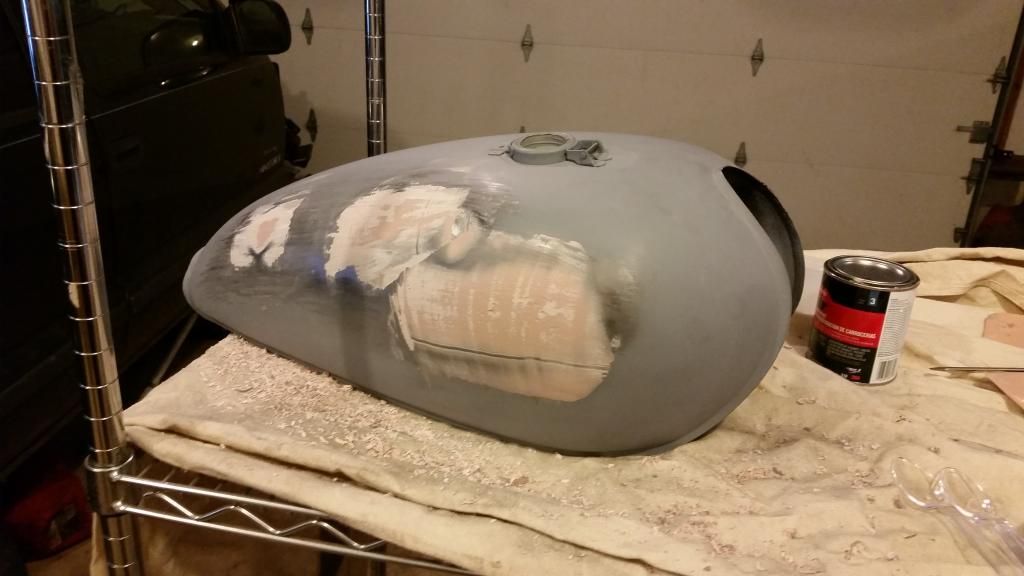
Then moved onto glazing putty and filler primer with lots of sanding.
To be continued...
Started with removing the badges and staring at the dents along the one side.
Then did a chemical strip of the paint.
Then time to fill the badge reliefs and dents.
Then moved onto glazing putty and filler primer with lots of sanding.
To be continued...
BotterbrodtGE
XS400 Enthusiast
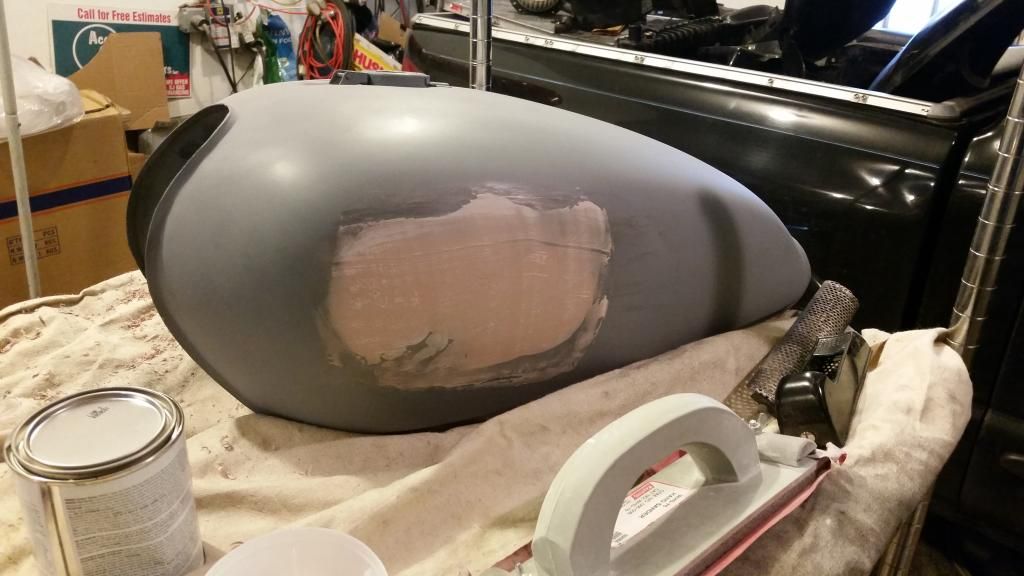
Filler primer for the next step and a good amount of wet sanding.
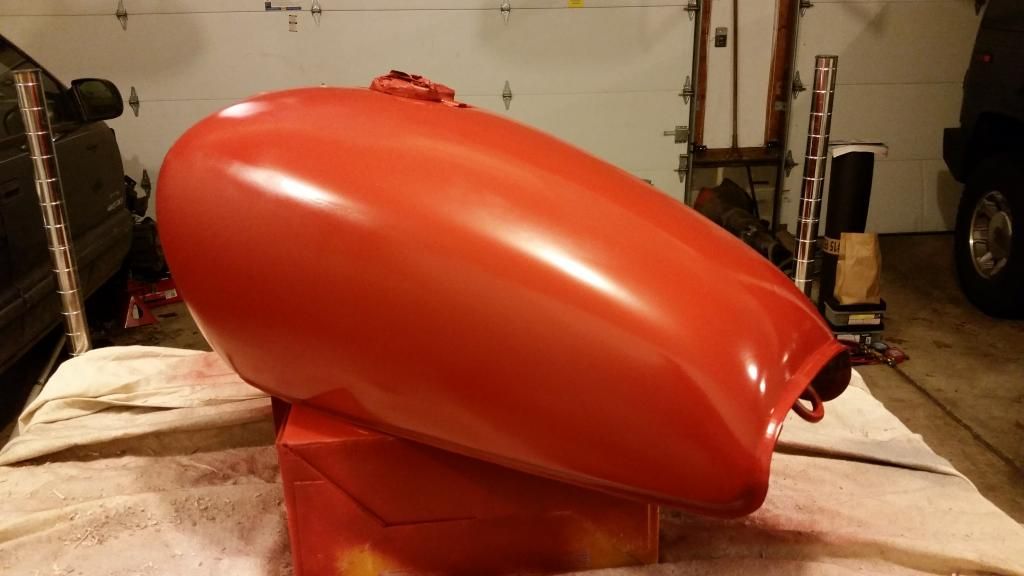
Then time to seal once it was smooth.
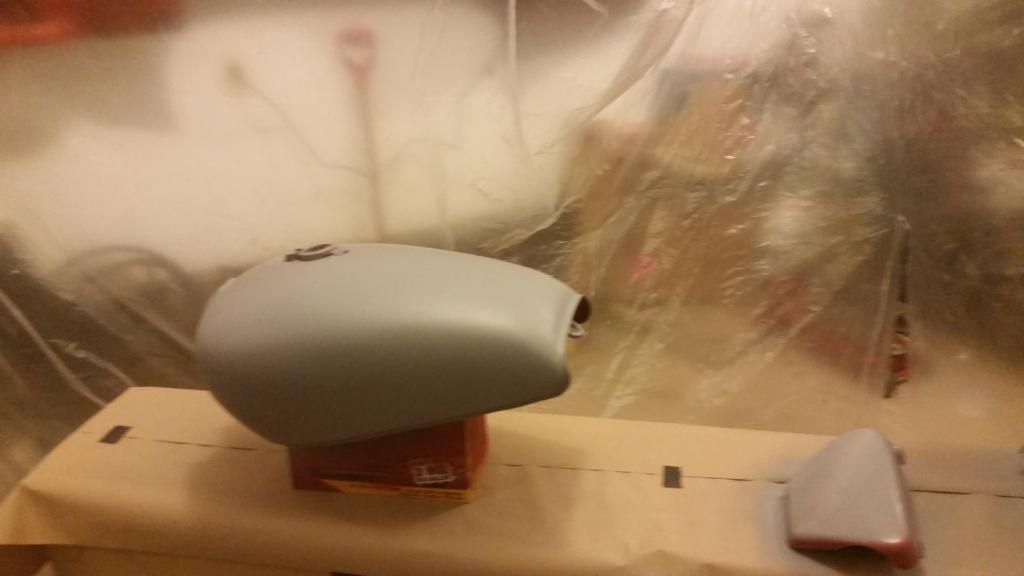
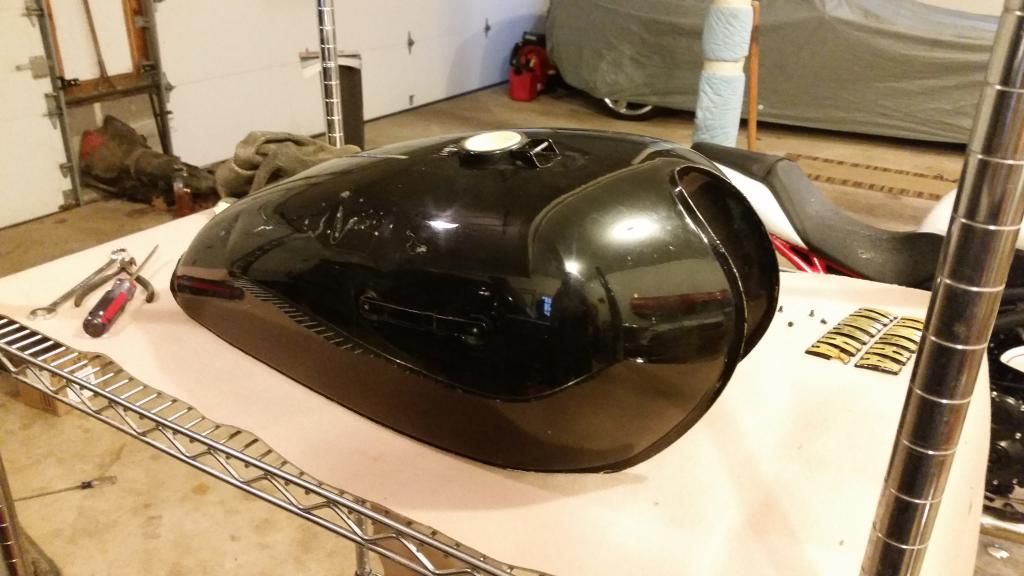
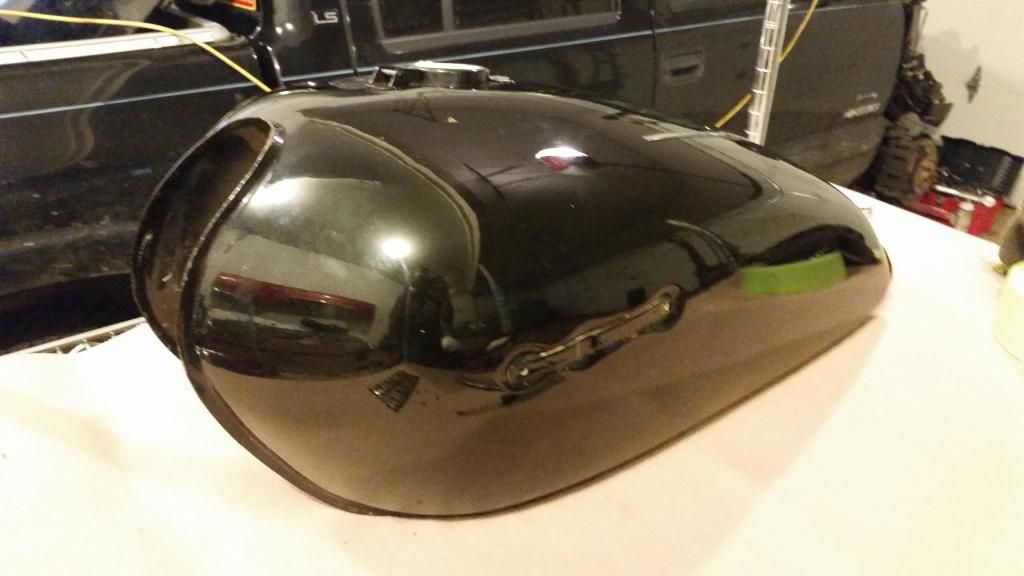
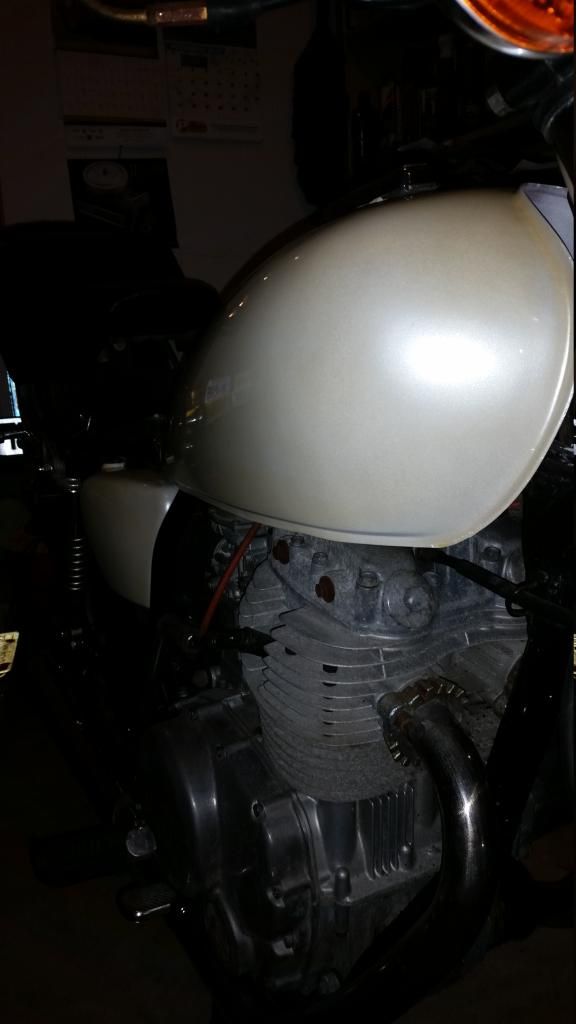
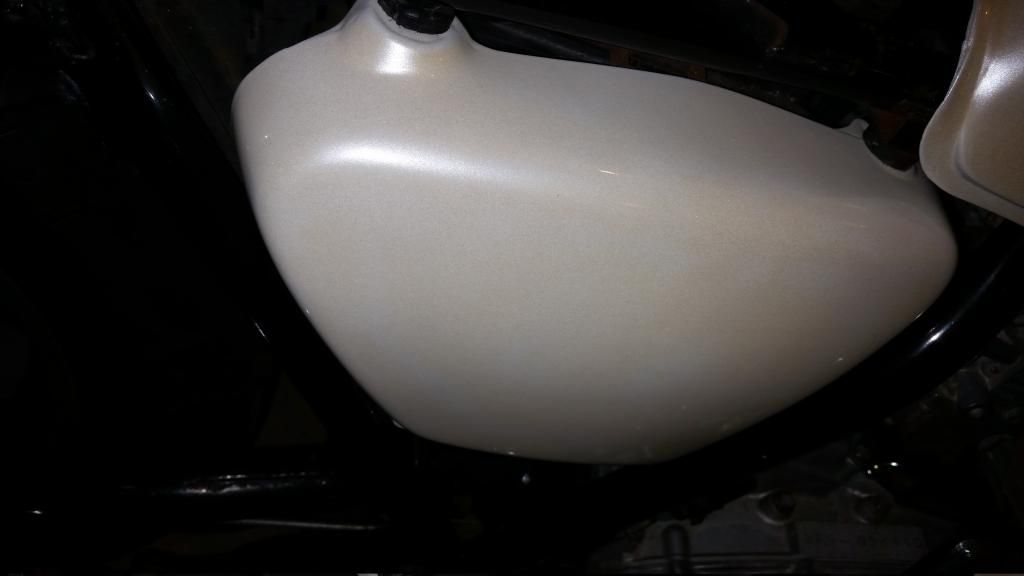
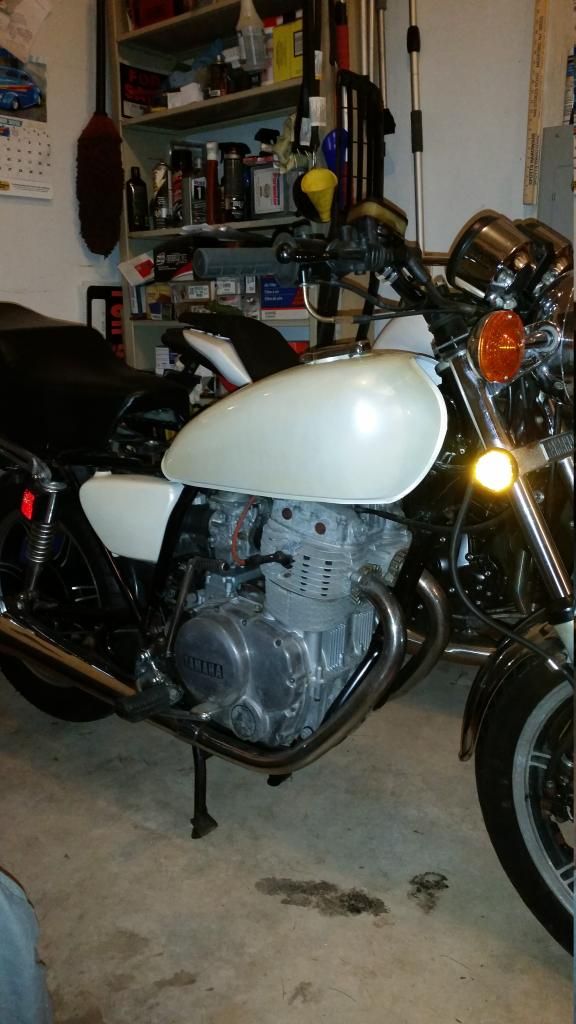
After that was a white base coat and then a coat of House of Kolor Snow White Pearl
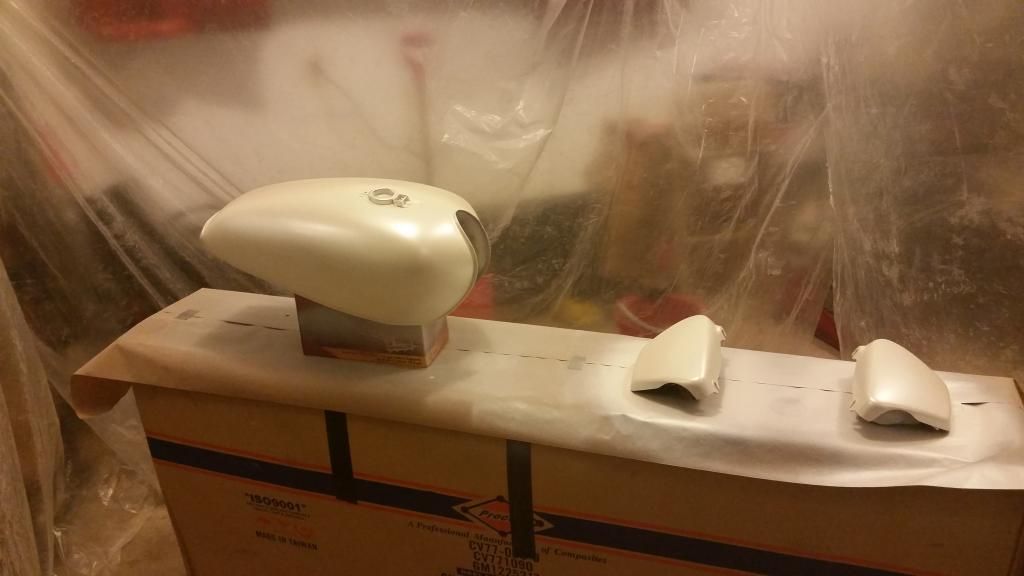
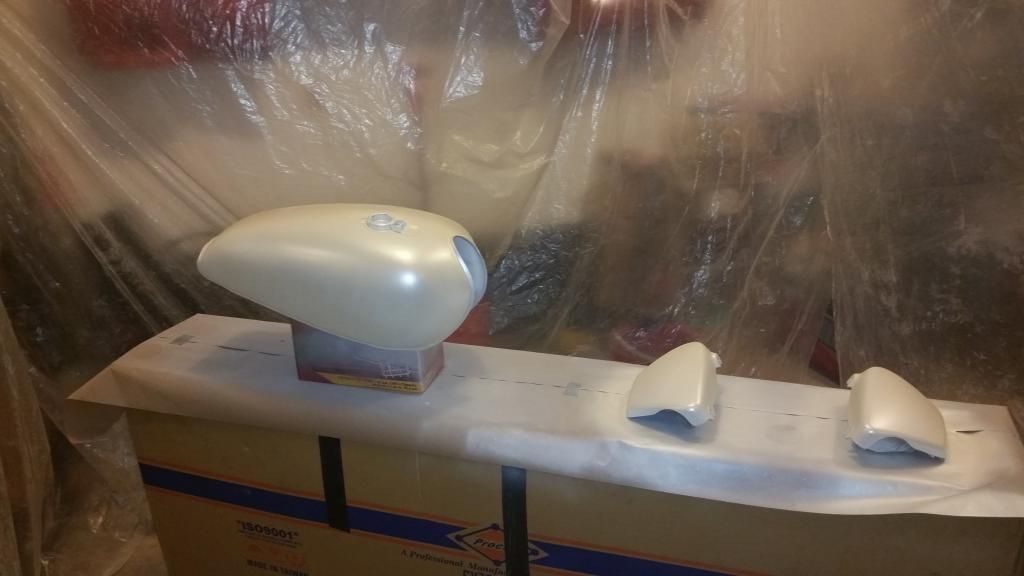
Then the final clear coat using a 2 part aerosol clear.
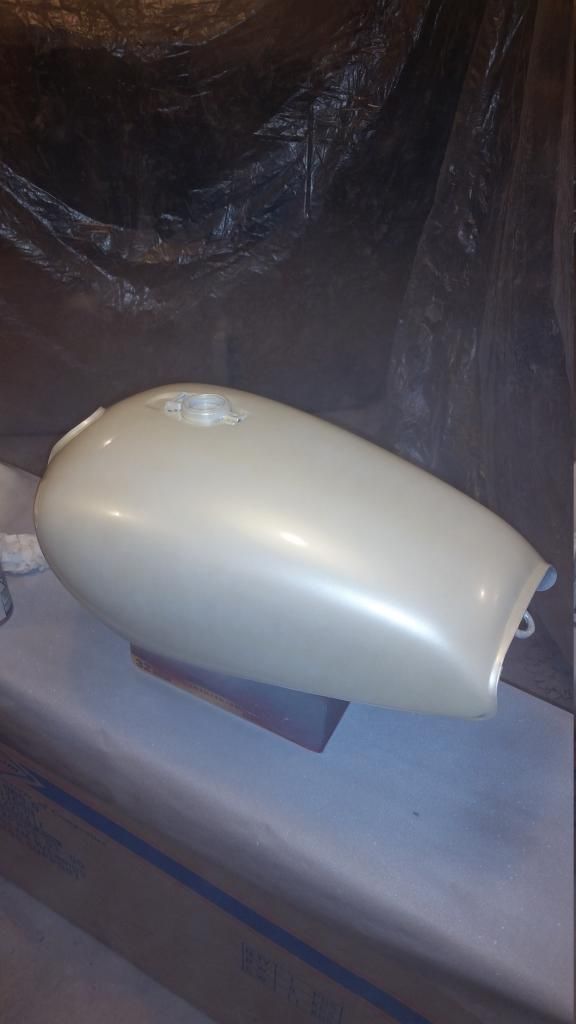
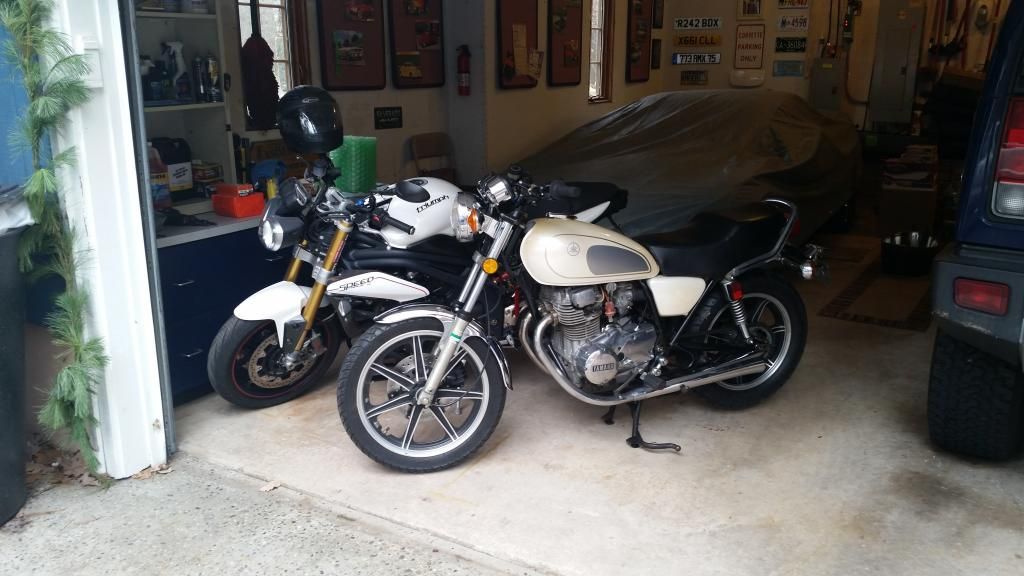
All finished until the tank decals arrive. I'm more than happy with the outcome and could of done this without my father's help. He amazes me very day with how much he knows and how he can do almost anything with great results.
Once the tank decals arrive they can be placed and she'll be ready for the girlfriend to show off once she's qualified in the Coast Guard's eyes
Till next time...
Then time to seal once it was smooth.
After that was a white base coat and then a coat of House of Kolor Snow White Pearl
Then the final clear coat using a 2 part aerosol clear.
All finished until the tank decals arrive. I'm more than happy with the outcome and could of done this without my father's help. He amazes me very day with how much he knows and how he can do almost anything with great results.
Once the tank decals arrive they can be placed and she'll be ready for the girlfriend to show off once she's qualified in the Coast Guard's eyes
Till next time...
Last edited:
BotterbrodtGE
XS400 Enthusiast
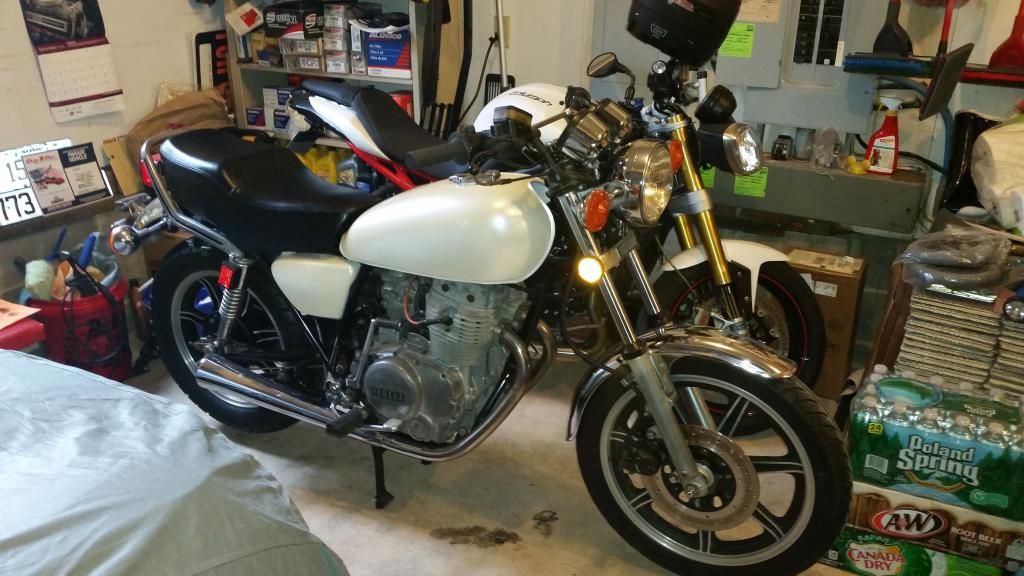
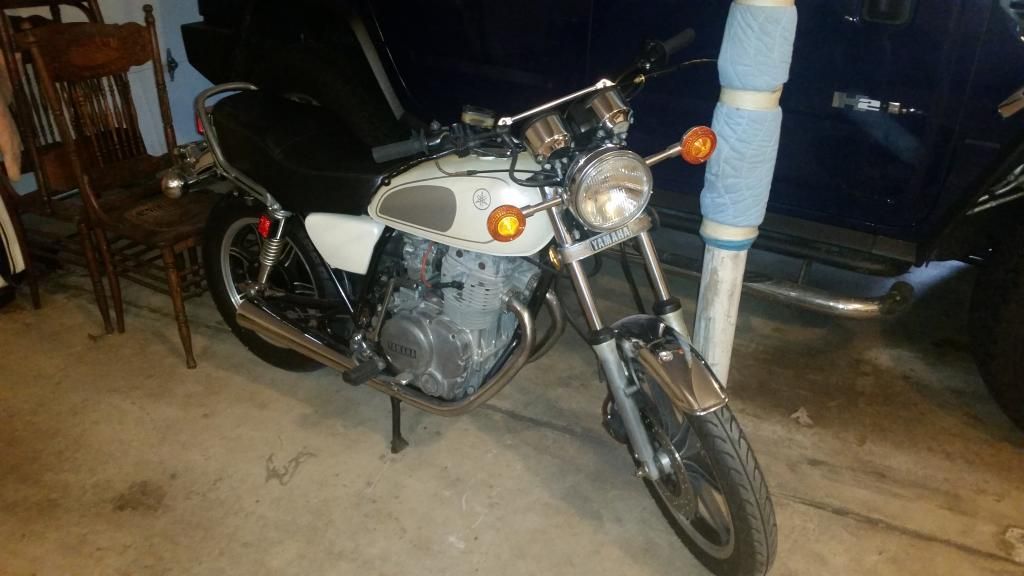
Well I got the Decals in and installed. A little difficult to get a flat decal on a curved tank but came out alright I guess.
BotterbrodtGE
XS400 Enthusiast
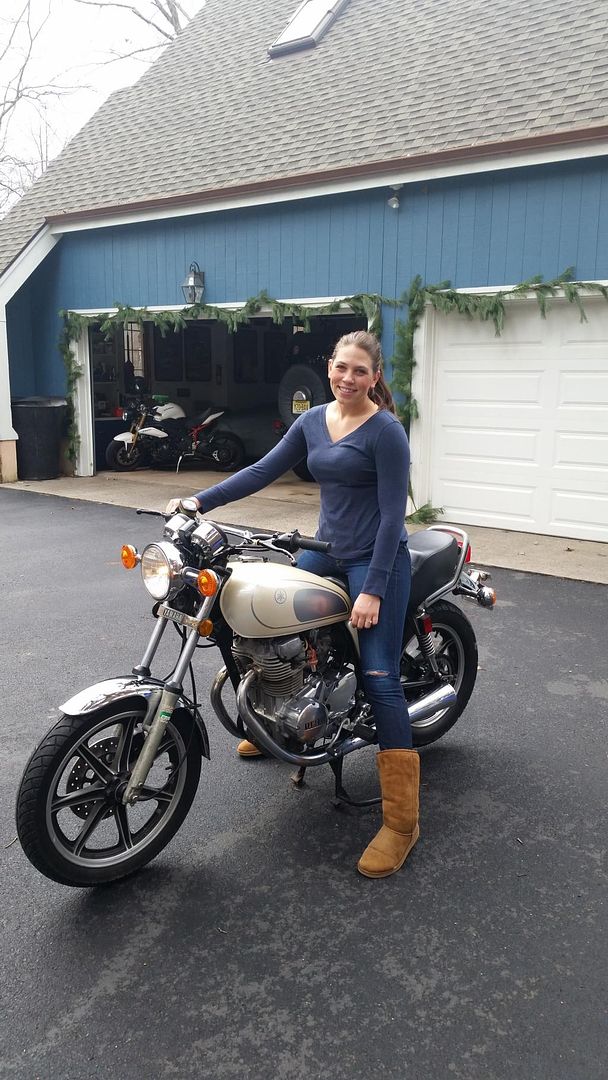
Fiance got her learner ride today.
CDNTX650
XS400 Enthusiast
Nice work! Bike looks great too. Ha.
Unkle Crusty
XS400 Enthusiast
Great progress. Good for you guys.
Also gave me some info to apply to my 83 XS400 DOHC.
Unkle Crusty*
Also gave me some info to apply to my 83 XS400 DOHC.
Unkle Crusty*
Great Christmas present for the fiance. 
BotterbrodtGE
XS400 Enthusiast
I'm back....ish.
Been busy with work and the 400 is living with my wife in Mississippi. Soon we will get to live together again. We are planning for my wife to get a newer Bonneville to ride daily (she doesn't enjoy kickstart only). My Speed Triple was stolen then recovered, then totaled from the damages so I have moved on. I now have an 82' xj650rj Seca that will be a nice project (full restoration planned) and the 400 will be my ride to keep my needs at bay.
Work on the 400 will begin at the beginning of the year. I am planning a scrambler style build for the 400. Something that looks like it could of come from Yamaha. Something that is similar yet more streetable than the xt models. All mods will be done with the idea of being able to get the bike back on the road within a couple days.
Similar threads
- Replies
- 0
- Views
- 207