New XS400 owner! questions, comments, and my build!

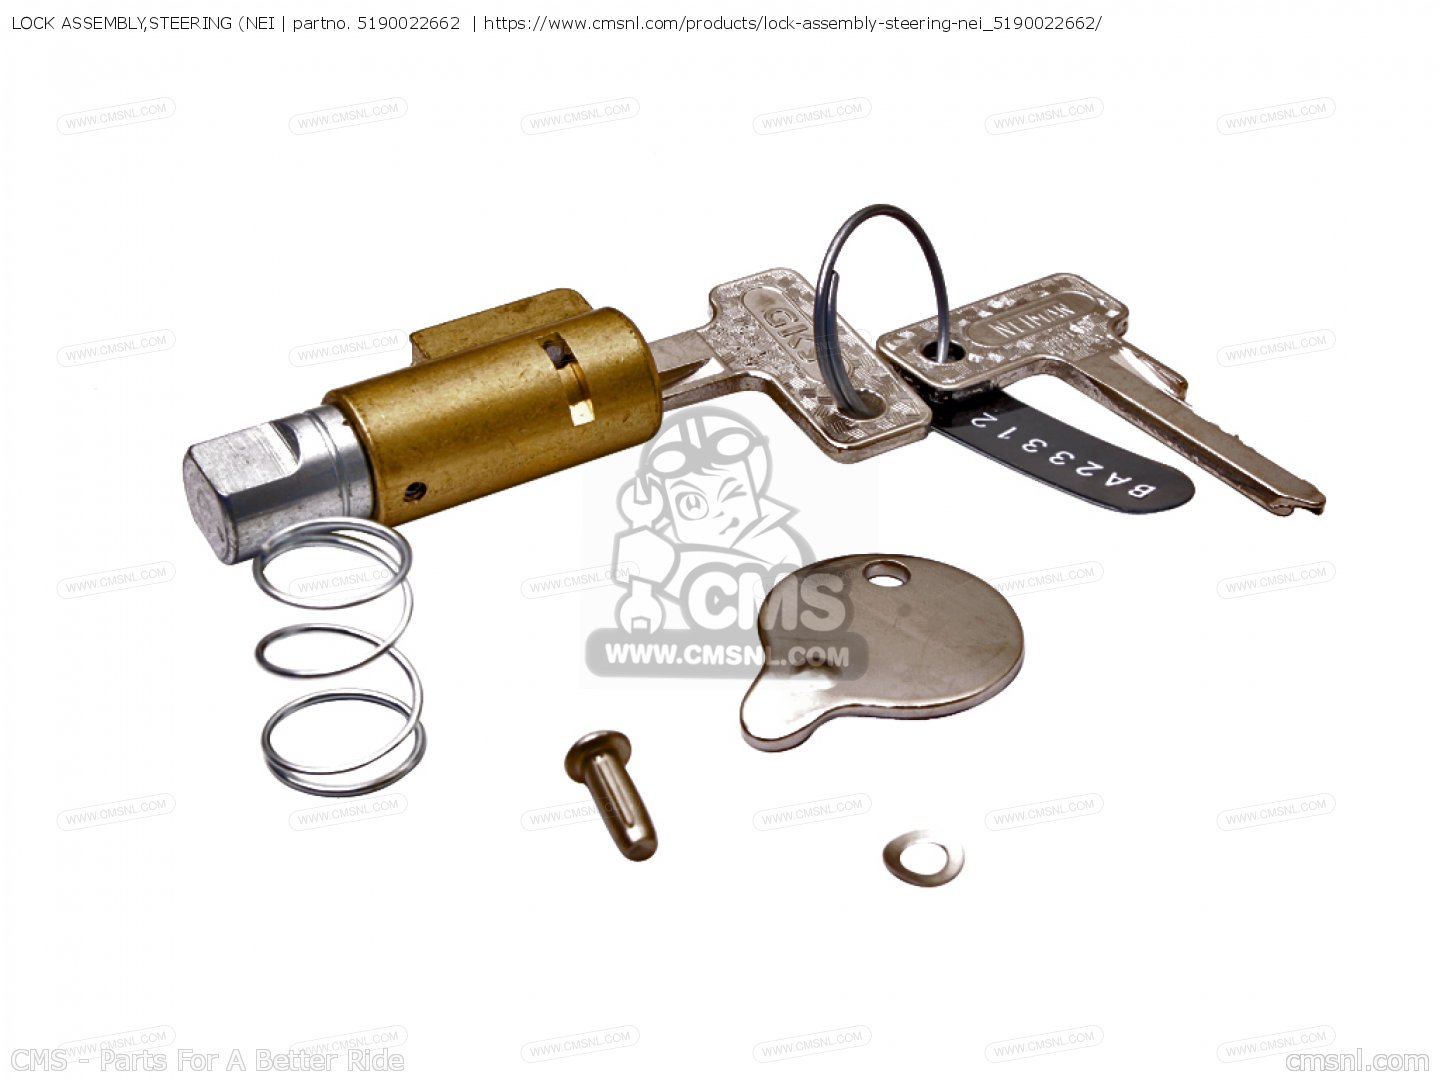
I want to get my frame/other goodies ready to take to the powdercoater this week; but I cant seem to find anything on how to remove the steering head lock assembly from the frame.

Any ideas?
 
take out the neiman lock by prizing out the dome headed stud, its hammered in with a spiral cut in the stud.

this is what it looks like

lock-assysteering-neiman_big5190022662-01_ecd7.jpg
 
riding it :laugh:
omg Drewpy, I'm laughing so hard I can hardly re-butt ...

Most days you could be right - not this morning though, a bit snowy. Good day for that though.
To concede your point, I suppose somewhere in the world a dohc is riding along with a butt on its seat ...
Merry Christmas!
 
Looking good Rodeo! Nice find for that price. I did the same thing when I tore mine down. Took lots of pics and bagged/label everything. Welcome to the club!
 
Quick video update on the motor!

Frame and a couple other bits are at the powder coater and should be done soon. More to come! (video wise)

 
Did you check your tolerances on your crank to see what size bearings you needed? Crank bearings don't wear evenly so they make different sizes so you can even them out.
 
I followed the directions as stated in the shop manual, which was to take the numbers stamped on the case and subtract them from the numbers on the crank for the bearing color required on each journal.

Was that wrong? =0
 
Does the manual assume you're using new bearings AND a new crank?

I've never rebuilt the bottom end of any motor, but I have watched a few videos. They seemed to always use this small slip of paper that gets crushed between the bearings and the crank. When the paper gets crushed it makes an ink(?) line get wider based on the clearance. I can't remember what the stuff is called, but you should use that stuff first. It must be really cheap.
 
It didn't say, Just that you should replace them when rebuilding the motor due to them being annoying to replace if they go bad in the future. No mention of a new crank.

Too late now if it's wrong, I mated the cases a while ago >.<
 
I just replaced mine as per manual and no issues.

the white metal on the bearing wears first anyway so long as it had proper oil.

don't fret yourself unless you are blueprinting it of course, then new still needs measuring
 
Did a little soda blasting but ran out of baking soda; little 10$ DIY set up worked great removing carbon from the valve heads and whatnot.

Started doing the carbs but ran out.

Lost one of the little ball bearings that fit behind the choke lever! Doh! forgot about those. Pretty sure they are just 1/8 inch bearings though. no biggie.

65ADA04A-524E-4860-8FB8-4332F1EAE1D7-15144-00002CED5FF7598E.jpg


Top one could use some more blasting but the bottom carb is how it looked before!
 
Soda blasted the pistons and valves last night, worked like a charm!

Before
547DCBD7-AD37-4965-A2AB-D0765338CF51-20210-00003E1A40F9A8FA_zpsd76fc146.jpg


After!

896A26C3-A34C-45D7-A148-015E752A7E13-20210-00003E1A436DE85B_zpsea304594.jpg


Valves were about the same, also managed to fit them to the head and get them installed as well. Hopefully I can scrape the old gasket material off today and get the cylinders installed as well; as I've de glazed and honed them a week or two ago.
 
Mind posting some details and or photos of your soda blaster? I need to make something myself! Nice job you did with the cleaning!
 
I'll take a couple pictures when I get to work next week as I'm using the industrial compressor there.

Here is the head with all the carbon blasted out with the soda blaster and valves seated and installed. Not a speck of the nasty stuff!

91F103C3-6F9C-49D0-8B8F-22A84B917042-20210-00003E578E244A7E_zps33ccc4e6.jpg
 
great job there. I tried to soda blast but my compressor wasn't big enough.

just got covered in white stuff :D
 
Back
Top