The "firsts" build thread!

Well, didn't get much of anything done this trip, which was kind of a bummer since I'm getting really close to being in riding condition. I did end up replacing the petcock screw gasket washers (no more leaks!), o-rings and washer in the oil filter and getting the gasket installed so I could put my oil sump filter cover back on and fill it with oil.

However, now I'm having an issue where I'm blowing my main fuse everytime I turn the ignition on. Sometimes it's right away and other times it is fine then suddenly it pops. The instrument lights also dim a bit before it blows, so I'm thinking something must be grounding out or it is something we hooked up that wasn't before (like the brake light switch on the lever). So, next weekend I have some gremlins to squash, but hopefully it won't be too bad.

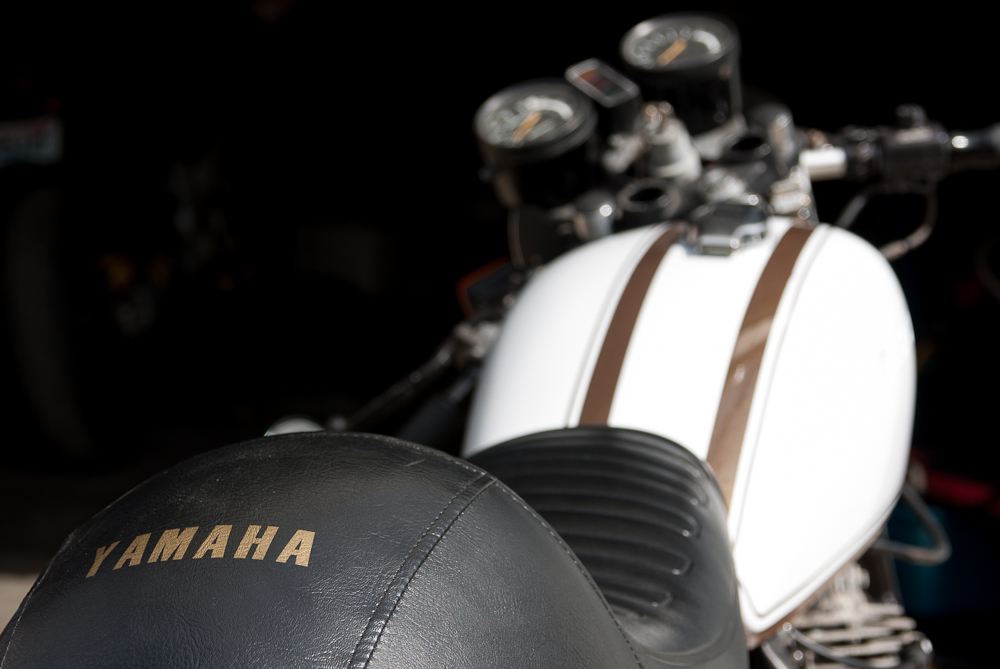
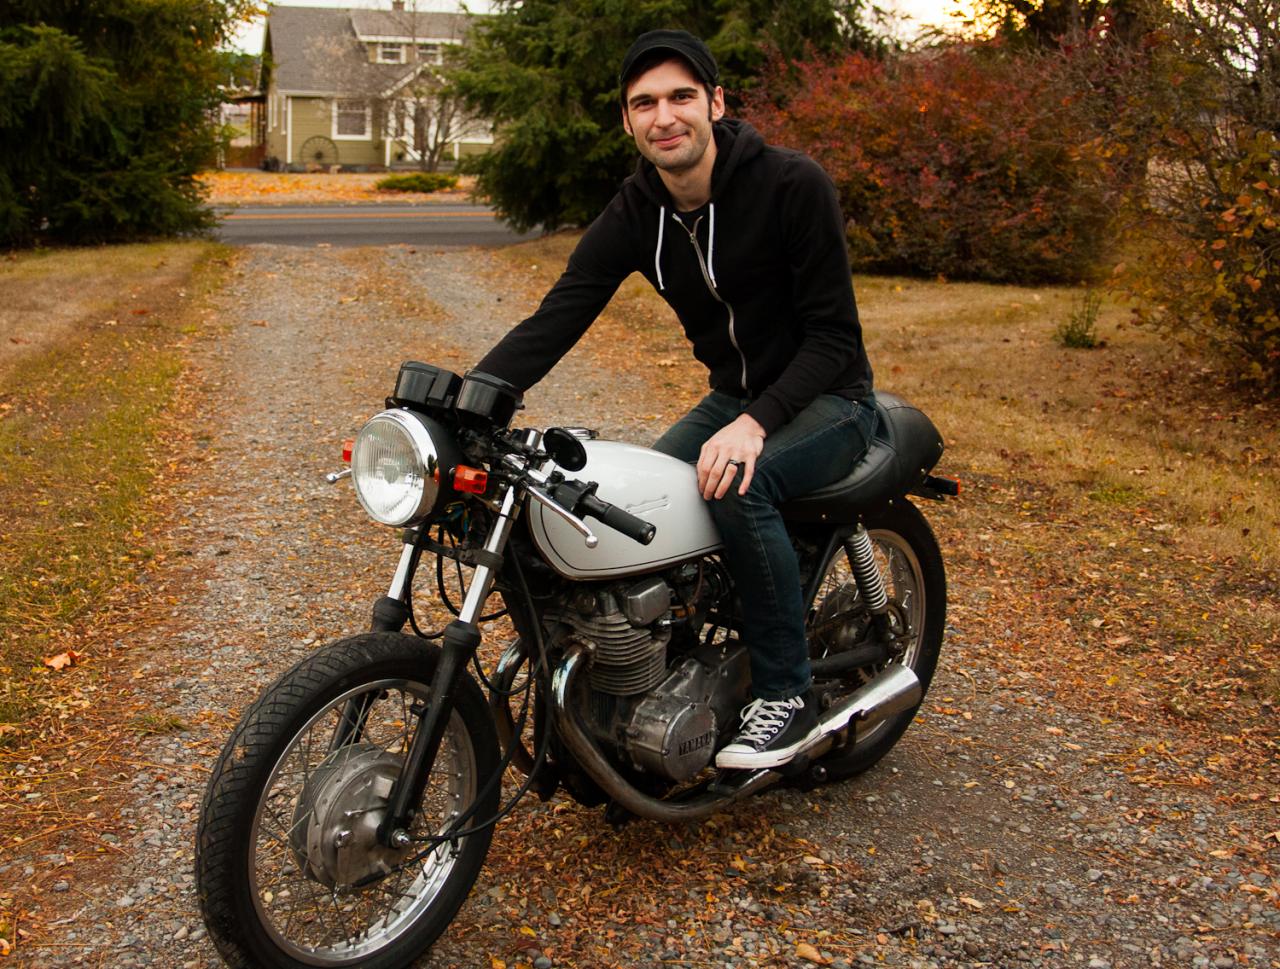
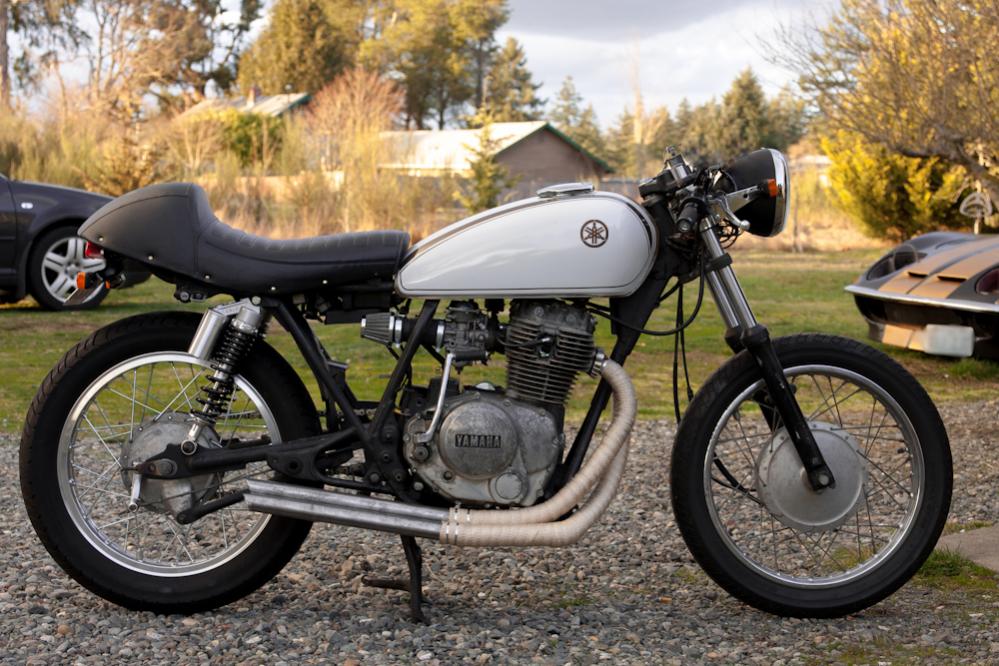
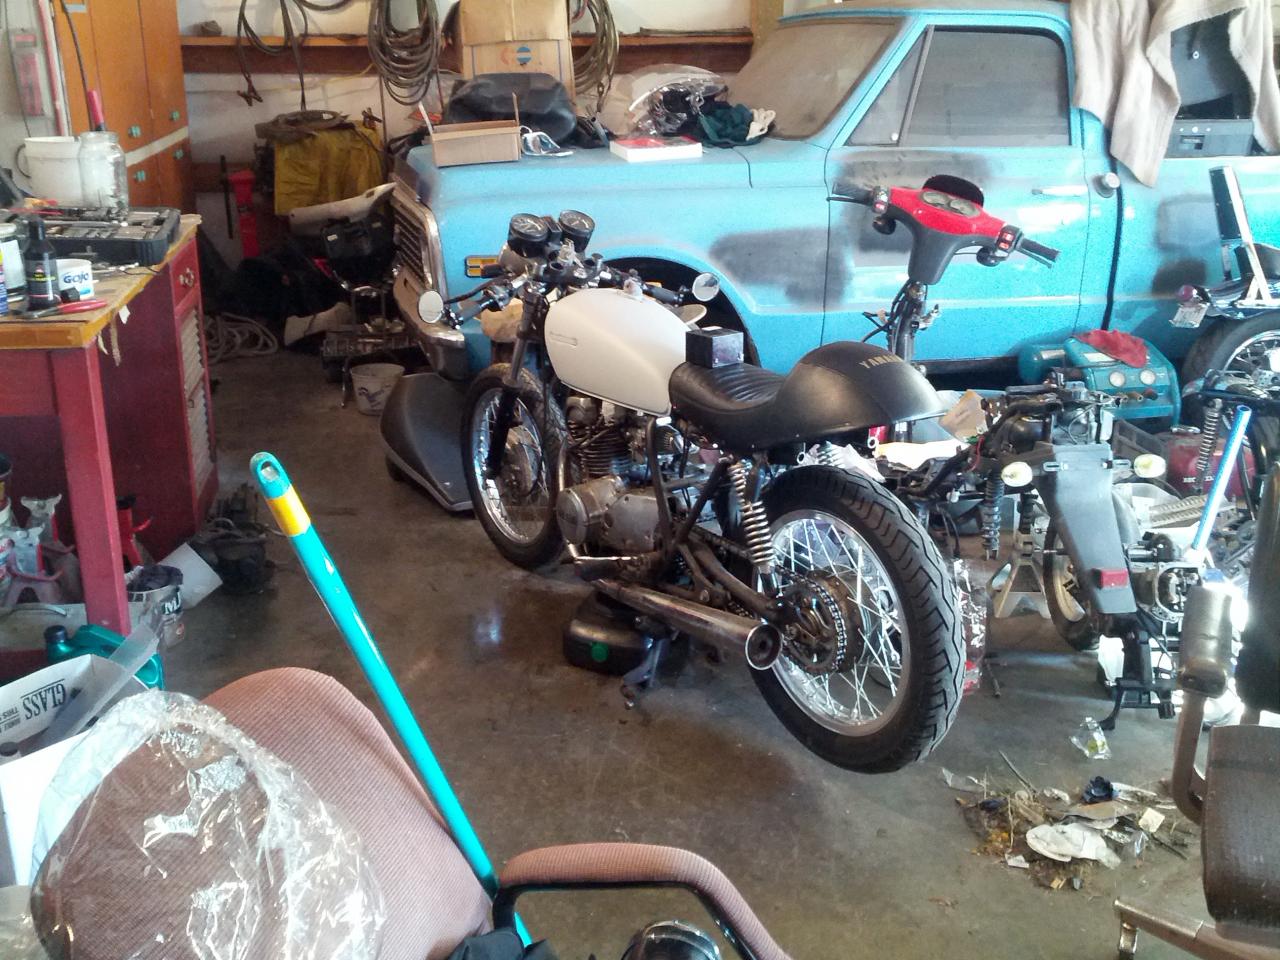
And here is a test fit (cell phone) picture of the seat and how I'm thinking it will look once mounted. I will be having some metal welded near the front of the seat to cover up the area it doesn't reach down to and to also help the flow of the bottom of the tank into the seat. I also didn't realize there was a difference in the shape of the seat from the 'early' model and the 'late' one, but I actually really like how it looks!

full
 
Alright, time for a major update!

I just got back from vacation and had time to get lots of stuff finished up on the bike. As soon as I got there, my father-in-law had a surprise to show me; he painted the tank and front fender! I couldn't be happier with the paint, especially with the pinstriping he did by hand on the tank and fender (I didn't mount the fender in the pics). While letting the clearcoat dry, I hooked up the infamous "EP-34" flasher and got my turn signals to work properly once more and also sorted the wiring for my brake light, which is now working as well. We then lowered the mounts that the battery is resting on so the seat sits on the frame as it should rather than on the battery. That was followed up by the creation of a bracket to hold down the front of the seat and a bar was welded in on the rear hoop for the seat to latch into place. Having the seat be solid on the frame is such a great feeling and the last big piece that needed to be done! After all of that was fitted I sprayed the rear hoop black to match the frame.

I did throw the front brake cable back on and took it for a ride up and down the street for the first time. It was amazing riding something I had been working on for so long, and I was getting looks left and right which made me feel like all of the effort put in really shows.

All that is left to do is replace the left side cover gasket, which mysteriously started leaking quite a bit, and shorten up the throttle, brake, and clutch cables. Hopefully that will all be done really soon and I will get to ride for real!

Without further delay, here are the obligatory photos from this session:

full


full


full


full


The gold pearl in the clear really makes that brown pop in the sunlight:

full
 
Finally got to take it out a couple weekends ago and it was GREAT! However, this was not before I had a little problem with my front brake cable. The cable was too long with my clipons, so it would rest against the exhaust and melt when at rest. This was obviously an issue I needed to take care of, but I had never shortened cables before, but was going to give it a shot. Well, we cut the cable and housing down appropriately, but we could not get the solder to take into the cable and hold the cable end on. The night ended with me heading home to do some research and in the morning I was going to pick up some new 50/50 solder and flux to clean the cable as that seemed to be the issue. However, in the morning I decided to stop by a local motorcycle shop that I had seen miscellaneous cables at in a clearance section. With the chopped cable in had, I sorted through their selection and found one that was the perfect length and had the proper ends! Took it to the counter and it was a whopping $5! Score! I rushed over to the shop and threw it on and it was a perfect fit. I then promptly went out for my first ride ever!

It is a bit rich in the right cylinder, but I think I just need to spend some time double checking the valves, sync, and adjusting the mixture screws. I also was trying to figure out what to do as far as mirrors go because those 3" bar ends are pretty close to worthless as far as function goes. So, I took the mirrors off of the bar end mount and clamped them onto my clipons. I can now see what's going on behind me!

full


Also, after replacing the clutch pushrod seal, the bike no longer leaks oil. Woo! It was nice to have such successful weekends working on the bike and I can't wait to work on it to work out the other little bugs that remain. Hopefully new perches and levers will be here this week and that it will remain unseasonably warm and sunny here in the PNW!
 
Time for an update! It has been a long winter and finally I have gotten to work on the bike some more now that it isn't freezing in the shop.

I decided sometime in the past month that I didn't like how the bike's stance was and started researching what I should be looking for in new rear suspension. I finally decided to pull the trigger on some eBay RFY gas shocks that someone else on the forum just put on as well (I don't recall their username, so sorry for the lack of credit!). Ordered them in 340mm size black/silver and moved on to my next project; new exhaust.

The need for a new exhaust started when I bought some universal Tarozzi rearsets that are to be mounted where the passenger pegs normally go toward the rear of the frame. The stock megaphone mufflers got in the way of where they would mount and also would contact the frame with the bike lowered, so off it went!

My buddy Trav helped immensely and did all of the work on the exhaust, minus the header wrap where I pitched in since I could actually do that, unlike welding. After finishing it, we couldn't come up with any ideas for the ends of the pipe, so it got left the way it is, which I think looks pretty good still!

Note that I absolutely hate header wrap now as it is a pain to apply and I have no plans reapplying it even though it looks a little funky in some spots.

Alright, on with the photos!

full


full


full


Next up is to call MotionPro and get some shorter cables made and figure out what to do about getting a longer kickstand as it is a wee bit short with the longer rear suspension.
 
not gonna lie im deffinitly jellin rite now! the bike looks amazing myne is basicly going to stay factory besides the seat and frame loop, did you look into an HID kit for the headlight it looks pretty sweet the one that worked best for me was using a 7" round hid headlight meant for a mid 60's mustang =] fit perfect and could still hide all the plugs from wiring harness
 
not gonna lie im deffinitly jellin rite now! the bike looks amazing myne is basicly going to stay factory besides the seat and frame loop, did you look into an HID kit for the headlight it looks pretty sweet the one that worked best for me was using a 7" round hid headlight meant for a mid 60's mustang =] fit perfect and could still hide all the plugs from wiring harness

Thanks man! I haven't really considered HIDs as I kind of hate them from a looking-at-them-and-being-blinded perspective. I'm not sure if they are aimed improperly from the factory for most cars or what, but they are so damn bright that it makes it tough to keep my eyes on the road with them oncoming. That being said, I don't know if I would oppose them on a motorcycle since we are invisible to everyone and having a brighter headlamp may get more attention than a halogen one.

You have me thinking about it now, sir. :laugh:
 
So I just got a set of progressive fork springs off of Amazon for a whole $20 shipped last week! I was reading a thread about progressive fork spring upgrades (link), did a little searching, and found a set of ps11-1115's. I thought they may not be what I thought they were or maybe it was priced for one, but I got them a few days ago and sure enough, it's a pair and labeled 11-1115 on the outside of the box. I haven't been up to install them yet, but I will be this coming weekend. Super excited!

I also couldn't find any fork dust boots for less than about $40 shipped, so I'm taking a chance and got a pair from Dime City for $9 (link) that should fit fine. If they work, then they should make a great alternative to the stock part .

Here's a picture of the boots and an awesome sticker they threw in:

full


A photoshop of what I would like to do with the exhaust ends and tank badges:

full


Maybe smaller/no gauges?

full


And a picture of my buddy Trav welding away on the exhaust!

full


I have also acquired a new GoPro, so I will have videos of how the exhaust sounds as well as me acting like an idiot soon.
 
You should experiment with moving the headlight lower, especially if you remove the gauges. Nothing extreme, but at least lower than the top of your gas tank... but don't get me wrong, the bike looks great!

And it looks like someone has an awesome stable of bikes and cars... jealous...
 
You should experiment with moving the headlight lower, especially if you remove the gauges. Nothing extreme, but at least lower than the top of your gas tank... but don't get me wrong, the bike looks great!

And it looks like someone has an awesome stable of bikes and cars... jealous...

I tried it out in Photoshop and it definitely looks way sleeker with the headlight lowered. I will have to work on some different brackets for the gauges or something so there isn't a huge gap.

And I love that shop.


Finally got around to using the GoPro and here is a video of the open pipes. Only revved to about 4k or so in the video. And the smoke is actually white from condensation in the exhaust, not blue like it looks in the video for some reason.

 
Great bike! I'd recommend a fork brace though since you removed your front fender. The front fender serves as a steering stabilizer so get a fork brace on there asap!
 
Great bike! I'd recommend a fork brace though since you removed your front fender. The front fender serves as a steering stabilizer so get a fork brace on there asap!

It's funny that you mention this because I was just talking to my dad this weekend about making a fork brace. I haven't had the fender on at all, so I am curious how much of a difference a brace will make.
 
Got the forks rebuilt today! Added 20W oil as per the Minton Mod and installed the new Progressive springs. Front still dives a bit when on the brakes, but it feels a lot better overall. Also cleaned up the wiring under the seat so it's a little more organized. Next week test baffles will be getting made and my rearset hardware will be here as well as some new leather pants! Very excited to get out and riding again soon; it's going to be like riding a new bike!
 
Back
Top