VegasNewbie
Becki
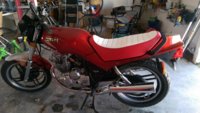
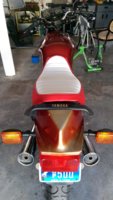
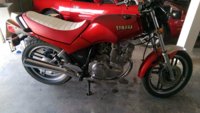
Figured I'd take the plunge and start a thread for the restoration of my '82 Seca. I'm a brand new rider and this is my first motorcycle. I wanted something that I could work on and maybe customize.
There's a ton of great info on the forum and it's encouraged me to try some things that I wouldn't have without your assistance.
After too many hours looking at custom bikes, I decided that I'd just bring the Seca back to near original shape. The Seca is in pretty good shape with minor cosmetic flaws. The engine runs great and I've been on it learning to ride.
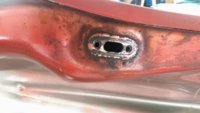
The petcock was leaking and gas got into the oil so I needed to fix that. I have a little bit of rust in the tank so might as well etch and seal that too. Tank is etching right now.
And while the tank is off, may as well check the valves. And so on. I'll be doing a little at a time because I want to continue to ride and improve my skills.
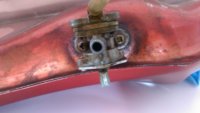
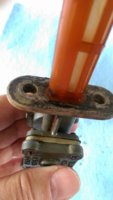
Here are some pics of the tank and petcock. There was no gasket left on the petcock, so that explains the leak.
I do wonder how you get all of the liquid out of the tank. It doesn't all come out of the petcock hole, so how do you completely drain it?
There's a ton of great info on the forum and it's encouraged me to try some things that I wouldn't have without your assistance.
After too many hours looking at custom bikes, I decided that I'd just bring the Seca back to near original shape. The Seca is in pretty good shape with minor cosmetic flaws. The engine runs great and I've been on it learning to ride.
The petcock was leaking and gas got into the oil so I needed to fix that. I have a little bit of rust in the tank so might as well etch and seal that too. Tank is etching right now.
And while the tank is off, may as well check the valves. And so on. I'll be doing a little at a time because I want to continue to ride and improve my skills.
Here are some pics of the tank and petcock. There was no gasket left on the petcock, so that explains the leak.
I do wonder how you get all of the liquid out of the tank. It doesn't all come out of the petcock hole, so how do you completely drain it?


")