Vlad
XS400 Enthusiast
MAC 2 into 1 Exhaust Install (Video Added)
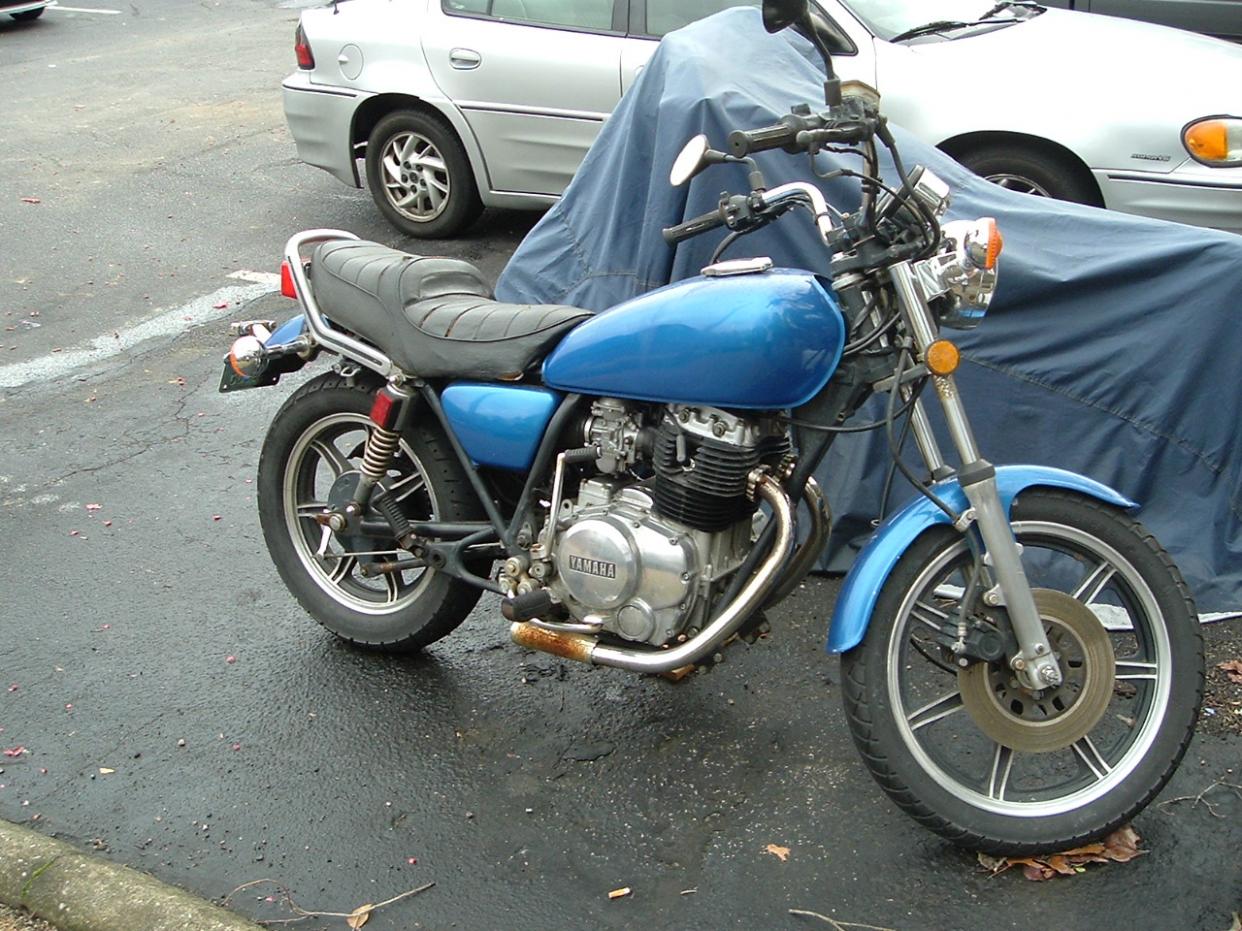
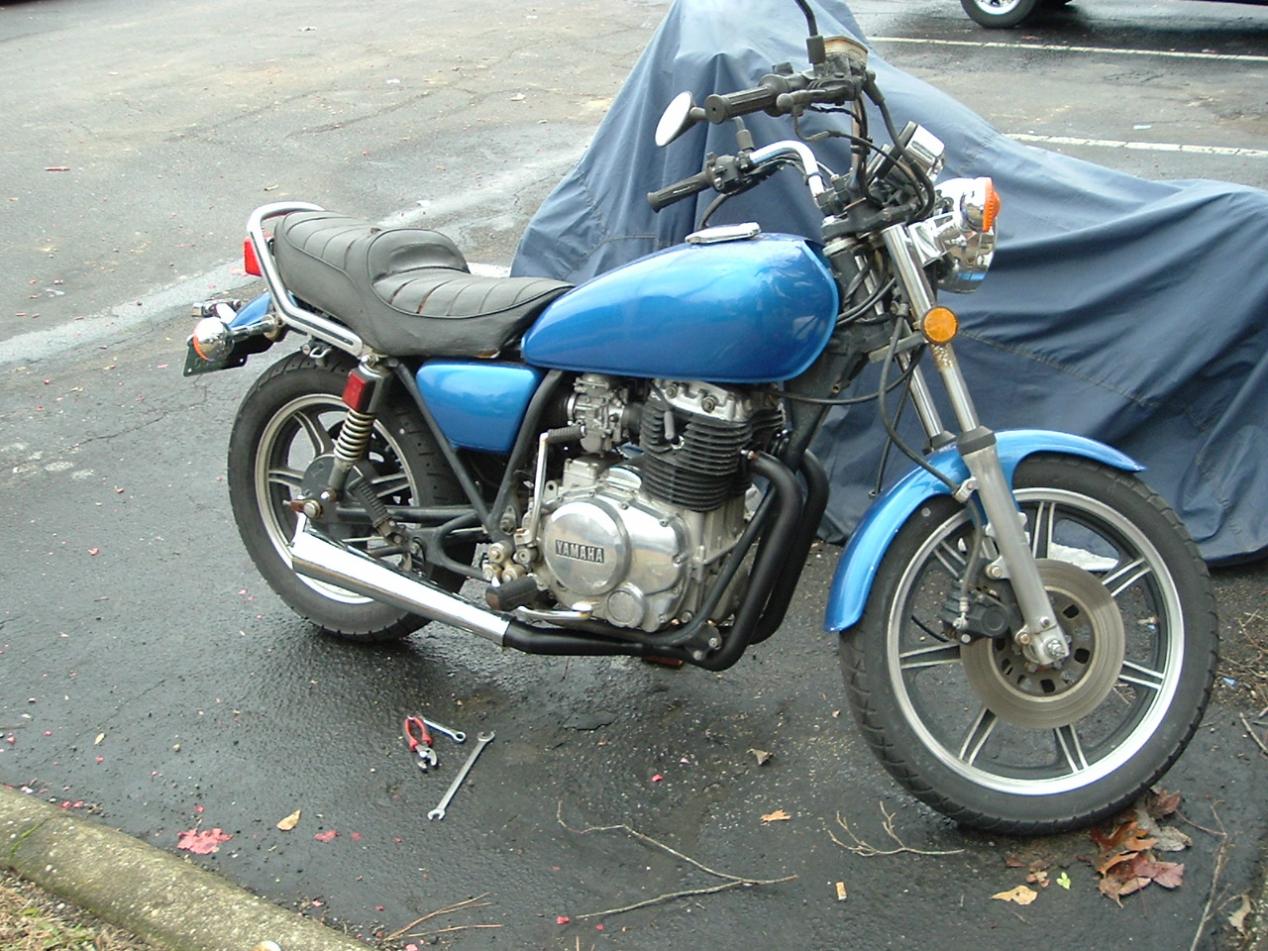
This is my installation of a 2 into 1 from MAC, just about everything can be done with 12-14 mm sockets and wrenches. The kit comes with header pipes, muffler, and a little bag of hardware. Unfortunately there were no instructions but it was simple enough to figure out.

First you'll want to remove all of your stock exhaust components, save the hardware because you will have to reuse some of it.
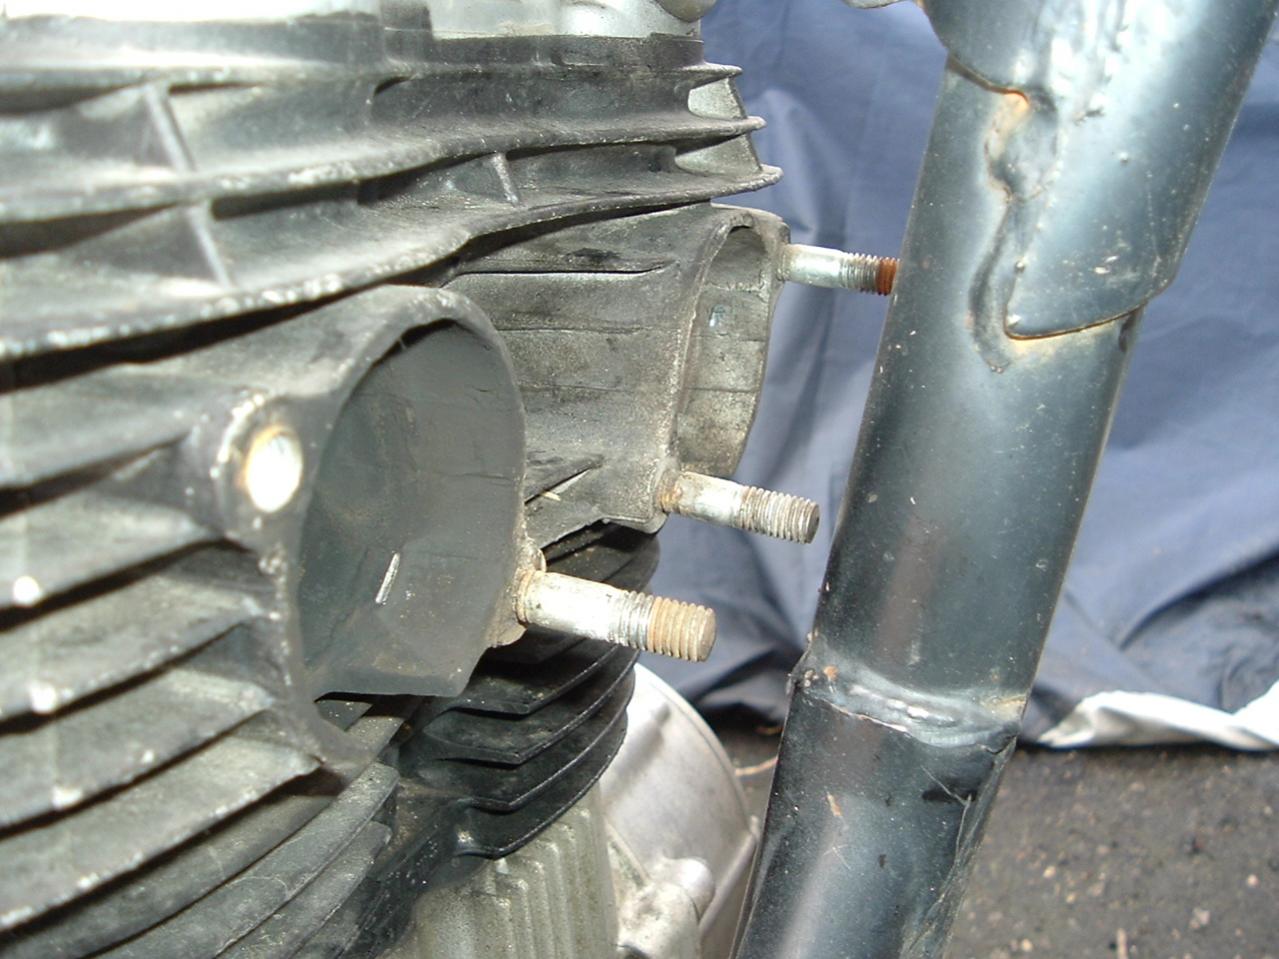
Mount the header and use the old nuts to secure the exhaust flanges. One thing I thought was odd was there there was not supplied gasket between the header pipe and where it bolts to the head. I called MAC tech support to see if there was maybe suppose to be one or if there was something I was suppose to use. Their reply was, "the kit comes with everything you need"... -1 tech support....
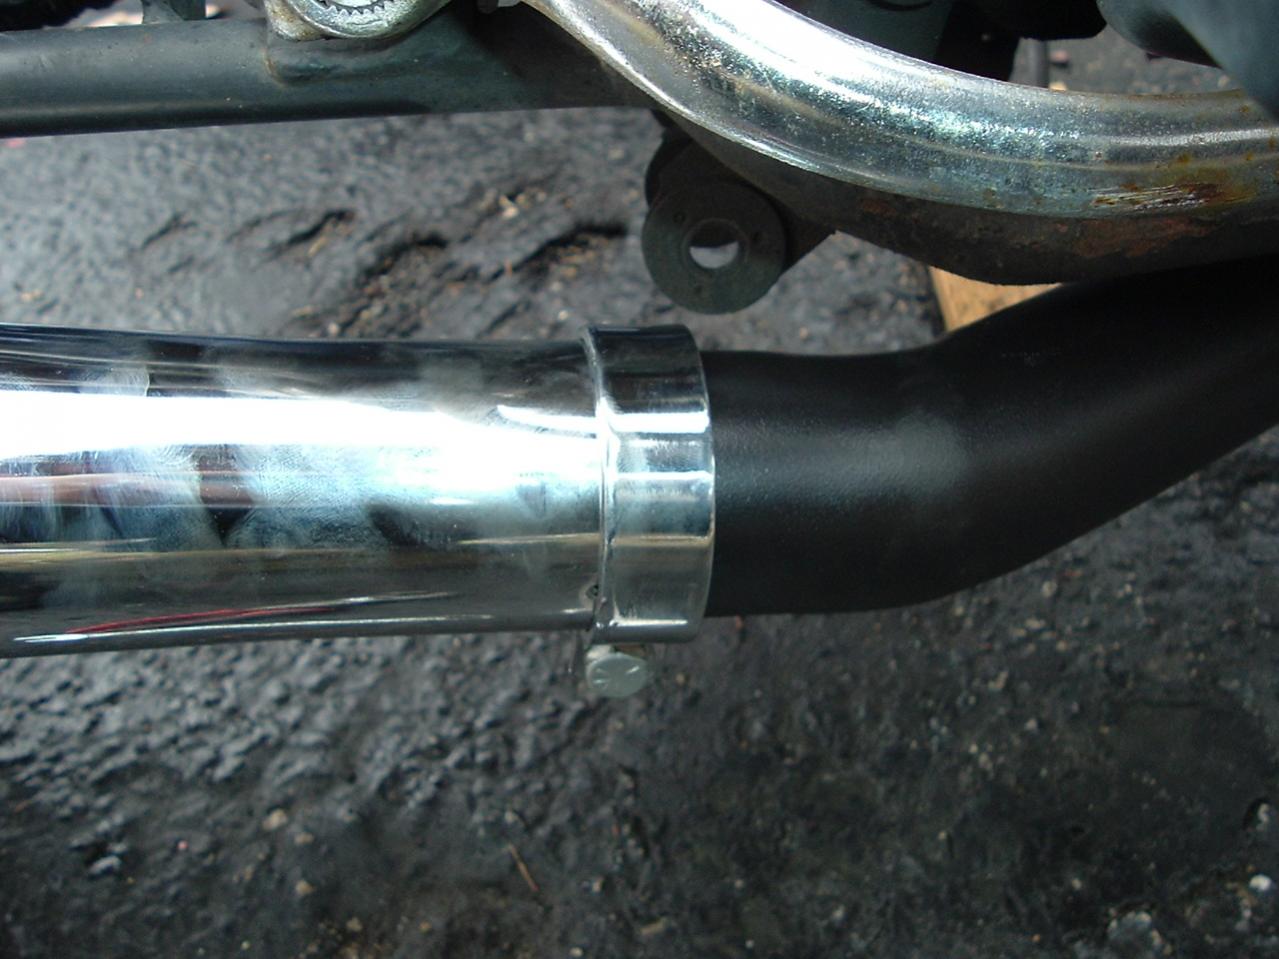
Next you want to use the supplied chrome collar with bolt, nut, and lock washer to attach the muffler to the exhaust pipe.
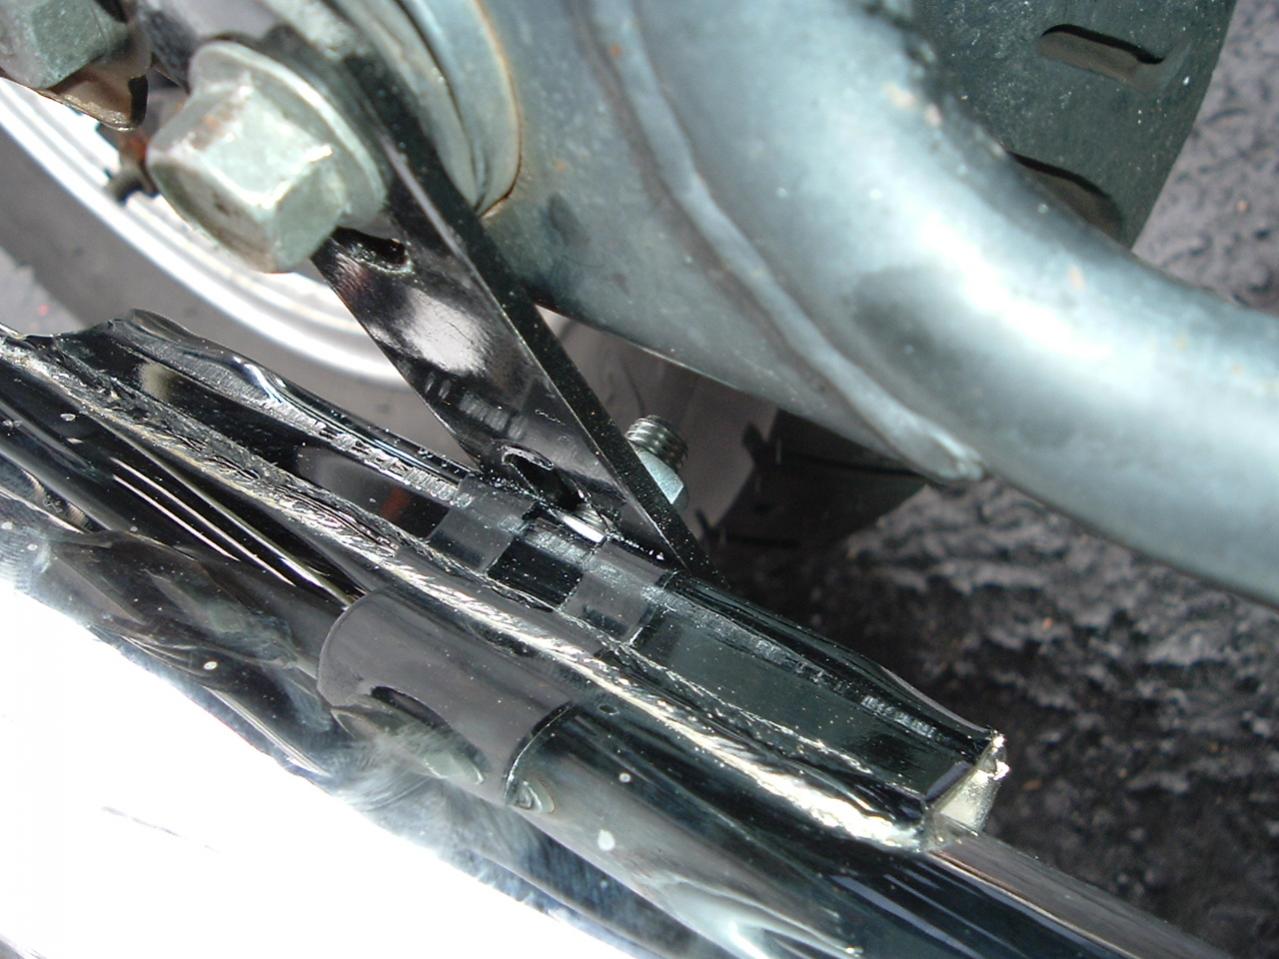
You should have an extra bolt, nut and flat washer. Slide the bolt into the side of the muffler and attach it to the supplied flat mounting bracket with the nut and washer. Attach the other end of the bracket to the bike where the stock exhaust was using the old hardware. I didn't have the old muffler so my hardware wasn't there, I just use a regular bolt and lock nut.
At this point you should have 1 angled bracket left over. I never did figure out where this goes or what purpose it serves. I'm open to suggestions....
All in all it was a very easy install. It sounds good and looks even better, however it's not perfect. I noticed an exhaust leaks, coming from the right side exhaust flange. I looked through the MAC forums and it seems someone else had the same problem. MAC replied to him with the response "Try turning the collar around". Surprise surprise, it worked....+1 tech support....
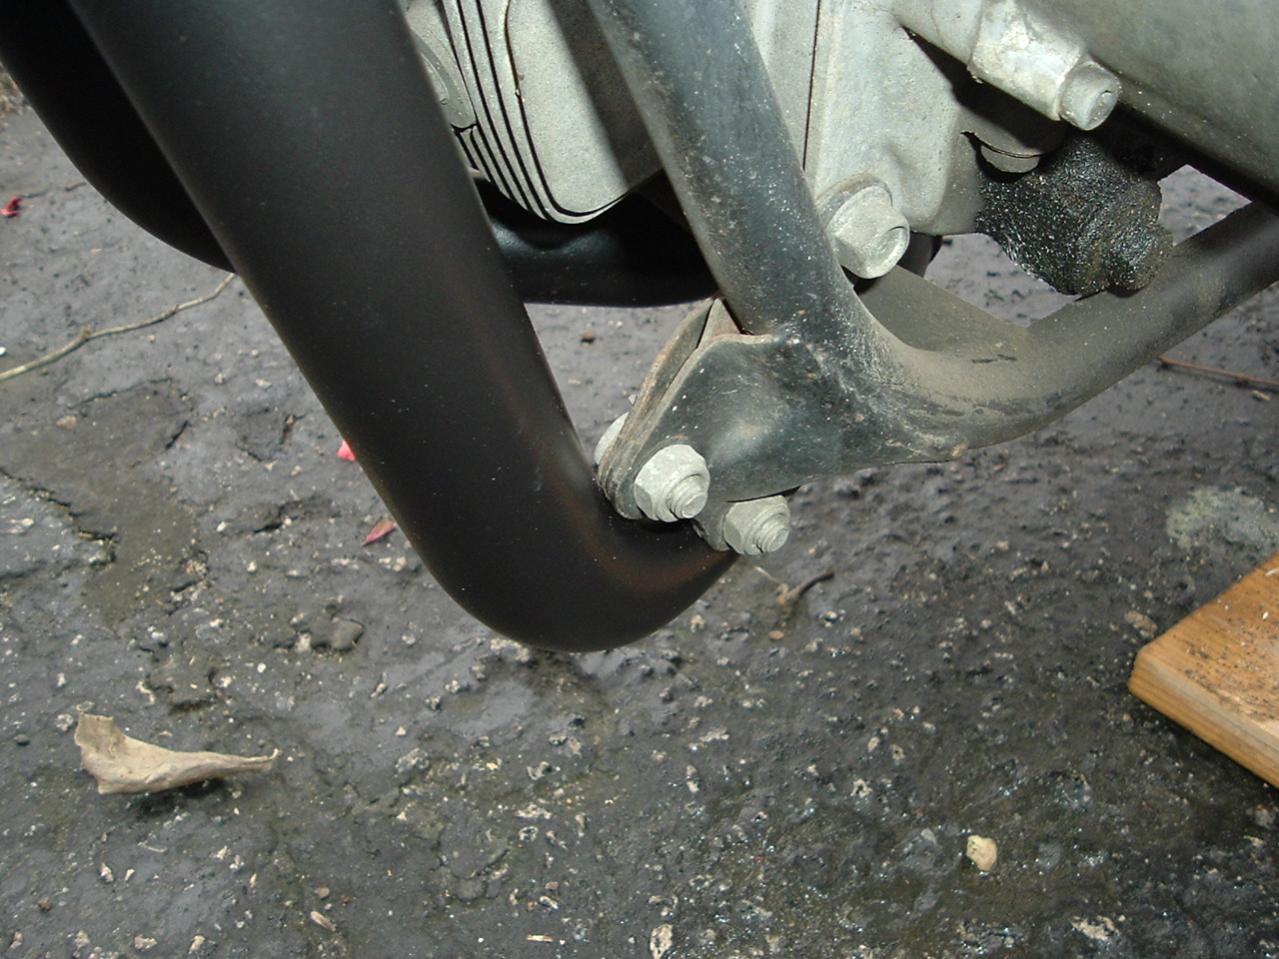
The next problem is where the exhaust pipe comes down on the left side it makes contact with the frame. I can see this causing problems a few years down the road after it wears a hole through it.
I took it on a ride today and it's definitely going to have to be rejetted. I was sputtering and popping all the way down the street. Seems like a task for the next warm day.
This is my installation of a 2 into 1 from MAC, just about everything can be done with 12-14 mm sockets and wrenches. The kit comes with header pipes, muffler, and a little bag of hardware. Unfortunately there were no instructions but it was simple enough to figure out.
First you'll want to remove all of your stock exhaust components, save the hardware because you will have to reuse some of it.
Mount the header and use the old nuts to secure the exhaust flanges. One thing I thought was odd was there there was not supplied gasket between the header pipe and where it bolts to the head. I called MAC tech support to see if there was maybe suppose to be one or if there was something I was suppose to use. Their reply was, "the kit comes with everything you need"... -1 tech support....
Next you want to use the supplied chrome collar with bolt, nut, and lock washer to attach the muffler to the exhaust pipe.
You should have an extra bolt, nut and flat washer. Slide the bolt into the side of the muffler and attach it to the supplied flat mounting bracket with the nut and washer. Attach the other end of the bracket to the bike where the stock exhaust was using the old hardware. I didn't have the old muffler so my hardware wasn't there, I just use a regular bolt and lock nut.
At this point you should have 1 angled bracket left over. I never did figure out where this goes or what purpose it serves. I'm open to suggestions....
All in all it was a very easy install. It sounds good and looks even better, however it's not perfect. I noticed an exhaust leaks, coming from the right side exhaust flange. I looked through the MAC forums and it seems someone else had the same problem. MAC replied to him with the response "Try turning the collar around". Surprise surprise, it worked....+1 tech support....
The next problem is where the exhaust pipe comes down on the left side it makes contact with the frame. I can see this causing problems a few years down the road after it wears a hole through it.
I took it on a ride today and it's definitely going to have to be rejetted. I was sputtering and popping all the way down the street. Seems like a task for the next warm day.
