Follow along with the video below to see how to install our site as a web app on your home screen.
Note: This feature may not be available in some browsers.
Enjoy XS400.com?Consider making a donation to help support the site. XS400.com receives a small share of sales from some links on this page, but direct donations have a much greater impact on keeping this site going.
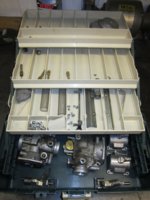
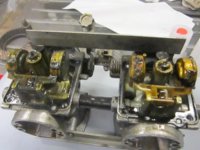
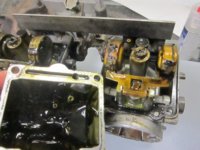
6 ez-outed screws later and a while of scraping slime it is comin along.... Down to the carb bodies with floats. Any suggestions on how to get the piece the main jet screws into out? Cause it is kind of daunting
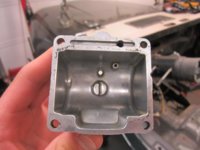
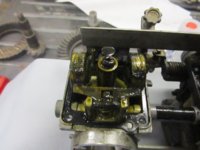
The main jets screw into the needle jets, with a washer in between. You can install the main jets a couple turns, but not seated, and then gently tap with a soft hammer or brass drift. This should get the needle jets to move. Then push them completely out - which is into the venturi. You have the diaphragms/slides/needles out already, right?
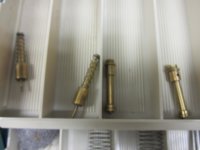
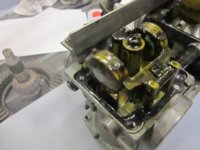
looks like fun! I'd use a dowel rod that is the correct dia. and gently tap it out. just another way. I personally don't like metal on metal when it comes to small brass items.
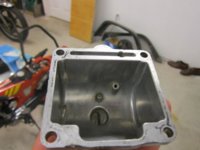
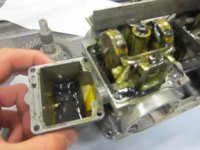
Be sure to work a thin wire through every passageway you can see. From both directions if possible. The alloy the carbs are made from corrodes easily and you will be shocked what you can remove after you think they are clean...
")