So, here's how we did it this weekend on a friends XS 650, the master cylinder looks like the one I have on my XS 400.
However, the steps should be similar on most bikes.
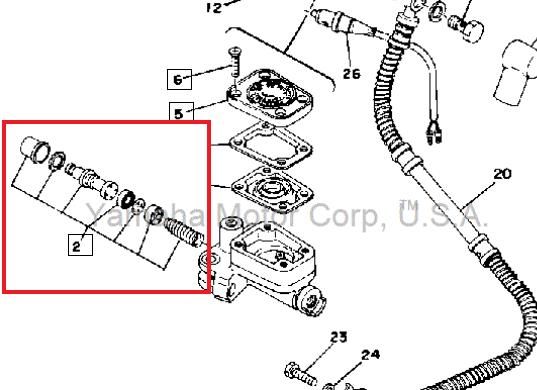
First the master cylinder was dismantled from the handlebars. Be careful when you unscrew the brake lines and clean up any spilled brake fluid immediately. That shit is nasty and will easily fuck up your paint. Since the whole front brake needed to be revised, we already let out all of the fluid through the calipers.
We cleaned the master cylinder with some brake cleaner and removed the lever etc.
On the side where the lever was, you'll find the master cylinder piston protected by a rubber grommet. The grommet has to go, I used needle nose pliers to get it out. A new one should come with the rebuild kit. And yeah, when working with brake fluid I'm wearing gloves. As already said, that stuff can remove paint easily, so I'm not too eager after washing my hands with it.
That thing's a goner
After the grommet is gone, you should be able to see the circlip. I needed to give it an overnight bath in WD40 since it was really rusty and didn't move at all. I also used some kind of dentists hooks to loosen it.
You may find it useful to keep the piston down to reach the clip with the circlip pliers.
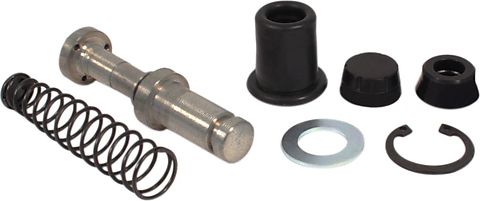
This is how everything came out. I had to stick in a screwdriver from the side where the brake line screw was to get the piston and spring out.
Make sure to check the hole for grooves and clean it thoroughly. A nylon gun cleaning bristle and lots of brake cleaner may come in handy. You don't want to use any master cylinder that has score marks since it won't be able to build up enough pressure.
Arrange all parts in the correct order for assembly.
Give the grommets that go into the cylinder (the dished one and the one on the piston) a quick dip in brake fluid for lubrication, they'll be in contact with it anyways but will slip in a lot easier when not dry. But don't use grease or any goo other than brake fluid or special grease (silicon-based, I think; might come with the rebuild kit).
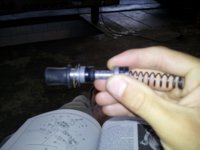
You should be able to press the piston in with your thumb easily. For getting the last rubber grommet in place, I carefully stuffed it in with a really small screwdriver.
Don't forget to bleed your brakes after rebuilding the master cylinder.
Hope this little instruction helped.
If you're feeling unconfident when working on your brakes, ask someone who may have already done it.