1981 XS400 Scramblerized Build, eventually...

A bit more from yesterday:

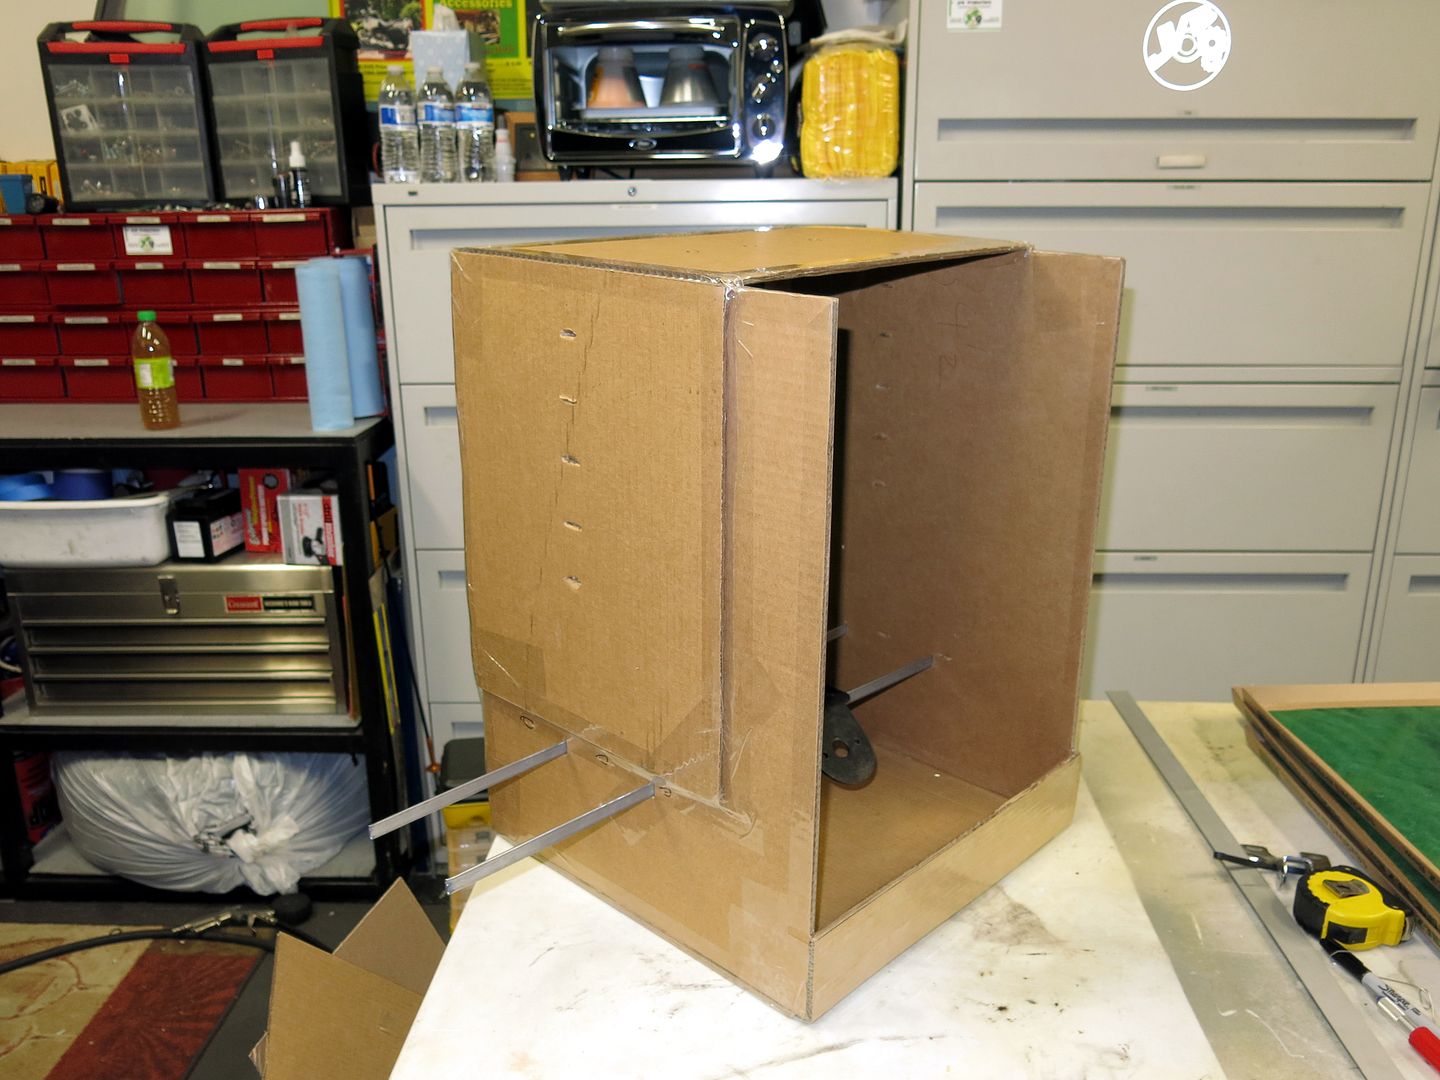
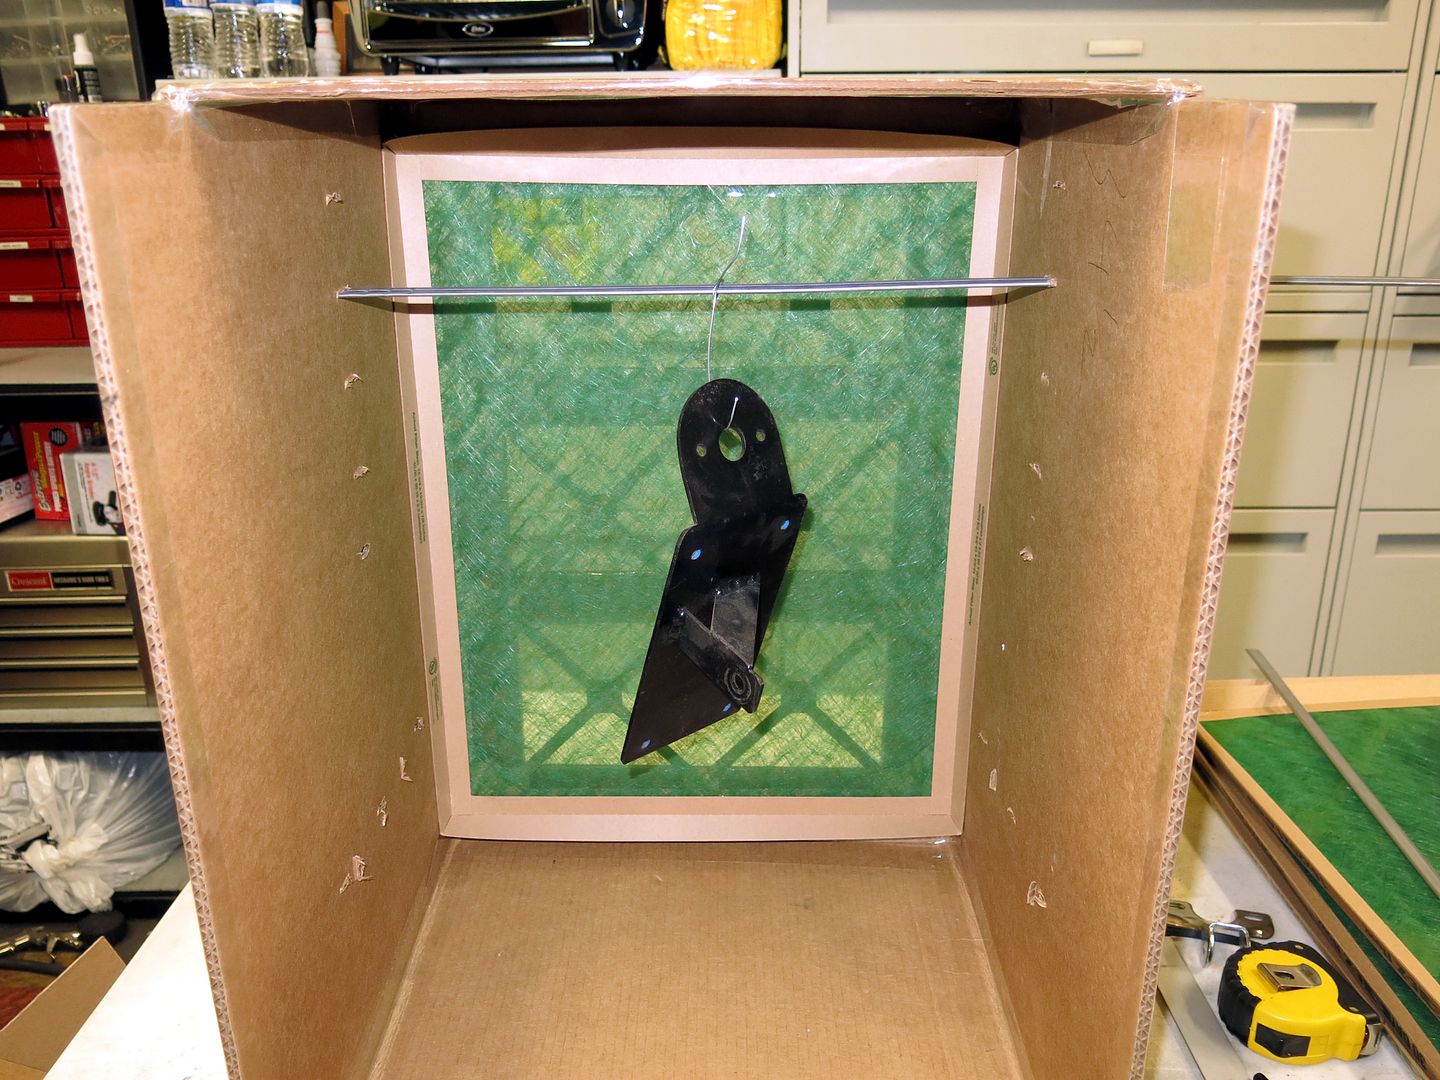
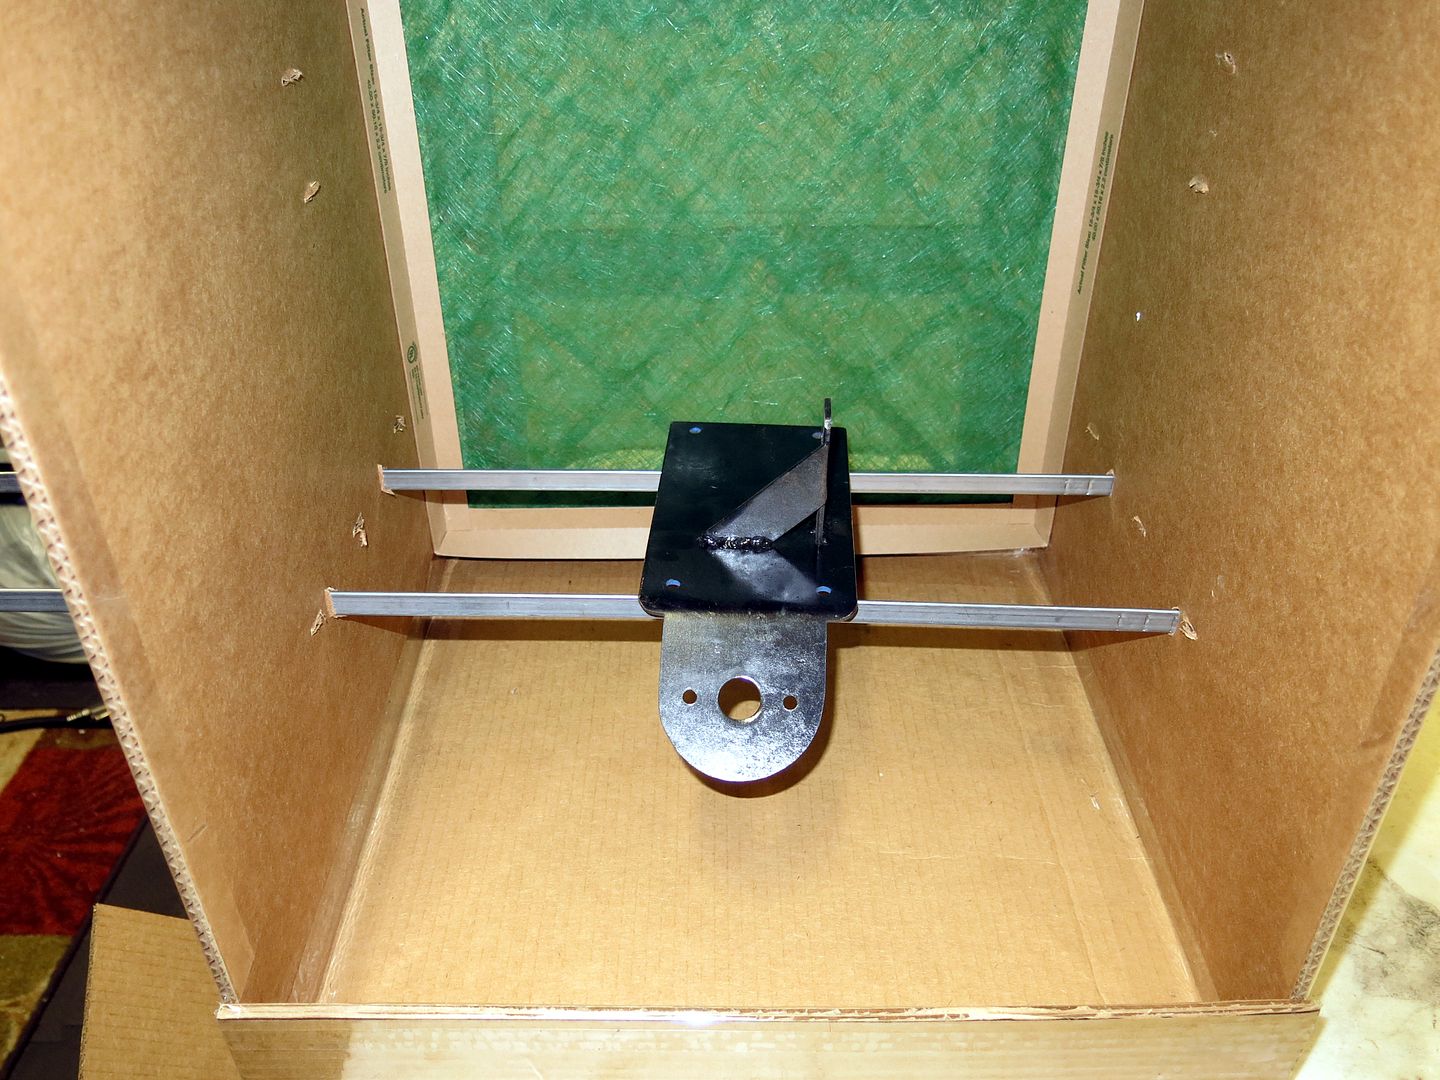
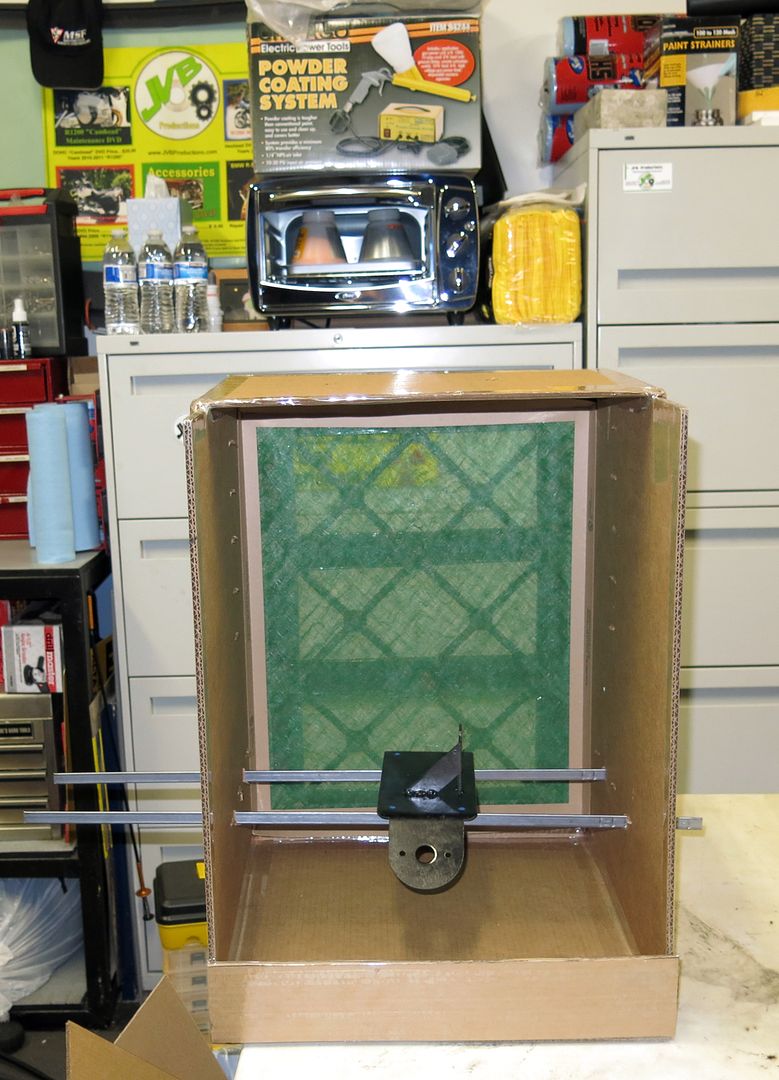
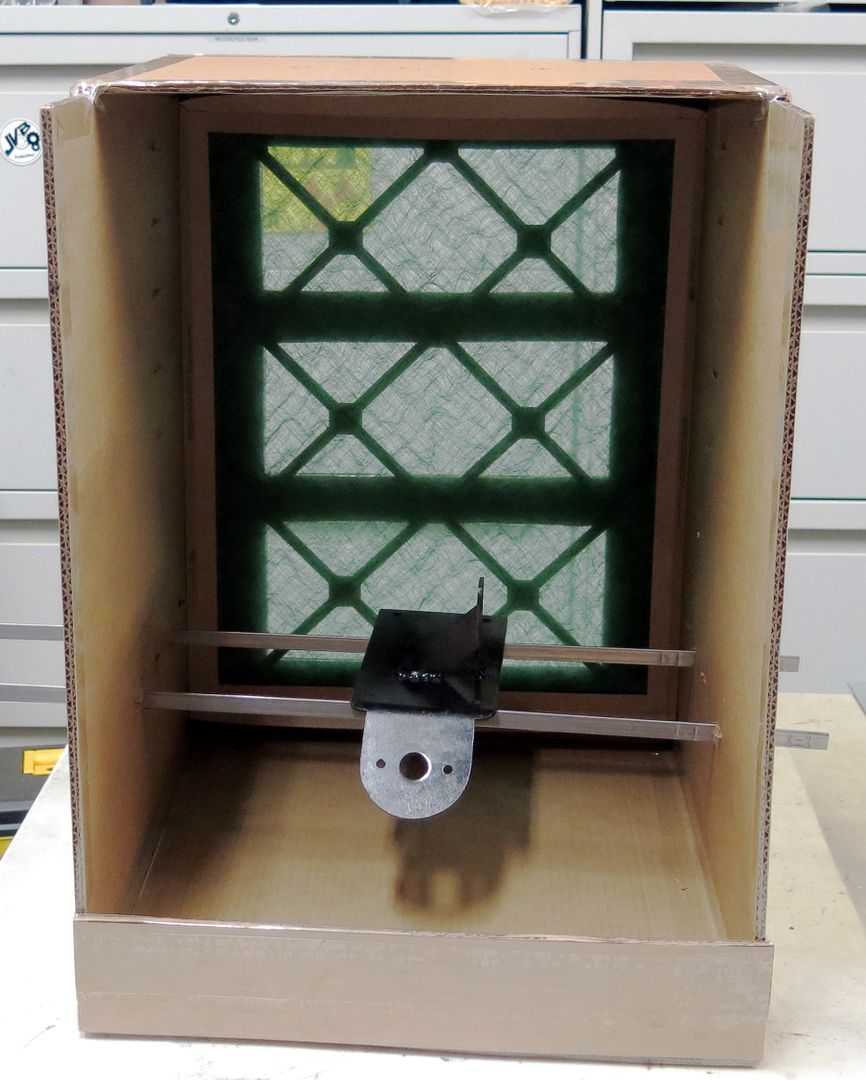
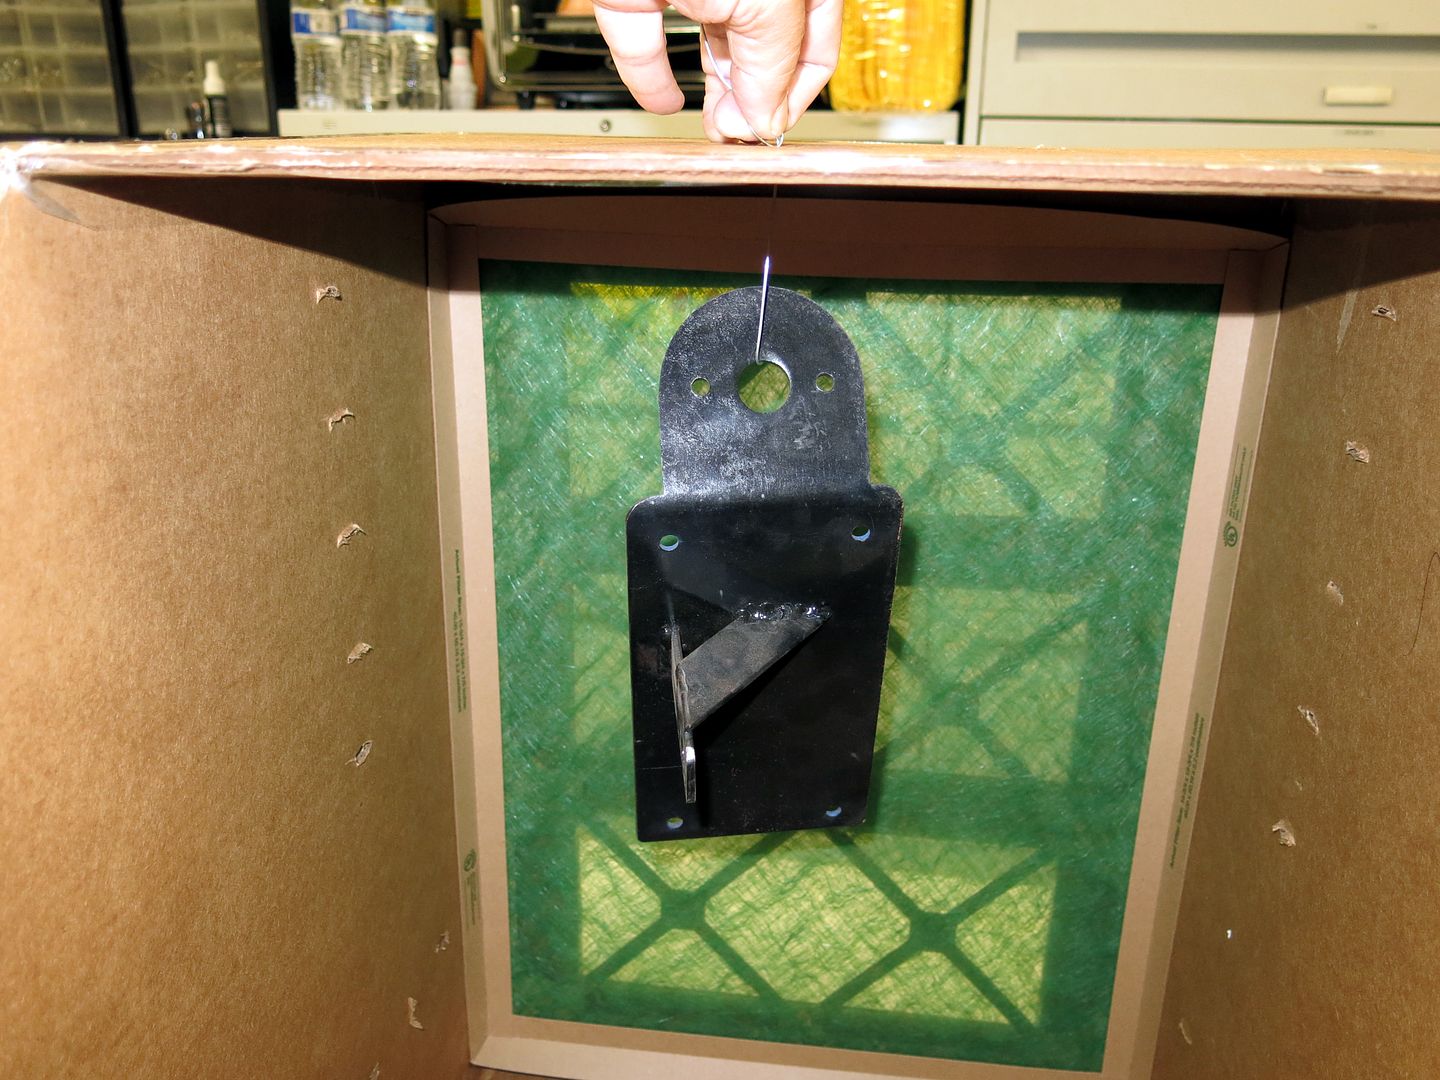
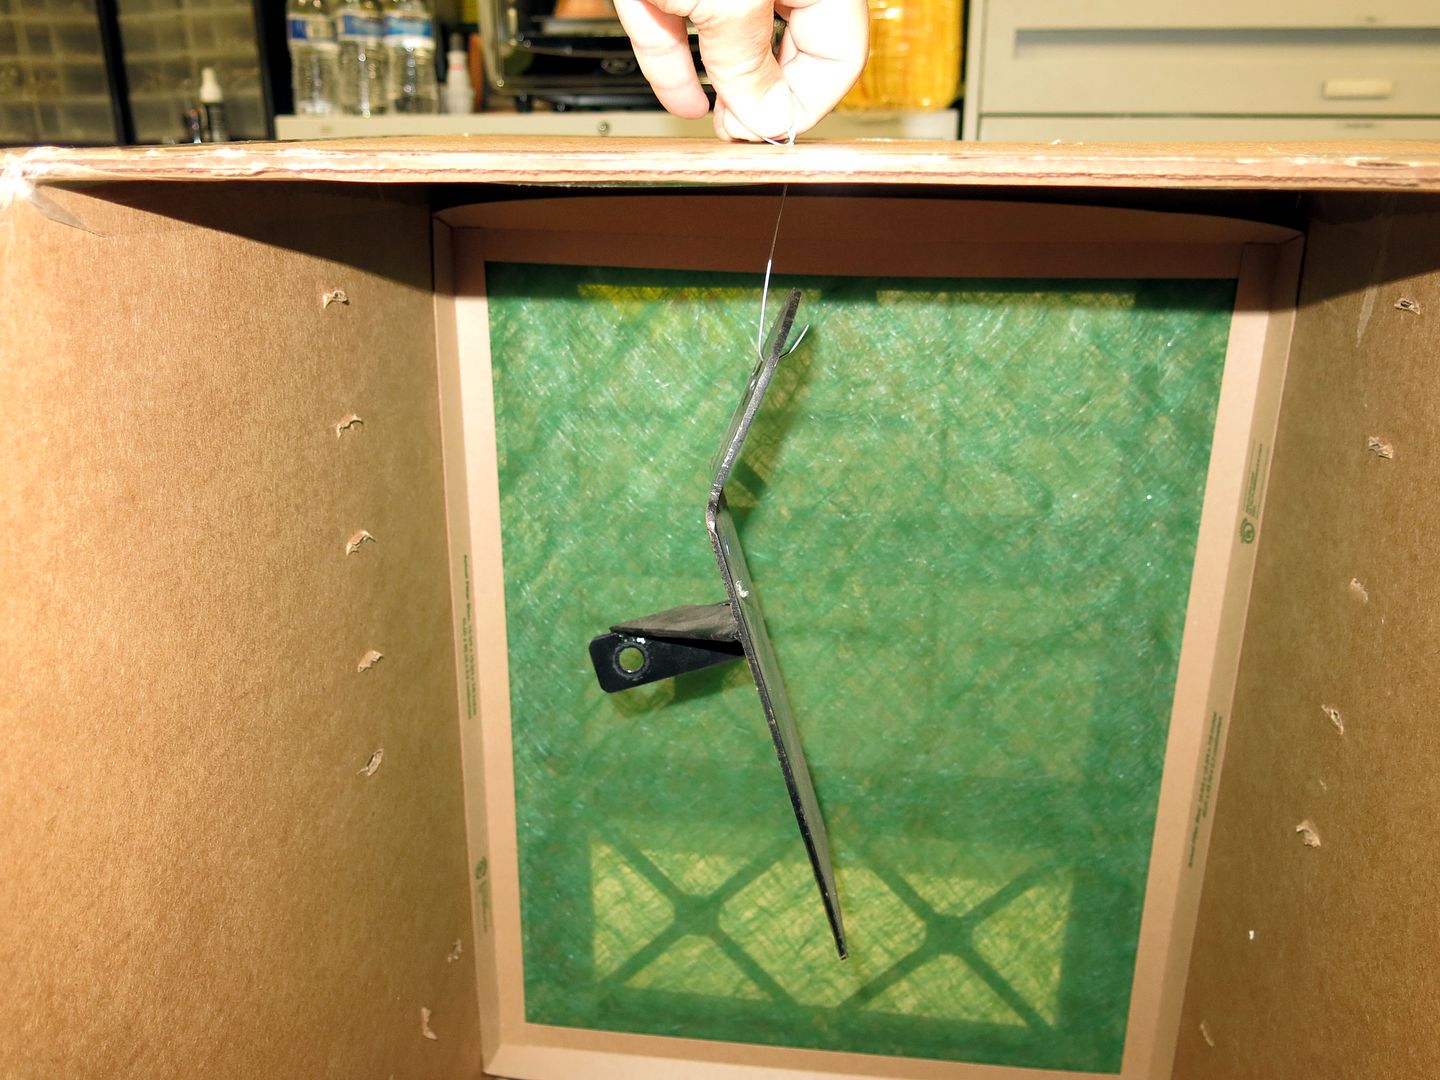
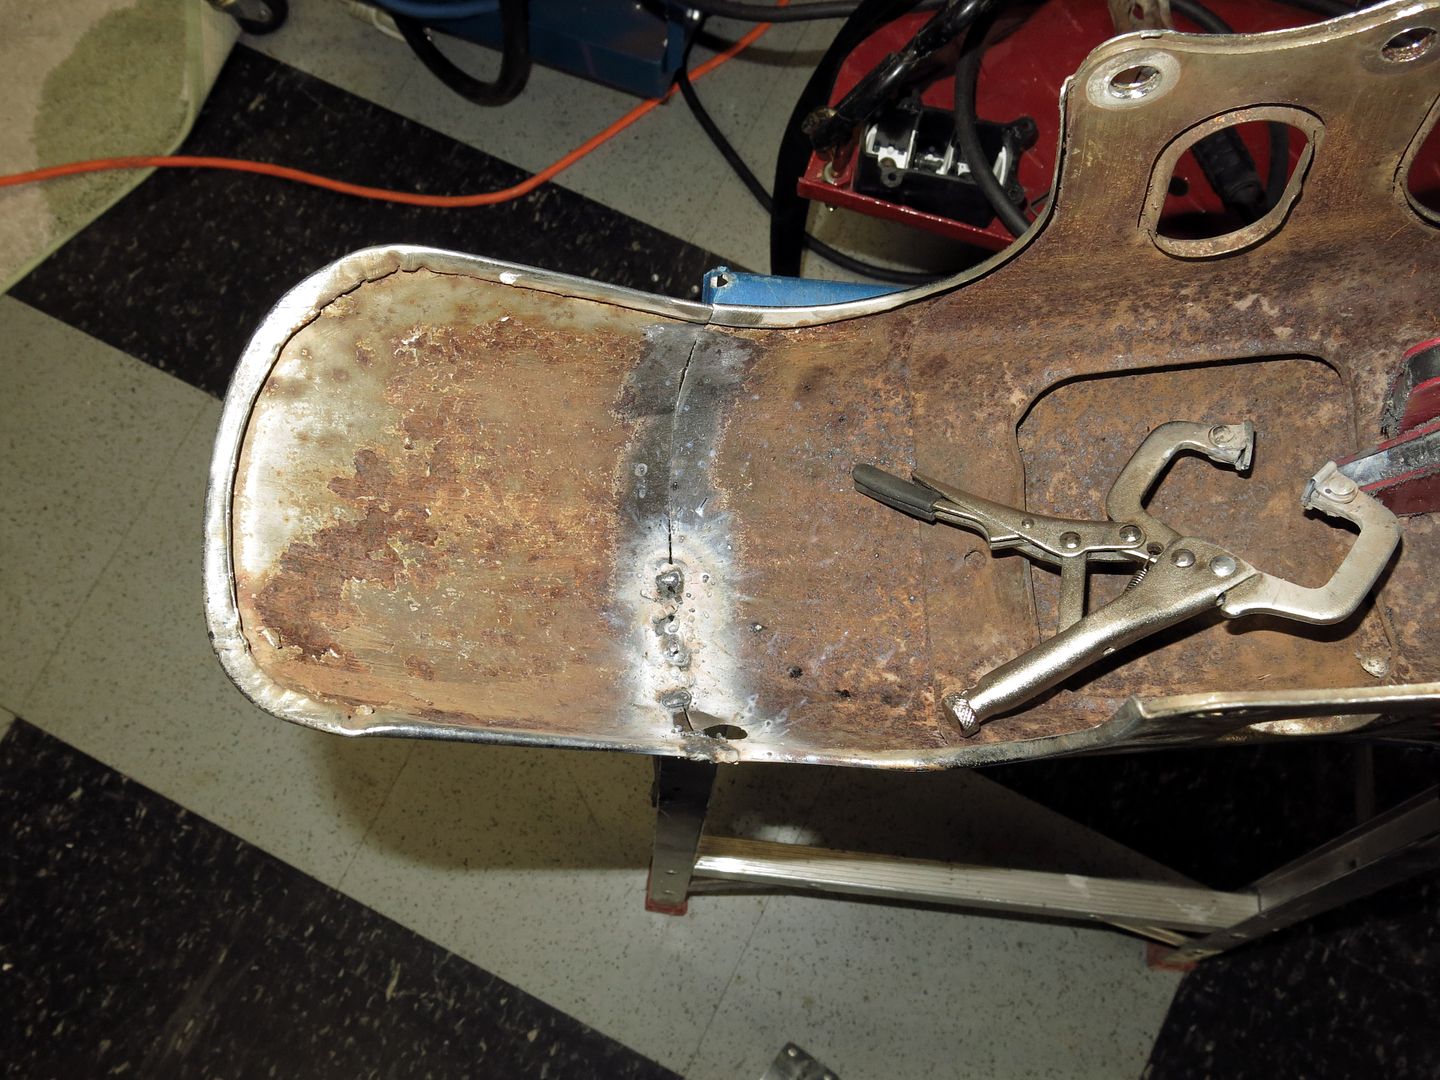
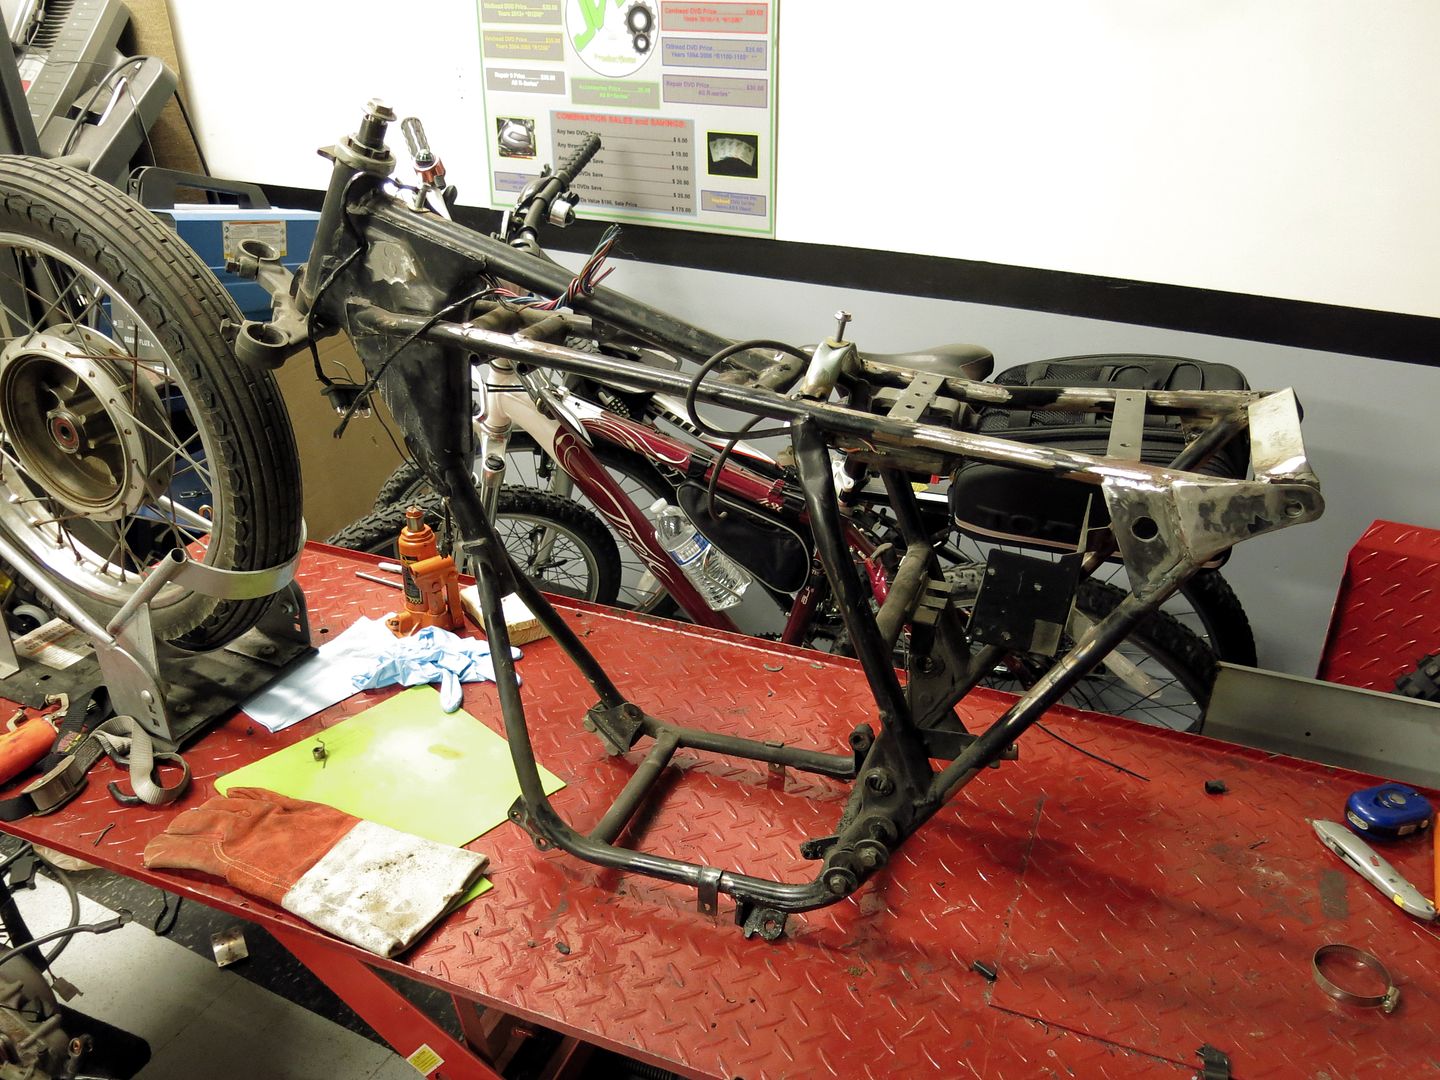
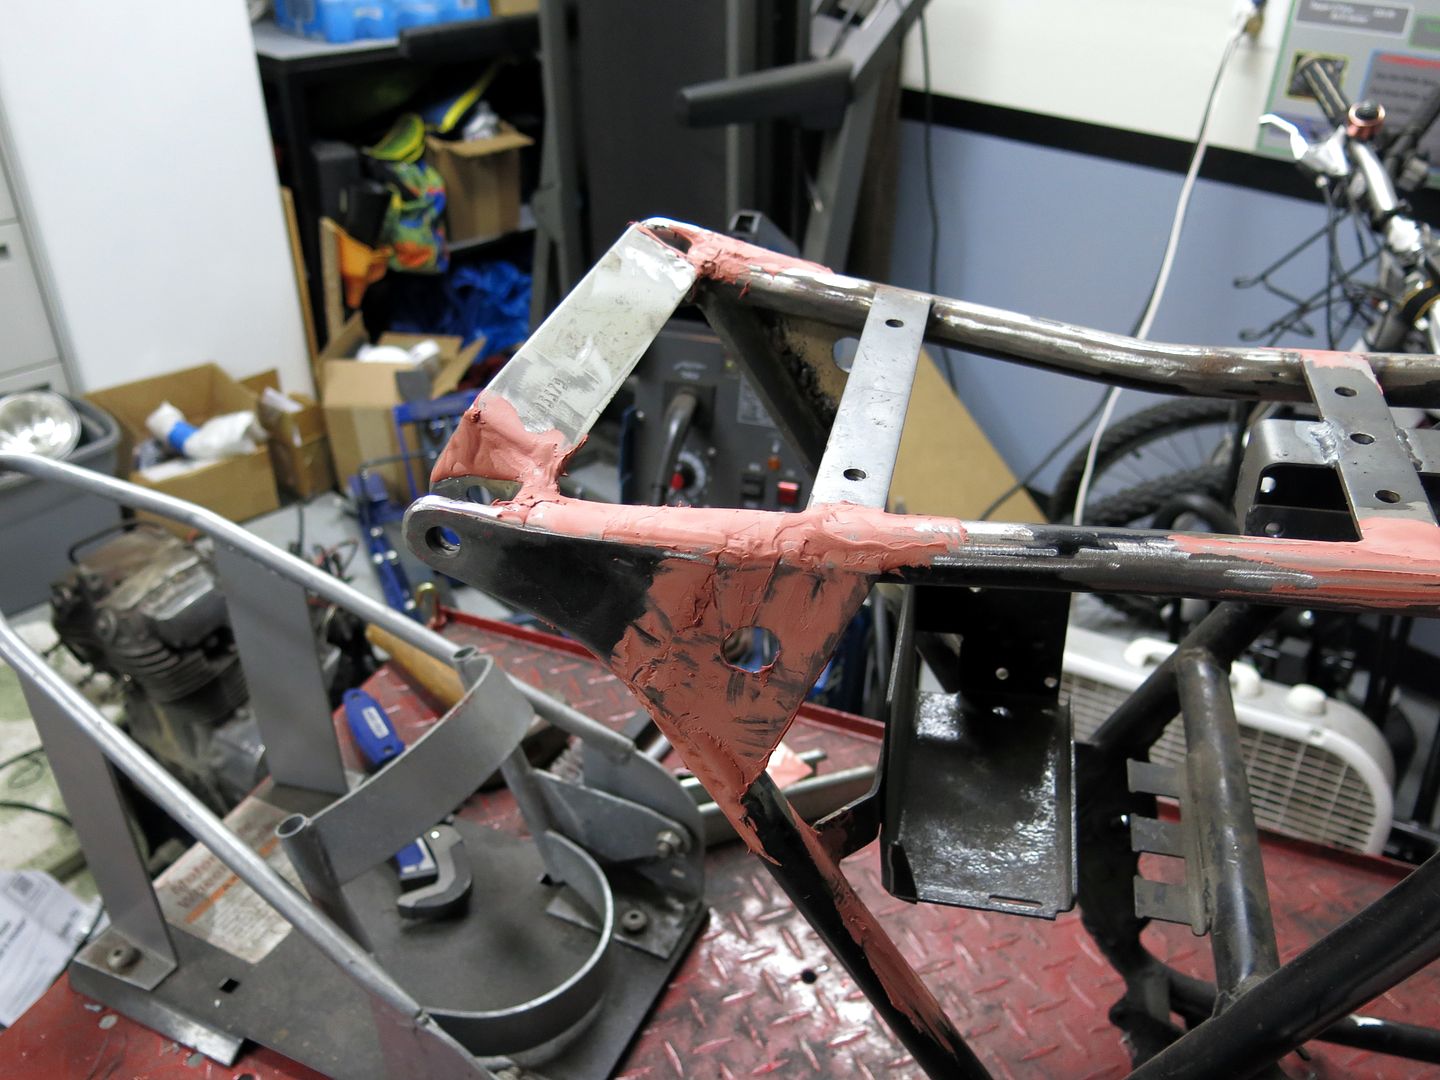
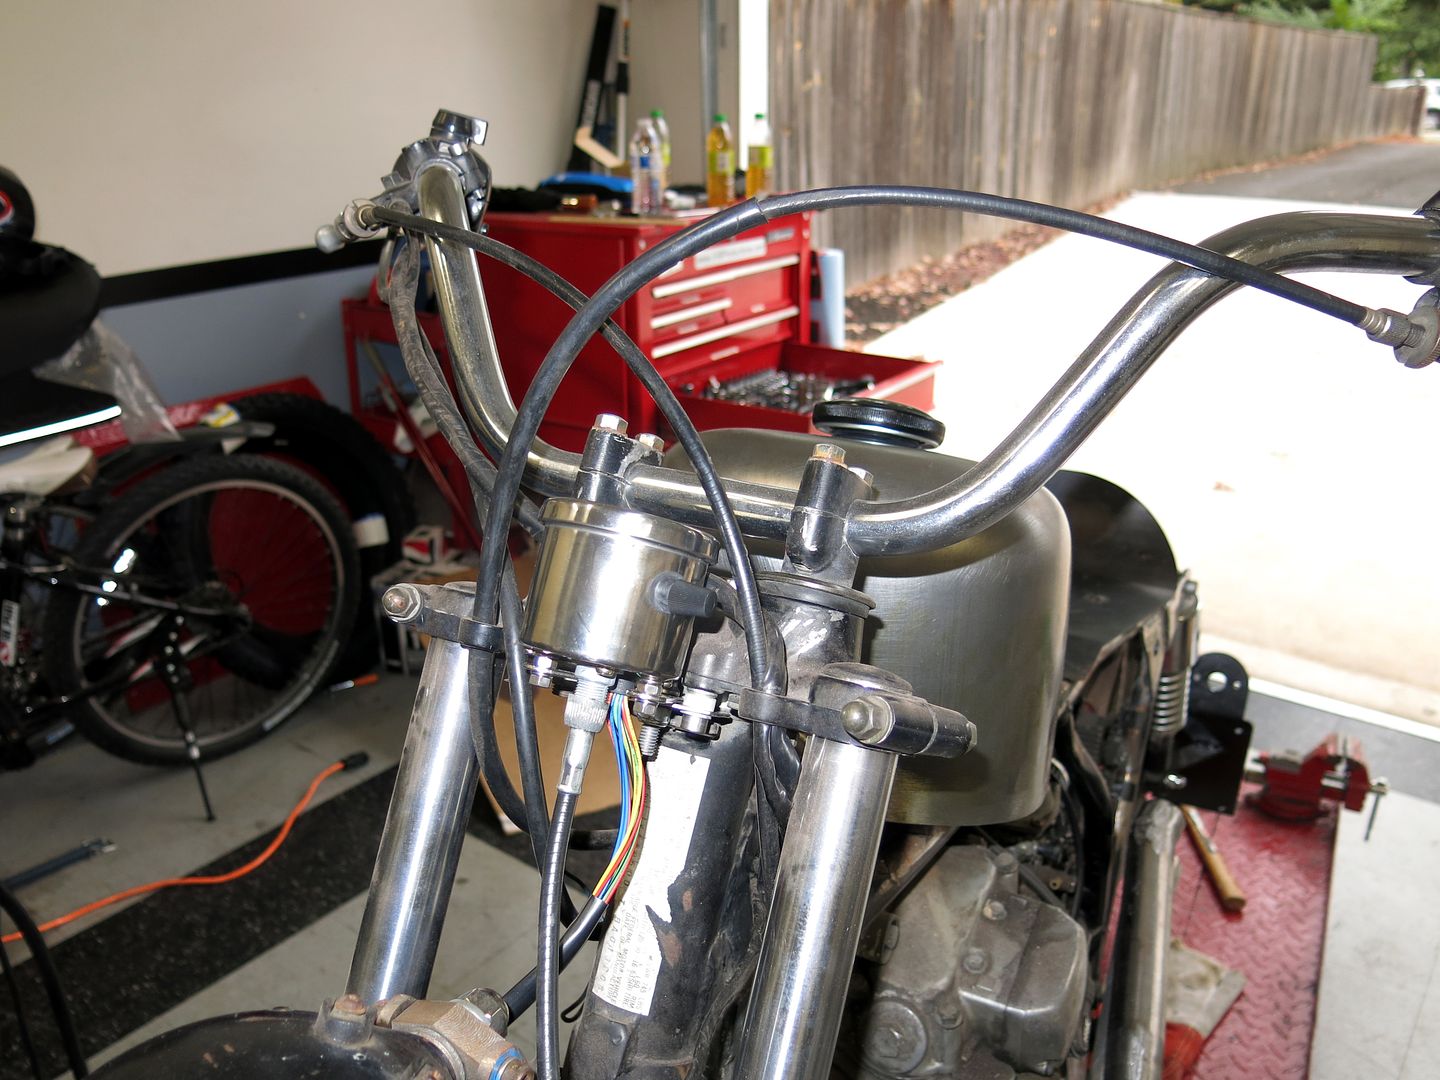
I made a mount for the tank from found parts and tacked it into place.

Tank%20Install%201.jpg

Tank%20Install%202.jpg

Tank%20Install%203.jpg

Tank%20Install%204.jpg

Tank%20Install.jpg

Tank%20Install%209.jpg

Tank%20Install%2010.jpg

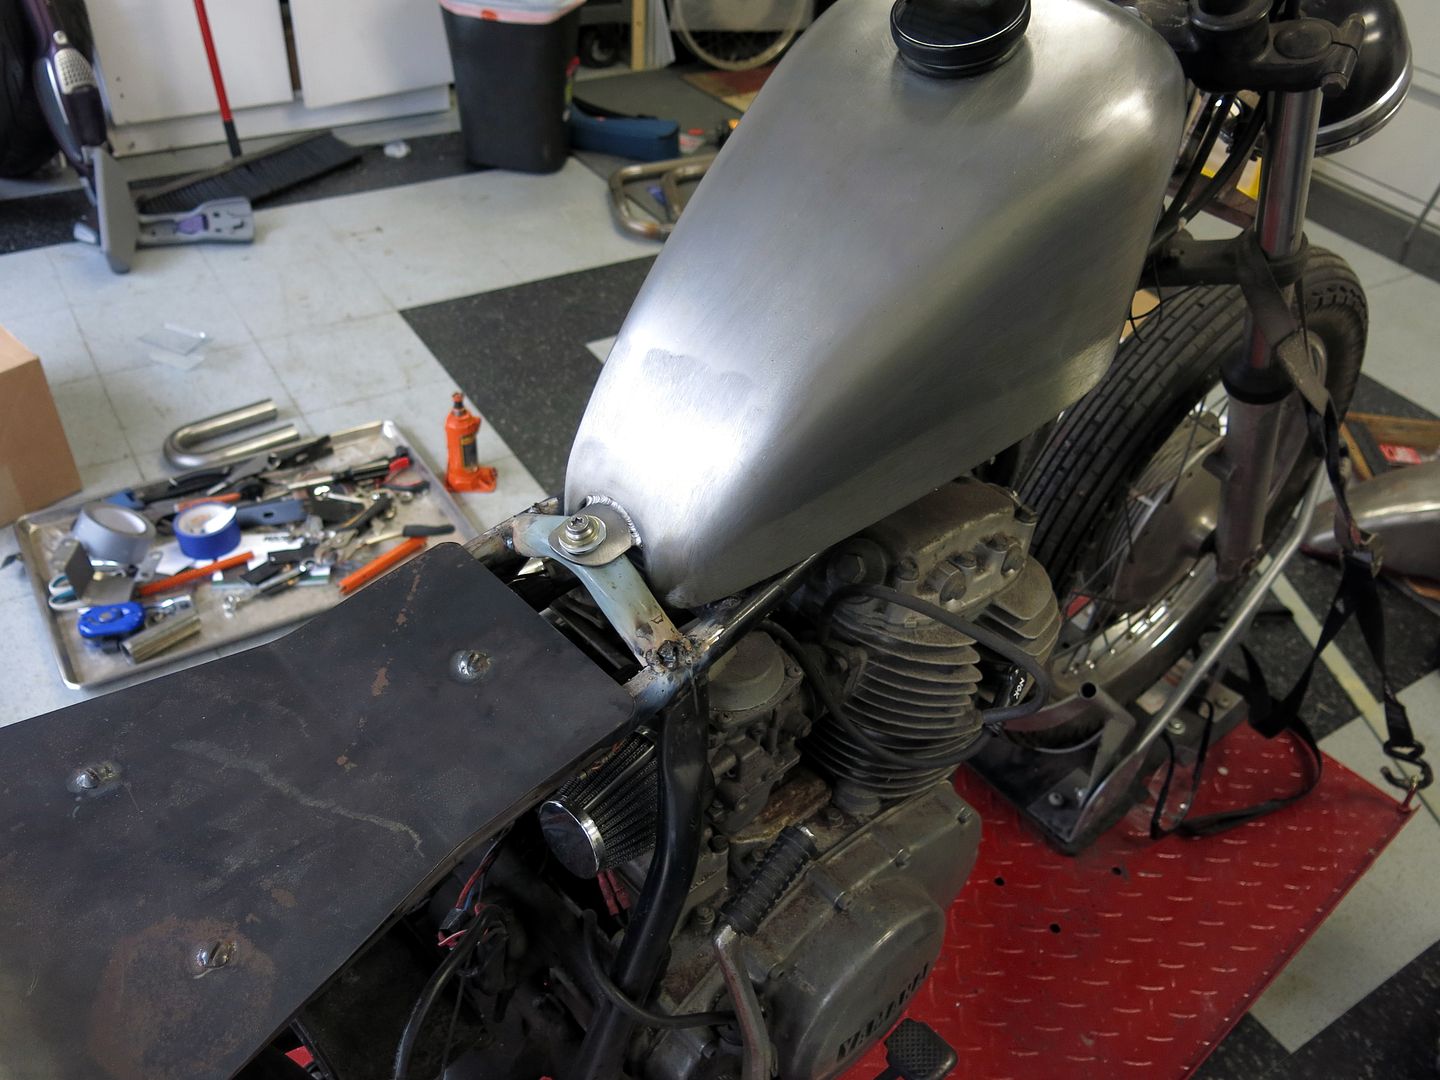
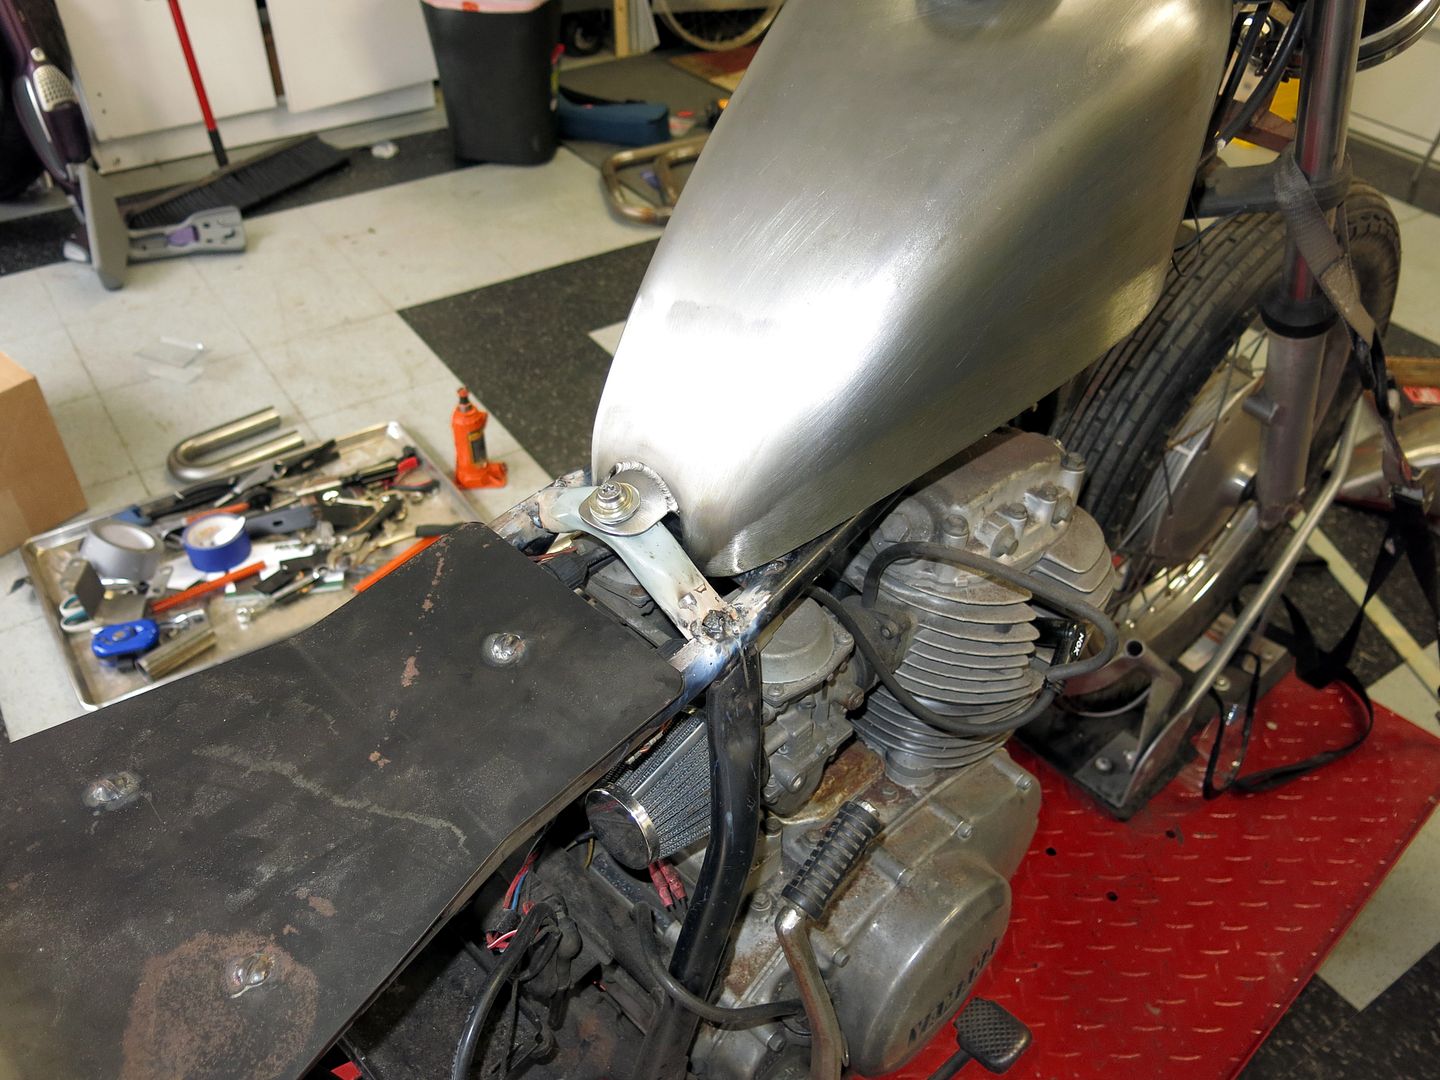
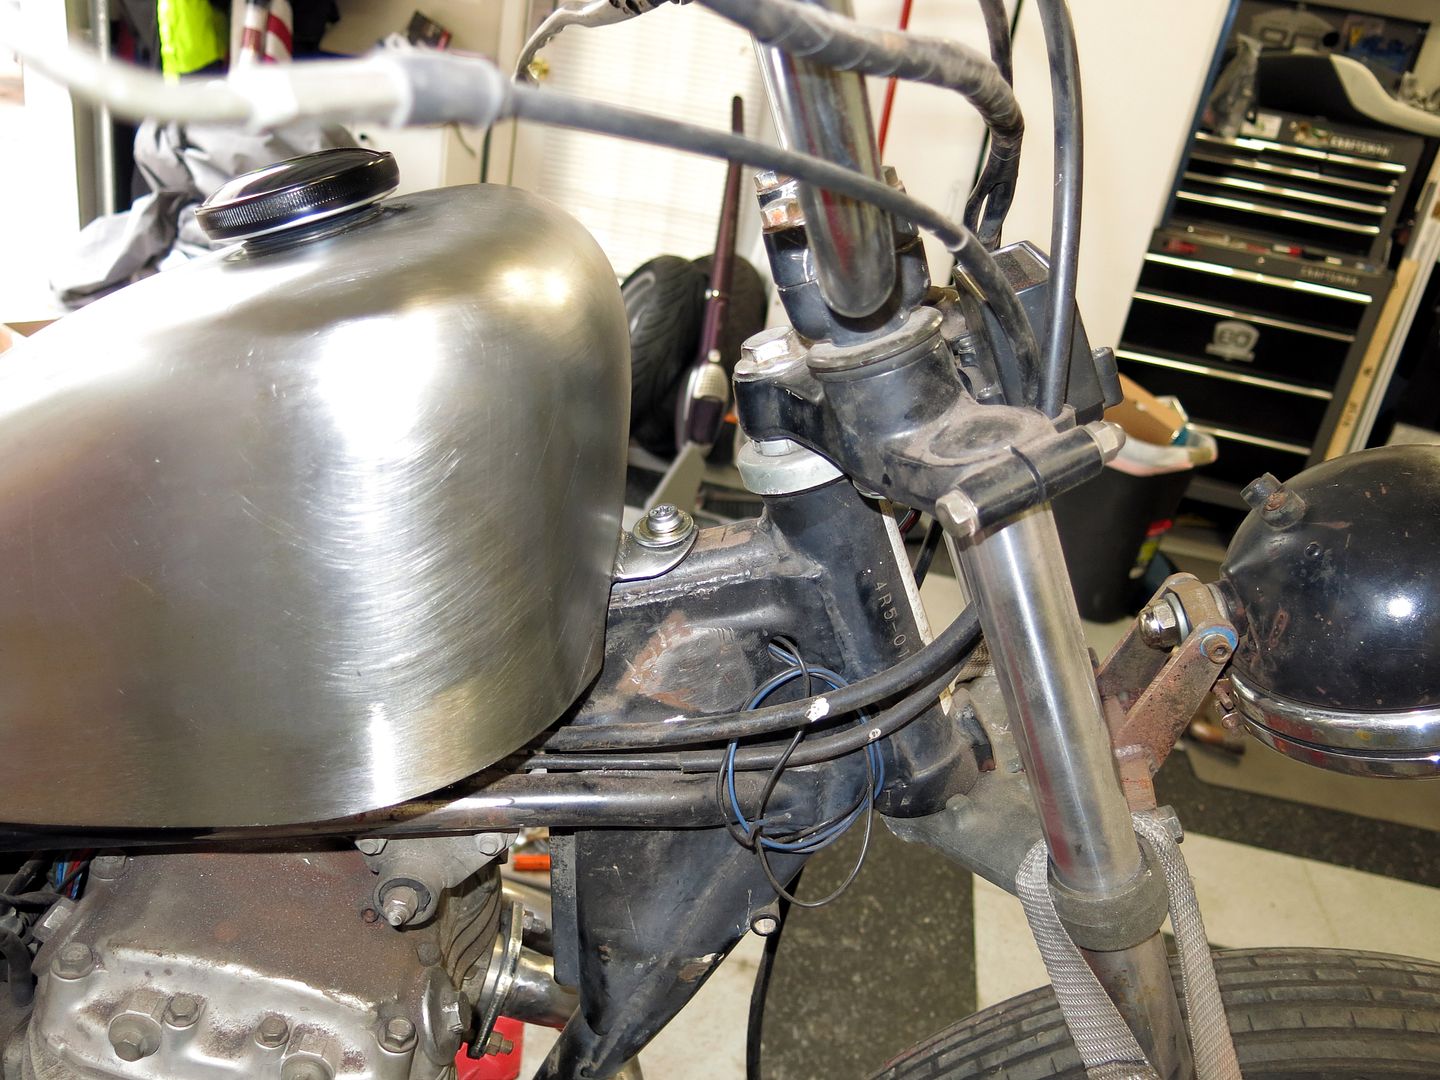
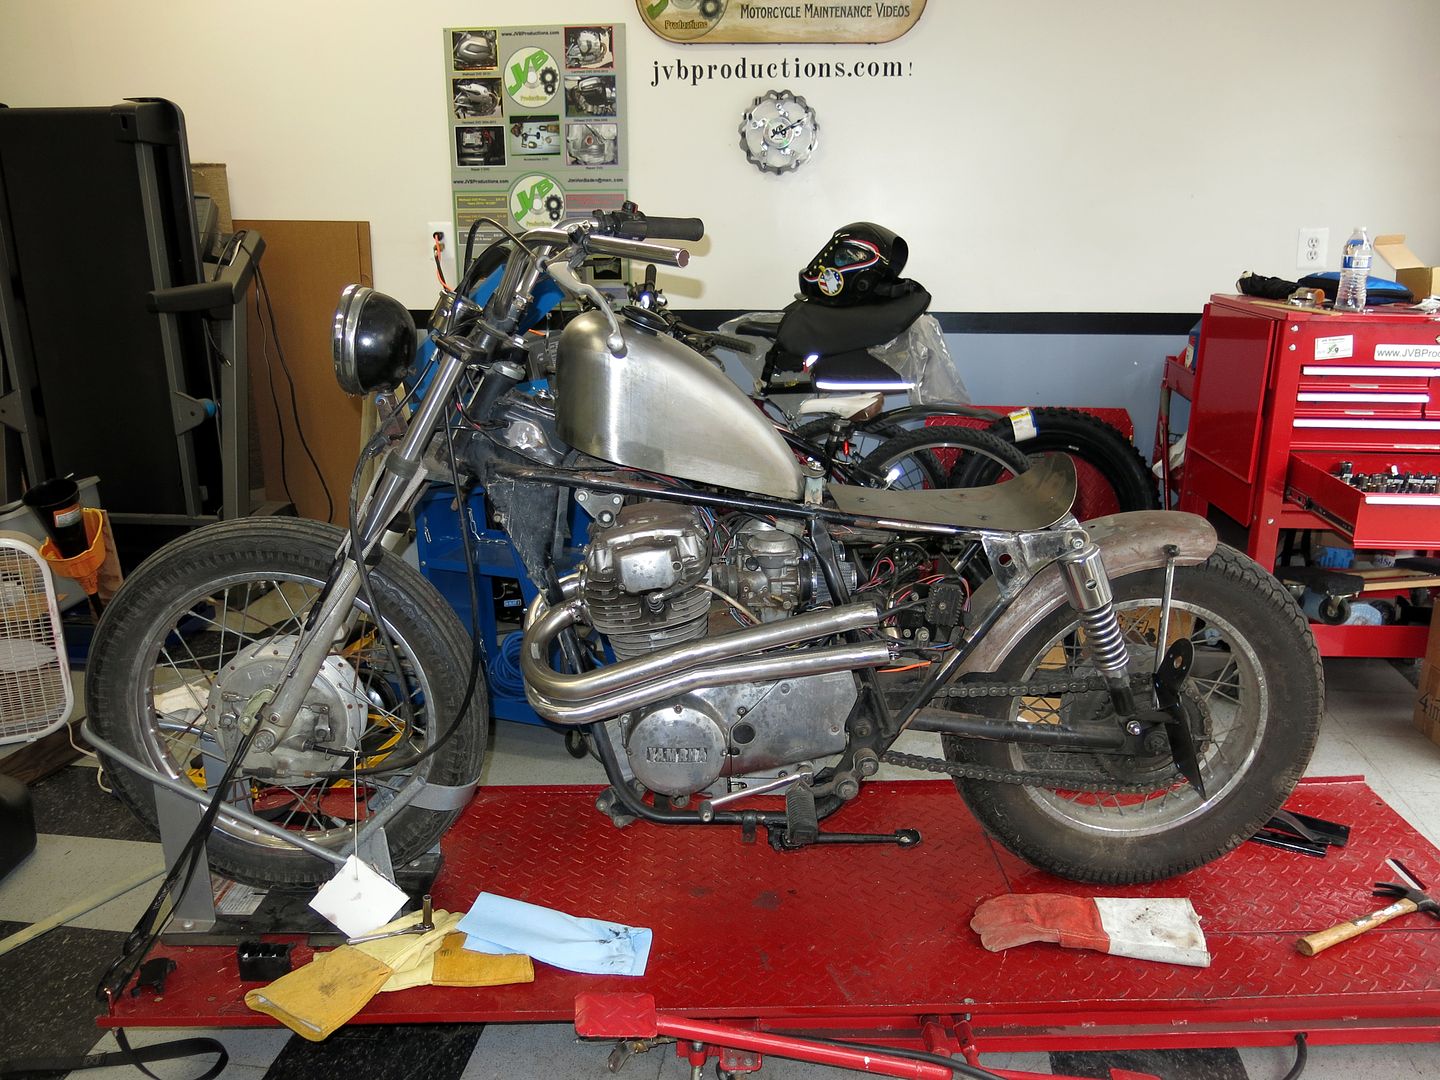
The welds are just tacks. I plan to weld fully, and fully clean the look when I strip the bike for paint.


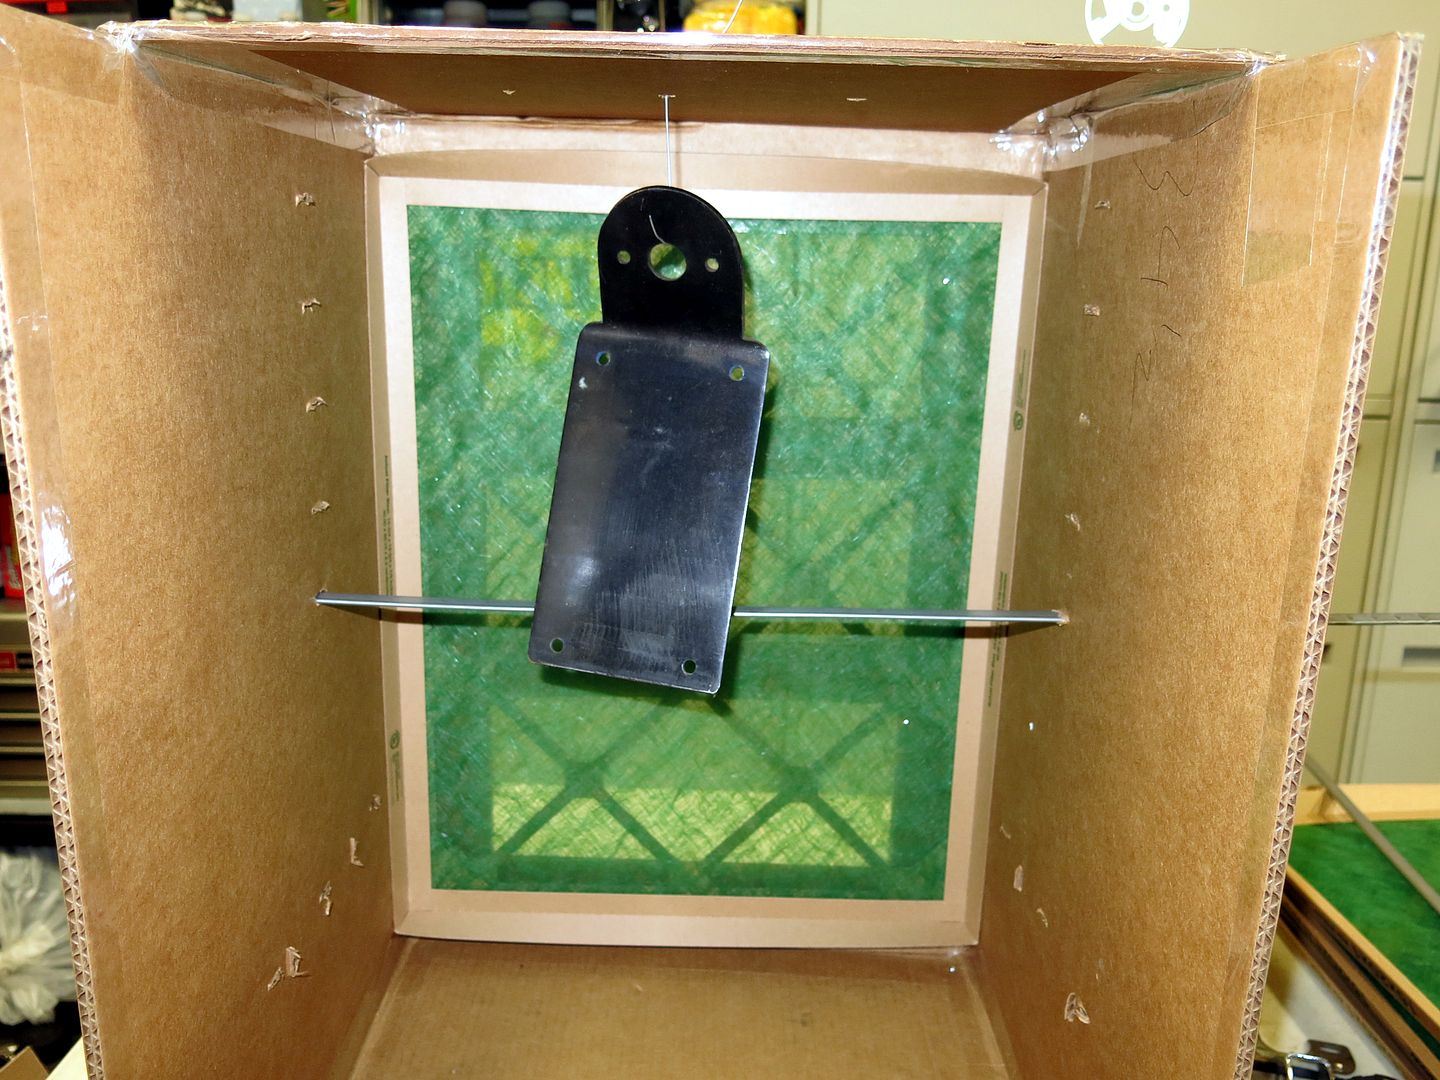
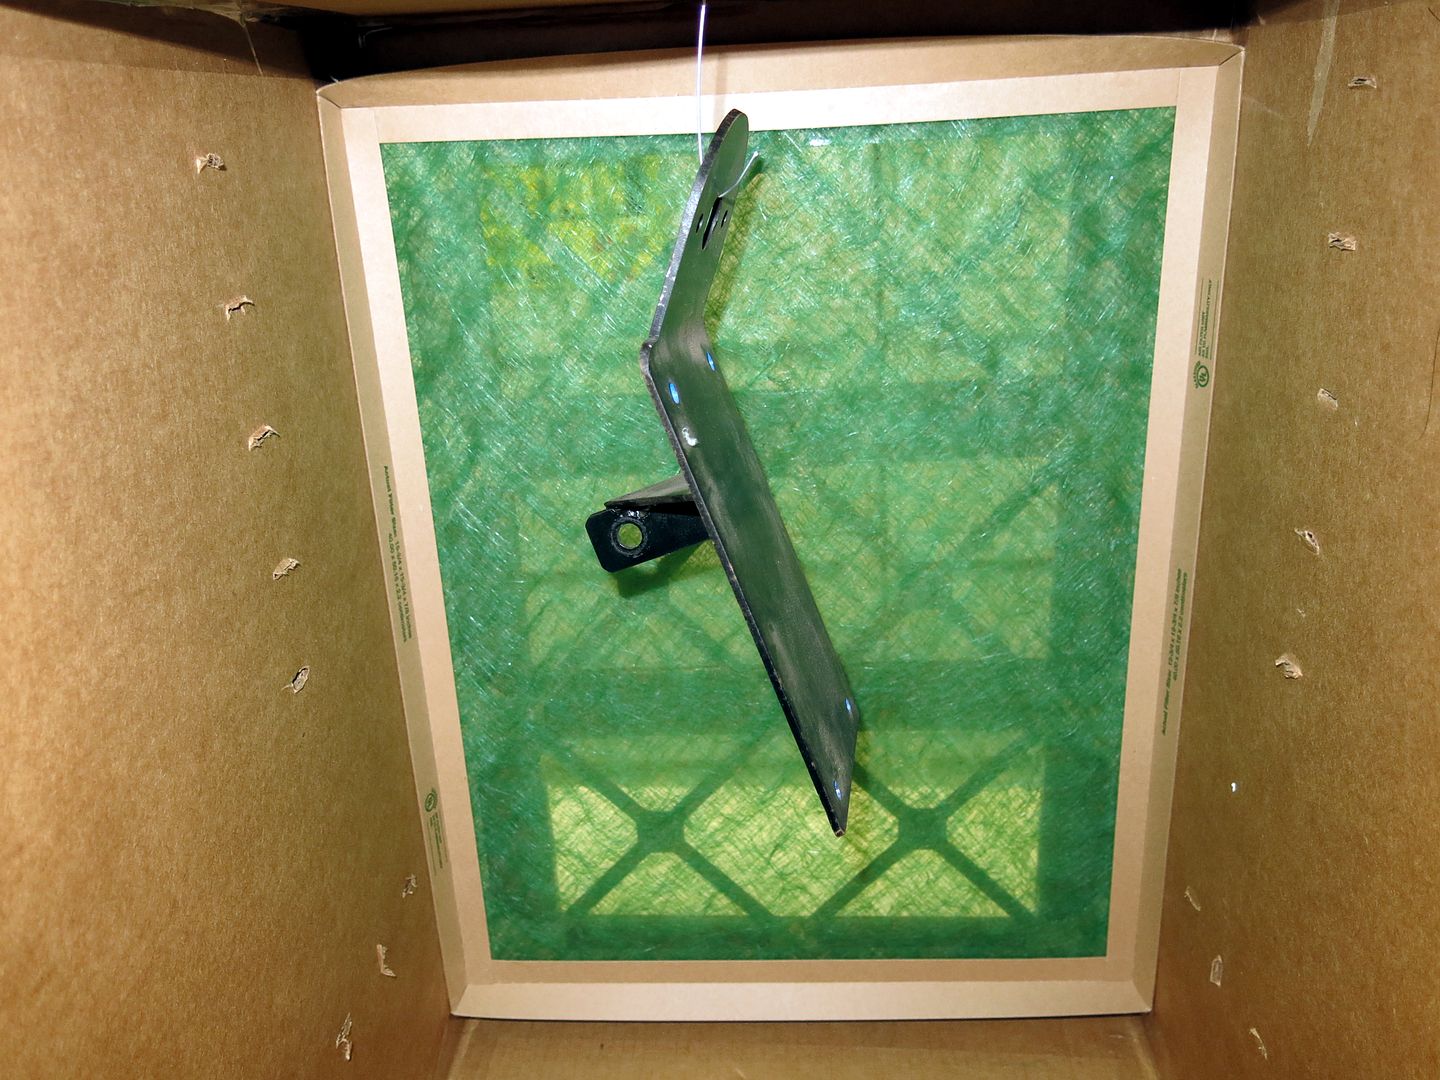
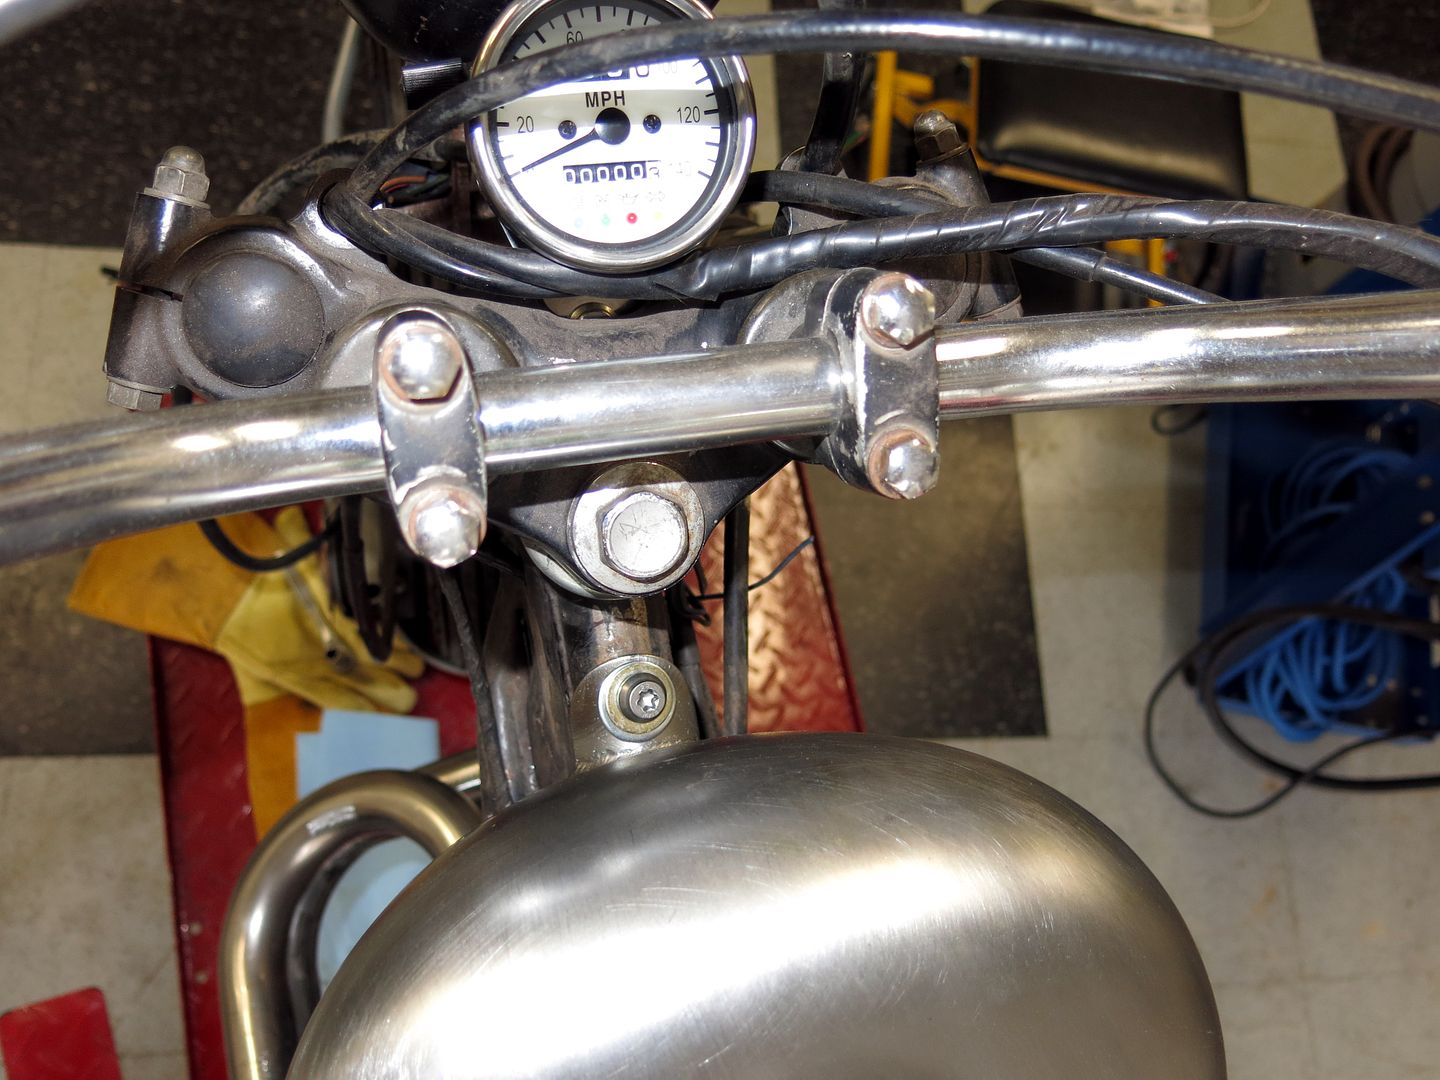
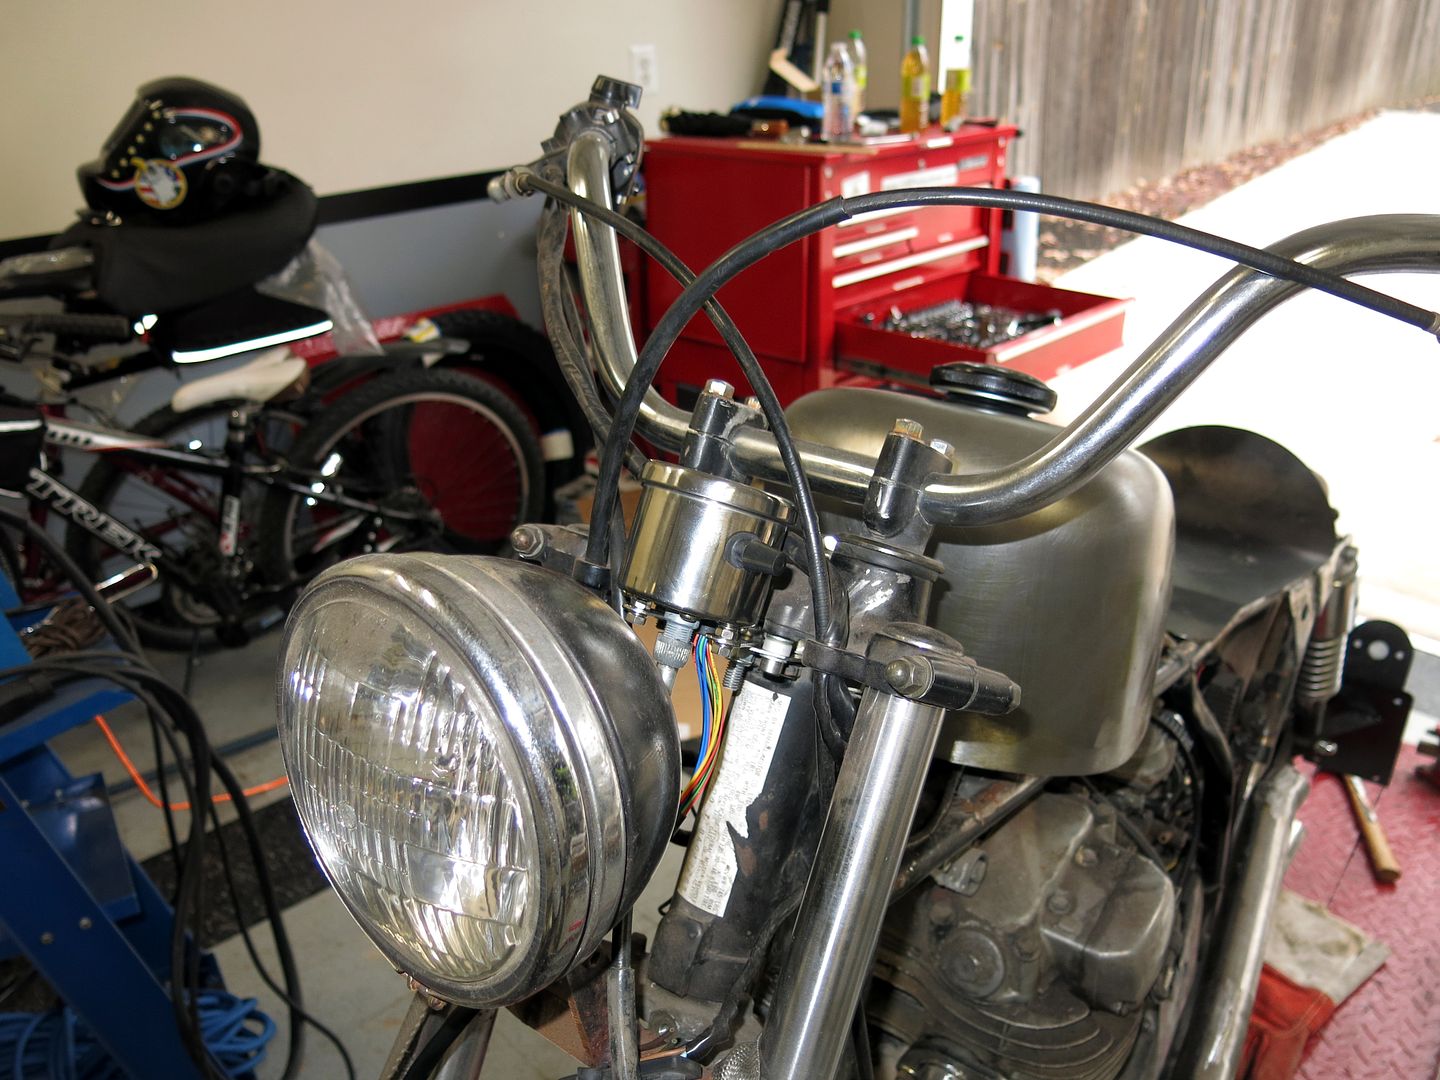
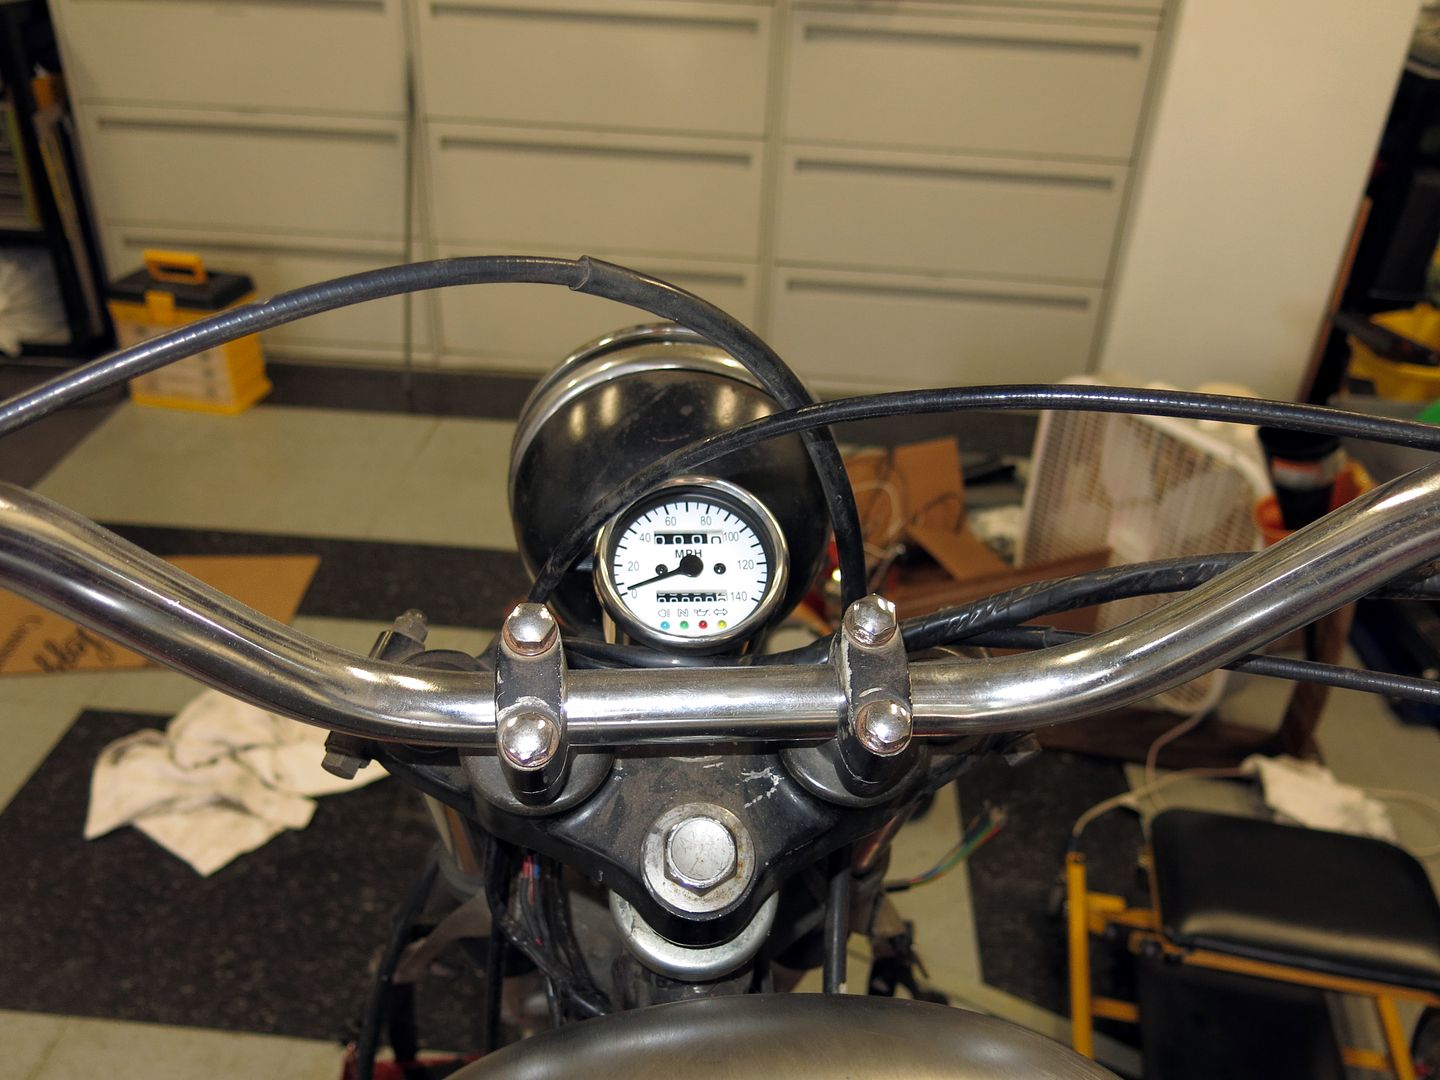
Then made a bracket to attach the new gauge with lights.

Gage%201.jpg

Gage%202.jpg

Gage%203.jpg


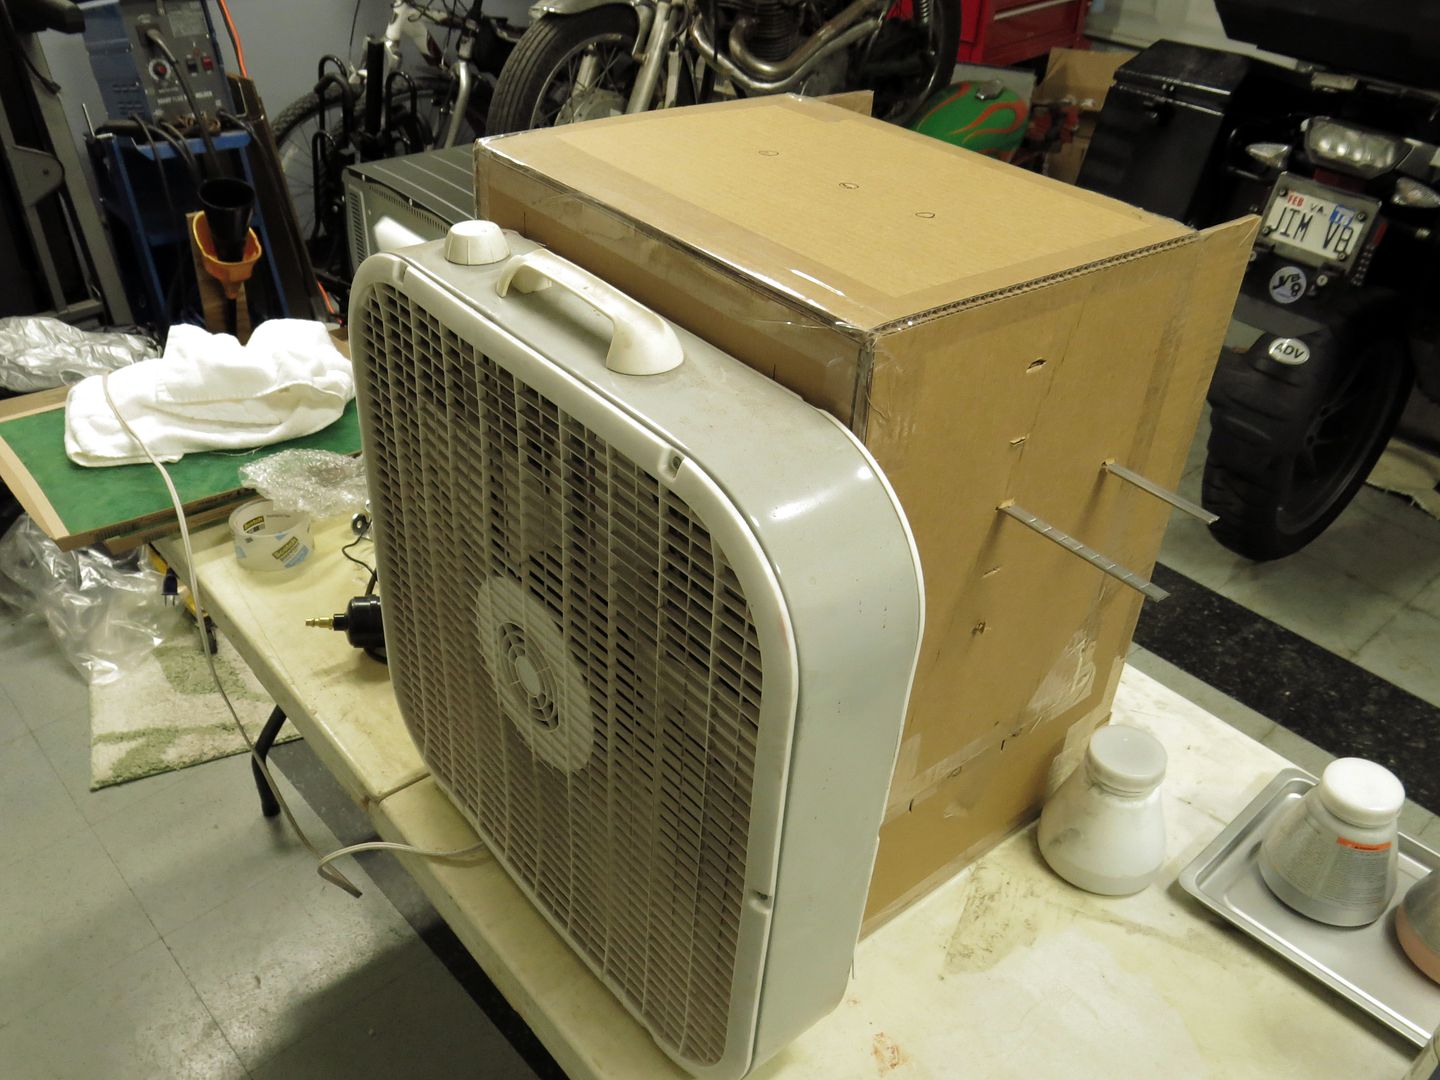
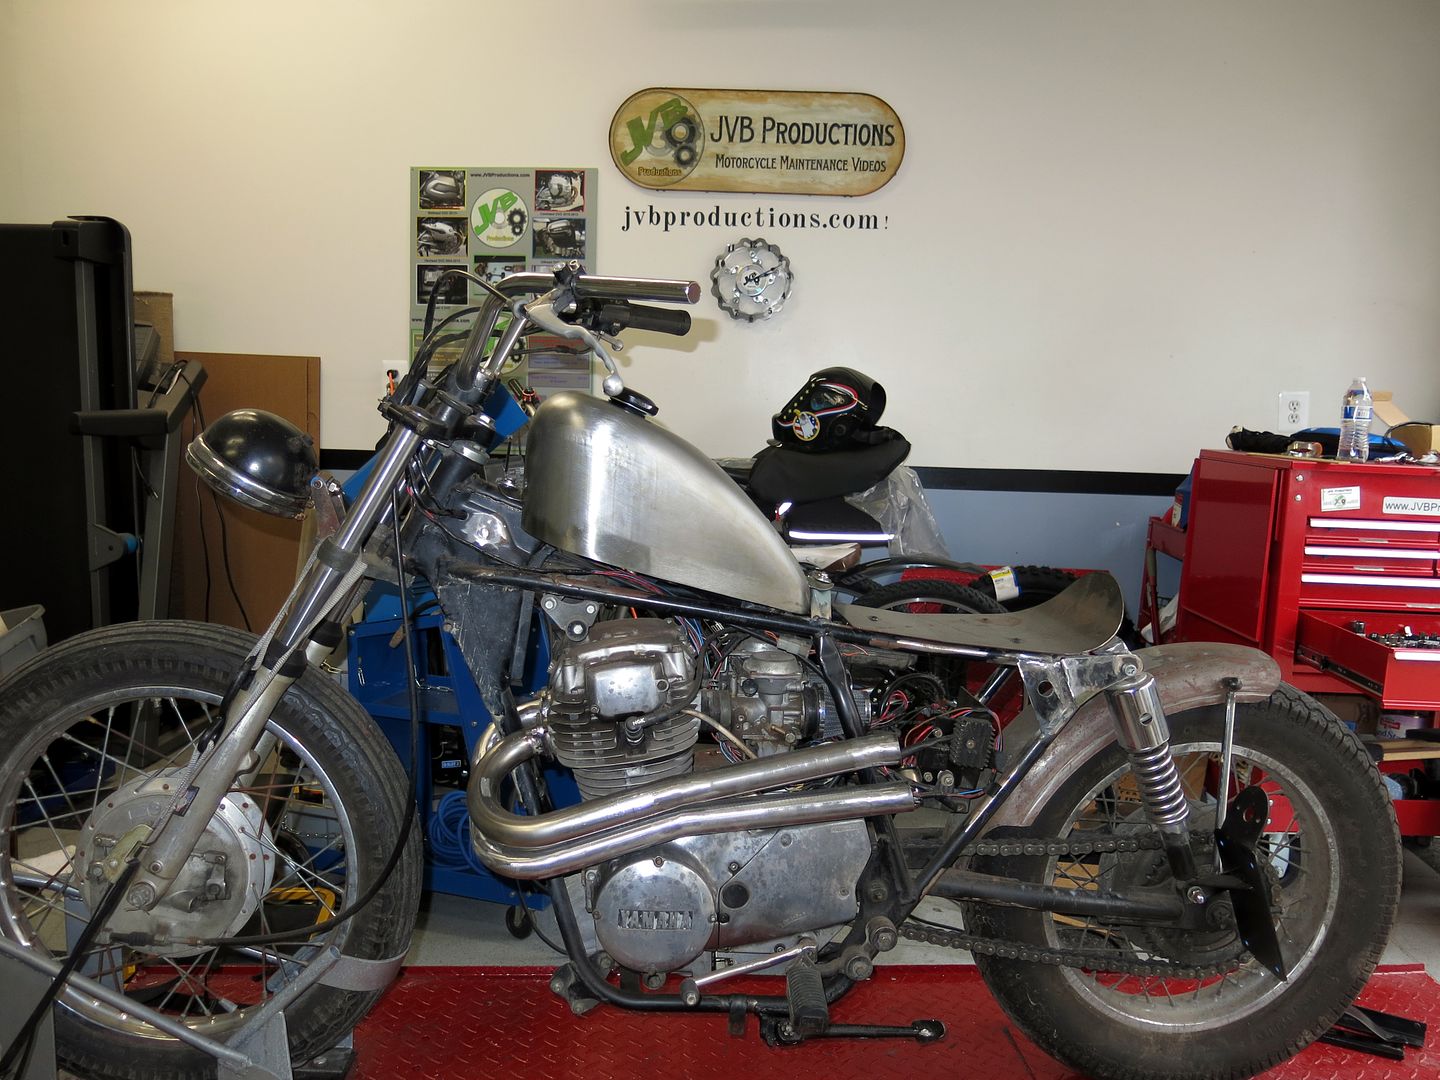
Measured up for shocks:
Shocks%201.jpg

Shocks%202.jpg

Shocks%203.jpg

Shocks%204.jpg


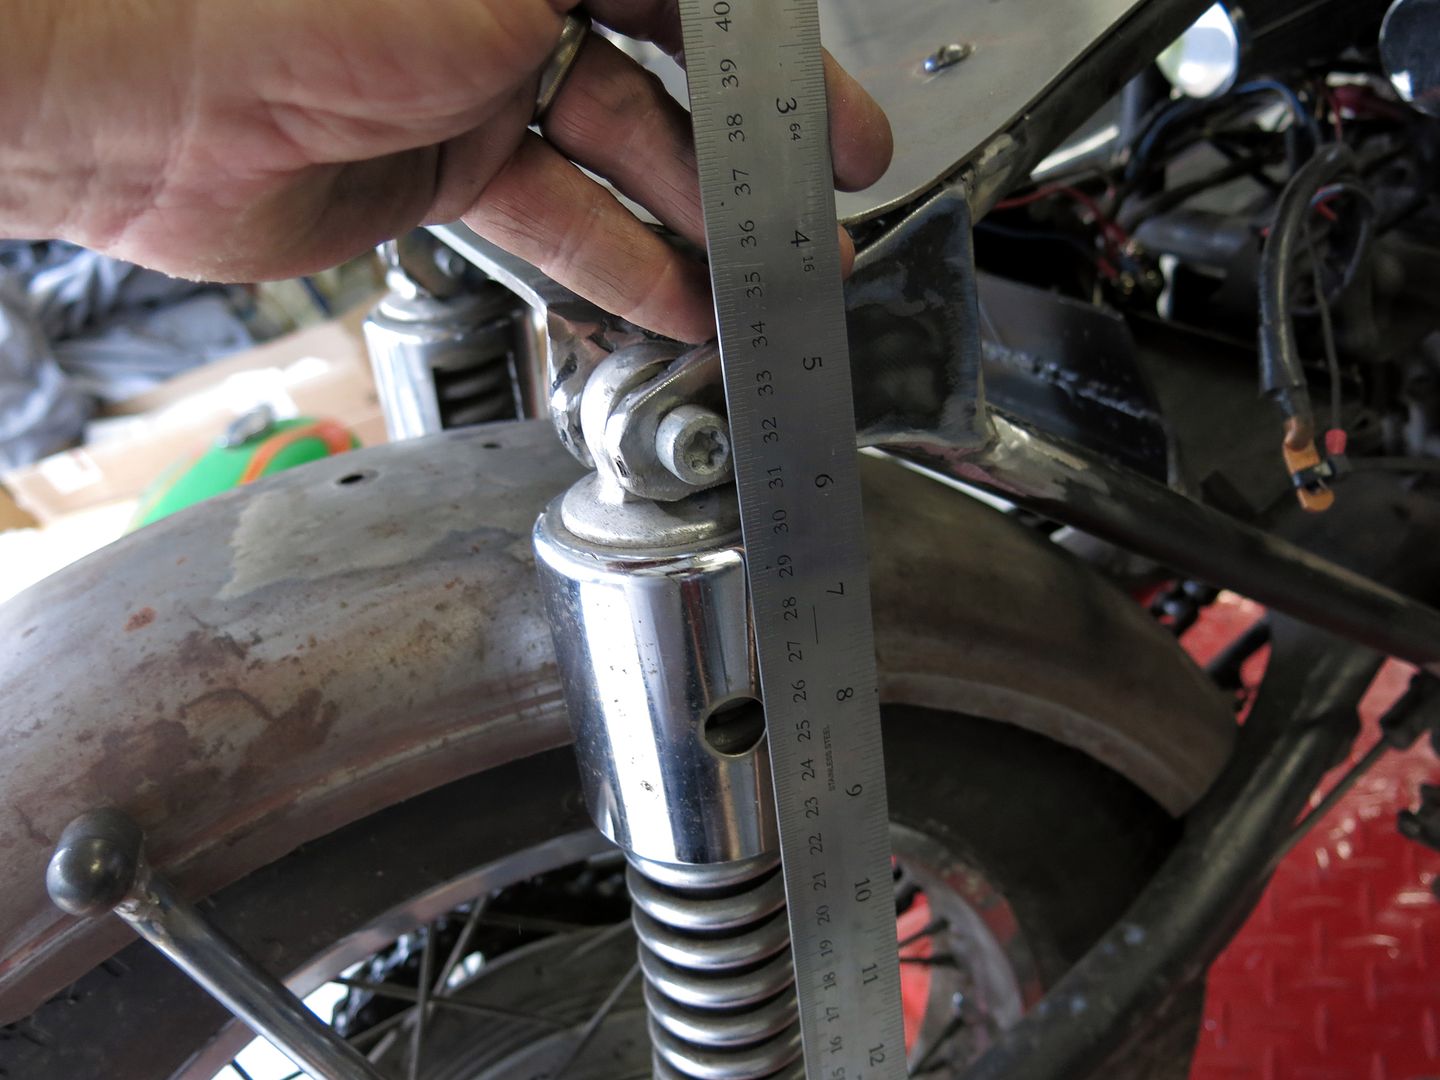
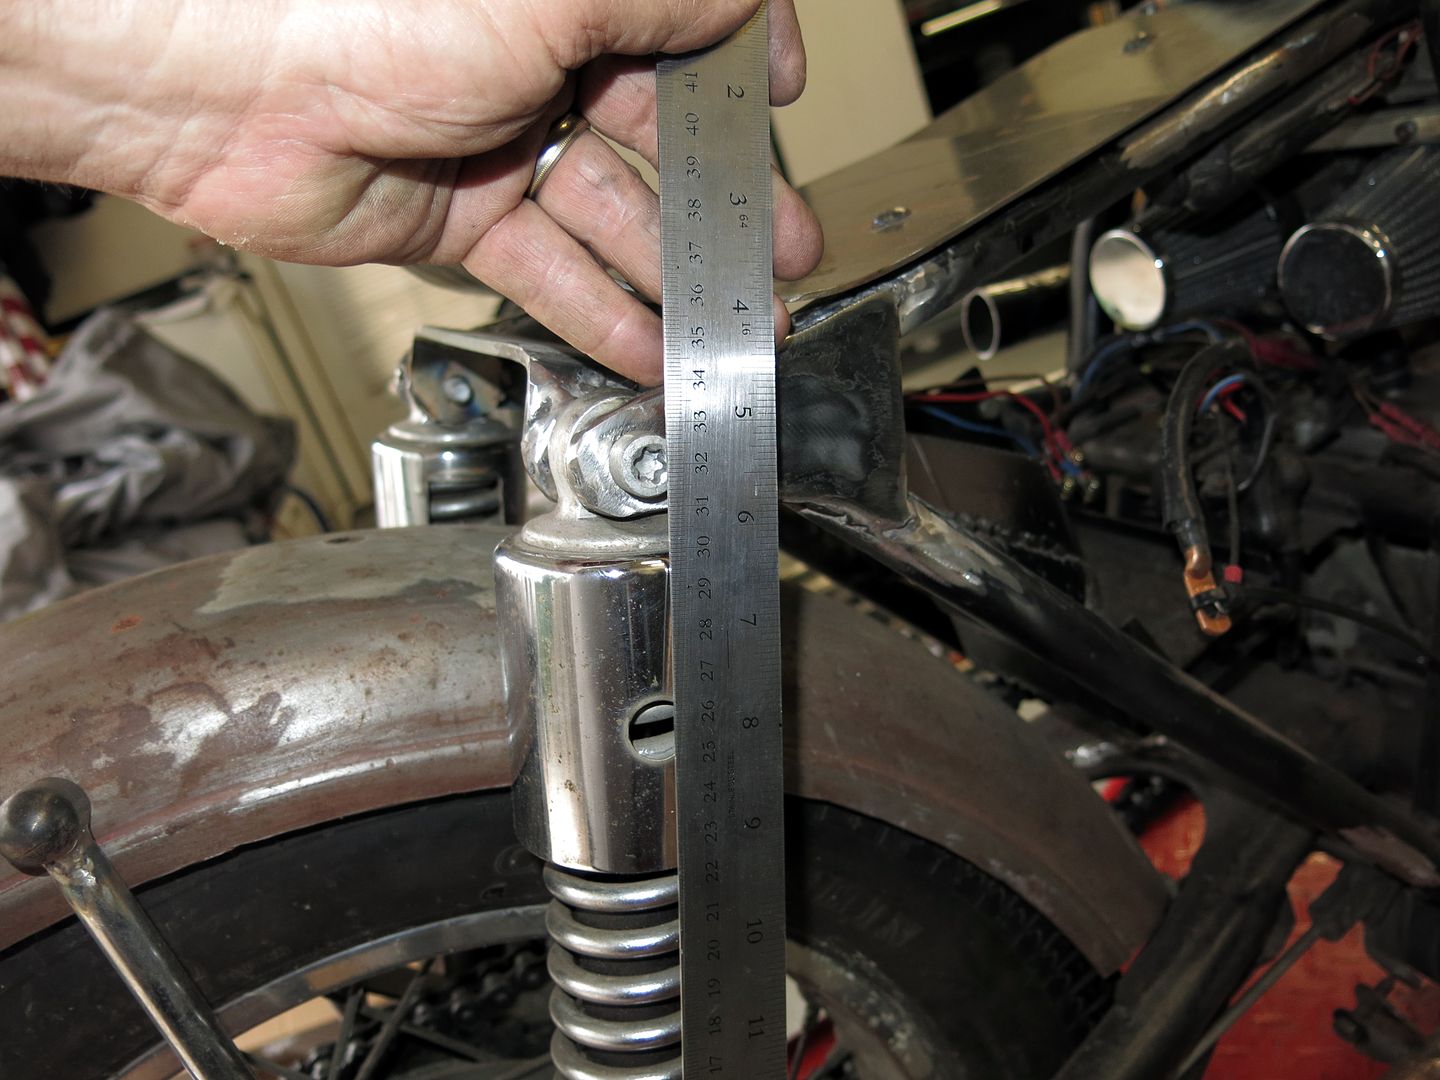
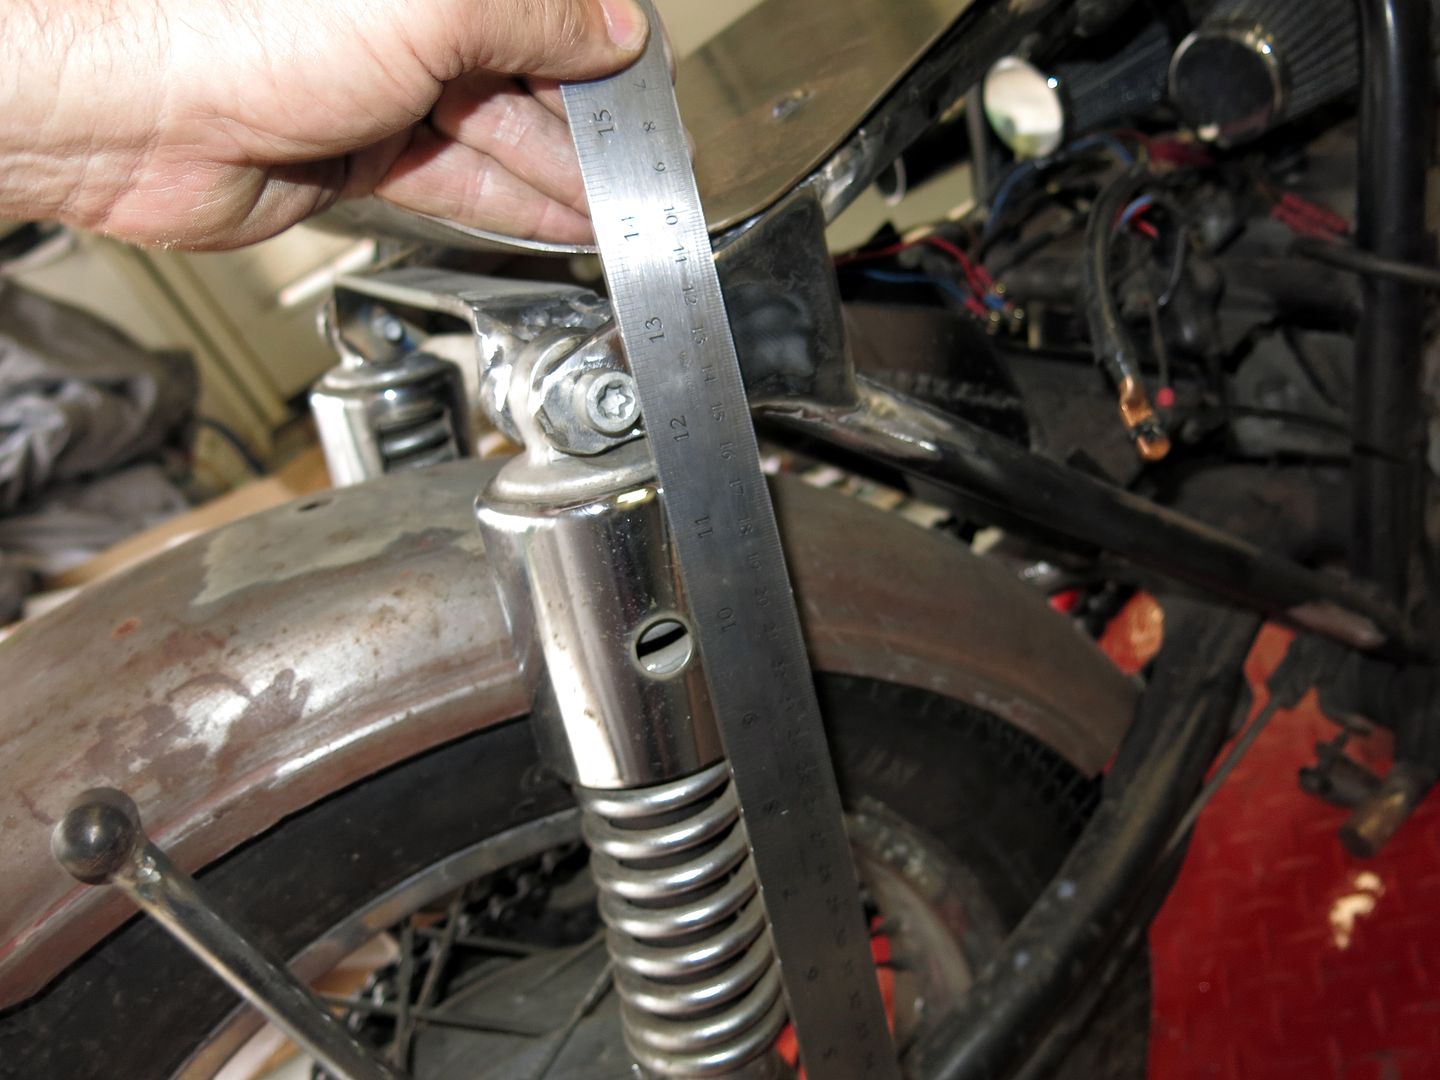
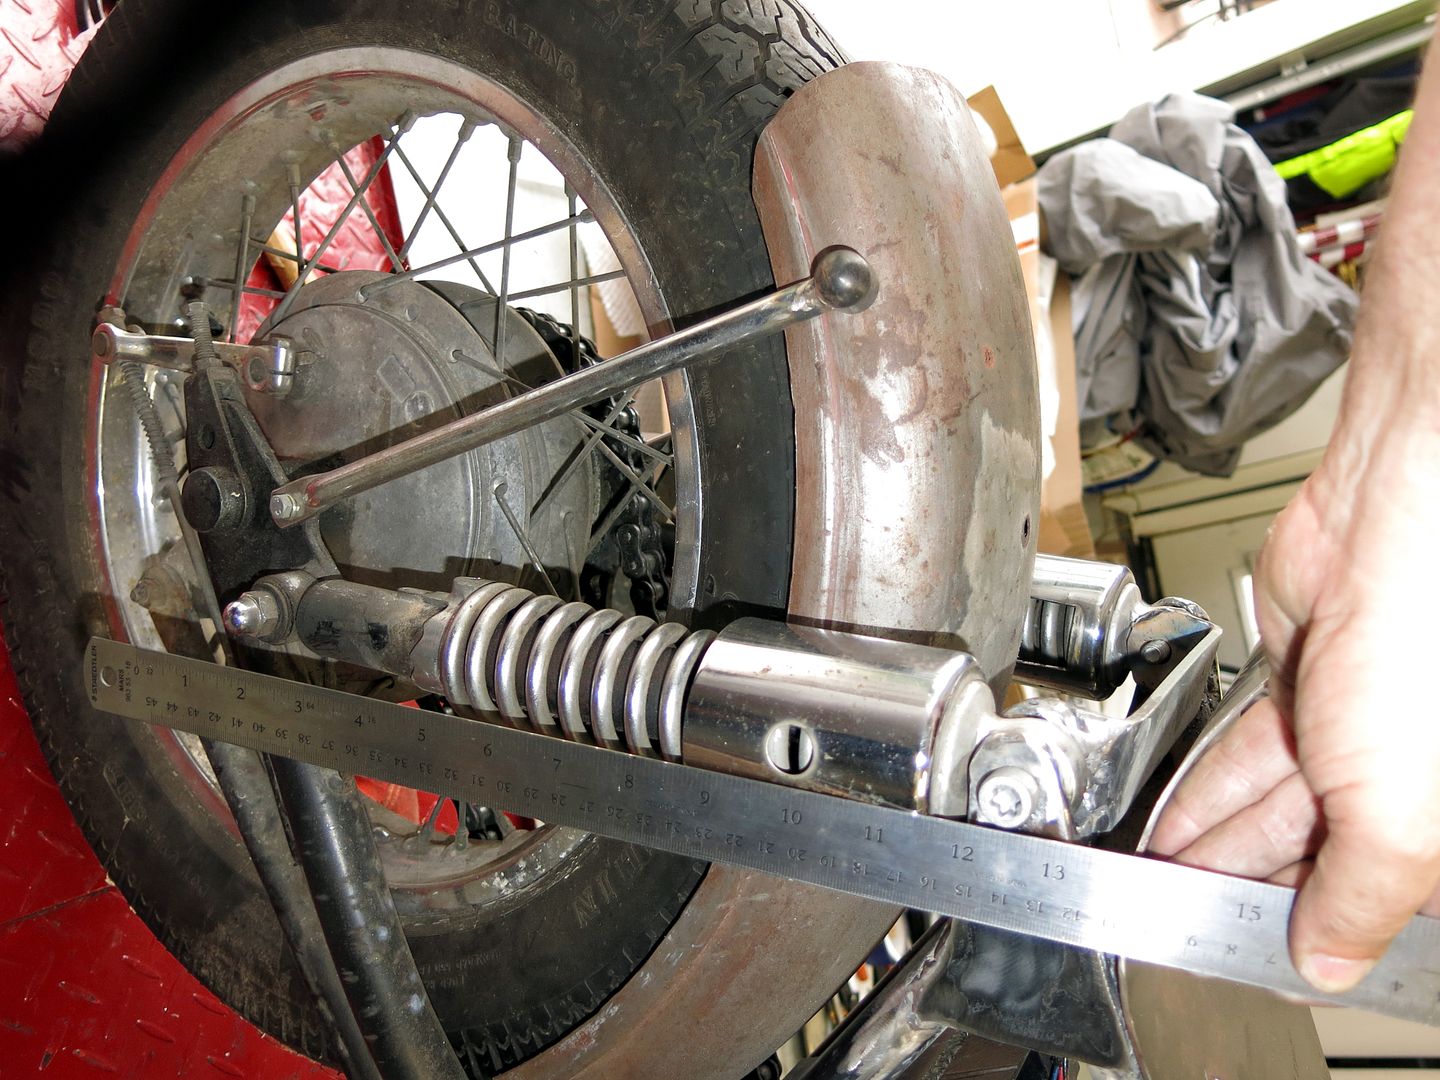
I'm thinking 1-1.5" increase.

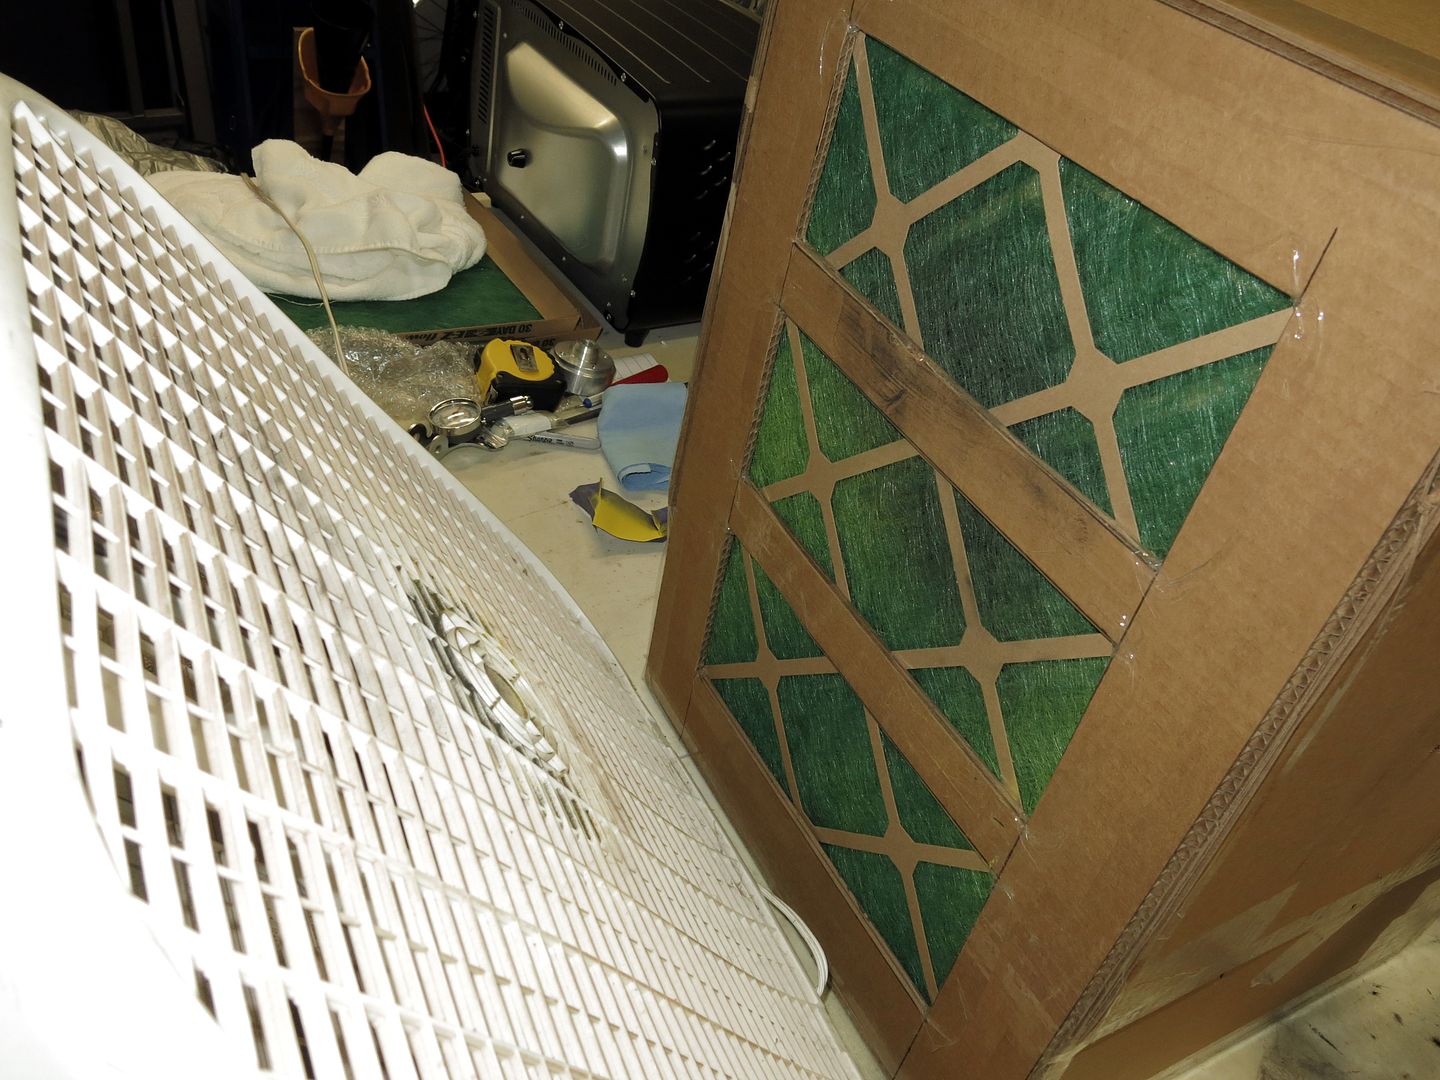
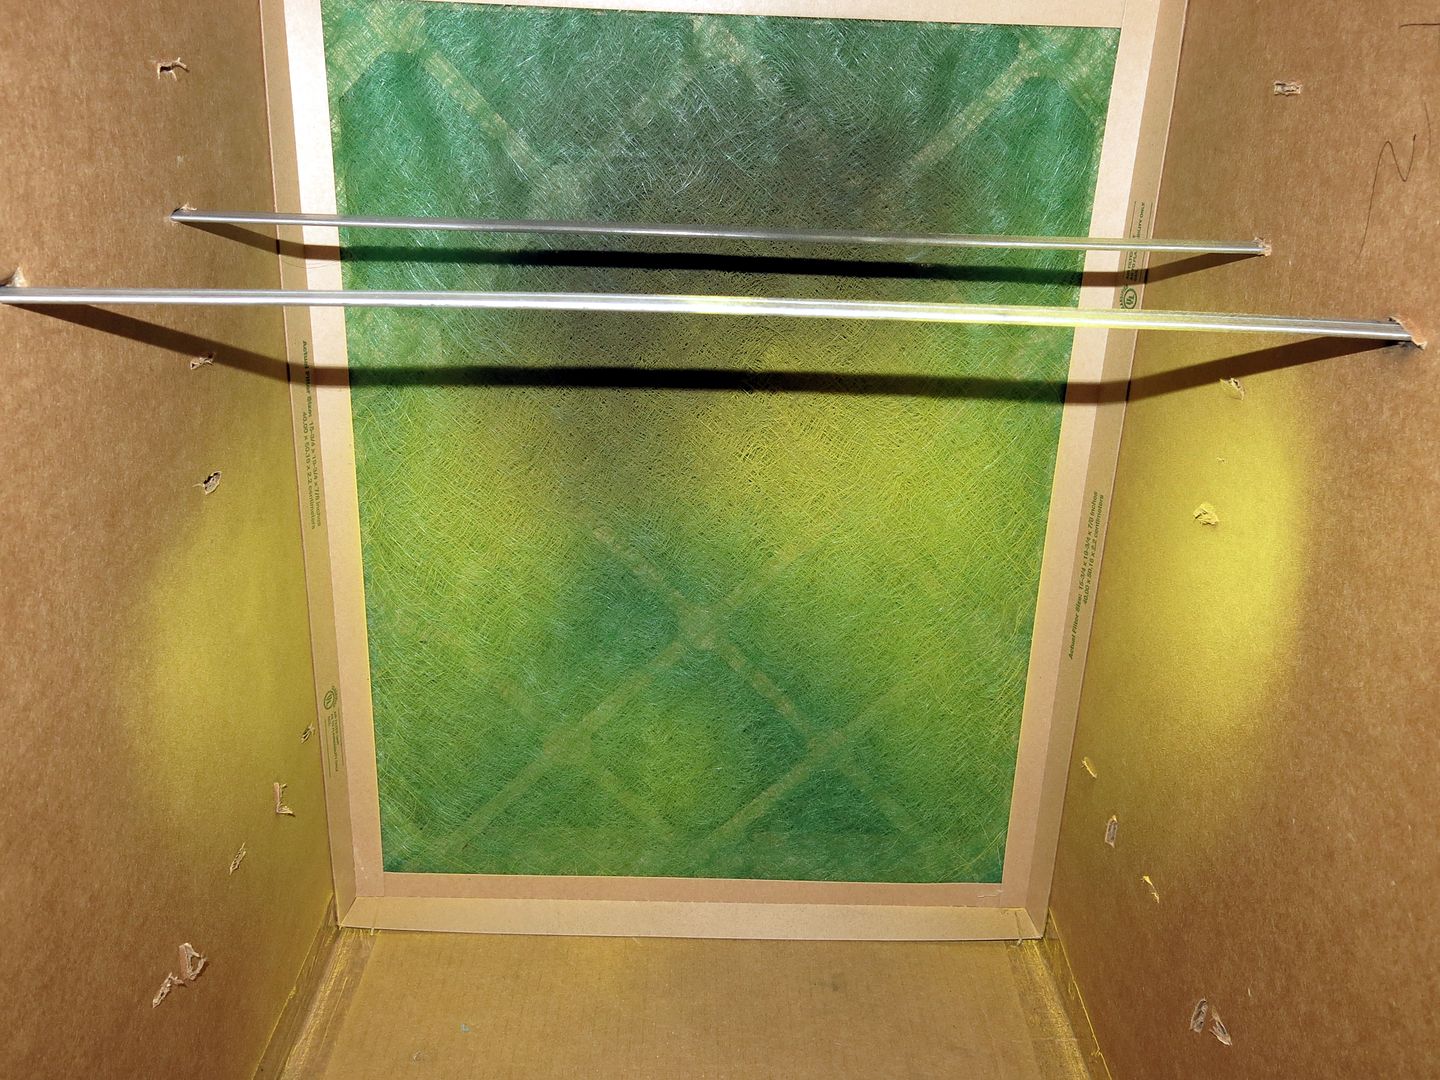
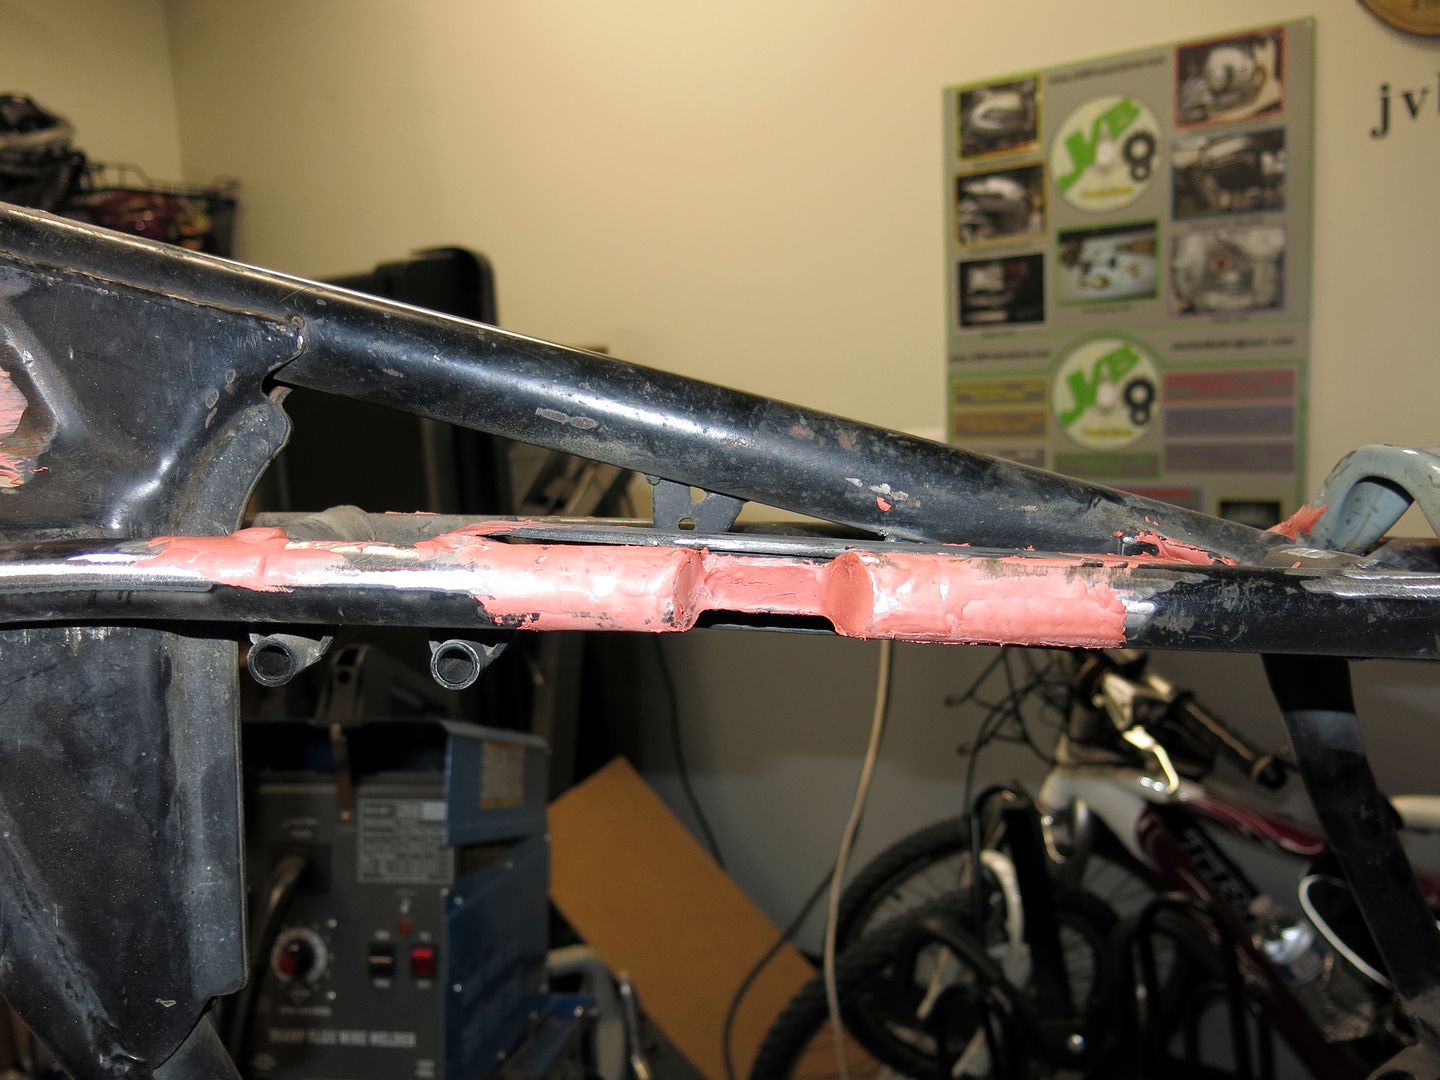
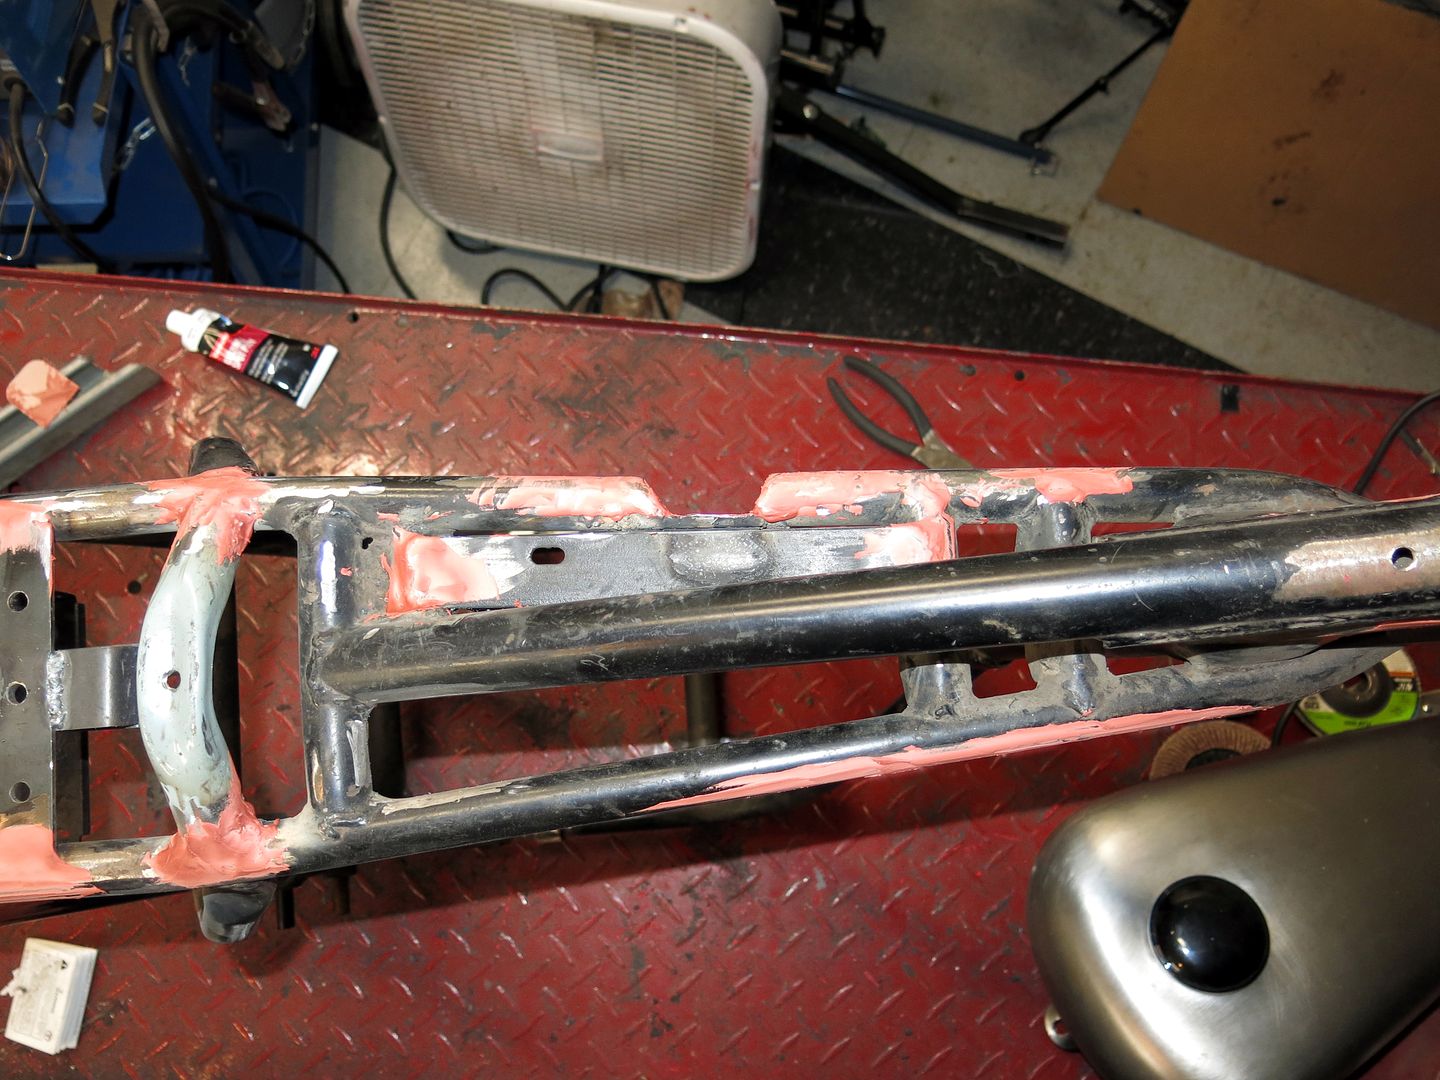
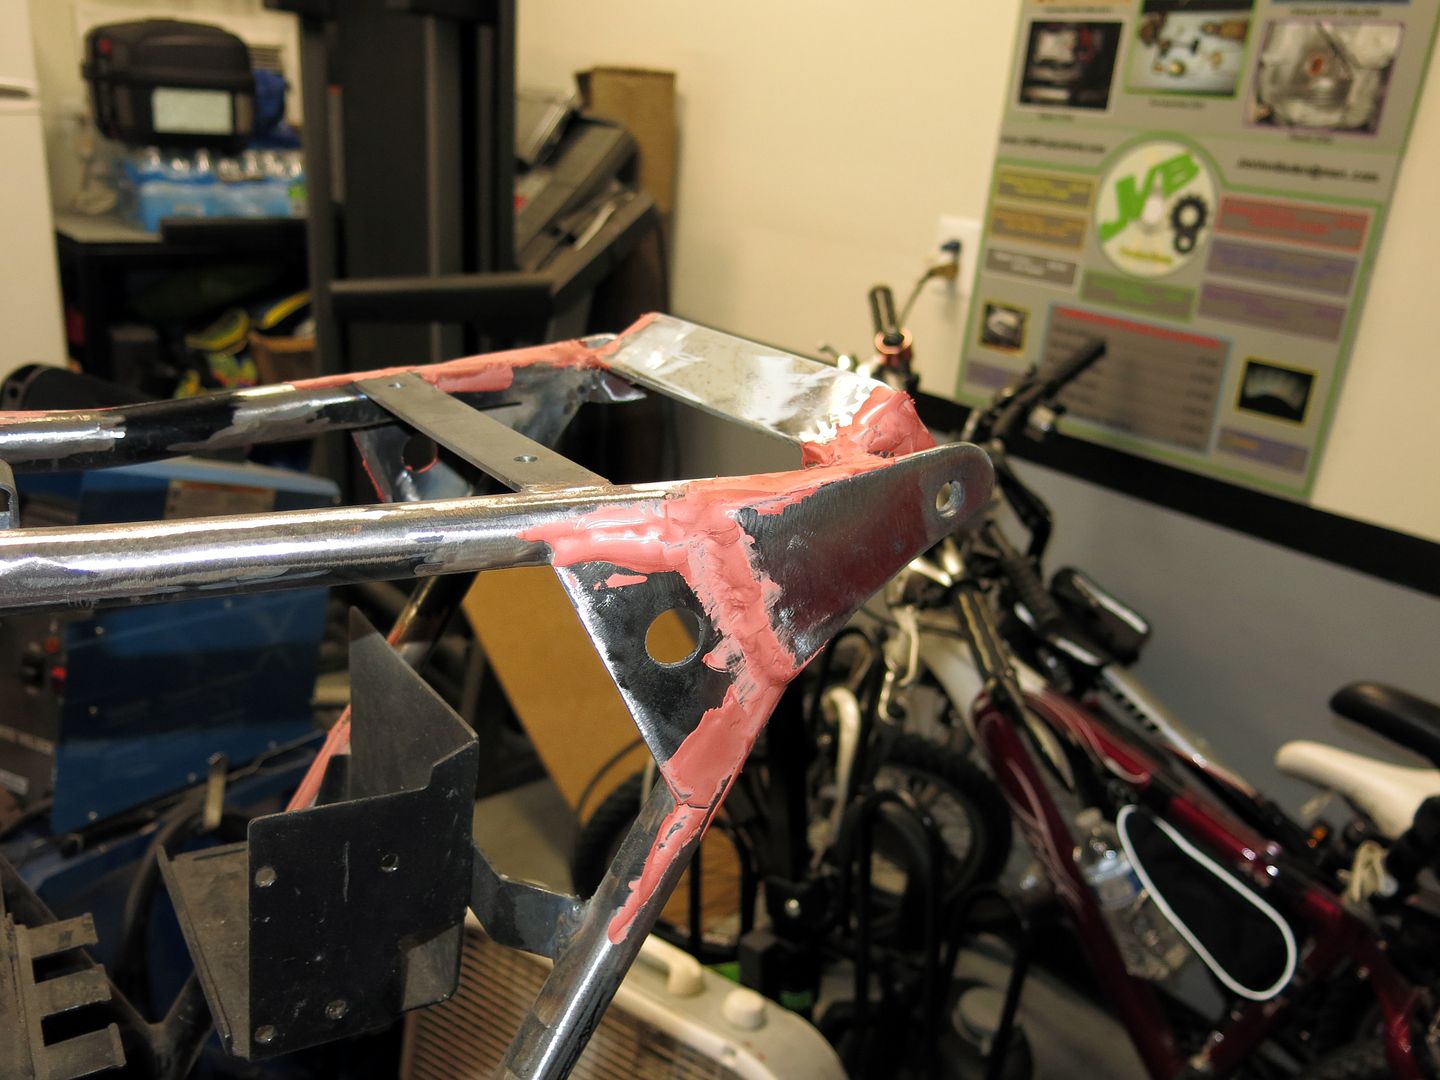
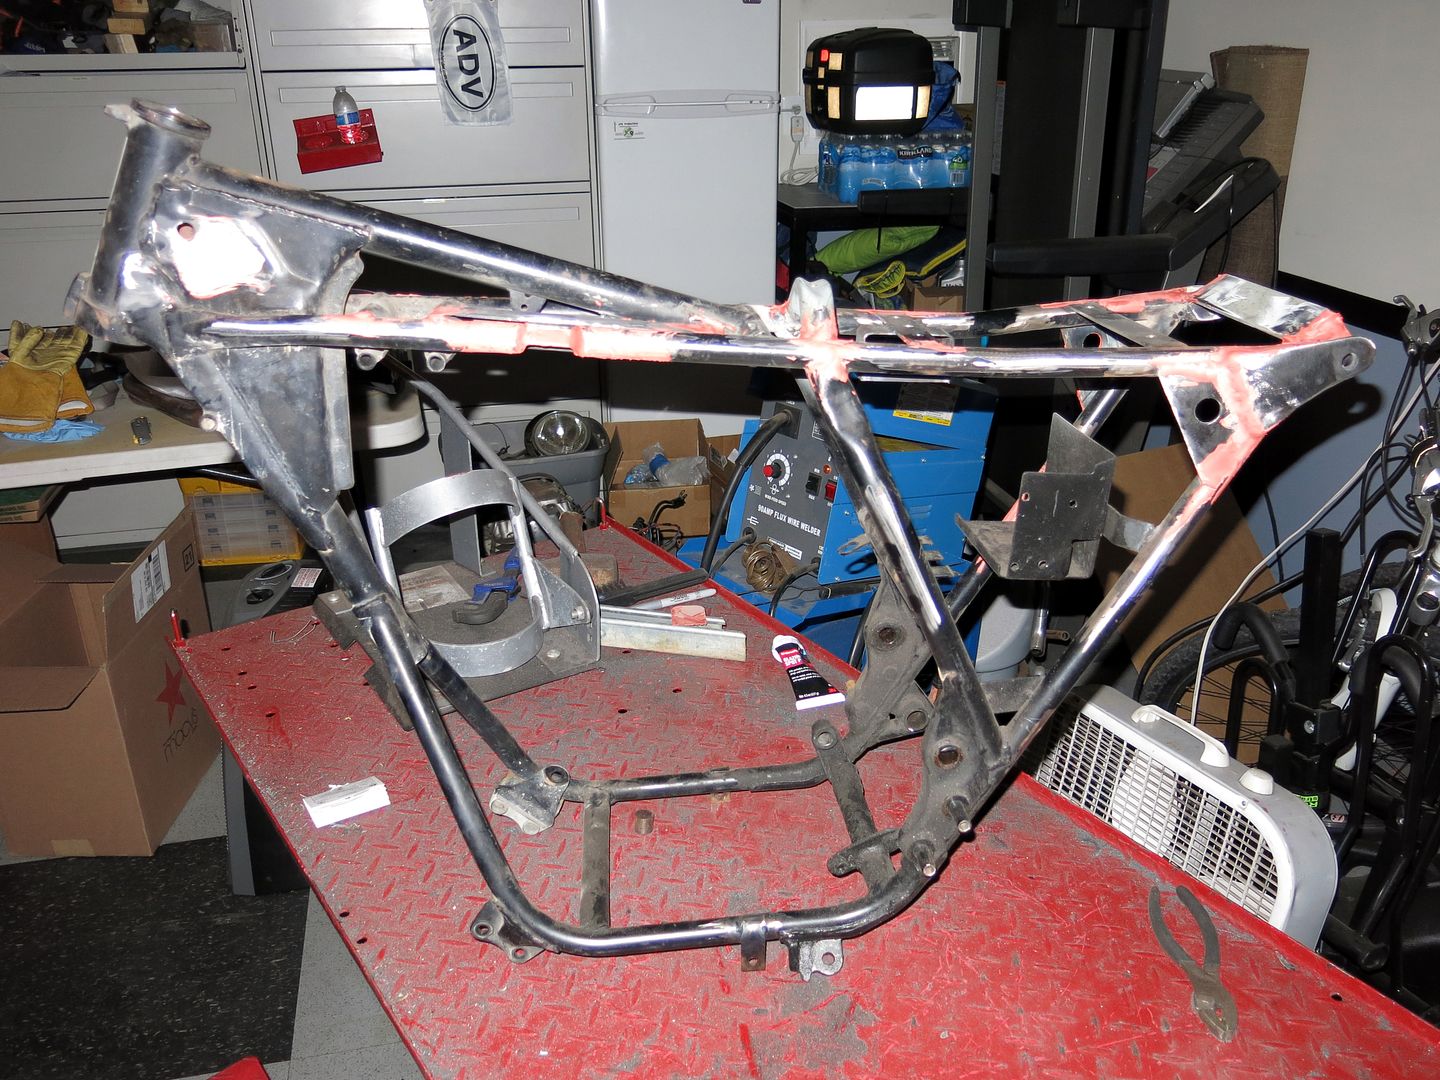
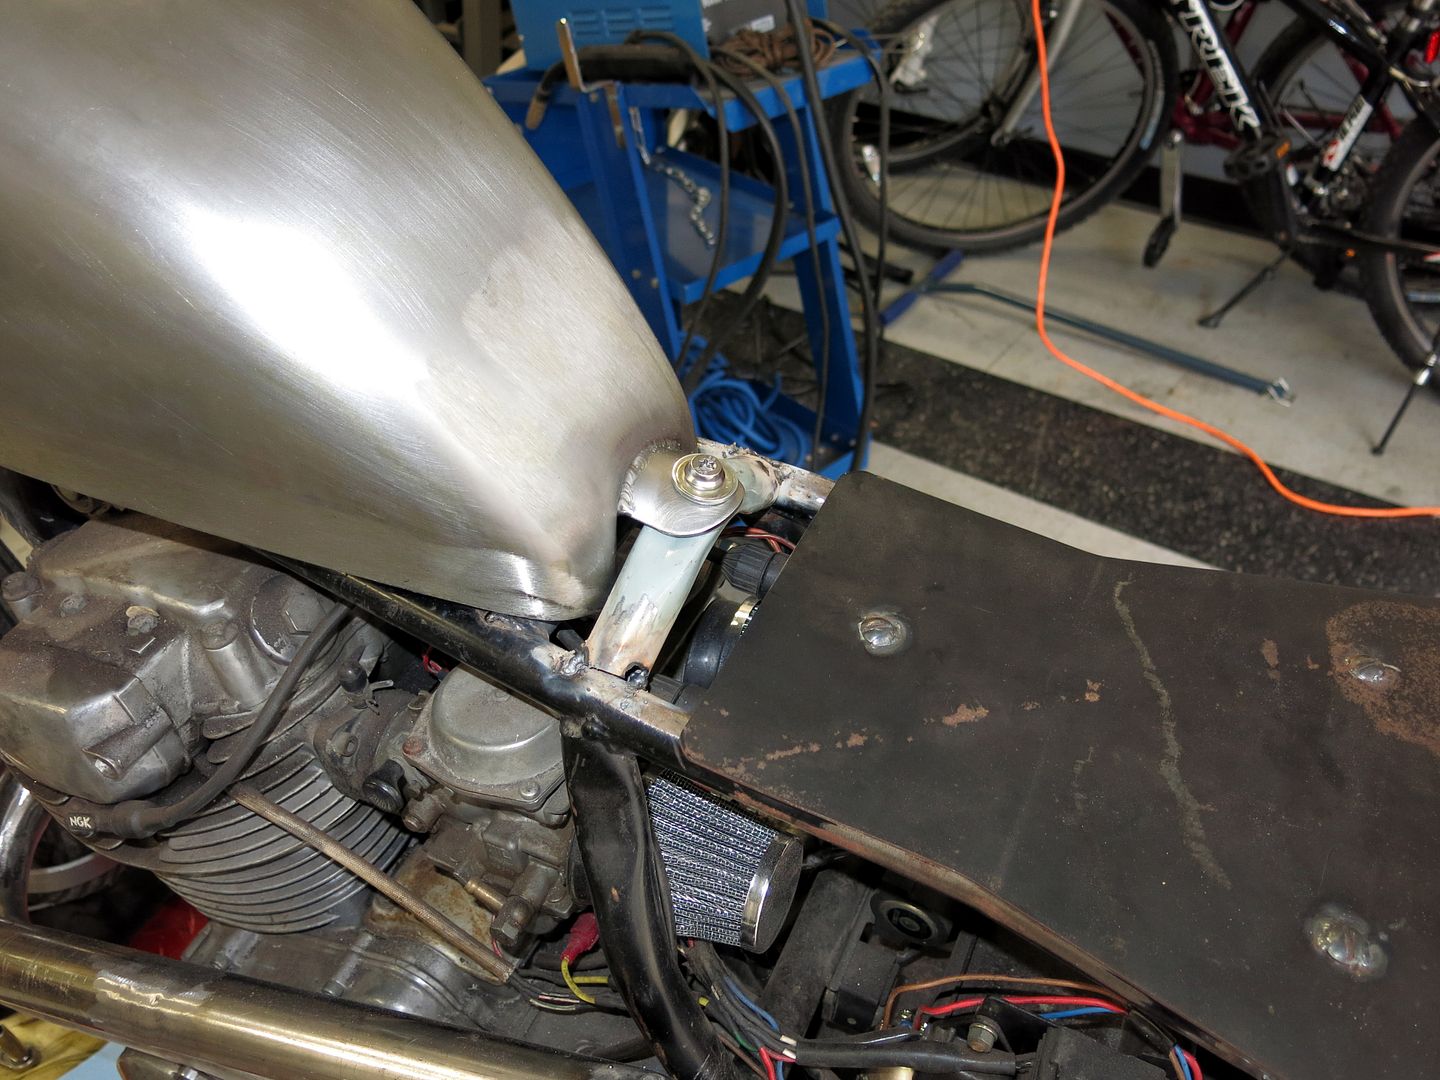
Just a couple more shots of the rear frame reinforcement:
Frame%20Reinforcement%2023.jpg

Frame%20Reinforcement%2025.jpg


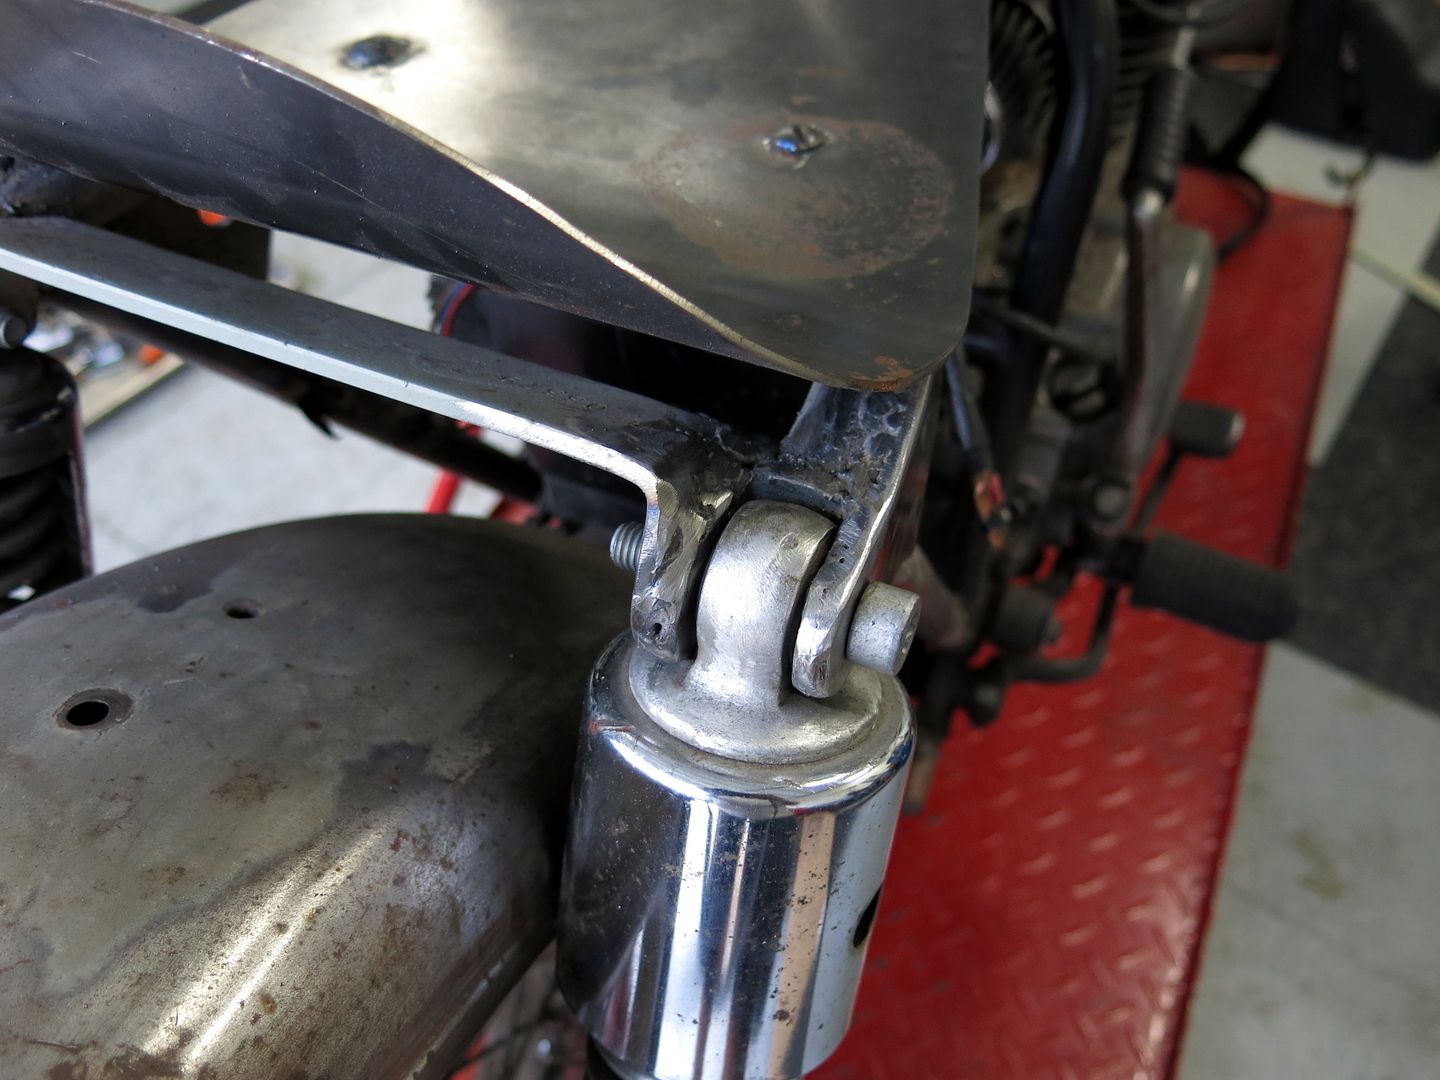
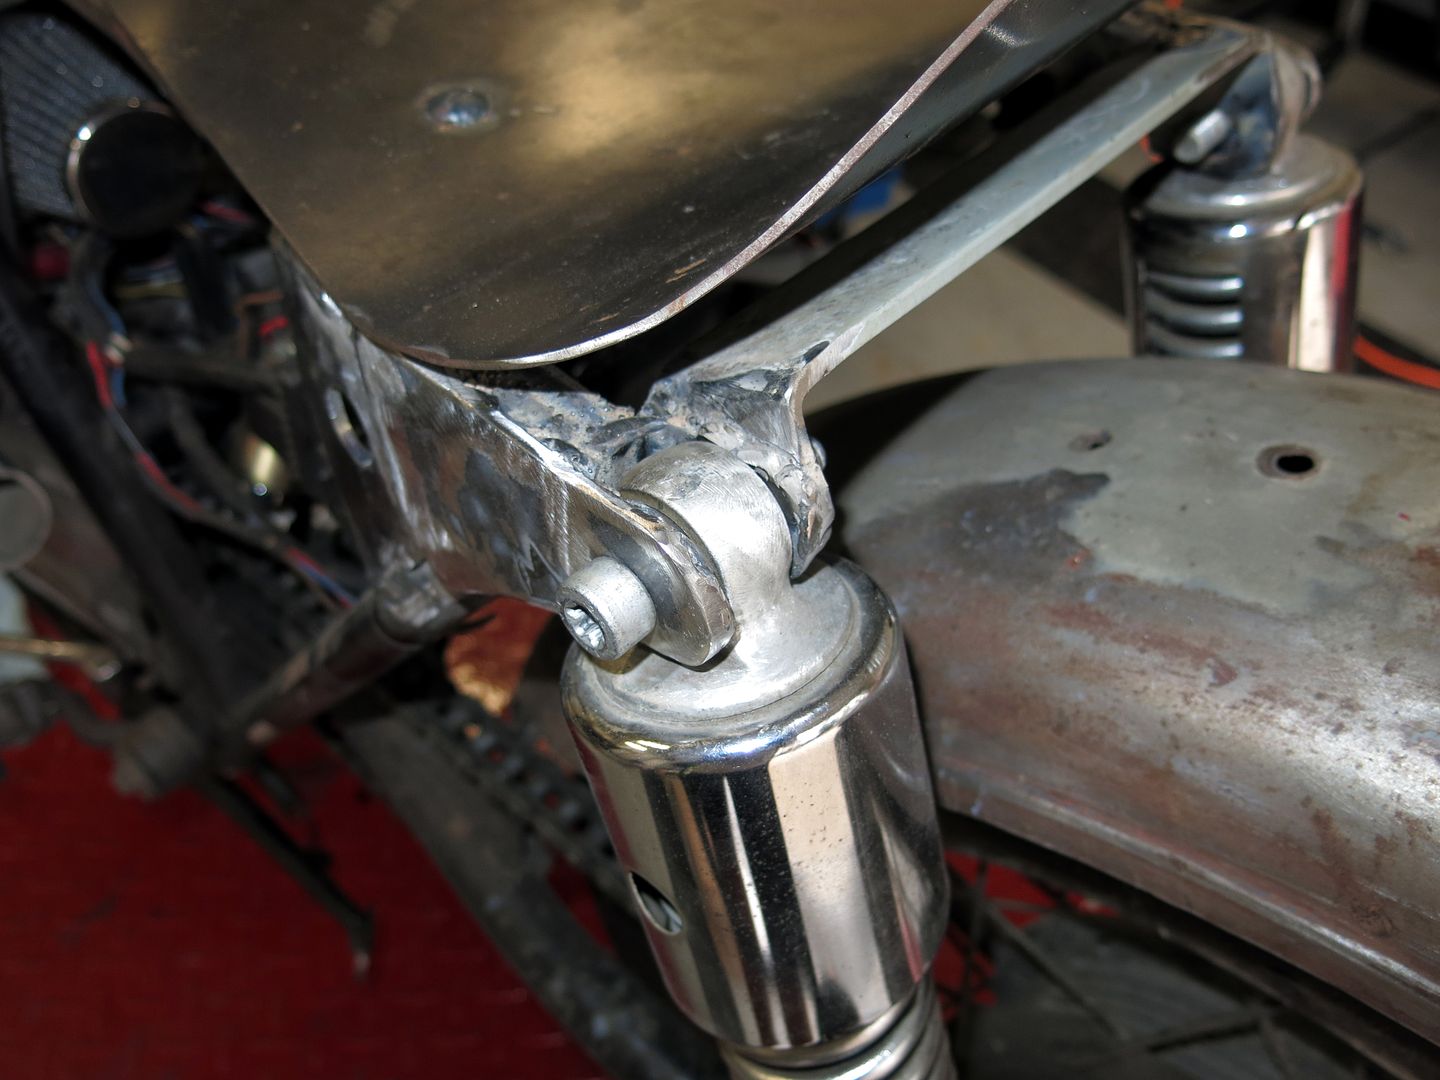
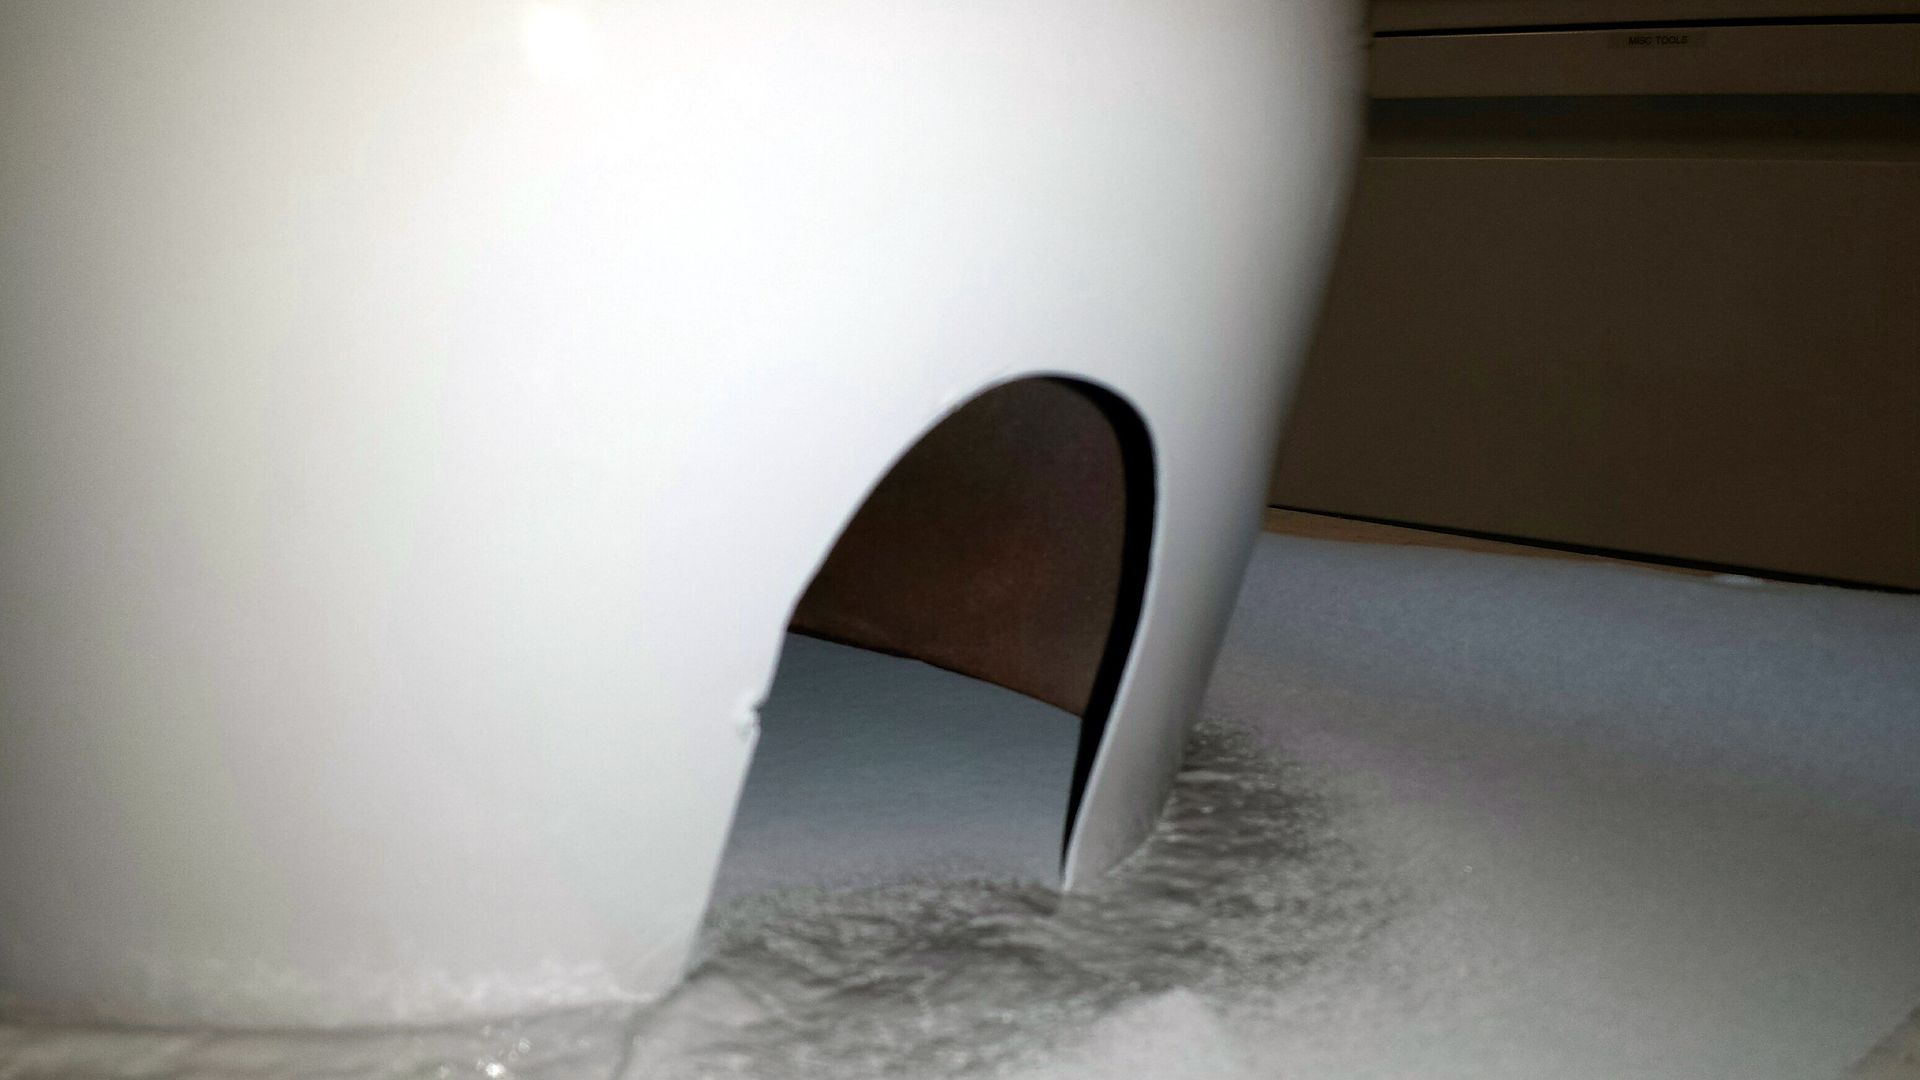
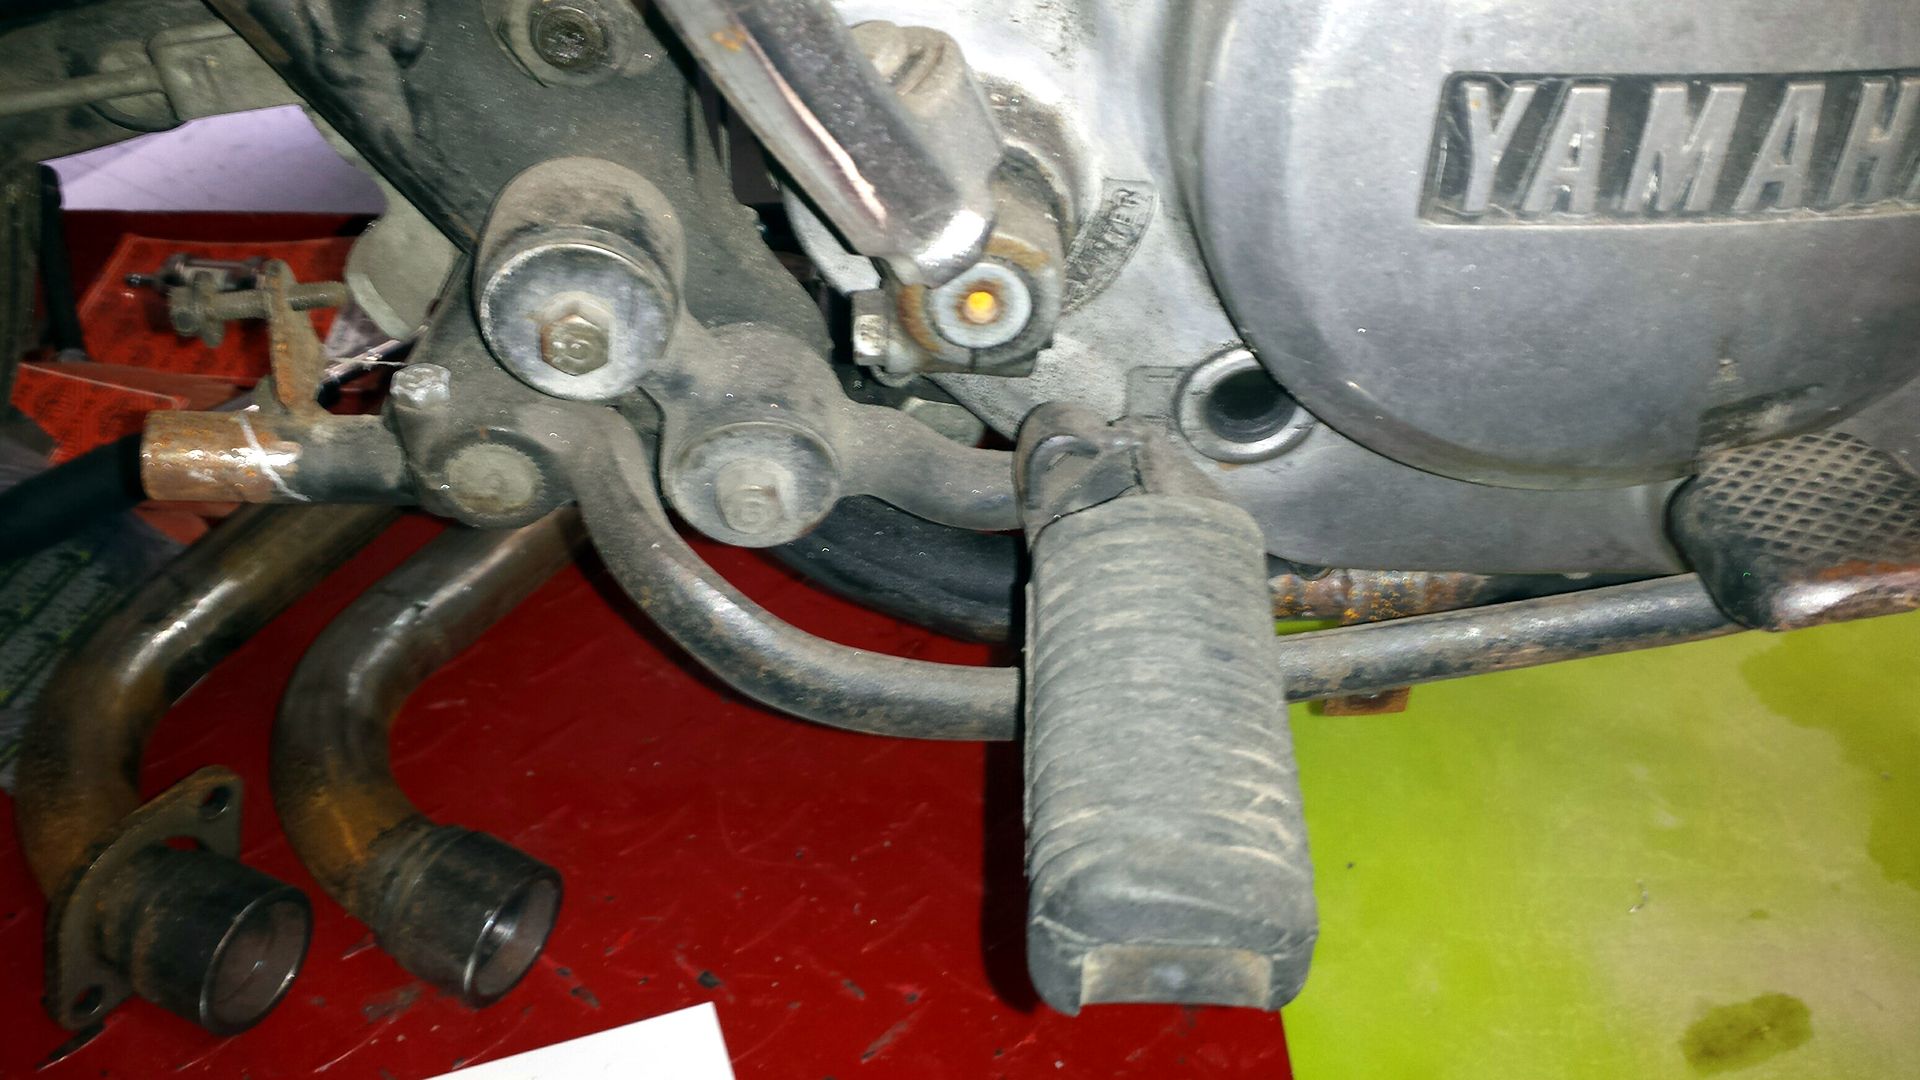
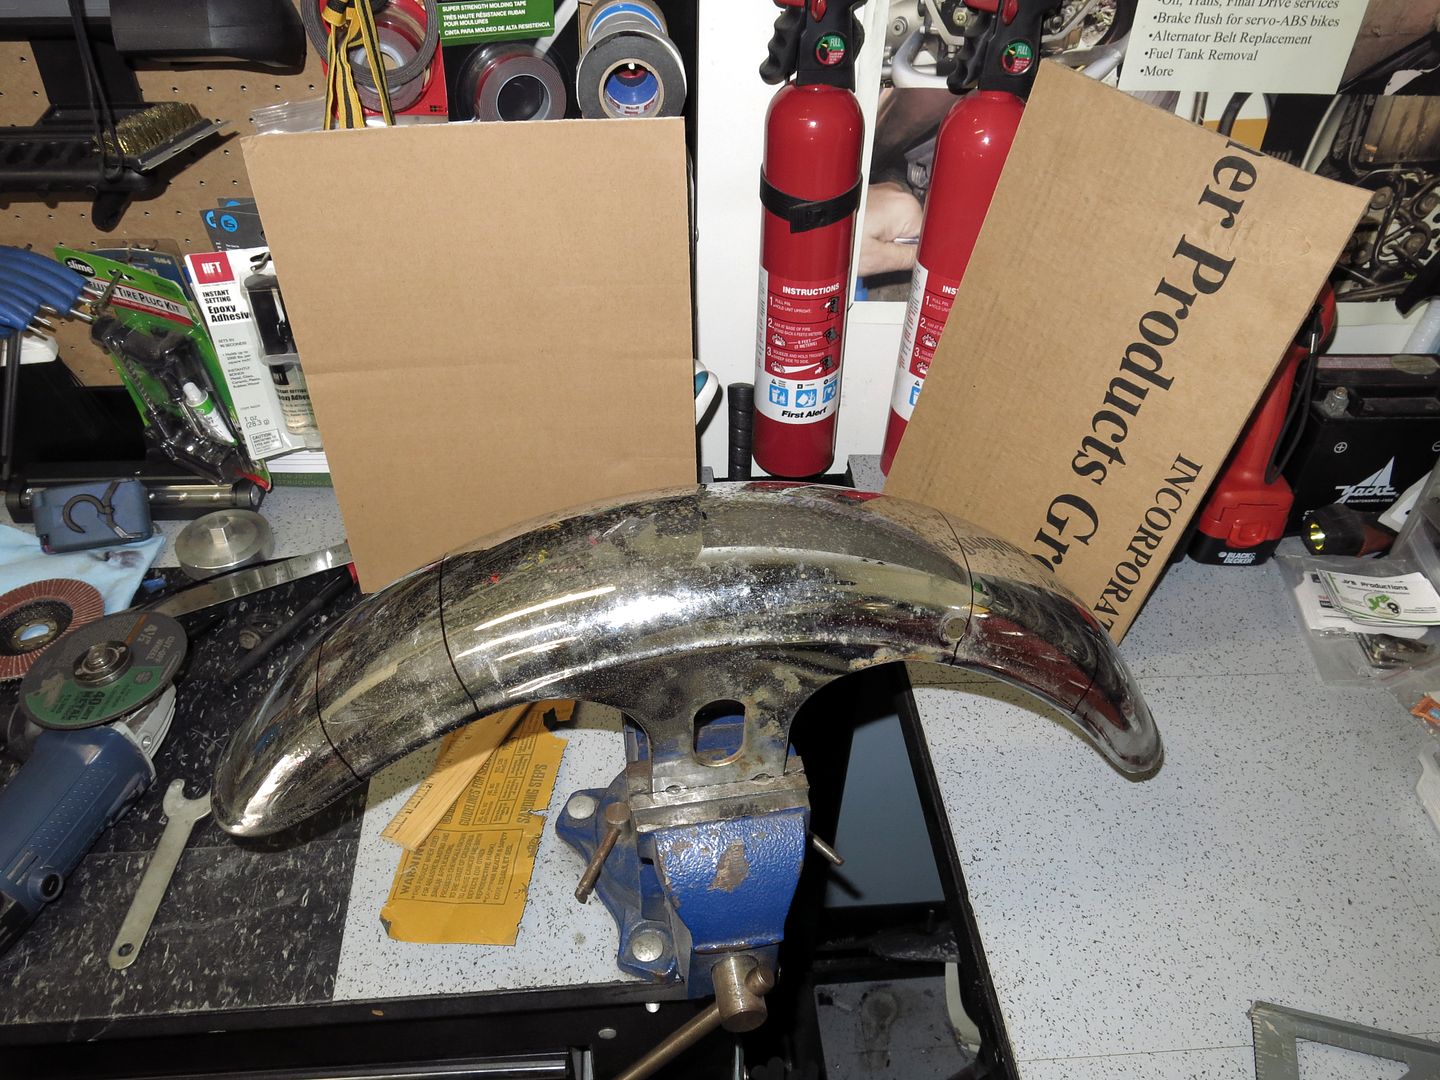
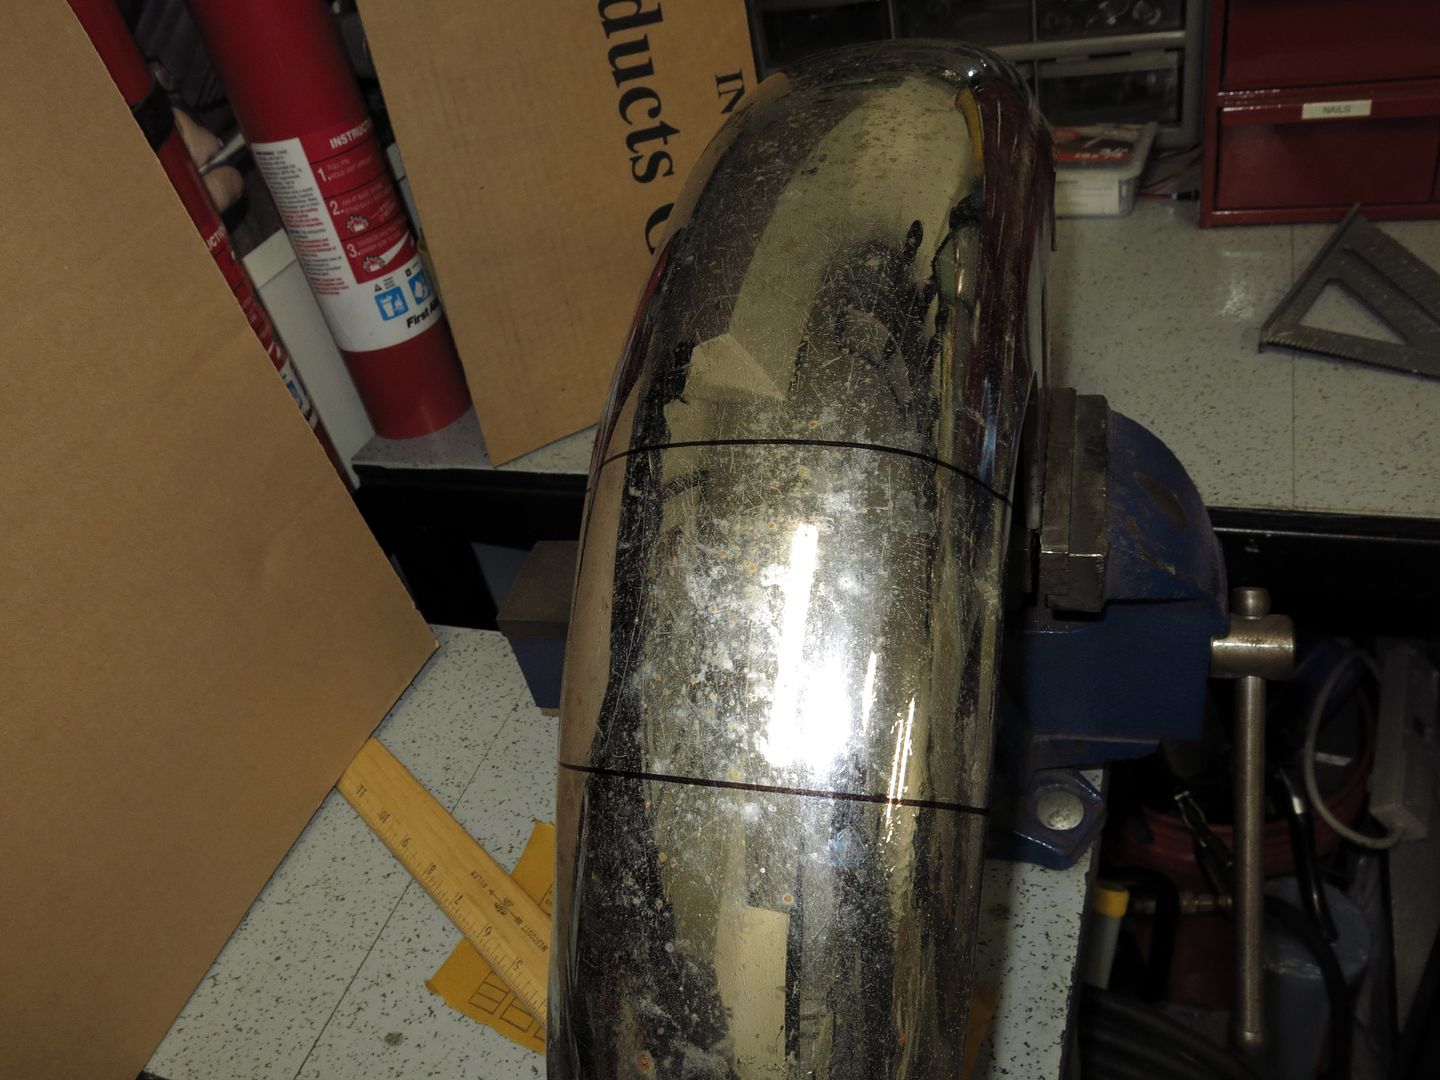
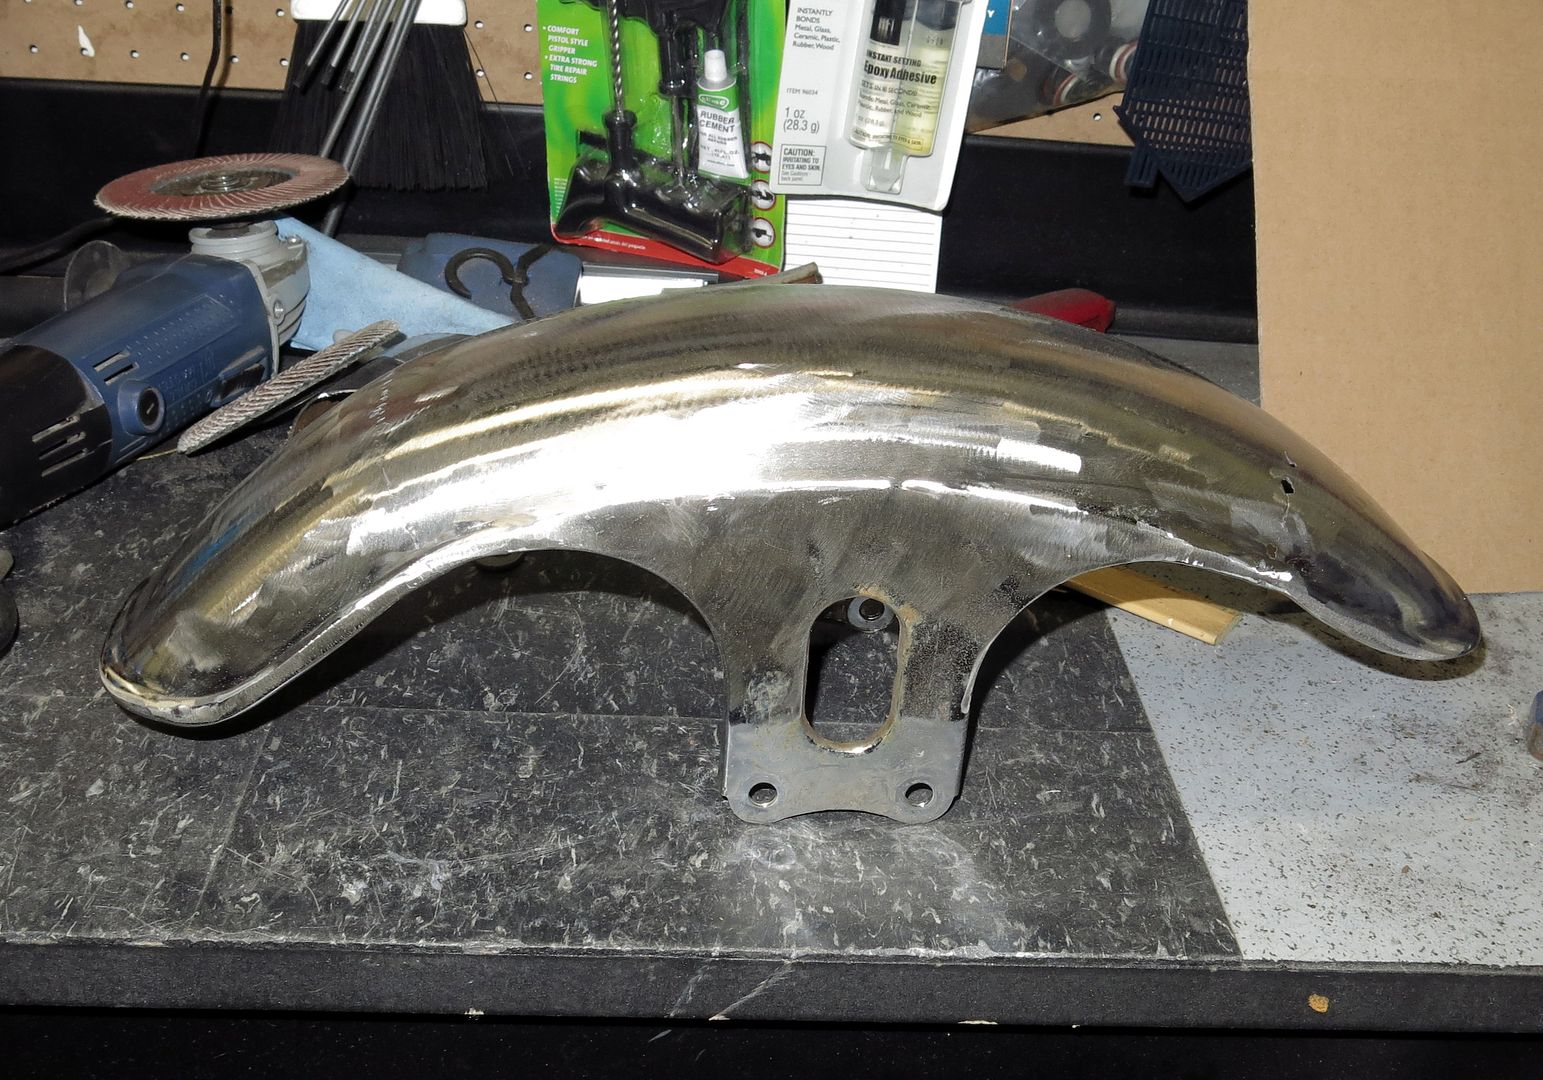
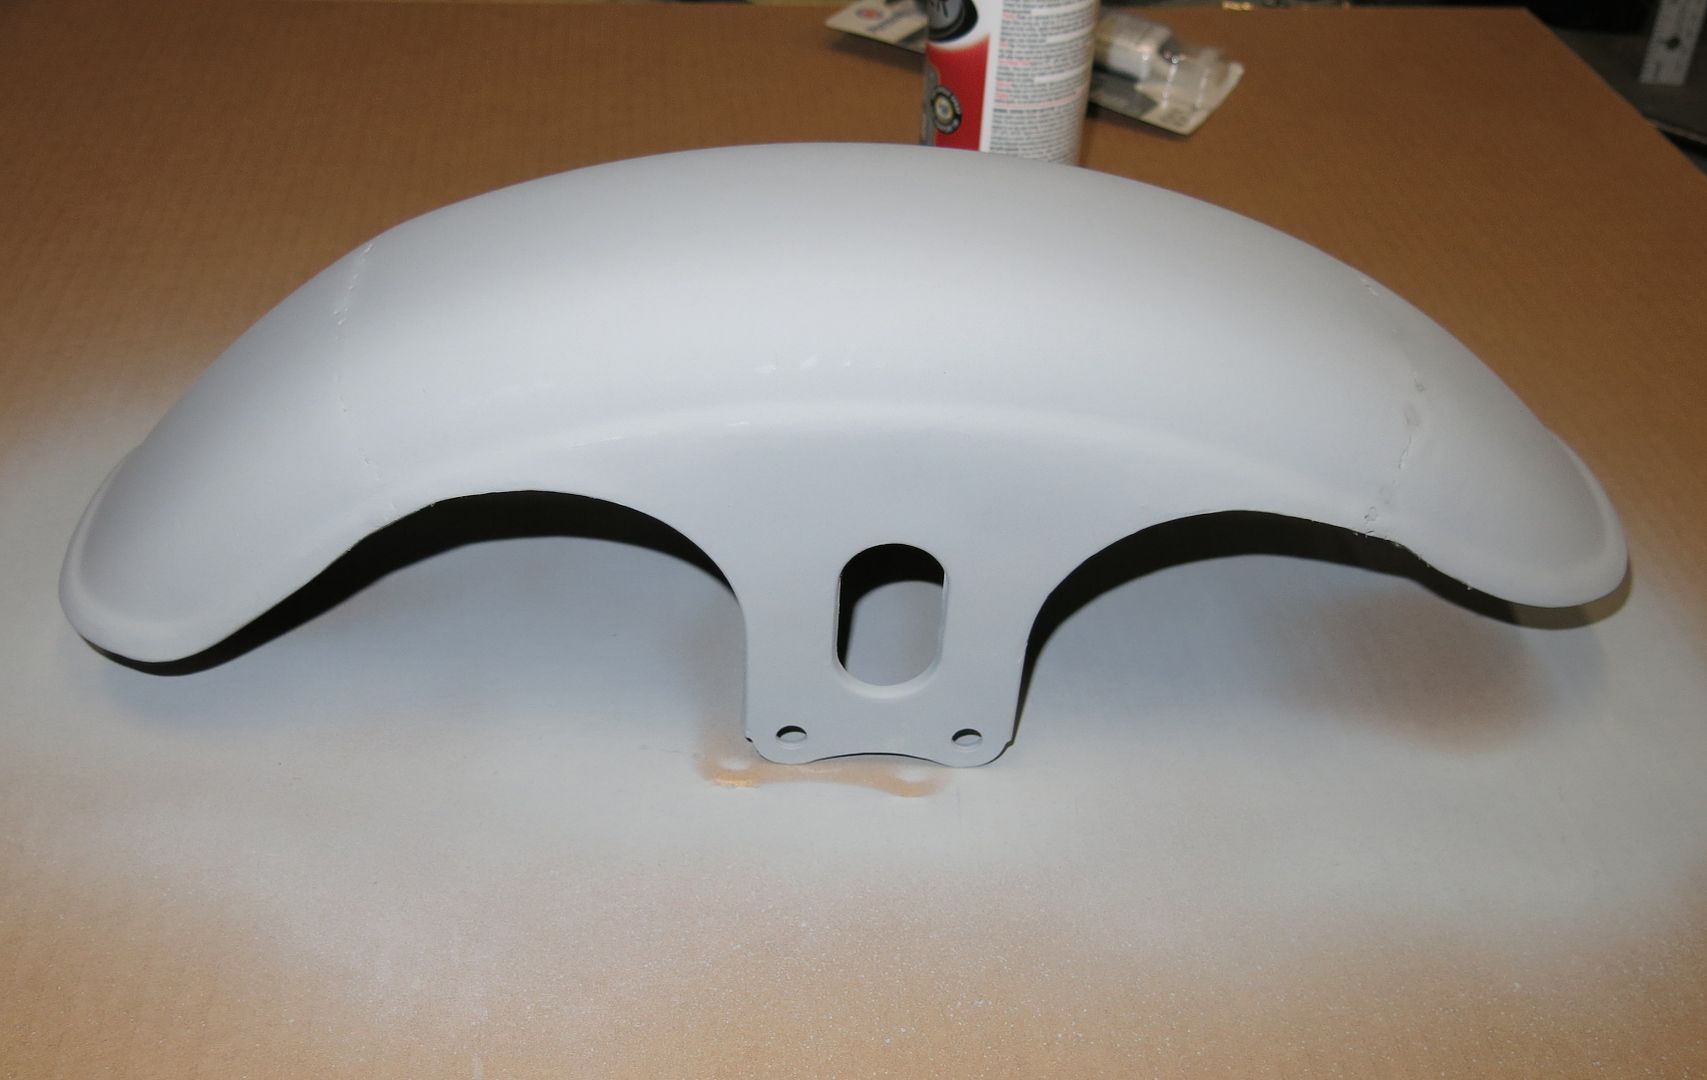
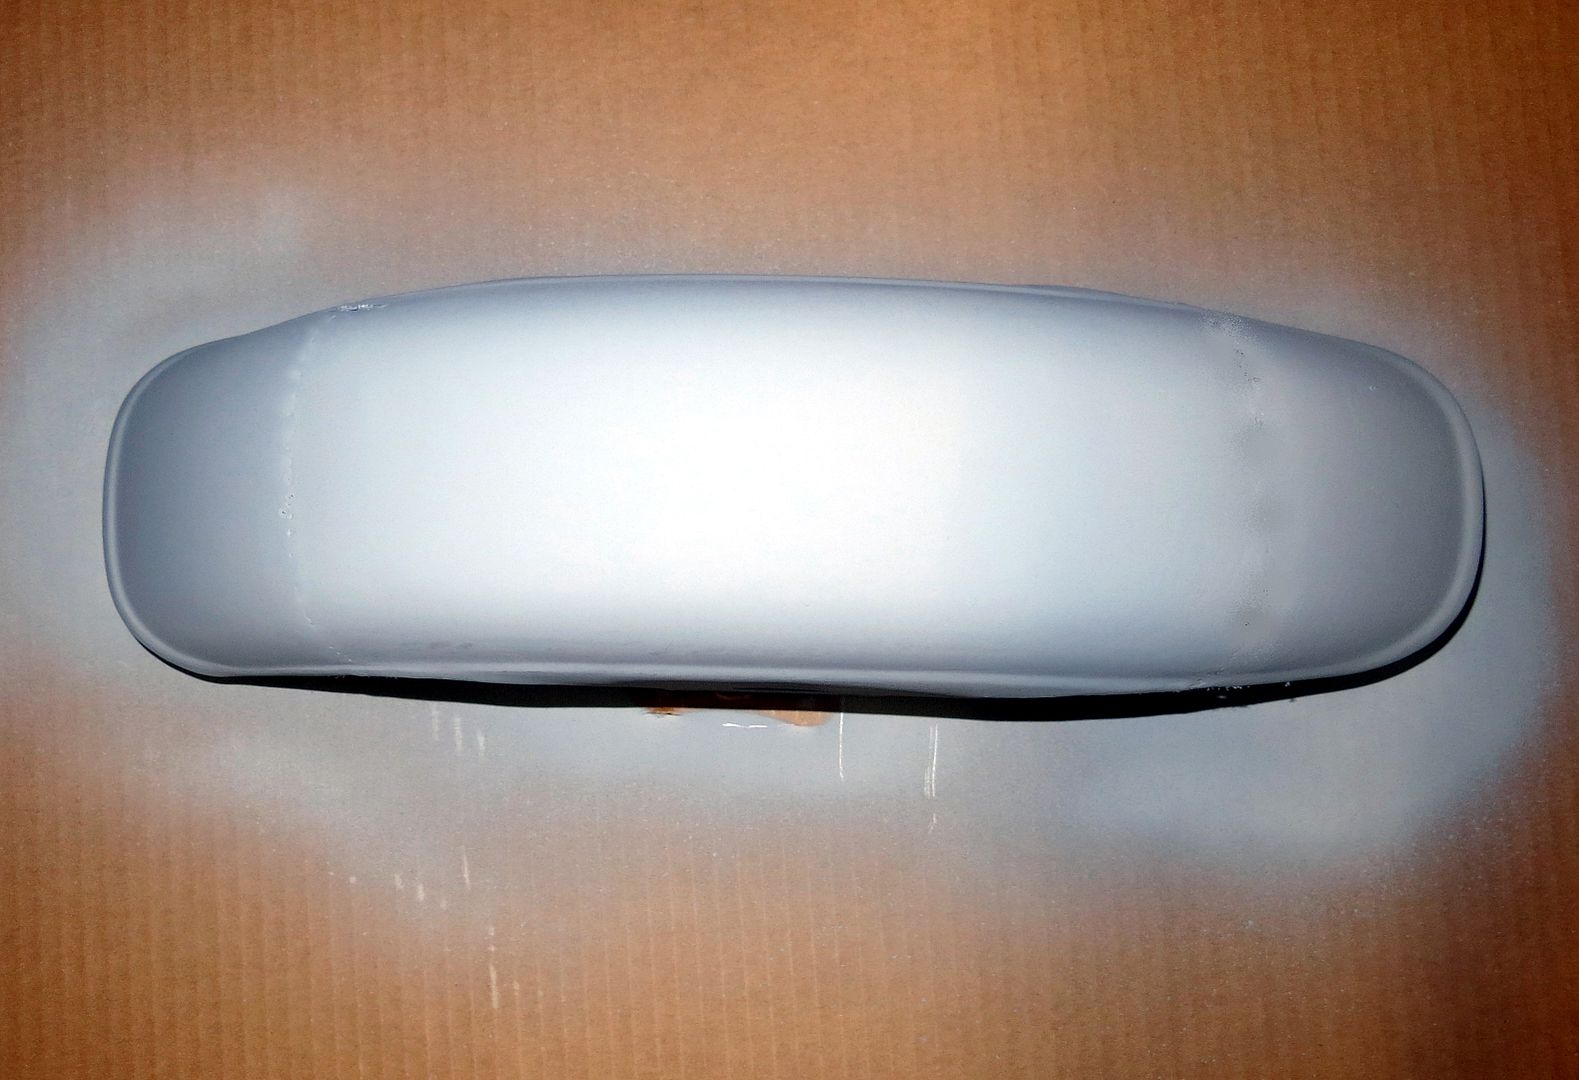
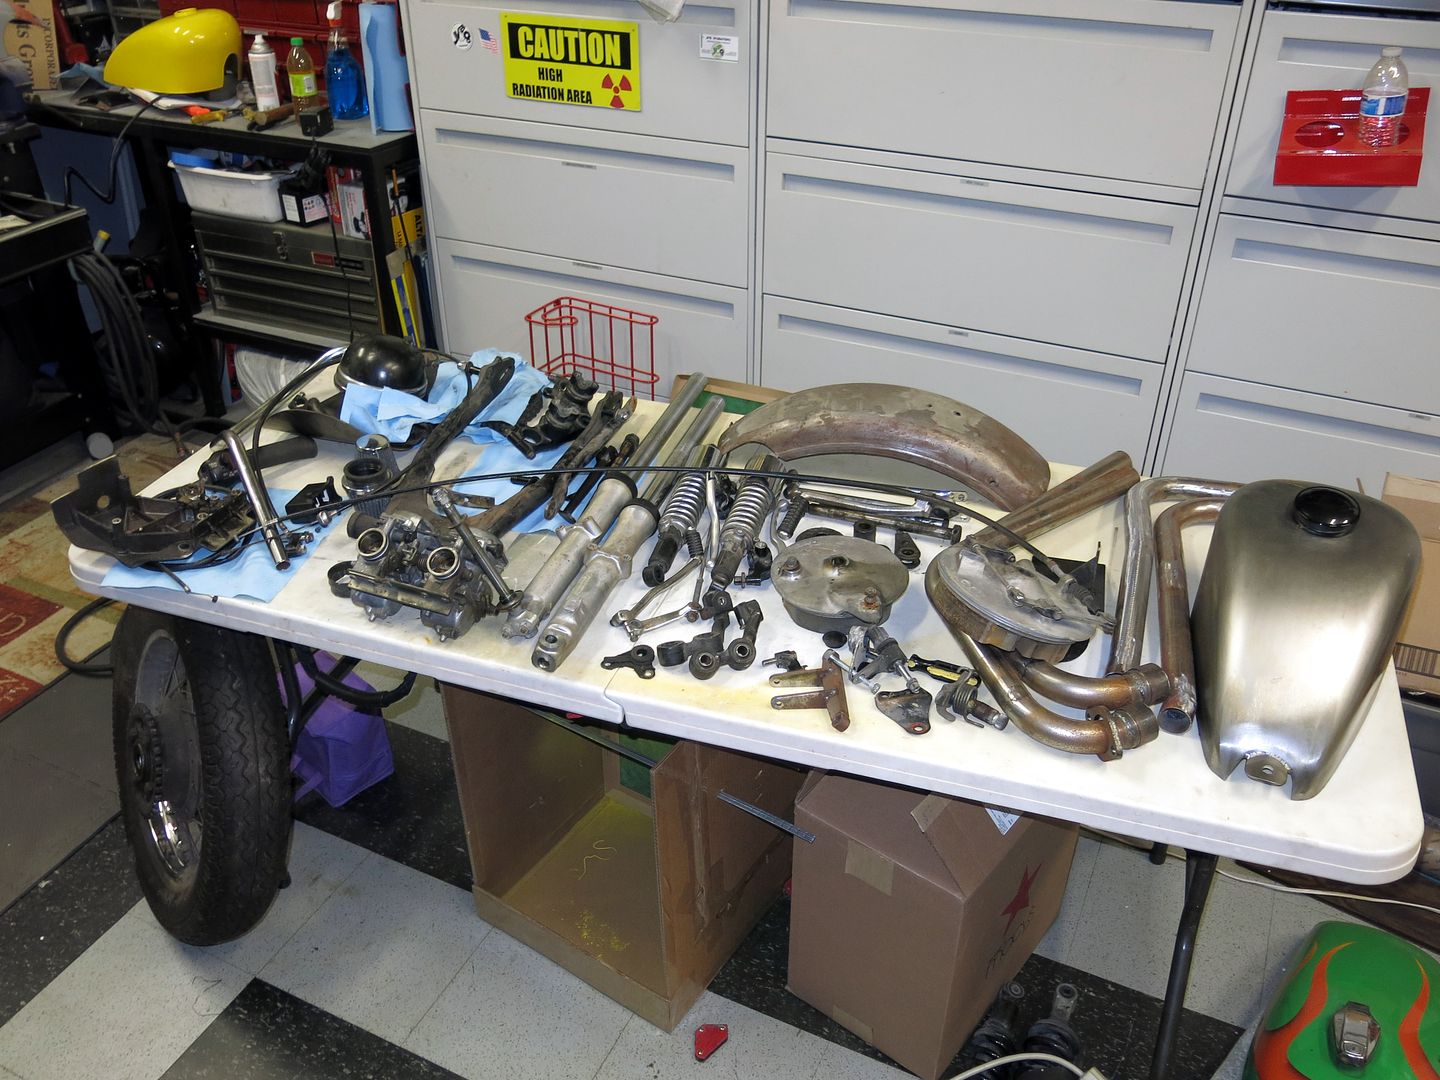
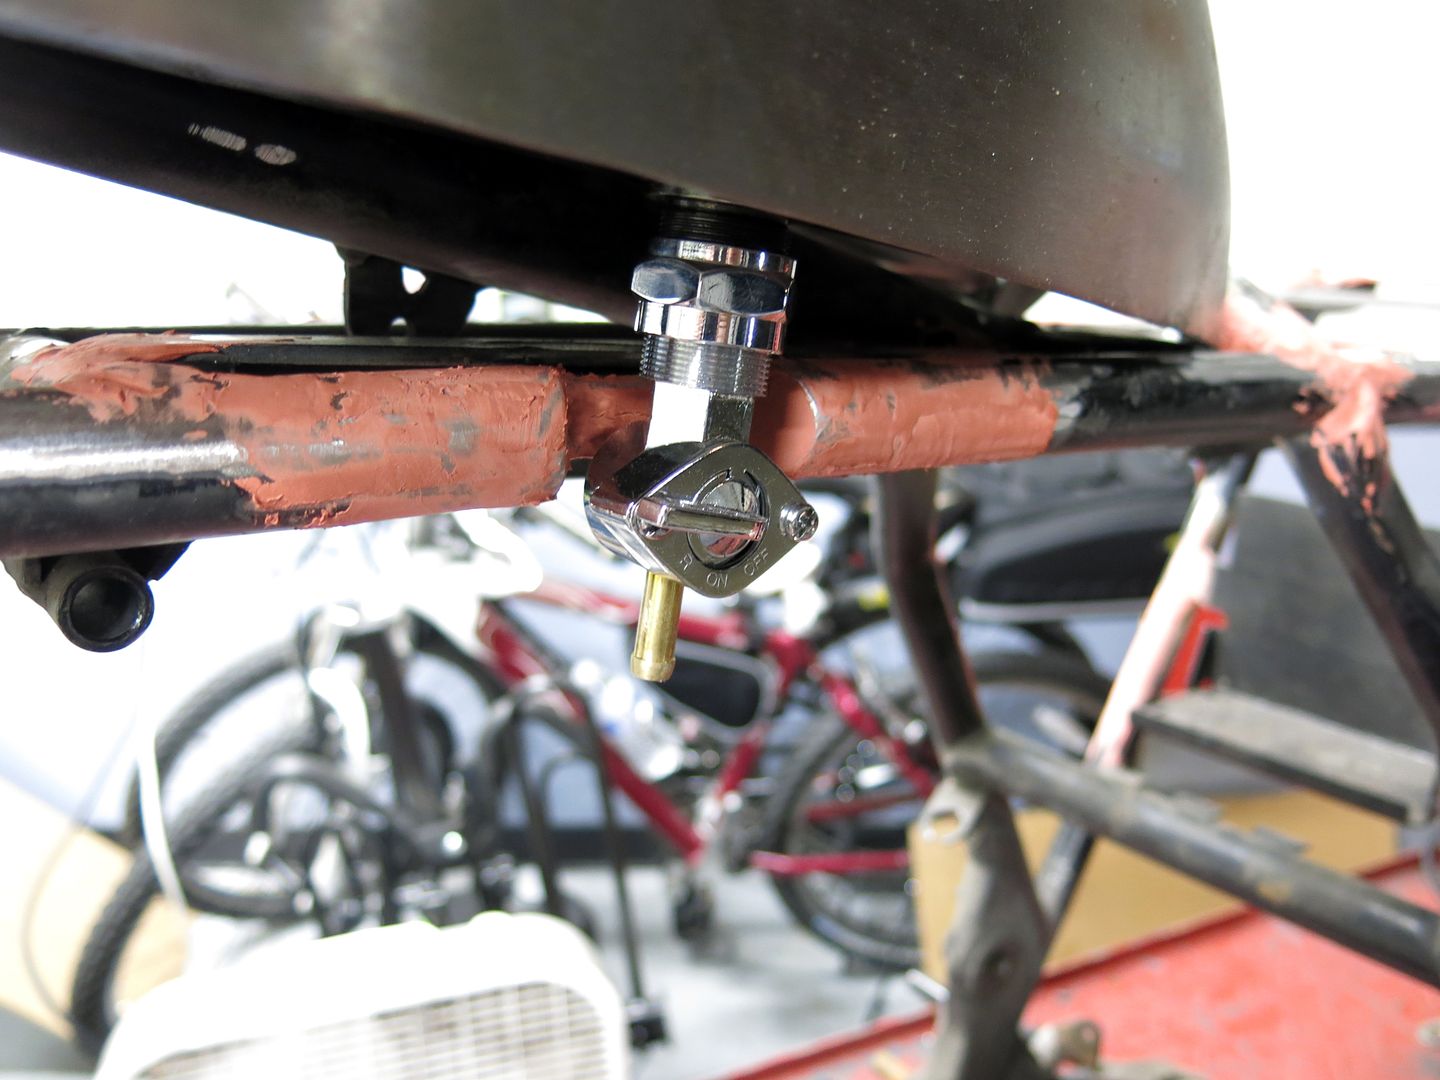
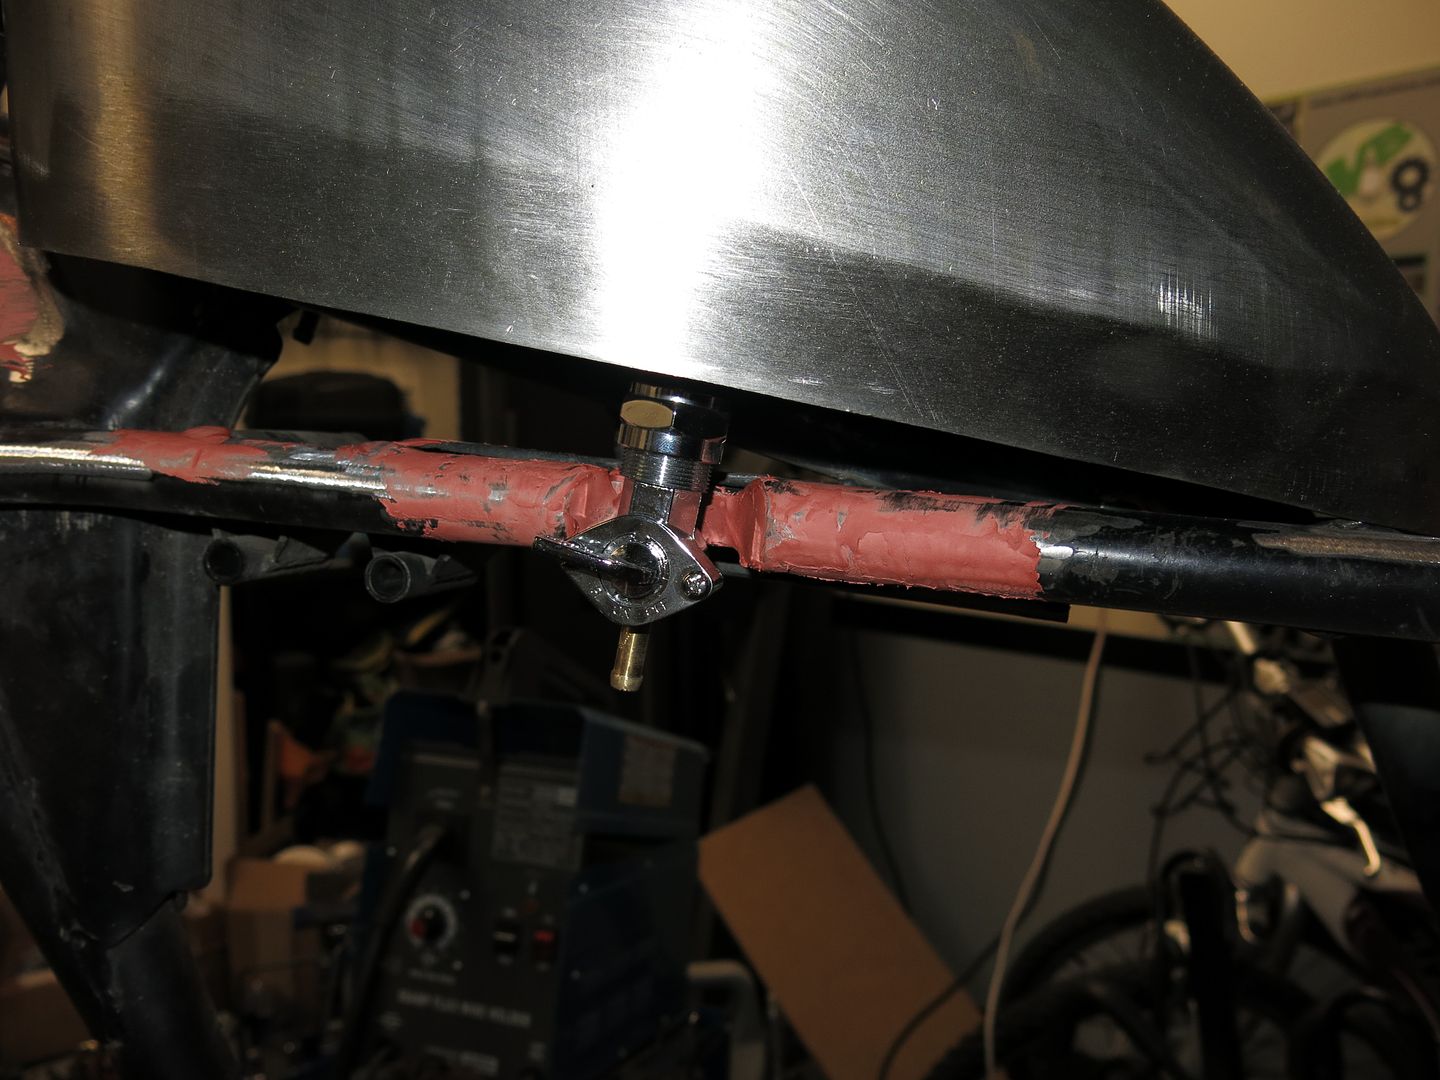
Next I need to notch the left frame to allow the tank petcock to fit. Then I want to revamp the rear fender, find a suitable front fender, create a bash plate and figure/make out the side covers.

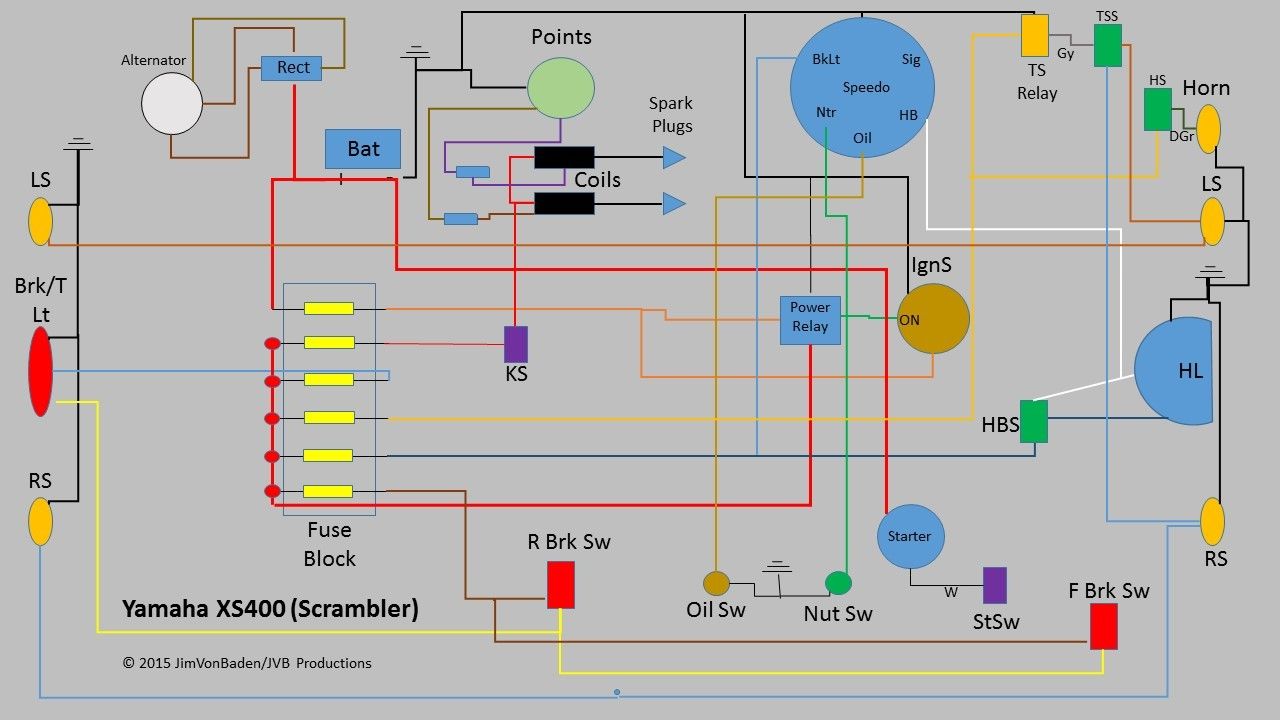
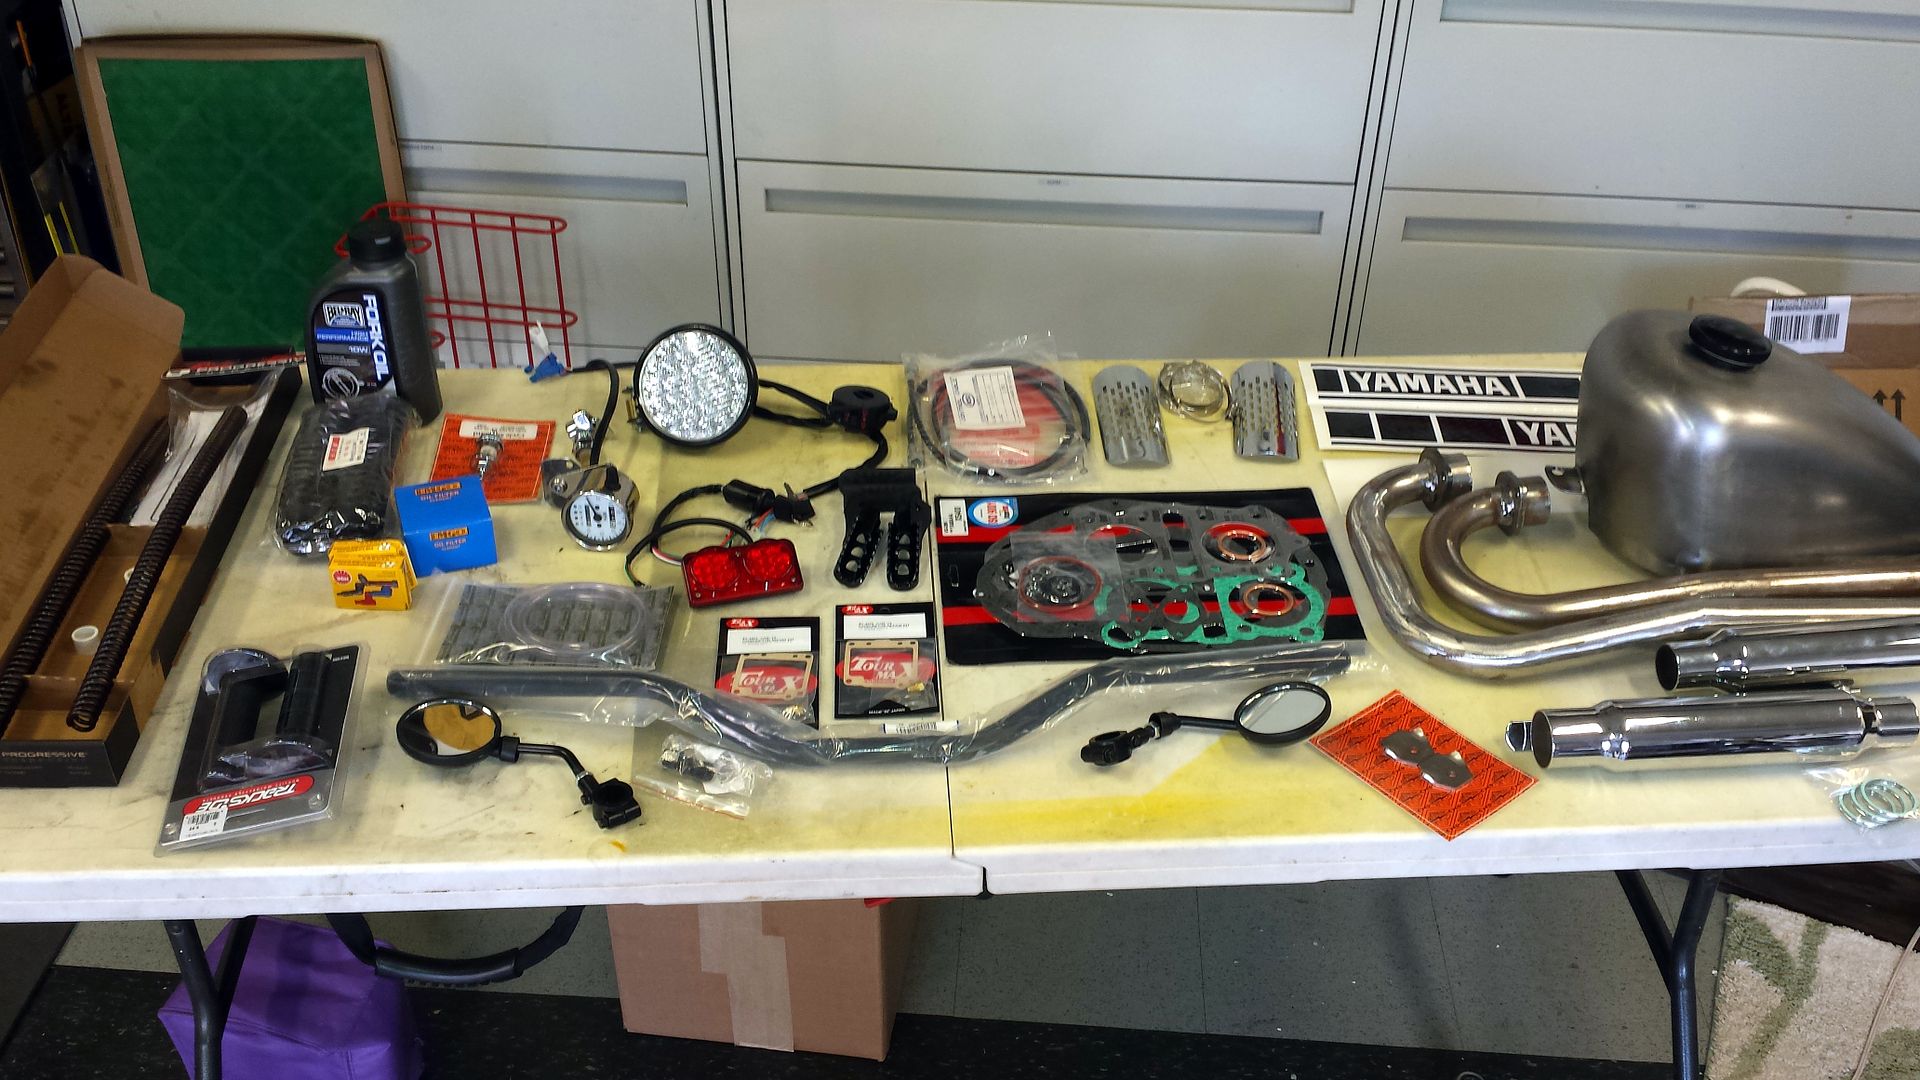
Of course there is a new headlight, tail light signals, horn and rebuild the entire wire harness.

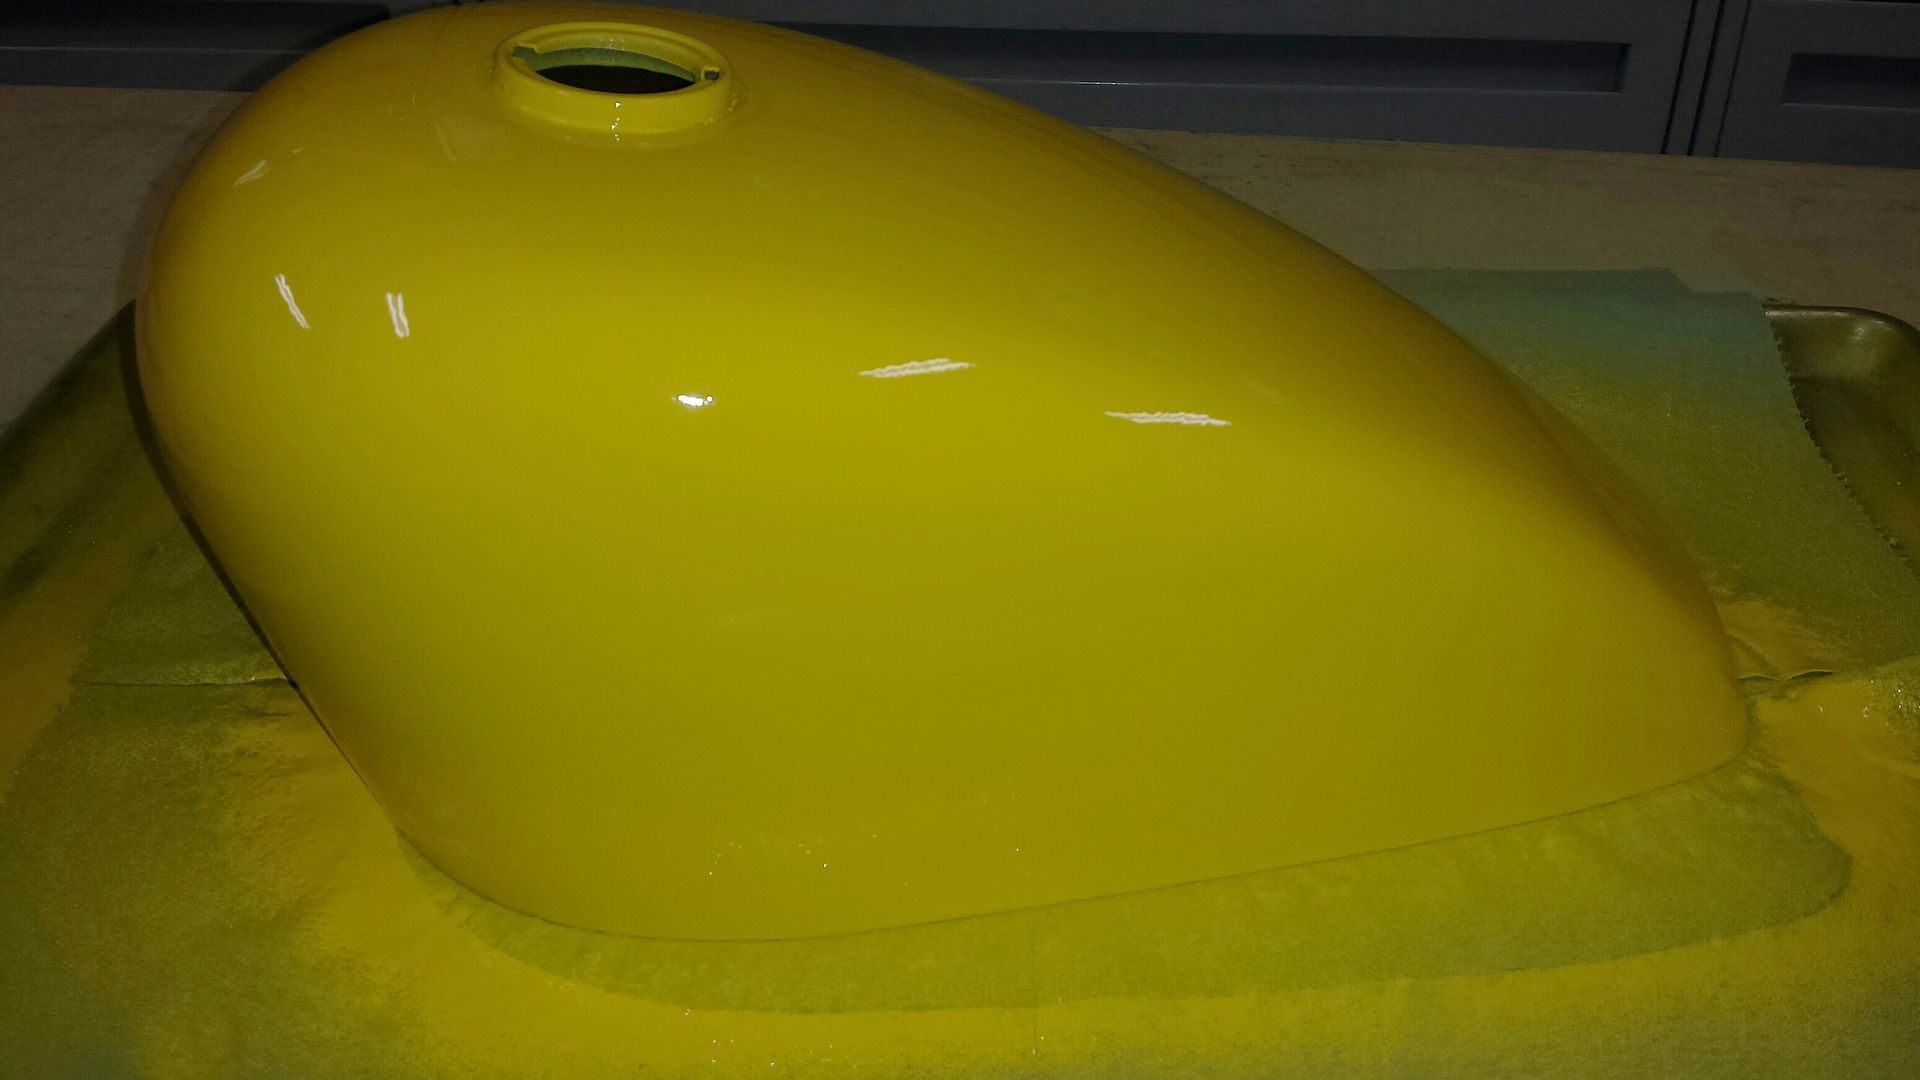
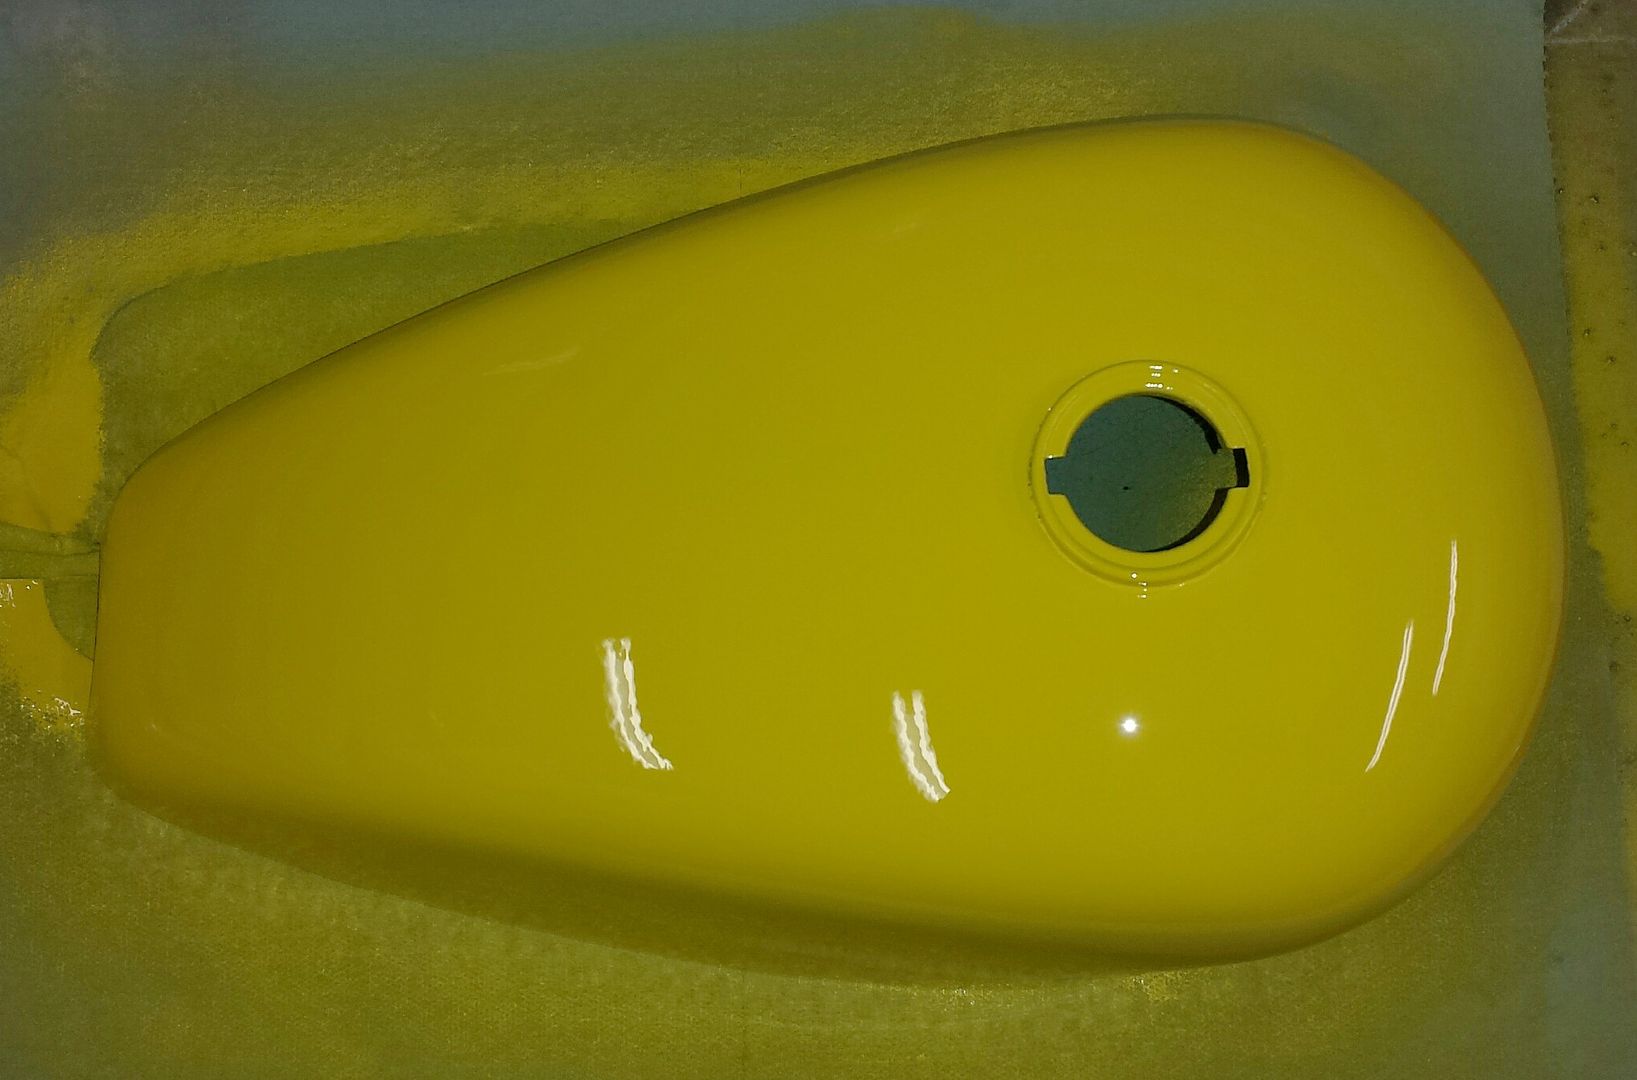
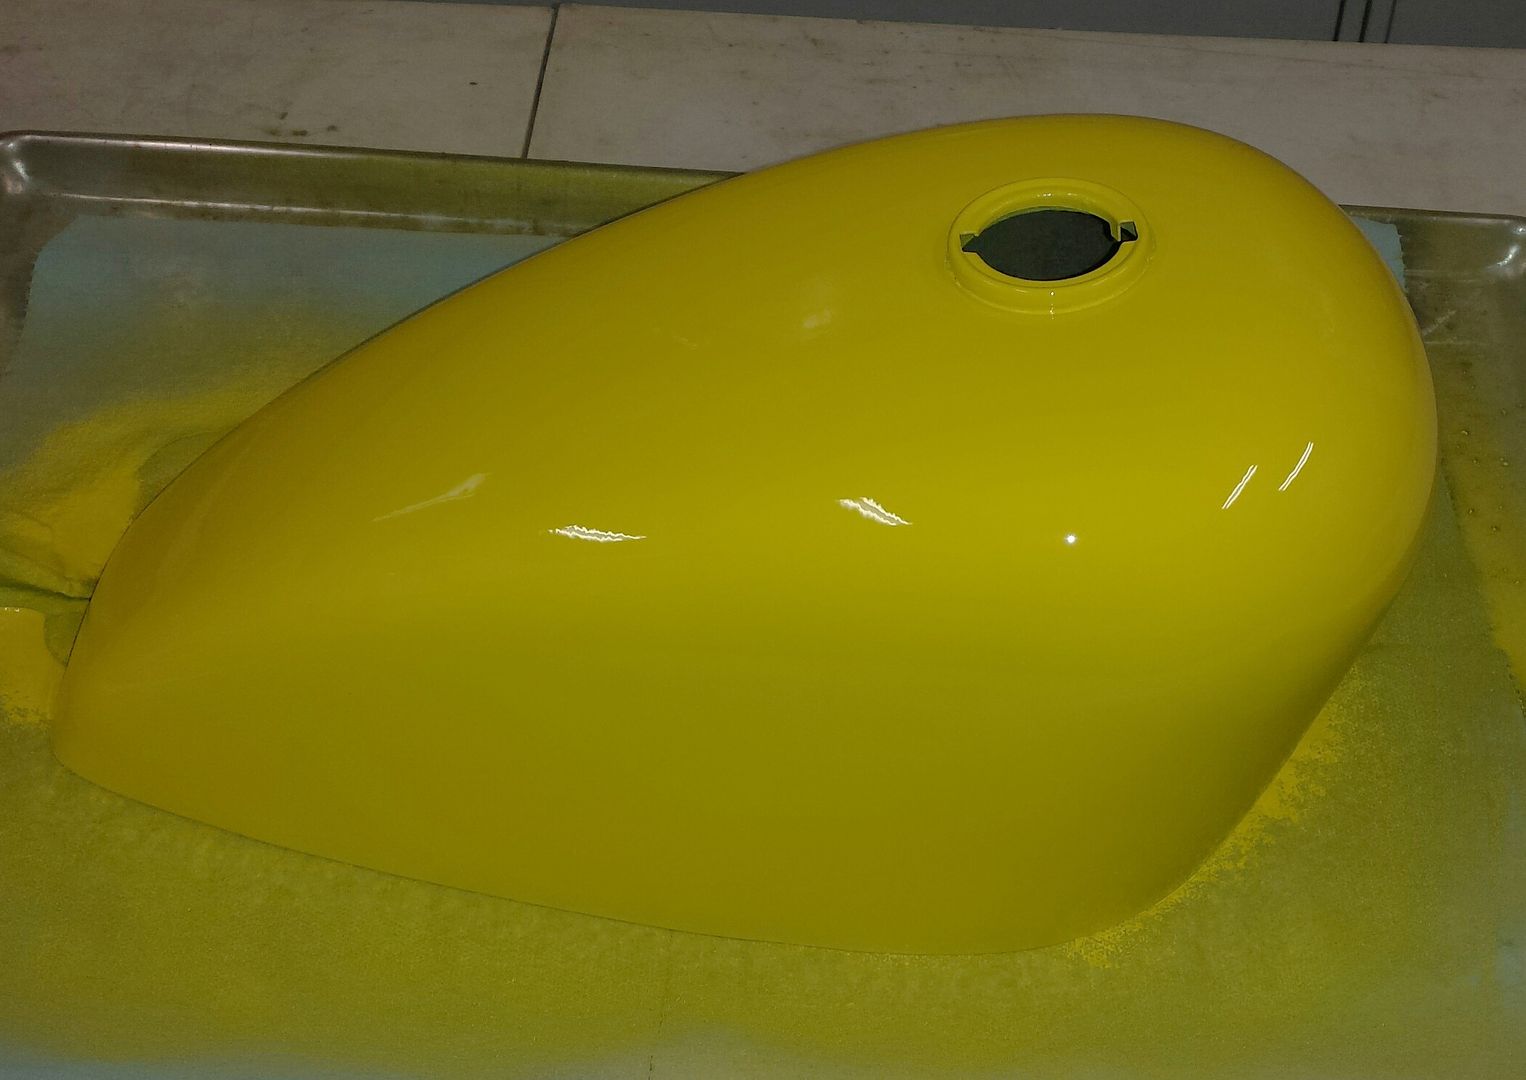
Oh, and clean everything, paint a cool tank and fenders, frame and check/repair the brakes and forks.

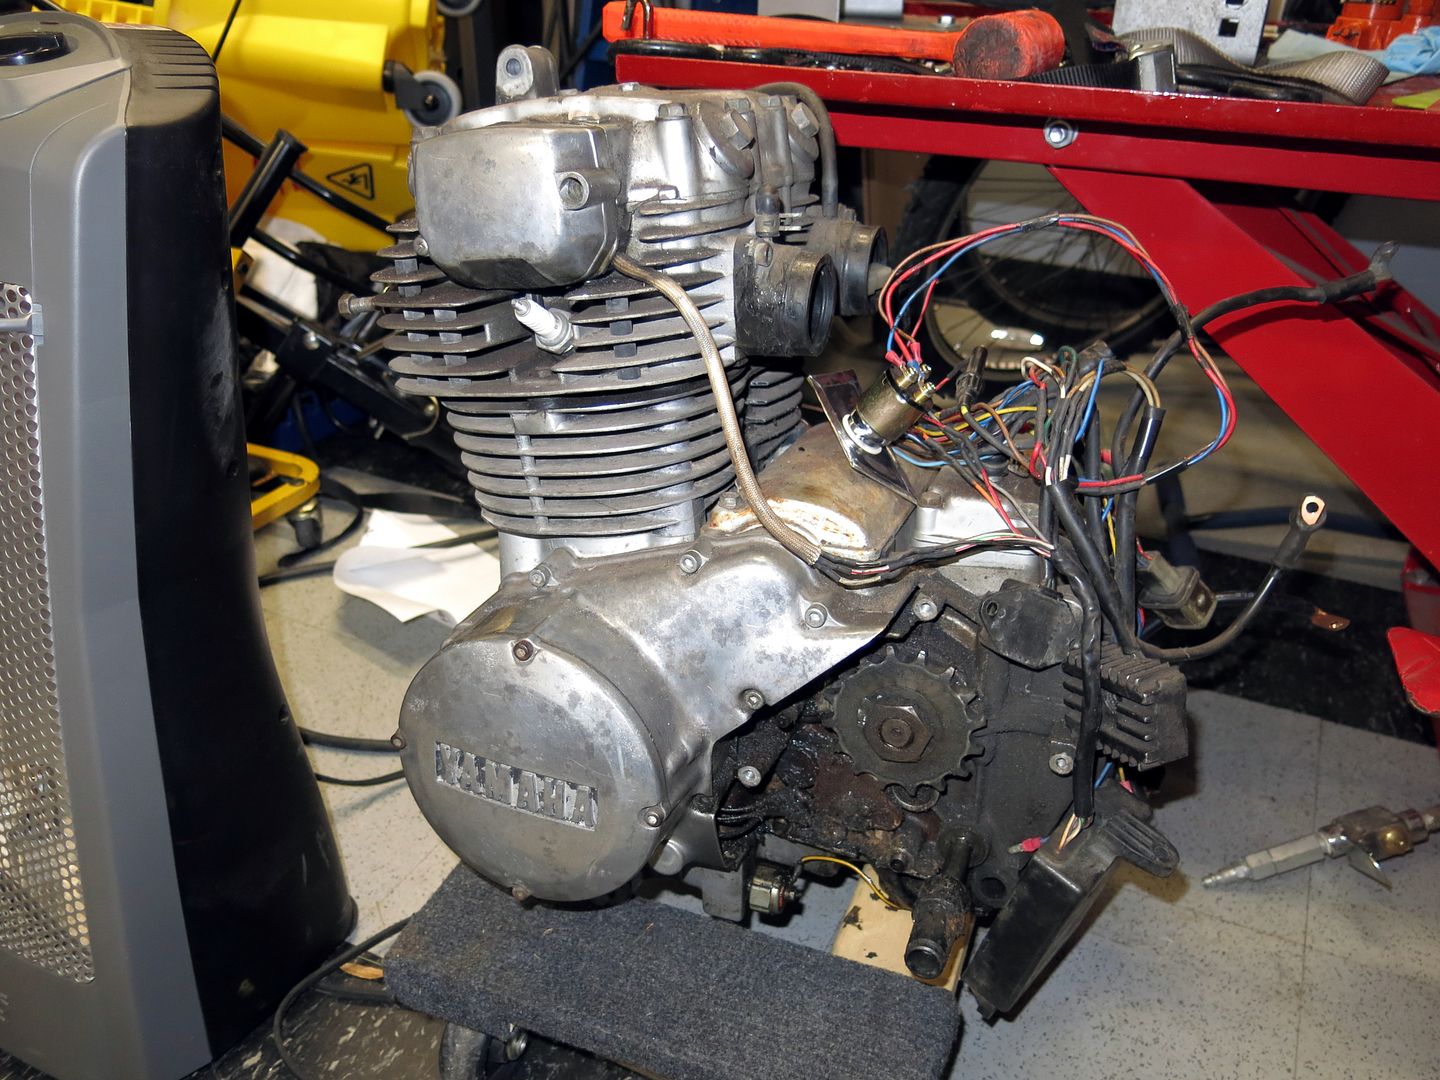
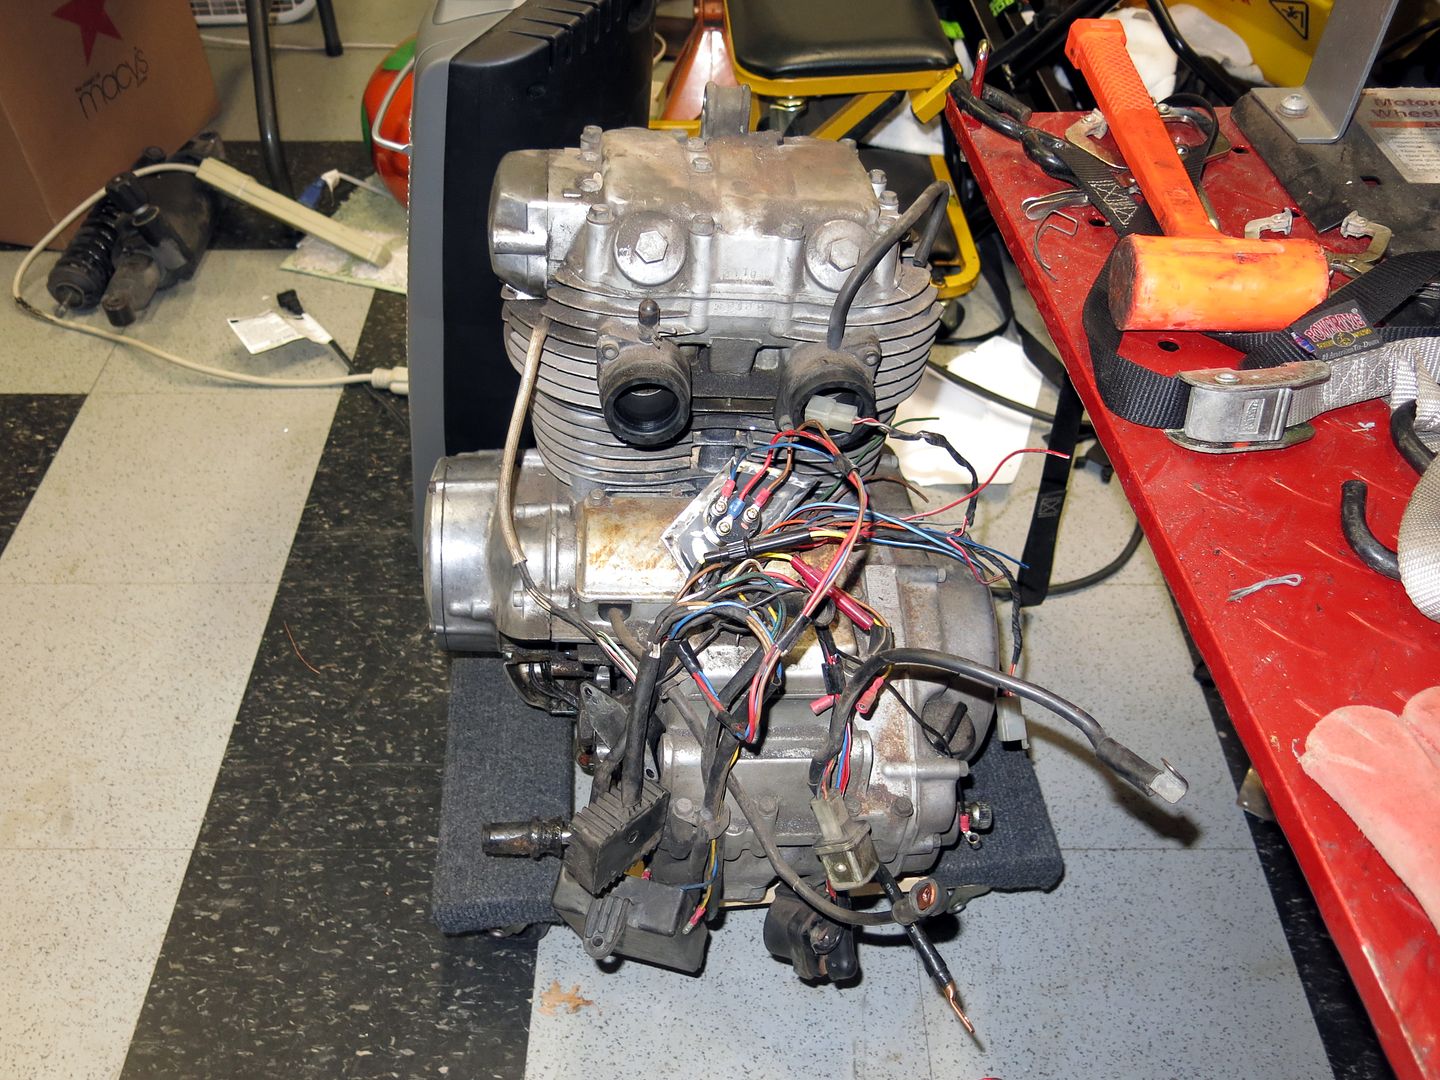
Not much at all, assuming the motor, clutch and charging system is sound.

Jim :cool:
 
Ordered and received a few more parts:
Some more appropriate handlebars for a Scrambler:

Emgo_Street_Handlebars-900811435.jpg


Mirrors:

$_12.JPG


Fork Gaiters:

$_12.JPG


Multifunction switch cluster:

$_57.JPG


Still need a bunch of other things, but this is a start.

Jim :cool:
 
Practice prep on my tank shell for my project bike.

Tank%20cover%20test%20paint%202.jpg


Tank%20cover%20test%20paint%204.jpg


The primer needs to dry a few hours before sanding and top coating with color.

This tank wont help me since my welding is too poor to fix it, and I don't have the pieces anyhow, so it is just for fun.

Tank%20cover%20test%20paint%209.jpg


Jim :cool:
 
A little more done today. Painted the practice tank. The yellow is bright, but I like it:

Tank%20cover%20test%20paint%2013.jpg

Tank%20cover%20test%20paint%2011.jpg

Tank%20cover%20test%20paint%2010.jpg


Spent a couple of hours making a new wiring diagram since I will have to completely rewire the bike from top to bottom.
wiring%20Diagram.jpg

Feel free to critique the diagram, I just took a quick crack at it and have not scrutinized it closely yet.

So far this project has been fun.

Jim :cool:
 
Just a quickie. I swapped the ugly stock pegs with a set from a 2015 BMW R1200GS. Just a tiny bit of grinding on the peg and the slipped right in.

Pegs%202.jpg

Pegs%201.jpg

Pegs%203.jpg


Jim :cool:
 
Seems to be some errors on your electrical. Might just be the way you have it drawn for your own preference, but I can see a few problem areas. I'll get back to it when I get done with some things I'm working on at the moment.
 
Seems to be some errors on your electrical. Might just be the way you have it drawn for your own preference, but I can see a few problem areas. I'll get back to it when I get done with some things I'm working on at the moment.

Please do, that is why I posed it. It looked OK for a first cut, but I would like feedback!

Thanks,
 
Because I am doing a little custom project that will require a lot of powder coated parts, I purchased a powder coat system from Harbor Freight. It works great. I used a cardboard box to do my first pieces, but it had a lot of blowback from the powder, which went everywhere.

PC%20Foot%20Pegs%206.jpg


PC%20Foot%20Pegs%205.jpg


PC%20Foot%20Pegs%204.jpg


So, with powder everywhere in mind I figured an improved "booth" is in order. To that end I used a very large piece of scrap cardboard and created a box that is 14" X 26" X 12" deep. I used a cheap AC filter (probably need one with a tighter weave) to cut the dust, and am using a box fan to pull the air through the filter.

PC%20Booth%208.jpg

PC%20Booth%207.jpg


Scrap steel rods were fit in strategic slits to allow me to position the items where I needed, and to ground the parts.

PC%20Booth%2013.jpg

PC%20Booth%209.jpg

PC%20Booth%206.jpg

PC%20Booth%205.jpg

PC%20Booth%204.jpg


I can hang or rest parts in several different configurations.

Also, for small parts that need powder all over, I can drop them from the top, ground them, then turn them for coating.

PC%20Booth%2012.jpg

PC%20Booth%2011.jpg

PC%20Booth%2010.jpg


Note the cheap toaster oven behind the box. It works great!

PC%20Booth%205.jpg


I sealed all the open ends of the cardboard with tape so it will be easy to clean. I expect it will last a while and is dirt cheap. I think I can use it for regular spray paint as well.

Suggestions?

Jim :cool:
 
I removed the diffuser off the end of the gun and shoot at about 10 psi. Found it worked much better, less wasted powder and whatnot.

Have you tried any clear or second coats yet?

I also find I have to half bake the first color coat or I have troubles applying the clear coat. Probably mostly due to my setup and poor grounding options for now but many people have that problem.

Thanks! Good tips. I have ordered a bunch of different powders and will try this weekend. No clear yet, but I am going to try it.
 
Tried out my home made powder coat box. It worked very well, with the filters doubled up:

Fender%20Mod%203.jpg

Fender%20Mod%206.jpg

Fender%20Mod%205.jpg

Fender%20Mod%204.jpg


I also cut a fender to make it more compact for my XS400 scrambler build:

Fender%20Mod%2010.jpg

Fender%20Mod%208.jpg

Fender%20Mod%2011.jpg

Fender%20Mod%2015_1.jpg

Fender%20Mod%2022.jpg

Fender%20Mod%2023.jpg


Needs a bit of work still, but not bad.
 
Cleaned up my garage, again, and got my new parts out and displayed.

This is 80% of what I have planned. I still need fork seals to go with the progressive springs, and new rear shocks. I am sure there will be more as I start assembly later.

20151023_144939.jpg


Next, deconstruction. I'll display it when it is completely apart.
 
Deconstructed the bike in anticipation of finish welding the frame, and cleaning it up for paint, as well as a LOT of powder coating of parts.

Tank%20Install%204.jpg

Breakdown%201.jpg

Breakdown%207.jpg

Breakdown%208.jpg

Breakdown%209.jpg

Breakdown.jpg


Only took 2 hours, but now the real work begins.
 
Cleaned all the parts, except the motor, and did a fair bit of modding. I cut and remodeled the rear fender, cleaned the front fender and resanded it, sanded and primed the tank, welded the frame and swingarm bits and have the frame ready for primer tomorrow.

Paint%20Prep%204.jpg

Paint%20Prep%203.jpg

Frame%20Finishing%2016.jpg

Frame%20Finishing%2013.jpg

Frame%20Finishing%2012.jpg

Frame%20Finishing%209.jpg

Frame%20Finishing%206.jpg

Frame%20Finishing%204.jpg

Frame%20Finishing%201.jpg


Jim :cool:
 
Back
Top