JimVonBaden
"Cool Aide"
80-82 came with electronic ignition. It was the previous models that had points.
Good to know, and I should have had I paid attention to the wiring during disassembley!
80-82 came with electronic ignition. It was the previous models that had points.
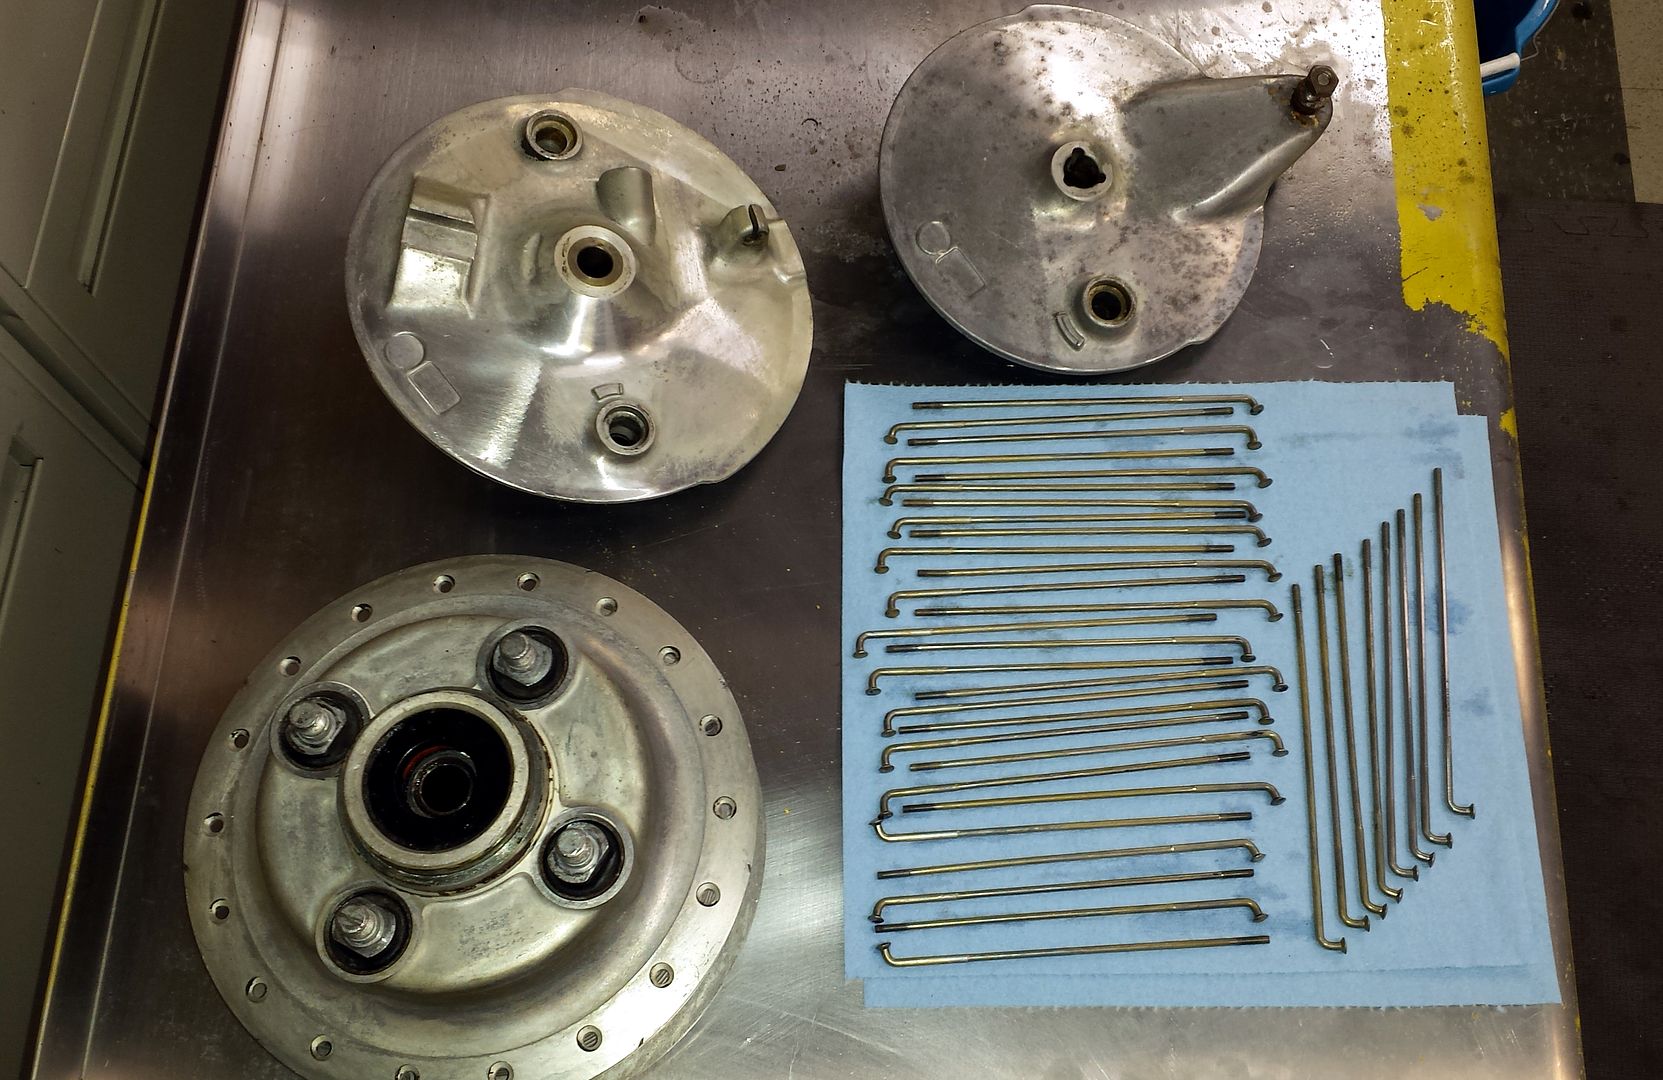
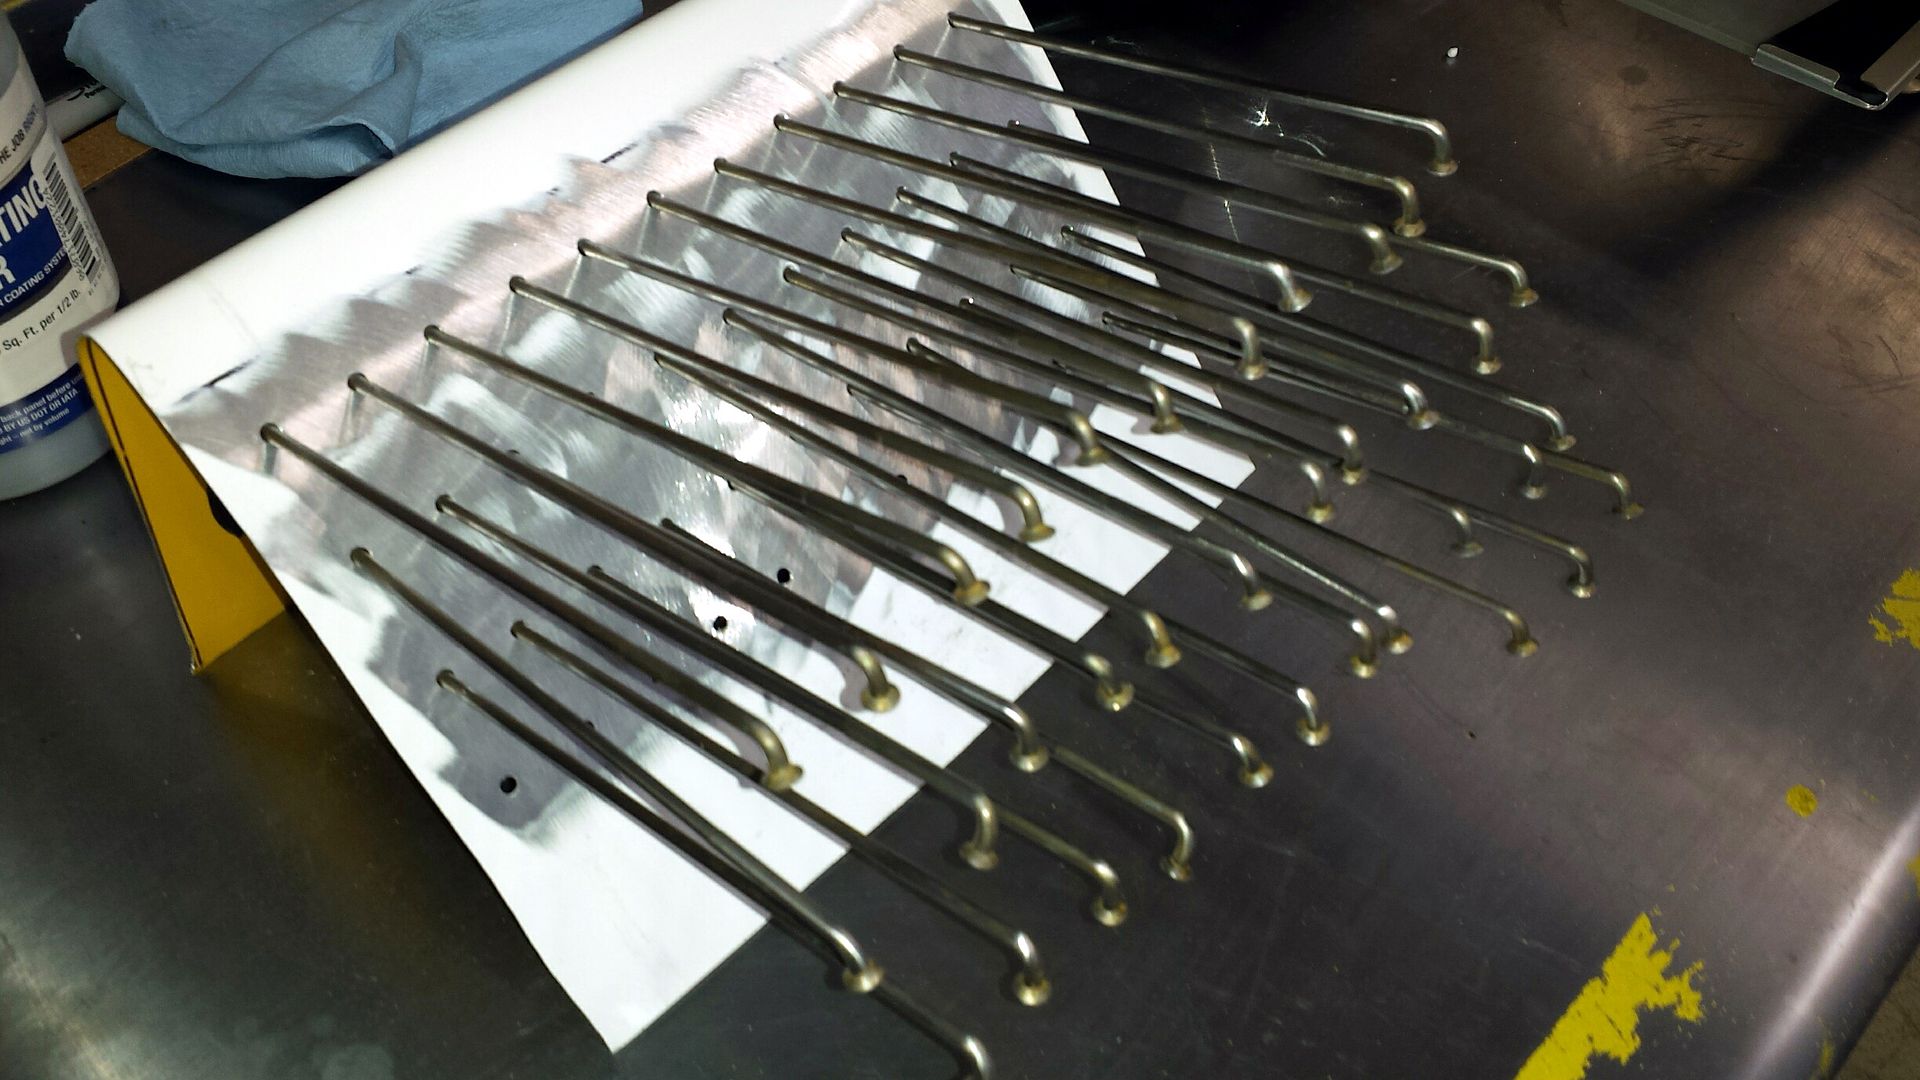
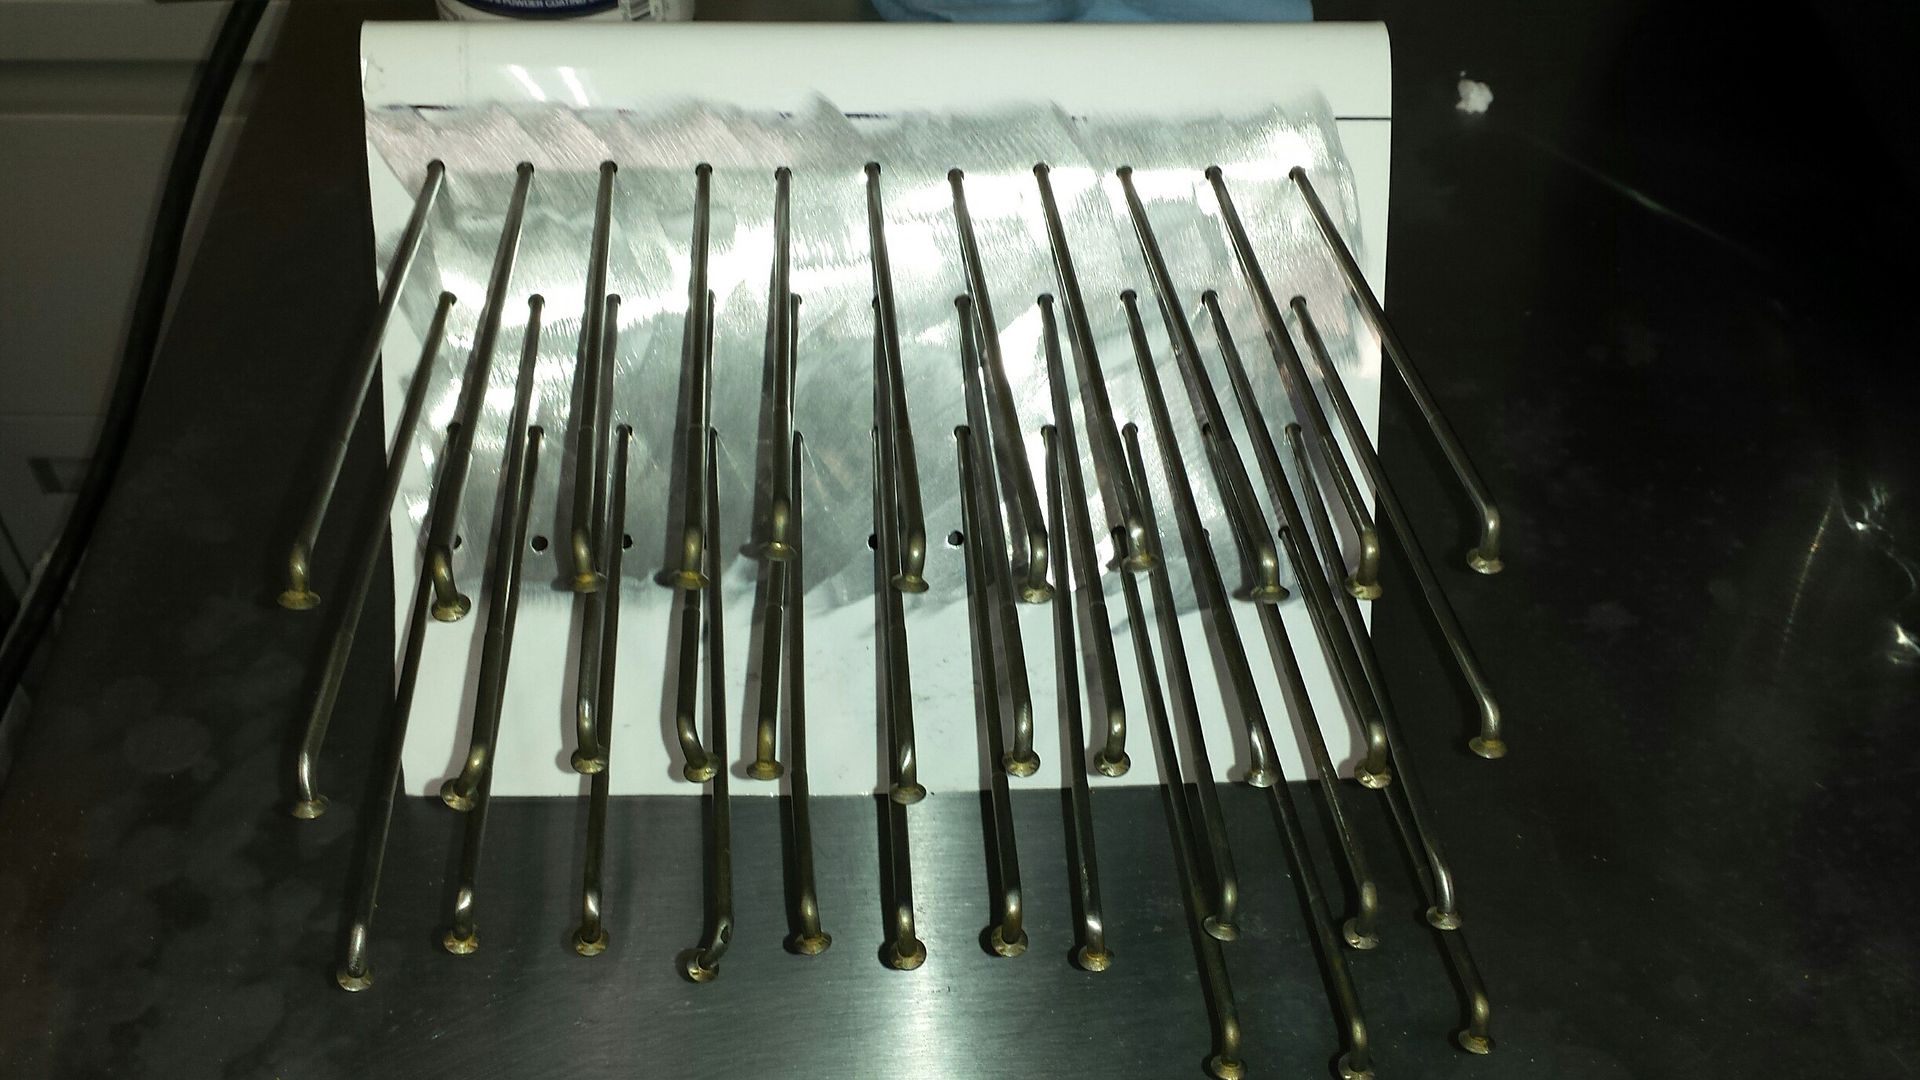
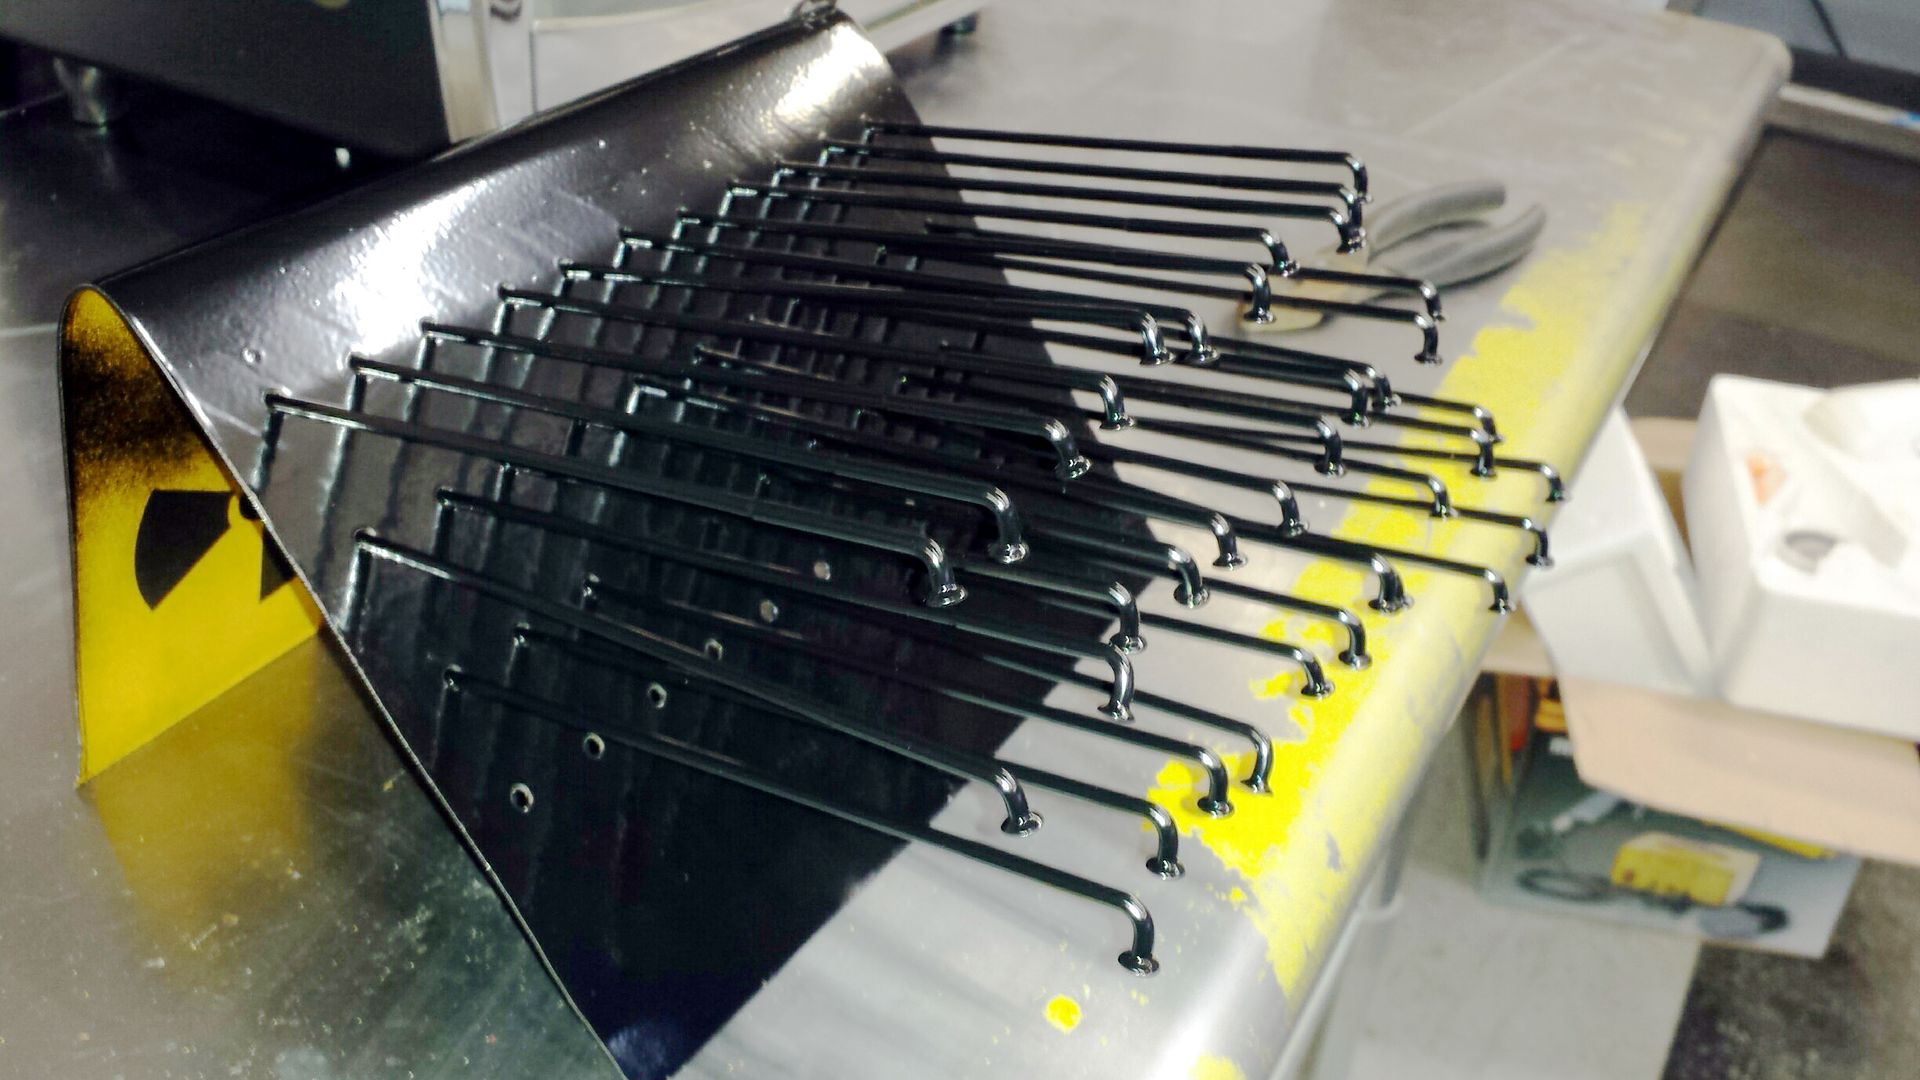
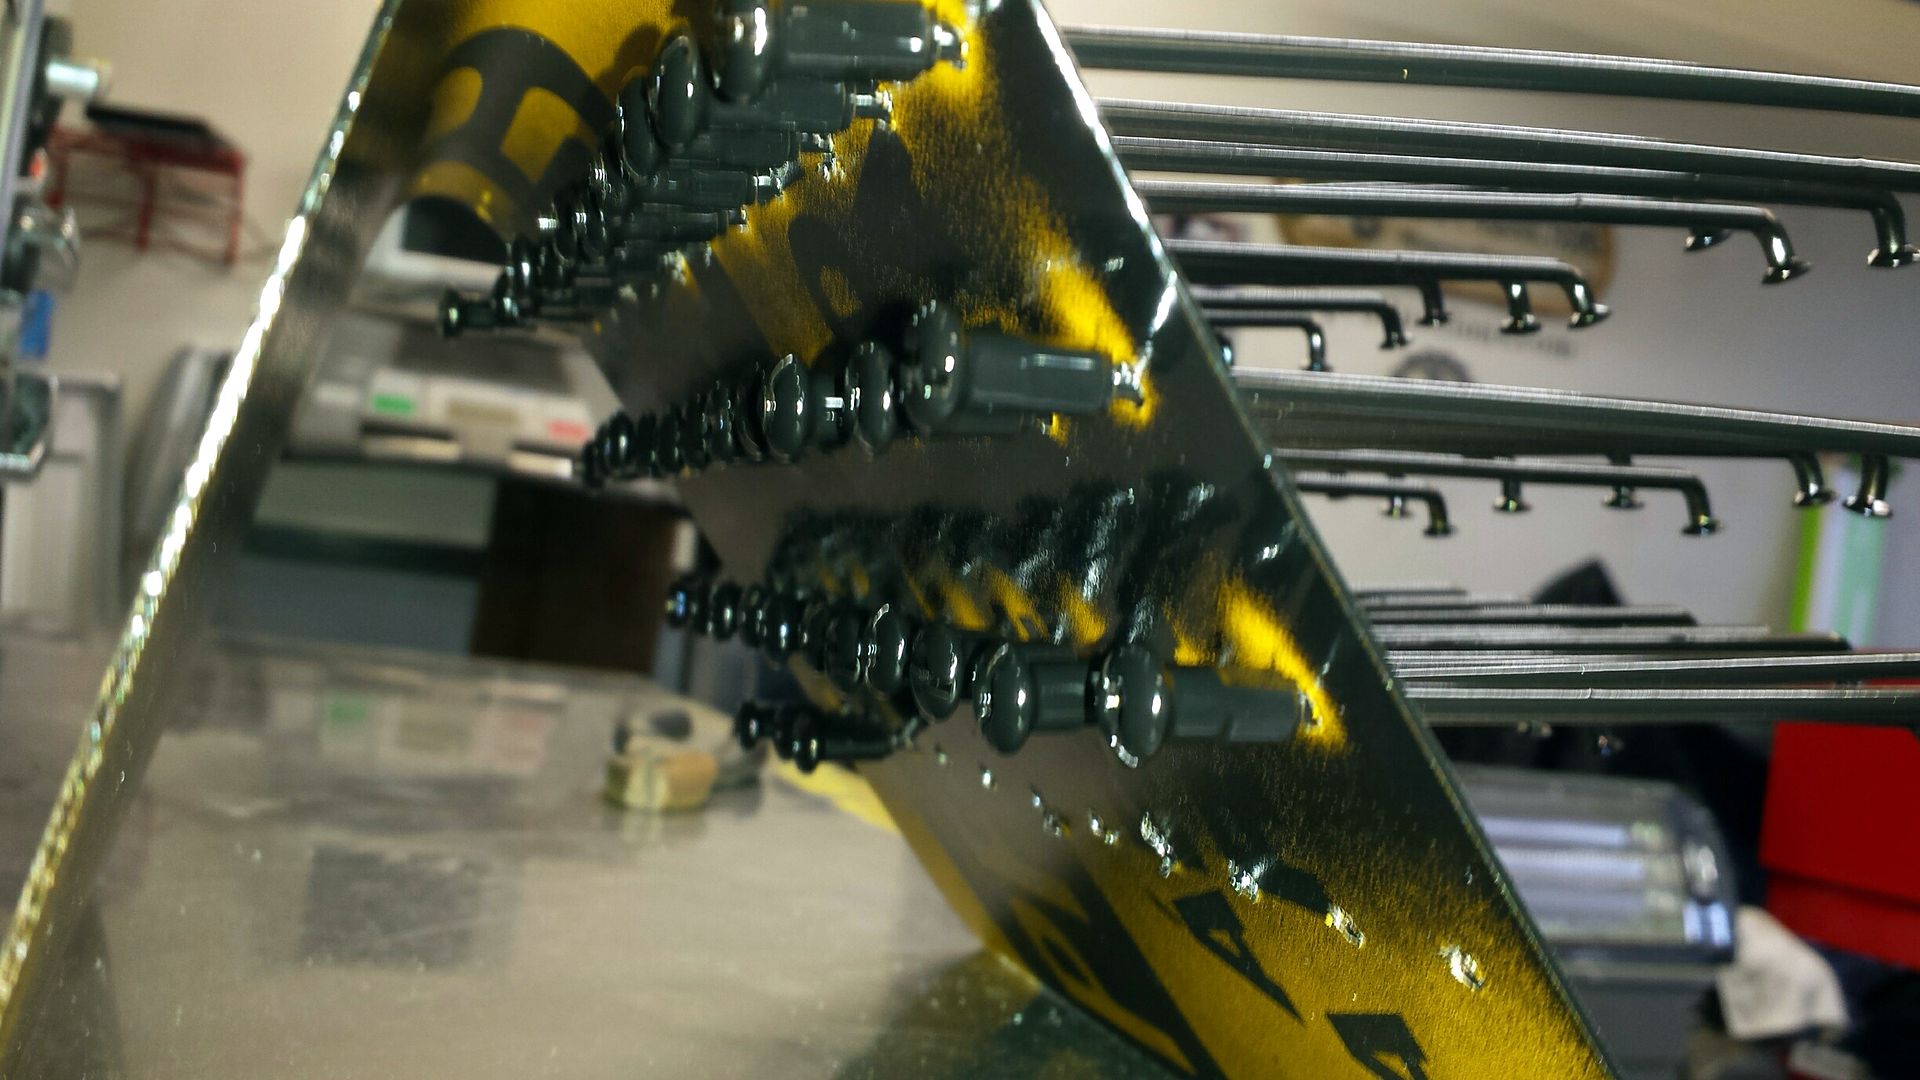
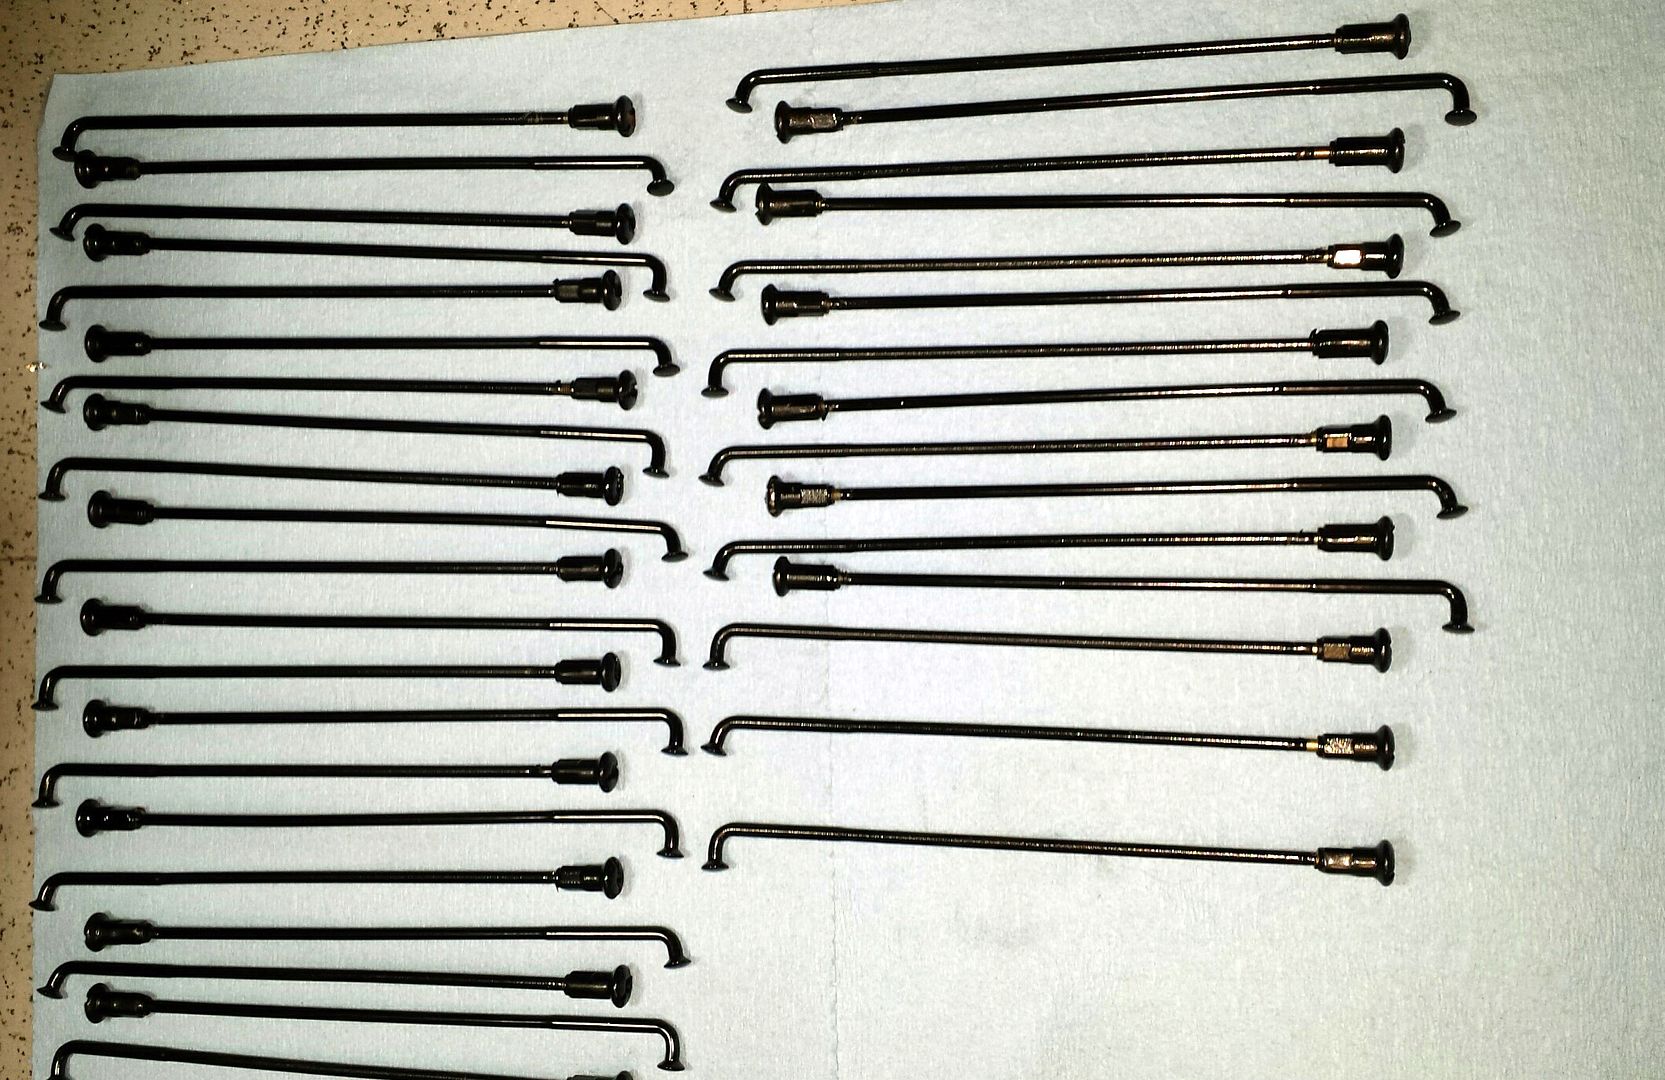
Best of luck with coating the spokes and nipples. It'll be tedious to string them all up and get a good coat. Then the added thickness makes them near impossible to get through the hub and sit flush.
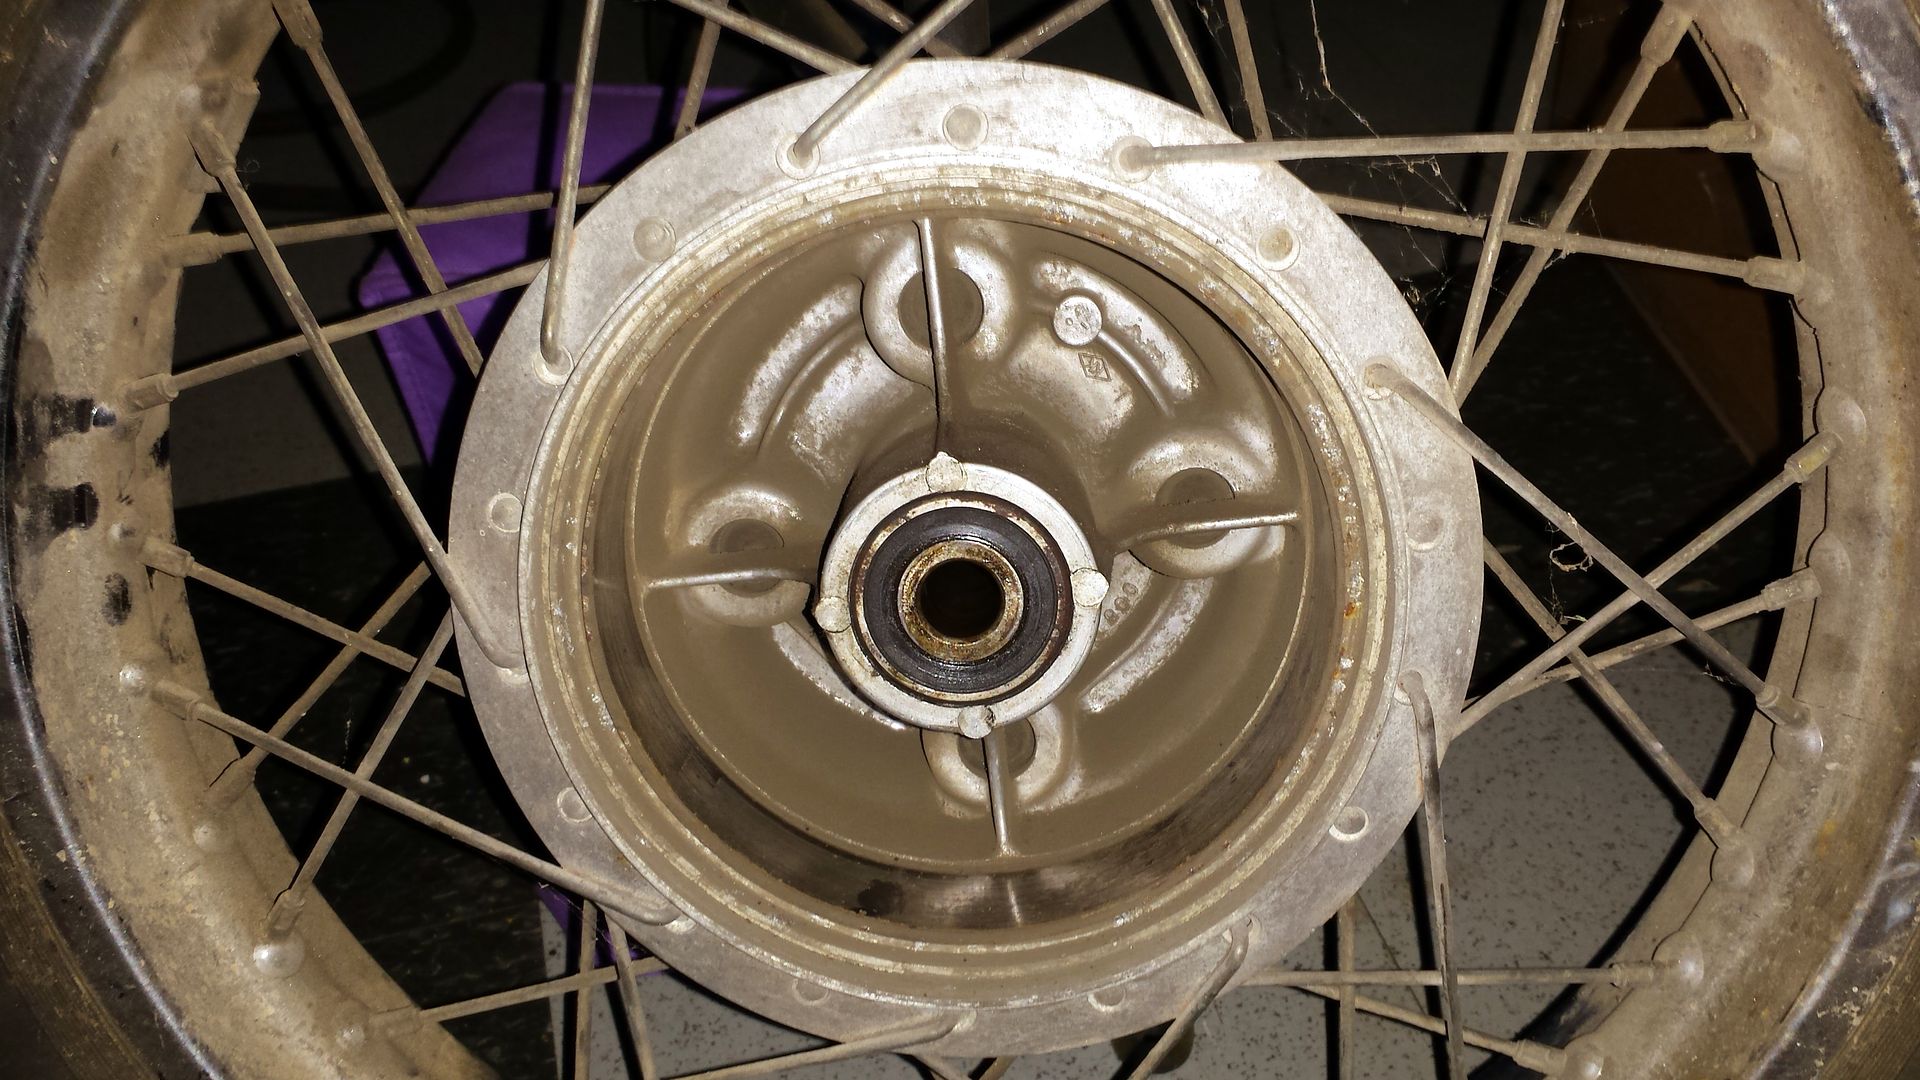
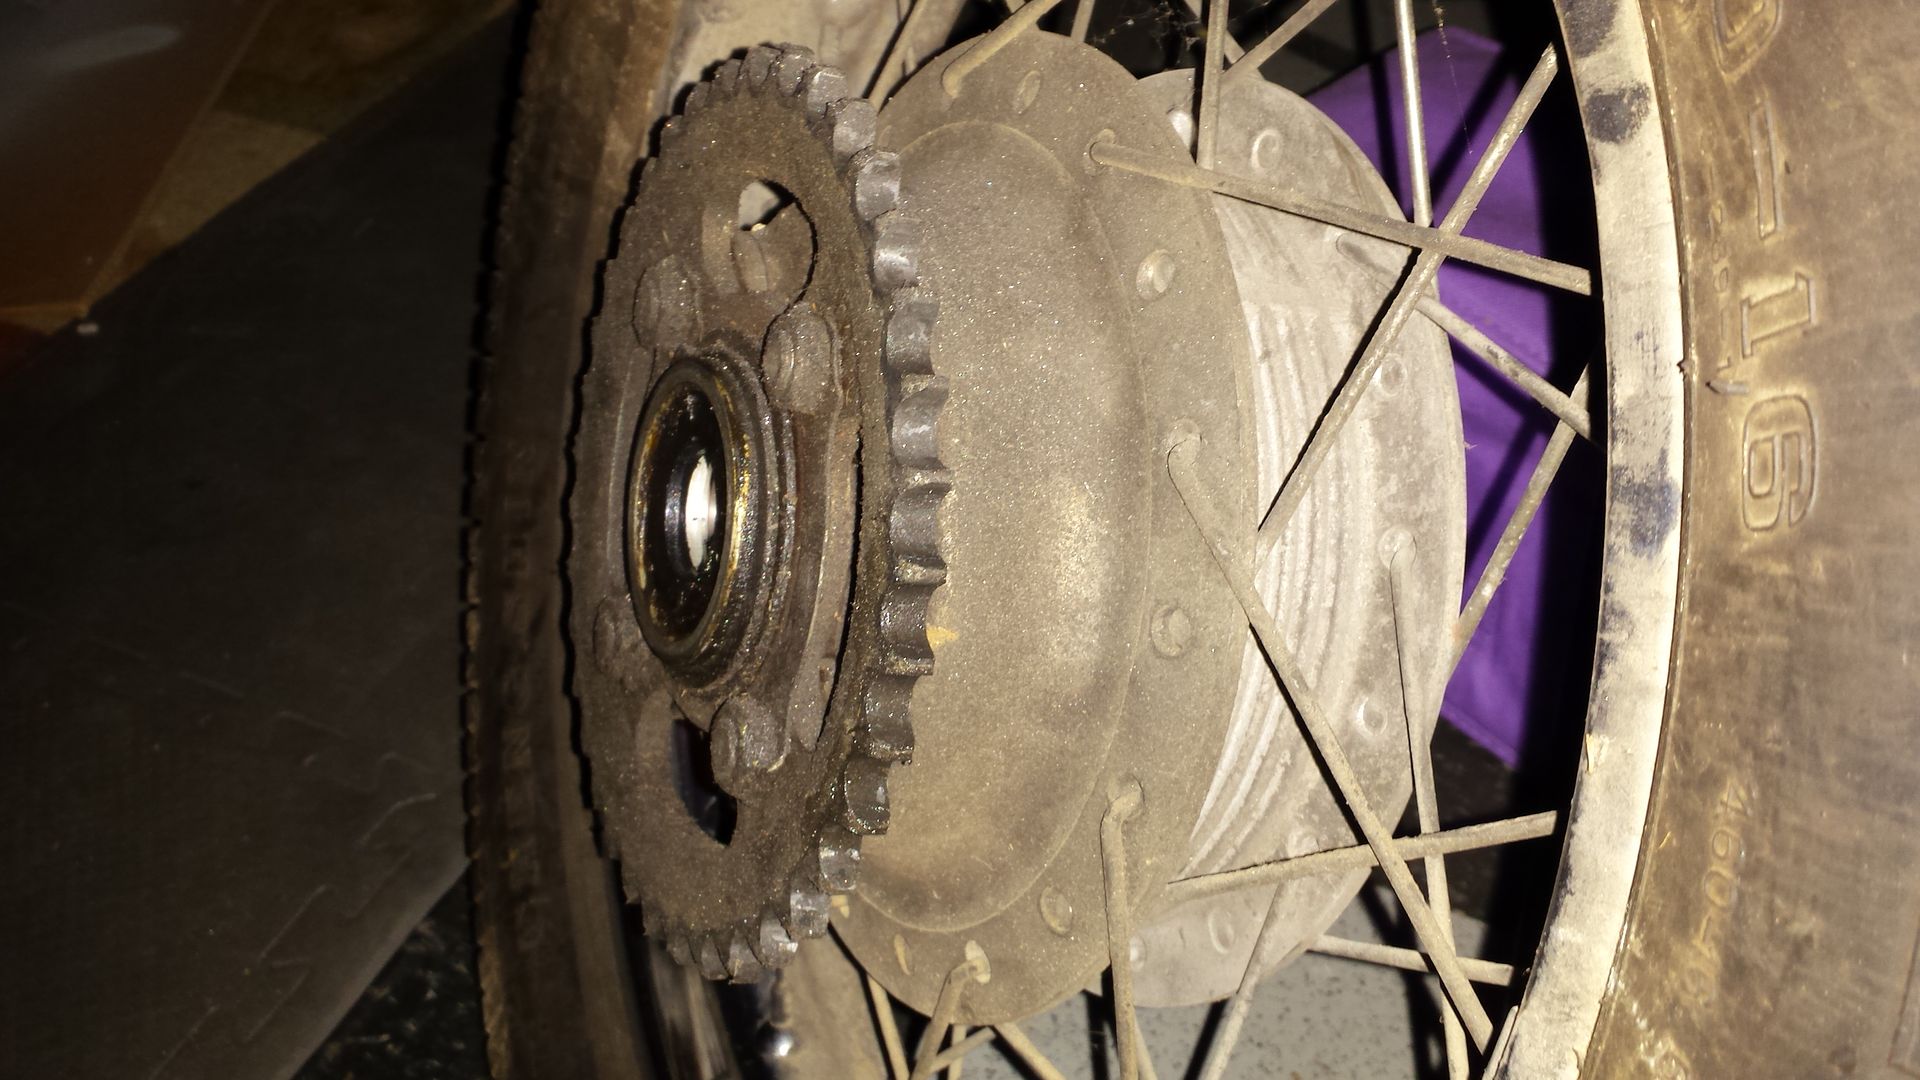
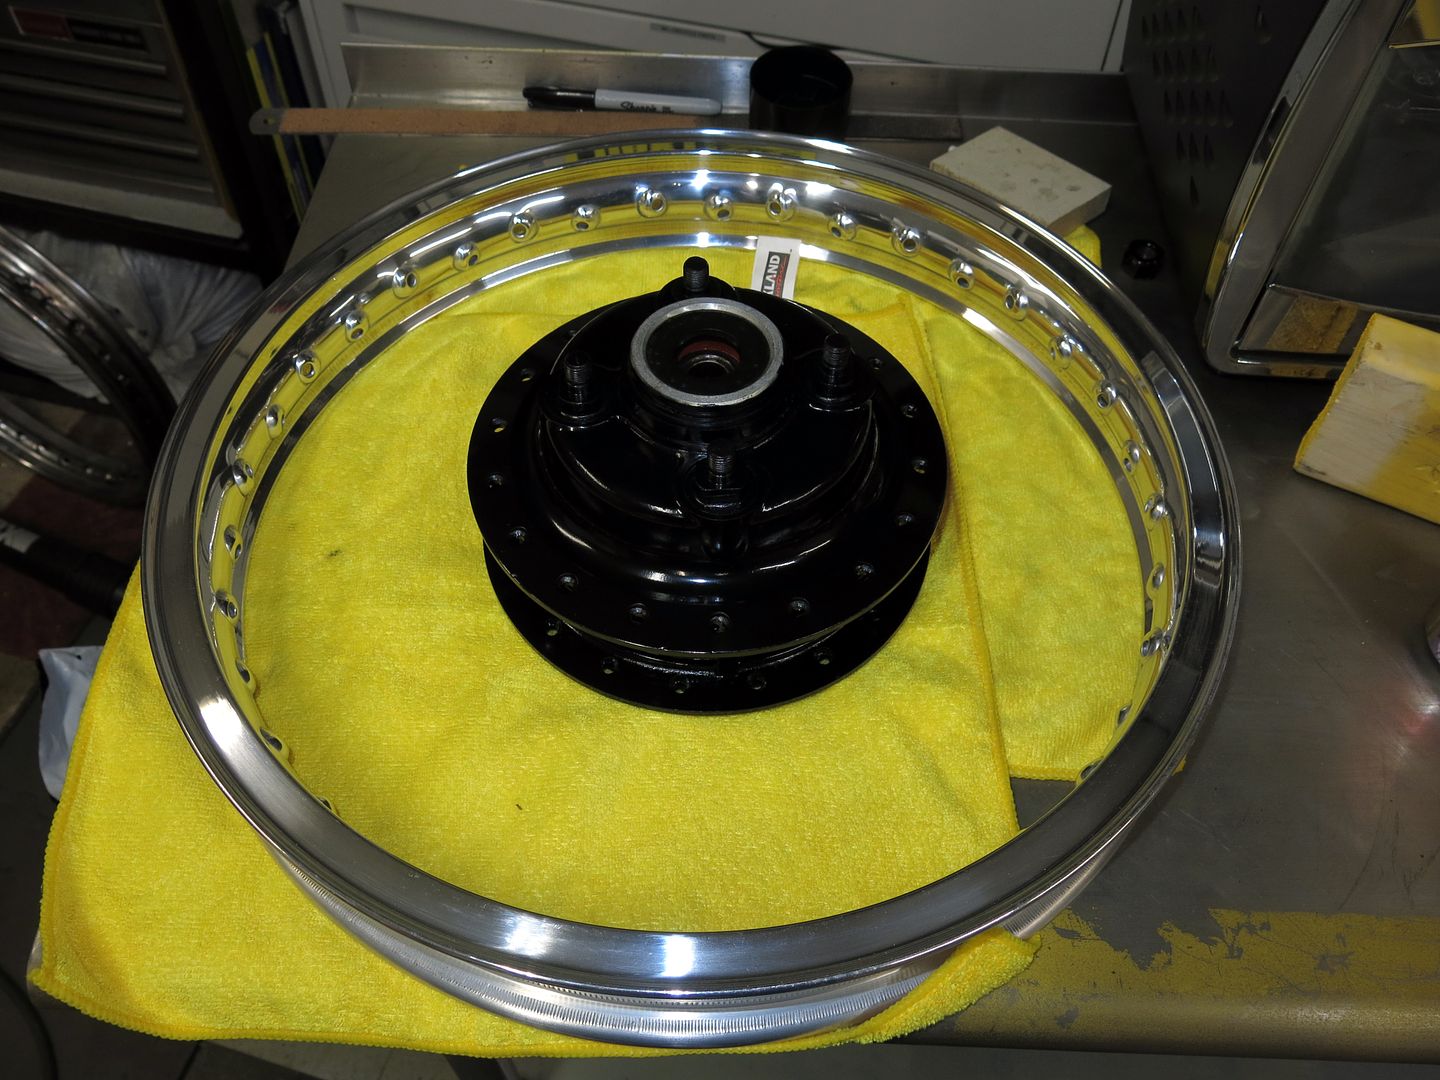
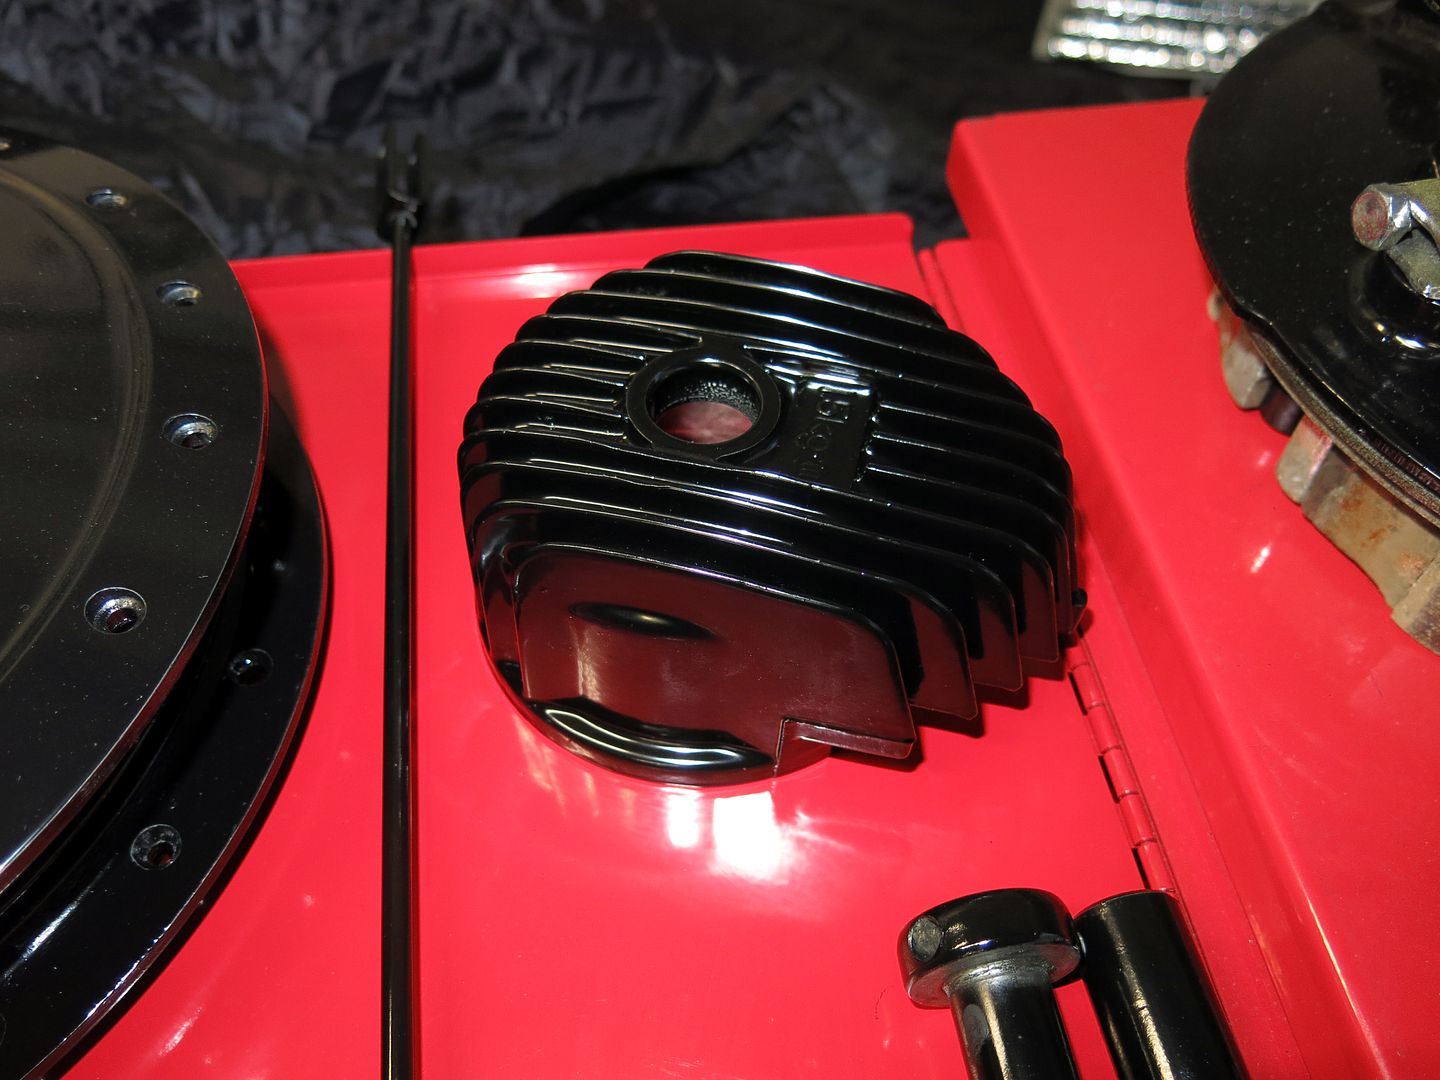
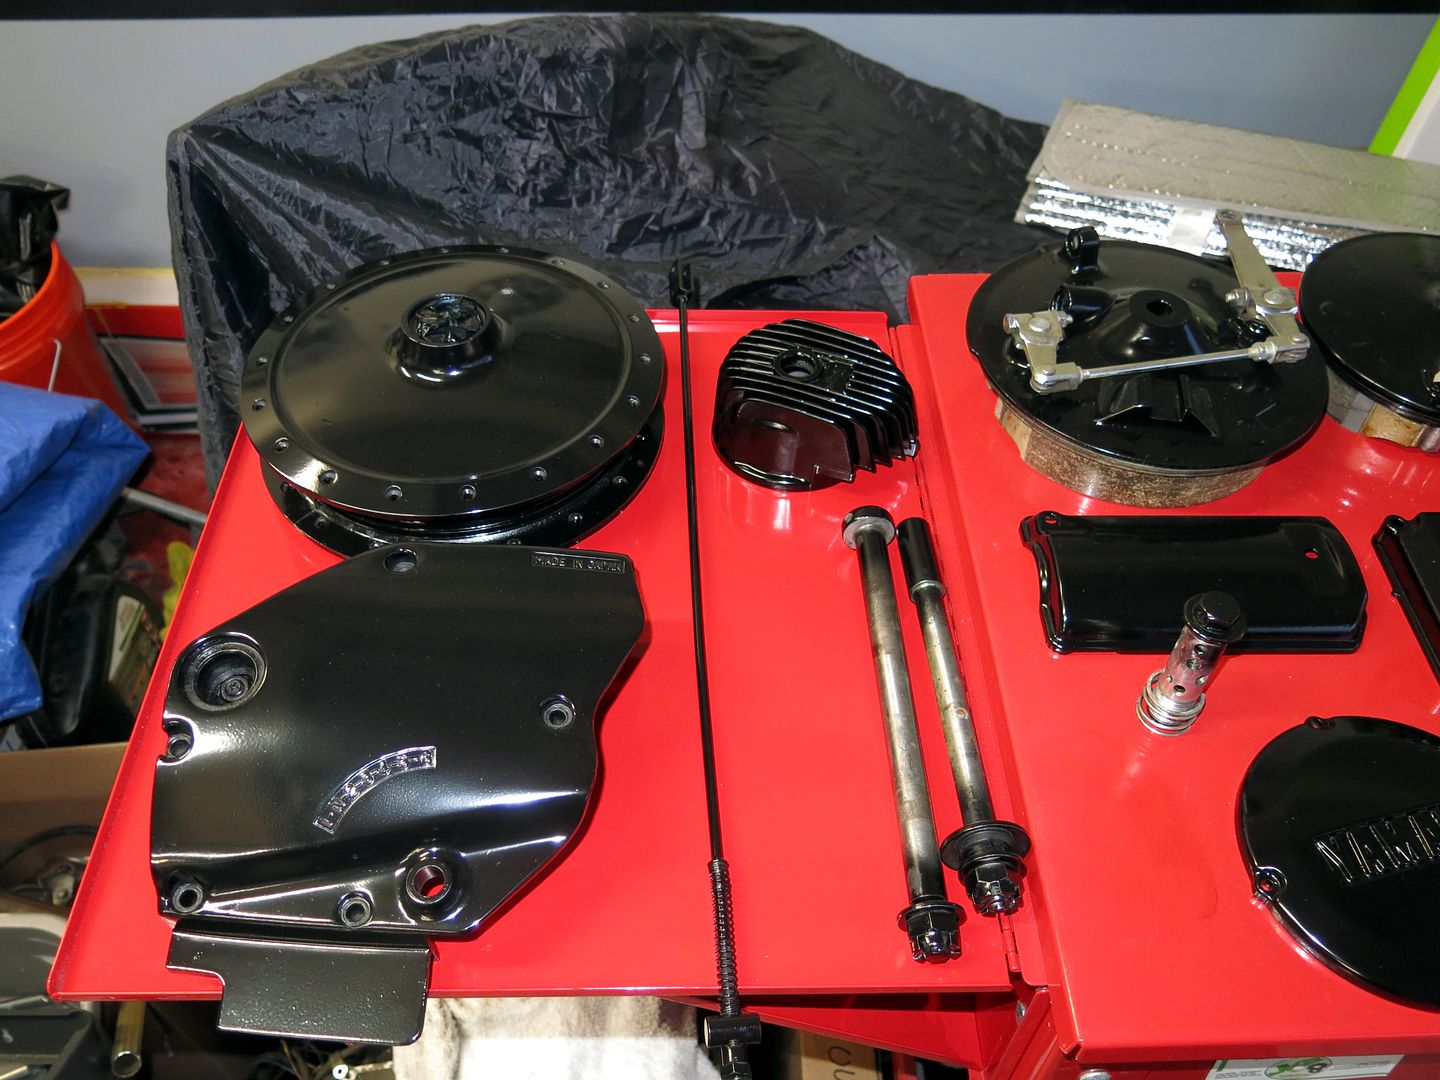
I had planned on doing it as well but went with new spokes instead. Even just the paint on the hub had to be drilled to fit the spokes.
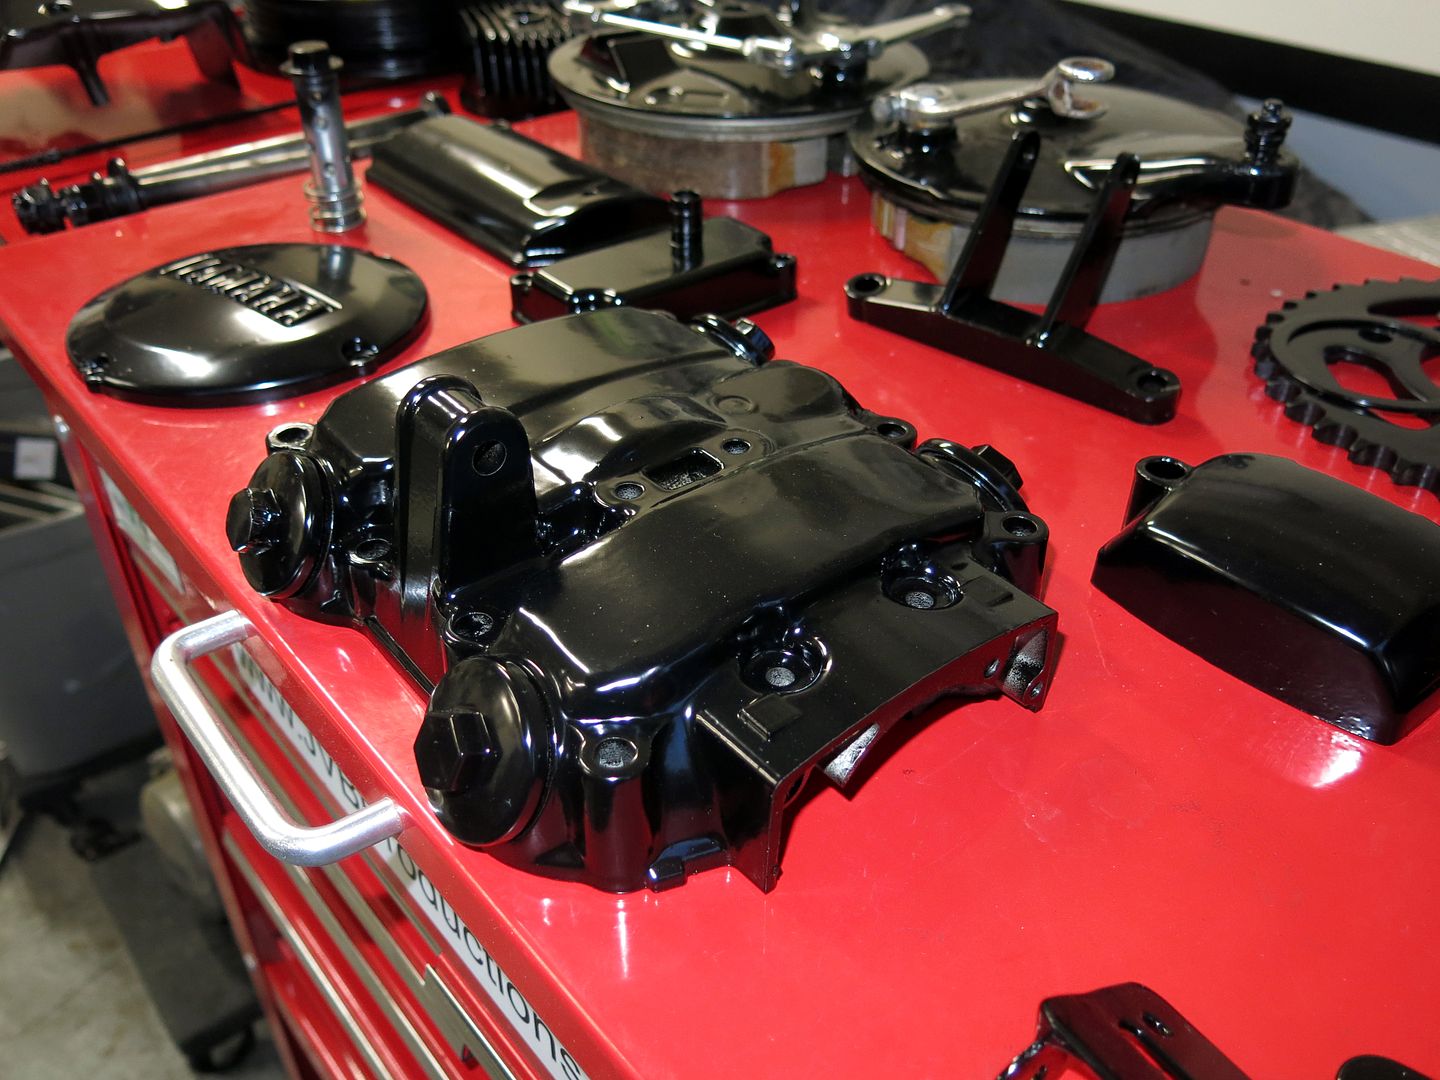
Got to say, i'm rather impressed. Most people do projects like this but do it totally wrong, and end up just causing damage to the bike frame in the end (by twisting the frame due to cutting and what not) but you have taken the time and money to do it properly. It looks great.
")
Just take your time, little by little on the adjustments. Use a good dial gauge, and don't settle for anything less than perfect! It's worth the time to get it right, nothing like a nice vibe free high-speed ride
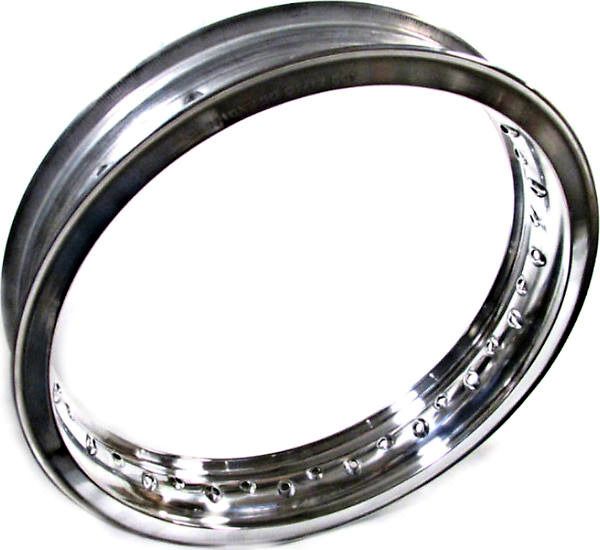
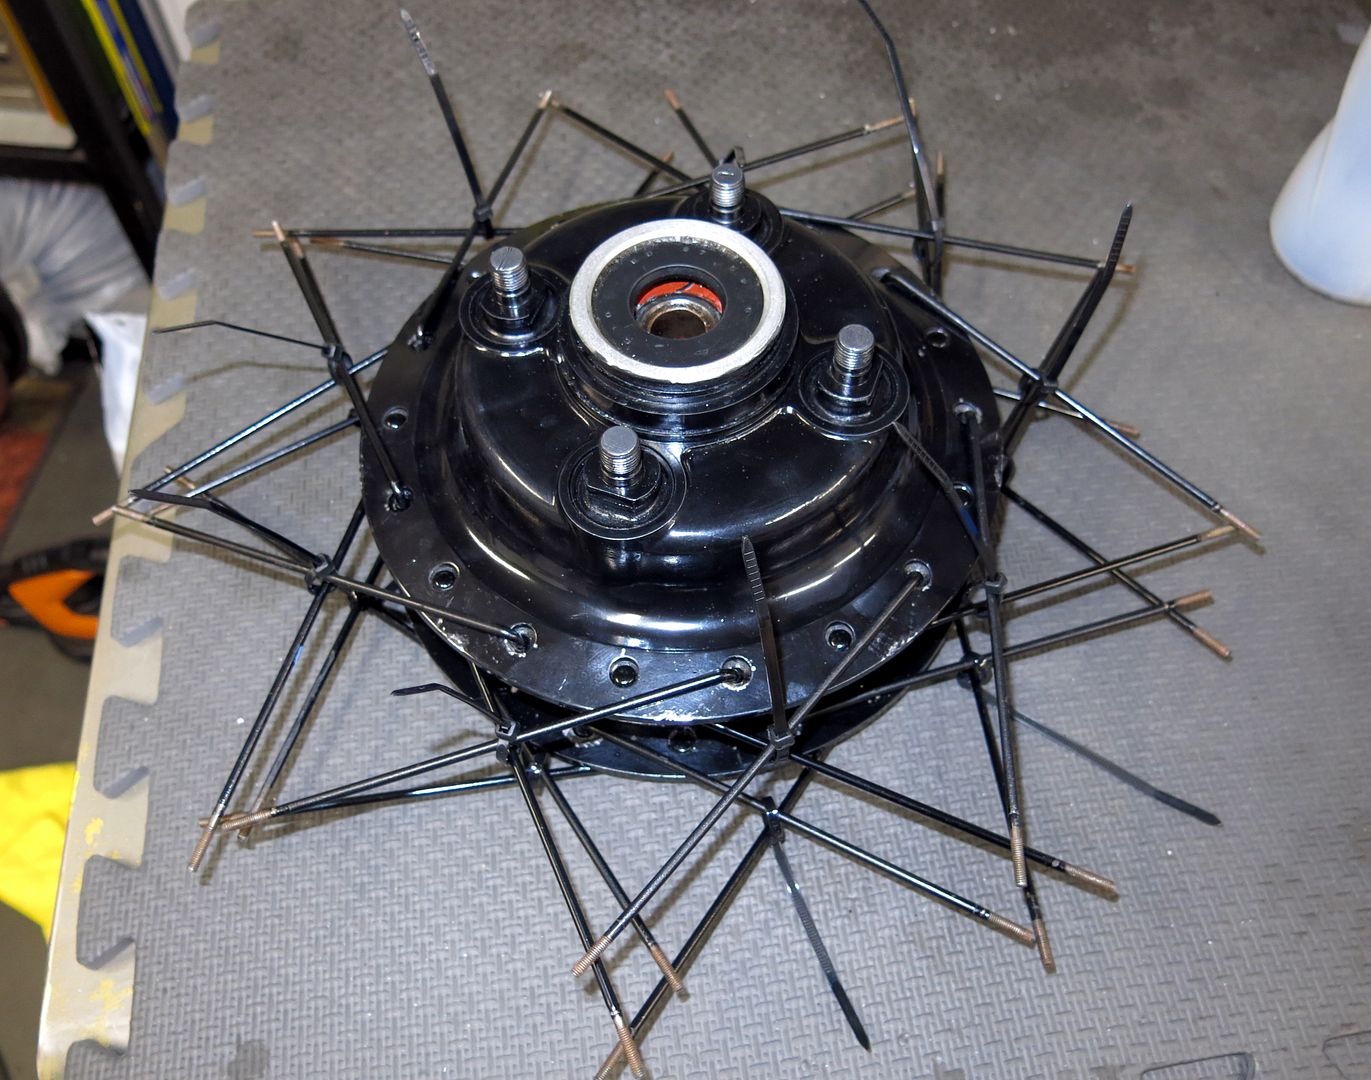
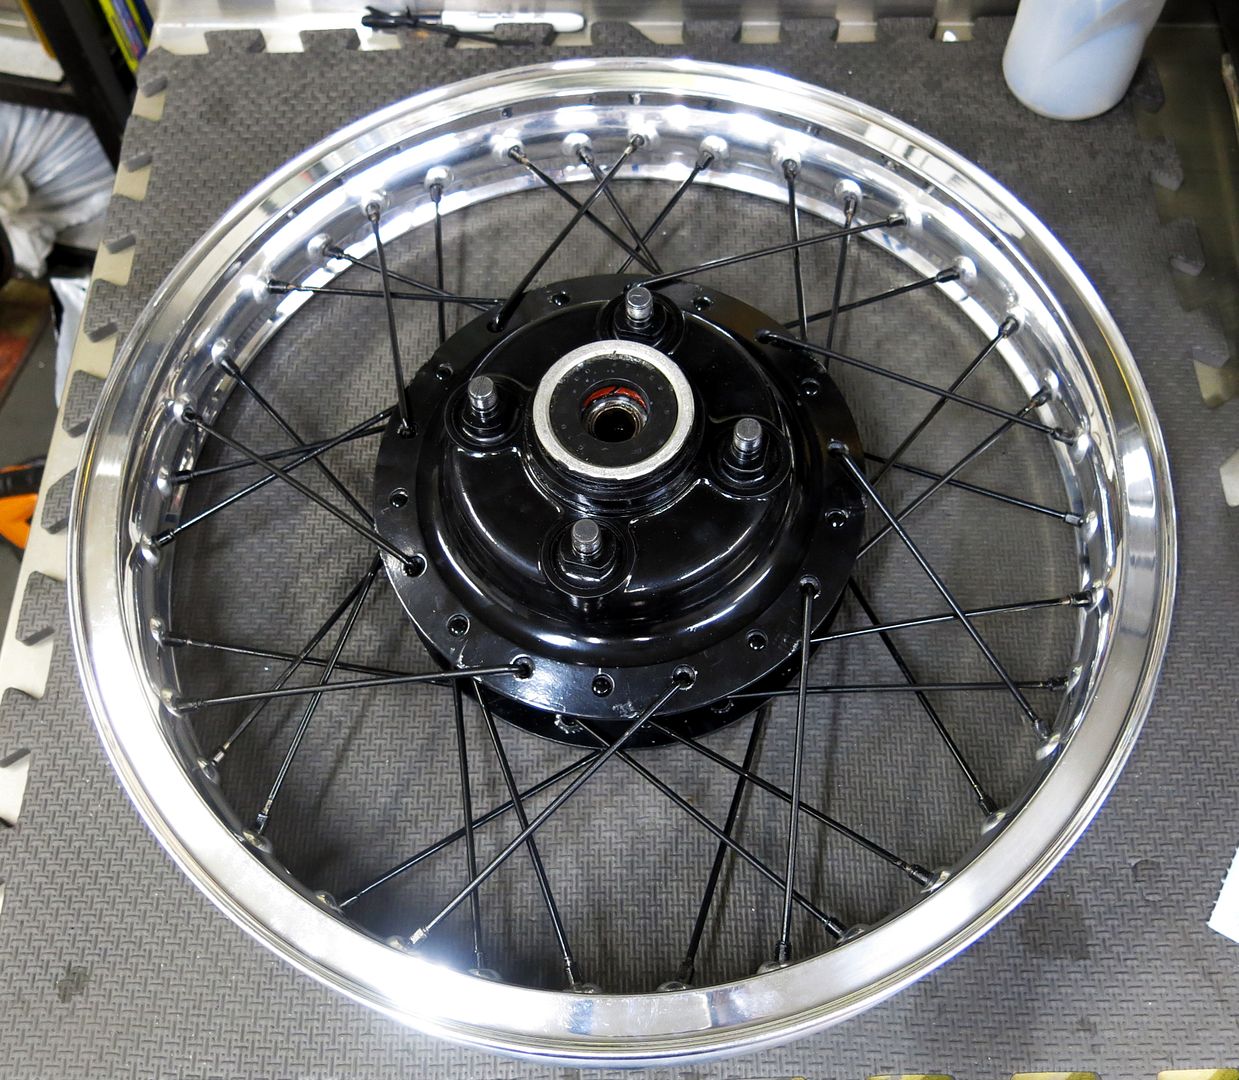
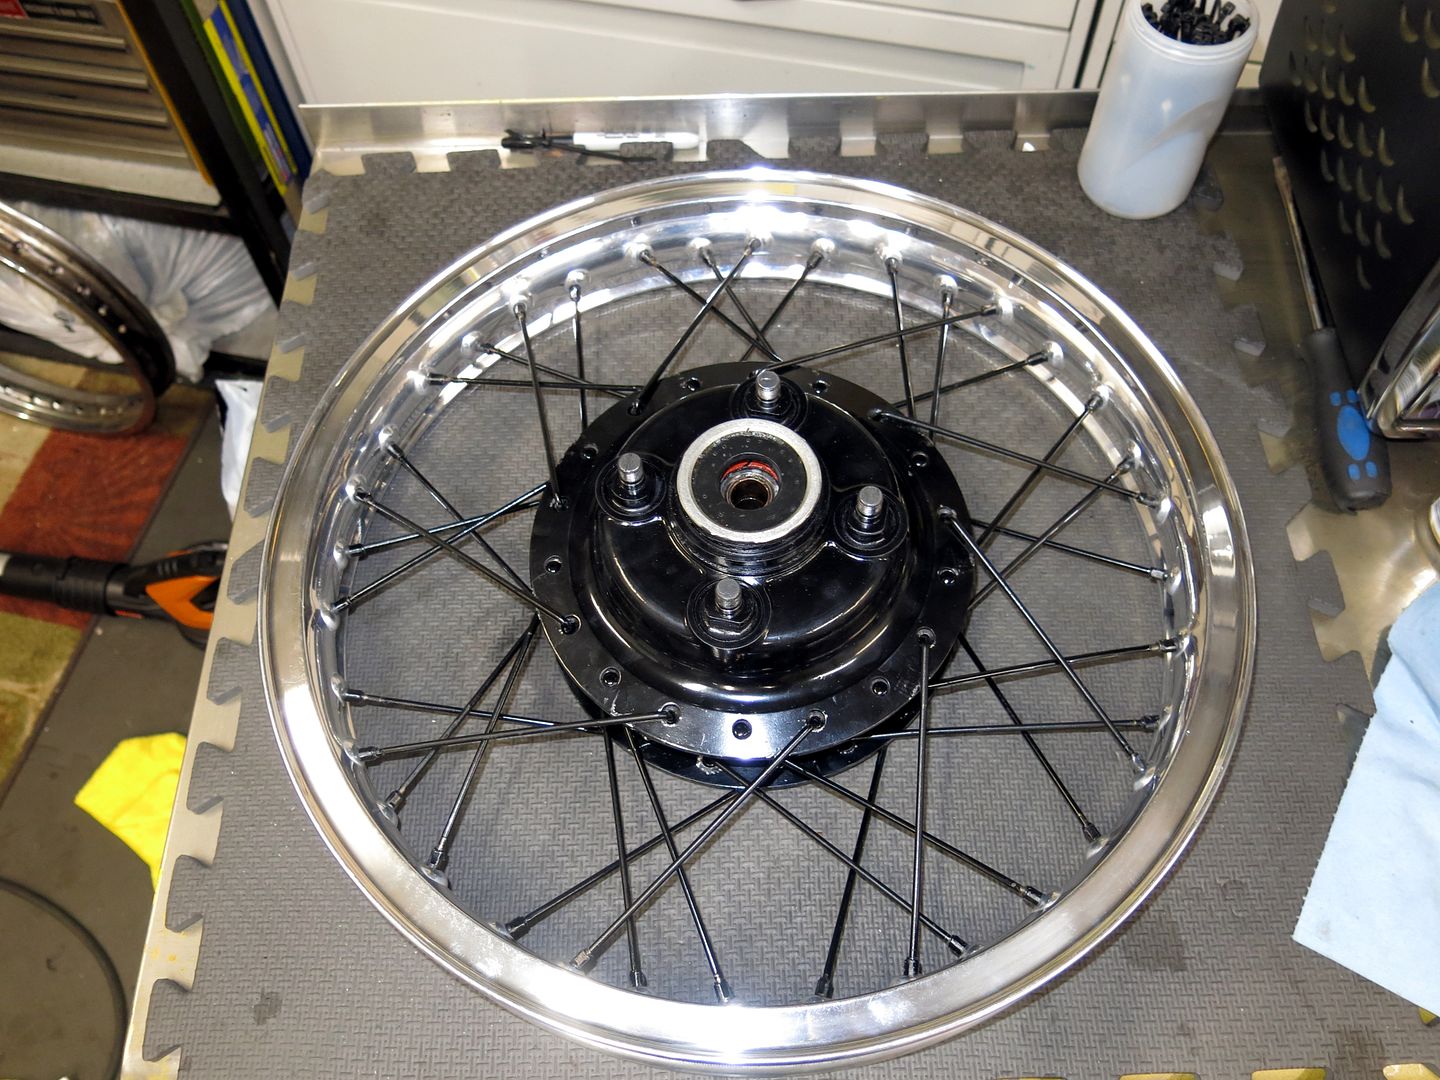
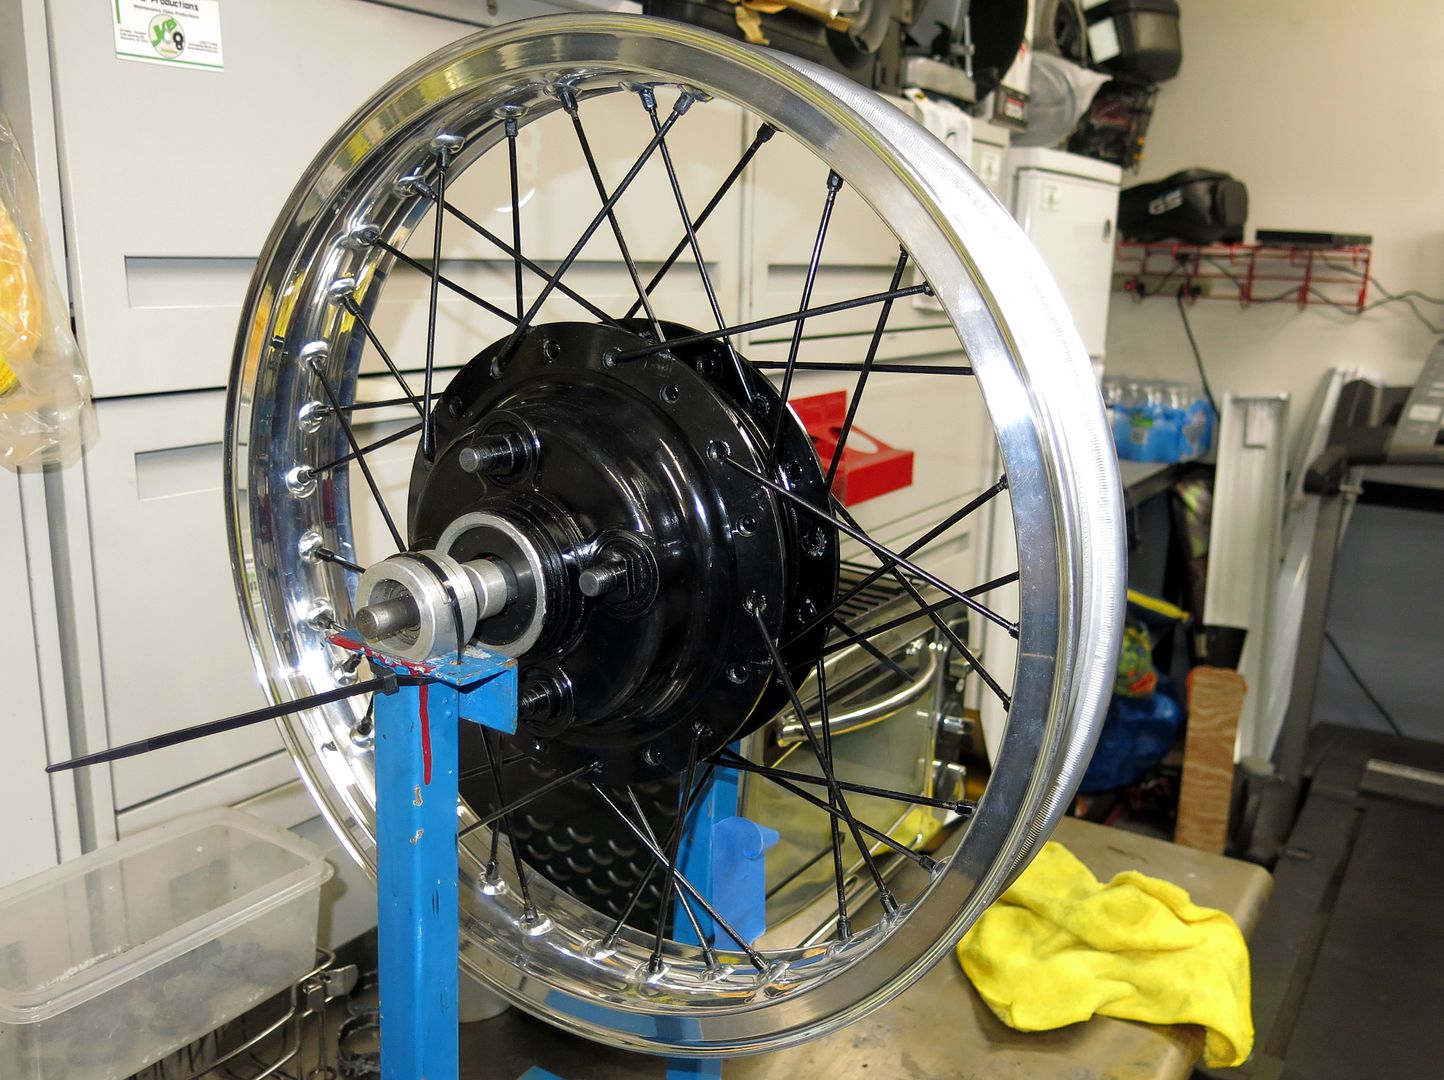
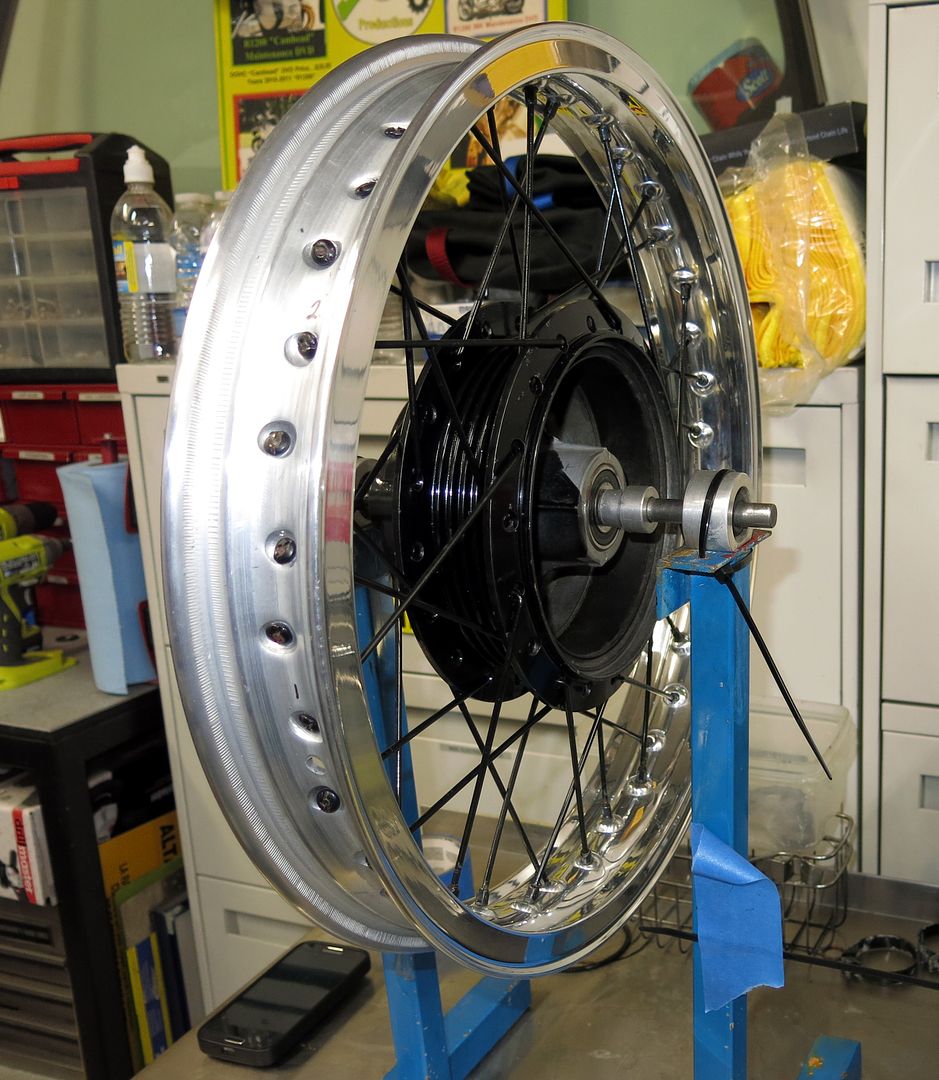
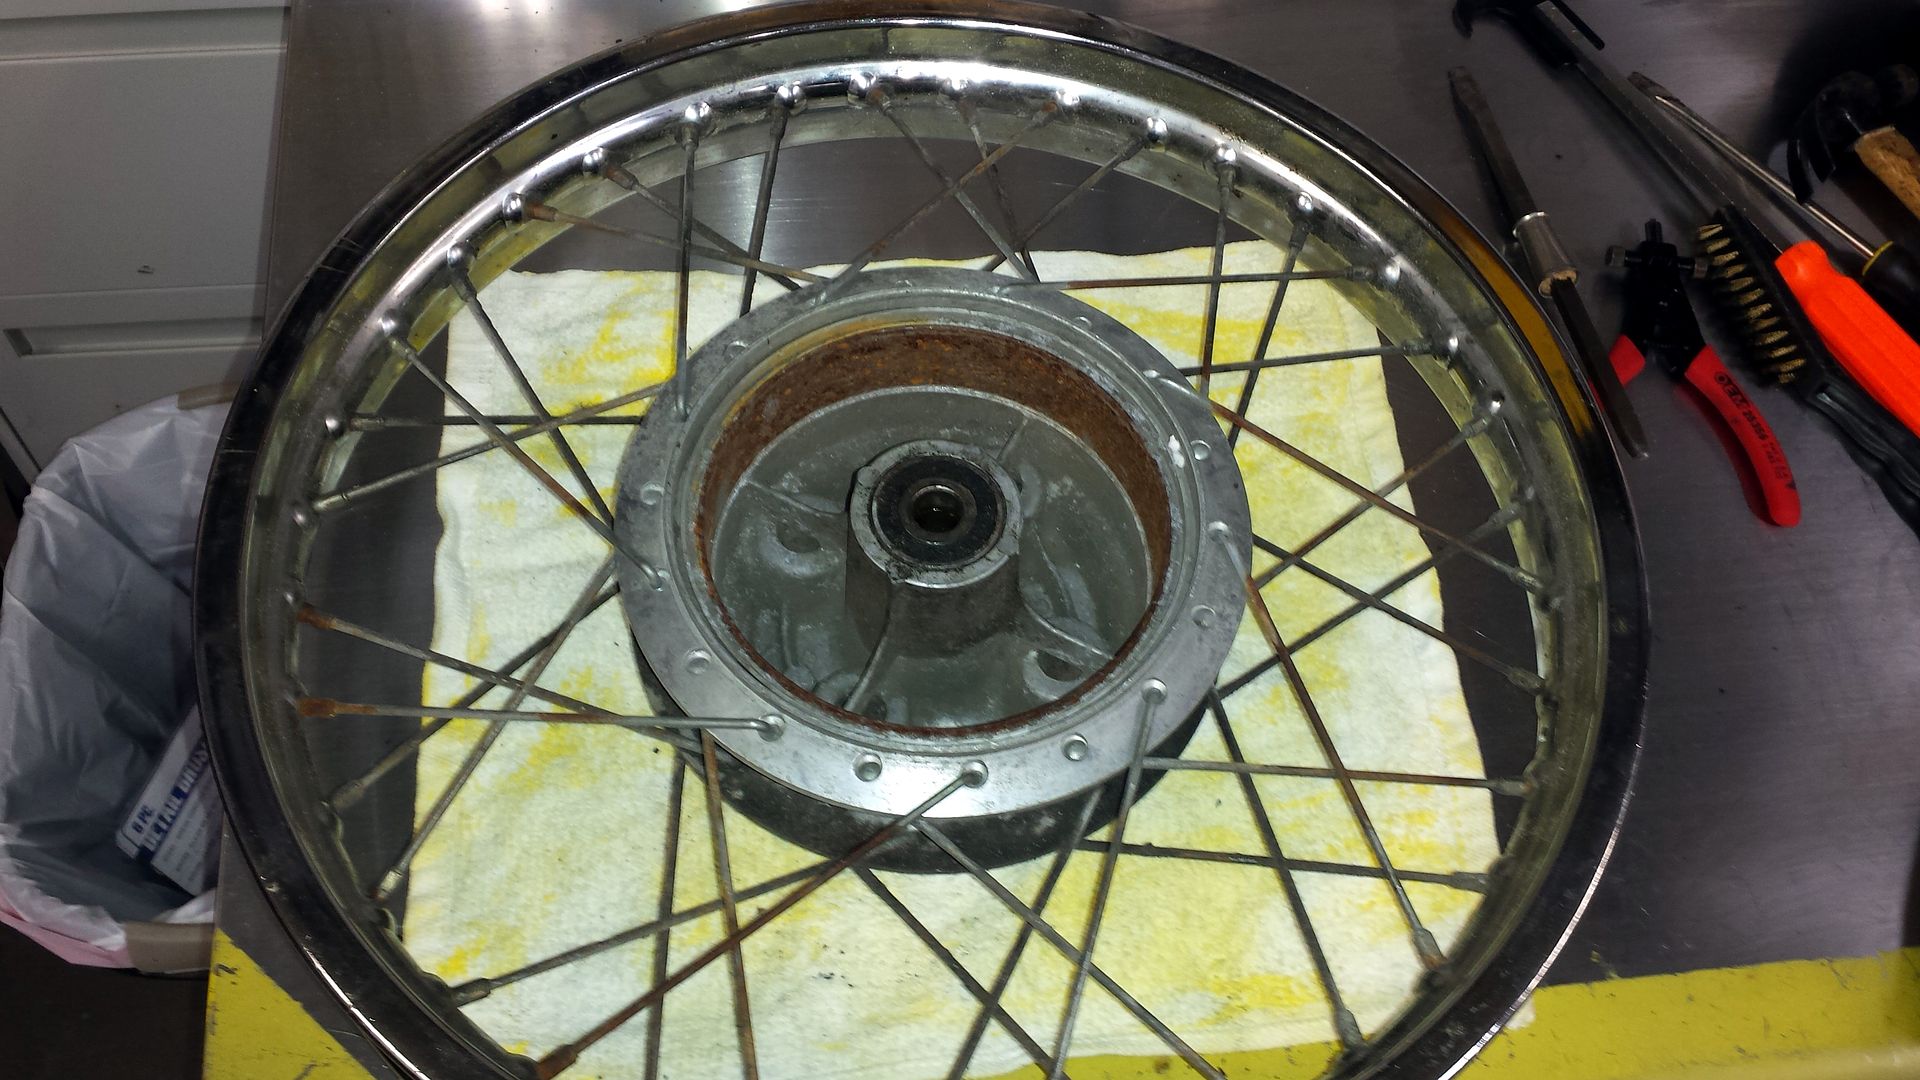
Be sure to use the actual axle when truing. If you use a cone setup that comes with balancers, you will get bad results.
The cones are the worst!Good
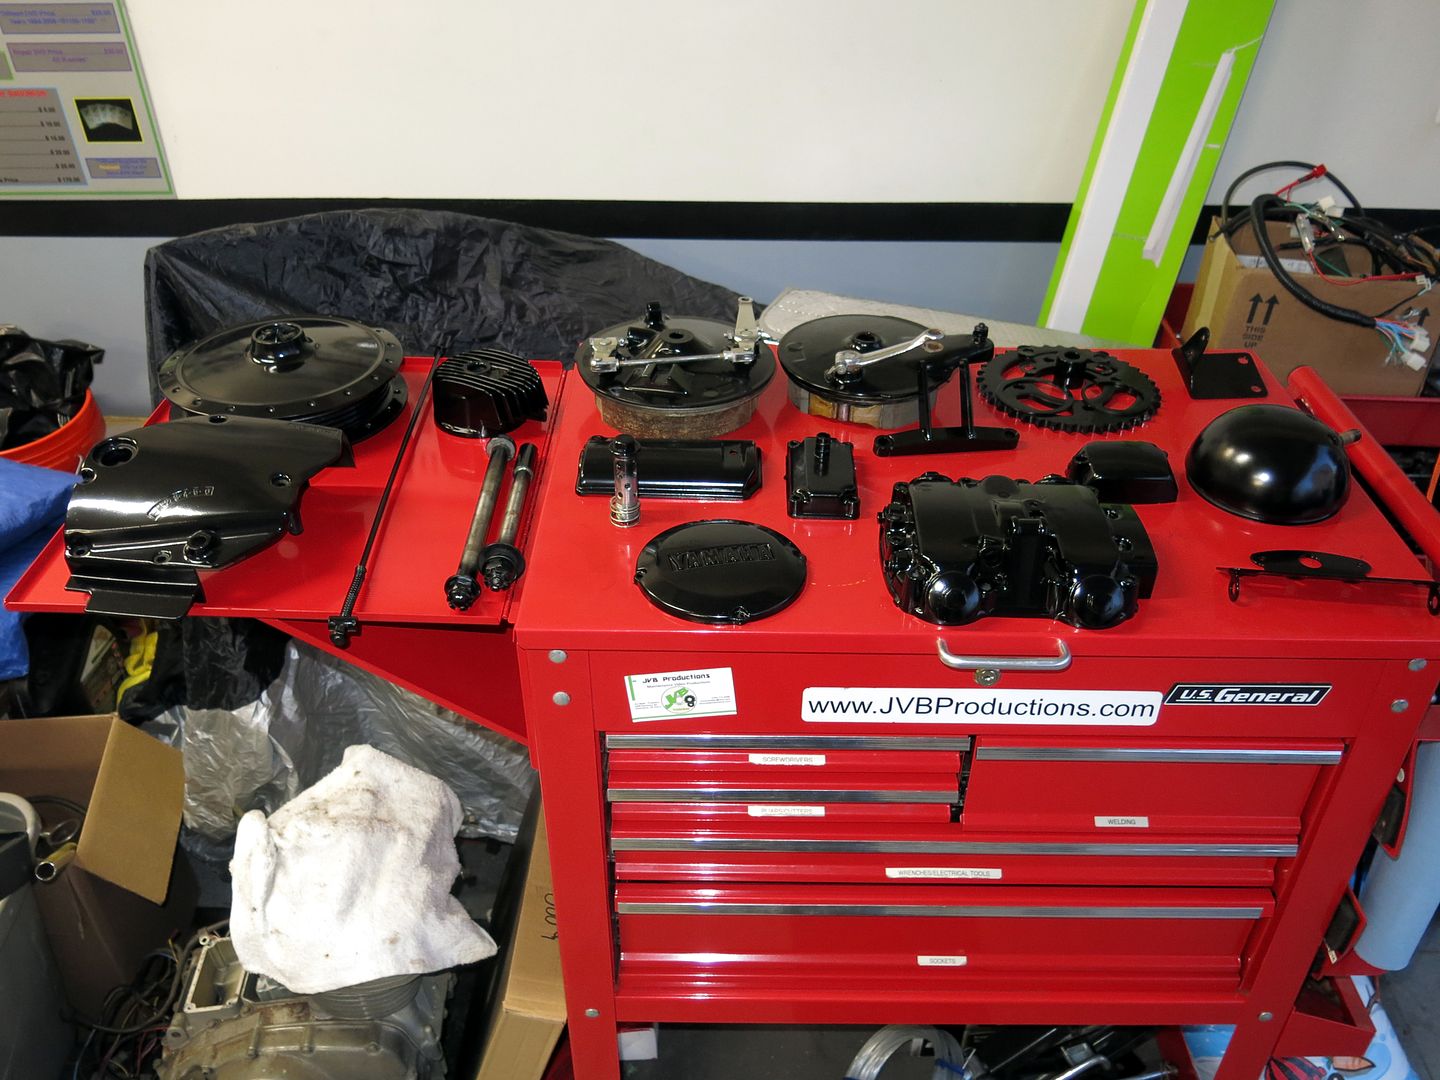
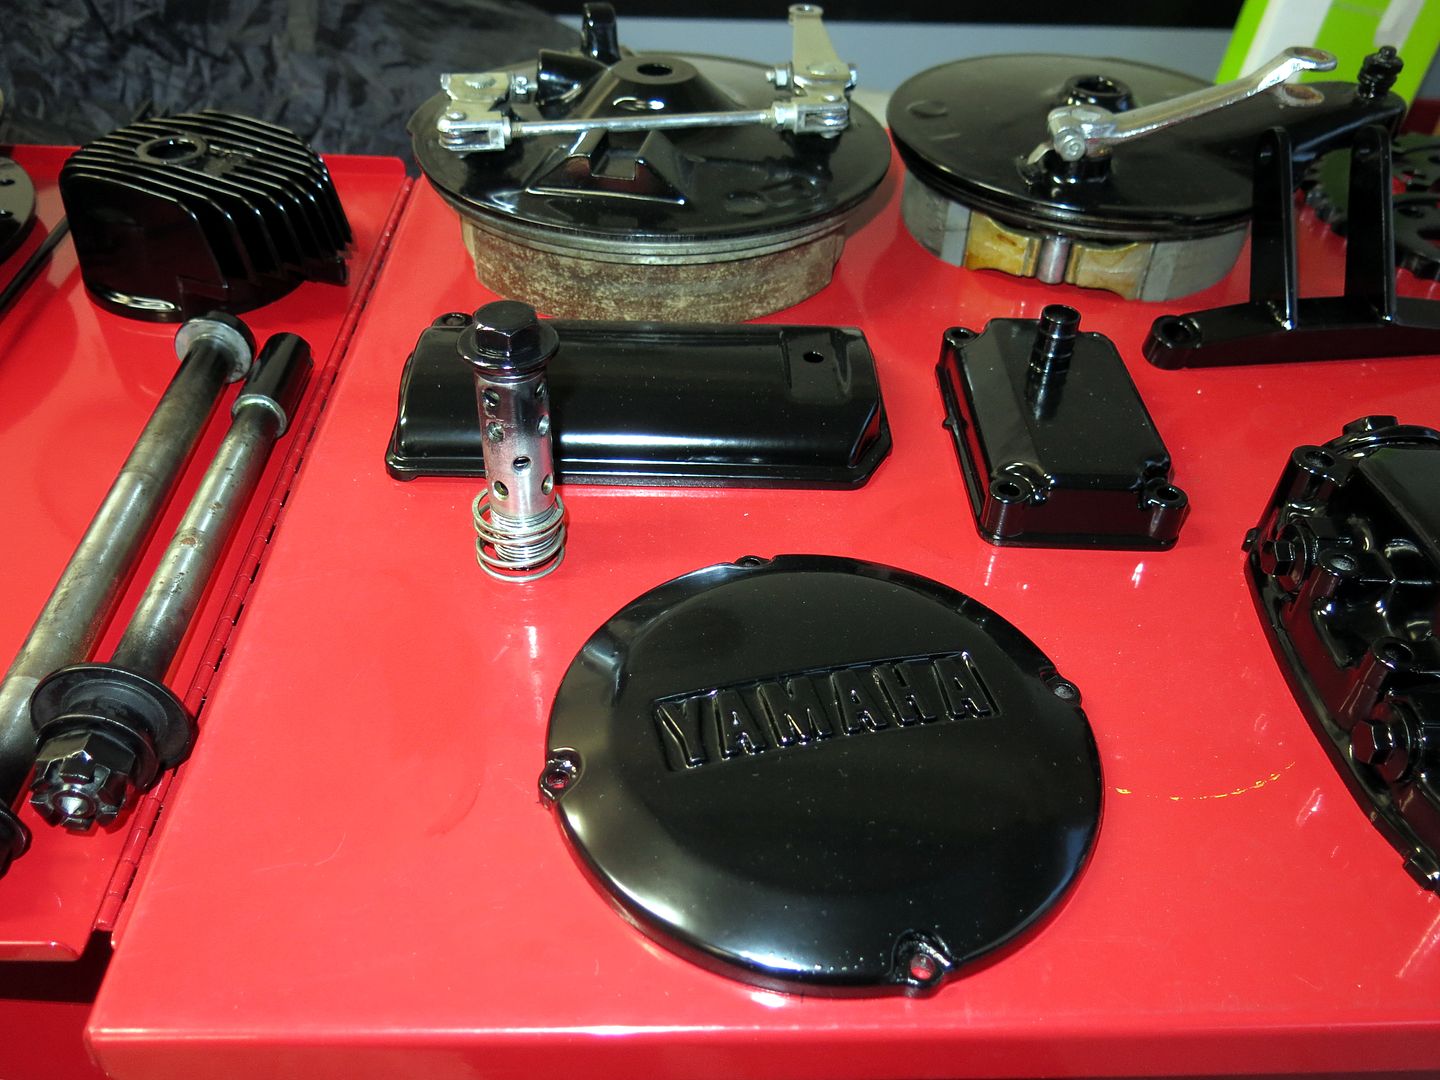
When's the completion date? You're missing some good days already