ThePsuedoMonkey
XS400 Addict
So, last week my rear tire blew out (oh noes!), which I decided to fix myself since I'm a cheapo. Needless to say, it was some kind of fun and took several hours due to my lack of experience, though I only had to buy a $15 tube and a $6 brake tool that I modified into a lipped tire iron for getting the tire off the rim (should've gotten two, but again: cheapo). In the process of doing this, I managed to seat the brake improperly, and so set out to fix it today. When I got the tire off I looked at the brake drum and thought "this would look pretty sweet if it were shiny", so I put it in the vise and grabbed my body work toolbox. I didn't take a "before" shot, but it looked pretty iffy with... messiness... you guys have imaginations anyway, so it doesn't matter. I hit it with a copper wire wheel first
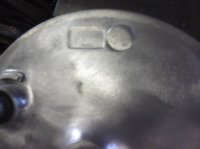 in order to remove the ridiculousness on top. Then I goes to my handy dandy dremel tool, which I would not recommend
 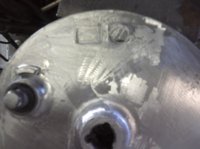 as it may have removed the marks from the wire wheel, but it also managed to introduce way too many new ones (can never get the darn things to balance properly). This setback forces me to do much more work by hand with 100grit paper, but it already looks better!
 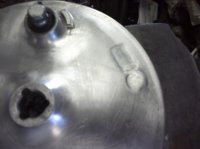 I started working on 220grit next, but since I polished against the previous grain I kept noticing smaller areas where the dremel had damaged, so it took about two hours of bouncing between 100 and 220 before I was ready for the 400, which was a breeze since I had a 400grit foam block laying around. Next up was 800, which means that it was time to make sure the surface was smooth all over before switching to wet sanding mode.
 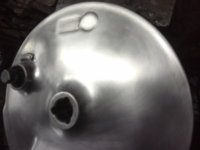 Used about 1/6 sheet for each of the next papers, the only other difference is that now I alternate linear and circular motions for each new piece of paper. Got down with some 1000 and finally some 1500
 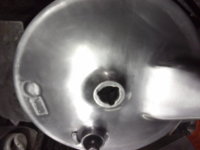 . Broke out my polishing wheel and some chrome polish for the final layer; pretty friggin' sweet!
 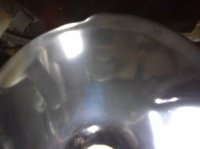 I also decided to hit the spacer, bearing cap, and chain tension adjusters with some red metal fleck paint, looks pretty snappy and took less than a minute to dry with help from a heat gun.
Oh yeah: for reassembly, install brake drum, attach chain to sprocket, attach bearing cap, thread bolt through frame/adjuster, prop up tire, slide bolt through rim, align spacer and slide through it, slide bolt through frame/adjuster and thread washer and nut. Then position the drum so that the brake arm easily slides onto the slotted terminal and adjust the spring until the swingarm rod is aligned with the mounting hole (this is what I failed to do earlier).
May not be the prettiest polishing job ever, but it is definitely shiny!
 in order to remove the ridiculousness on top. Then I goes to my handy dandy dremel tool, which I would not recommend
  as it may have removed the marks from the wire wheel, but it also managed to introduce way too many new ones (can never get the darn things to balance properly). This setback forces me to do much more work by hand with 100grit paper, but it already looks better!
  I started working on 220grit next, but since I polished against the previous grain I kept noticing smaller areas where the dremel had damaged, so it took about two hours of bouncing between 100 and 220 before I was ready for the 400, which was a breeze since I had a 400grit foam block laying around. Next up was 800, which means that it was time to make sure the surface was smooth all over before switching to wet sanding mode.
  Used about 1/6 sheet for each of the next papers, the only other difference is that now I alternate linear and circular motions for each new piece of paper. Got down with some 1000 and finally some 1500
  . Broke out my polishing wheel and some chrome polish for the final layer; pretty friggin' sweet!
  I also decided to hit the spacer, bearing cap, and chain tension adjusters with some red metal fleck paint, looks pretty snappy and took less than a minute to dry with help from a heat gun.
Oh yeah: for reassembly, install brake drum, attach chain to sprocket, attach bearing cap, thread bolt through frame/adjuster, prop up tire, slide bolt through rim, align spacer and slide through it, slide bolt through frame/adjuster and thread washer and nut. Then position the drum so that the brake arm easily slides onto the slotted terminal and adjust the spring until the swingarm rod is aligned with the mounting hole (this is what I failed to do earlier).
May not be the prettiest polishing job ever, but it is definitely shiny!
