JARichmond
XSively Addicted
Note: If I'm missing anything, post on this thread so that I can add it appropriately. I have a spare caliper to take additional pictures with.
Maybe your brakes aren't performing to your standard. Maybe your brakes are due for a rebuild Maybe our brakes are leaking. We have a solution for all of that! Welcome to the brake caliper rebuild presented by JARichmond on his 1982 XS400SJ!
First off, you might want to determine what your caliper failed due to. For me, it was a faulty bleeder screw that pulled the caliper threads out with it.
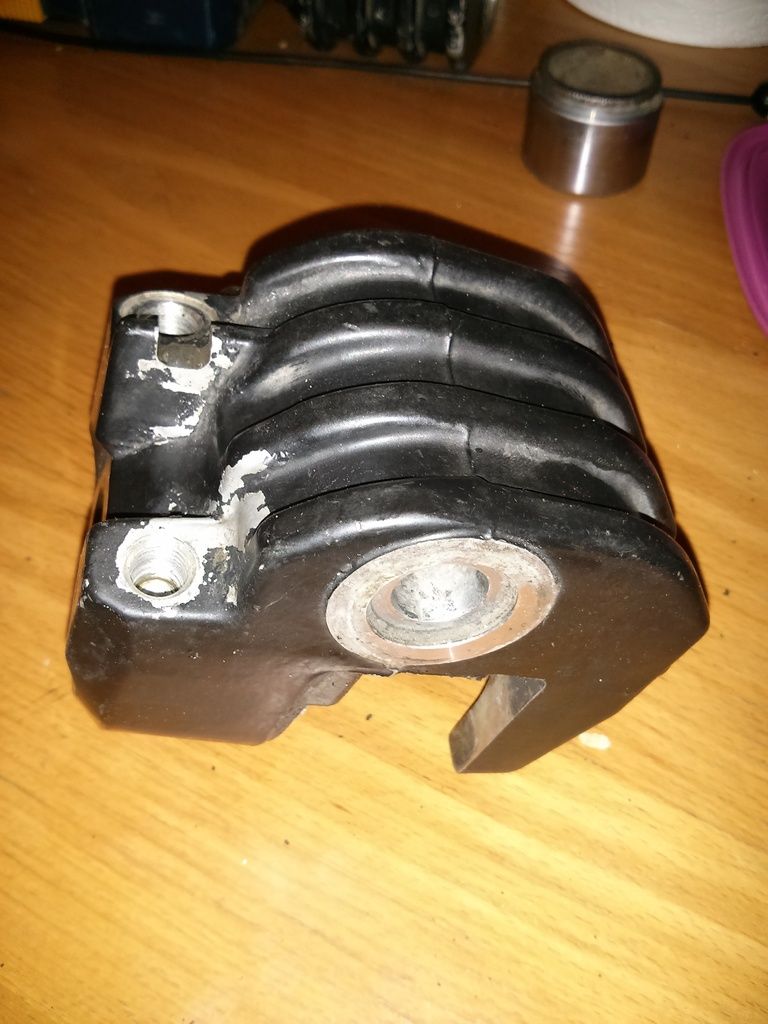
Darn!
Everything is going to be okay (for a few bucks)!
Heading down to my nearest junkyard, I picked up a used caliper from a corresponding bike to use as my rebuilding unit. It's not pretty. The xs650s used the same unit on the right side. Now, disassembling may be difficult for an amateur in his (or her, I don't judge) garage, so I did as much as I can with the following tools, and left the rest to a garage around the corner. You will likely need to pop the piston out with an air tool or with your bikes existing hydraulic system. You can pump your brakes to push the piston out.
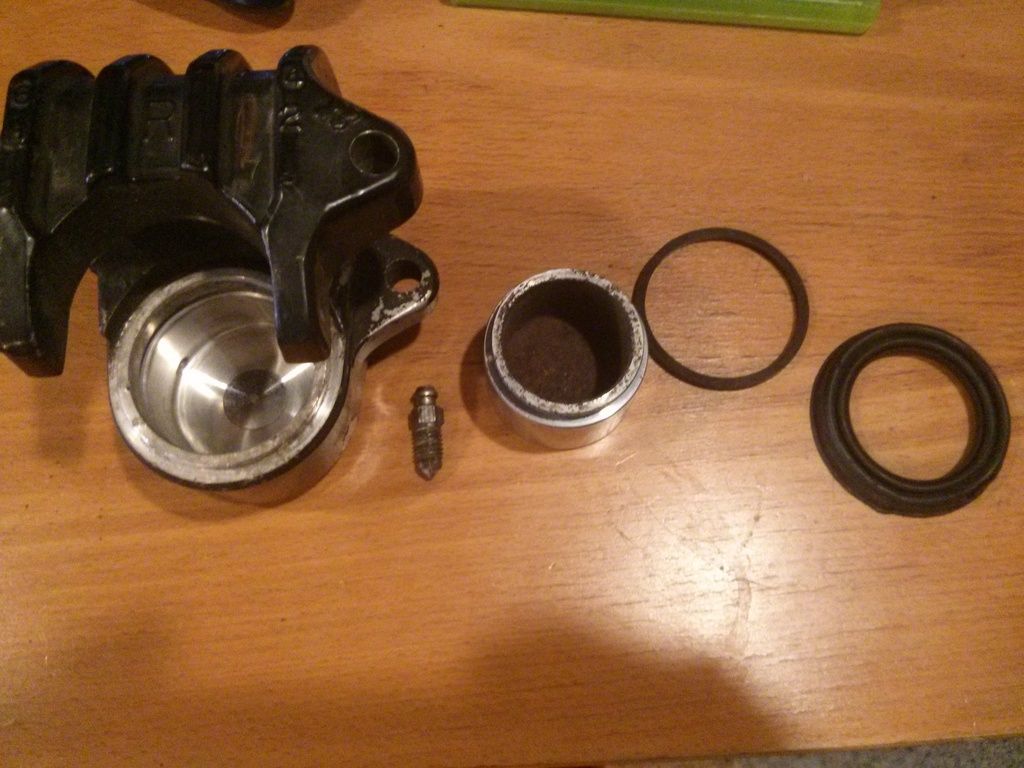
From left to right: caliper, bleeder screw, piston, piston seal, dust boot, retaining ring (not pictured).
I used the following tools to complete the rebuild:
Piston-pusher, needle nose pliers, synthetic brake lube, 1000# wet/dry sandpaper, dremel with brass wheel attachment.
Now that your caliper is in pieces, let's make each one of them work properly! I ordered a rebuild kit from partsnmore.com which came with a new seal, a dust boot, and a bleeder screw cover.
Here is the part:
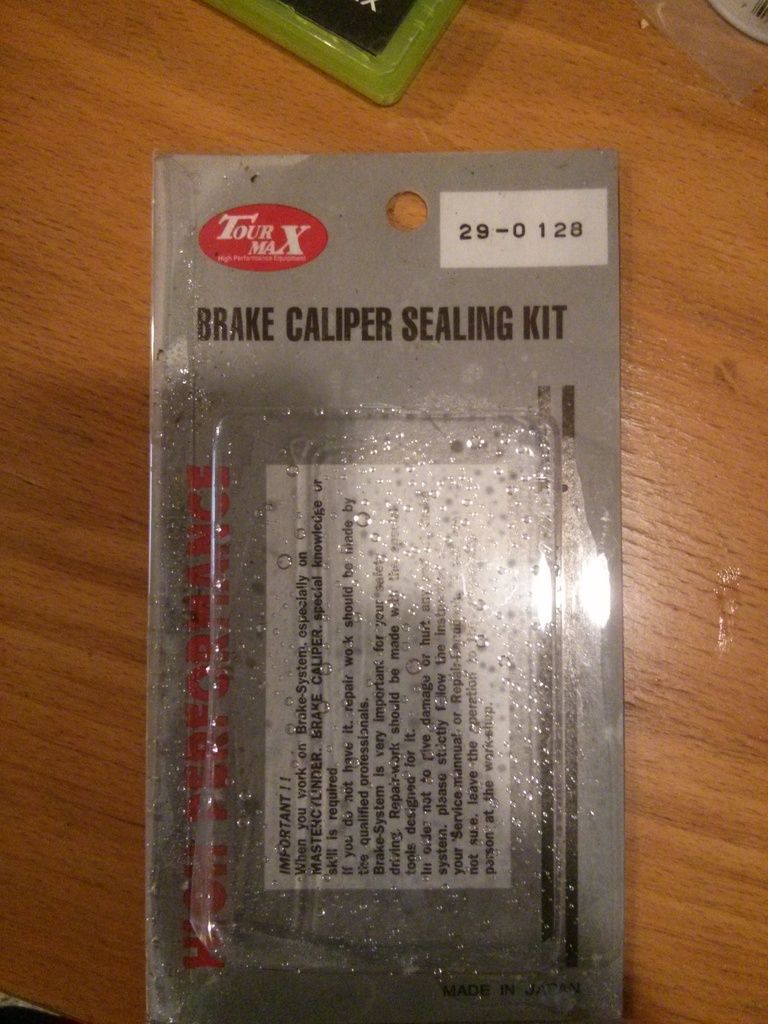
The kit doesn't come with a new boot clip, so hold onto that!
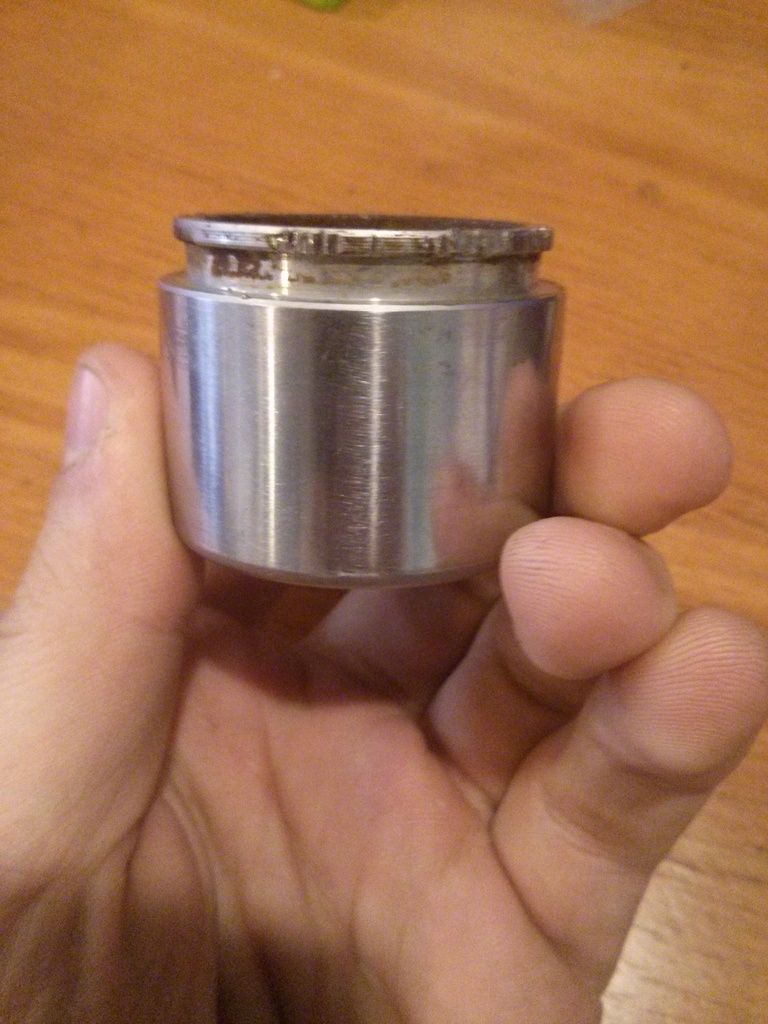
When everything is disassembled, have a look at your piston. Using some 1000# wet/dry sandpaper, clean up the outer face. Ideally, it should look new, but may have some pitting. It the pitting is significant enough to notice by rubbing your thumb over the surface, it may be time to replace it. Pitting on the seal face will likely contribute to leakage as the seal can't make contact with some minor parts of the piston. (I'm not 100% sure where you can order a new piston, so maybe another member can help with this.) I had some very minor rust spots on my piston, so I elected to reuse it, and it works just fine.
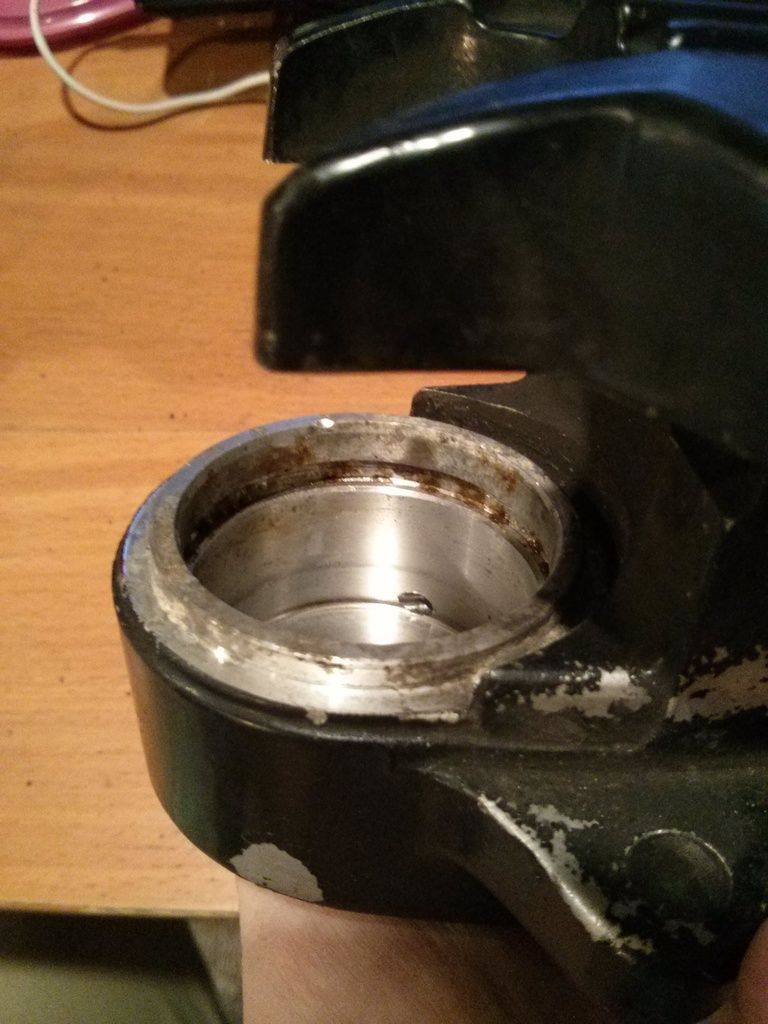
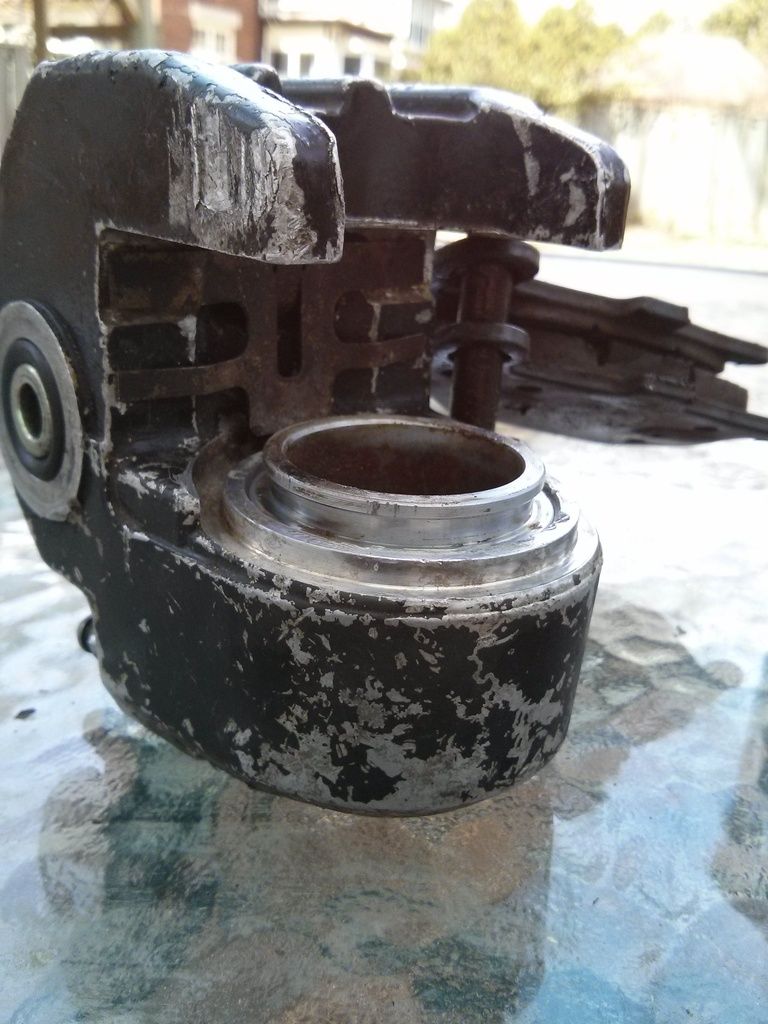
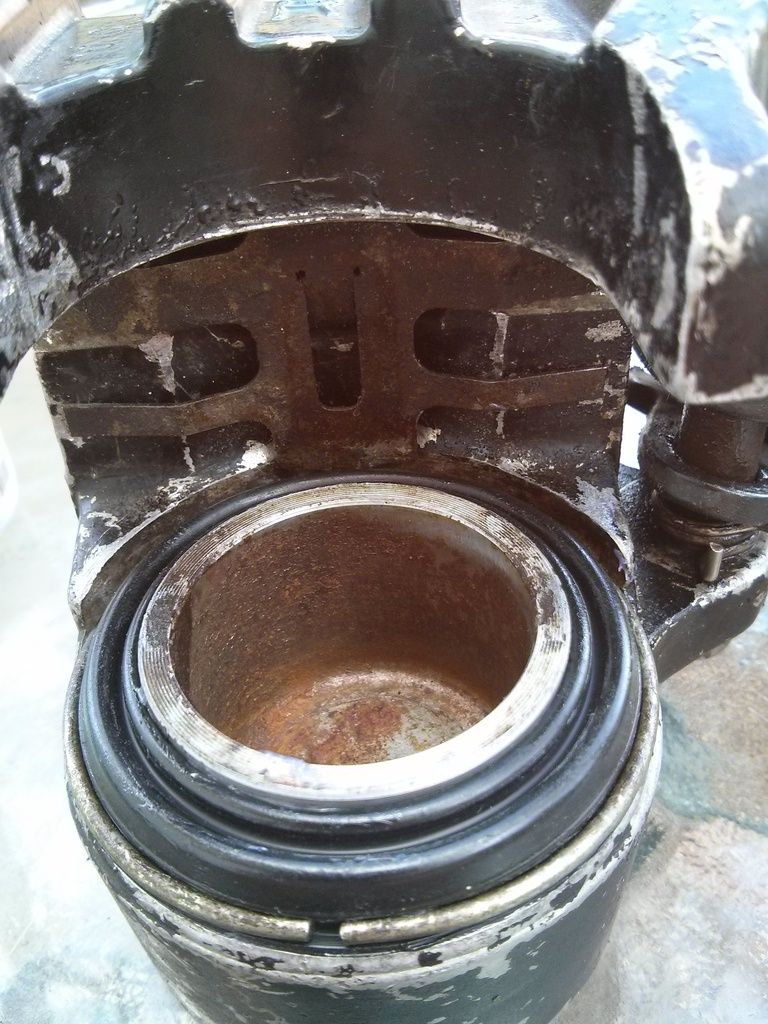
While the piston is out, go over the inside of your caliper race with a dremel and brass wire wheel. My caliper went from this
To this
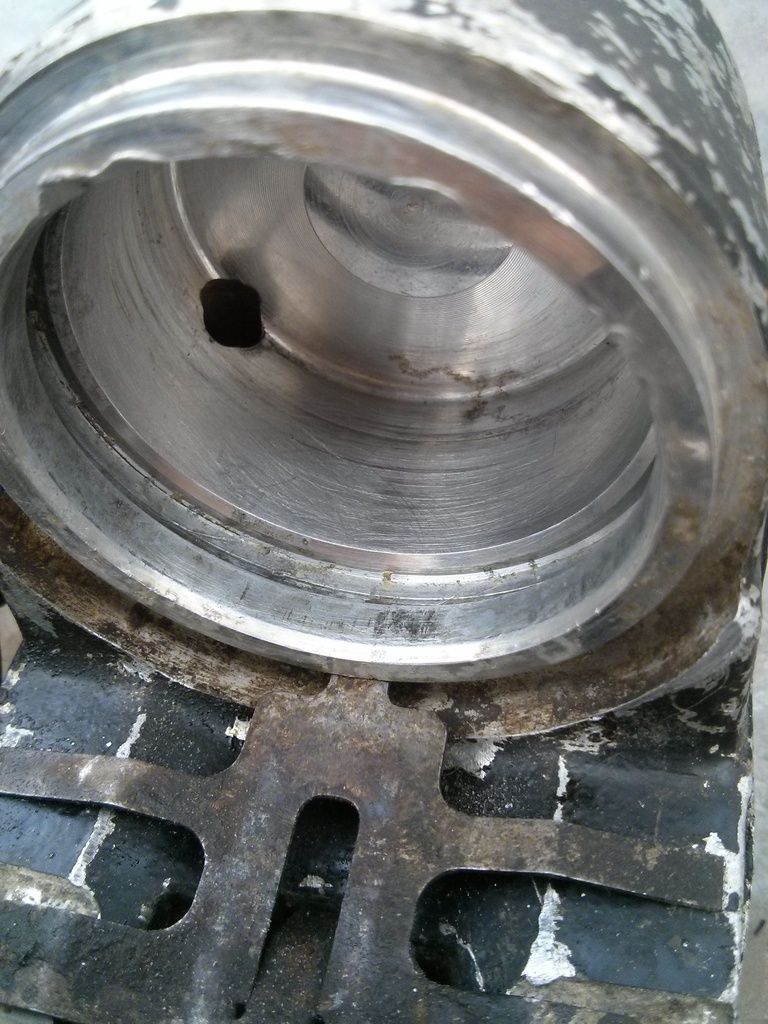
Within about 60 seconds.
HALT! CLEAN OFF YOUR PARTS! Aluminum and brass shavings can get in your caliper, damage your piston, mess up your seal, and generally screw up your brakes.
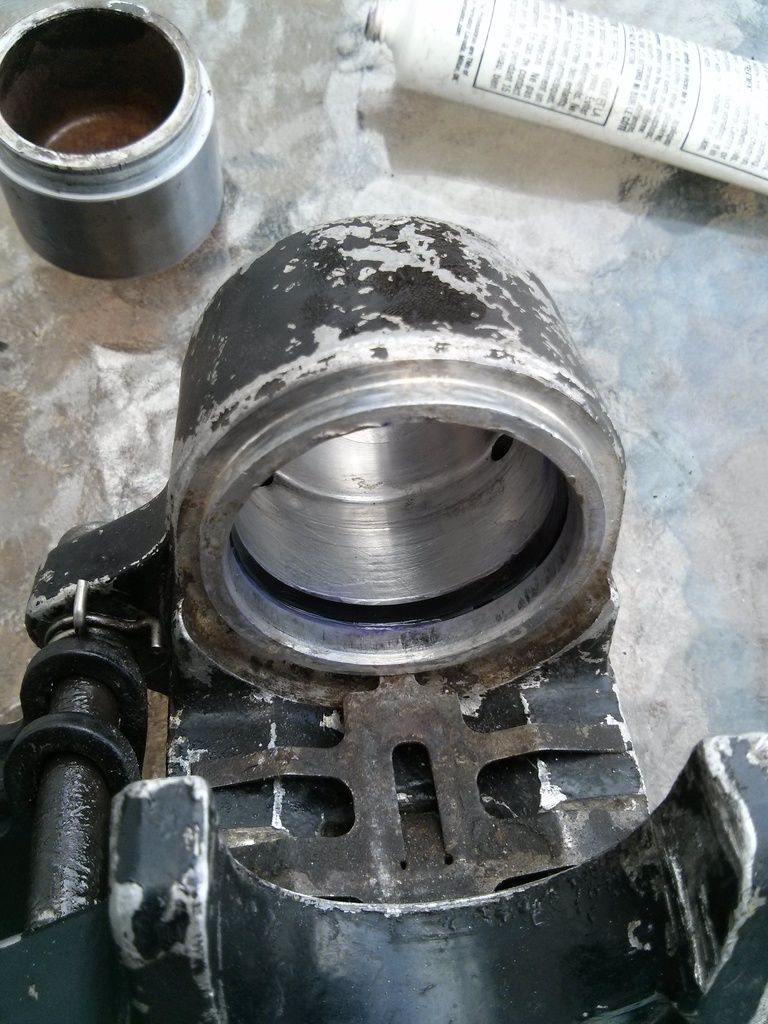
Insert your new rectangular seal, ensuring to grease the seal before installing. Greasing will help the seal to seat evenly and will prevent rolling when installing the piston.
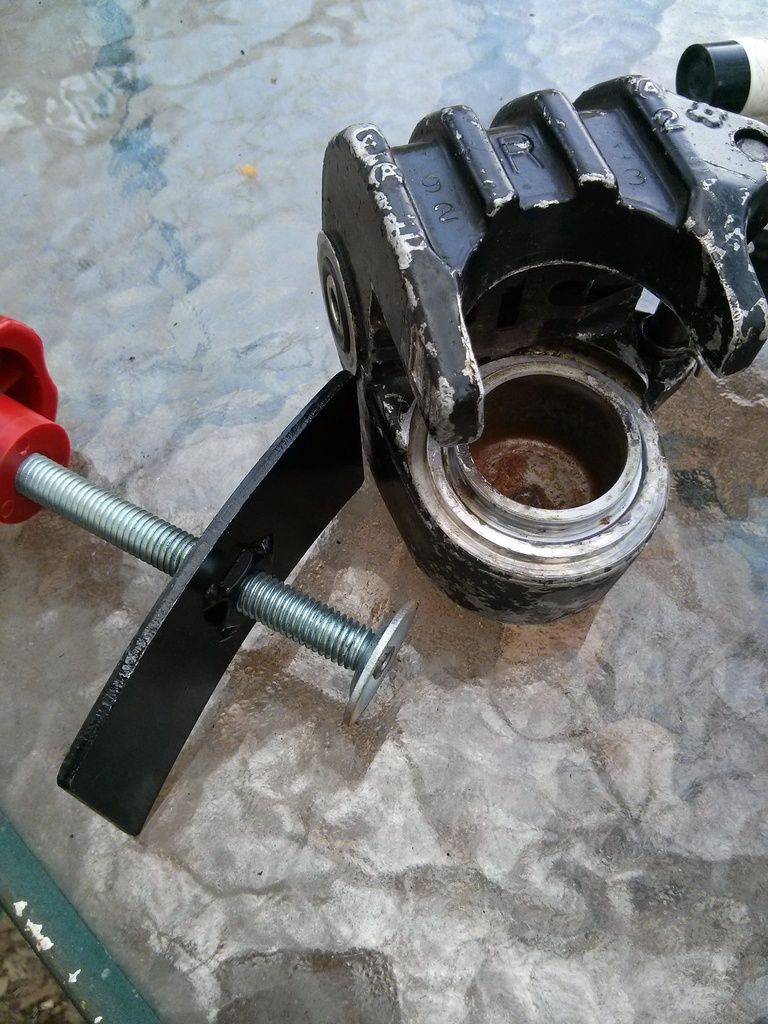
Install your piston. Ensure that the piston is installing in a straight-down fashion, so as not to stress the seal more than it has to be. I used a piston pushing tool, pictured below, to aid in the installation.
Ensure that the piston is bottomed out on the caliper with light pressure.
Using some brake grease, grease your dust boot and install over the upper lip on your piston. Pushing the metal clip out of the way, push the boot up against the top of the caliper. Releasing it will hold the boot in place.
Now install the retaining ring in place with a pair of needle-nose pliers. It may take a few tries, but it will work eventually. Again, ensure that you are pushing the upper clip out of the way. Greasing the ring may also help with installation. My gap faces down. Not sure why, but I kept it that way.
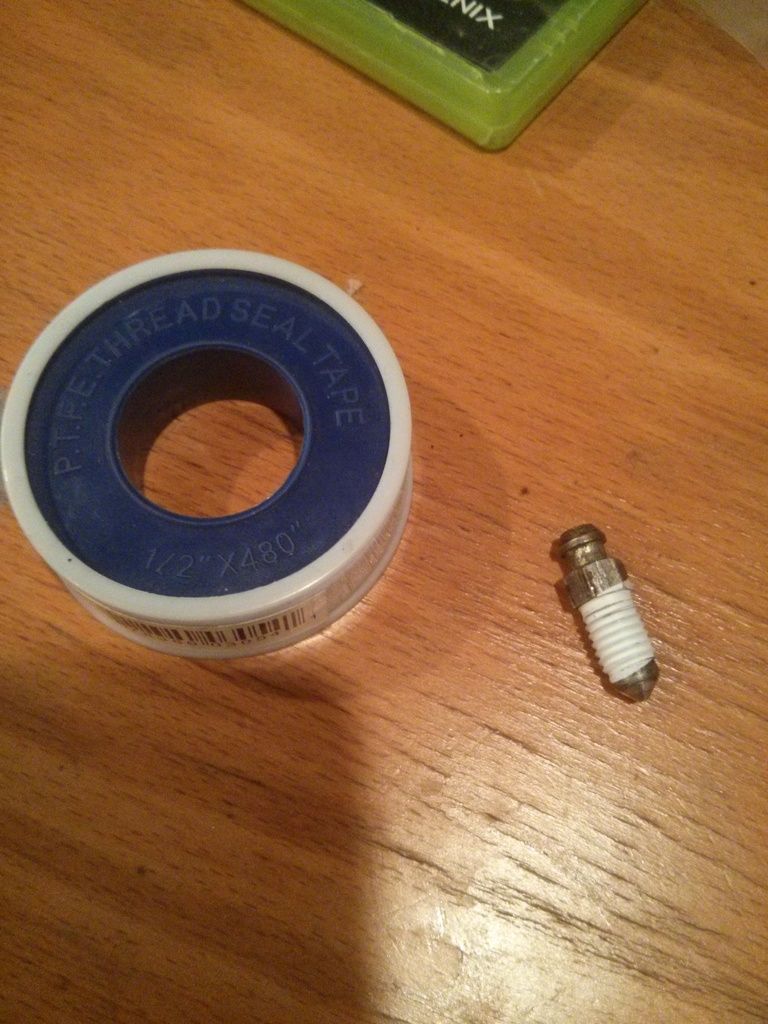
When putting everything together, I inspected my bleeder screw and had to do some rust maintenance. I widened the bleeder hole and used teflon tape on the threads for some decent sealing.
Now that your caliper is together, it's time to bleed your brakes. The best method is to pour in some brake fluid into the master cylinder and leave the bleeder screw open/off to allow the caliper to fill due to gravity. When the caliper is full,you can begin bleeding your brakes as you're used to. It may take a while, and you may have jello in your master cylinder if it's been a while, but it'll be worth the hassle.
TA DAH
In a future How-To, I can do a brake bleed. However, you can often find these on Youtube and they are pretty standard for all vehicles with hydraulic brakes.
Maybe your brakes aren't performing to your standard. Maybe your brakes are due for a rebuild Maybe our brakes are leaking. We have a solution for all of that! Welcome to the brake caliper rebuild presented by JARichmond on his 1982 XS400SJ!
First off, you might want to determine what your caliper failed due to. For me, it was a faulty bleeder screw that pulled the caliper threads out with it.

Darn!
Everything is going to be okay (for a few bucks)!
Heading down to my nearest junkyard, I picked up a used caliper from a corresponding bike to use as my rebuilding unit. It's not pretty. The xs650s used the same unit on the right side. Now, disassembling may be difficult for an amateur in his (or her, I don't judge) garage, so I did as much as I can with the following tools, and left the rest to a garage around the corner. You will likely need to pop the piston out with an air tool or with your bikes existing hydraulic system. You can pump your brakes to push the piston out.

From left to right: caliper, bleeder screw, piston, piston seal, dust boot, retaining ring (not pictured).
I used the following tools to complete the rebuild:
Piston-pusher, needle nose pliers, synthetic brake lube, 1000# wet/dry sandpaper, dremel with brass wheel attachment.
Now that your caliper is in pieces, let's make each one of them work properly! I ordered a rebuild kit from partsnmore.com which came with a new seal, a dust boot, and a bleeder screw cover.
Here is the part:

The kit doesn't come with a new boot clip, so hold onto that!
When everything is disassembled, have a look at your piston. Using some 1000# wet/dry sandpaper, clean up the outer face. Ideally, it should look new, but may have some pitting. It the pitting is significant enough to notice by rubbing your thumb over the surface, it may be time to replace it. Pitting on the seal face will likely contribute to leakage as the seal can't make contact with some minor parts of the piston. (I'm not 100% sure where you can order a new piston, so maybe another member can help with this.) I had some very minor rust spots on my piston, so I elected to reuse it, and it works just fine.

While the piston is out, go over the inside of your caliper race with a dremel and brass wire wheel. My caliper went from this

To this

Within about 60 seconds.
HALT! CLEAN OFF YOUR PARTS! Aluminum and brass shavings can get in your caliper, damage your piston, mess up your seal, and generally screw up your brakes.
Insert your new rectangular seal, ensuring to grease the seal before installing. Greasing will help the seal to seat evenly and will prevent rolling when installing the piston.

Install your piston. Ensure that the piston is installing in a straight-down fashion, so as not to stress the seal more than it has to be. I used a piston pushing tool, pictured below, to aid in the installation.

Ensure that the piston is bottomed out on the caliper with light pressure.

Using some brake grease, grease your dust boot and install over the upper lip on your piston. Pushing the metal clip out of the way, push the boot up against the top of the caliper. Releasing it will hold the boot in place.
Now install the retaining ring in place with a pair of needle-nose pliers. It may take a few tries, but it will work eventually. Again, ensure that you are pushing the upper clip out of the way. Greasing the ring may also help with installation. My gap faces down. Not sure why, but I kept it that way.

When putting everything together, I inspected my bleeder screw and had to do some rust maintenance. I widened the bleeder hole and used teflon tape on the threads for some decent sealing.

Now that your caliper is together, it's time to bleed your brakes. The best method is to pour in some brake fluid into the master cylinder and leave the bleeder screw open/off to allow the caliper to fill due to gravity. When the caliper is full,you can begin bleeding your brakes as you're used to. It may take a while, and you may have jello in your master cylinder if it's been a while, but it'll be worth the hassle.
TA DAH
In a future How-To, I can do a brake bleed. However, you can often find these on Youtube and they are pretty standard for all vehicles with hydraulic brakes.