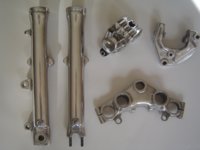
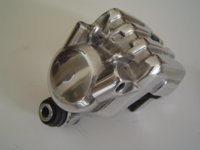
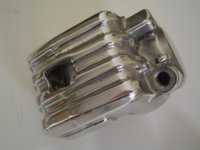
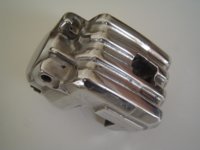
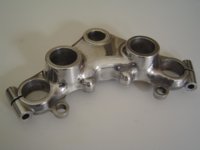
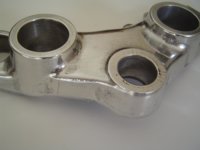
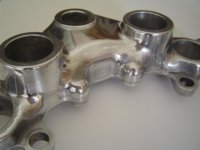
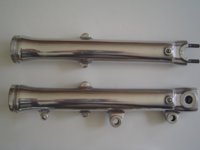
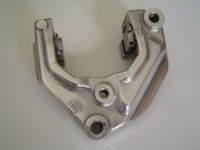
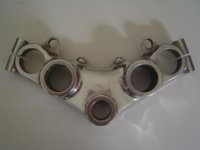
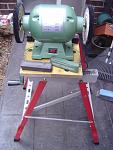
Spent all morning polishing, lol. This just consumes your life by the end of it
Attachments
-
 DSC04363.jpg131.8 KB · Views: 323
 -
 DSC04364.jpg128.9 KB · Views: 329
 -
 DSC04365.jpg109 KB · Views: 327
 -
 DSC04366.jpg140.3 KB · Views: 307
 -
 DSC04367.jpg131.5 KB · Views: 301
 -
 DSC04368.jpg106.4 KB · Views: 300
 -
 DSC04374.jpg116.7 KB · Views: 314
 -
 DSC04373.jpg132.6 KB · Views: 305
 -
 DSC04372.jpg113.6 KB · Views: 314
 -
 DSC04371.jpg113.5 KB · Views: 315
 -
 DSC04370.jpg105.8 KB · Views: 299
 -
 DSC04369.jpg97.5 KB · Views: 316


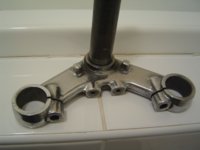
 That paint really suits it