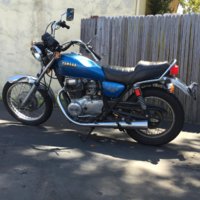
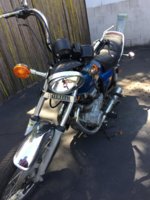
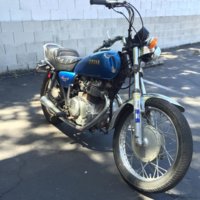
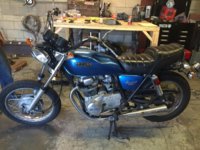
'81 xs400 chopper project

Flagg

Fabricator
Messages
66
Reaction score
7
Points
8
Location
San Luis Obispo, CA
Hey all, let me start by saying, awesome site! :thumbsup:

I'm new here. What an exciting week I've had. Just picked up an '81 xs400 for $100. A neat story. A long story. You can find it here:
http://www.xs400.com/forum/showthread.php?p=152990#post152990

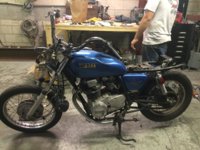
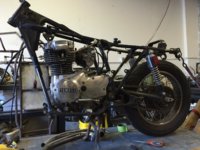
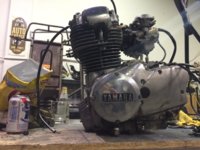
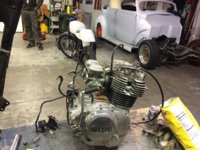
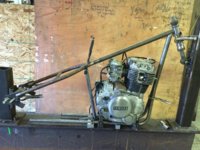
We (my brother and I) have a shop, and will be building a custom hard tail frame, bars, rear fender, seat. So far I have a tank off a '69 Ironhead sportster, which I'm still debating using. We keep pretty detailed logs of stuff, so I plan on keeping this thread updated over time. As for now, I have the first pics!

Awesome site and community, can't wait to get involved.

-F


Oh and btw... the battery was dead. After a quick charge, fired up on the first kick. Idled for about 30 minutes, even did a victory lap in the shop parking lot (only turning right of course, thanks triple tree)! All in all, motor is excellent condition.
 

Attachments

  • image1 (1).jpg
    image1 (1).jpg
    303.5 KB · Views: 1,528
  • image2.jpg
    image2.jpg
    249.4 KB · Views: 743
  • image3.jpg
    image3.jpg
    295.8 KB · Views: 593
Last edited:
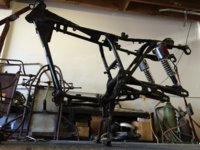
started the tear down last night. good times.


ready to go
IMG_2880.jpg


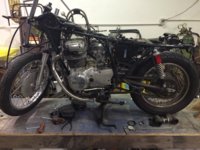
removed the seat, fender and lights, chain guard, and mufflers. the finish build will have custom pipes and wanted to hear the beast now
IMG_2886.jpg


finished up the night on the table. the tank was half full of gas, and literally had to break the triple tree apart to get it off.
IMG_2890.jpg


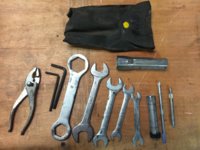
one of the best moments was finding the original YAMAHA stamped tool bag under the seat!
IMG_2882.jpg


the bag was definitely "one of the best moments". clearly the best moment was

-F

*can't figure out how to link a visible youtube video in the thread, only the URL. or any video for that matter. can anyone tell me? (couldn't find it in the forum FAQ) thanks!
 
yeah sure did. :shrug:

the pipes were damaged in the wreck, same with tank, fender, forks, bars, lights, gauges. If someone really wants them in the end, I can weld the pipe again, and off it for next to nothing. :thumbsup:

I'll off all the dented parts for next to nothing at some point.
 
If they where broken there is not much you could do with them. Being that they are double walled pipes if you where to re-weld them them would not perform like they should.
 
not gonna lie, we both noticed the double wall after it was too late, DOH :doh:

One positive tho, it made up our minds about not hard tailing the frame.

We have decided not to alter anything else. We will be selling the stock frame once it is all apart, wheels, and everything else that was in good shape.

Will be picking up the steel for the new frame either this week or next! :D
 
sigh, if only time and money were infinite... weekend warriors unite! :cheers:
IMG_2927.jpg


finished pulling the harness, battery, battery box. removed throttle and clutch assembly.
IMG_2918.jpg


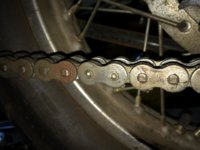
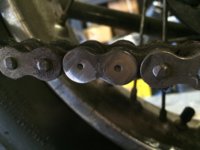
sealed chain, with no chain breaker means... GRINDER! :gun:
IMG_2923.jpg
IMG_2924.jpg


chain comes off, mount bolts come out...
IMG_2933.jpg


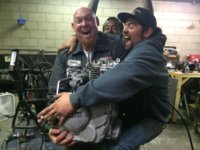
annnnnd.... there she is! in all her glory!
IMG_2935.jpg
IMG_2936.jpg


we were so happy. IT'S A GIRL! :hump:
IMG_2932.jpg


and now, back to the shop for more. today's plan: mill the head tube mounting slots on the jig, to fit the yamaha frame. the jig is currently built for a '69 sportster hardtail.
:rock:
more pics to come...
 
happy indeed chris! :D

some minor setbacks, some awesome opportunities, since last night.

bad news first:
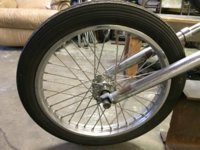
turns out the front wheel is not true after the accident. unfortunately we don't have the ability to true wheels ourselves, and no one does it locally. which means either shipping and repair costs, or buying a new front wheel.

good news:
a friend offered to sell me his brand-new-never-installed stock length DNA springer front end, for $200. the neat catch? there is a chance it's not DNA at all, but a Paughco (we think he doesn't know what he has). voodoo vintage has the AWESOME bmx style front leg, which I will definitely pick up for it, because it just looks so badass!

this means I will most likely be purchasing a new xs650 head tube from voodoo, since it uses tapered bearings/race, and the tube is burly and nicely machined.

this also means I'm probably now in the market for a new front wheel. and... picking up the steel for the frame might have to wait a few weeks.

budget build quickly turning... not so budget. but hey! springer! :bike:

in the meantime, pictures!


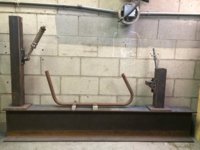
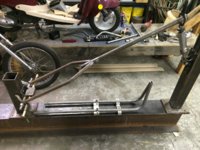
the jig. the two bottom plates holding the scrap tube have 3 slots: one center, and two outer, made for the 69 sportster frame (center slot is for a single down tube frame style.)
IMG_2939.jpg


we were going to mill the mounting slots further down, to fit lower sized frames (currently doesn't fit the xs400) but, we are stretching the new frame, so that project will happen some other time.
IMG_2940.jpg


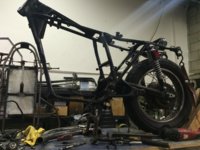
got the frame completely bare finally, soon enough I will be photoing all the parts to sell, frame included. only things I'm keeping are the motor and wheels.
IMG_2942.jpg
IMG_2943.jpg


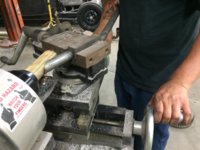
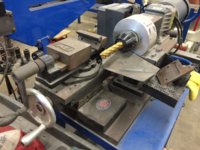
and last but not least, we get excited for builds simply because: tools. here is the Mitler tubing notcher at my brother's work we will use to fish mouth the frame. check them out at Bearmetalkustoms.com
IMG_2941.jpg
 
Last edited:
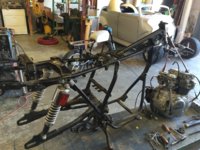
Looks like a fun build with some fun guys!

I was gonna offer a mag front but looks like you're doin' spokes. You probably could figure out how to true the wheel yourself. Might need a replacement rim though. Woody's Wheel Works in Denver could take care of you (where I'm originally from). Great guys but there's probably someone closer.
 
Last edited:
yeah trooper, we have discussed building a truing stand... but that's one art form I don't personally care do dive into yet. someday, definitely! I hear it takes years to get good at it...

on that note, I might pick up a spoked 21" from a friend with sportster parts... brake-less hub! not ideal, but looks sexxxy. :hump:
 
Last edited:
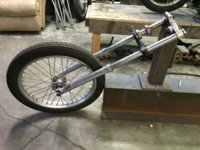
haven't picked up the springer yet. going to use my brother's ironhead front end and front wheel for now, as it is the twin to the springer. slight change of plans, we are probably going to mill our own head tube instead of buying one. still planning to pick up all the steel for the frame, head tube, and axle plates on friday! :rock:

IMG_2956.jpg
IMG_2957.jpg
IMG_2958.jpg
IMG_2959.jpg
 
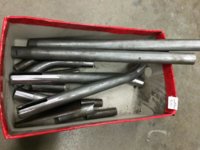
went shopping!

40' of 1" DOM .120 wall
20' of 1.25" DOM .120 wall
1'x2' of 1/4" plate
12"x12" 3/8" plate
7"x2.25" solid round (to mill a custom head tube)

cannot start the frame yet tho, as there are other things going on in the shop this week.
 
been a few very busy weeks of working on other bikes.

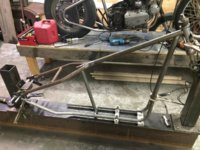
finally got a chunk done! started the frame, it's over halfway pieced together and mocked up in the jig, ready to tack together.

decided to build a narrow springer from scratch too... oh boy fun times. i have pics all in my phone, i will try to get them up in the next couple days!

:bike:
 
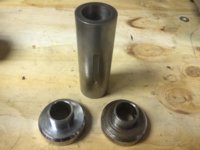
so, we picked back up by machining that steering tube from 2 1/4" solid round stock. we made it sportster size, so 7/8" stem and 5" length. here it is with the cups.
IMG_3094.jpg

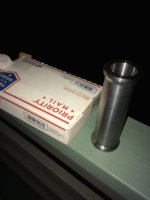
unfortunately, we decided to go with a big twin stem size, so that steering tube will have to wait for another project. ordered this beauty from solidbmx.com (we still have yet to test it for cup and bearing fit, but dimensions say it works).
IMG_3120.jpg

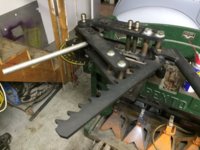
now that the steering tube is here, i started on the backbone. here is the upper wishbone in the JD2 tubing bender.
IMG_3113.jpg

wishbones have too much of a degree to fishmouth with the tube notcher from harbor freight (awesome cheap tool by the way!) so we had to use the mitler. (same with the angle on the bottom rails at the oil filter, as you will see later)
IMG_3105.jpg

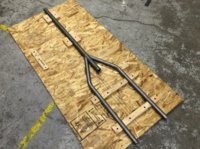
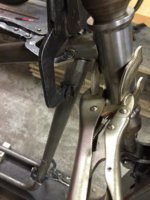
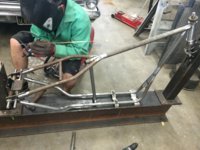
after getting the measurement for the width of the axle plates, i made a jig out of wood, and tacked the backbone together.
IMG_3110.jpg
 
Last edited:
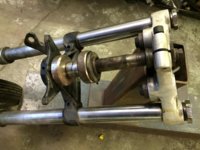
picked up a DNA springer fork from a friend. not going to use it, will be building a custom springer from scratch. here it is tho.
IMG_3116.jpg

mocked up the backbone line to set the steering tube height.
IMG_3125.jpg

cut the bottom rails and mocked the backbone in.
IMG_3128.jpg

fish mouthed the bottom rails and back bone, and cut and notched the down tube.
IMG_3172.jpg
IMG_3173.jpg

cut the seat post, and cross member, and cut the shape for the axle plate out of cardboard like a pro.
IMG_3170.jpg
IMG_3174.jpg

lookin good so far!:bike:
 
Last edited:
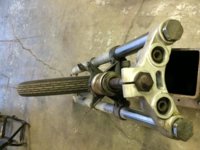
cut and welded flat caps onto the ends of the upper wishbone.
IMG_3175.jpg

cut the slots in the wishbones to fit the axle plates.
IMG_3184.jpg

around this point is where i start getting excited.
IMG_3177.jpg

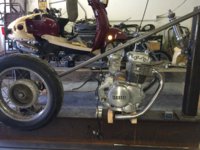
slammed the motor back in to check the fit, and measure for the top motor mount gusset.
IMG_3185.jpg
 
the lower wish bone was a pain in the ass. 3 sections if you include the bottom rail. it could of course be done all in 1 piece, if you are good enough at math to calculate all the degrees and angles for the tubing bender. me? i find slugging separate parts to be... less stressful.
IMG_3194 2.jpg

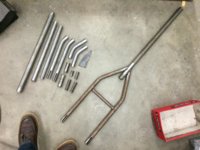
kinda funny when most of your frame fits in a shoe box...
IMG_3197.jpg

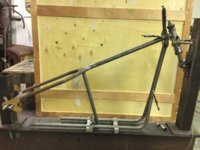
here is the entire frame, minus the axle plates, bottom rails, and steering tube (they are bolted in the jig)
IMG_3199.jpg

all tacked up and ready to weld! ALMOST THERE!!
IMG_3202.jpg
 
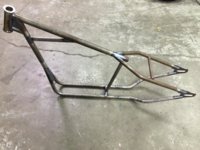
FRAME COMPLETE! well, minus motor mounts, battery and electrical box, fender mounts, chain tensioners.... etc etc

BUT HERE IT IS ANYWAYS!!!
IMG_3204.jpg

some close ups of the sections:
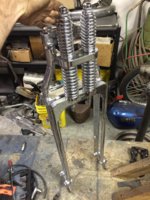
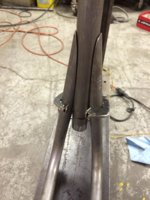
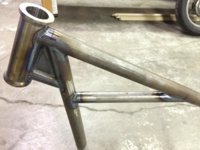
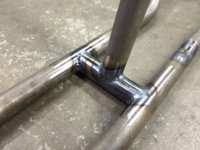
steering tube and gusset, came out soooo gooood
IMG_3205.jpg

down tube and oil filter gap
IMG_3206.jpg

seat post crossmember
IMG_3207.jpg

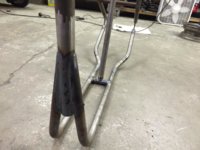
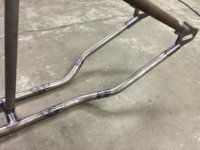
the 3 piece wishbones, with crazy angles and slugged cuts
IMG_3208.jpg

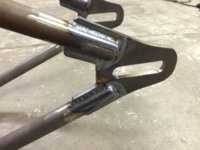
and the axle plates
IMG_3211.jpg

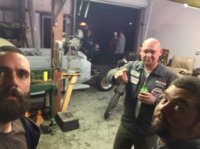
big thanks to my little bro, his patience and help (he did the welding) is the only reason i am able to complete things like this. luv you mang :thumbsup:
 
Back
Top