JARichmond
XSively Addicted
Hey everyone, this has been a tutorial that I've had to wing a couple of times because I have bad luck buying preassembled petcocks. So I though it would be a good idea to start a how-to on rebuilding an OEM petcock. Of course, if you want to switch to a simple ON/OFF valve, that can also be an easy method if you don't mind spending a bit of extra cash.
A little foreword, my petcock was rebuilt previously, so the parts I'm using are from a rebuild kit. The exact kit, I cannot be sure of.
So here goes:
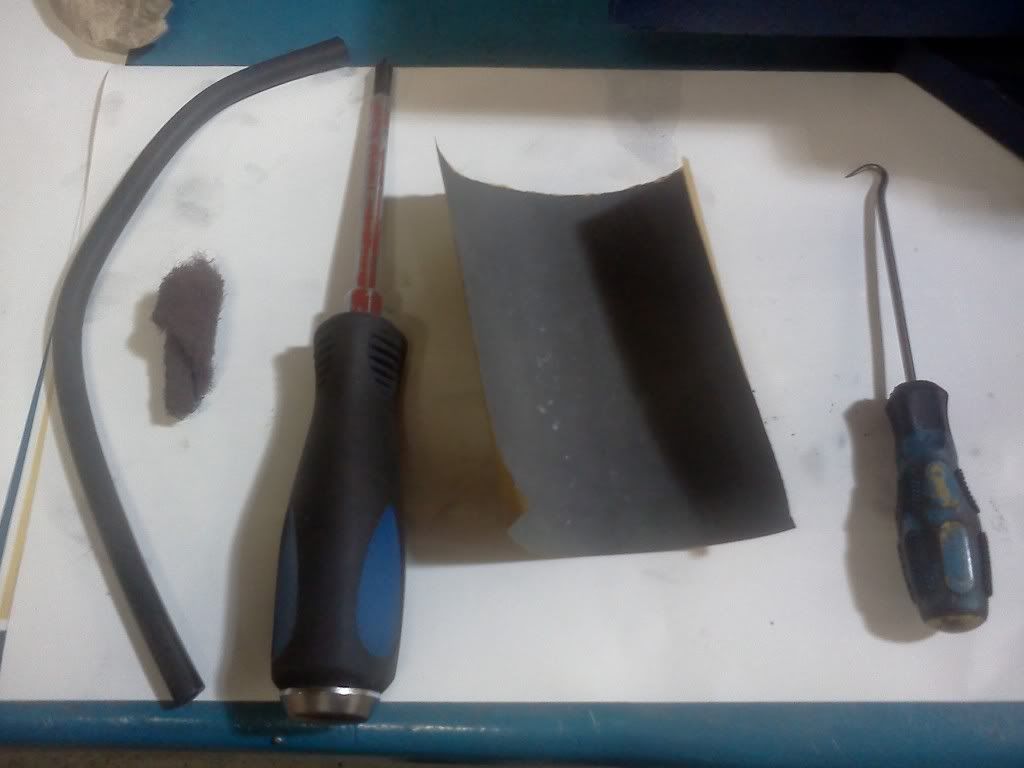
First off here are the materials you will need:
a new vacuum line
a small peice of ScotchBrite
a #2 phillips screwdriver
600# wet/dry sandpaper
a very small dental (o-ring) pick
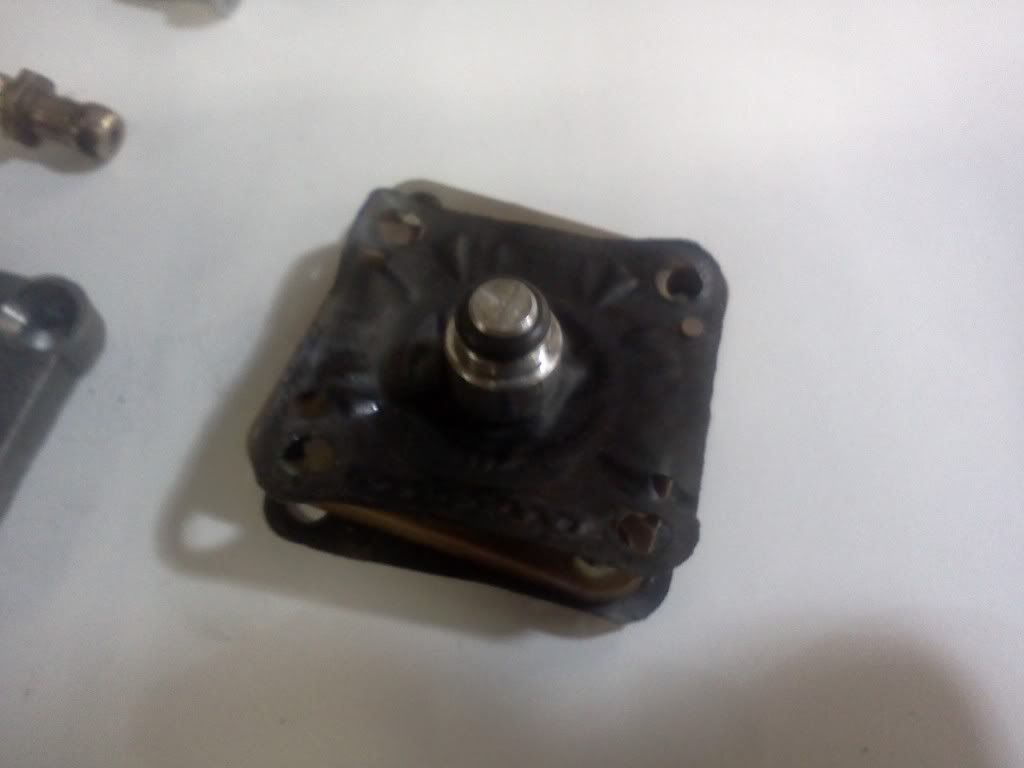
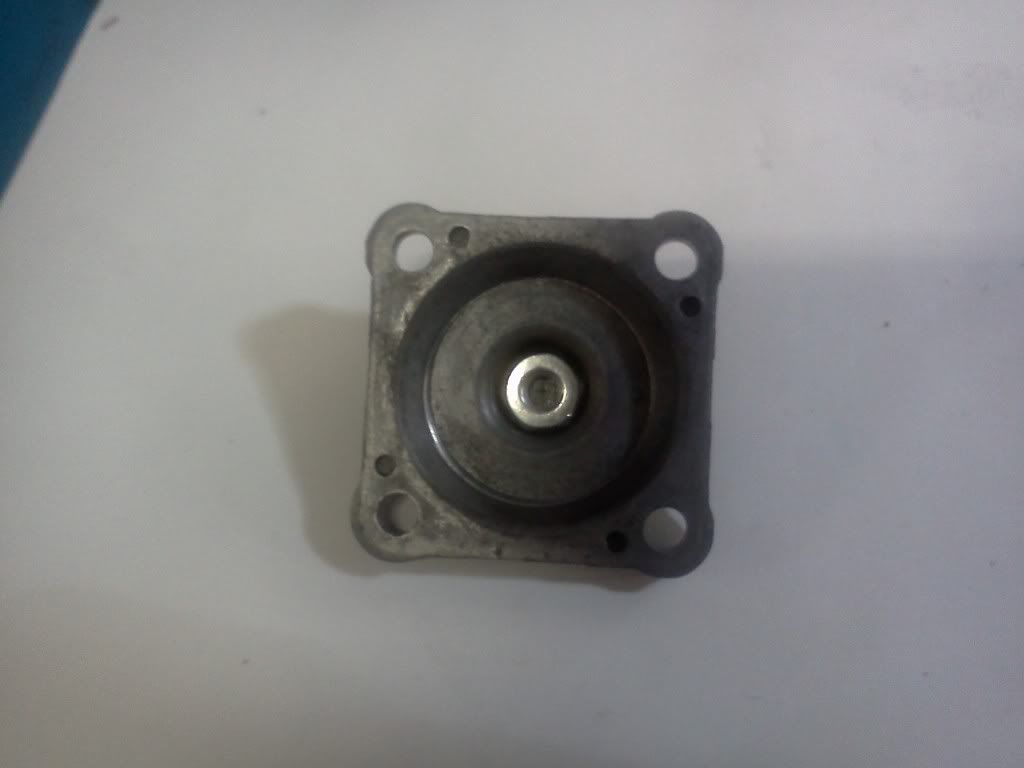
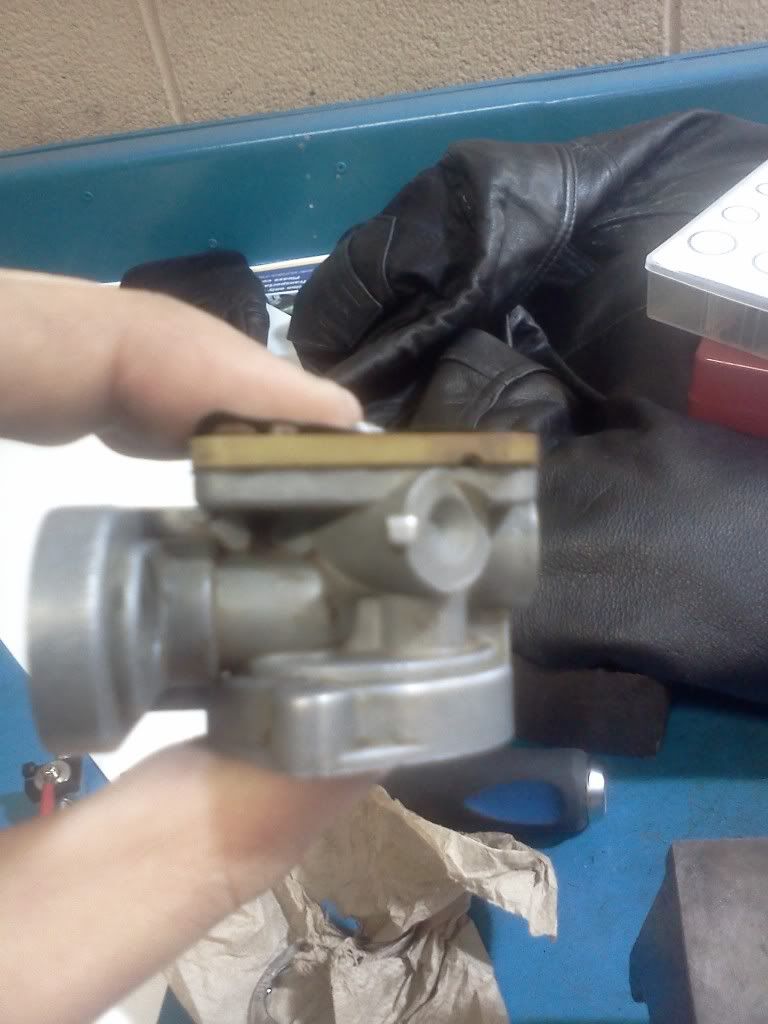
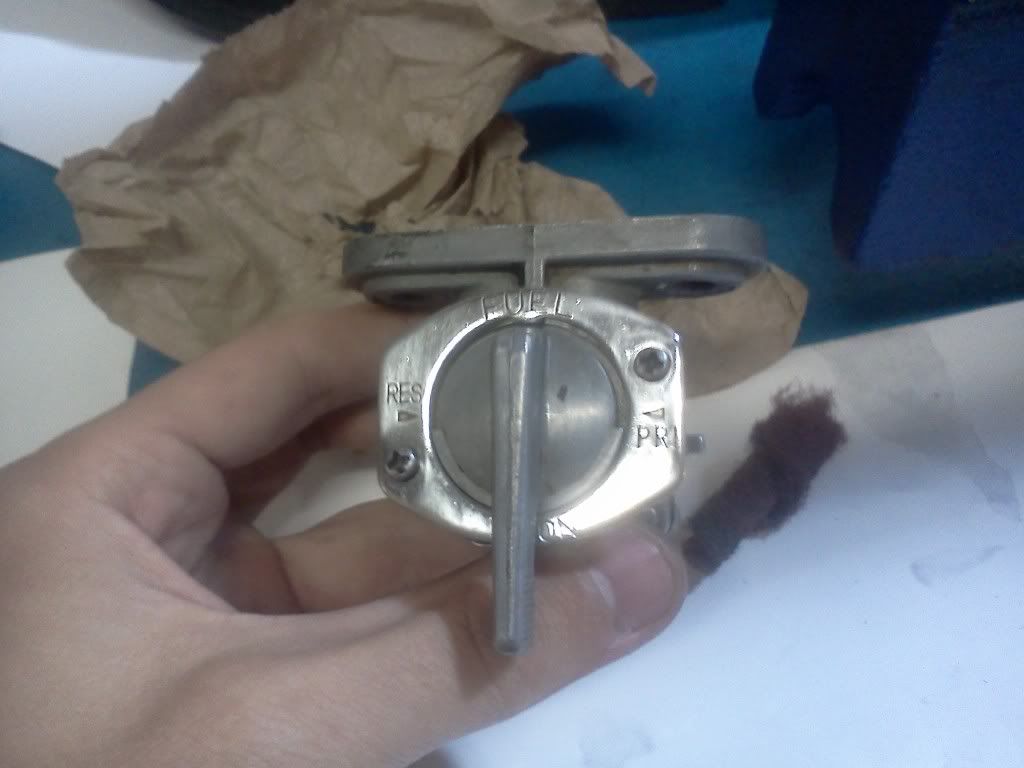
You're going to want to have your leaky OEM petcock on hand like I have here:
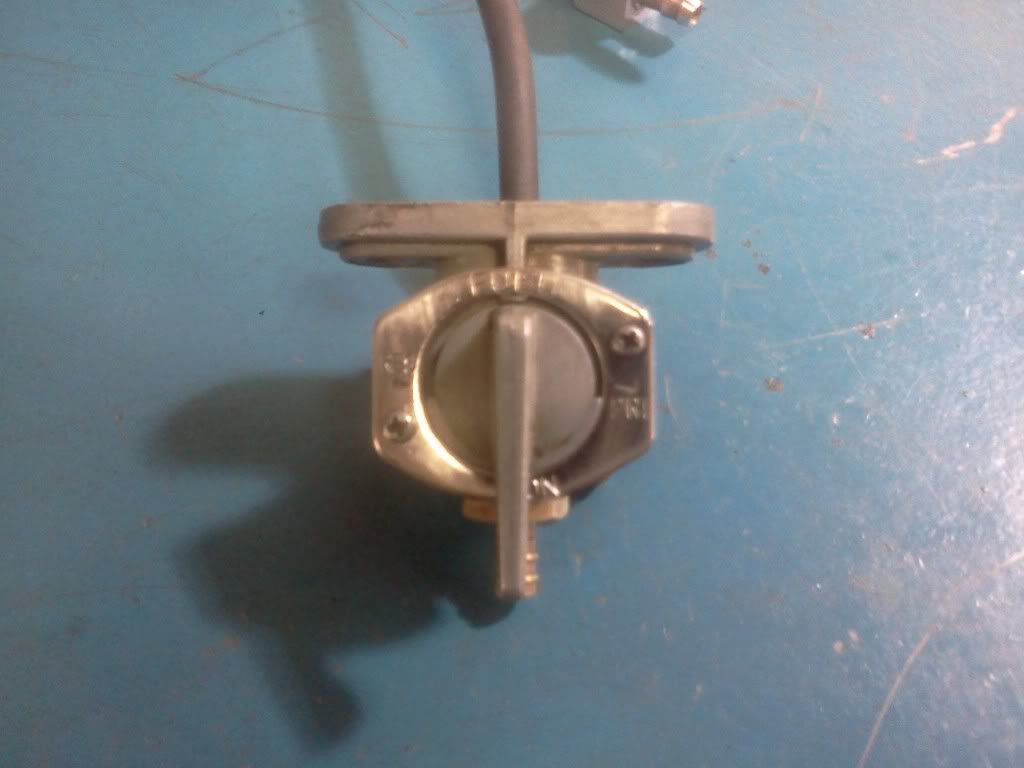
Pretty shiny huh?
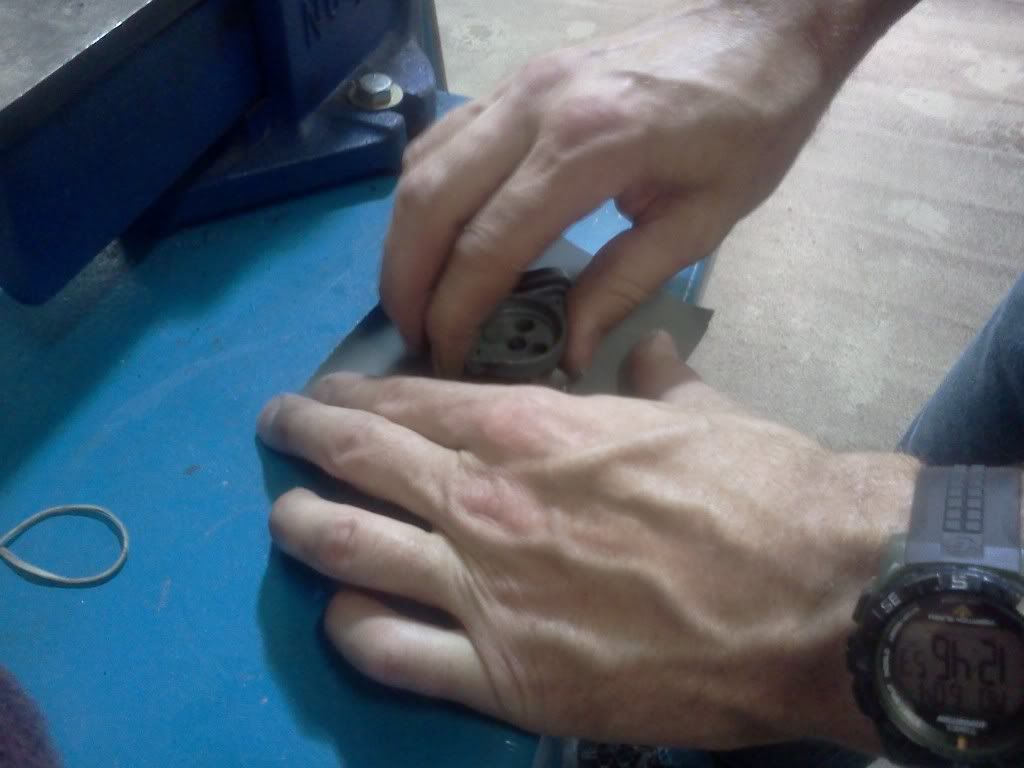
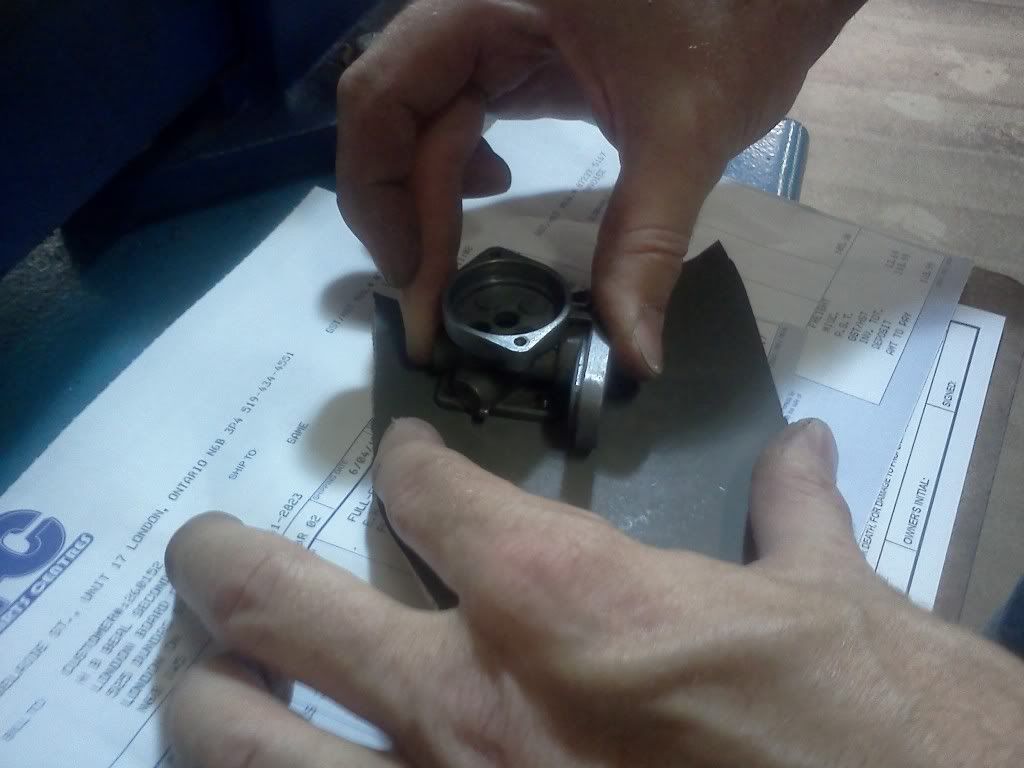
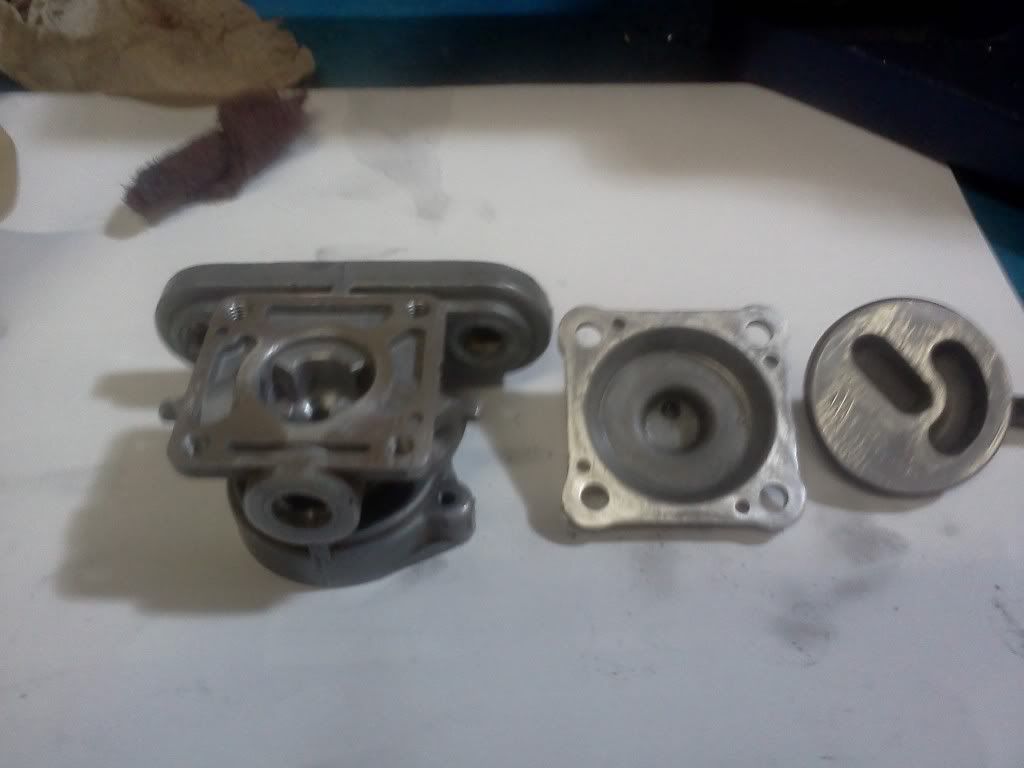
I've done a purely cosmetic polishing already by using Q-tips and seafoam to remove most of the oil and dirt from 30 or so years of abuse. Make sure that when you clean up your petcock, you disassemble it into the basic pieces as shown below:
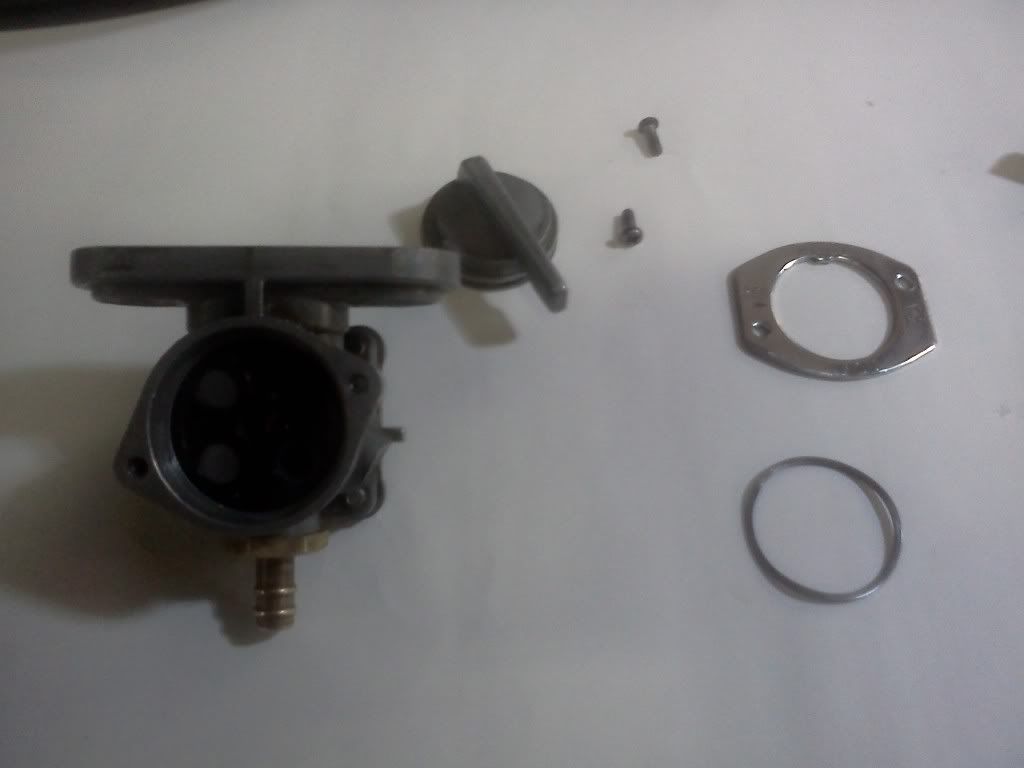
By disassembling it before cleaning, you can be sure that your o-rings will not be immersed in the solution. When they are introduced into a petroleum environment, they tend to puff out and refuse to reassemble due to clearance issues.
So let's get down to the meat and potatoes of why your petcock is leaking.
Your petcock operates on a gravity system controlled by valves.
This is your vacuum-operated valve. It opens when your engine is running to allow fuel to flow into your gas line. If your petcock is leaking out the bottom when set to ON or RES, it's likely that this valve is not making a proper seal. This can also be due to the spacer (as seen later) being installed backwards. We will fix that down below if that's an issue.
If you are starving your engine on a regular basis, you may have a vacuum leak causing not enough negative pressure to be exerted on the vacuum valve.
If you are leaking fuel out of the middle, your spacer may be installed backwards or your gaskets are leaking. They will be included in some rebuild kits.
If you find fuel in your vacuum line, you have a leak in your gasket and must replace it.
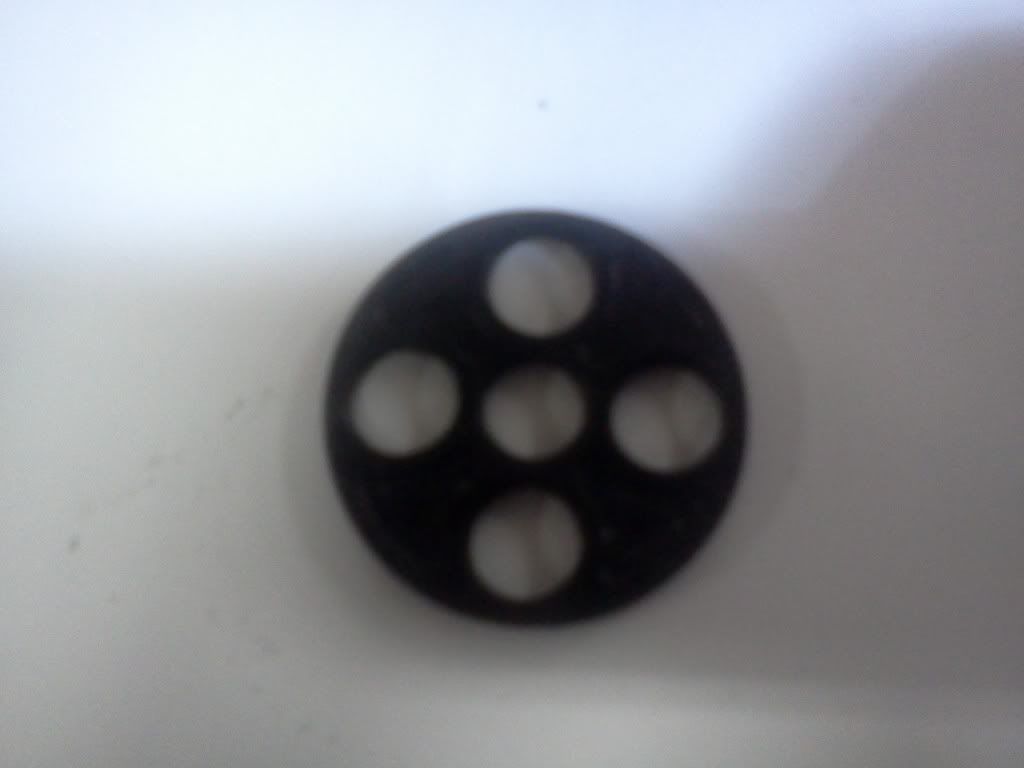
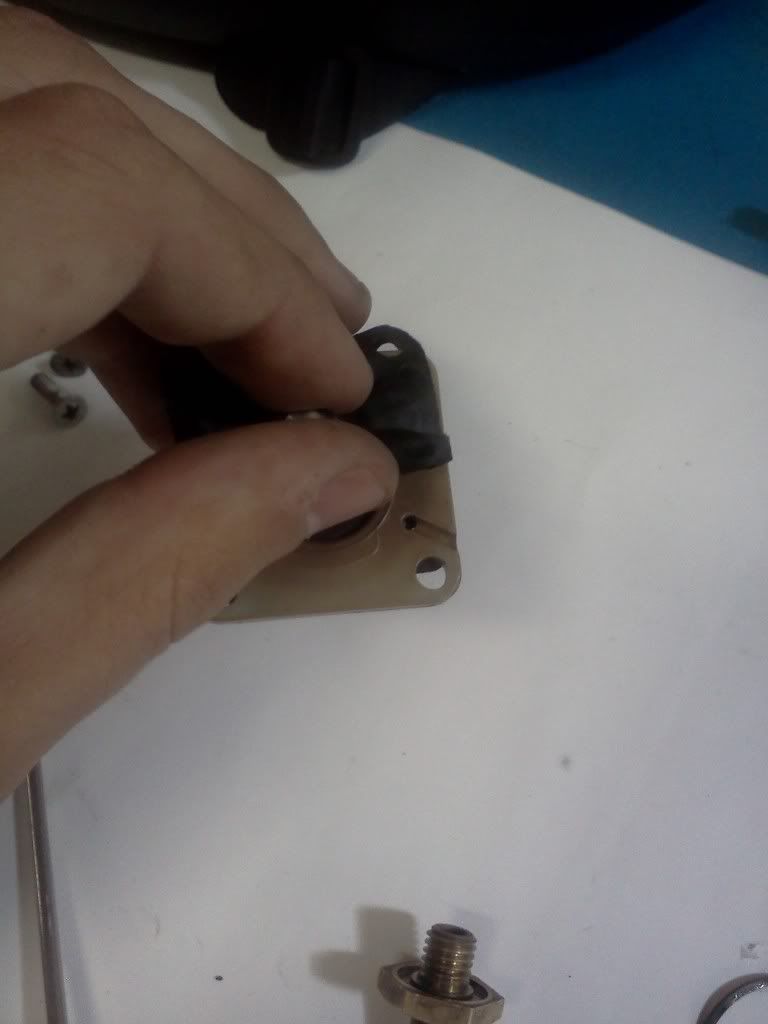
Remove your selector gasket like so. You can use a dental pick (as seen a little later when removing the tiny o-ring on your vacuum valve.
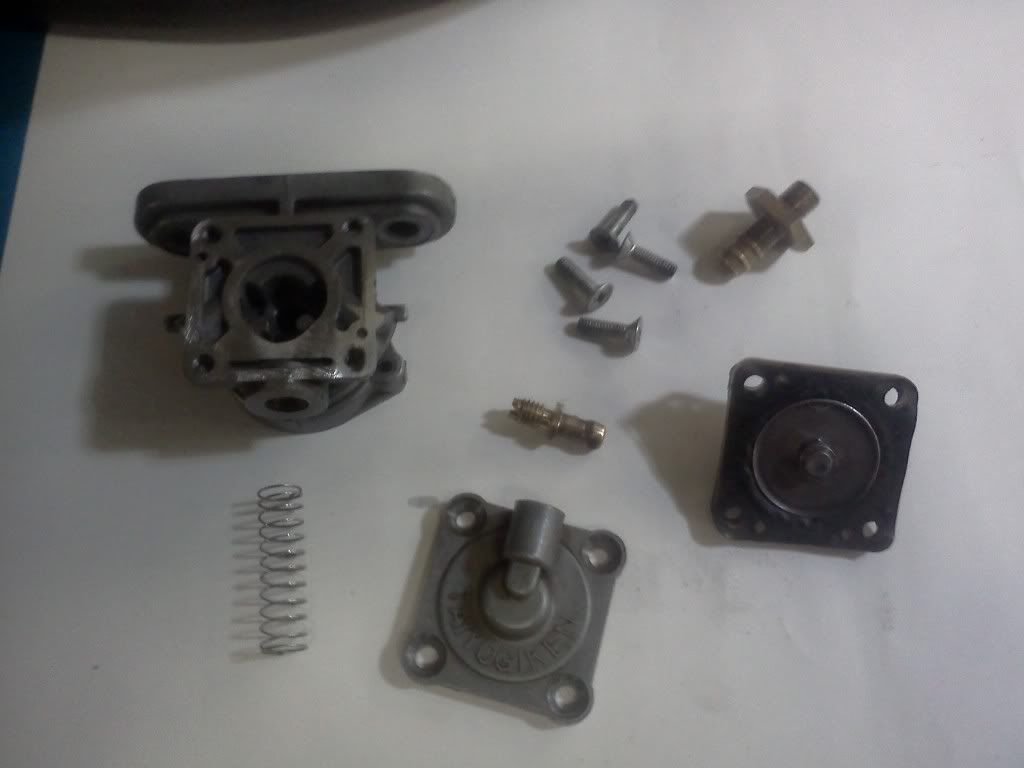
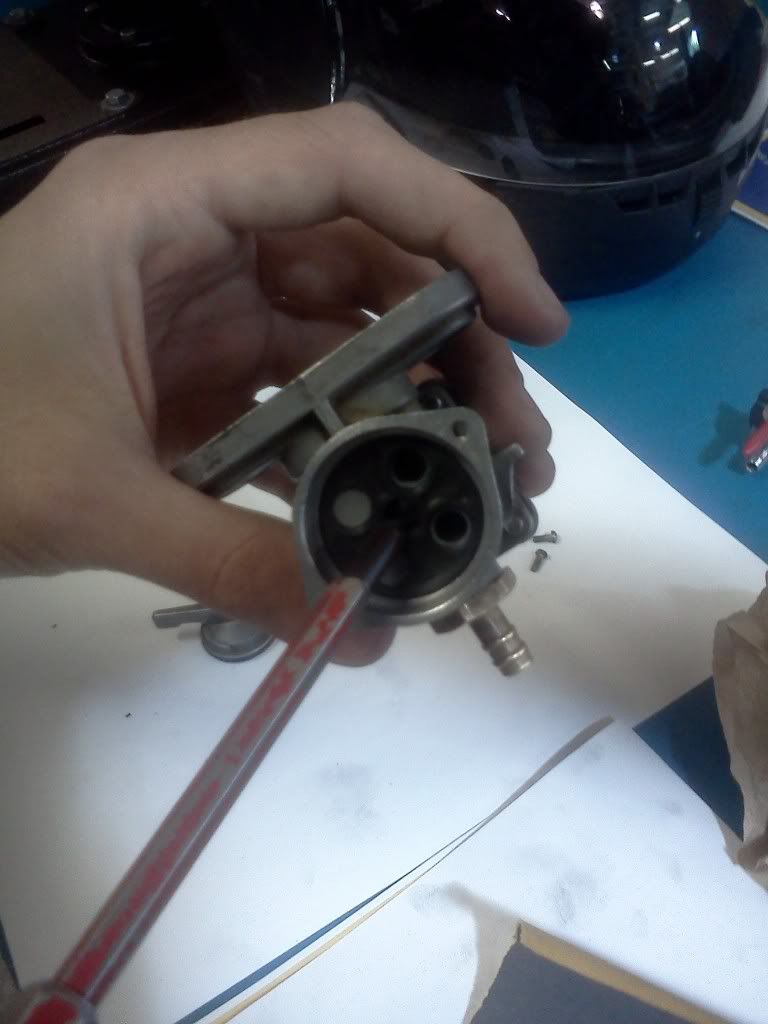
When disassembling the back of your petcock, remove the four screws holding the back plate on. Watch for a spring. It can get lost, and is often small.

A note: If you don't order a rebuild kit, you can pull your spring to increase the spring pressure temporarily. This is not a permanent solution as it will compress eventually, so take other steps too.
My PO had purchased a rebuild kit but didn't do a good job, and so I had a leaky petcock with an in-line ON/OFF valve installed.
In the rebuild kit you will likely have a new set of o-rings, gaskets, a longer spring, and new piston assembly attached to your two rear gaskets. you may or may not have a new spacer plate so you might have to use your old one (which isn't known as a problem part)
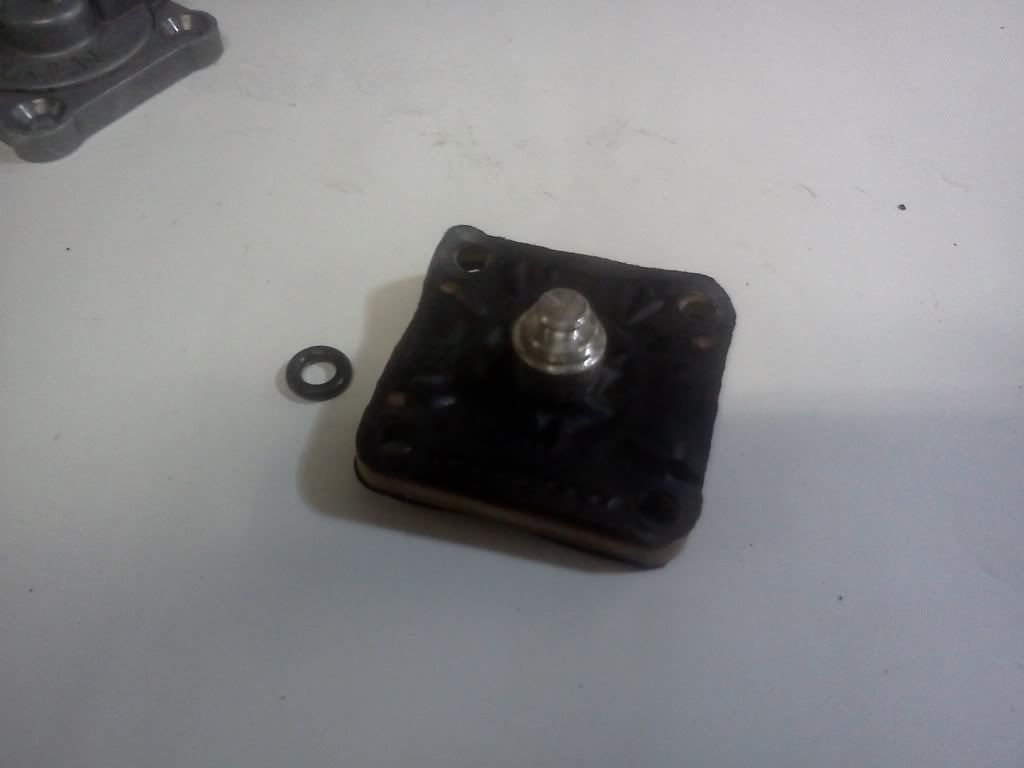
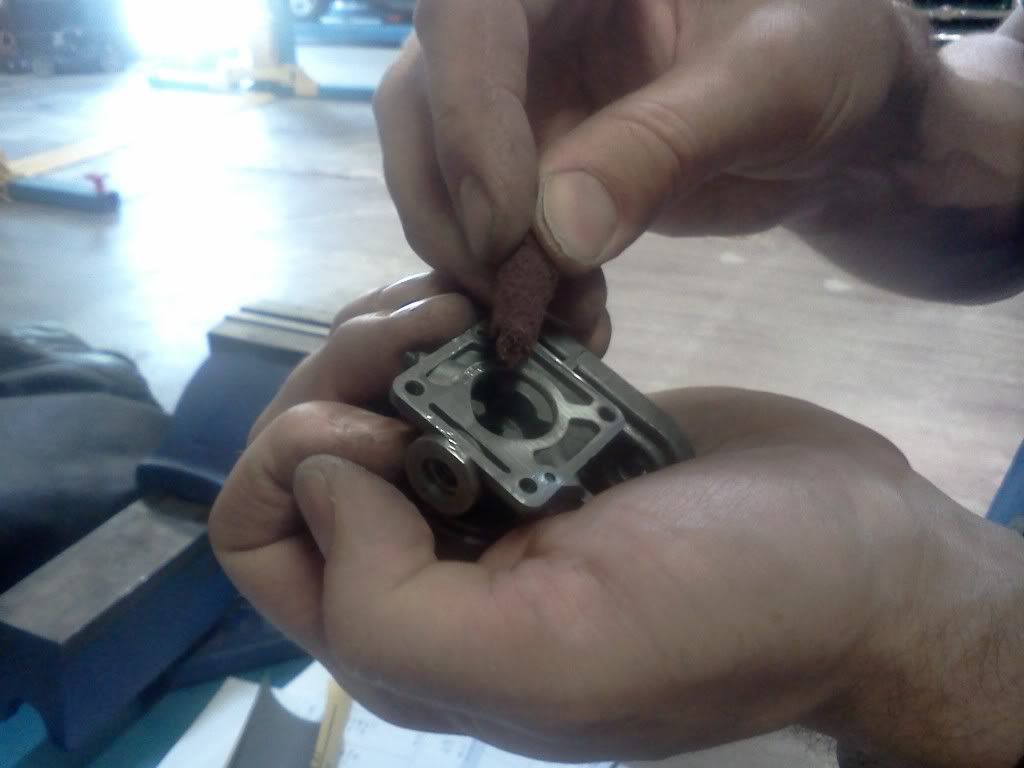
Remove your tiny o-ring and replace if cracked, hard, or otherwise done-for.
I installed a tiny nut at the rear of my petcock to increase my spring pressure. This can be done to avoid purchasing a rebuild kit if your gaskets and o-rings are in proper working order.
Sand all mating surfaces with 600# wet/dry sandpaper to remove all corrosion and make a good seal.
Using a small piece of ScotchBrite, clean the mating surface of your tiny o-ring inside of its housing. Be sure to remove any scratches or pitting or your work will be for naught.
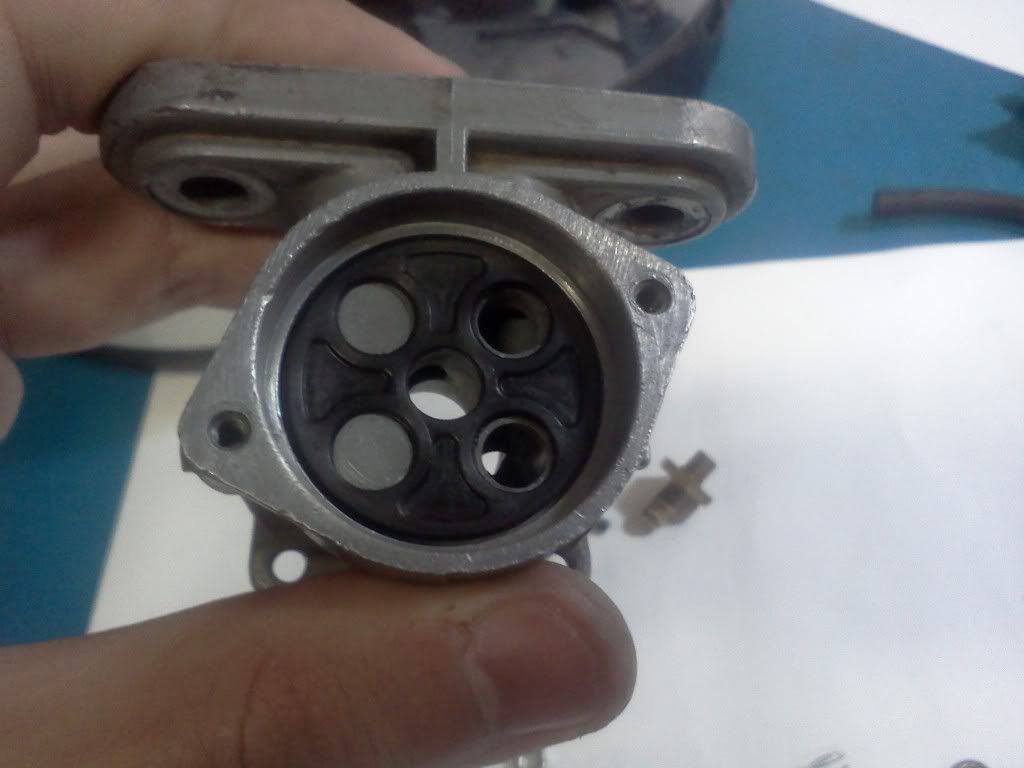
These surfaces should be shiny:
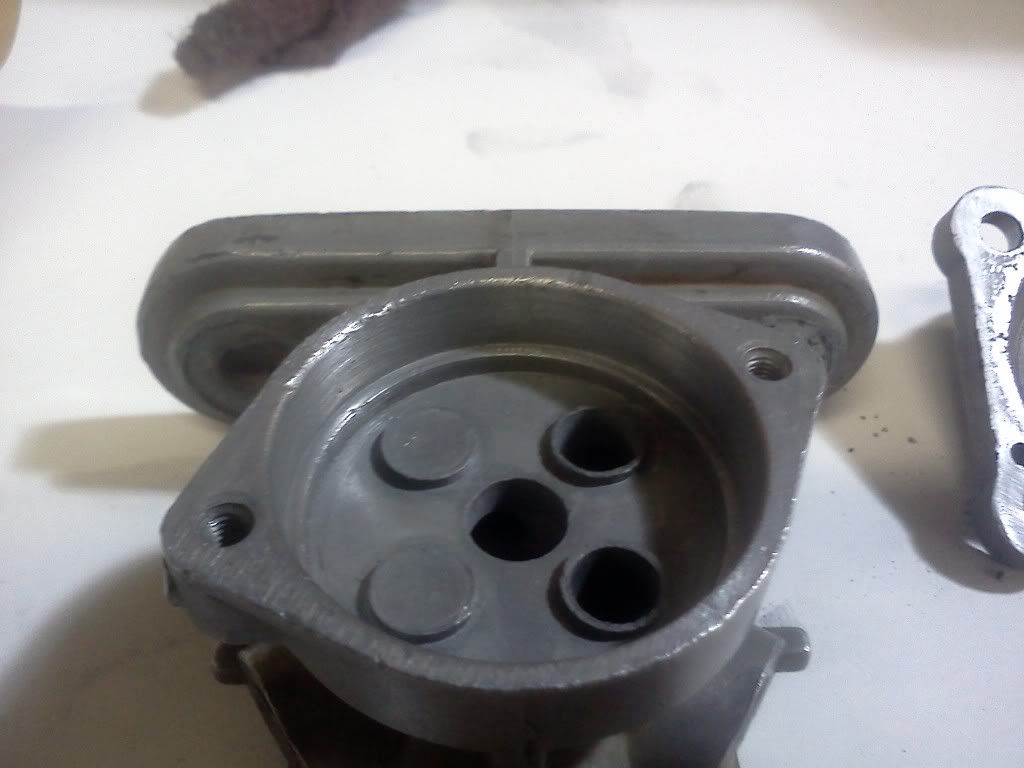
also clean up the large o-ring race using your 600#
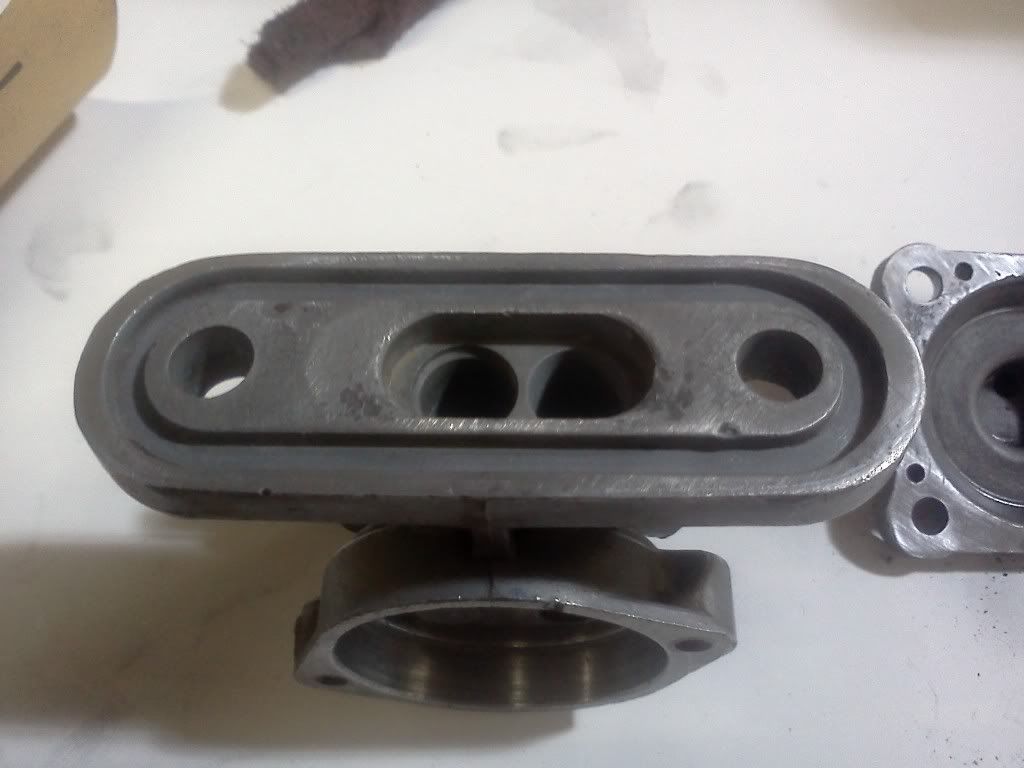
Don't forget the top of your petcock where it attaches to the tank. Clean it with your 600#. If you purchased a rebuild kit, it will likely come with an oval o-ring for the top.
HALT! CLEAN OFF YOUR PARTS! Aluminum shavings in your petcock will damage o-rings, clog up your in-line fuel filter, and/or damage your carbs
Reinstall your selector valve gasket:
When installing your plastic spacer, note the following slot:
Ensure it is installed like so:
Looking at the petcock from the front, the slot should be at the front of the spacer, pointing to the right, and slightly down.
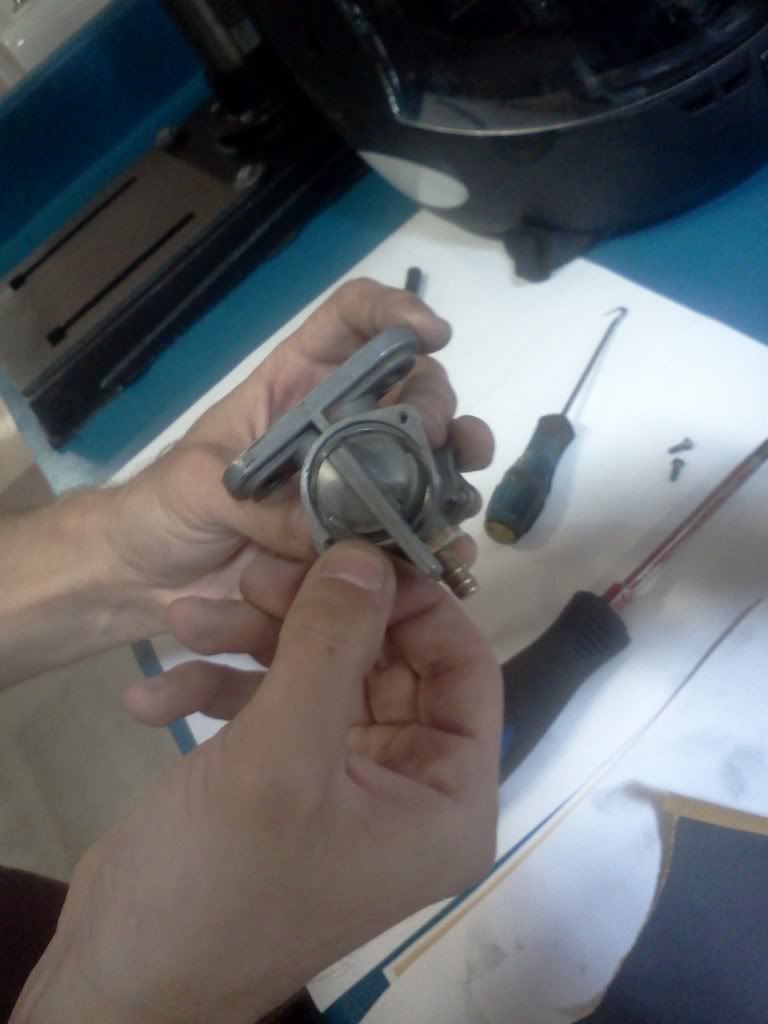
Reinstall the rear of the petcock, tightening down all four screws in an X pattern.
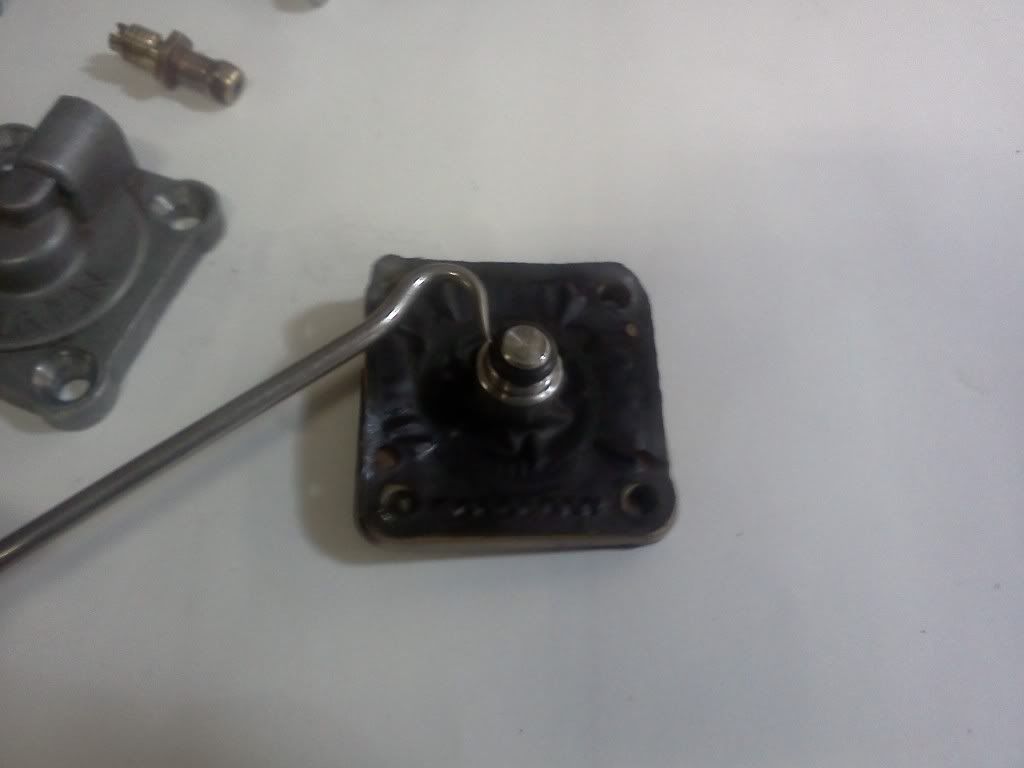
To seat the valve, lightly press onto the steel piston using a thin screwdriver a few times, allowing it to engage and disengage.
Install your large, circular o-ring on the selector valve and carefully push the valve into the clean race.
Install your wave washer. It's supposed to look bent, so don't straighten it.
Your petcock should look similar to this.
TA DAH!
Footnotes:
Don't forget your in-tank filter, of course. If it's anything like mine, the reserve side (without the tube) will be on the right side when looking at your petcock from the front.
I suggest you replace your vacuum line with a clear tube. Not only is it cleaner looking, but it serves as an excellent diagnostic if your middle gaskets break down. You will find there is fluid in the line.
A little foreword, my petcock was rebuilt previously, so the parts I'm using are from a rebuild kit. The exact kit, I cannot be sure of.
So here goes:
First off here are the materials you will need:
a new vacuum line
a small peice of ScotchBrite
a #2 phillips screwdriver
600# wet/dry sandpaper
a very small dental (o-ring) pick
You're going to want to have your leaky OEM petcock on hand like I have here:
Pretty shiny huh?
I've done a purely cosmetic polishing already by using Q-tips and seafoam to remove most of the oil and dirt from 30 or so years of abuse. Make sure that when you clean up your petcock, you disassemble it into the basic pieces as shown below:
By disassembling it before cleaning, you can be sure that your o-rings will not be immersed in the solution. When they are introduced into a petroleum environment, they tend to puff out and refuse to reassemble due to clearance issues.
So let's get down to the meat and potatoes of why your petcock is leaking.
Your petcock operates on a gravity system controlled by valves.
This is your vacuum-operated valve. It opens when your engine is running to allow fuel to flow into your gas line. If your petcock is leaking out the bottom when set to ON or RES, it's likely that this valve is not making a proper seal. This can also be due to the spacer (as seen later) being installed backwards. We will fix that down below if that's an issue.
If you are starving your engine on a regular basis, you may have a vacuum leak causing not enough negative pressure to be exerted on the vacuum valve.
If you are leaking fuel out of the middle, your spacer may be installed backwards or your gaskets are leaking. They will be included in some rebuild kits.
If you find fuel in your vacuum line, you have a leak in your gasket and must replace it.
Remove your selector gasket like so. You can use a dental pick (as seen a little later when removing the tiny o-ring on your vacuum valve.
When disassembling the back of your petcock, remove the four screws holding the back plate on. Watch for a spring. It can get lost, and is often small.
A note: If you don't order a rebuild kit, you can pull your spring to increase the spring pressure temporarily. This is not a permanent solution as it will compress eventually, so take other steps too.
My PO had purchased a rebuild kit but didn't do a good job, and so I had a leaky petcock with an in-line ON/OFF valve installed.
In the rebuild kit you will likely have a new set of o-rings, gaskets, a longer spring, and new piston assembly attached to your two rear gaskets. you may or may not have a new spacer plate so you might have to use your old one (which isn't known as a problem part)
Remove your tiny o-ring and replace if cracked, hard, or otherwise done-for.
I installed a tiny nut at the rear of my petcock to increase my spring pressure. This can be done to avoid purchasing a rebuild kit if your gaskets and o-rings are in proper working order.
Sand all mating surfaces with 600# wet/dry sandpaper to remove all corrosion and make a good seal.
Using a small piece of ScotchBrite, clean the mating surface of your tiny o-ring inside of its housing. Be sure to remove any scratches or pitting or your work will be for naught.
These surfaces should be shiny:
also clean up the large o-ring race using your 600#
Don't forget the top of your petcock where it attaches to the tank. Clean it with your 600#. If you purchased a rebuild kit, it will likely come with an oval o-ring for the top.
HALT! CLEAN OFF YOUR PARTS! Aluminum shavings in your petcock will damage o-rings, clog up your in-line fuel filter, and/or damage your carbs
Reinstall your selector valve gasket:
When installing your plastic spacer, note the following slot:
Ensure it is installed like so:
Looking at the petcock from the front, the slot should be at the front of the spacer, pointing to the right, and slightly down.
Reinstall the rear of the petcock, tightening down all four screws in an X pattern.
To seat the valve, lightly press onto the steel piston using a thin screwdriver a few times, allowing it to engage and disengage.
Install your large, circular o-ring on the selector valve and carefully push the valve into the clean race.
Install your wave washer. It's supposed to look bent, so don't straighten it.
Your petcock should look similar to this.
TA DAH!
Footnotes:
Don't forget your in-tank filter, of course. If it's anything like mine, the reserve side (without the tube) will be on the right side when looking at your petcock from the front.
I suggest you replace your vacuum line with a clear tube. Not only is it cleaner looking, but it serves as an excellent diagnostic if your middle gaskets break down. You will find there is fluid in the line.