Cafe build: Buffet Racer

AirsoftNY

XS400 Enthusiast
Messages
32
Reaction score
0
Points
6
Location
NYC
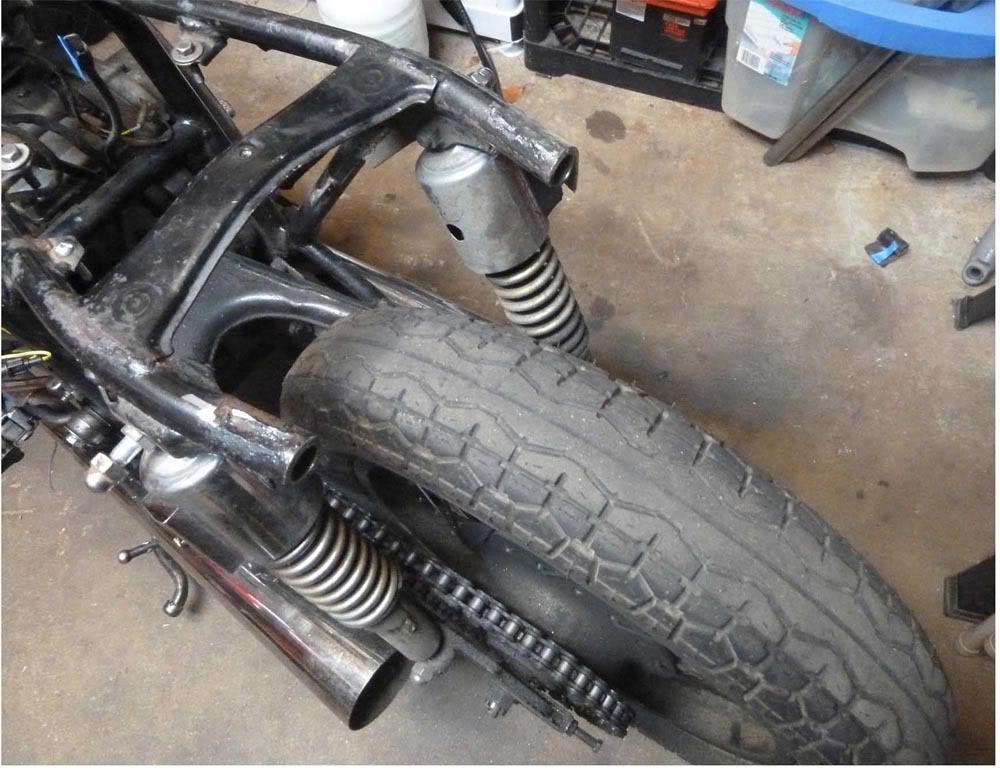
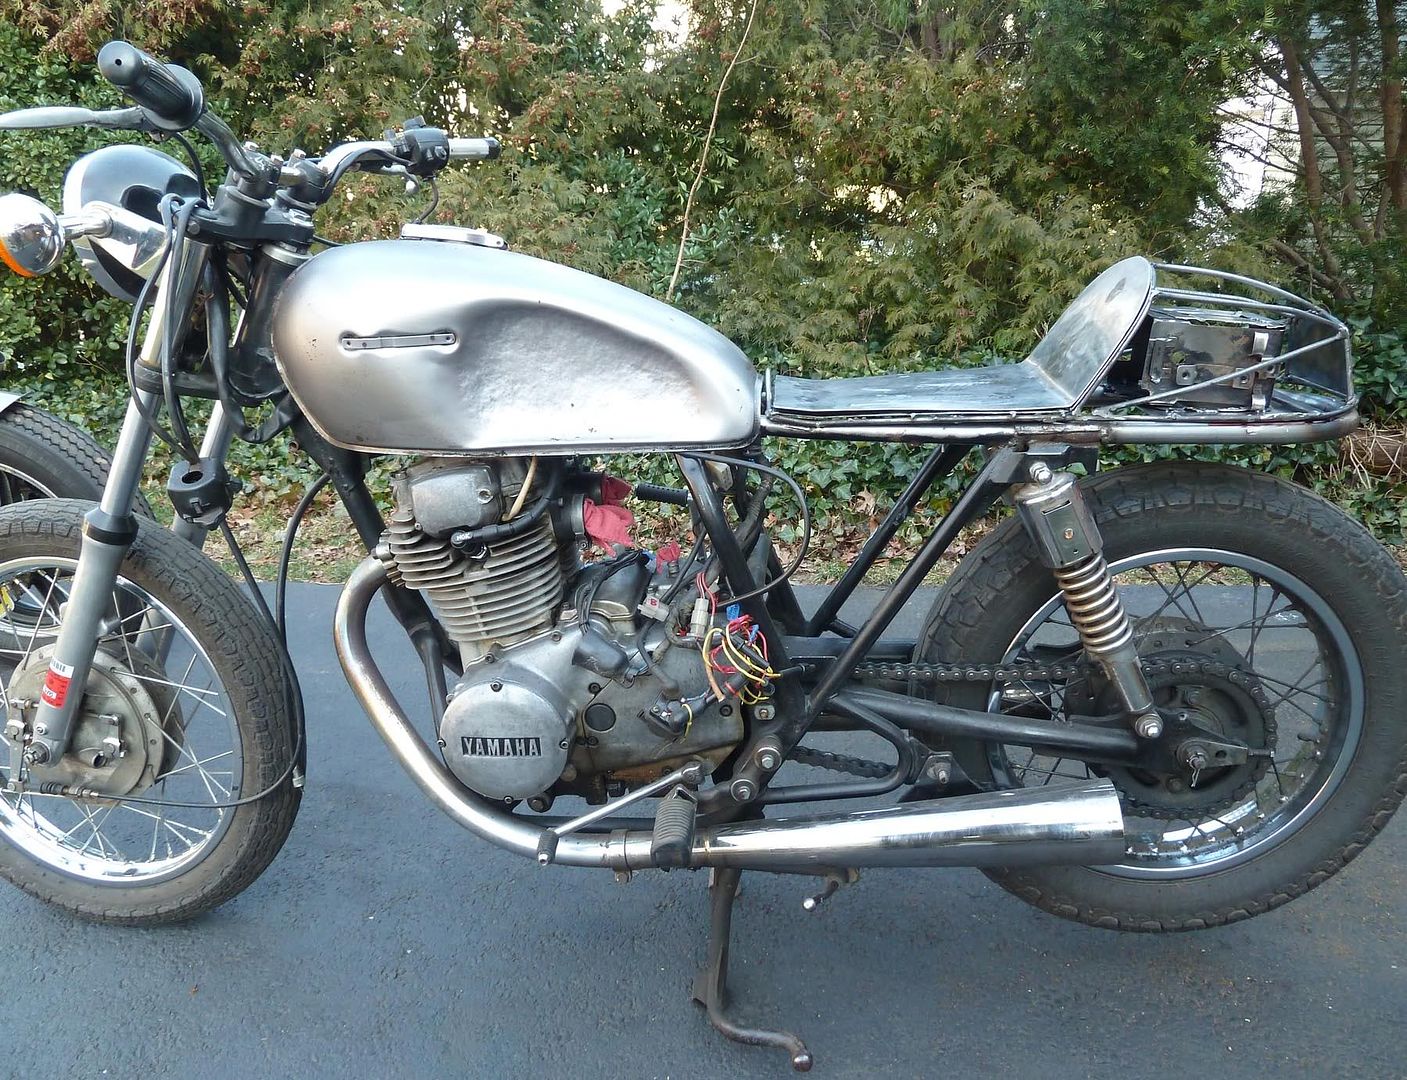
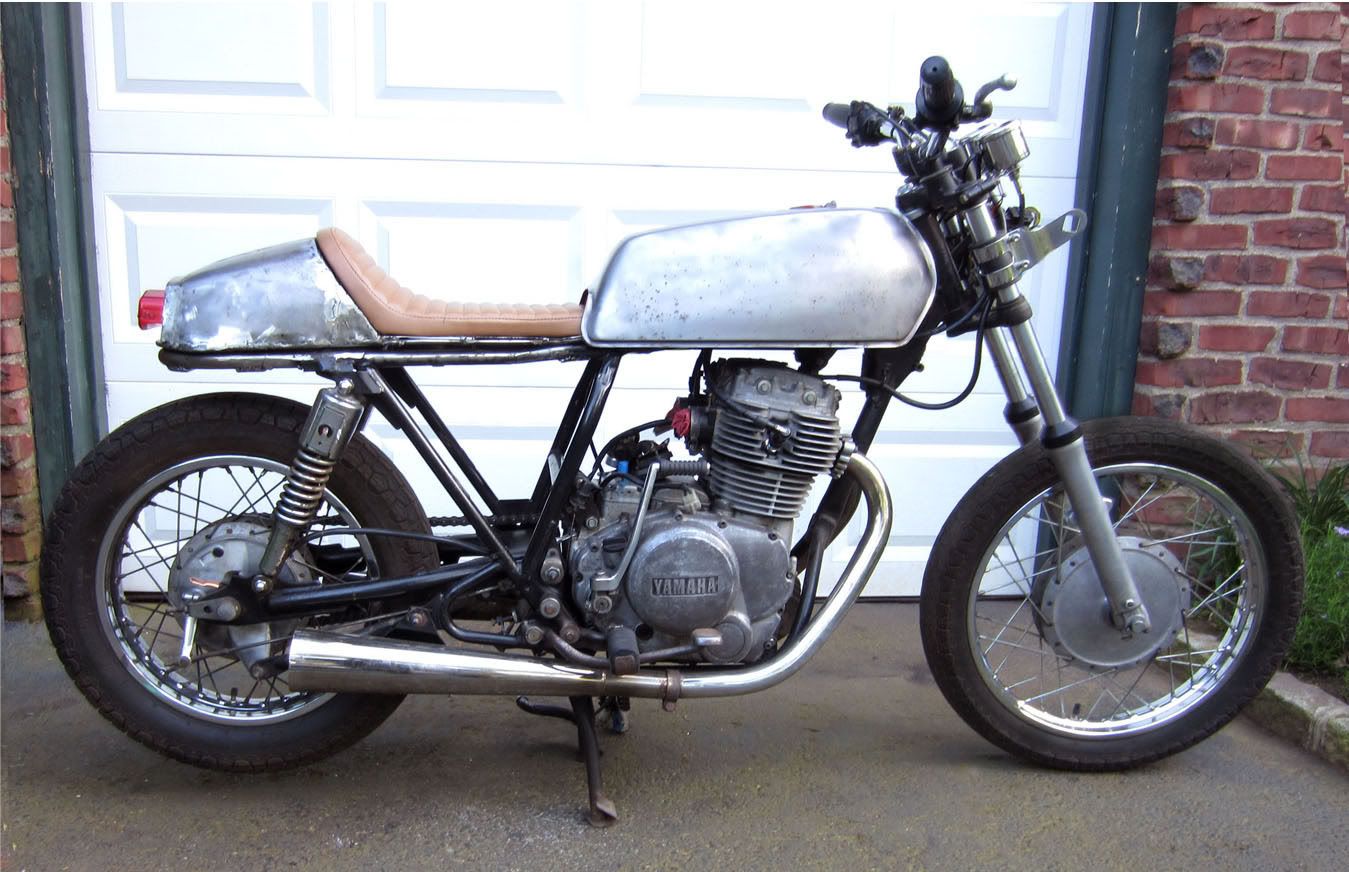
Starting my winter project, a cafe build: Project Buffet Racer. Hope to have it done for the spring. Base bike is a 1980 XS400 Special II.

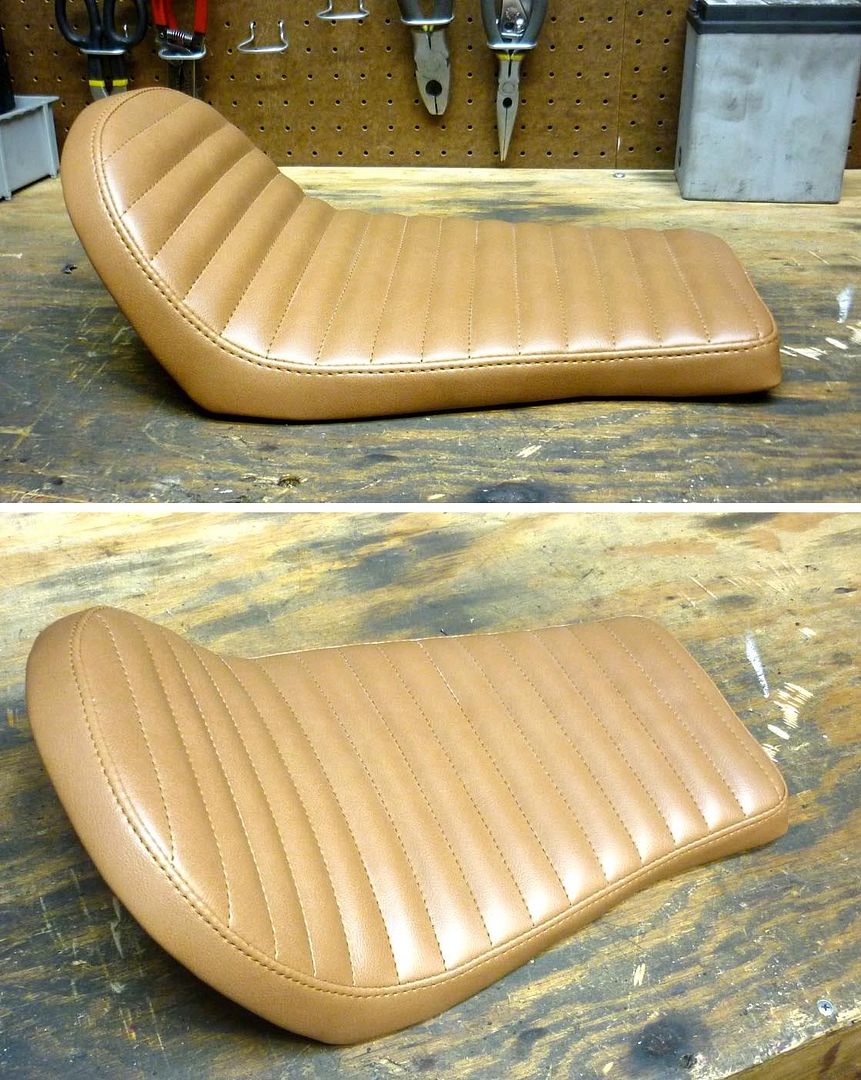
Saw a how-to on Youtube showing how to build a cafe seat and cowl from steel rod, thought I would give it a try:

First things first, chop rear rails, slug and weld in rear hoop:
chop.jpg


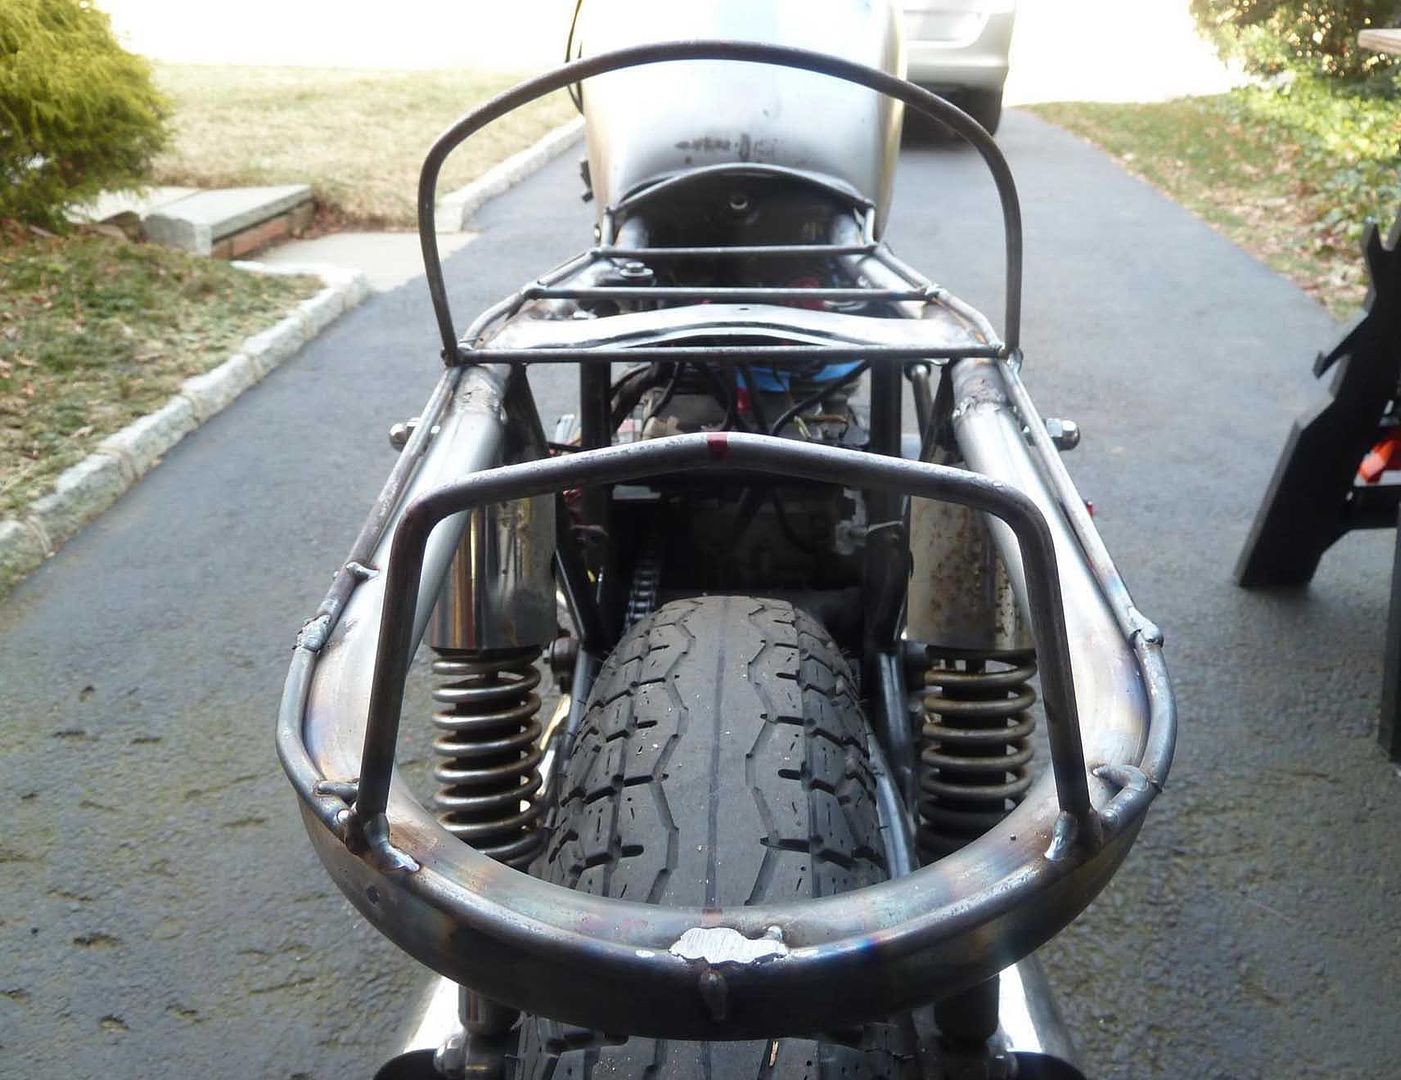
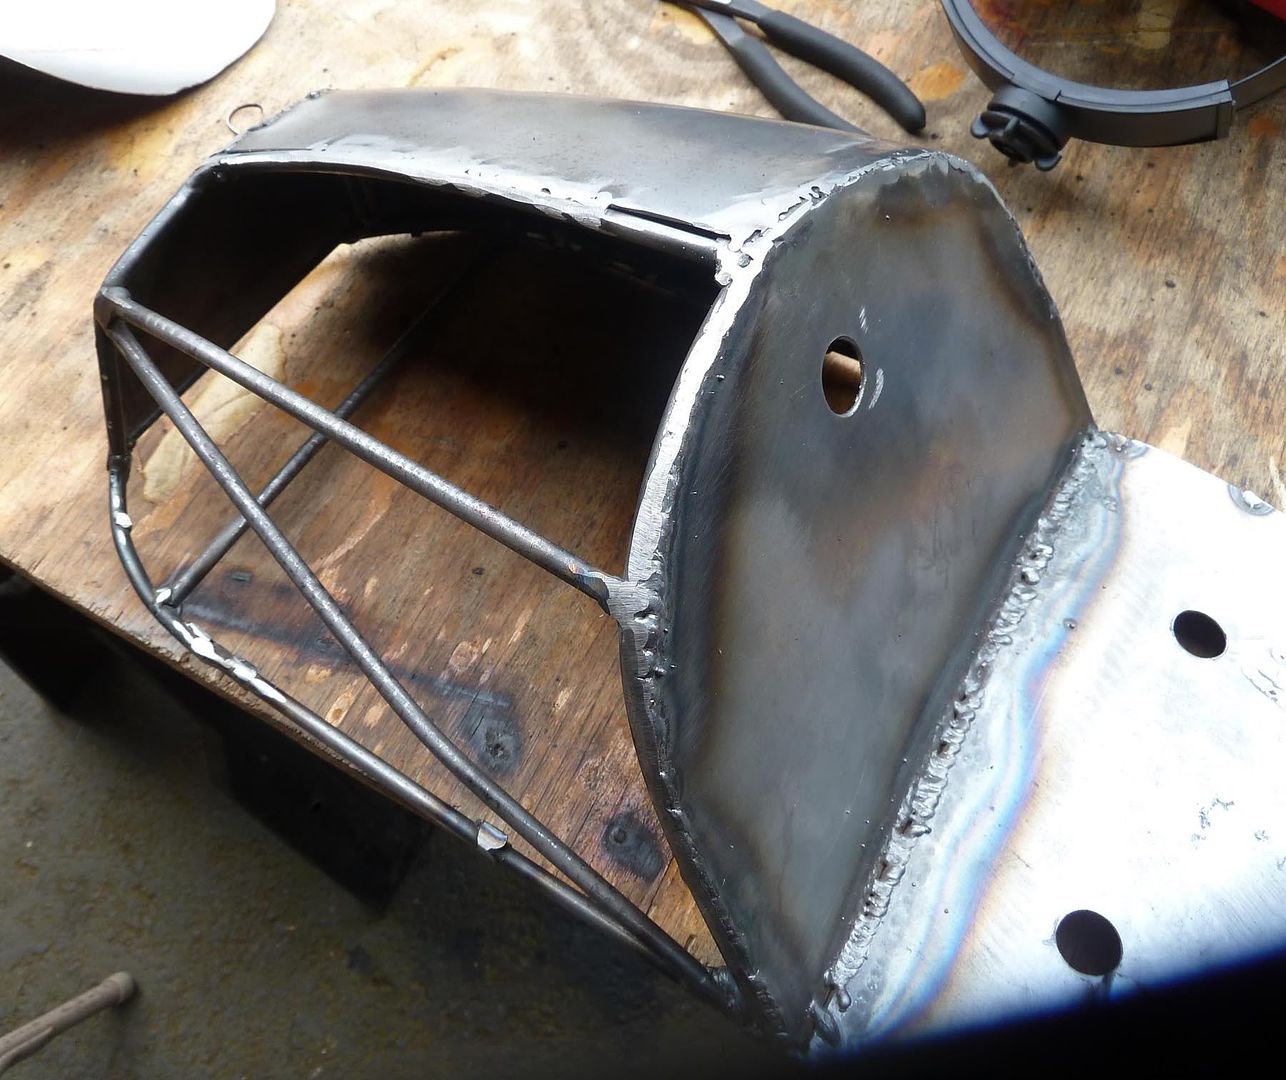
The idea is to tack the steel rod right onto the frame while you build up the shape, then cut all your tacks off when the frame is complete. Laying out initial framework:
first_rail.jpg


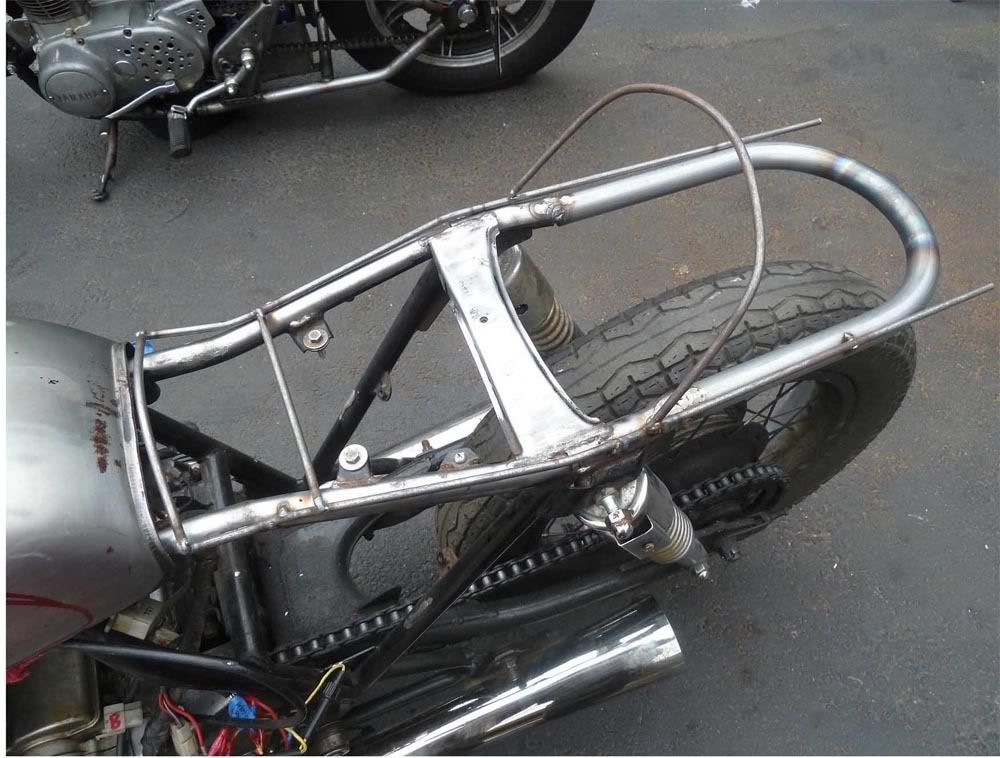
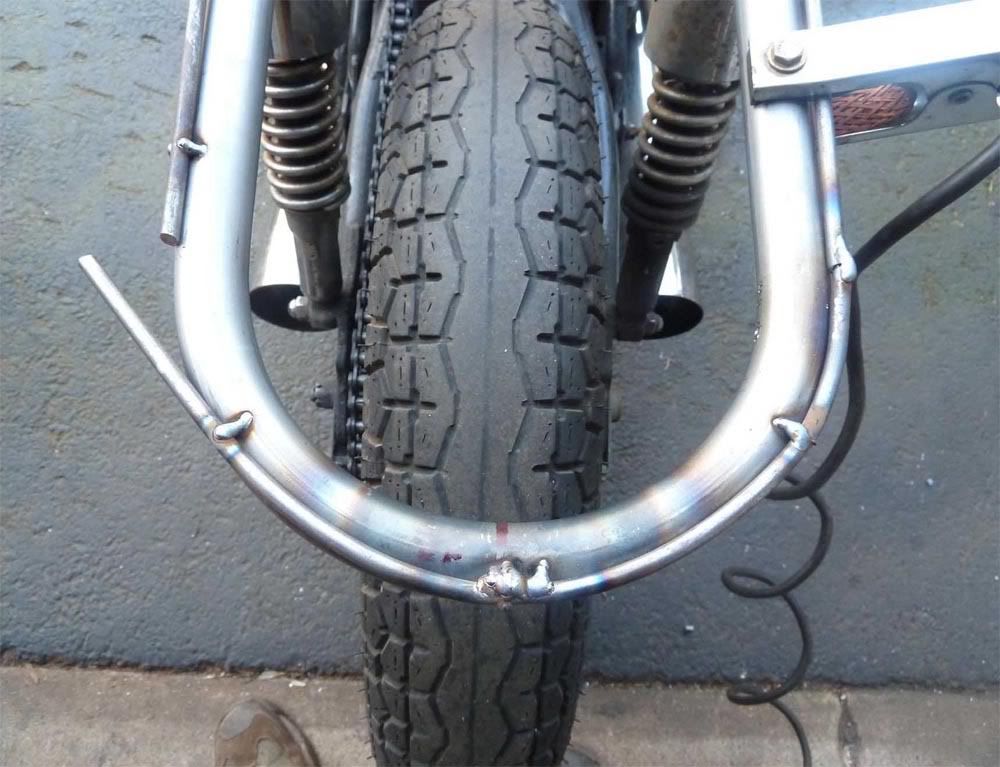
Bending around the hoop, tack bend tack bend
rear_curve.jpg


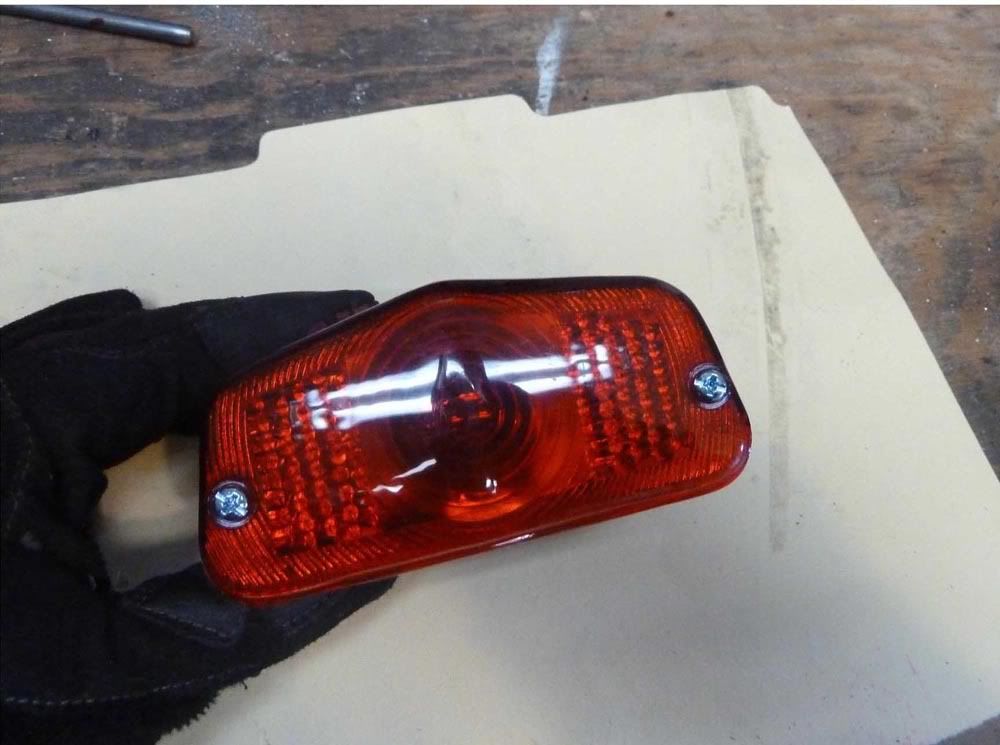
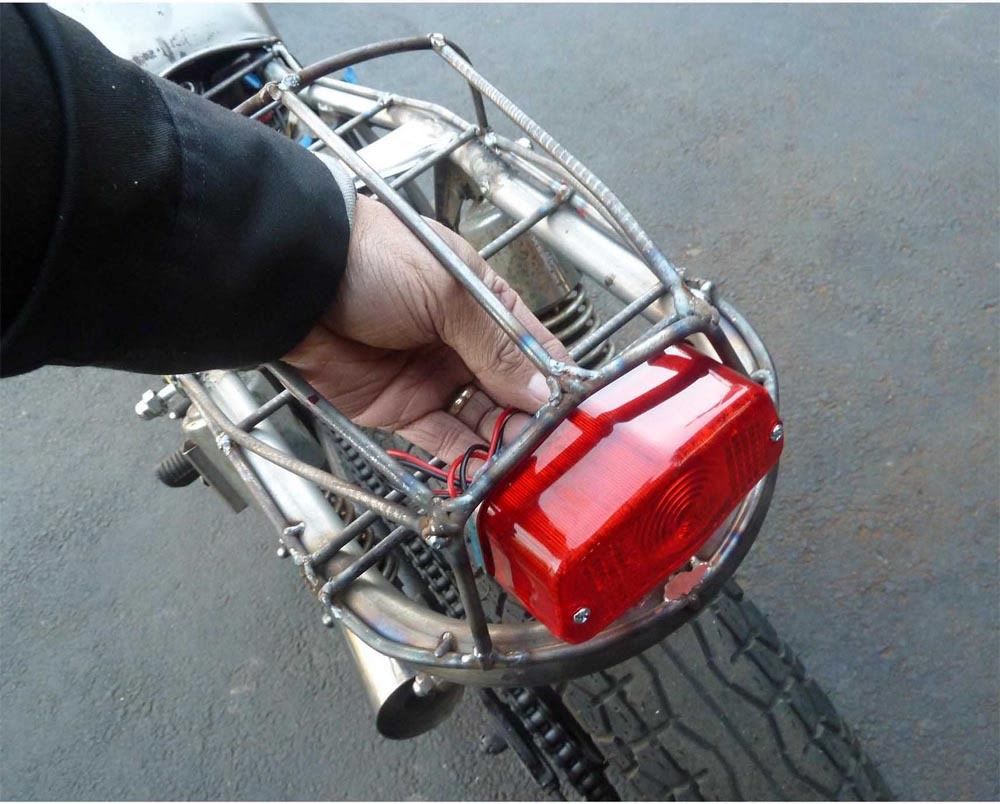
I want to use this Lucas style headlight:
lucas.jpg


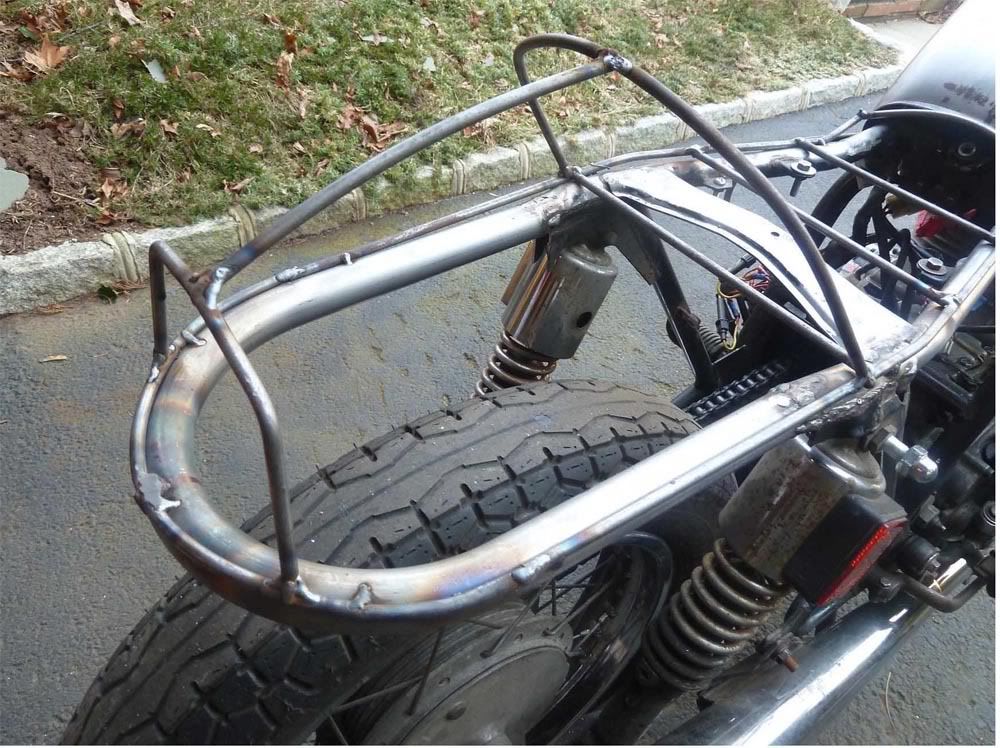
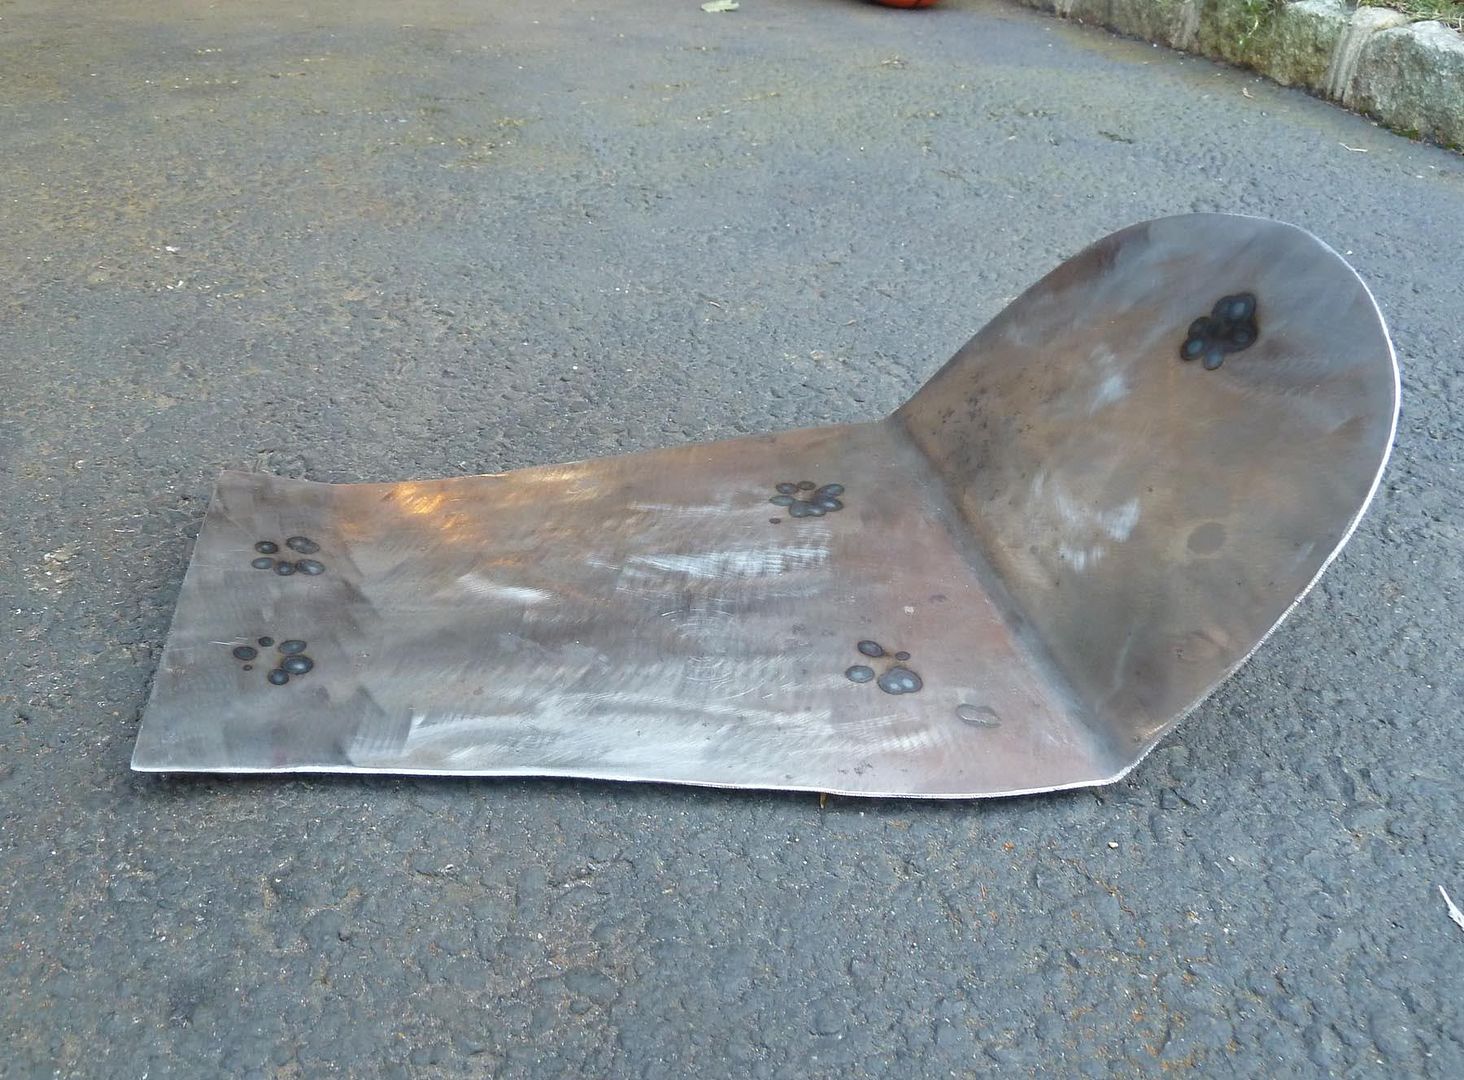
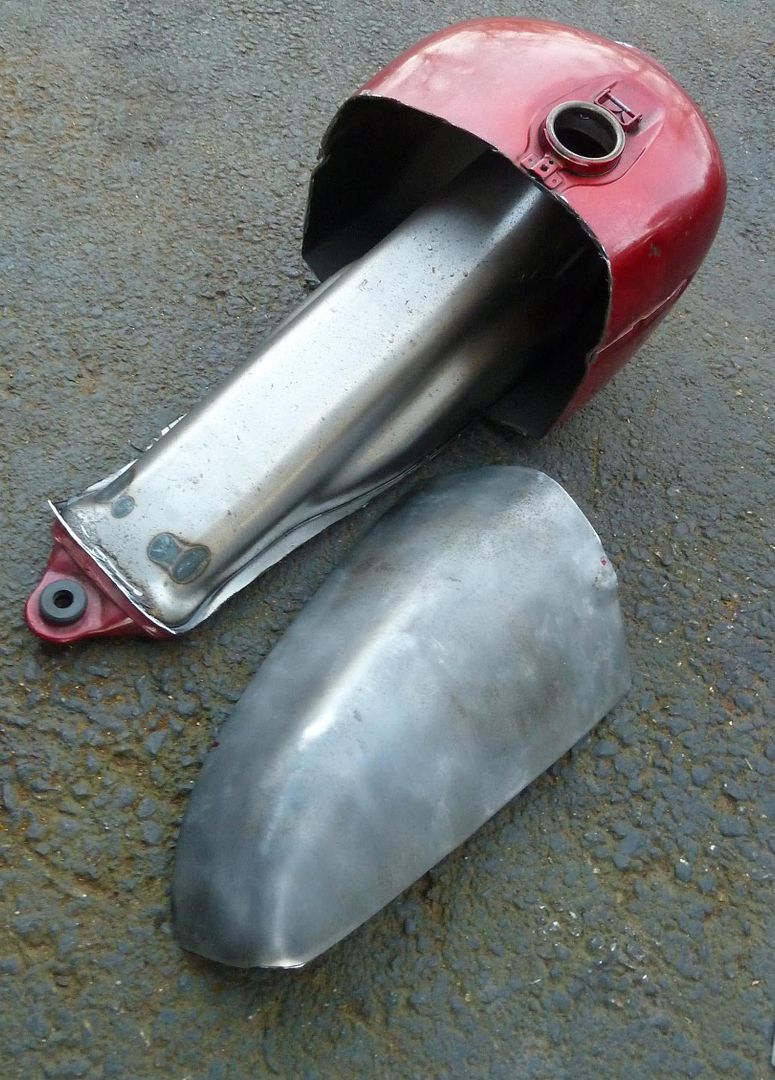
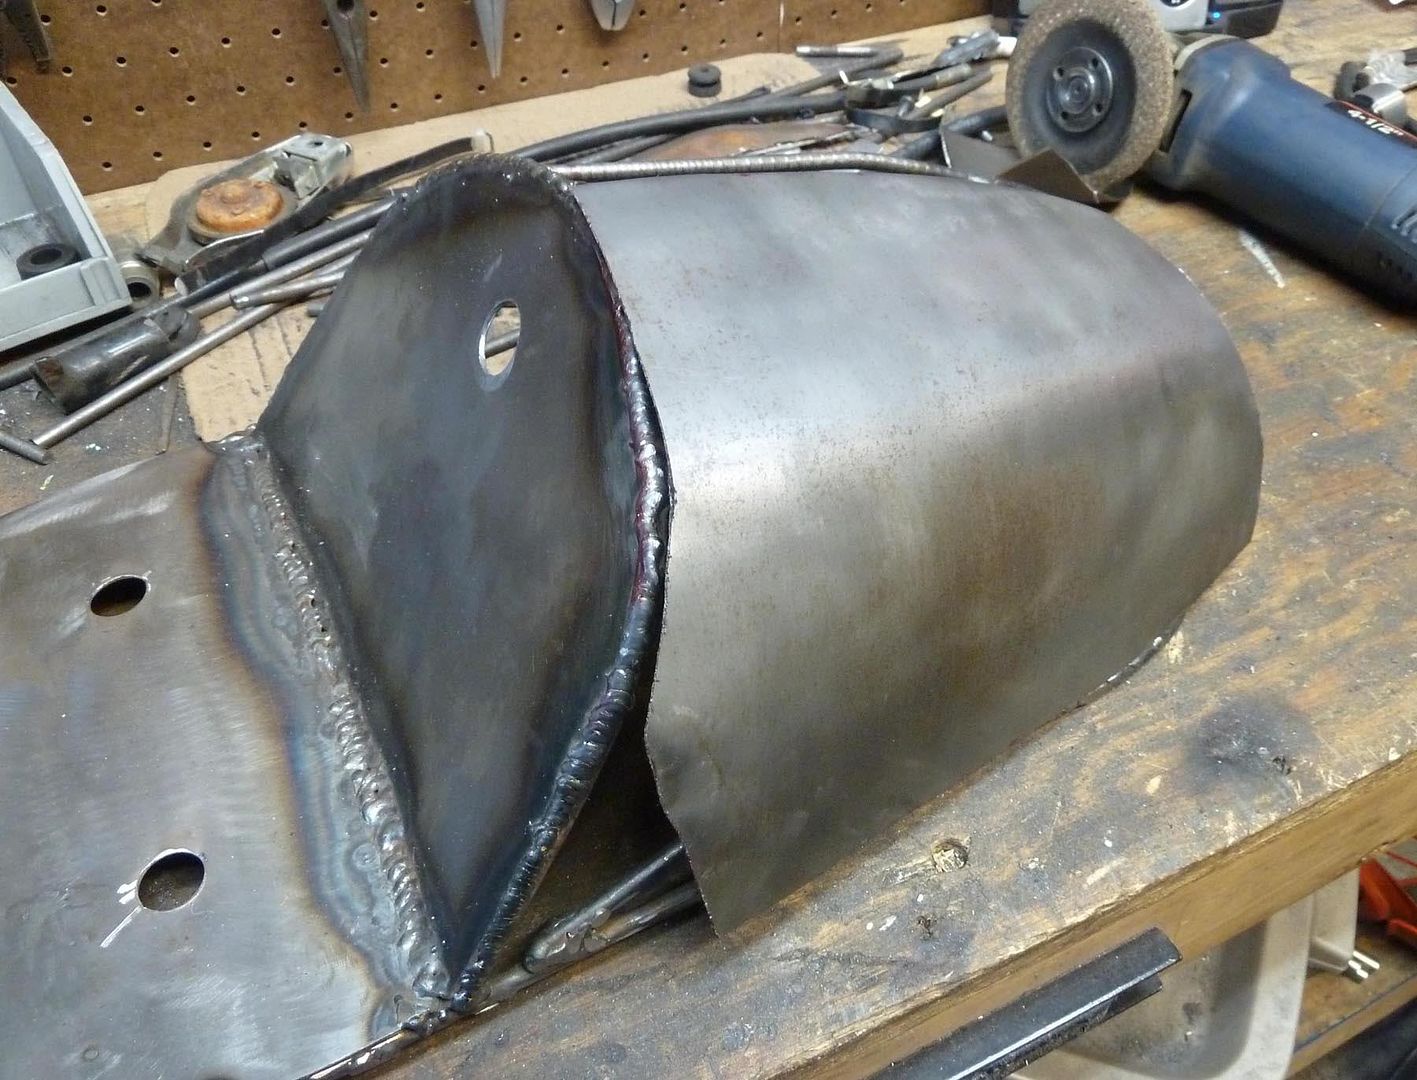
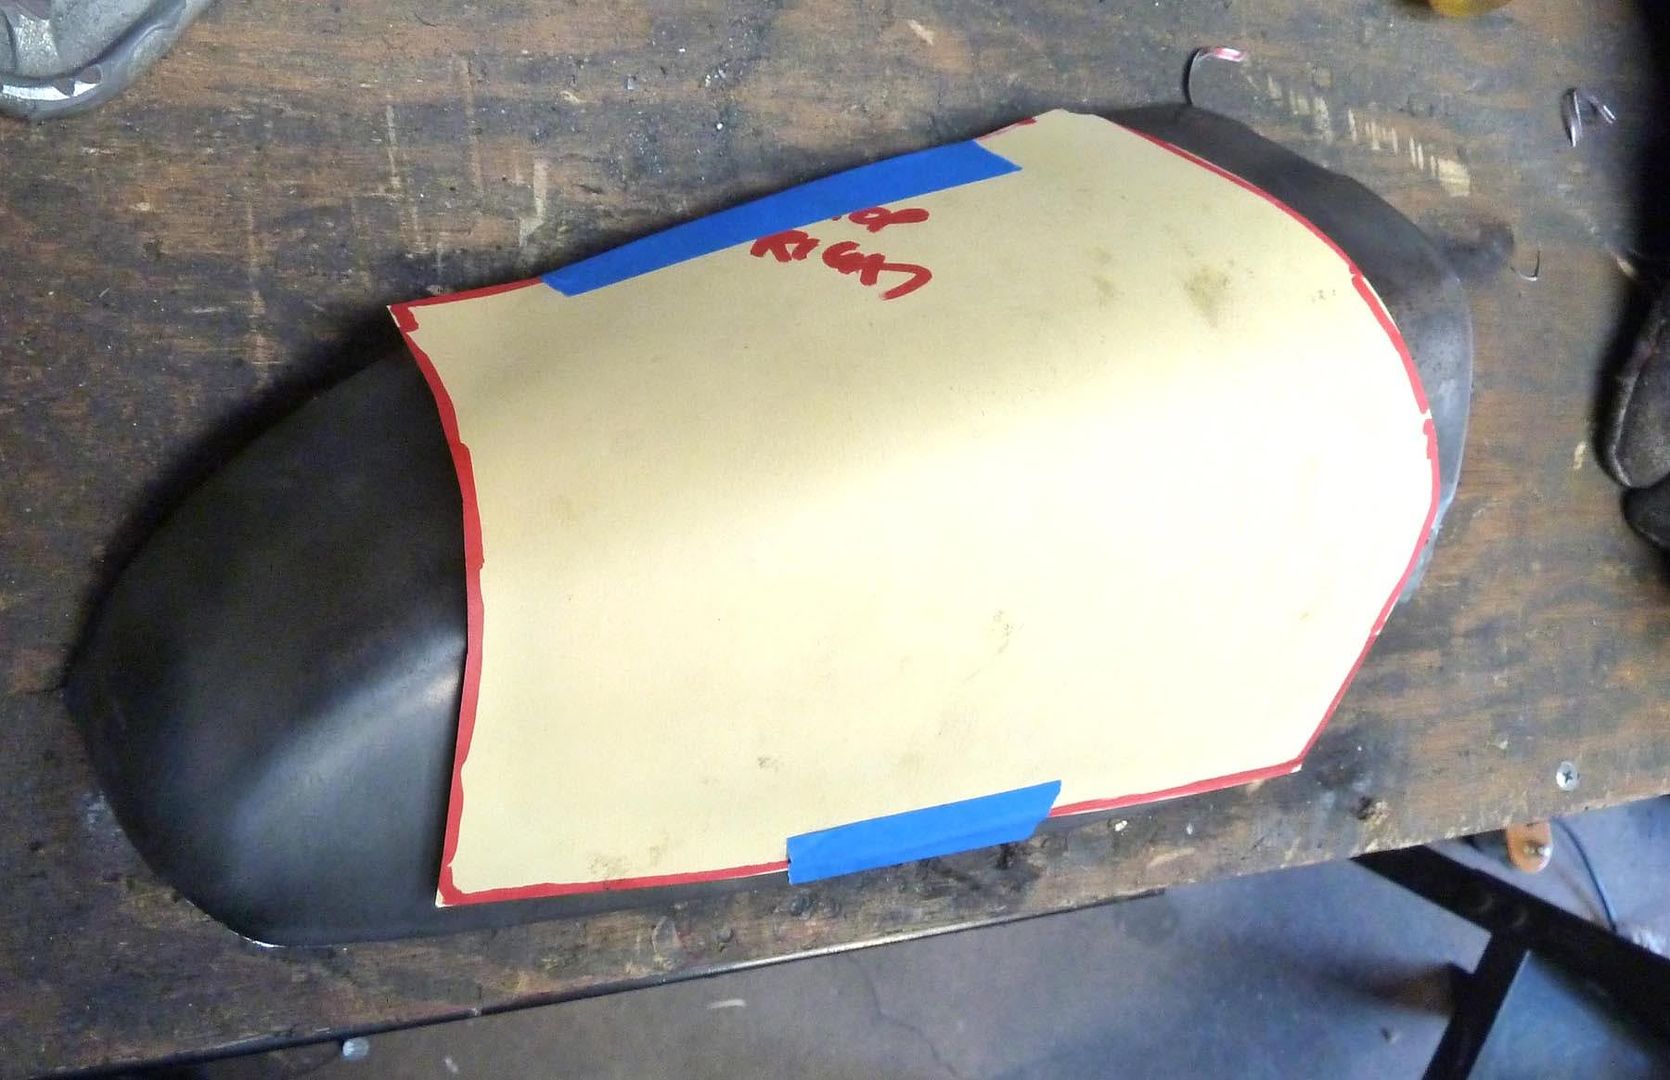
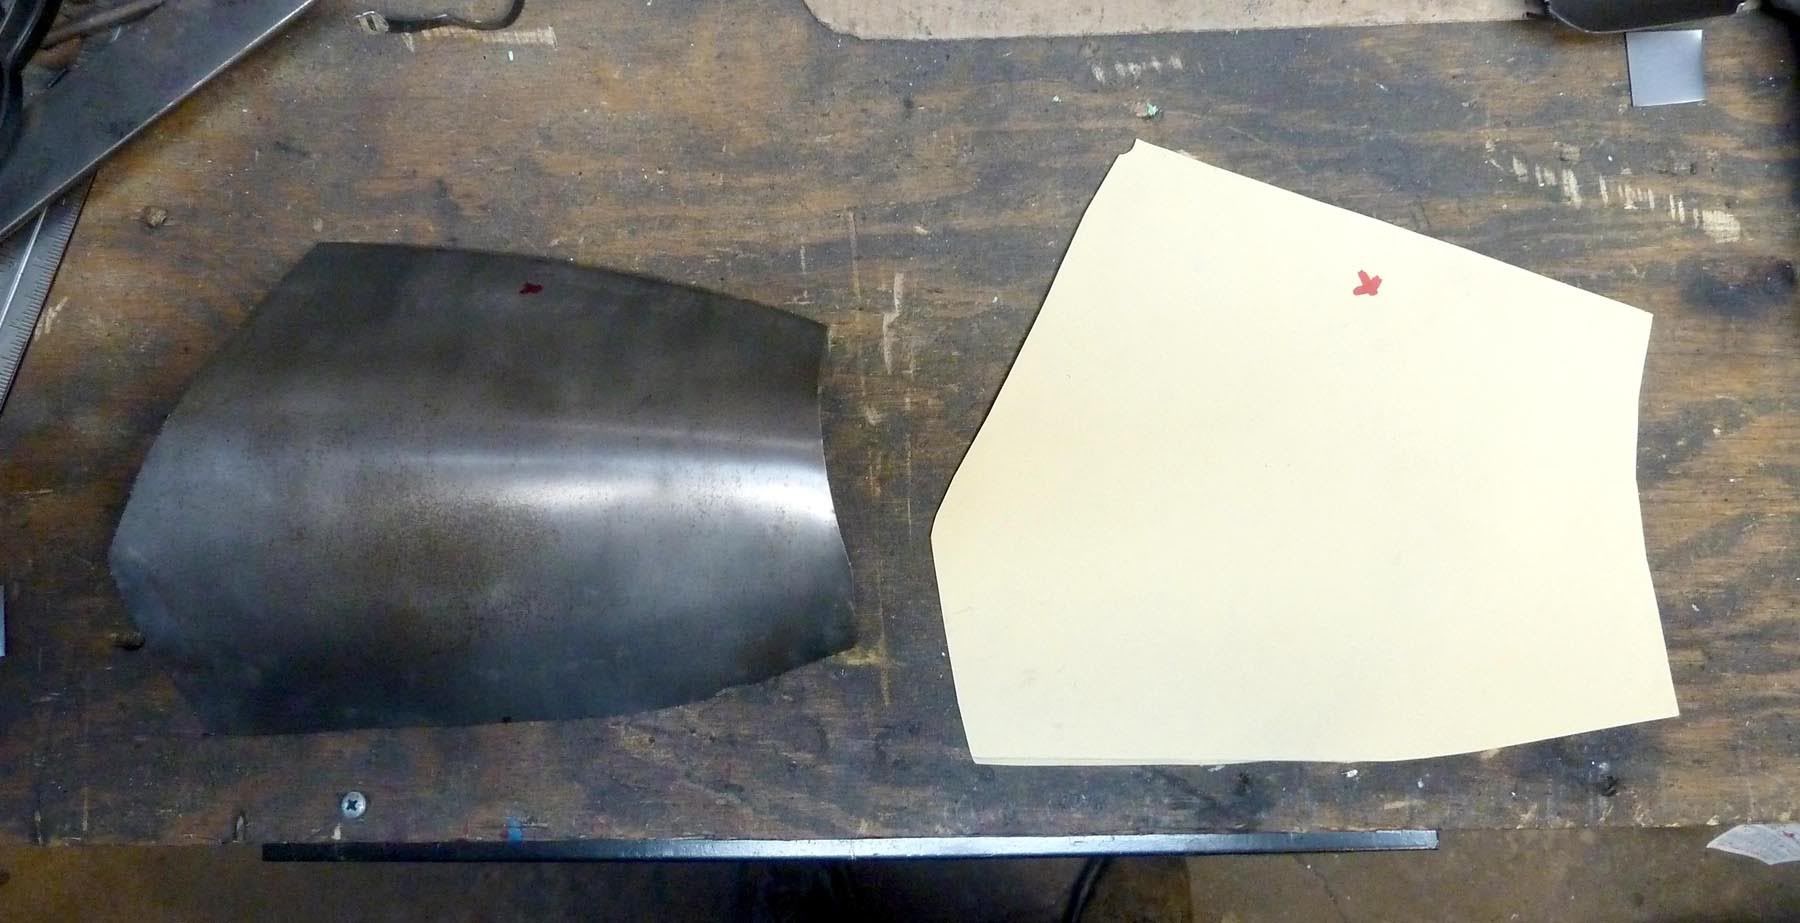
So bent up what will be the rear panel:
light_red.jpg


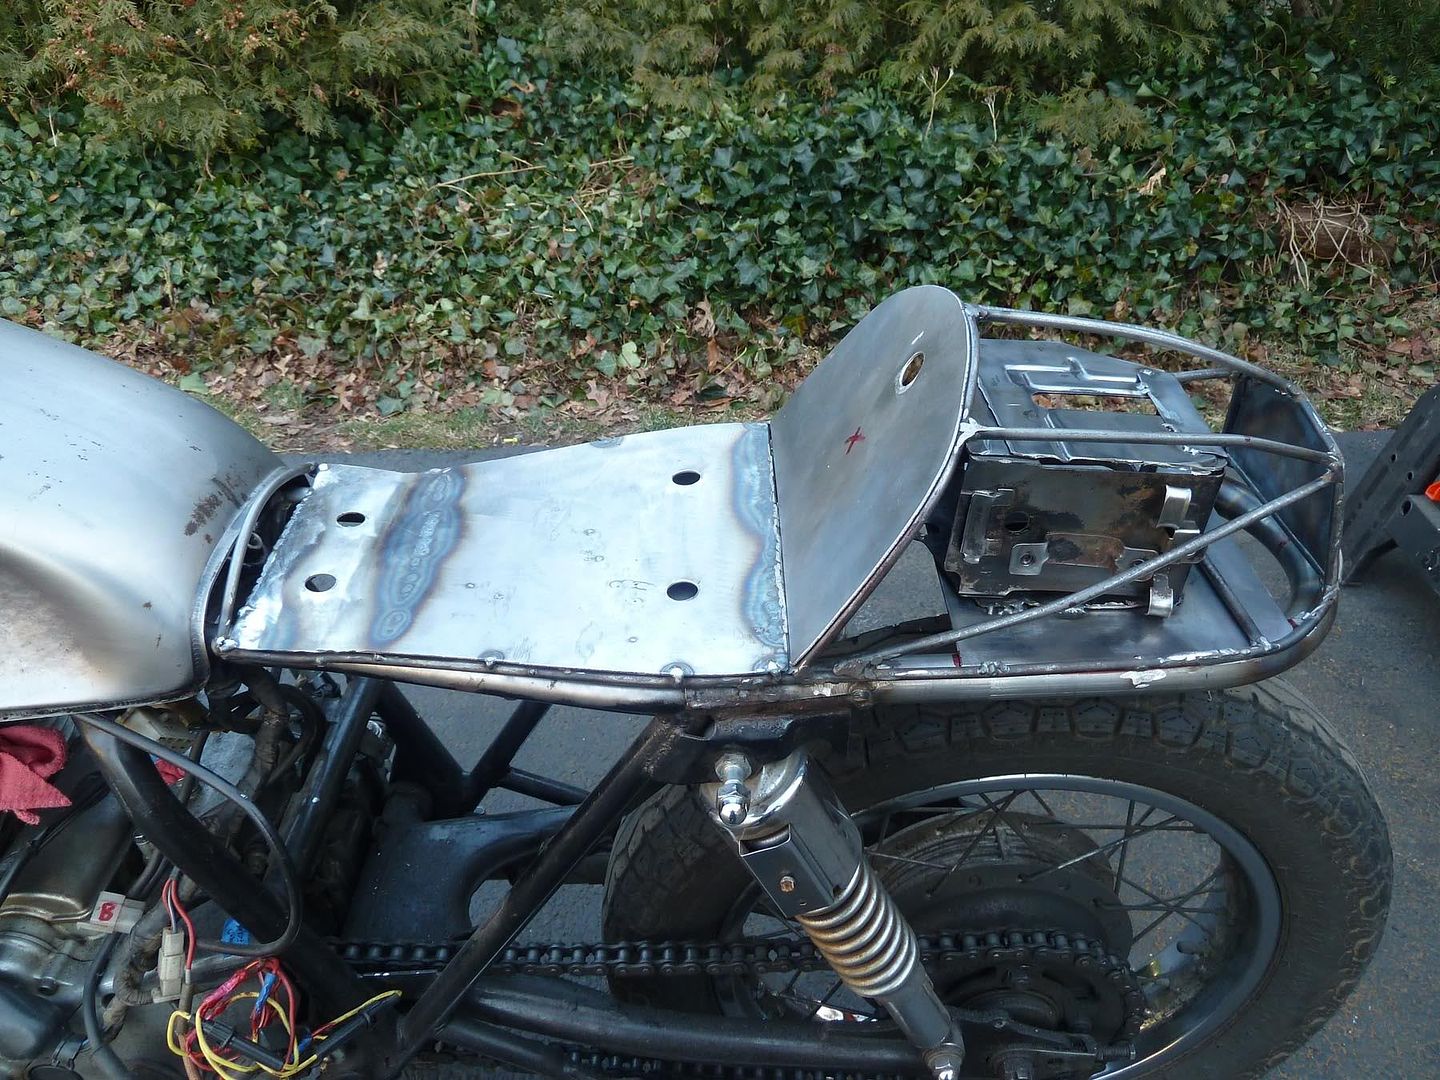
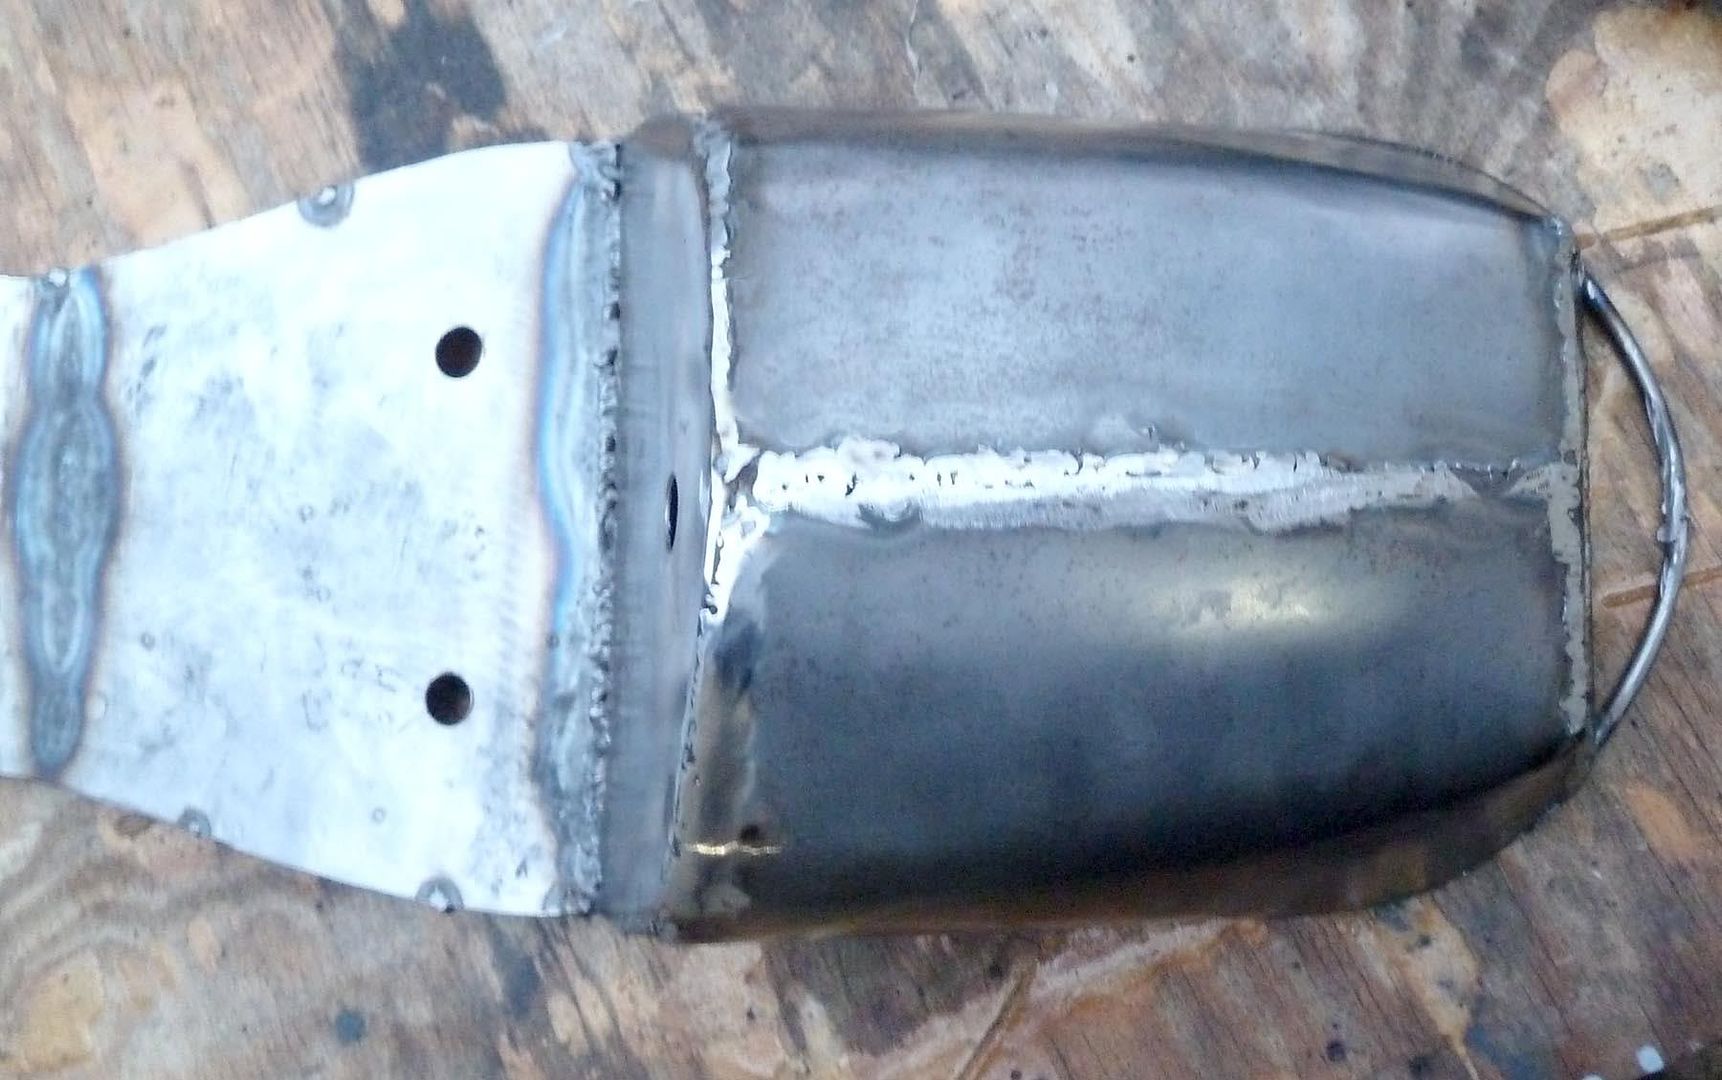
And tacked into place:
rear.jpg


Top center rail:
center_rail.jpg


Light will look cool!
light_hand.jpg


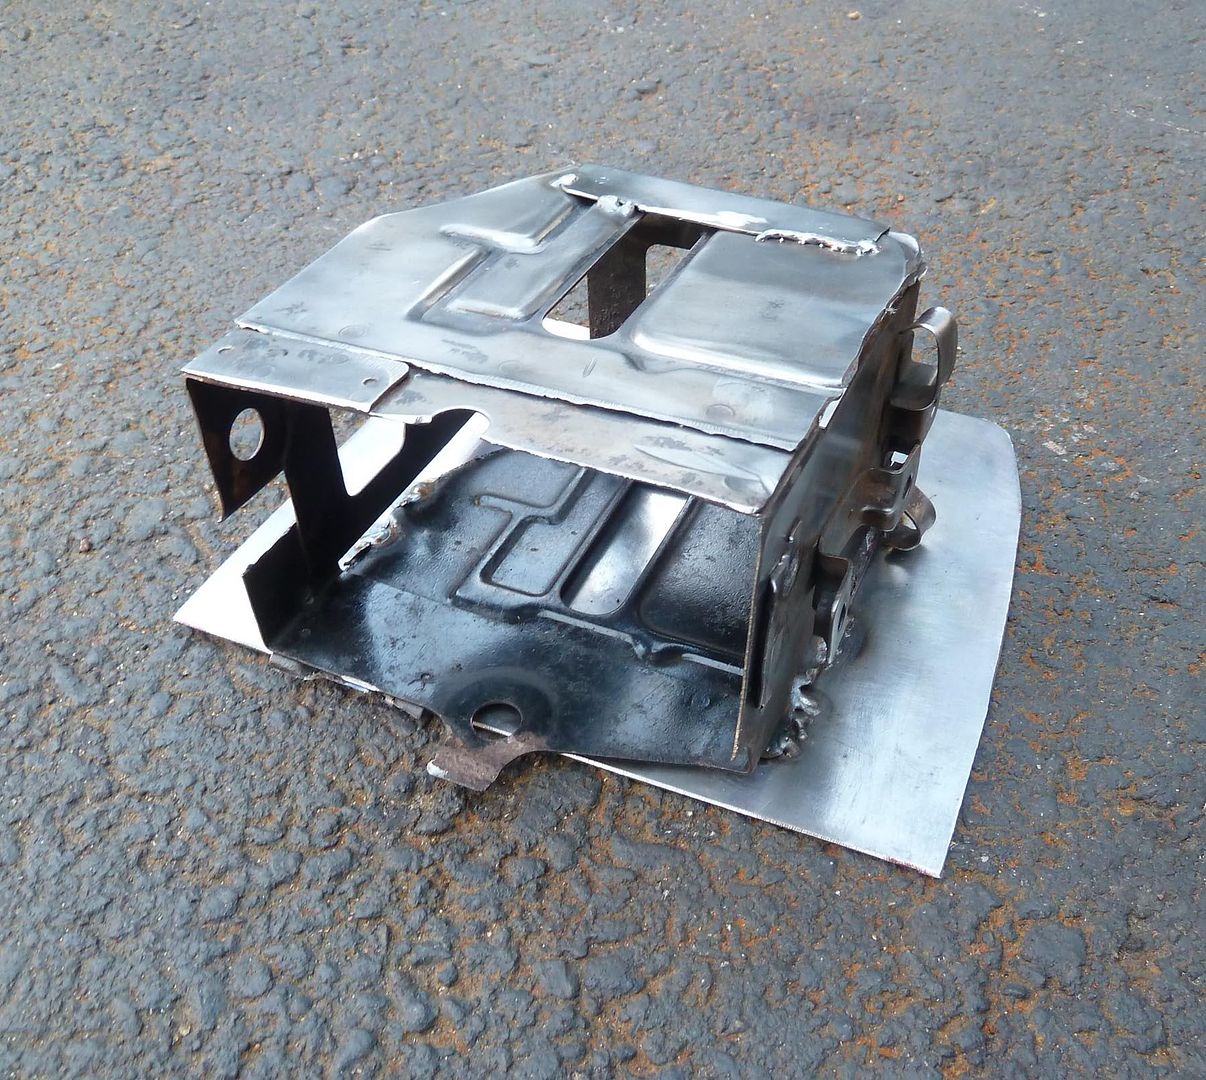
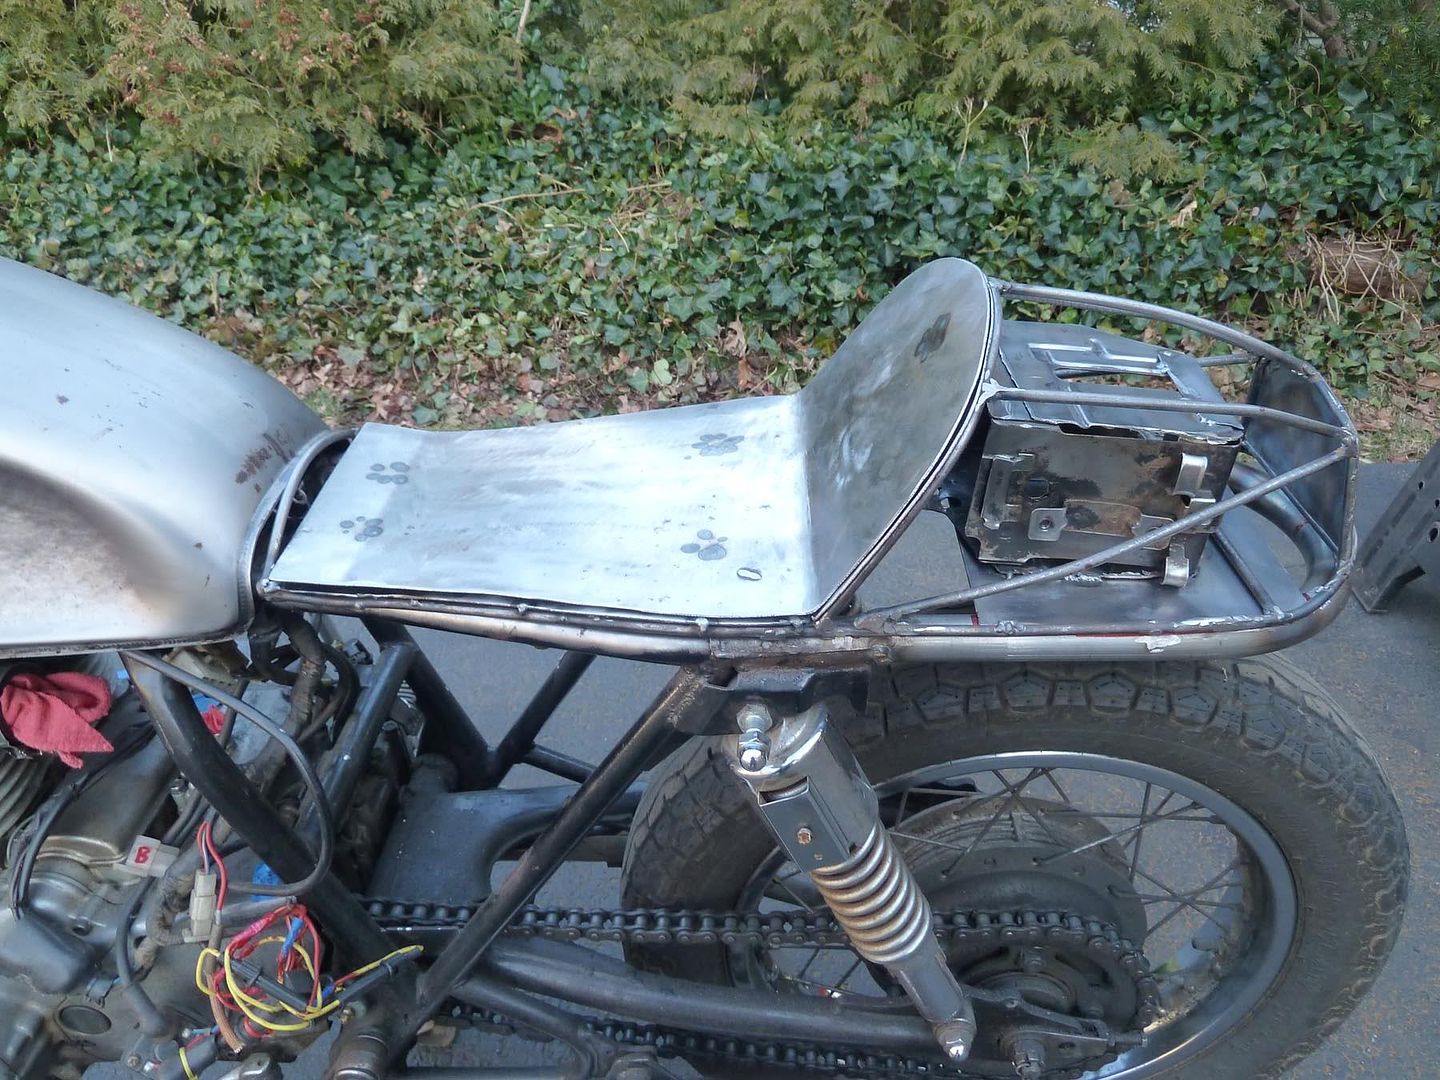
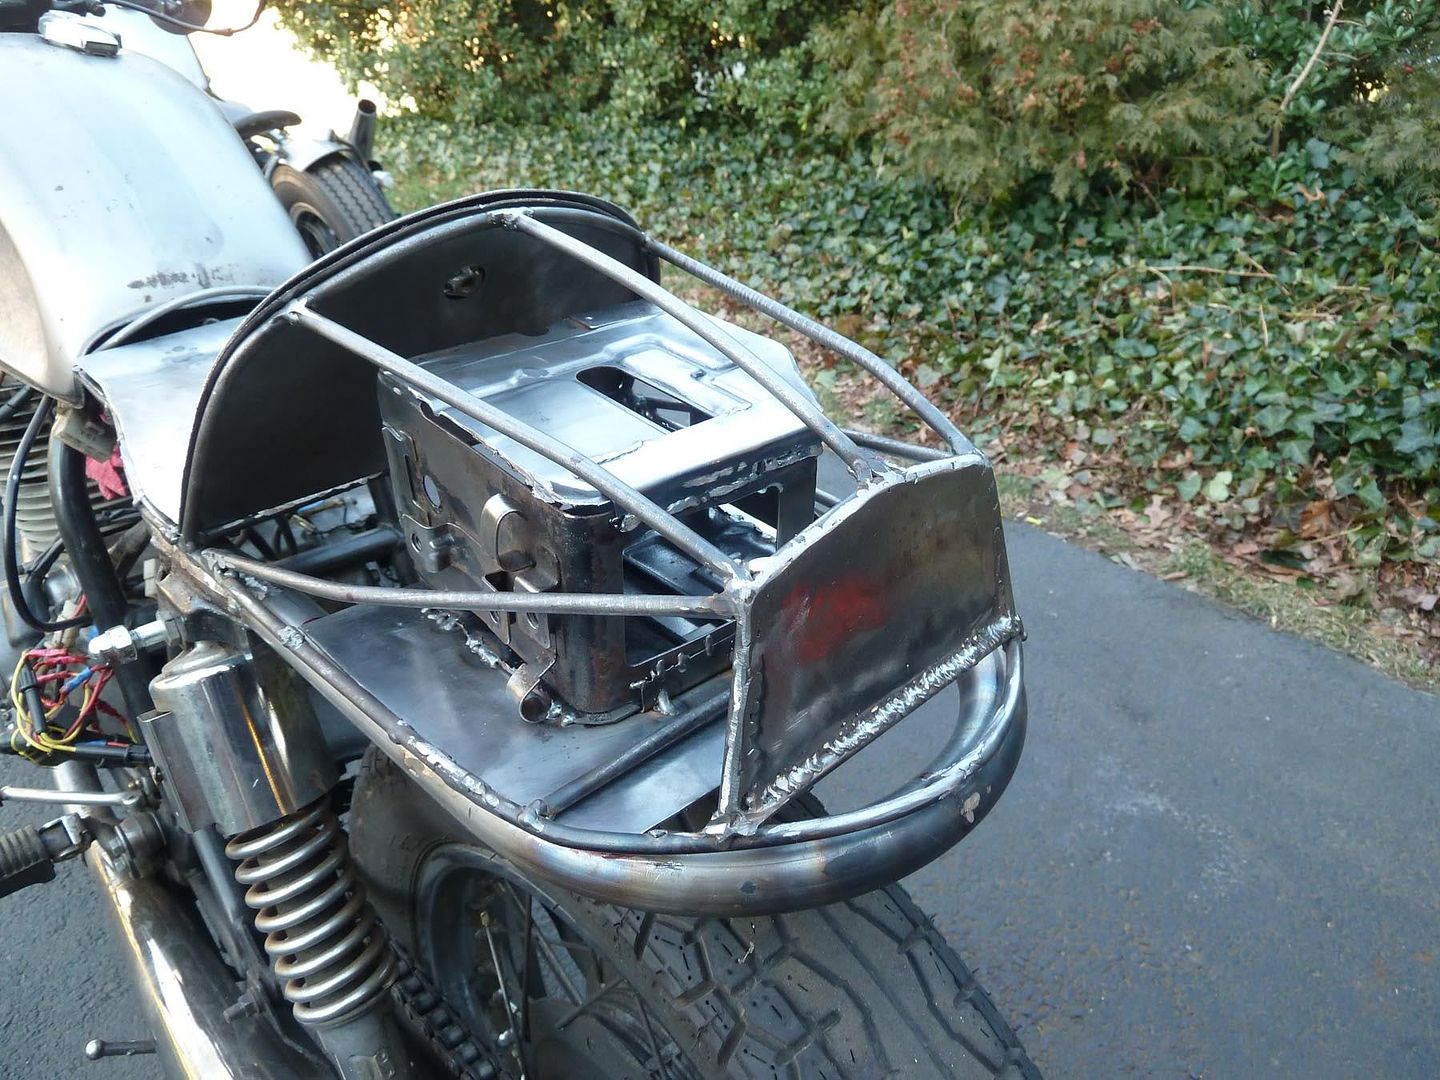
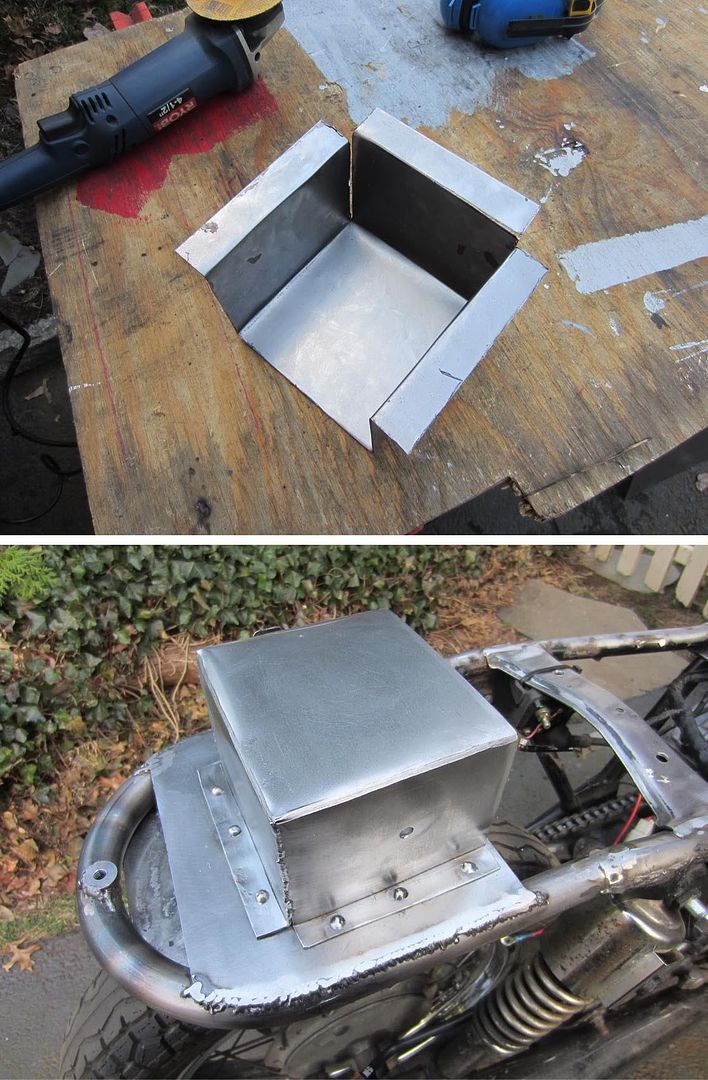
Battery and electronics will go into cowl:
batt.jpg


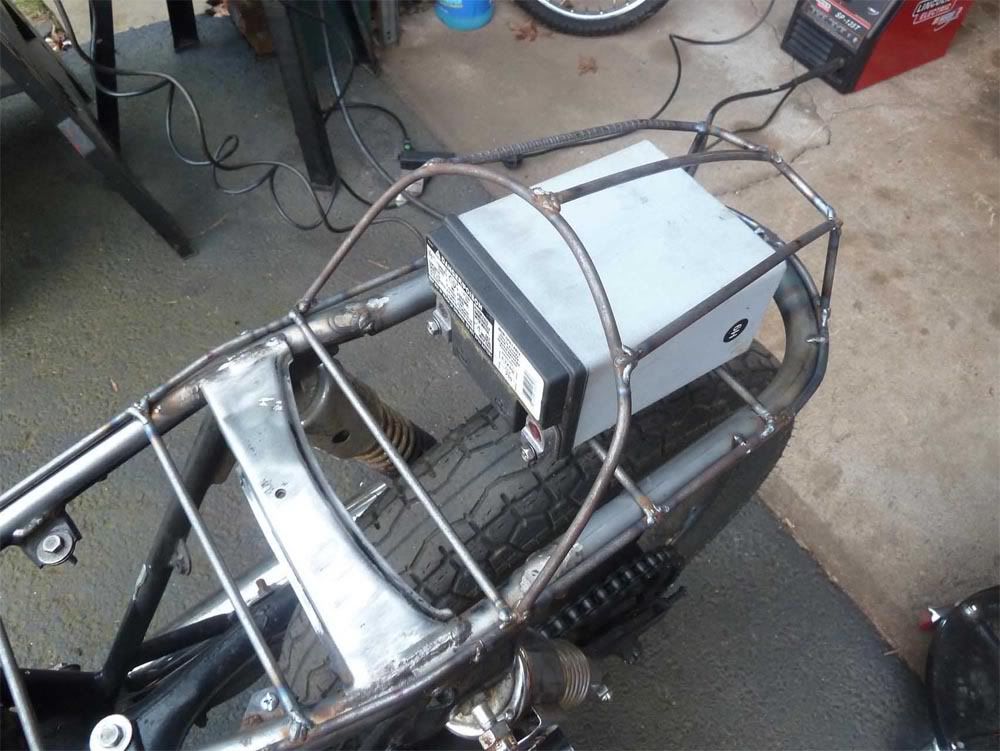
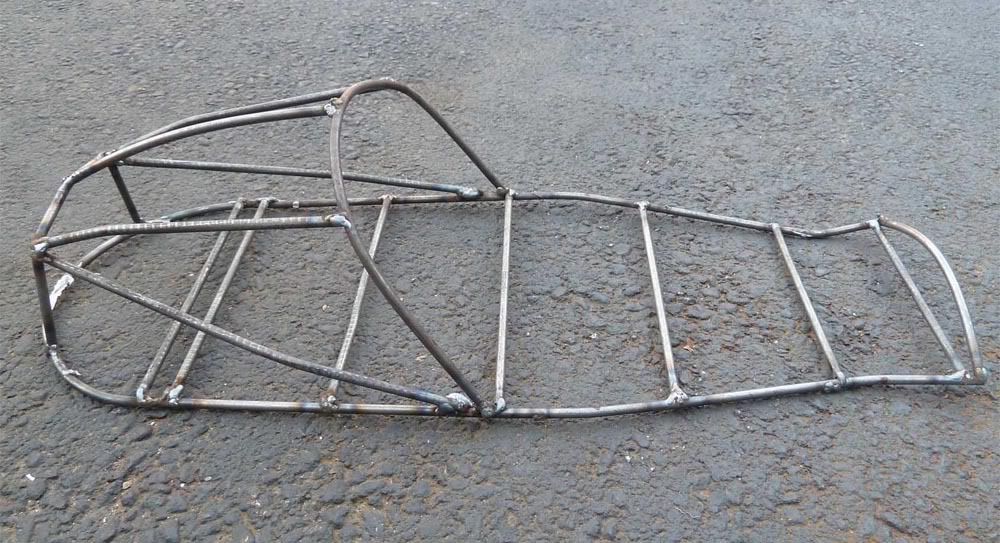
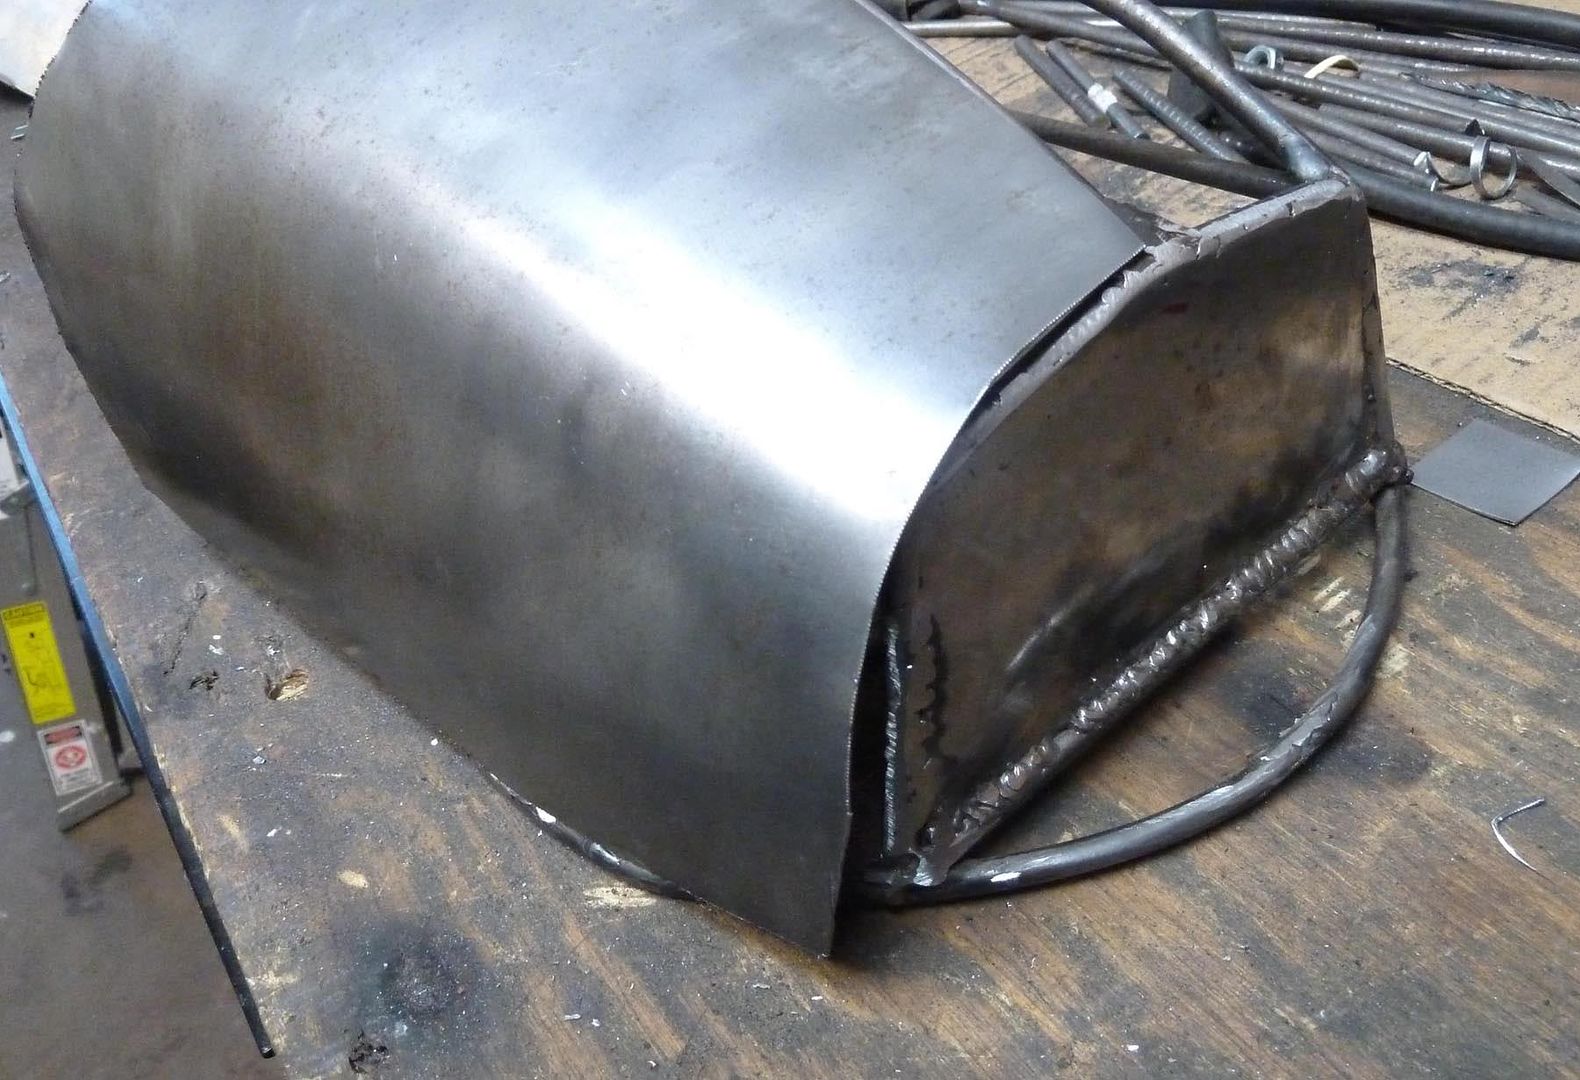
Couple hours later, framework done! Need to finish/clean up welding. Ready to be wrapped in sheet metal:
final.jpg


More to come on this, hopefully soon!

-Aaron
 
looks good man. ill be followin the thread. i see a short wheelbase 650 hardtail in those pics. got any pics of that guys too? i did the same. built a hardtail, now i wanna build somethin with a swing arm. lol
 
Great idea with the round bar for the skeleton. Bends easy, can be tweaked easy, and welds great. All these names for bikes now, Cafe, Bobber, Chopper, Board Racer, now we have Buffet Racer. I always thought that was my name when I was heading to Golden Coral or King Buffet!
 
Very good design,light,simple,fairly easy building style.The easiest way to achieve an objective is usually the best. I'll be watching your progress.Thanks. lha
 
Awesome fab work.I like the way you are mounting the battery.I wish i had a bigger welder and could weld a little better.Are you gonna glass it in or bend a little aluminum?Polished would be cool!!
:thumbsup:
 
Thanks for great comments!!!

Project Buffet Racer continues!

Chopped up the stock battery box, tacked to some sheet metal so it fits under the cowl, this was so I can re-use some of the mounting tabs for the electronic doo hickeys. This will be welded onto the rear hoop:

batt_box.jpg


Got some sheet metal onto the seat frame, whole things slides over the battery box. the holes are for mounting the seat pan:

seat_rear.jpg


Cut out the seat pan:

seatpan.jpg


And seat pan will be mounted to rest to seat frame like so, need to get it upholstered next:

seatpan_on.jpg


Started closing up the cowl as well, the rear section:

rear2.jpg


Tried my hand at hammering knee dents, not completely happy with them yet, I'll need to work on getting them sharper:

left1.jpg
 
I started getting sheet metal onto the cowl frame, but was HATING how it was looking. Just couldn't get the curves I wanted.

Decided to go old school and make the cowl covering from an old 650 tank that's been sitting on my garage floor:

Estimated how much of rear of tank to chop (hey the inside looks a lot better than I thought it would!) cut it out and split the half into two and stripped the paint off the halves:
tankchop.jpg


Used some snips to get the first half to fit:
cowl_fitting2.jpg


cowl_fitting3.jpg


Tacked it on!
cowl_half1.jpg


Once it fit up pretty close, made a template so I could cut out the mirror shape from the other tank half:
template.jpg


covered.jpg


Please excuse my horrific welding and grinding, lots of clean up to do before this looks good:
cowl_top.jpg


Getting closer to The Buffet Racer hitting the streets!
 
Been a while, but I have been slowing building up the Buffet Racer:

The stock battery box didn't work for me, I ended up fabbing one up:

battbox1.jpg


Carbs were a mess, I bit the bullet and sent them to Rick at Old Skool Carbs for a teardown and rebuild. Super super clean and back to factory specs, can't say enough about this guy's work:

carbs.jpg


Got the seat upholstered by Ginger over at New Church Customs, kind of a low profile seat with some tuck and roll action:

seats.jpg


Also finally got my hands on a '78 tank, I think this shape is more of what I was going for rather than the rounder '80 tank, I needed to cut out the tank mounts and move them up about 2" to get the tank to sit higher and get the line I wanted. This is how she looks at the moment. Onward and upward!!!

400_tanklifted.jpg
 
there should be a cast bracket on top of the cam cover.

then there is a triangular shaped bracket that uses rubber bushes to isolate the engine from the frame.
 
Back
Top