-
Enjoy XS400.com? Consider making a donation to help support the site.
XS400.com receives a small share of sales from some links on this page, but direct donations have a much greater impact on keeping this site going.
You are using an out of date browser. It may not display this or other websites correctly.
You should upgrade or use an alternative browser.
You should upgrade or use an alternative browser.
My Cafe Racer Build (and Re-Build)
- Thread starter Wolfe_11B
- Start date
derekgreen
Learning Process
how much did you pay and where did you get those forks from? im looking for something along this style. (in the process of cafe-ing my 82' heritage special.) really just wondering what fits the look and what will fit on the bike well.Oh and I have a steering damper to throw on, this thing should handle fairly well with the USD fork upgrade and damper. Just need to find something to replace those monza shocks- I think they were made for a 350lb rider, they are so stiff.
They are from a pre 2005 aprilia RS-125. You won't find any for sale here in the US (you can sometimes find complete bikes, but you won't find any being parted). I got mine from the UK, but you can check any European eBay and they are plentiful. I think I paid around $250 shipped. They are a nice swap since you don't need to mess with the stem, just requires new upper/lower stem bearings, and left and right wheel bearings. You will also need to cut new bearing spacers, one for the inside then 2 for the outer.
You can get any set of forks to work, but these are probably the easiest and cheapest, while still offering decent performance.
You can get any set of forks to work, but these are probably the easiest and cheapest, while still offering decent performance.
A few more odd and ends.
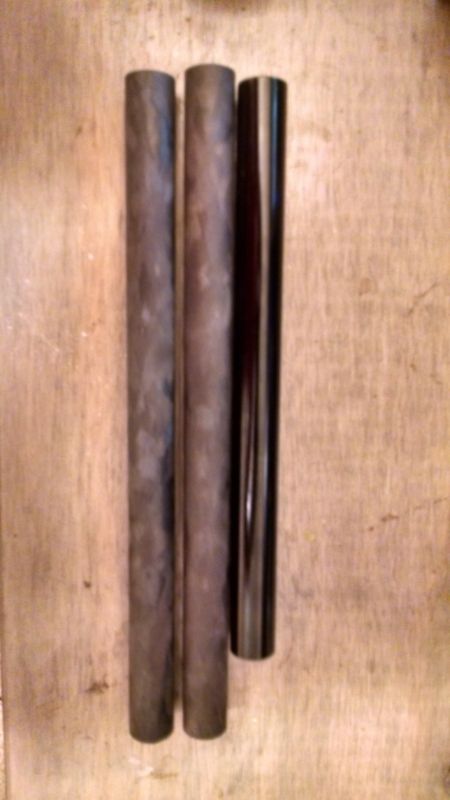
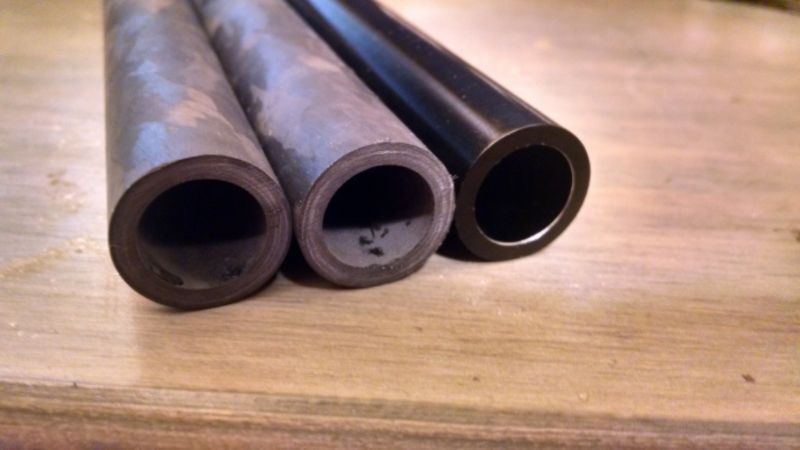
Ordered some carbon fiber rod to replace my bars with. Same ID and OD. Weight on the aluminum bars is 125g, weight on the carbon fiber is 58g, and I still need to cut 2 inches off. Although that may not seem like a big deal, it is when you are trying to run a bike in a landspeed race. I need to start shedding weight anywhere possible without compromising rigidity/strength. This is the first step, and was cheap and easy.
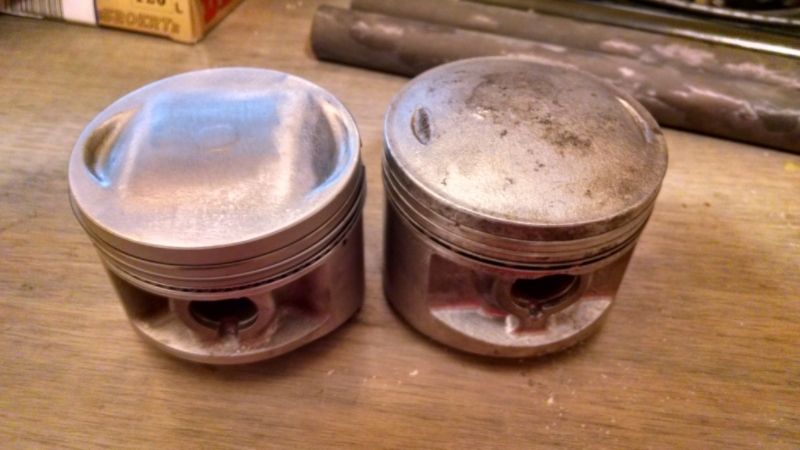
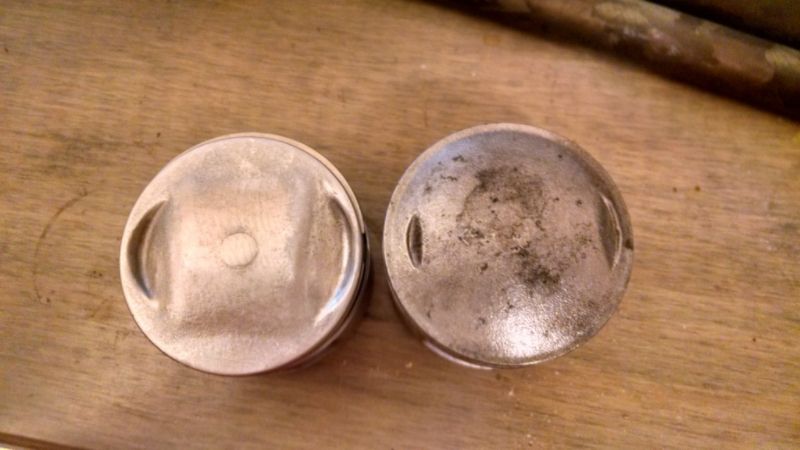
More displacement. I had originally given up on this idea, but I'm all in now that its winter and have the time. I'm going with bigger pistons from a bike that shall remain nameless. If used with XJR rods, the dome height will be the same as stock. The piston in the pics is a stock one that I grabbed for testing. The ones I'm ordering are custom from MTC. They are boring the wrist pin hole to 18mm for me. I will have to cut the proper valve pockets on my own. Chambers on the head will have to be CNC cut to be able to use the pistons, or I can modify the piston dome. Modifying the head will be the best option. Will be going with 72mm bore on the stock sleeves. Target CR will be 11:1. MTC says they can supply me any size I want with bigger liners if I decided to go that route. Should be good for another few ponies.
Ordered some carbon fiber rod to replace my bars with. Same ID and OD. Weight on the aluminum bars is 125g, weight on the carbon fiber is 58g, and I still need to cut 2 inches off. Although that may not seem like a big deal, it is when you are trying to run a bike in a landspeed race. I need to start shedding weight anywhere possible without compromising rigidity/strength. This is the first step, and was cheap and easy.
More displacement. I had originally given up on this idea, but I'm all in now that its winter and have the time. I'm going with bigger pistons from a bike that shall remain nameless. If used with XJR rods, the dome height will be the same as stock. The piston in the pics is a stock one that I grabbed for testing. The ones I'm ordering are custom from MTC. They are boring the wrist pin hole to 18mm for me. I will have to cut the proper valve pockets on my own. Chambers on the head will have to be CNC cut to be able to use the pistons, or I can modify the piston dome. Modifying the head will be the best option. Will be going with 72mm bore on the stock sleeves. Target CR will be 11:1. MTC says they can supply me any size I want with bigger liners if I decided to go that route. Should be good for another few ponies.
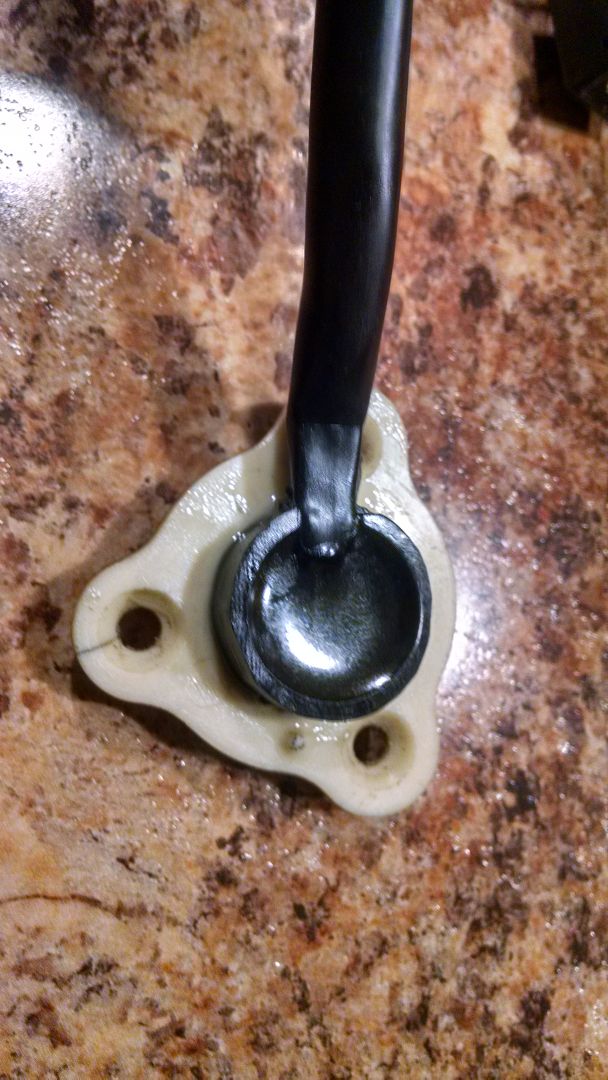
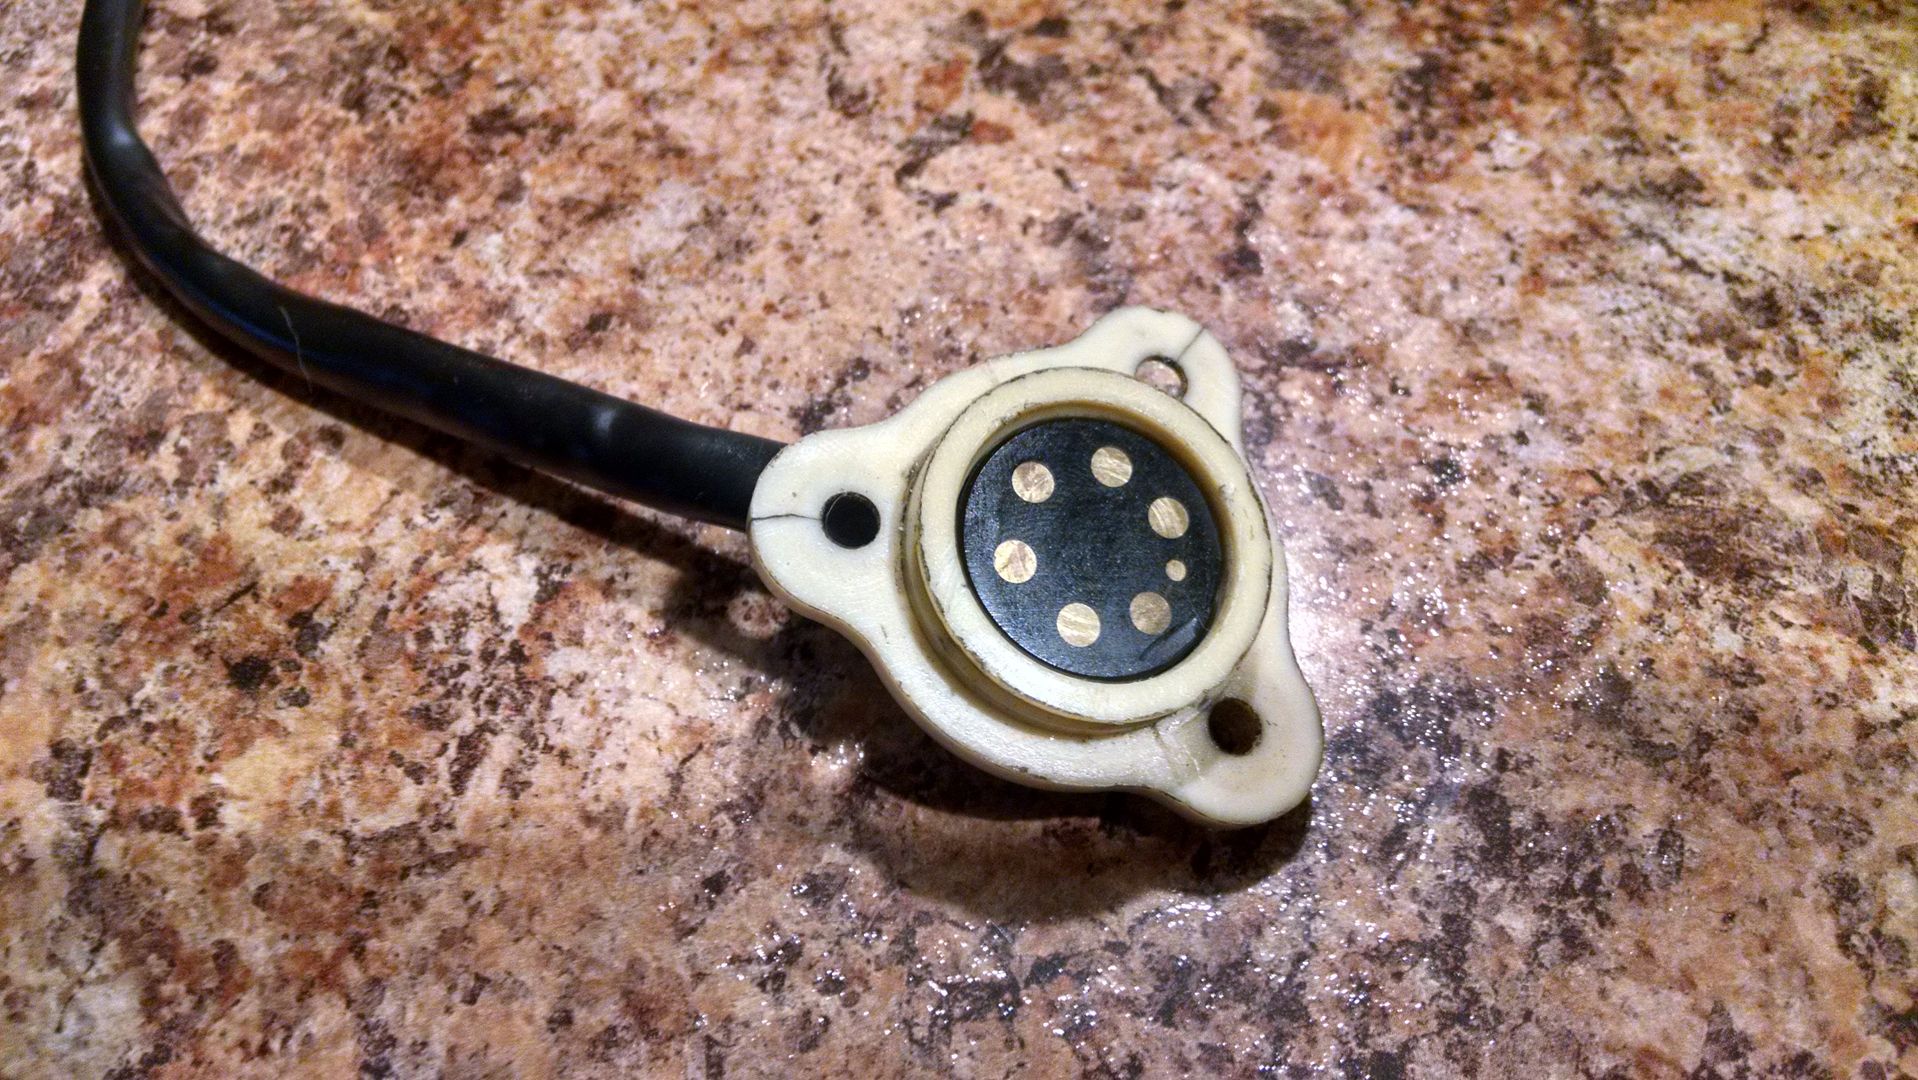
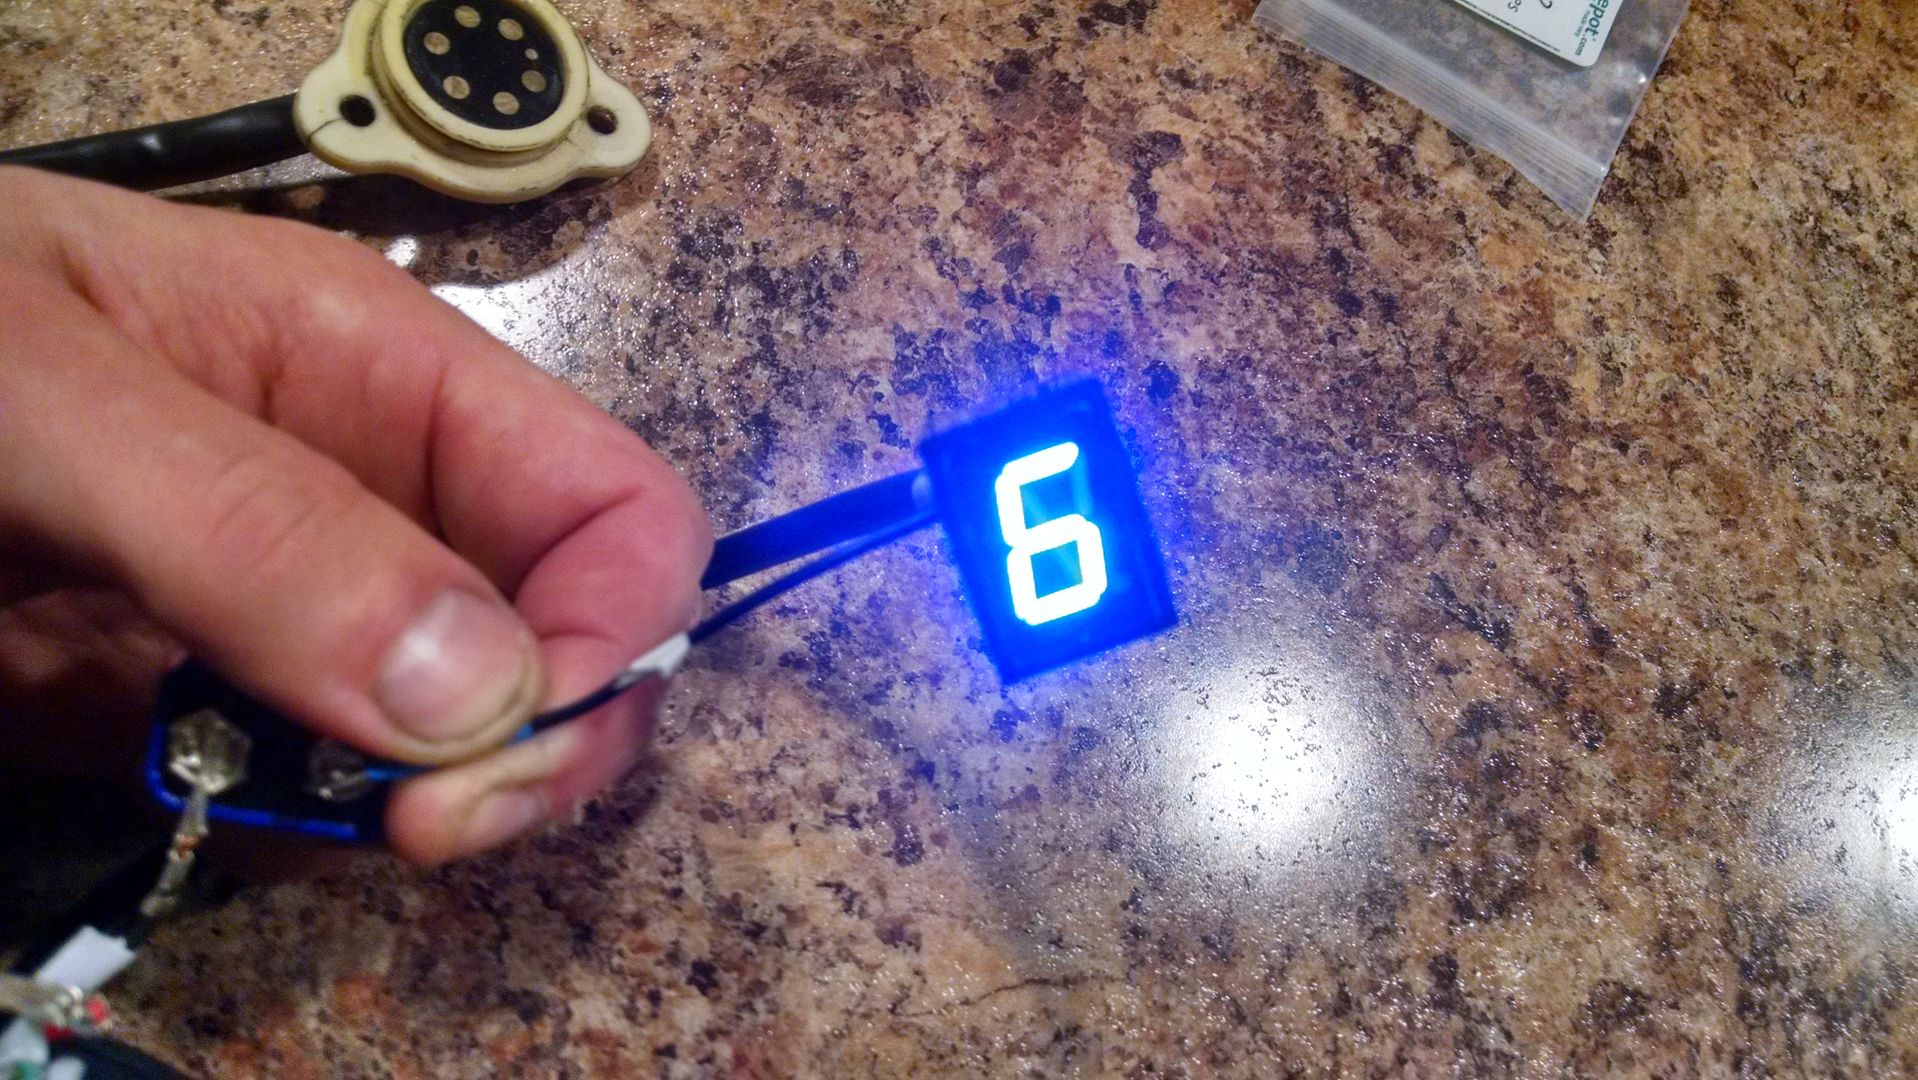
Another project complete. Wanted a gear position indicator, so I made one. Just modified the shift drum and the neutral indicator.
That's pretty cool.
Fairly painless install?
Fairly painless install?
Yep took about 10 min. All you need is a drill press, hole saw, 3 and 4 mm drill bits, and a bit of ingenuity!
There was a guy that used to modify the sensors a little differently but charged quite a bit. These can be used on any 6 speed Yamaha that share the part number 1L9-82540-00-00
There was a guy that used to modify the sensors a little differently but charged quite a bit. These can be used on any 6 speed Yamaha that share the part number 1L9-82540-00-00
LuckyEight
Head-scratcher
Oh that's cool!
Norman1950
XS400 Addict
Awesome on the gear indicator. Any chance of a write up or where to find it?
Thanks.
Thanks.
I found some on the direct-from-china site aliexpress:
http://www.aliexpress.com/item/Motorcycle-accessories-Motorcycle-GN250-gear-Sensor/32411433354.html
Haven't checked the size compatibility yet. Don't know about quality.
http://www.aliexpress.com/item/Motorcycle-accessories-Motorcycle-GN250-gear-Sensor/32411433354.html
Haven't checked the size compatibility yet. Don't know about quality.
Drice82
XS400 Enthusiast
Im tearing down my bike this winter and am considering the REM polishing as well. from what they do, had you considered doing that to any other parts also?
Awesome on the gear indicator. Any chance of a write up or where to find it?
Thanks.
Write up wouldn't be a good idea, as there is some measuring involved that changes placement depending on where you drill and such. It's pretty much one of those things where if you need to be shown, you shouldn't attempt
")
I can point you to the parts though. You can get them off aliexpress as linked above. I recommend finding a seller with good communication, as all the junk on the site may be pictured the same, but you'll get different parts than shown. So you'd need to measure, then find a seller that can actually verify size.
Im tearing down my bike this winter and am considering the REM polishing as well. from what they do, had you considered doing that to any other parts also?
I would only do the transmission parts. Some people do cranks, rockers, cams, etc, but the process WILL change the clearances (they say it won't but trust me, it does). So you would have to get the parts done, then have them reworked with proper bearings and all. Would be a waste IMO for the very very small benefit.
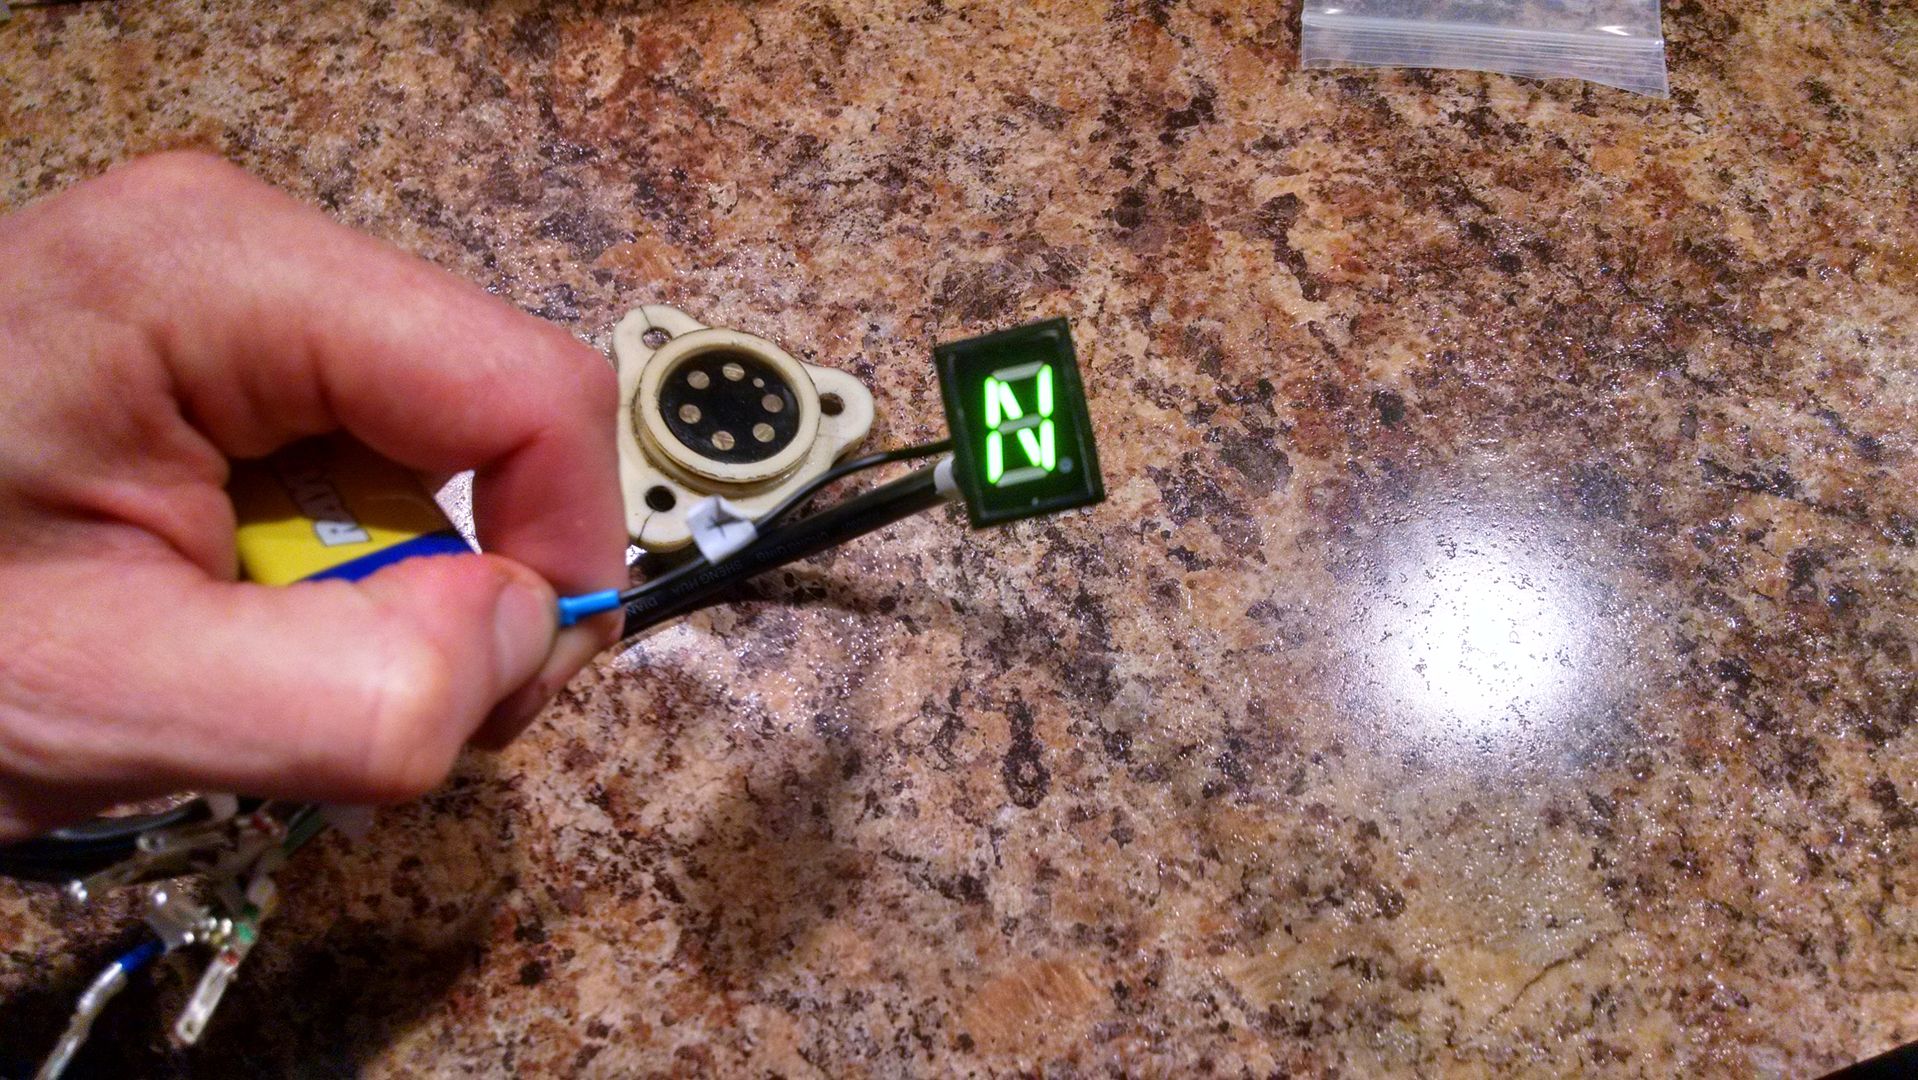
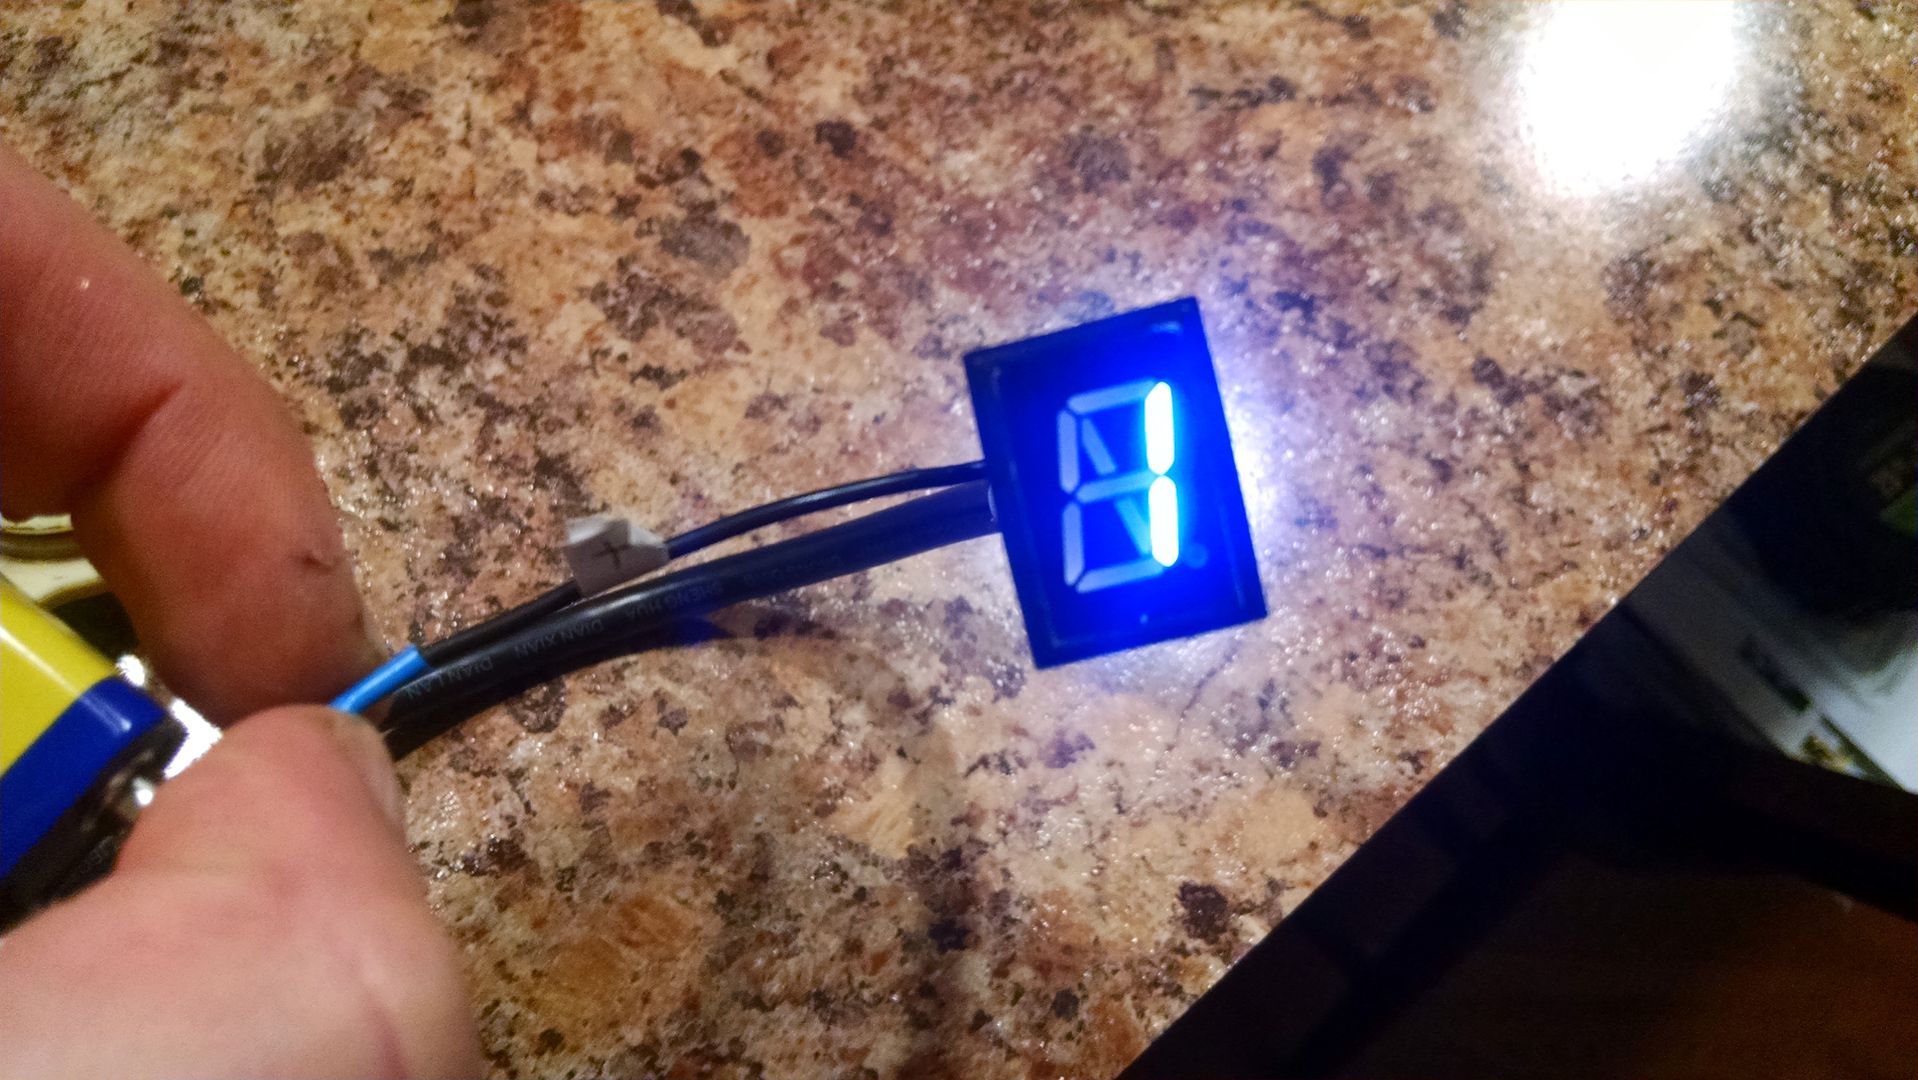
Did you get the gear display through aliexpress as well? I was looking but didn't find any decent looking compact ones like yours that went to 6 and showed an N for neutral instead of "0".
Did you get the gear display through aliexpress as well? I was looking but didn't find any decent looking compact ones like yours that went to 6 and showed an N for neutral instead of "0".
Yep got it on Ali. The seller was 'sunny sky'. Should be able to do a seller search and find them.
The blue display is a little more expensive than the red unfortunately. I wouldn't be able to stand having red lights blaring at me at night.
Sesty
H.E. Pennypacker
isnt red easier on the eyes?
My TV has a Blue LED light on when its in standby... its brighter than the sun at 2 am
My TV has a Blue LED light on when its in standby... its brighter than the sun at 2 am
rshutchinson
XS400 Addict
Red is supposed to be easiest on the eyes because of its longer wavelength.
They have a red one:http://www.aliexpress.com/item//32213724486.html
And the same seller has a sensor that looks similar. No measurement info included though: http://www.aliexpress.com/item//32459070752.html
I won't be trying it yet but could be cool once the bike is rebuilt. The red would match my planned colour scheme too.
And the same seller has a sensor that looks similar. No measurement info included though: http://www.aliexpress.com/item//32459070752.html
I won't be trying it yet but could be cool once the bike is rebuilt. The red would match my planned colour scheme too.
Red means slow. No thanks.
Done! Well not really, but pretty close
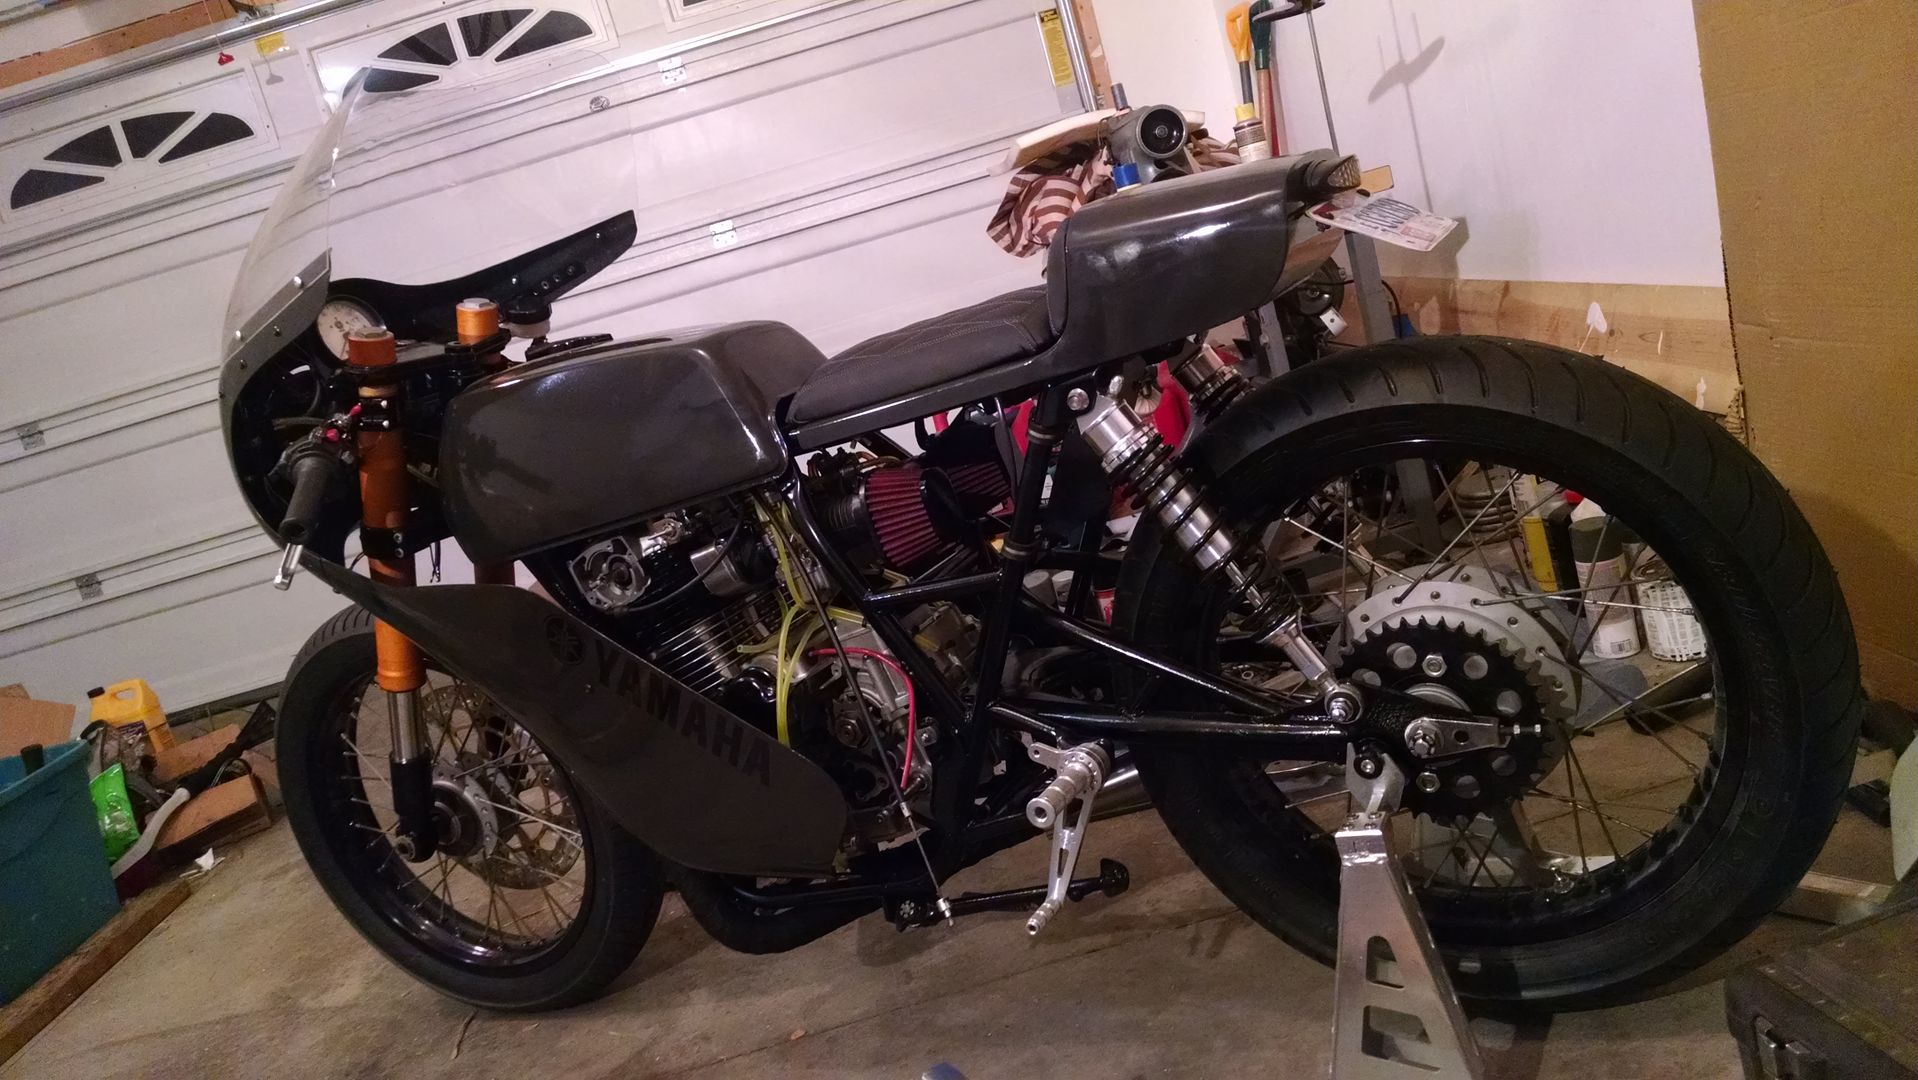
Still waiting on my Pamco, then I can finish the wiring. Need to shim the rear sprocket to match the front, then I can cut the chain. Need a shorter front brake line for the new setup. Working on the shifter and brake linkage as we speak. And that's all that's left to be rideable. Hooked up the GPS speedo to the battery to check its function. It works, but I'm not happy with the satellite sync time. Fastest was 15 sec, but most times took about 30-40. Not a huge deal, just have to wait a bit before taking off.
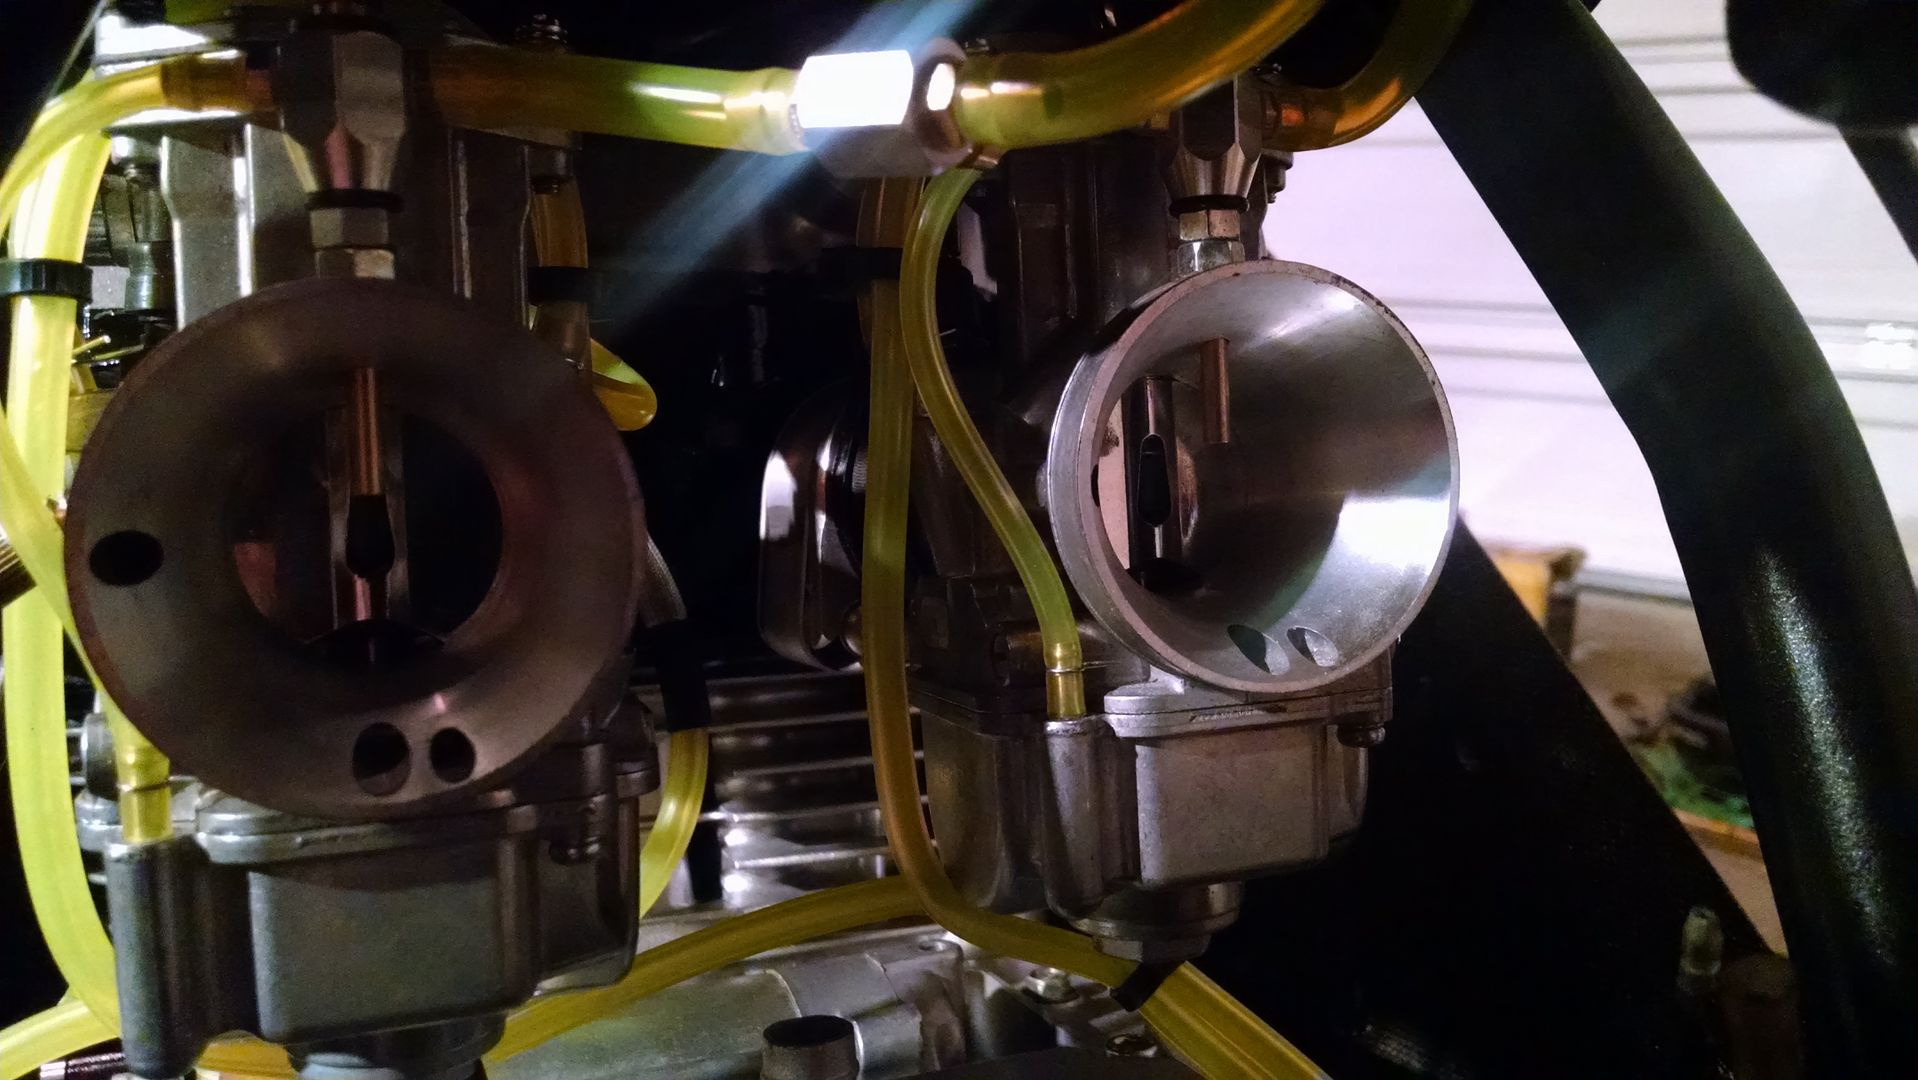
Carbs all done, mods in place. In these pics you can see the front controlled power jets. This allows me to adjust for atmosphere/elevation on the fly. You jet the main a few sizes lean and then make up for it with the power jets. Gives a good range of adjustment. These only affect jetting under load, mostly at WOT. I have the adjuster mounted on the fairing brace near the headlight. And in the last pic you can see the fittings added for carb sync.

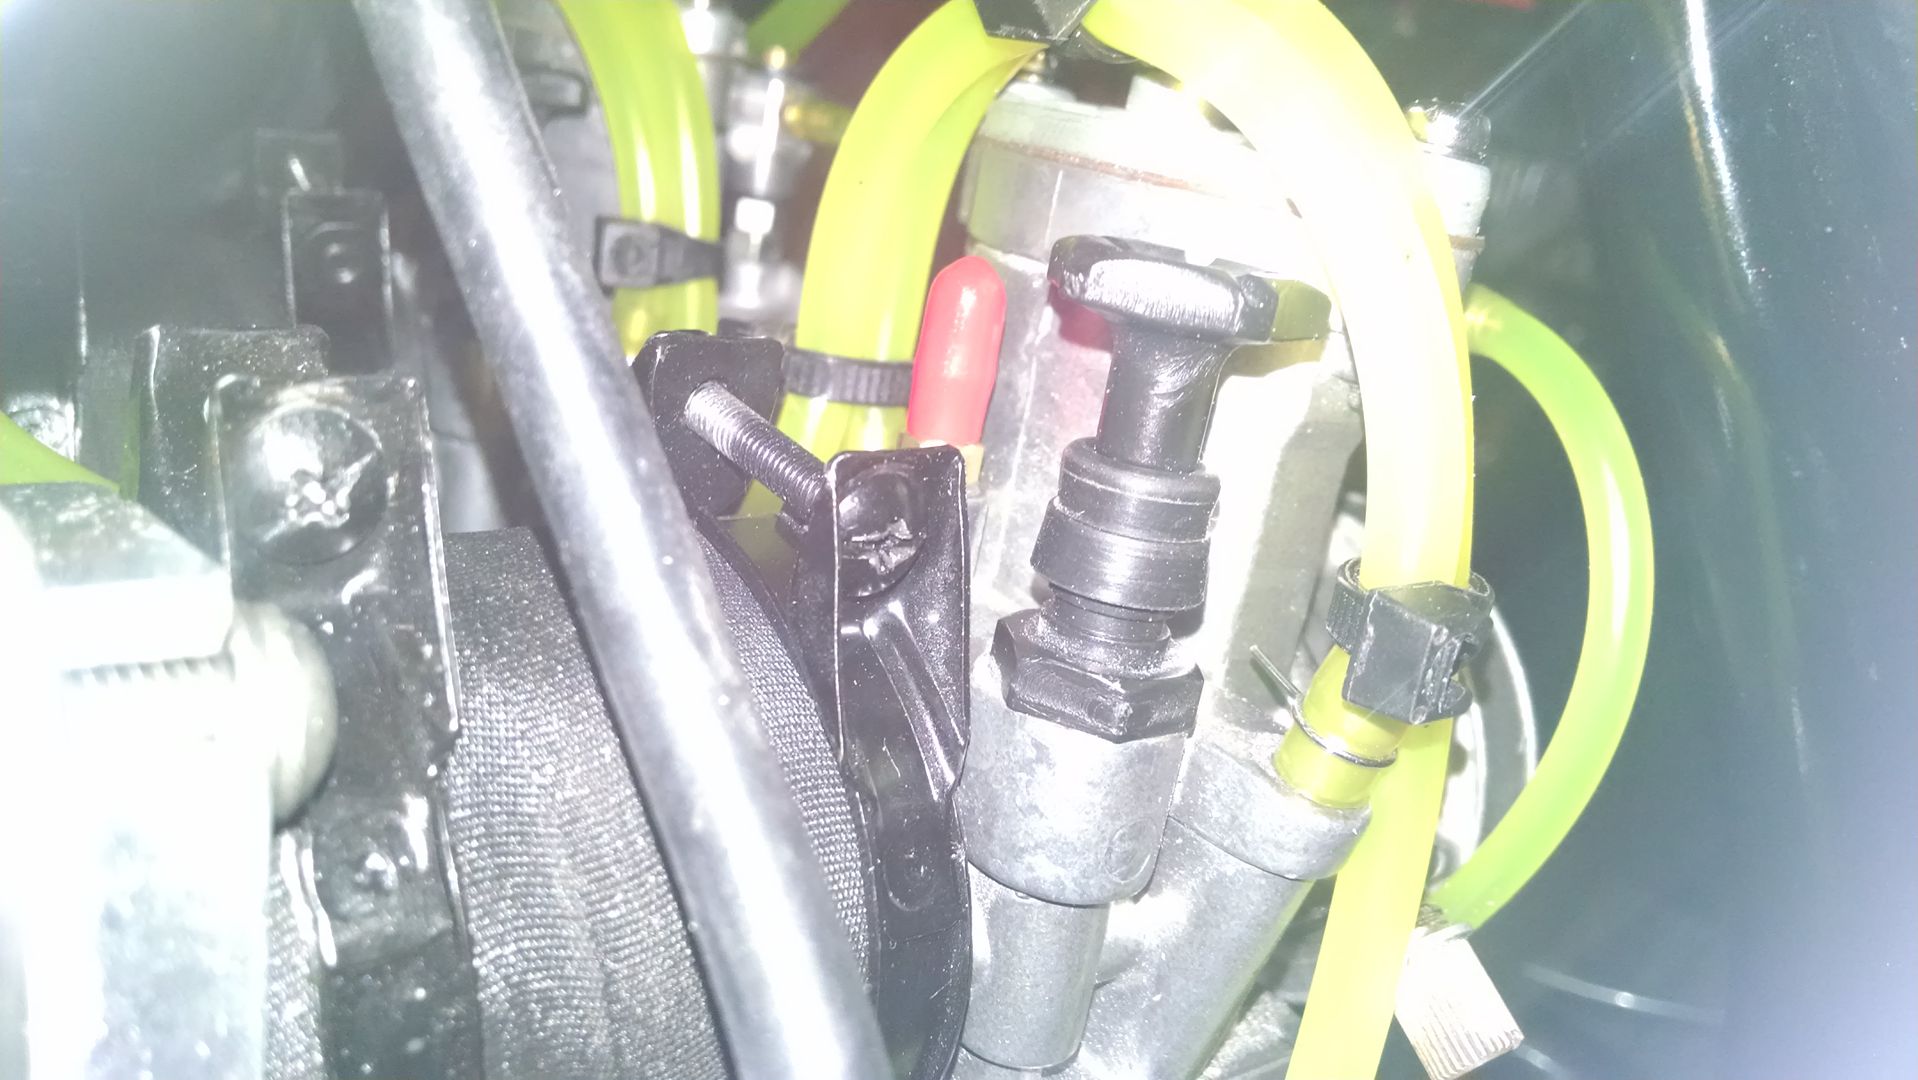
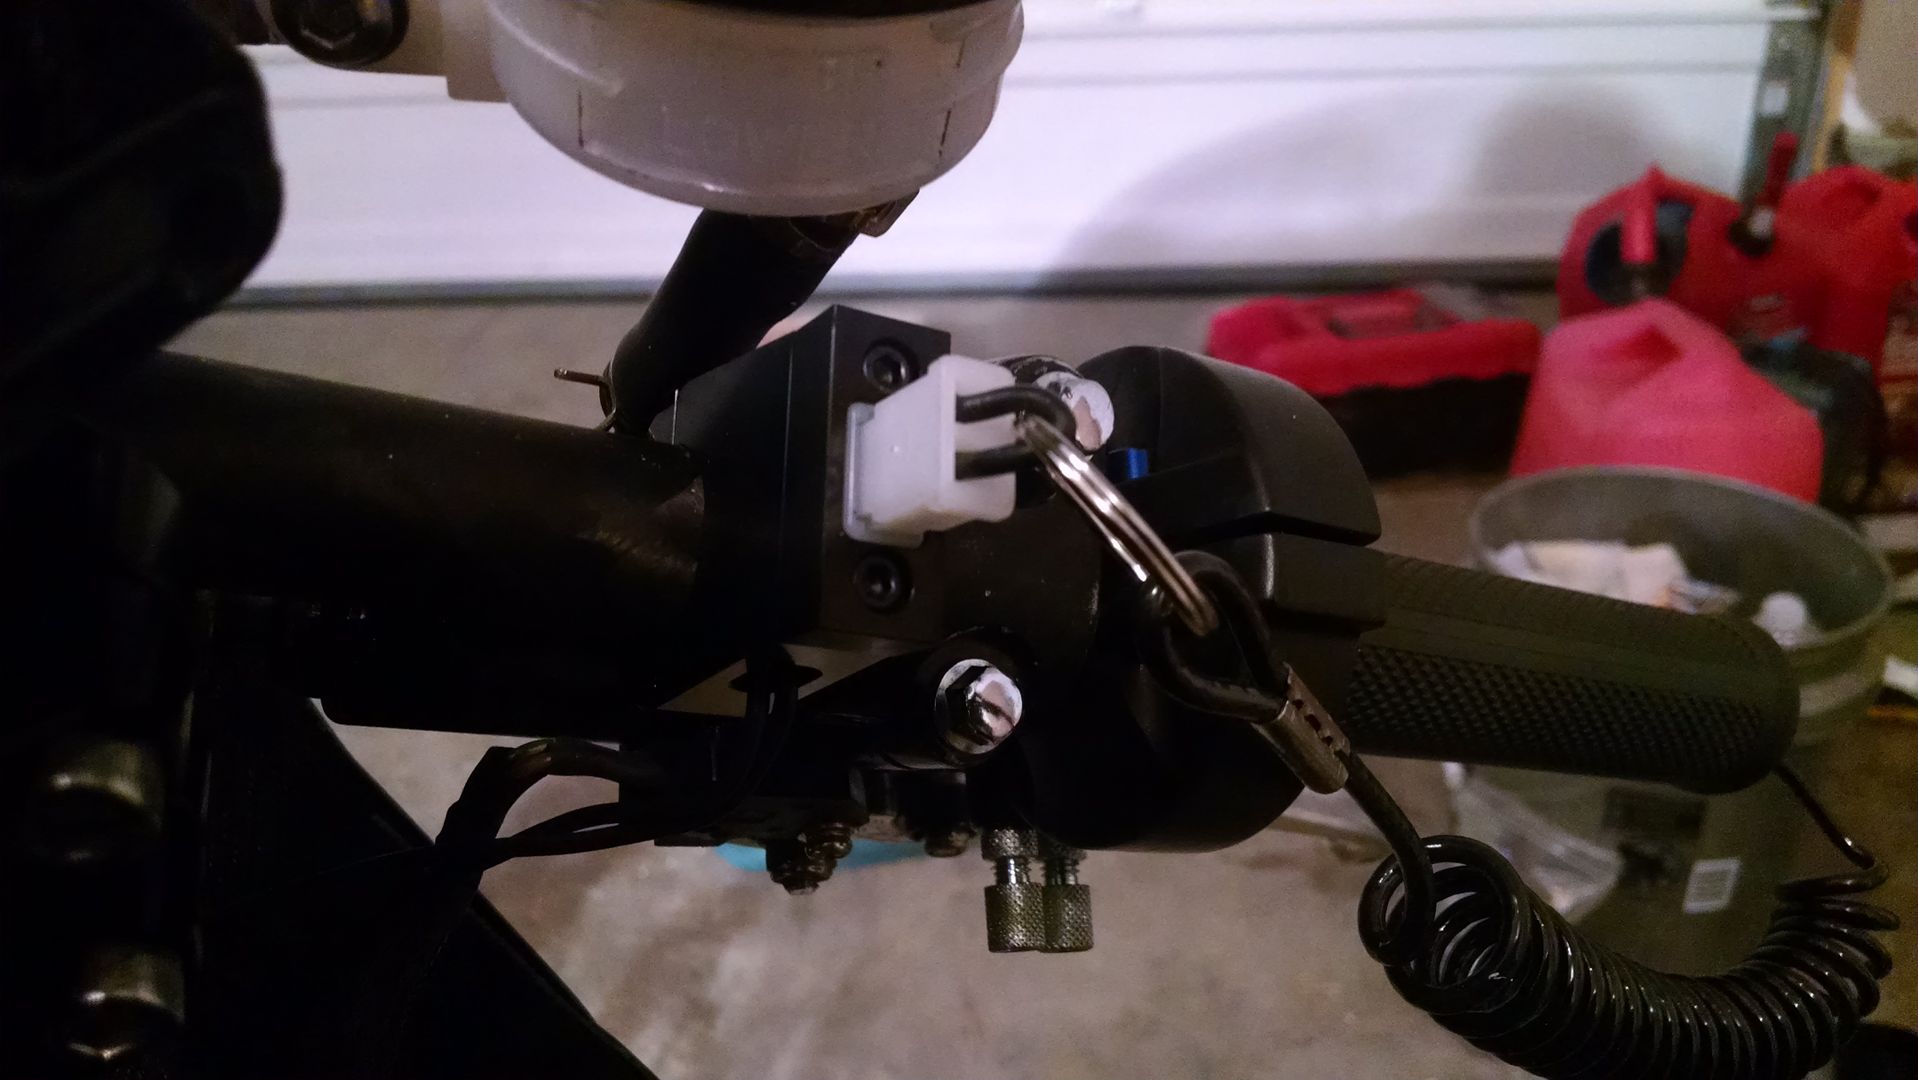
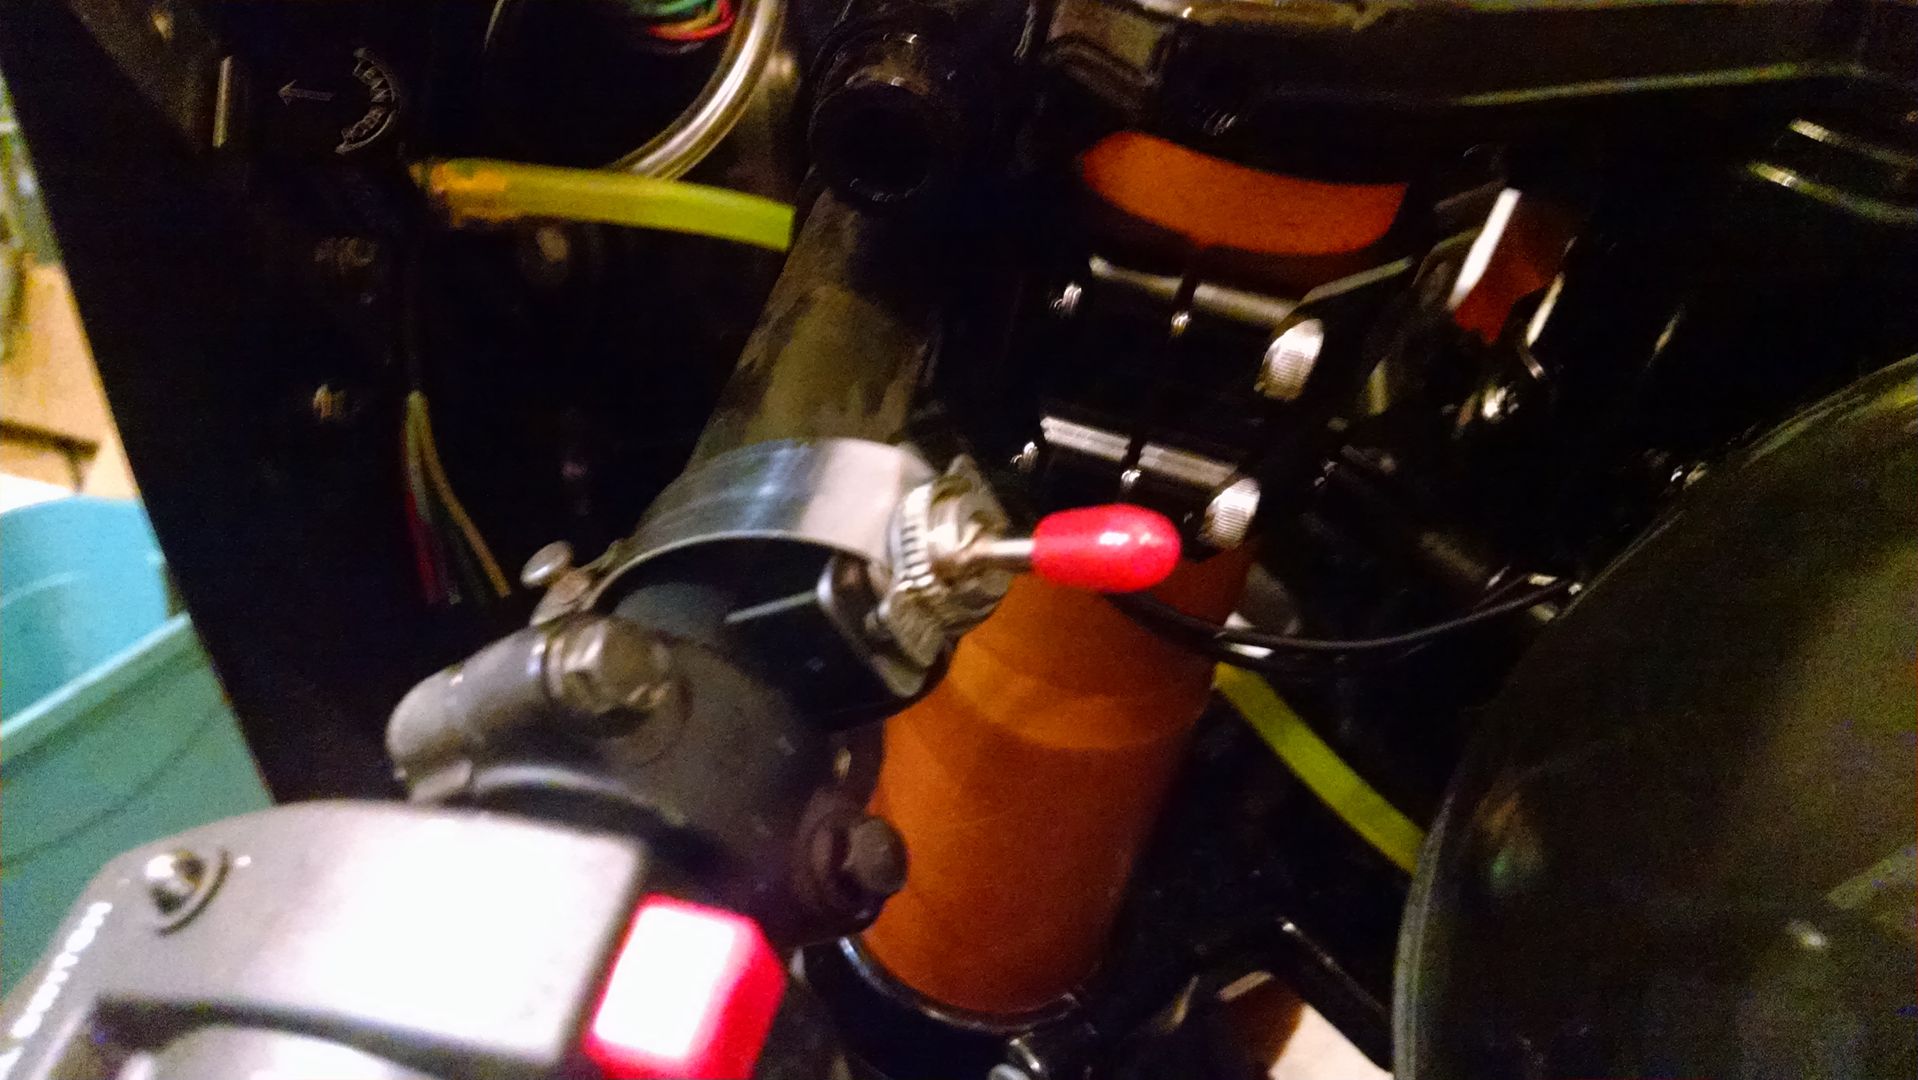
Had to add 2 different killswitches to comply with a race rule book. They require one manual on/off switch accessible with your hands on the bars, and another attached by a lanyard that will cut the engine if tossed from the bike.
Still waiting on my Pamco, then I can finish the wiring. Need to shim the rear sprocket to match the front, then I can cut the chain. Need a shorter front brake line for the new setup. Working on the shifter and brake linkage as we speak. And that's all that's left to be rideable. Hooked up the GPS speedo to the battery to check its function. It works, but I'm not happy with the satellite sync time. Fastest was 15 sec, but most times took about 30-40. Not a huge deal, just have to wait a bit before taking off.
Carbs all done, mods in place. In these pics you can see the front controlled power jets. This allows me to adjust for atmosphere/elevation on the fly. You jet the main a few sizes lean and then make up for it with the power jets. Gives a good range of adjustment. These only affect jetting under load, mostly at WOT. I have the adjuster mounted on the fairing brace near the headlight. And in the last pic you can see the fittings added for carb sync.
Had to add 2 different killswitches to comply with a race rule book. They require one manual on/off switch accessible with your hands on the bars, and another attached by a lanyard that will cut the engine if tossed from the bike.