-
Enjoy XS400.com? Consider making a donation to help support the site.
XS400.com receives a small share of sales from some links on this page, but direct donations have a much greater impact on keeping this site going.
You are using an out of date browser. It may not display this or other websites correctly.
You should upgrade or use an alternative browser.
You should upgrade or use an alternative browser.
Karl's scrambler-bratstyle 81 XS400 SE
- Thread starter Firestone
- Start date


Made a rear hoop!
First I bought some pipe and went to the local shop to get it bent. Made some drawings of the exact piece I needed aand...

The one on the right is the one they made me. Not at all like the one I needed. Luckily I didn't have to pay for the work. It reminds me the original rear passenger rail handle thing. So I decided I am going to make it by myself. Left pipe on the picture was my first try. Around a tree. Just to see if I can bend it nice and round without any sharp bends. It worked pretty well, but it didn't came out as a perfectly round and a perfectly wide hoop.
So I needed a bending bench.

This is what I came up with. Perfectly round, perfect width and everything. Took some pipe, filled it with fine sand and attached the bench to a tree with strong straps, so it wouldn't move.

And went full on nuts with it.

And it worked great! Got exactly the piece I needed.
First I bought some pipe and went to the local shop to get it bent. Made some drawings of the exact piece I needed aand...
The one on the right is the one they made me. Not at all like the one I needed. Luckily I didn't have to pay for the work. It reminds me the original rear passenger rail handle thing. So I decided I am going to make it by myself. Left pipe on the picture was my first try. Around a tree. Just to see if I can bend it nice and round without any sharp bends. It worked pretty well, but it didn't came out as a perfectly round and a perfectly wide hoop.
So I needed a bending bench.
This is what I came up with. Perfectly round, perfect width and everything. Took some pipe, filled it with fine sand and attached the bench to a tree with strong straps, so it wouldn't move.
And went full on nuts with it.
And it worked great! Got exactly the piece I needed.
Last edited:
Thanks IanW, many uses of a tree indeed.
Photos would have been greater, like in the beginning, but I sold my camera (in case some are wondering, why the picture quality went so bad in the middle of posts).
After the hoop was bent, it was time to cut the old rear end off to make room for the new one. We don't have a welding machine in our garage, so we took it to my dads friends garage. Fast forward about half an hour and the new hoop was on.
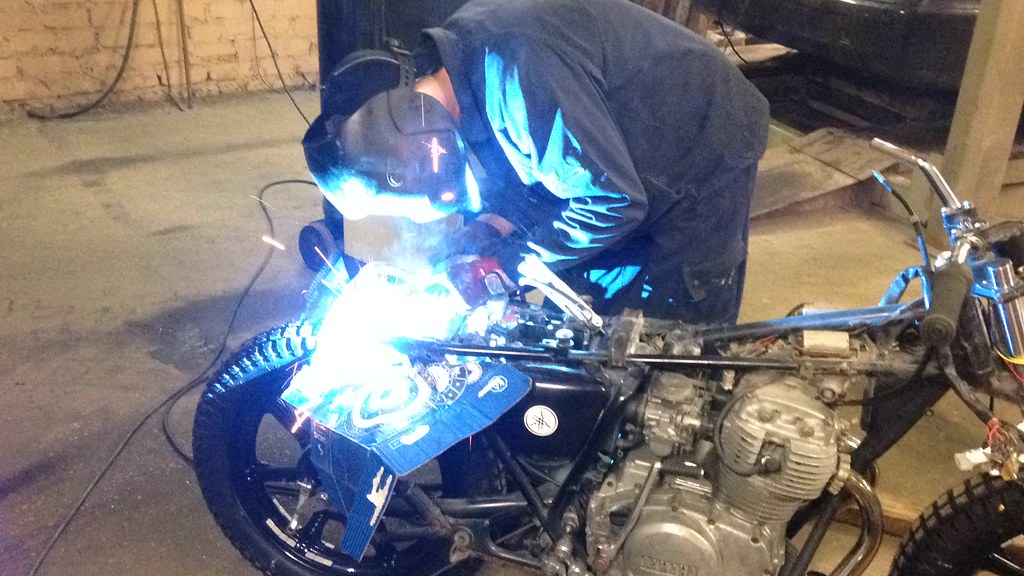
Last edited:
Pork Chop
XS400 Junkie
This is looking great.


dgoodsy
XS400 Enthusiast
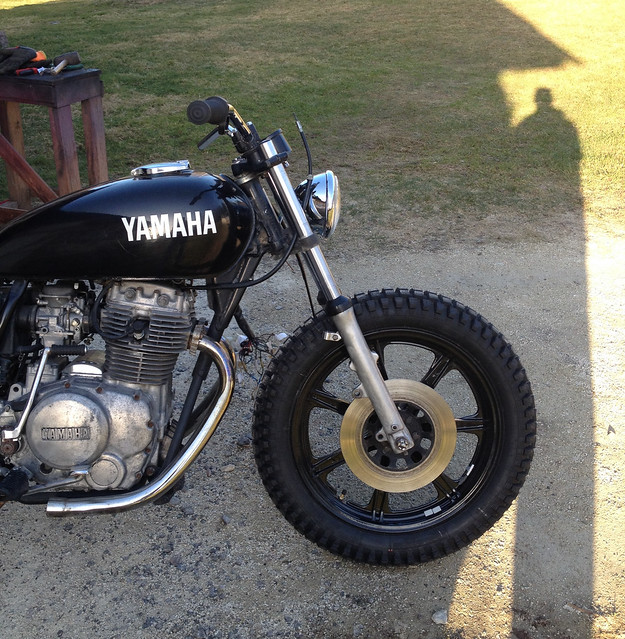
Looking good, I like the black rims and those tires. good work on the tube bending as well!
Old Mose
Daily Rider
Looks Good. I was impressed with the carb repair, well done. Do lots of thinking before you do any cutting! Good Luck
Thanks dgoodsy and Old Mose. Great advice as well!
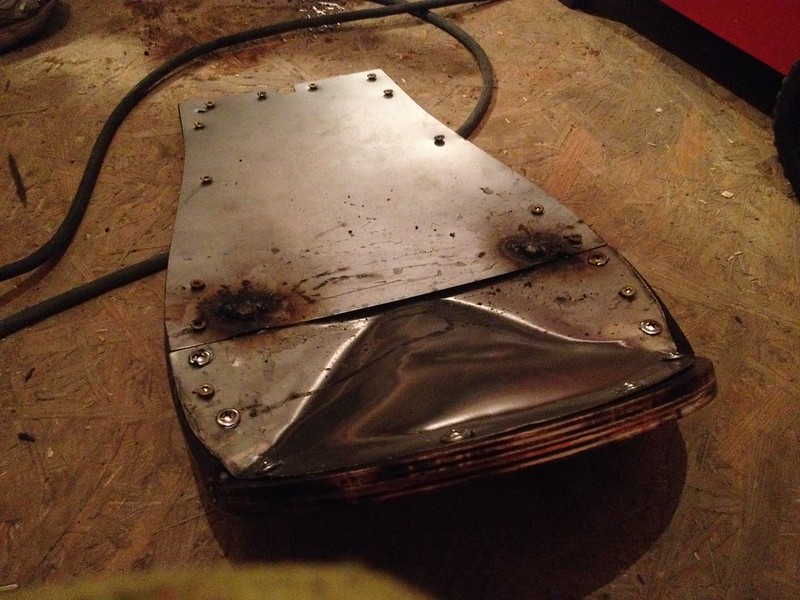
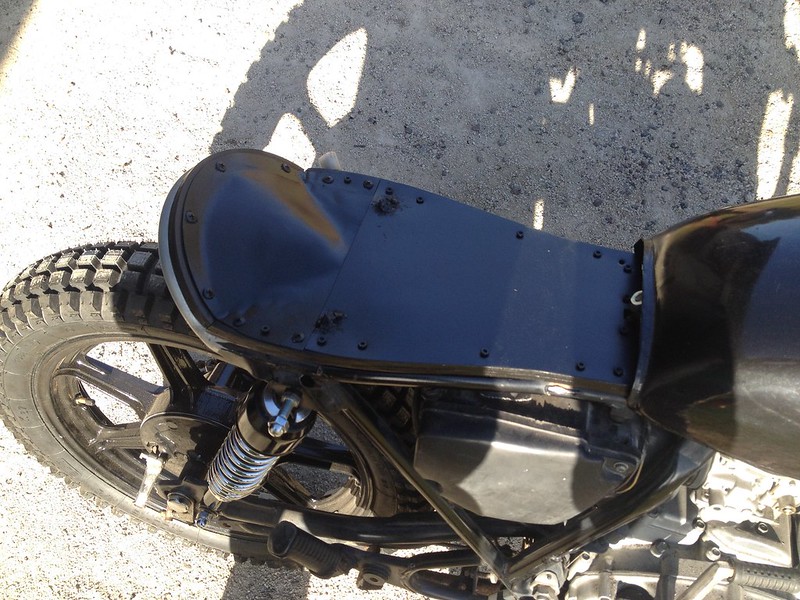
Pictures that I made the day after the day of the welding. The wooden block and the board are there to hold the mudguard in place, cause I didn't weld the tabs yet.
And that round thing on the ground is a cardboard template that I made for the seat pan.


Pictures that I made the day after the day of the welding. The wooden block and the board are there to hold the mudguard in place, cause I didn't weld the tabs yet.
And that round thing on the ground is a cardboard template that I made for the seat pan.
Looking good!
Please be sure to add a solid brace to the front forks. Without a brace the handling will be compromised. Possibly to the point of being dangerous at speed.
Please be sure to add a solid brace to the front forks. Without a brace the handling will be compromised. Possibly to the point of being dangerous at speed.
Old Mose
Daily Rider
Dave is absolutely right. I could tell the difference when I bolted the front fender back on. Install a fork brace if you aren't going to use a fender!
Thanks 16VGTIDave and Old Mose for the advice! It is definitely a good idea to use a fork brace as a substitute for the fender.
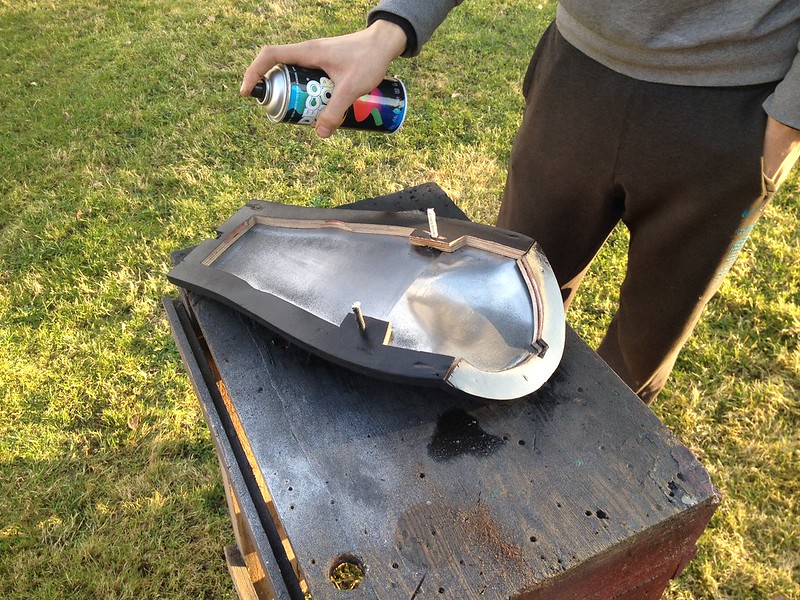
So this is how I imagined how the seat pan should be. Cause the frame of the motorcycle isn't flat and the electric components are a bit higher than the frame, It needs a base frame. I decided to make it out of waterproof plywood. This way it sits right on the frame and has more support.


So this is how I imagined how the seat pan should be. Cause the frame of the motorcycle isn't flat and the electric components are a bit higher than the frame, It needs a base frame. I decided to make it out of waterproof plywood. This way it sits right on the frame and has more support.
Last edited:
Would that be a cut-up Skateboard?
Old Mose
Daily Rider
Excellent idea. Don't forget to fix it so you can get to the fuse box. I need a screw driver to get to mine. Not Smart!
Haha, it could be probably Jeff0133, but in my case its actually made out of two separate pieces. Seat is going to be fixed to the bike with two bolts through the middle of the frame (the part of the frame between the rear shocks) and fastened underneath with two wing nuts Old Mose.
Got the new fuel tank fastening bolt and rear mudguard bracket welded by my neighbour Ken. He has been super helpful with everything.


Got the new fuel tank fastening bolt and rear mudguard bracket welded by my neighbour Ken. He has been super helpful with everything.
Last edited:
Hey Masterus, both tires are Heidenau K67's, 18 inch in radius and 4.00 in width. Mentioned that on the first page of this thread as well.
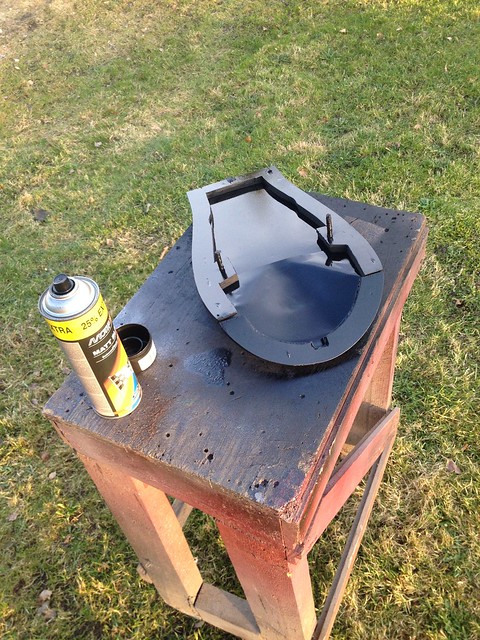
Cause the mudguard sits so high when attached, the seat pan needed some curvature. So I took a hammer and pounded it till it sat nicely with the mudguard.


Cause the mudguard sits so high when attached, the seat pan needed some curvature. So I took a hammer and pounded it till it sat nicely with the mudguard.
Last edited:


What exhaust are you going to use? If your bike had the type with the cross over pipe between the mufflers the head pipes will not work well for slip-on type aftermarket mufflers. There is a vet hole up at the end of the pipes by the head that will cause a leak. Use the earlier type ones that had the non-crossover pipe and slip on mufflers.
Similar threads
- Replies
- 1
- Views
- 459