FUBAR's Build

an update:


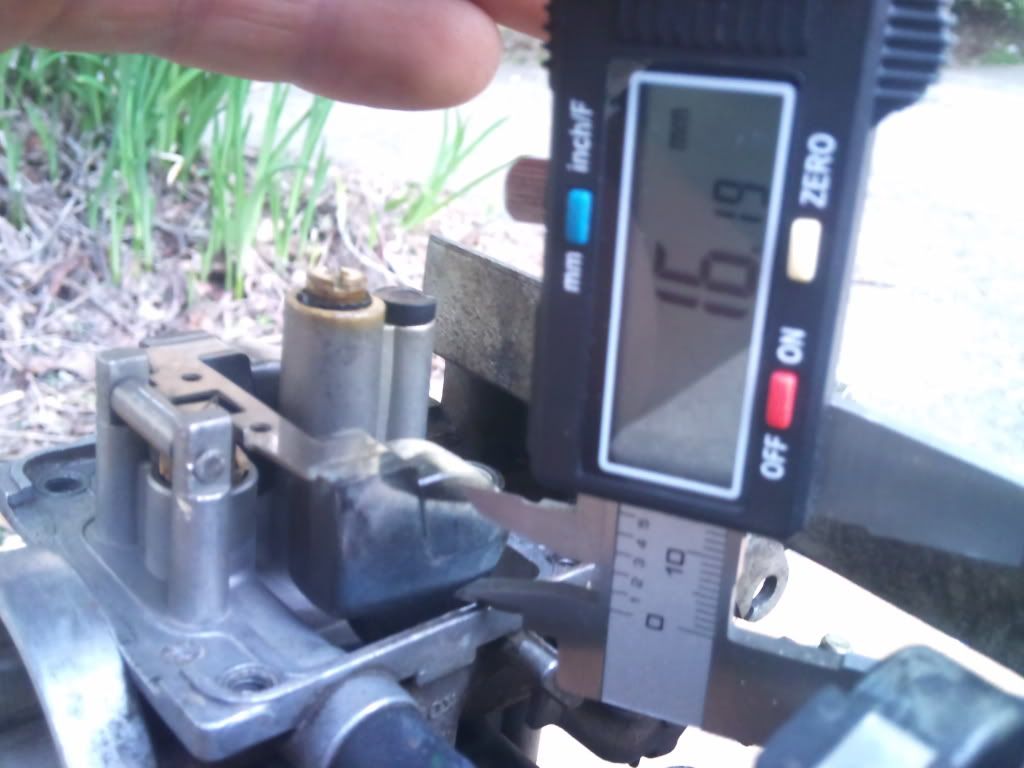
and i know its listed a few places on here but as for float level the book says 32mm, drewpy says 26mm im going to do 26, but how is the carb oriented when measuring?

carb upside down, float resting on tang. gasket off measure from where gasket was to (the now) top of the float :thumbsup:
 
:thumbsup: that reply couldnt have come at a better time drewpy i just came on here to check for exactly this!
i was skeptical because untouched they are at 17~mm thats quite the jump but i'll do er :eek:
 
:banghead:im still not sure i set the float height correct, before i touched anything it was at 16mm from where the gasket sits to the lower ridge on the edge of the float like the hanyes manual says, i took off the float assy. and bent the tang with a flat head to set it to 26mm, this seems like quite alot of bend.. so much that the tang doesnt line up with the spring well anymore and there is no movement up or down in the float assy. if that makes sense. can some one tell me what the heck i did wrong. heres some pictures of one side adjusted to 26ish and the other left alone. :banghead::banghead::banghead:

DSC_0082.jpg

DSC_0081.jpg

DSC_0083.jpg
 
Try bending these tabs I circled forward. The float needle tang and the tang I circled pivot off one another. The tang I circled can be used to control how far the float needle is allowed to open. I have never read anything about the float needles needing to be set to anything specific, but right now the circled tabs are probably too far back. Needle nose pliers are my tool of choice for this job.

Your floats are also shaped differently than mine; have someone else with the same ones confirm that you are measuring from the correct point. On my floats I measure from the highest point which, in your case, would be where the metal tab attaches to the rubber float. I am not sure this is the correct point to measure from, so don't take my word for it. Also, make sure your float needles are not being compressed at all by the weight of the float.
 

Attachments

  • DSC_0082_111.jpg
    DSC_0082_111.jpg
    112.4 KB · Views: 363
erm, i said take the gasket out and use the surface the gsaket was on. suppose you could take off 1mm. I was refering to the older brass floats, the newer floats normally have a connection outside on the bottom of the float chamber. You stick a clear tube in there and let some gas in the carb, the gas should be 2mm from the top of the float bowl. If you get make a little stand to level the carbs on you can do it off the bike, then if you need to adjust its a lot easier.
 
an easy out for the screws your going to strip. i garauntee it. the phillips ones on the gear selector drum WILL get rounded. i replaced mine with allen key screws. countersunk of course. do it with the schematics from bike bandit and the walkthrough on here. study study study. then do it and dont have leftover pieces. lol
 
i have an impact driver ill give that a shot first try lol
if theres on thing i HATE is rounding off/ breaking bolts.
 
worst thing is that the easy out is your only way. lol i used an impact driver and it still rounded. even with my dad doing it and me holdong the case. its damn near impossible. and use locktite. thats important too
 
I think the philips tips that fit japanese bikes are sized differently than USA sizes.Somewhere between #2 as neither one fits perfectly.In order to not strip the heads,if possible,is to have the case totally secure.Believe me,in 35yrs of commercial carpentry[high rise const,industrial plants,etc.]I've tried all different ways of removing rusted bolts,screws,etc,and sometimes it's impossible due to the strenth of fastener and tool,something has to give. lha
 
:cheers: 
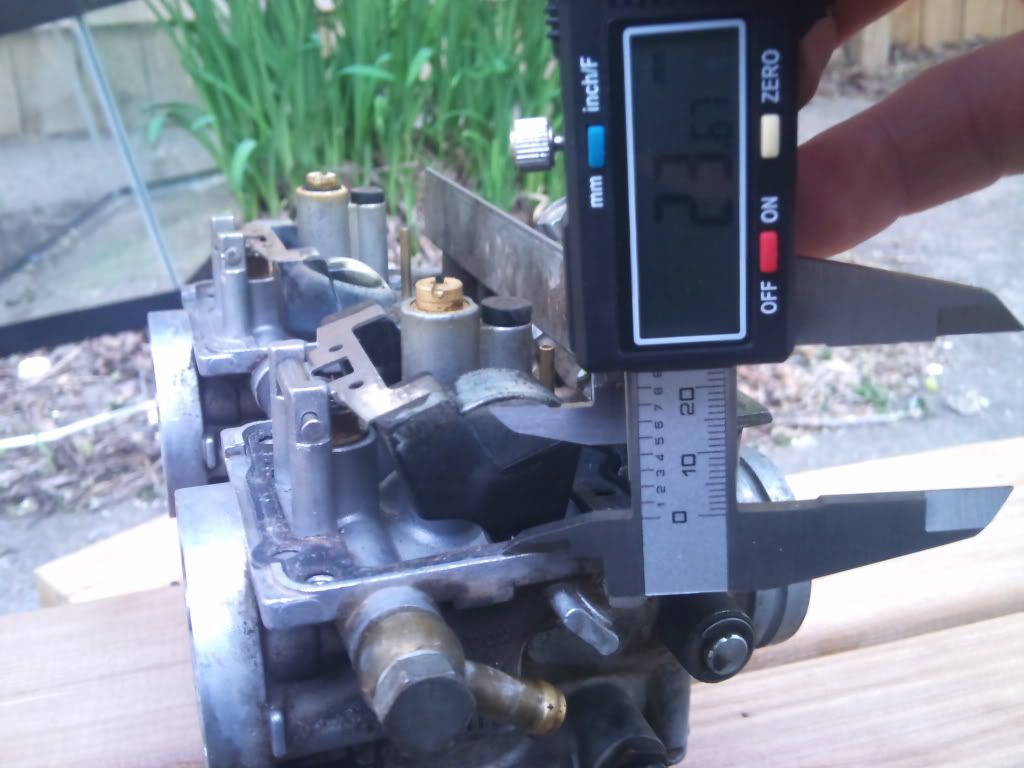
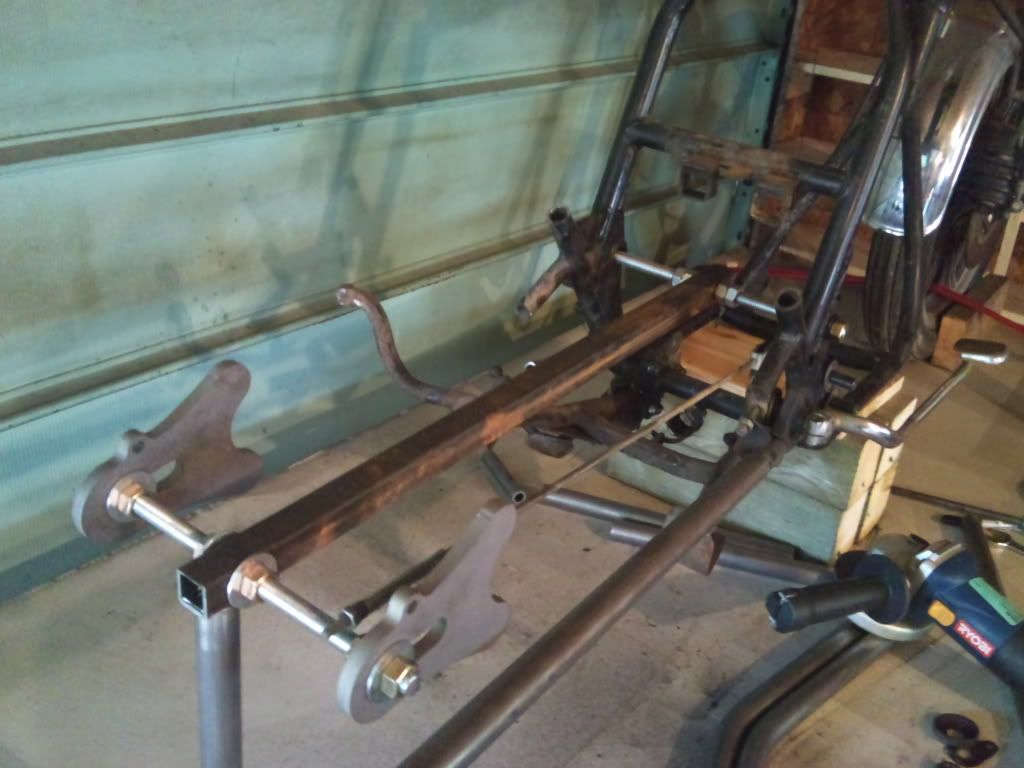
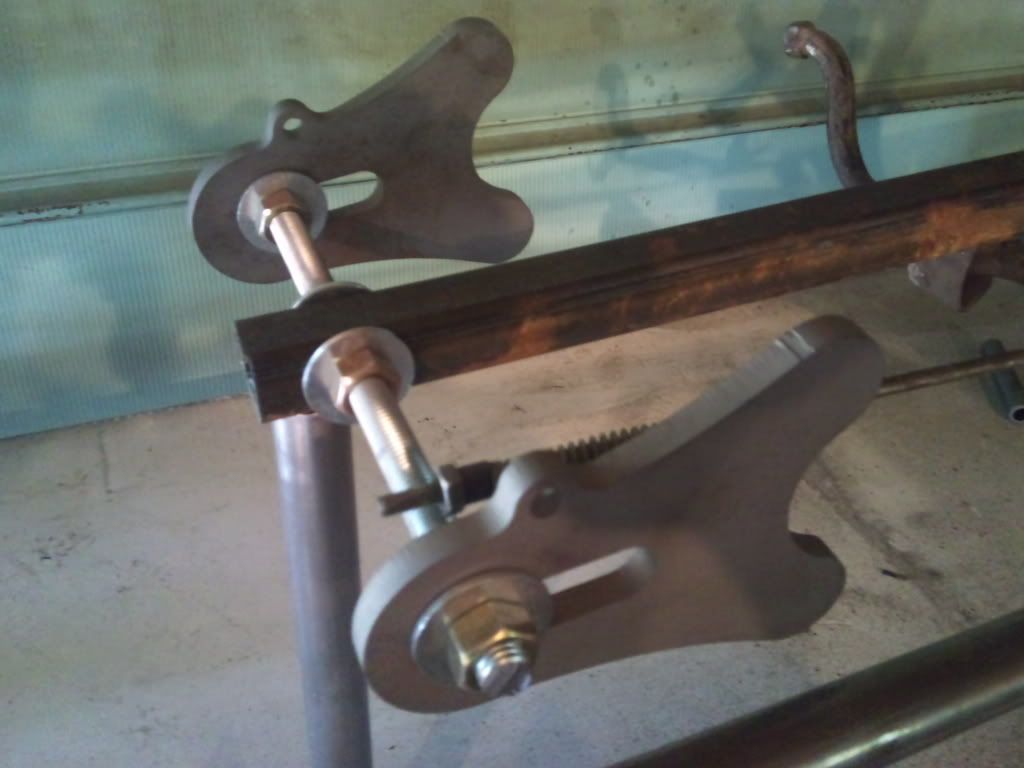
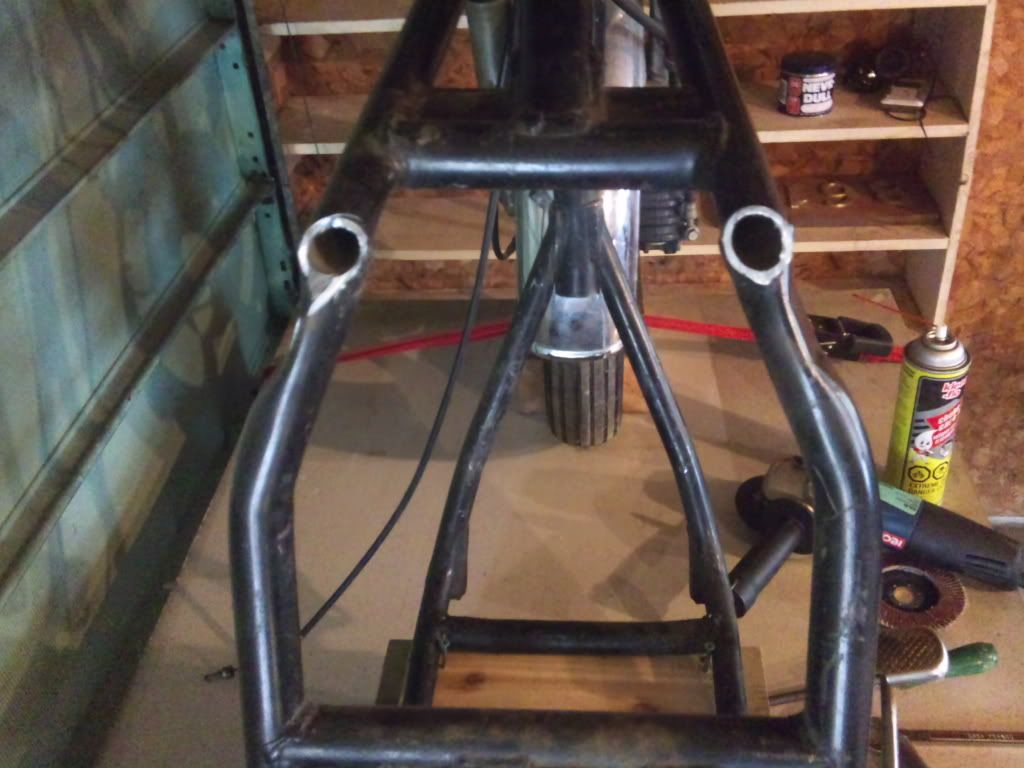
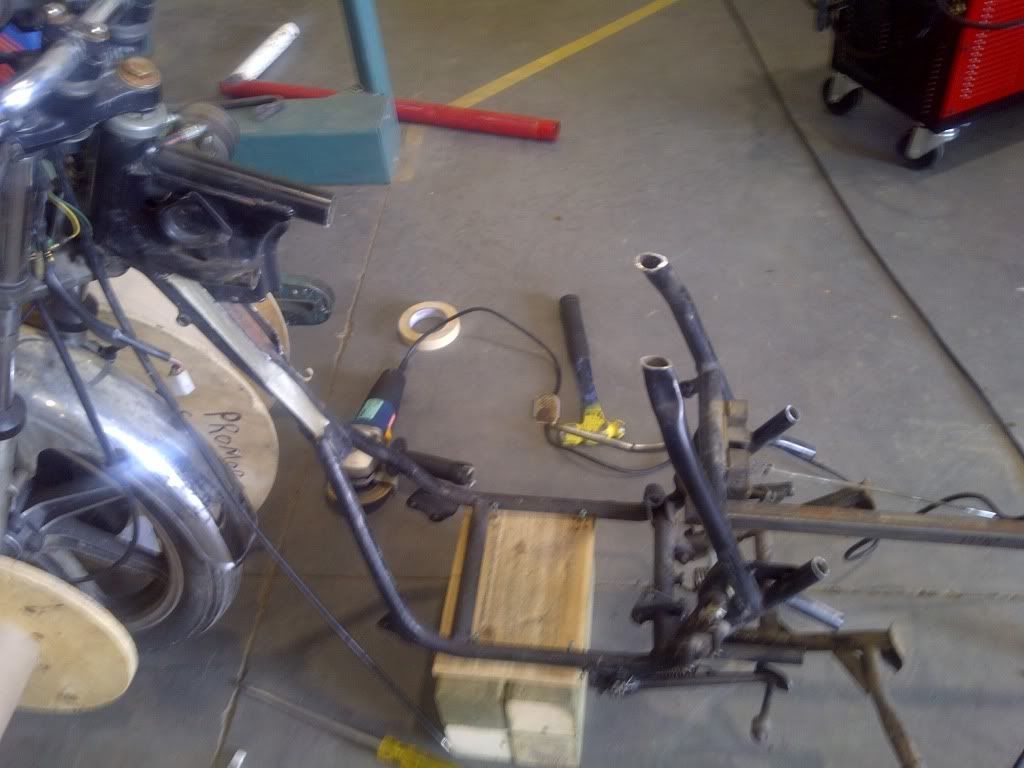
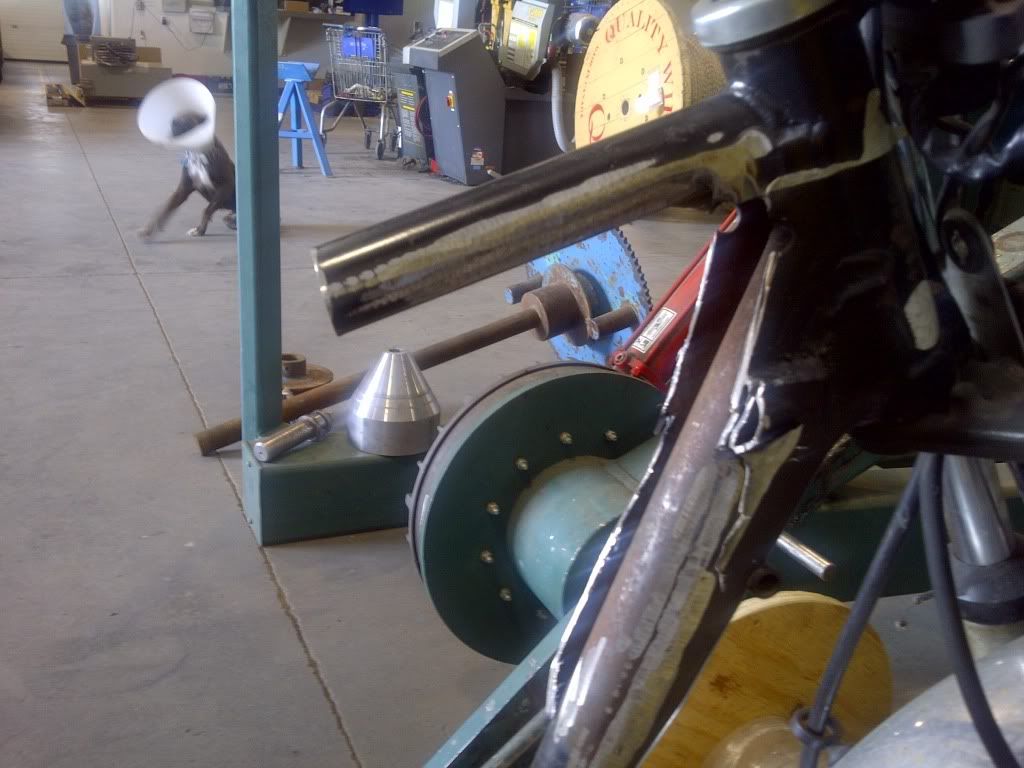
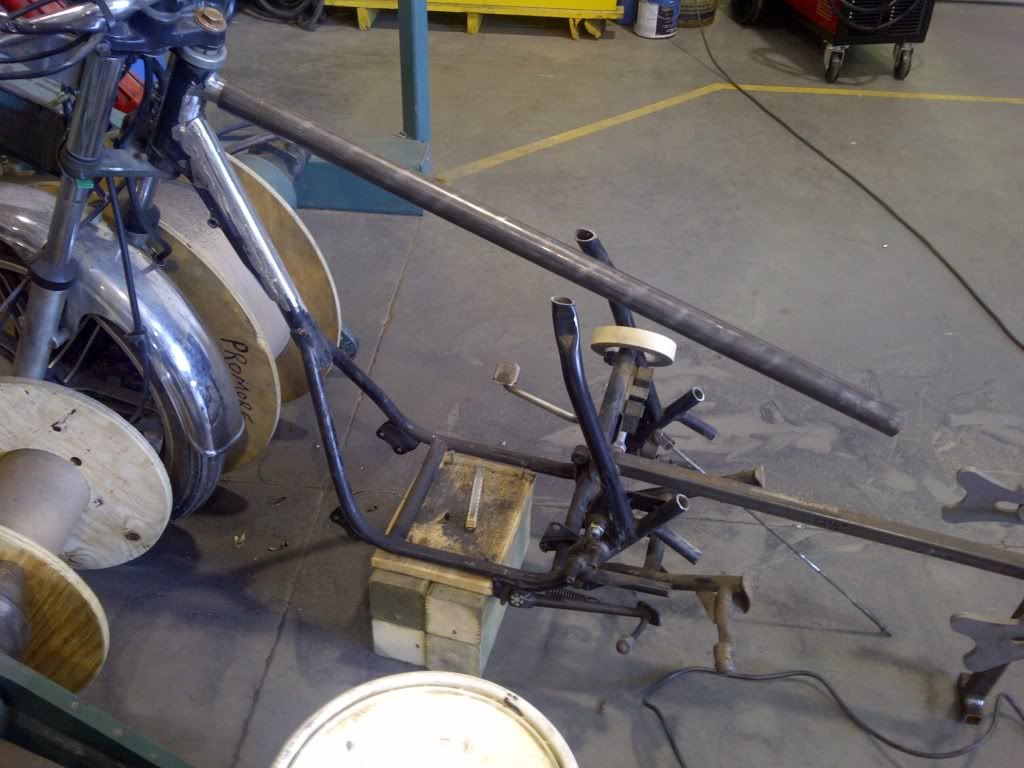
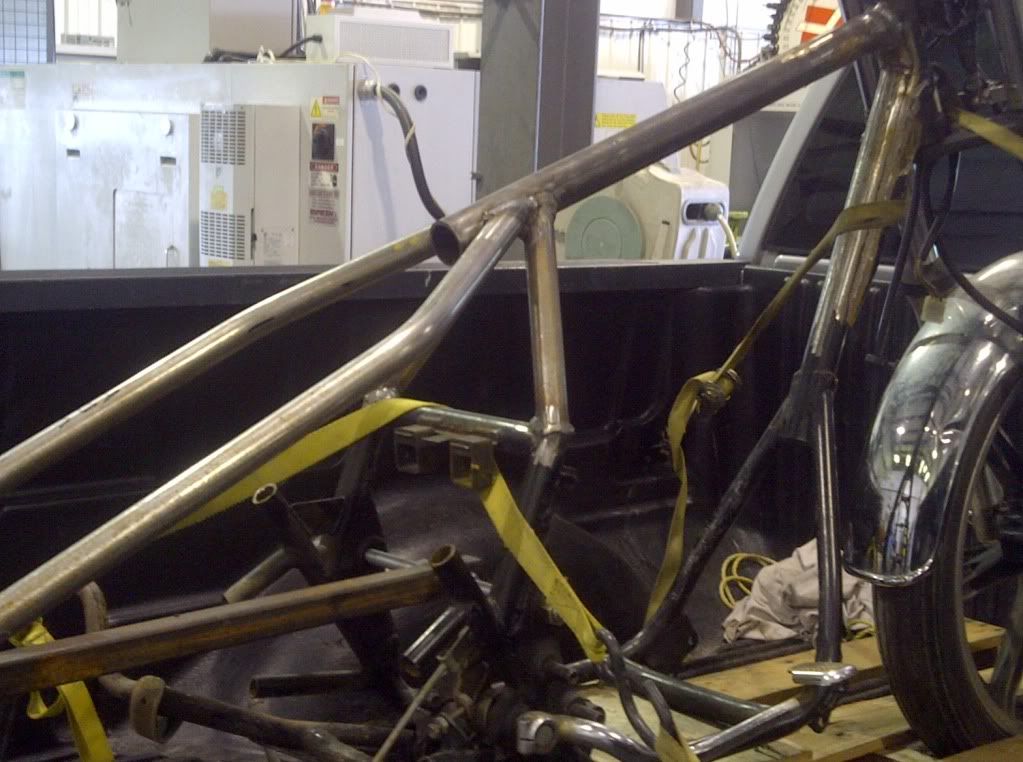
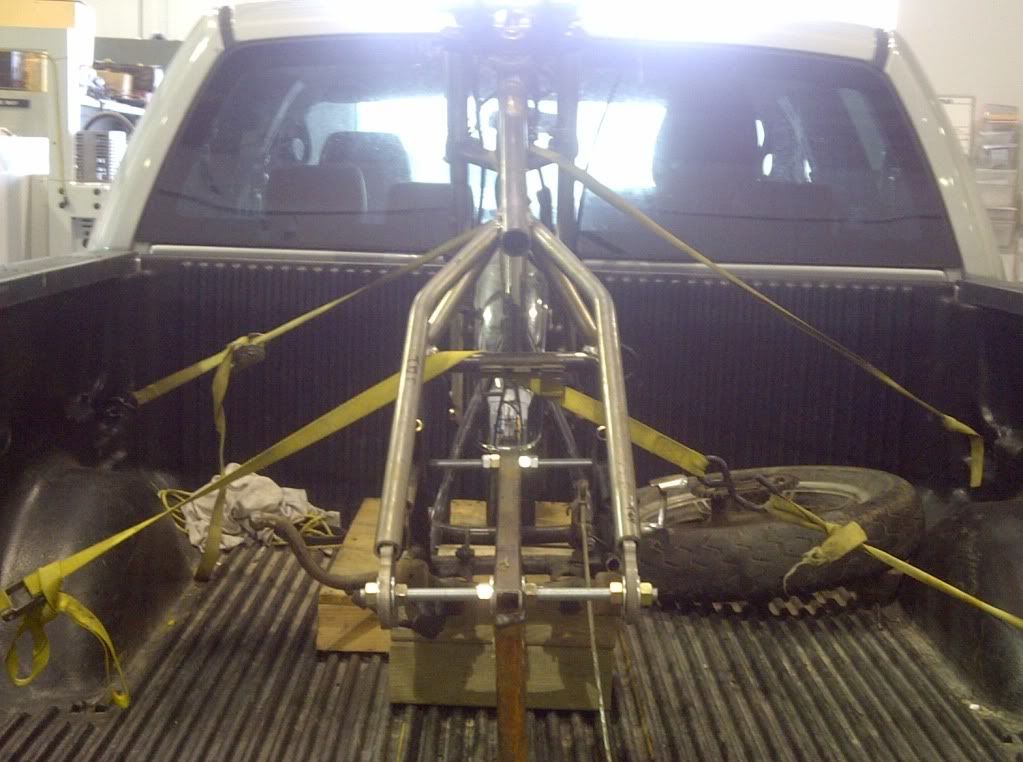
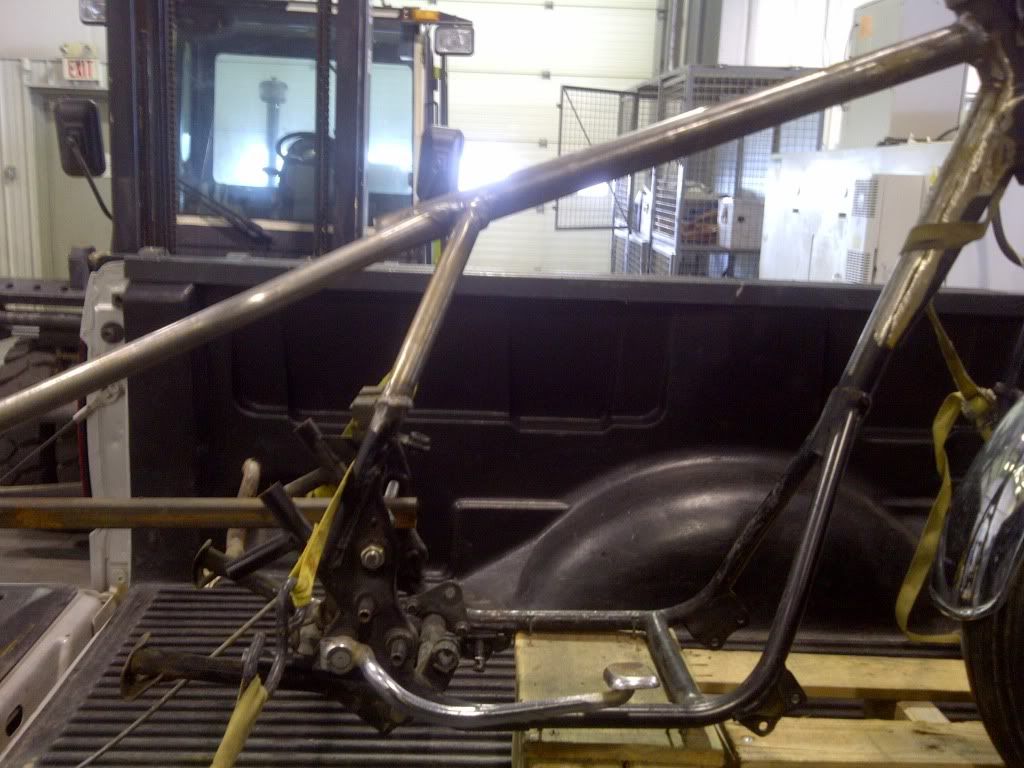
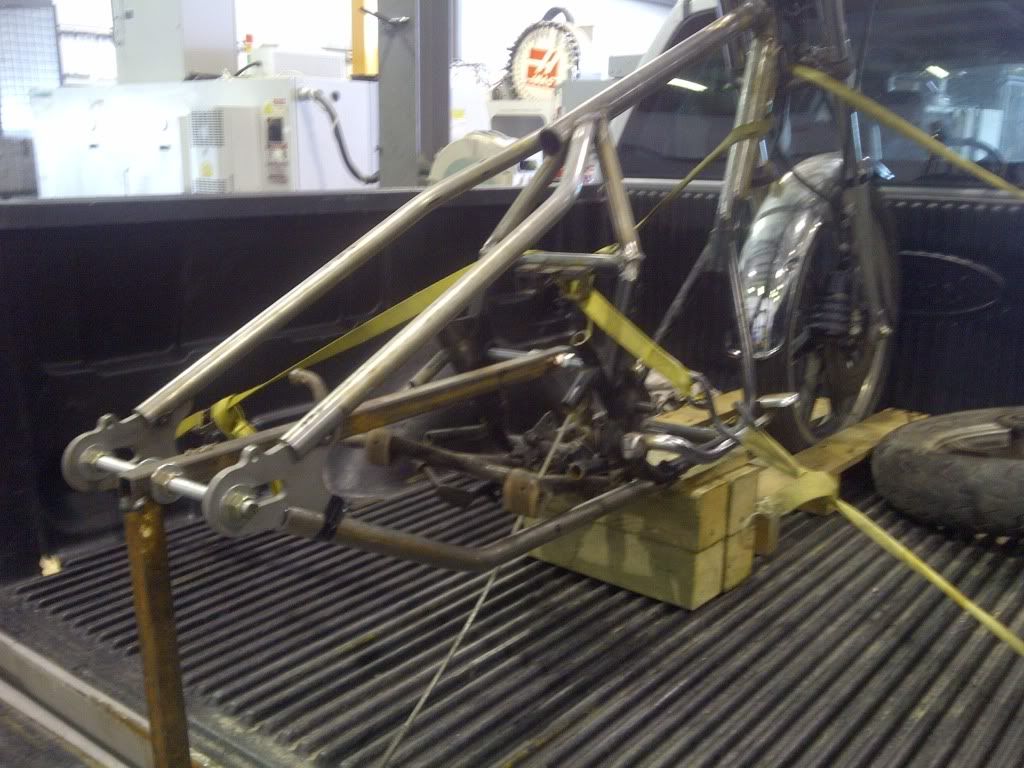
Got my hard tail kit from Travis last week, havent had a chance to get it welded up but i have a couple jig ideas to get everything perfectly true.

Thanks Trav the quality is awesome!


still waiting for my complete gasket kit in the mail.
ive decided since i havent had the bike running and im putting effort into the frame and i have to swap engine cases im just going to do a complete rebuild of the whole motor. also have a .75 overbore in the works.

ill probably do a tech write up for the case swap and hardtail.
more to come
 
i did a how-to on splitting the case if thatll help ya. wish i saw one before i did it. took me a couple days till i though of removing the starter to remove the bolts under it.:doh:
 
Volcom, i did read through that and saw which bolt you were talking about.. that would have definitely tripped me up
 
6-20-11

i wish i could update this site more often.. i need help with connecting the top tube on the hardtail setup (volcom this means you hah)

heres my jig setup for anyone looking to convert to a rigid rear-end:
bike6.jpg

bike5.jpg


i plan on slipping the lower tube on the passenger foot peg tube that i cut then plug and weld, gusset ect. for the top im not sure what the best route to connect would be i have a few ideas but not sure if theyre the best/easiest. and which orientation of the top tube would be better i like the first but second may be easier..
1st
bike4.jpg

2nd
bike3.jpg


top view ofwhat im working with:
bike2.jpg


side view.:
bike1.jpg


thanks!
 
Edit :

the jig ideas not 100% mine i saw a similar one with wood on here and i took my ideas from that not sure who it was though,

and this is a 2" stretch
 
i think mine is a 2-3 inch stretch. i just used the swing arm with the wheel and everything bolted up to the new axle plates, with those tack welded onto the existing plates. i had my tubing custom bent, ill take pictures today and show you what i did. my top rails look sorta like a wishbone frame harley.
 
single back bone? a hole. lol. on my bike, the main backbone isnt straight from the factory, is yours the same? maybe its the angle, but it looks tweaked. are you keeping the center stand?
 
Back
Top