1979XS4002-F
XS400 Addict
Welcome Liam ") fairly new here as well and the group is a ton of help, great guys, great stories and great bikes!
fairly new here as well and the group is a ton of help, great guys, great stories and great bikes!
fairly new here as well and the group is a ton of help, great guys, great stories and great bikes! fairly new here as well and the group is a ton of help, great guys, great stories and great bikes!Welcome Liam


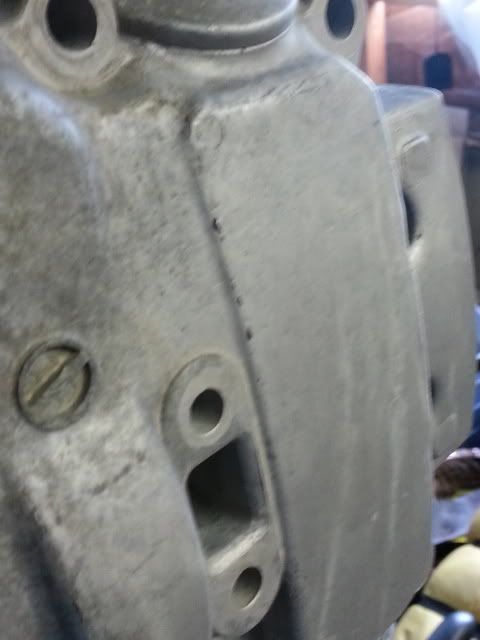
This is what I use, impact gun and flywheel puller bolt. Have done this with six engines no issues. The same rotor is used in all sohc xs400's.
). anyone know where i can pick some up?
 and in advance for any input
 Any progress on the build?
 I've learned a few important guidelines for motorcycle projects, the biggest of which is pretty general but really important... "If you don't have to, then don't!"

Looking forward to eventually seeing your progress Liam.
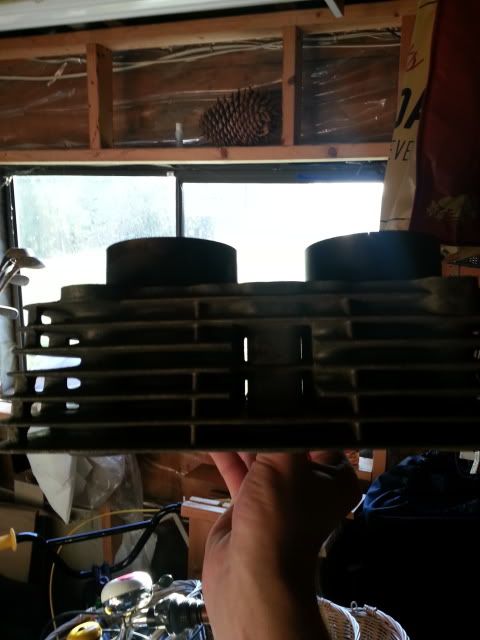
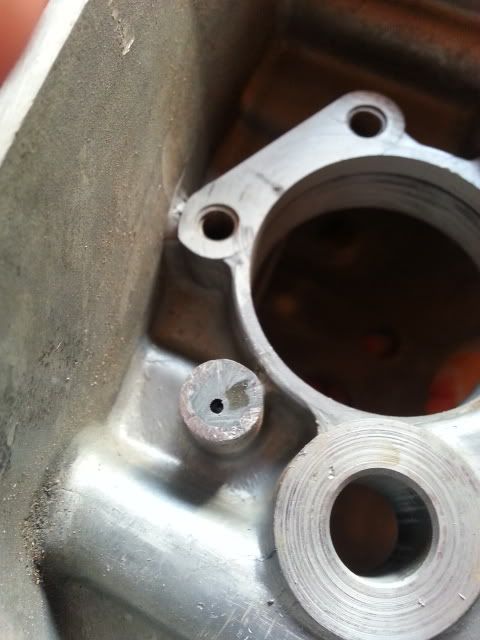
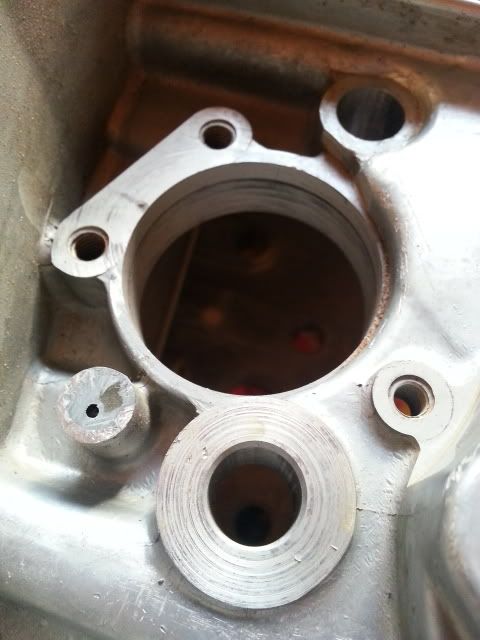
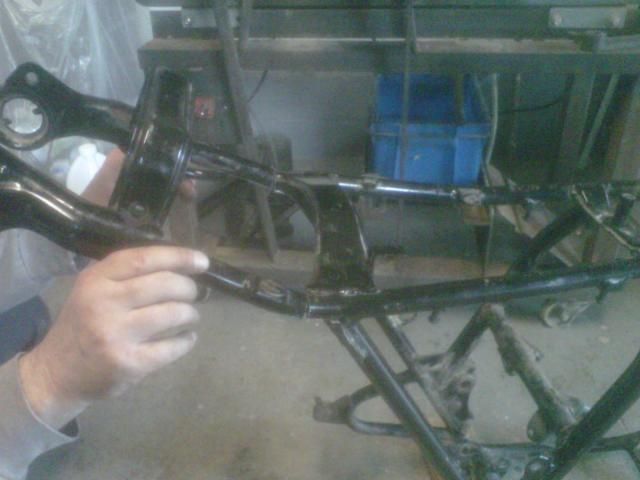
This is just one of many little surprises I've run into!