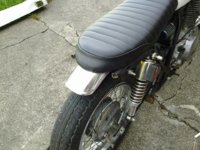
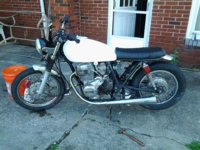
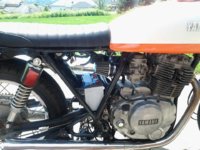
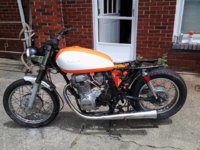
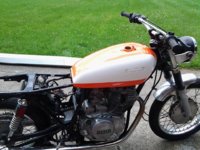
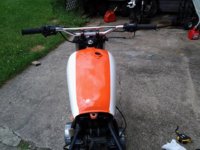
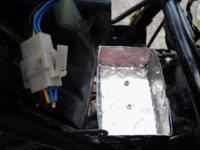
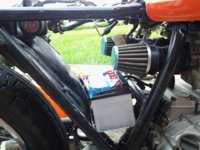
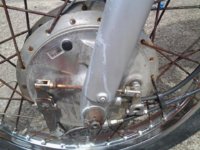
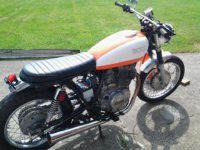
No, I abandoned that.I have relocated the electronics. The CDI control is under the seat. The rectifier and the regulator occupy a spot on the plastic inner fender I retained, after I cut it down, to keep junk off of them.I am searching for a local supplier for a new fuse block. The battery will be housed in a box that rides on the swing arm. I wanted the clean, open look. When I realized that the previous owner sold it to me it had no air filter in the boxes. I assume then that it will be fairly similar to running pods. It ran super before, I am hoping there wont be too much fiddling with the carbs to get it to run the same when I am done. I am pretty happy with the "look" now. Just think, it all started to retrieve a chunk of e-starter journal.I intend to make my own exhaust for this, I covet a 2-1 look and it can be done so much cheaper than buying one already made. I have access to a welder and a friend who has offered to oversee. That will be down the road a bit though.